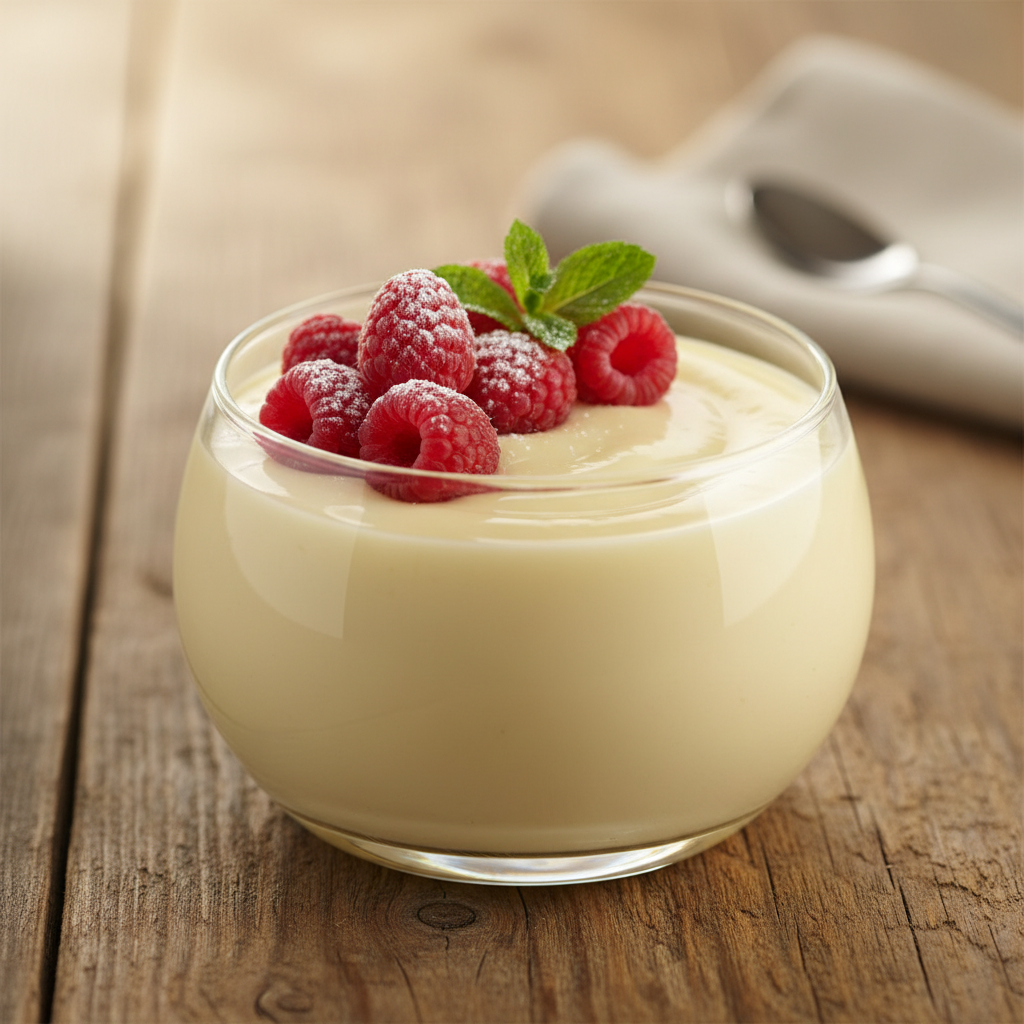
Welcome, fellow dessert lovers! If there’s one classic treat that brings a smile to everyone’s face, it’s a bowl of homemade vanilla pudding. Forget those instant mixes; making your own from scratch is incredibly rewarding and surprisingly simple. This recipe will guide you to a dessert that’s rich, velvety, and bursting with pure vanilla flavor. Get ready to impress your taste buds and loved ones!
A Sweet History of Pudding

Pudding, in its various forms, has been a beloved dish for centuries, evolving from savory, meat-based concoctions to the sweet, creamy delights we know today. Early versions of custard-like puddings, often made with milk, eggs, and sweeteners, can be traced back to medieval Europe. Over time, as ingredients like vanilla became more accessible, the classic vanilla pudding emerged as a staple in kitchens worldwide. It’s a dessert that speaks of comfort, tradition, and simple joys, passed down through generations.
Why You’ll Love This Recipe
- Unbeatable Flavor: Real vanilla shines through beautifully.
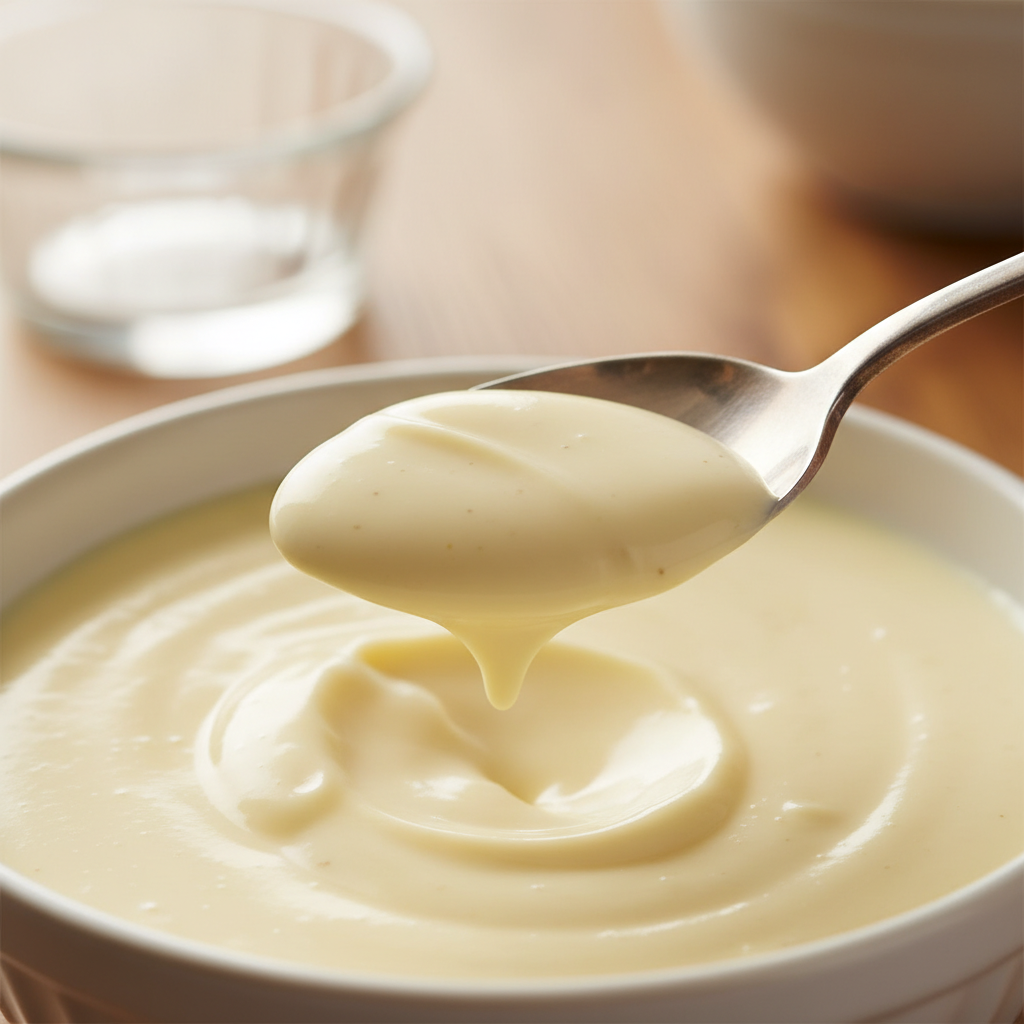
- Silky Smooth Texture: No lumps, just pure creaminess.
- Surprisingly Easy: Simple steps for a gourmet result.
- Wholesome Ingredients: Made with basic pantry staples.
- Versatile Dessert: Perfect on its own or with toppings.
Ingredient Notes
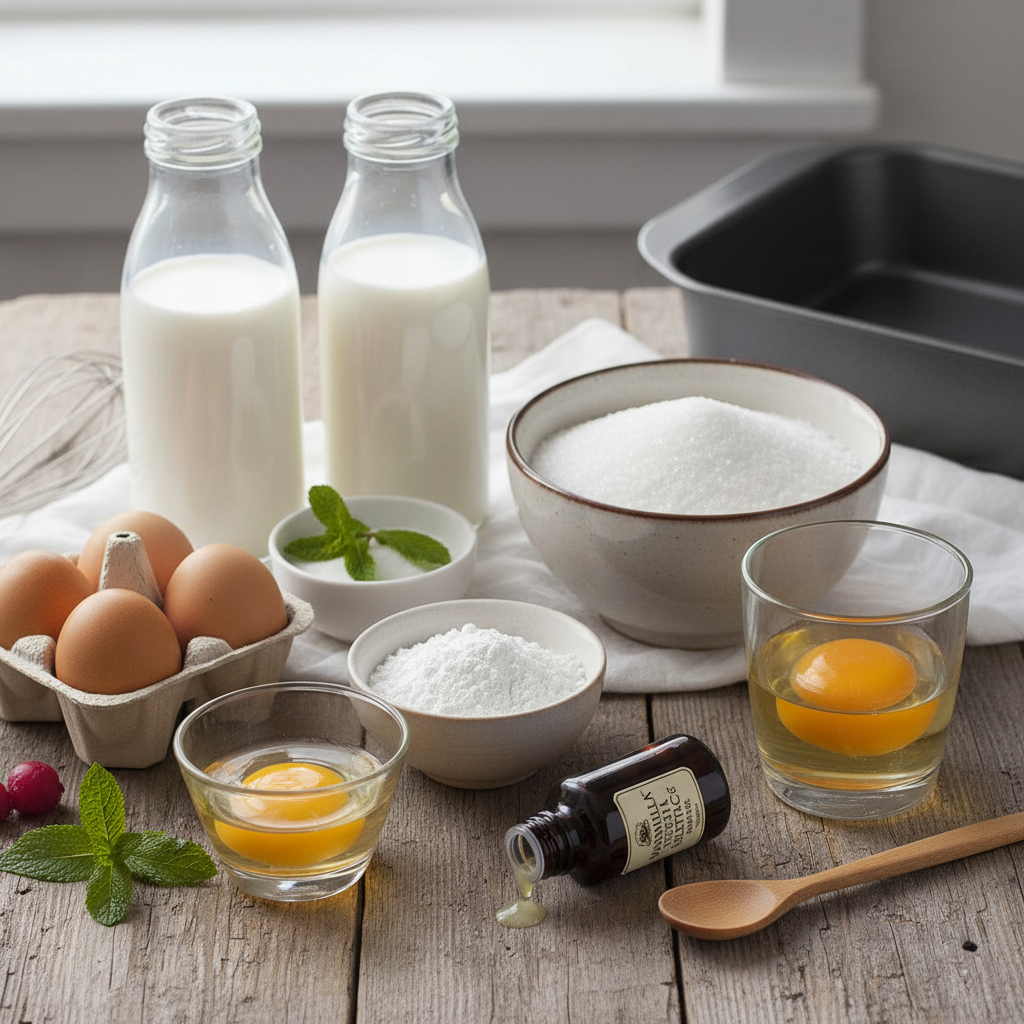
You don’t need fancy ingredients to make this pudding; just a few quality basics will do the trick!
- Whole Milk: The star of our creamy base. Whole milk gives the best richness, but 2% can work too for a slightly lighter version.
- Granulated Sugar: For that perfect touch of sweetness. Adjust to your preference.
- Cornstarch: Our secret weapon for thickening! It ensures a silky-smooth, lump-free consistency.
- Egg Yolks: These add richness, color, and help with the pudding’s luxurious texture. Don’t skip them!
- Unsalted Butter: A small amount stirred in at the end adds incredible mouthfeel and gloss.
- Vanilla Extract: Crucial for flavor. Use a good quality pure vanilla extract for the best taste.
- Pinch of Salt: Balances the sweetness and enhances all the flavors.
Equipment Needed
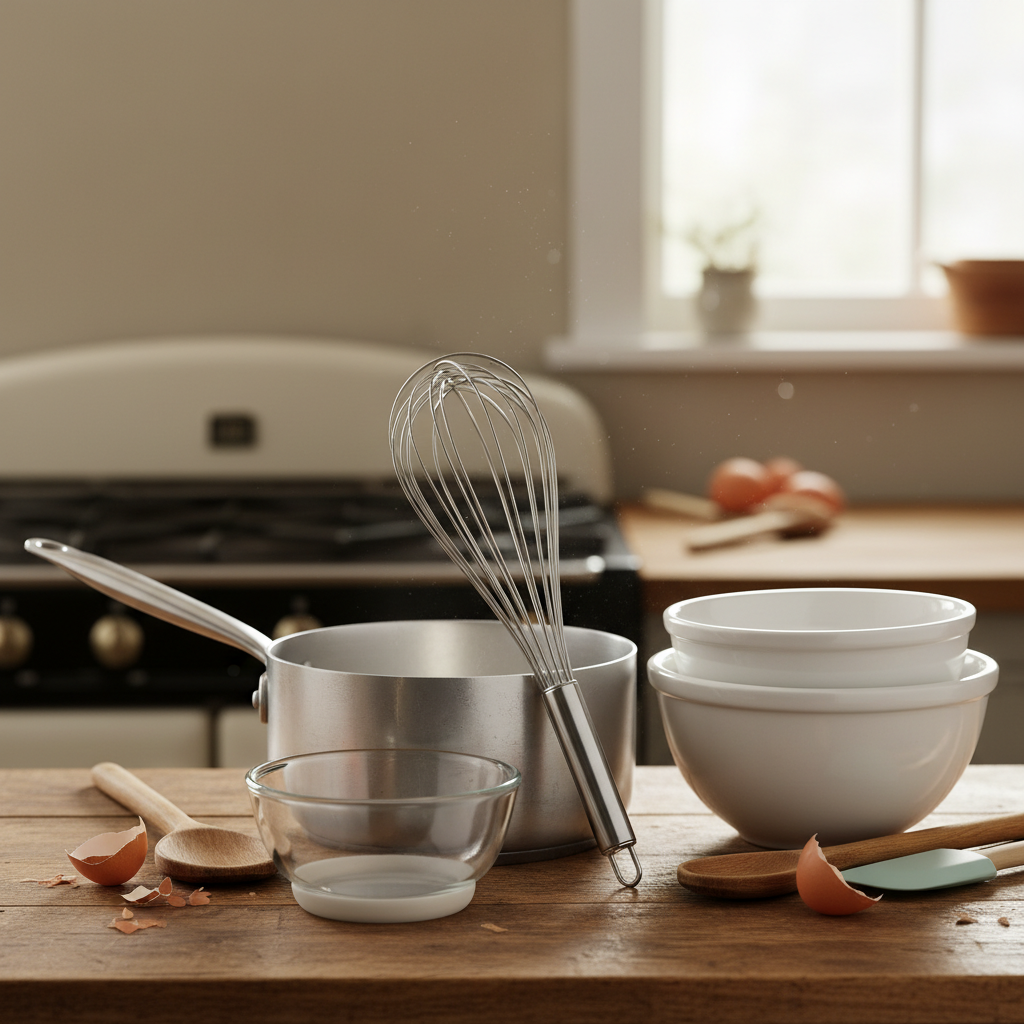
Gathering your tools beforehand makes the cooking process much smoother.
- Medium Heavy-Bottomed Saucepan: Prevents scorching and ensures even heat distribution.
- Whisk: Essential for smooth mixing and preventing lumps.
- Heatproof Spatula or Wooden Spoon: For scraping the bottom and sides of the pan.
- Fine-Mesh Sieve (Optional but Recommended): For straining out any potential lumps for ultimate smoothness.
- Measuring Cups and Spoons: For accurate ingredient measurements.
- Small Bowls: For separating egg yolks and mixing cornstarch slurry.
Full Recipe Card
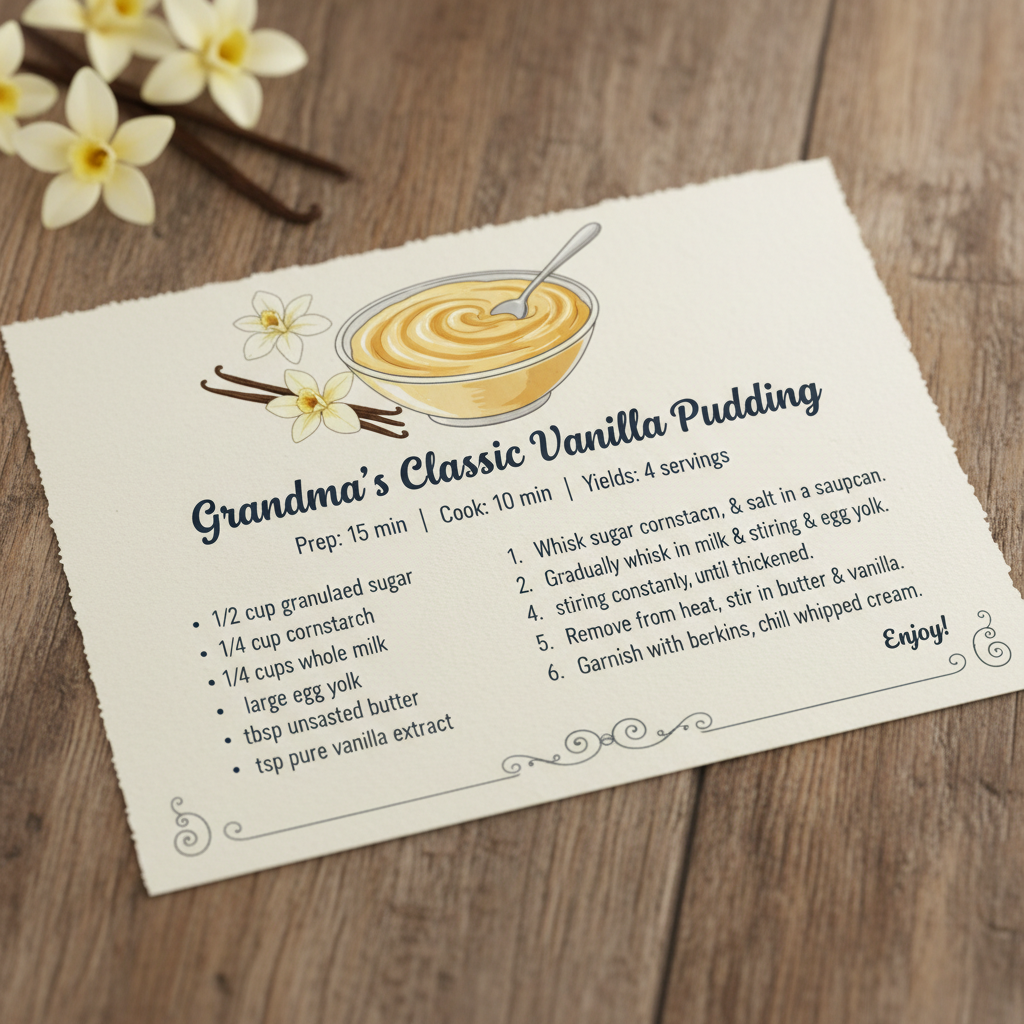
Ingredients
- 2 ½ cups whole milk, divided
- ½ cup granulated sugar
- ¼ cup cornstarch
- 2 large egg yolks
- 2 tablespoons unsalted butter, cut into small pieces
- 1 ½ teaspoons pure vanilla extract
- Pinch of salt
Instructions
- In a medium heavy-bottomed saucepan, combine 2 cups of whole milk, granulated sugar, and salt. Heat over medium heat, stirring occasionally, until the mixture just begins to simmer around the edges. Do not bring to a rolling boil.
- While the milk is heating, in a small bowl, whisk together the remaining ½ cup of whole milk and the cornstarch until completely smooth. In another small bowl, lightly whisk the egg yolks.
- Once the milk mixture is simmering, slowly pour about ½ cup of the hot milk into the egg yolks, whisking constantly to temper the yolks. This prevents them from scrambling.
- Gradually whisk the tempered egg yolk mixture back into the saucepan with the hot milk.
- Pour the cornstarch slurry into the saucepan, whisking continuously. Continue to cook over medium heat, whisking constantly, for 2-4 minutes, or until the pudding thickens considerably and comes to a gentle boil. It should coat the back of a spoon.
- Remove the saucepan from the heat. Stir in the unsalted butter until melted and fully incorporated. Then, stir in the pure vanilla extract.
- For an extra-smooth pudding, pour the mixture through a fine-mesh sieve into a clean bowl.
- Cover the surface of the pudding directly with plastic wrap to prevent a skin from forming.
- Refrigerate for at least 4 hours, or until thoroughly chilled and set.
Notes
For a richer flavor, consider using vanilla bean paste or a scraped vanilla bean instead of extract. If using a vanilla bean, simmer it with the milk, then remove it before adding other ingredients.
Tips and Variations
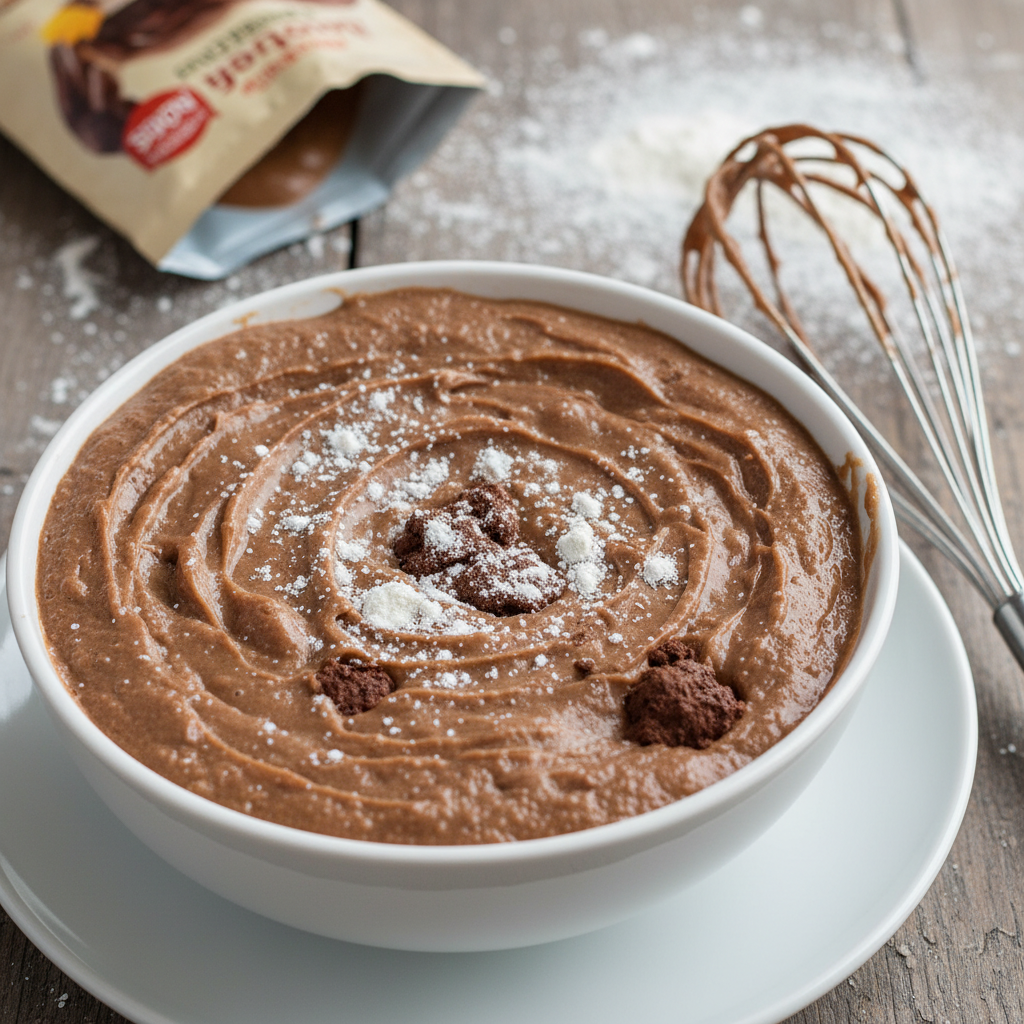
- Chocolate Swirl: Melt a tablespoon of chocolate chips and swirl into individual servings.
- Spiced Pudding: Add a pinch of cinnamon or nutmeg to the milk mixture.
- Citrus Zest: A tiny bit of orange or lemon zest can brighten the flavor profile.
- Nutty Crunch: Top with toasted chopped nuts like pecans or walnuts.
- Coconut Twist: Use half coconut milk (full-fat) and half whole milk for a tropical touch.
Pro Chef Tips

- Temper Your Eggs Properly: This is the most crucial step. Slowly adding hot liquid to cold eggs prevents them from scrambling. Whisk vigorously!
- Constant Whisking: To avoid lumps and scorching, whisk constantly, especially once the cornstarch and egg mixture are added. Pay attention to the bottom and corners of the pan.
- Don’t Overcook: Once the pudding thickens and bubbles gently, it’s done. Overcooking can lead to a gluey texture.
- Chill Thoroughly: Pudding needs ample time in the fridge to set properly and develop its full flavor and texture. Don’t rush it!
Common Mistakes to Avoid
- Scrambled Eggs: This happens if you add cold eggs directly to hot milk without tempering. Always temper!
- Lumpy Pudding: Insufficient whisking or not properly dissolving the cornstarch can lead to lumps. A fine-mesh sieve is your best friend here.
- Scorched Bottom: Using a thin-bottomed pan or cooking on too high heat without constant stirring can burn the bottom of your pudding. Use a heavy-bottomed pan and medium heat.
- Not Chilling Enough: An unset pudding means you didn’t chill it long enough. Patience is key for that perfect firm but creamy texture.
Storage and Meal Prep
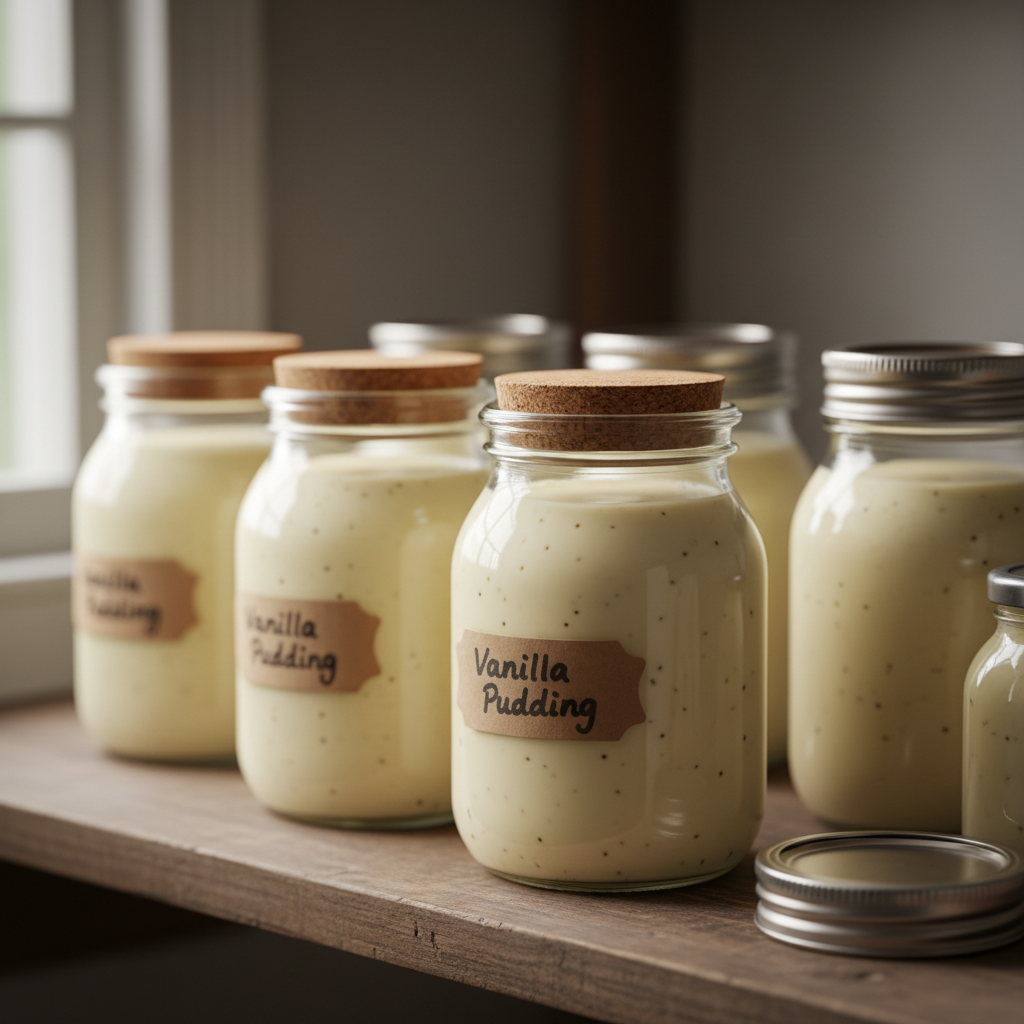
Vanilla pudding is a fantastic make-ahead dessert! Once chilled, it can be stored in an airtight container in the refrigerator for up to 3-4 days. Always cover the surface directly with plastic wrap to prevent a skin from forming and to keep it fresh. For meal prep, divide the pudding into individual serving cups before chilling. This makes for quick, easy grab-and-go treats throughout the week.
Make-Ahead and Freezer Notes
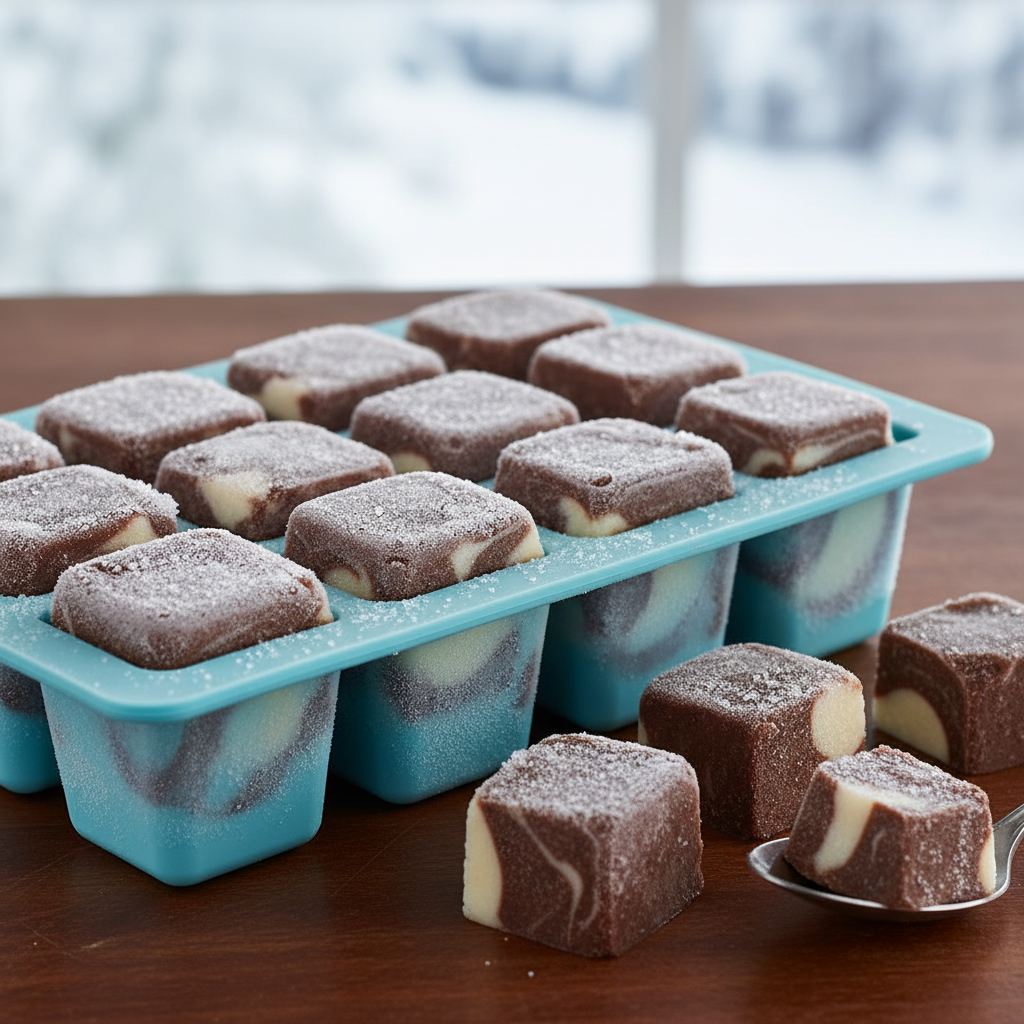
This vanilla pudding is ideal for making ahead, as it needs several hours to chill and set. It tastes even better the next day! Freezing pudding is generally not recommended as the texture can become grainy and separate upon thawing. However, if you want to experiment, you could freeze small portions in an airtight container for up to 1 month, but be prepared for a potential texture change. It’s best enjoyed fresh from the fridge.
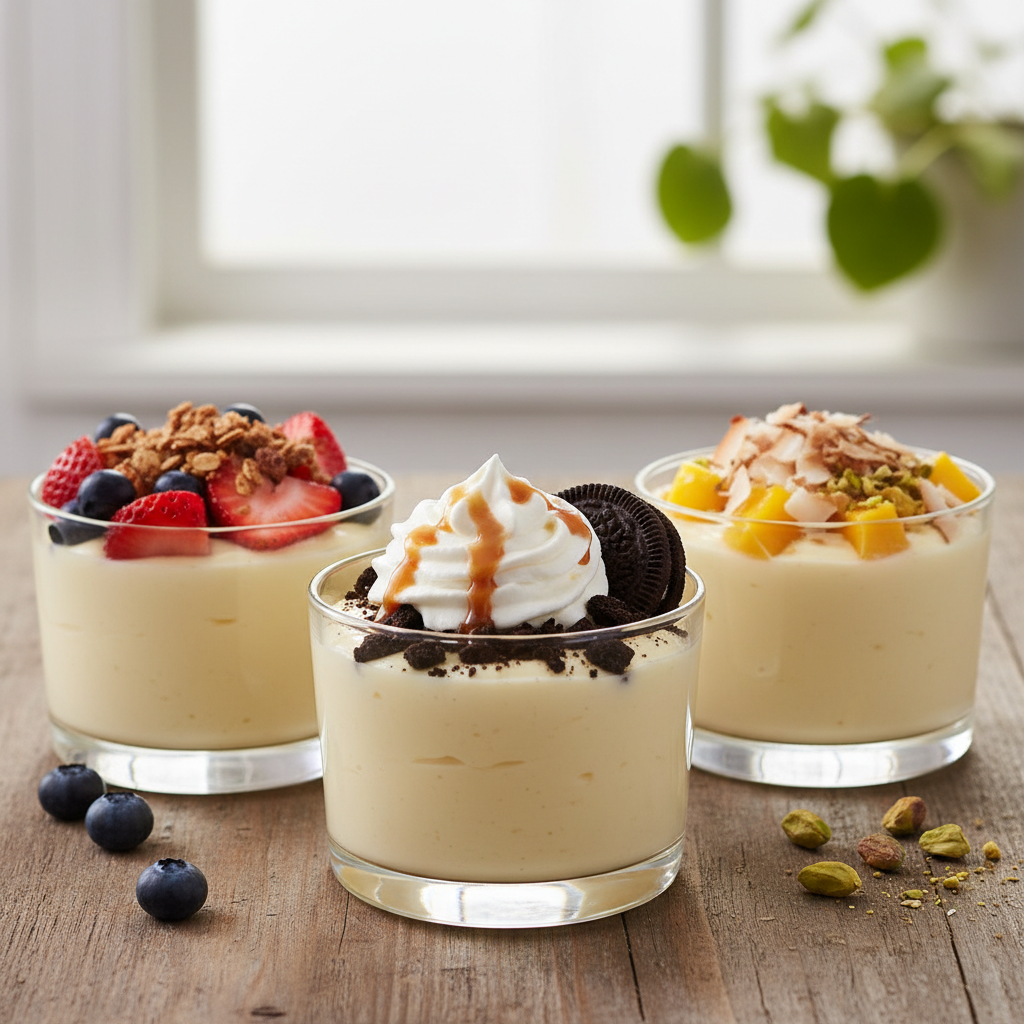
Serving Suggestions
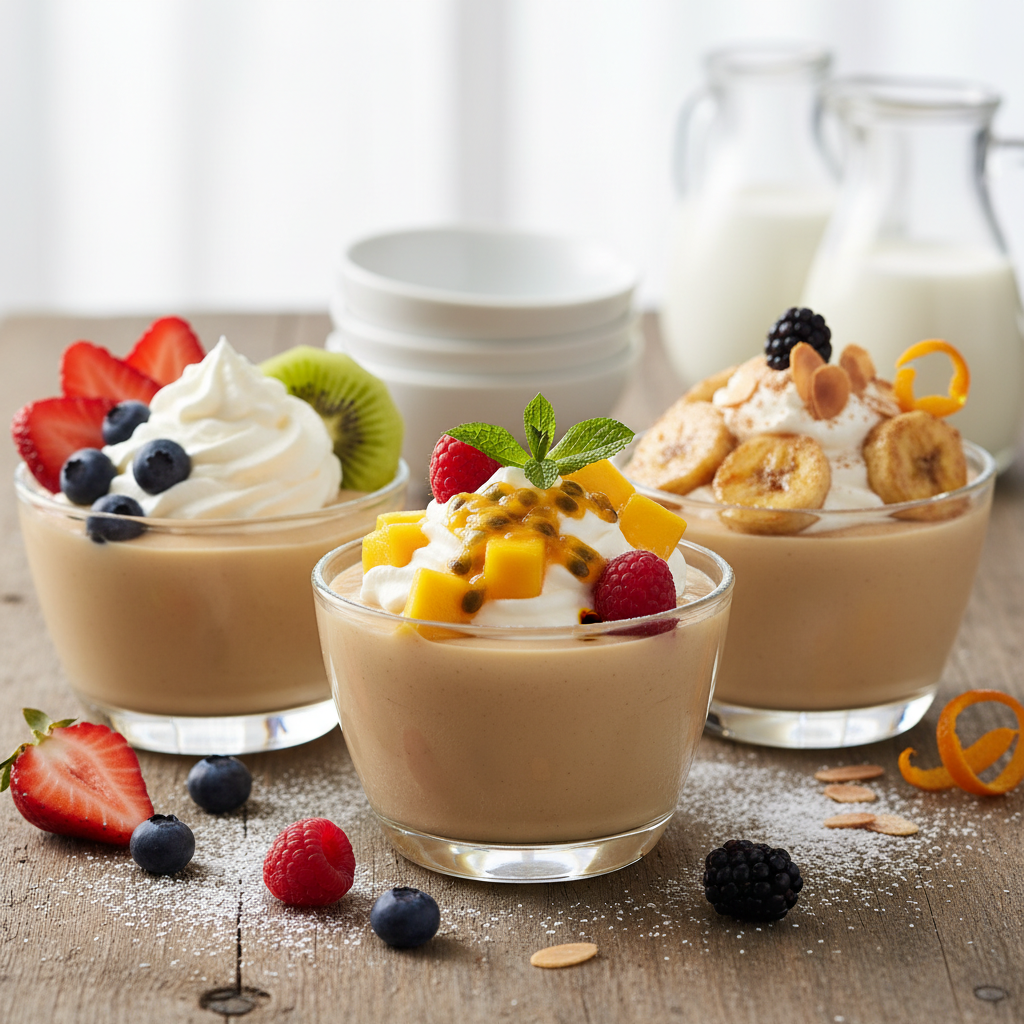
While delicious on its own, vanilla pudding is a wonderful canvas for toppings!
- Fresh Berries: Strawberries, blueberries, raspberries, or a mix.
- Whipped Cream: A dollop of homemade whipped cream is always a hit.
- Chocolate Shavings: Dark or milk chocolate curled on top.
- Cookie Crumbs: Crushed graham crackers, shortbread, or vanilla wafers.
- Caramel or Chocolate Sauce: A drizzle adds extra indulgence.
- Toasted Coconut Flakes: For a subtle nutty flavor and crunch.