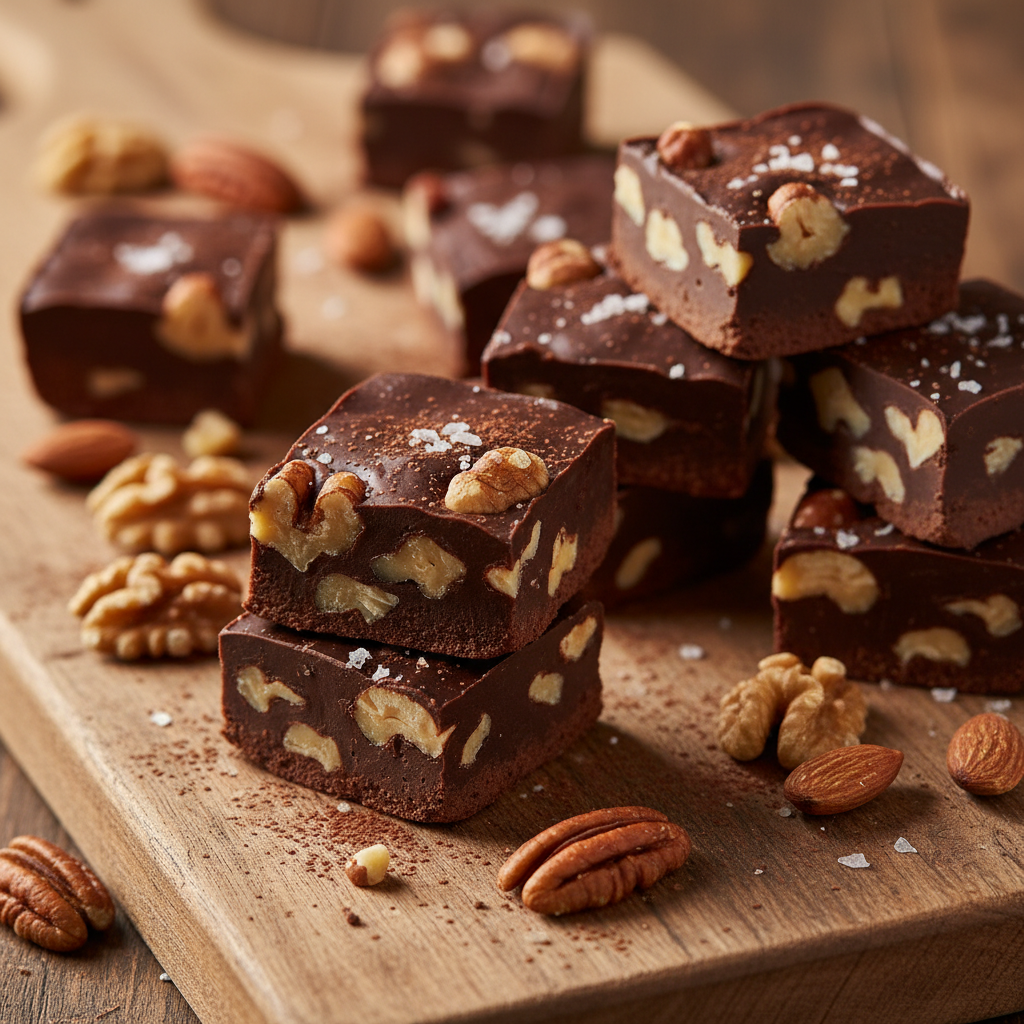
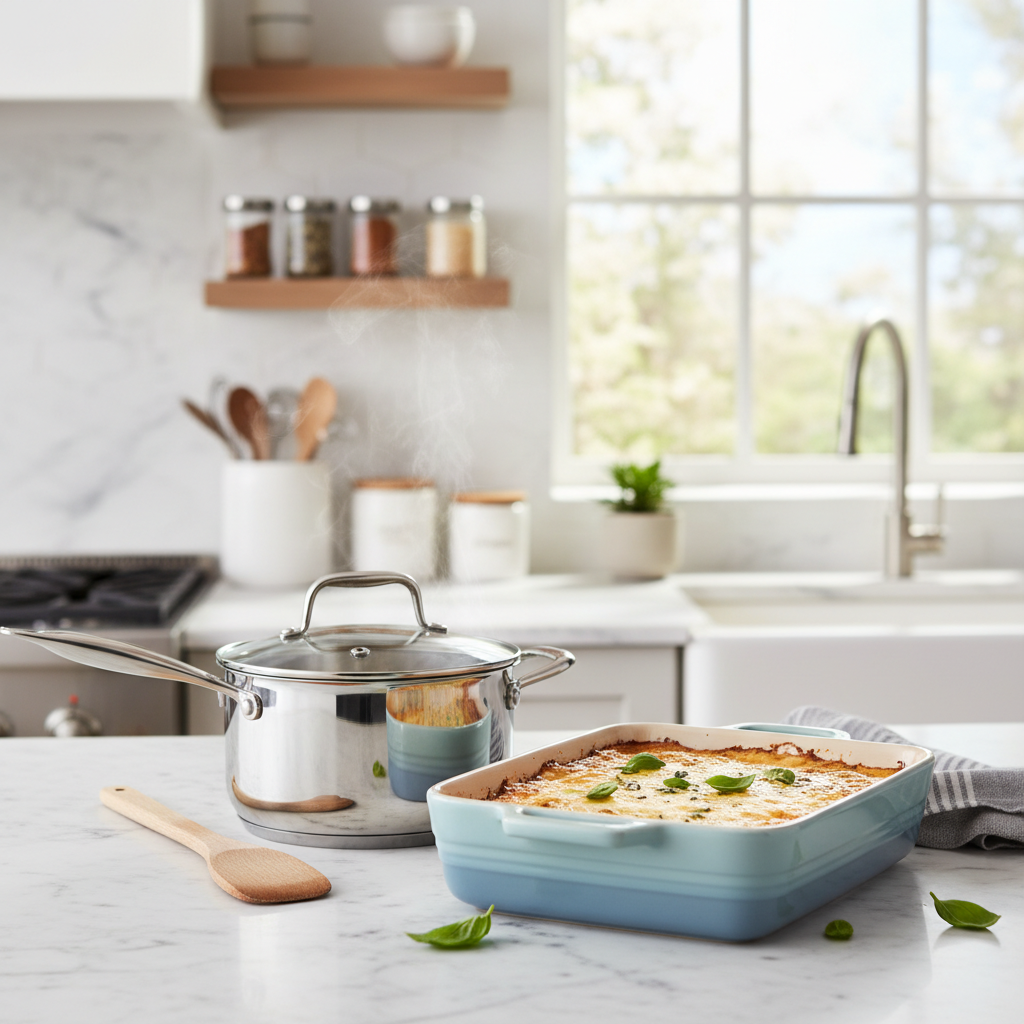
Welcome, fellow sweet tooths! There’s something truly magical about a square of homemade fudge. It’s rich, it’s creamy, and when it’s packed with crunchy nuts, it’s absolutely irresistible. Forget those store-bought versions; making your own chocolate fudge is a surprisingly simple and incredibly rewarding experience. Whether you’re a seasoned baker or just starting your culinary journey, this recipe for homemade chocolate fudge with nuts is designed to be your go-to guide for creating a treat that will impress everyone.
This isn’t just any fudge recipe; it’s a journey into creating a decadent confection that’s perfect for holidays, gifts, or simply indulging yourself. We’ll walk through every step, ensuring your fudge turns out perfectly creamy and delicious, every single time. Get ready to fill your kitchen with the glorious aroma of chocolate!
History and Background of Fudge
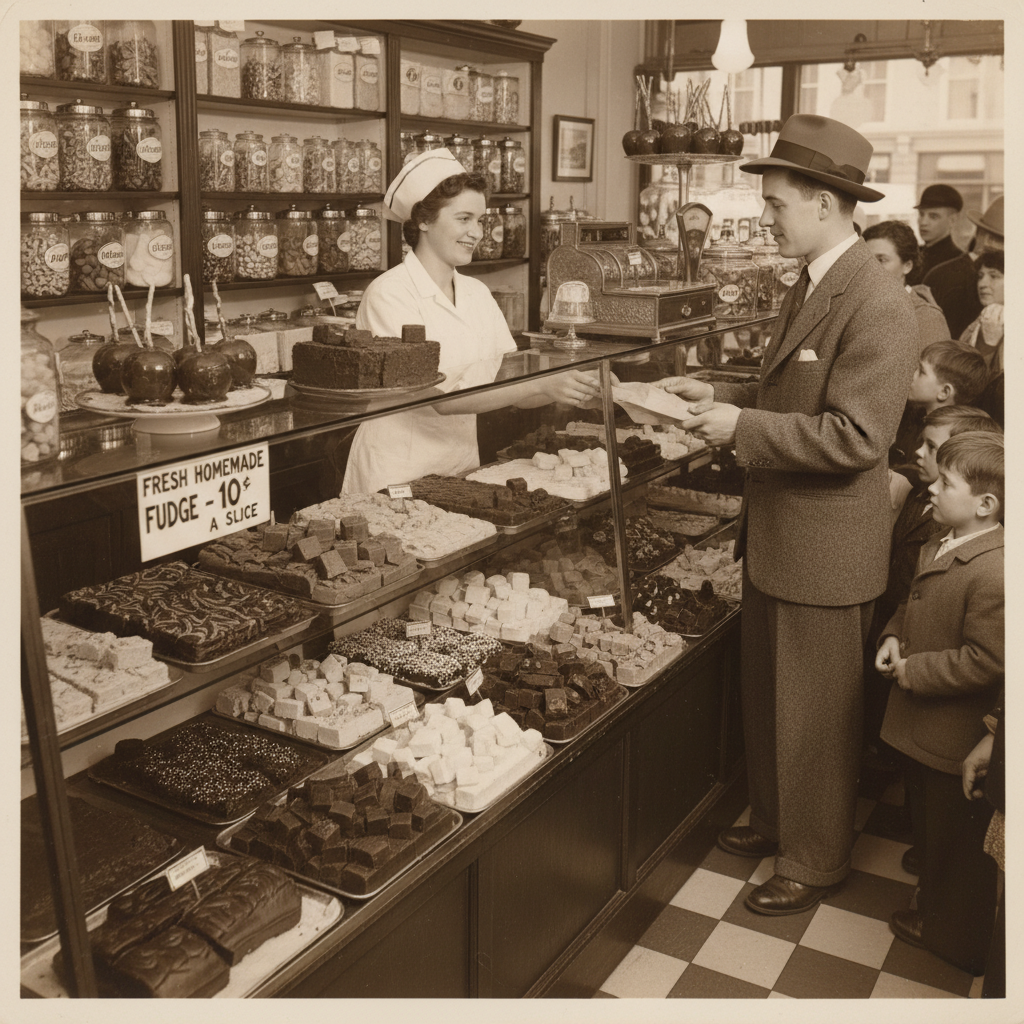
The story of fudge is as sweet as the treat itself! While its exact origins are a bit murky, the most popular theory points to a happy accident. Legend has it that fudge was first created in the late 19th century when a batch of caramels went wrong, or ‘fudged,’ resulting in a confection that was grainier than caramel but still wonderfully delicious.
The first documented batch of fudge is often attributed to Emeline Hartridge, a student at Vassar College in Poughkeepsie, New York, in 1886. She reportedly sold her fudge at a Baltimore grocery store for 40 cents a pound. News of this delightful new candy quickly spread across college campuses, with various institutions like Wellesley and Smith Colleges developing their own versions. Fudge became a popular homemade treat, particularly among women, due to its relatively simple ingredients and process compared to more complex candies.
Over the years, fudge evolved from a simple sugar, butter, and milk concoction into the rich, chocolatey delight we know and love today. The addition of chocolate elevated its appeal, making it a staple in candy shops, bakeries, and home kitchens worldwide. Our recipe honors this tradition, adding the satisfying crunch of nuts to an already perfect classic.
Why You’ll Love This Recipe
- Beginner-Friendly This recipe is designed for ease, making it perfect for first-time fudge makers.
- Rich Chocolate Flavor We use quality chocolate to ensure a deep, satisfying taste.
- Perfectly Creamy Texture Learn the secrets to achieve that smooth, melt-in-your-mouth consistency.
- Crunchy Nut Addition The nuts add a delightful textural contrast and nutty flavor.
- Versatile for Gifting Homemade fudge makes a wonderful, thoughtful gift for any occasion.
- Customizable Easily adapt with different nuts or add-ins to suit your taste.
- No Candy Thermometer Needed While helpful, this recipe can be made successfully without one.
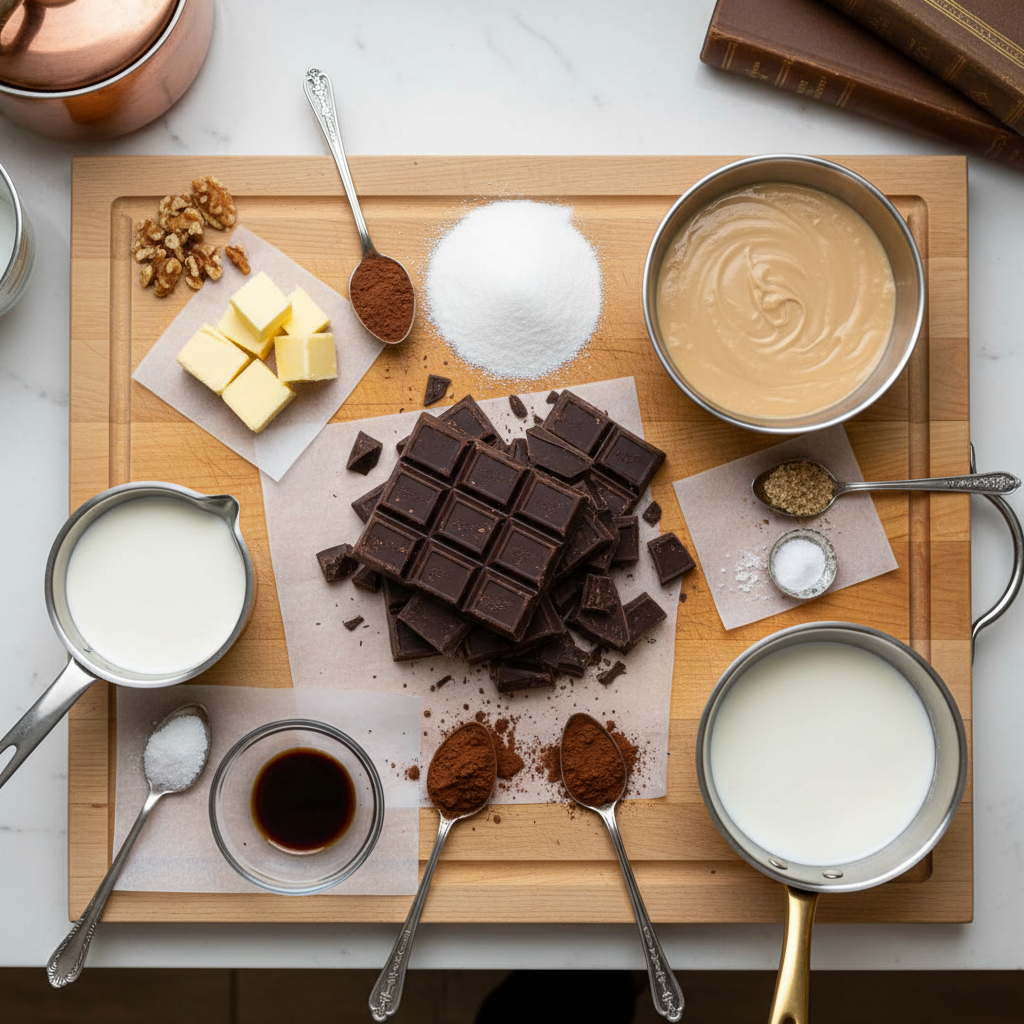
Ingredient Notes
Using good quality ingredients is key to exceptional fudge. Here’s a breakdown of what you’ll need and why:
- Granulated Sugar This is the base for sweetness and structure. Don’t skimp!
- Unsalted Butter Butter adds richness and helps create that smooth, creamy texture. Unsalted gives you control over the final saltiness.
- Evaporated Milk This is crucial! Evaporated milk is concentrated, giving the fudge its signature velvety texture without adding extra water. Do NOT substitute with regular milk or sweetened condensed milk.
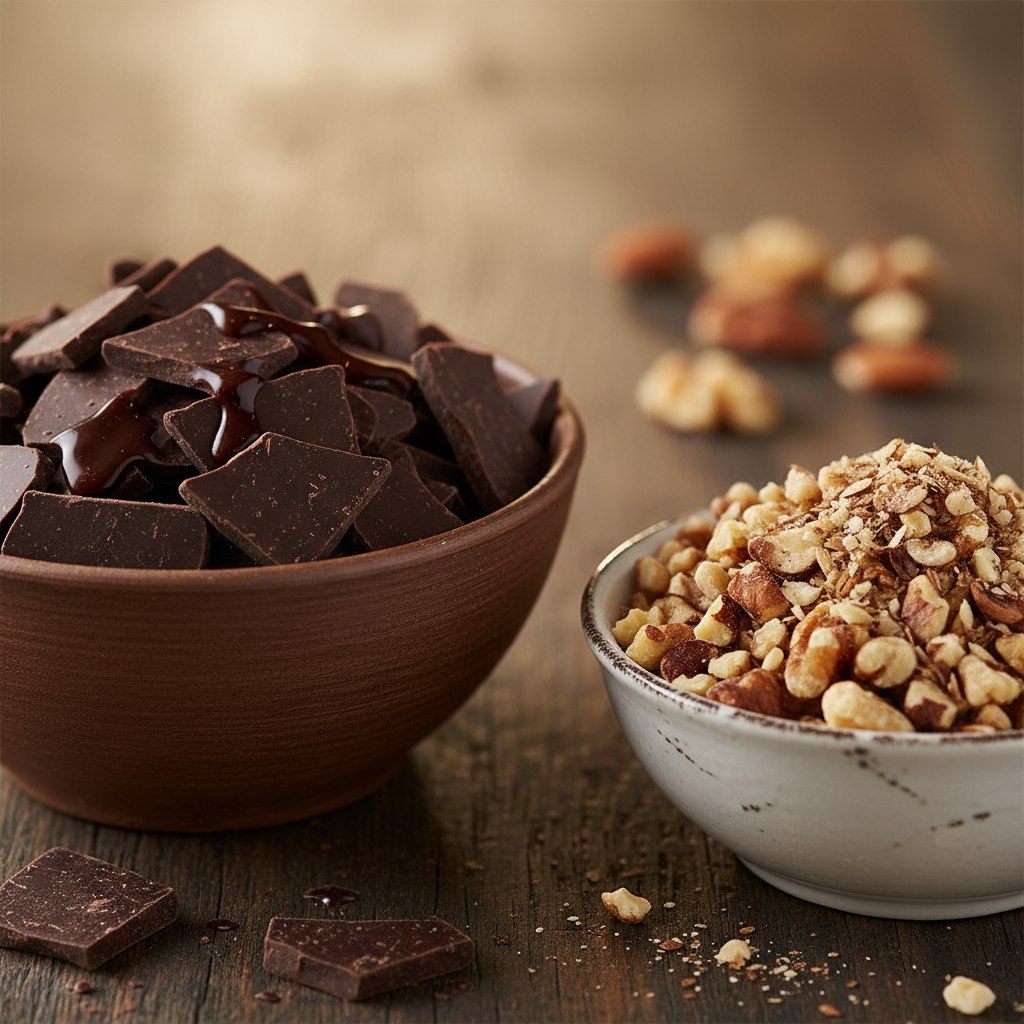
- Semi-Sweet Chocolate Chips or Chunks Use a good quality brand you enjoy eating on its own. The better the chocolate, the better your fudge will taste. Semi-sweet provides a balanced chocolate flavor that isn’t overly bitter or sweet.
- Vanilla Extract A touch of pure vanilla extract enhances the chocolate flavor beautifully.
- Salt A pinch of salt balances the sweetness and brings out the chocolate notes.
- Nuts Walnuts, pecans, almonds, or a mix! Chop them roughly for a good crunch. Toasting them lightly beforehand can enhance their flavor significantly.
Equipment Needed
You don’t need fancy equipment to make fantastic fudge. Here’s a list of the essentials:
- Heavy-Bottomed Saucepan A sturdy pan helps distribute heat evenly and prevents scorching.
- 9×13 Inch Baking Dish Or an 8×8 inch pan for thicker fudge. Line it with parchment paper or foil, leaving an overhang for easy lifting.
- Wooden Spoon or Heatproof Spatula For stirring.
- Measuring Cups and Spoons For accurate ingredient measurement.
- Whisk For combining ingredients smoothly.
- Candy Thermometer (Optional but Recommended) If you have one, it takes the guesswork out of reaching the exact temperature.
Full Recipe Card
Ingredients
- 3 cups (600g) granulated sugar
- 1 cup (226g) unsalted butter, cut into pieces
- 5 ounces (150ml) evaporated milk (not sweetened condensed milk)
- 12 ounces (340g) semi-sweet chocolate chips or chopped chocolate
- 1 teaspoon pure vanilla extract
- 1/4 teaspoon salt
- 1.5 cups (170g) chopped nuts (walnuts, pecans, or almonds)
Instructions
- Prepare Your Pan Line a 9×13 inch baking dish with parchment paper or foil, extending the paper over the sides to create handles. Grease lightly if desired. Set aside.
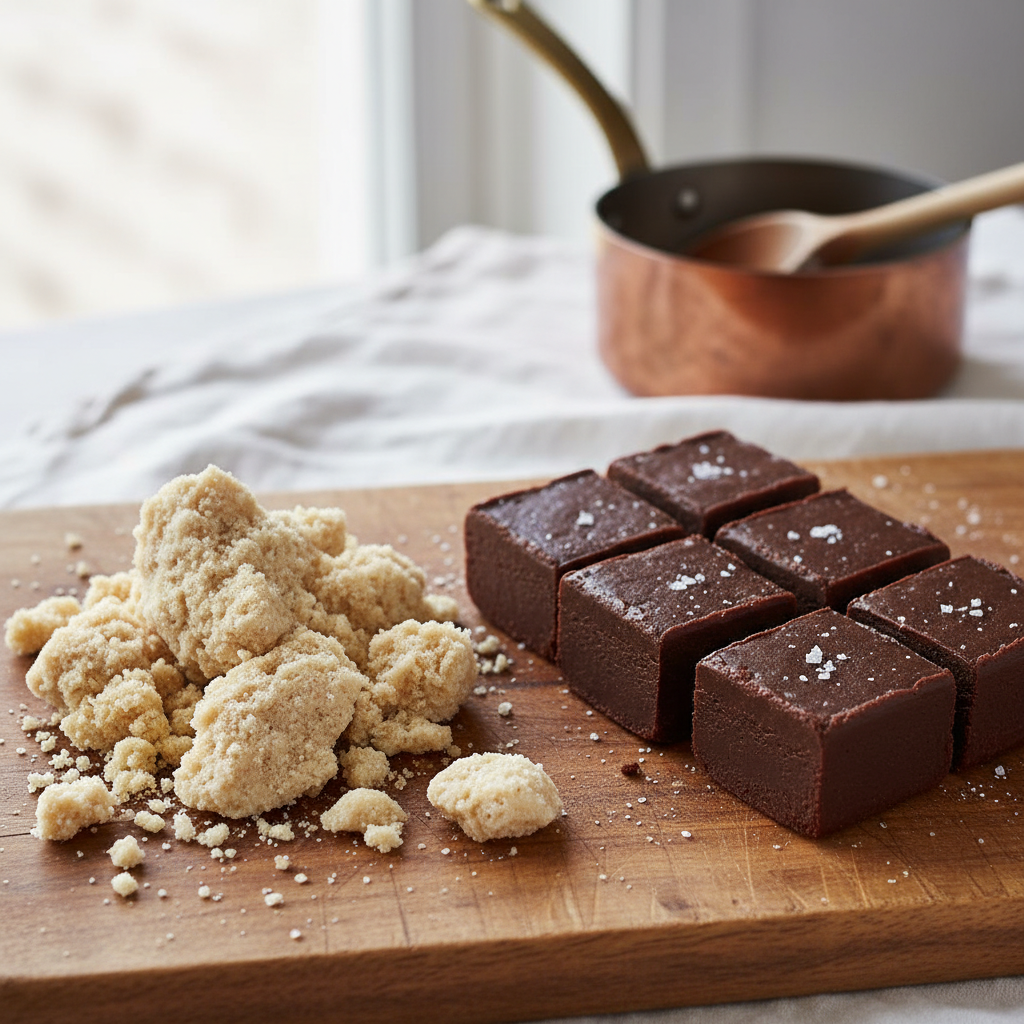
- Combine Wet Ingredients In a large, heavy-bottomed saucepan, combine the granulated sugar, butter pieces, and evaporated milk.
- Cook the Mixture Place the saucepan over medium heat. Stir constantly with a wooden spoon or heatproof spatula until the butter is melted and the sugar dissolves. Bring the mixture to a rolling boil, stirring occasionally to prevent scorching.
- Boil to Temperature Continue to boil the mixture for 5 minutes, stirring occasionally. If using a candy thermometer, cook until it reaches 234°F (112°C) – the soft-ball stage. If not using a thermometer, drop a small amount into a cup of cold water; it should form a soft, pliable ball.
- Remove from Heat and Add Chocolate Immediately remove the saucepan from the heat. Add the semi-sweet chocolate chips, vanilla extract, and salt. Do NOT stir yet. Let it sit undisturbed for 5 minutes to allow the chocolate to melt.
- Stir Until Smooth After 5 minutes, stir the mixture vigorously with your wooden spoon or spatula until the chocolate is completely melted and the fudge is smooth, glossy, and thick. This might take a few minutes of continuous stirring.
- Fold in Nuts Gently fold in the chopped nuts until they are evenly distributed throughout the fudge.
- Pour and Chill Quickly pour the fudge mixture into your prepared baking dish. Spread it evenly with a spatula.
- Set the Fudge Let the fudge cool at room temperature for at least 2 hours, or refrigerate for 1 hour, until firm.
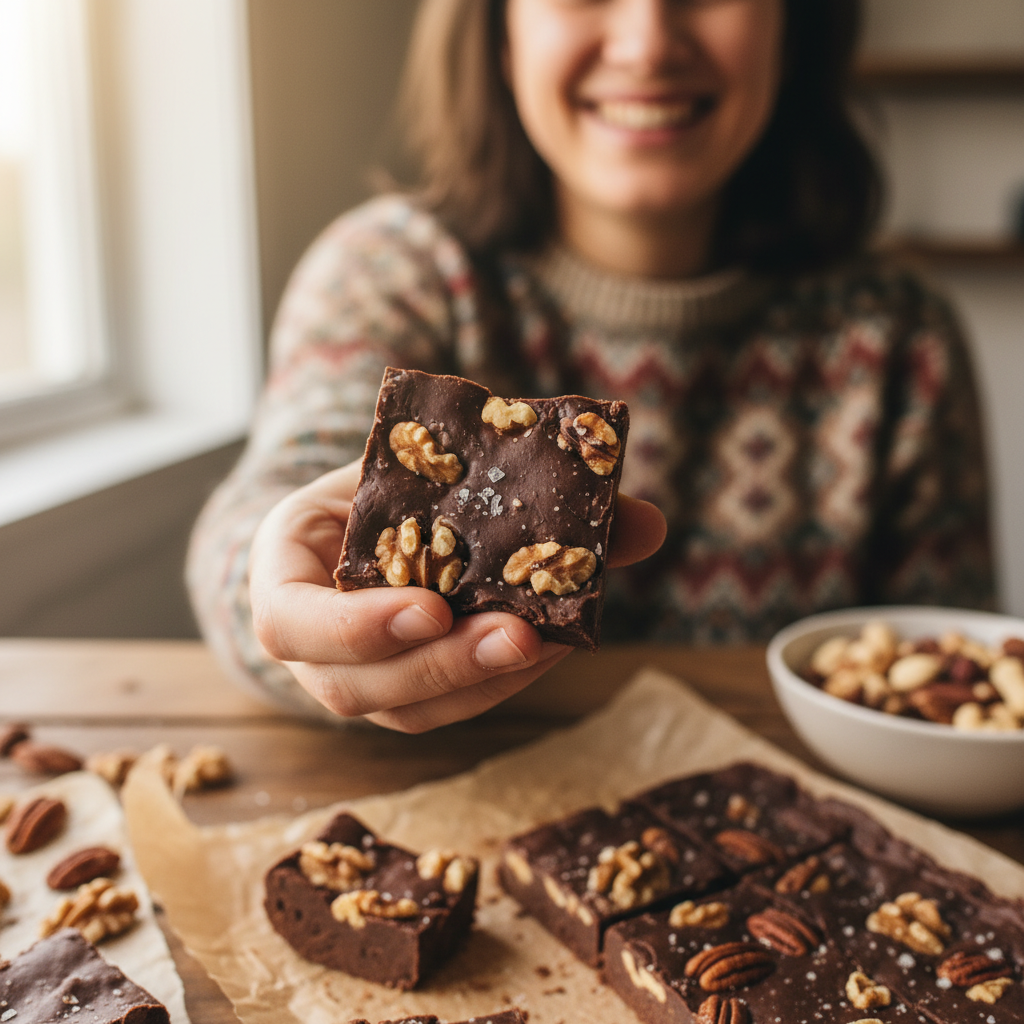
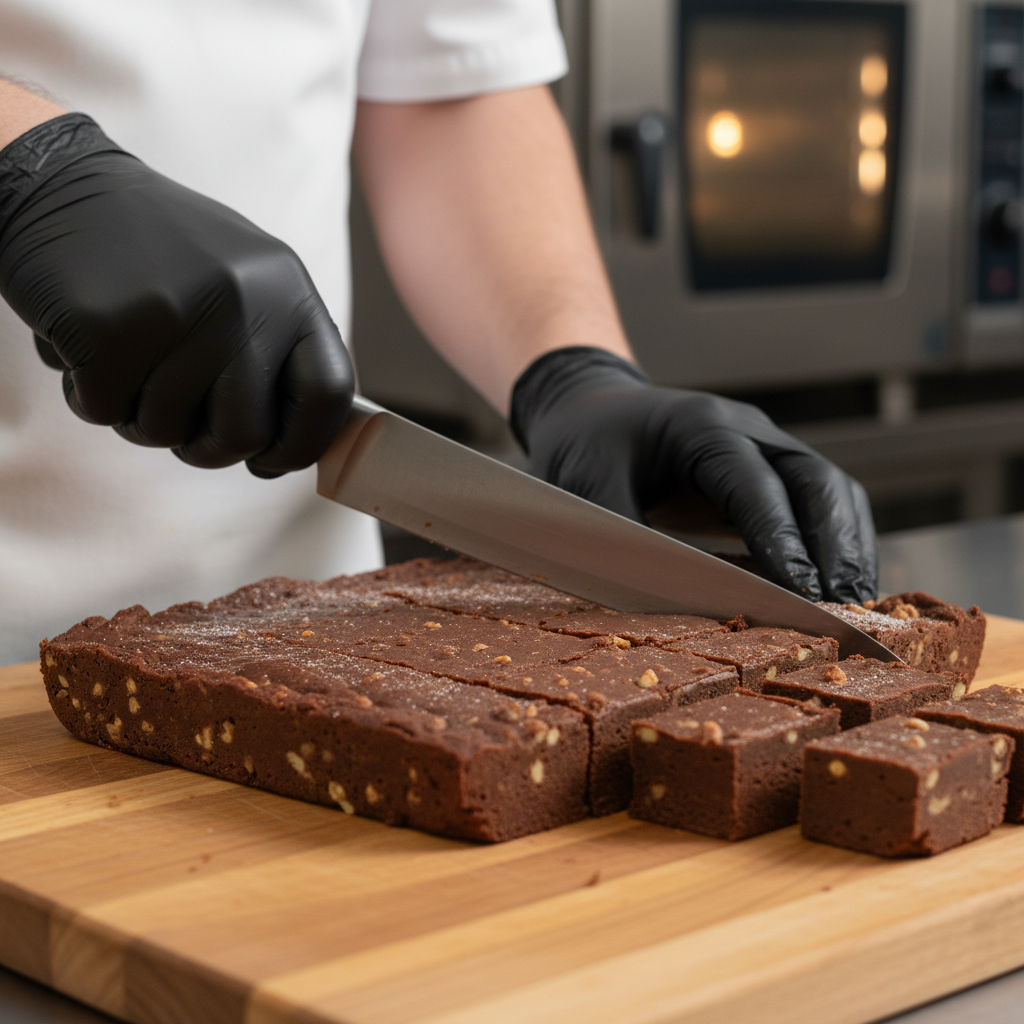
- Cut and Serve Once firm, use the parchment paper handles to lift the fudge out of the pan. Place it on a cutting board and cut into 1-inch squares. Store in an airtight container.
Recipe Notes
- Do NOT Over-Boil Boiling for too long will result in crumbly, dry fudge. Stick to the 5-minute boil or 234°F (112°C).
- Stirring is Key Constant stirring during the initial cooking phase prevents sugar crystals from forming and burning.
- Patience with Chocolate Letting the chocolate melt undisturbed off the heat helps achieve a smoother texture.
- Toast Your Nuts For an extra layer of flavor, lightly toast your chopped nuts in a dry pan over medium heat for 5-7 minutes before adding them to the fudge. Let them cool completely.
- Altitude Adjustment If you live at high altitude, you may need to adjust the boiling temperature slightly. For every 500 feet above sea level, decrease the target temperature by 1°F.
Tips and Variations
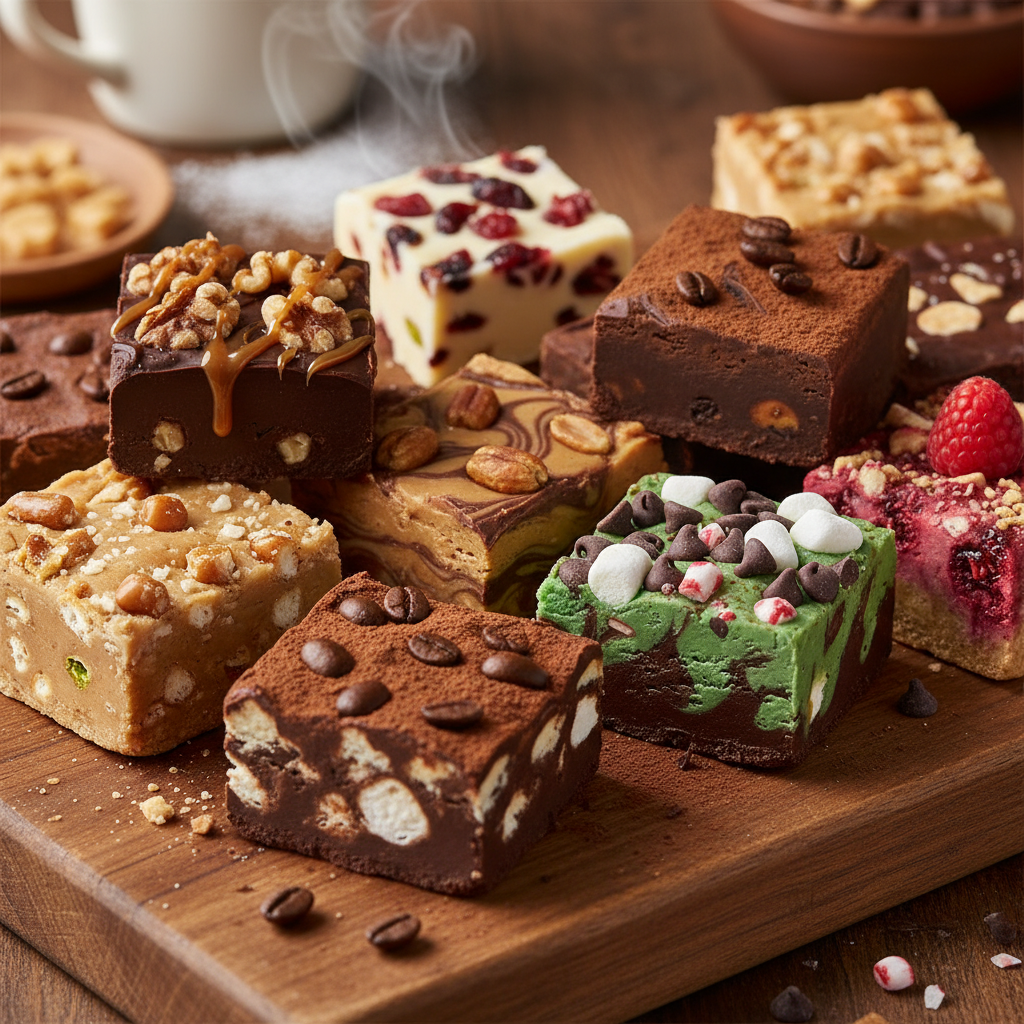
While classic chocolate fudge with nuts is divine, don’t be afraid to experiment!
- Mint Chocolate Fudge Add 1/2 teaspoon of peppermint extract along with the vanilla.
- Espresso Fudge Dissolve 1-2 teaspoons of instant espresso powder in the evaporated milk before cooking for a deeper chocolate flavor.
- Sea Salt Caramel Fudge Drizzle with a homemade or store-bought caramel sauce and sprinkle with flaky sea salt before chilling.
- Marshmallow Swirl Gently swirl in 1 cup of mini marshmallows after adding the chocolate and before folding in nuts.
- Dried Fruit Addition For a chewy contrast, add 1/2 cup of dried cranberries, cherries, or raisins along with the nuts.
- Different Chocolates Experiment with milk chocolate for a sweeter fudge, or dark chocolate for a more intense, less sweet version. Adjust sugar slightly if using very dark chocolate.
Pro Chef Tips
Want to make your fudge truly professional? Here are some secrets from the pros:
- Precision is Paramount While this recipe is forgiving, using exact measurements, especially for the sugar and liquid, will yield the most consistent results.
- Clean Sides of the Pan As the sugar mixture boils, sugar crystals can form on the sides of the pan. Use a wet pastry brush to gently brush down any crystals that form above the liquid line. This prevents grainy fudge.
- Don’t Scrape the Bottom When pouring the fudge into the prepared pan, avoid scraping the very bottom of the saucepan. Sometimes, sugar crystals can settle there and, if incorporated, can make your fudge grainy.
- Cool Completely Before Cutting Resist the urge to cut warm fudge. It will be too soft and won’t hold its shape. Patience is key for clean, perfect squares.
- Sharp, Warm Knife For clean cuts, use a sharp knife. You can even run it under hot water and wipe it dry between cuts to prevent sticking, especially if your fudge is very firm.
Common Mistakes to Avoid
Even seasoned cooks can make mistakes. Here’s how to avoid common fudge pitfalls:
- Not Boiling Long Enough This results in fudge that won’t set properly and will be too soft or gooey. Ensure it reaches the soft-ball stage (234°F or 112°C) or passes the cold water test.
- Boiling Too Long The opposite problem! Over-boiling will lead to dry, crumbly, or hard fudge. Stick to the recommended time and temperature.
- Stirring While Cooling Once the chocolate is melted and the nuts are folded in, do not stir the fudge as it cools in the pan. Stirring during the cooling process encourages sugar crystal formation, leading to grainy fudge.
- Substituting Evaporated Milk As mentioned, evaporated milk is unique. Using regular milk or sweetened condensed milk will drastically alter the texture and consistency.
- Using Low-Quality Chocolate The chocolate is a star here. Cheap chocolate can result in an inferior flavor and texture.
- Not Preparing the Pan Forgetting to line and grease the pan can make it incredibly difficult to remove the fudge without breaking it.
Storage and Meal Prep
Fudge is a wonderful make-ahead treat! Here’s how to store it properly:
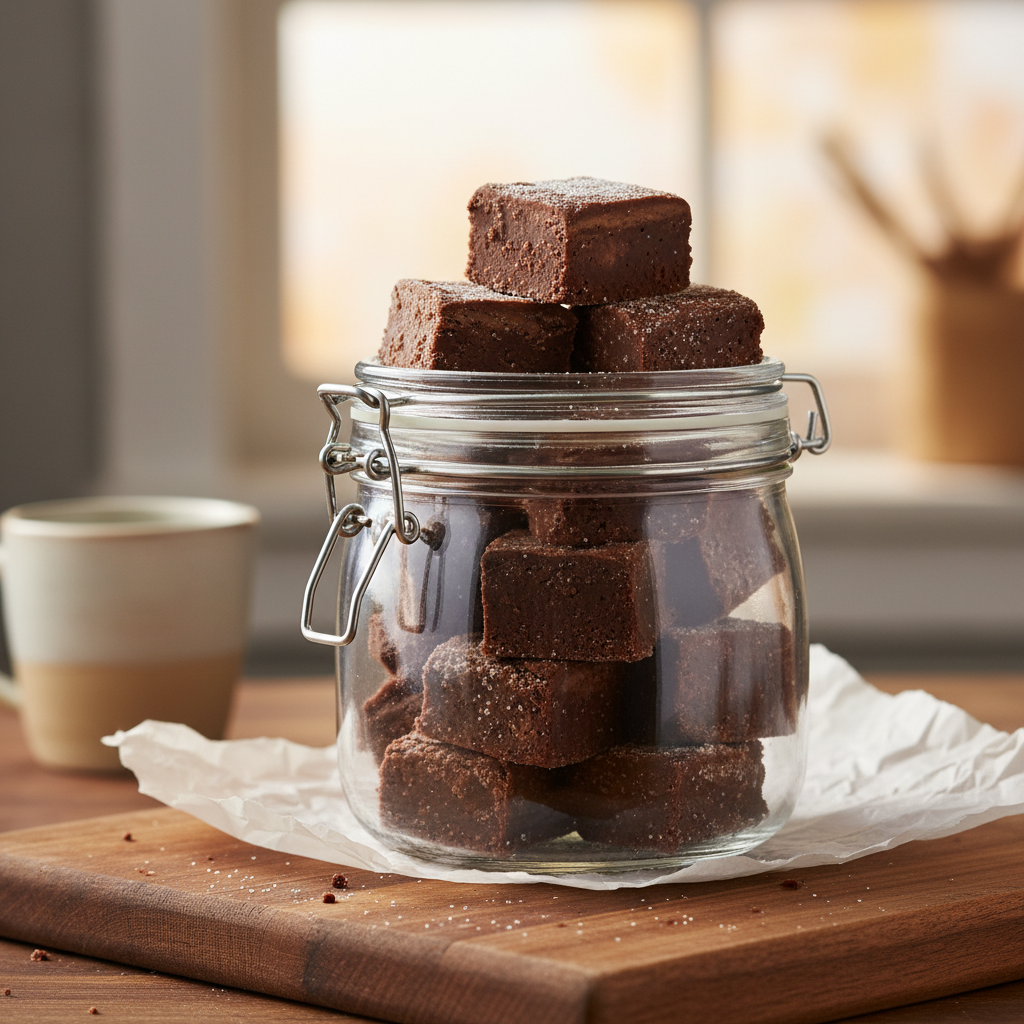
- Room Temperature Store homemade fudge in an airtight container at room temperature for up to 1-2 weeks. Layer pieces with parchment paper to prevent sticking.
- Refrigeration While not strictly necessary, refrigerating fudge can extend its shelf life to 3-4 weeks, especially in warmer climates. Again, store in an airtight container, layered with parchment. Let it come to room temperature for a few minutes before serving for the best texture.
- Freezing Fudge freezes beautifully! See the next section for detailed freezer notes.
For meal prep, you can easily make a large batch and store it, cutting off pieces as needed. It’s perfect for portion control or having a quick sweet treat ready.
Make-Ahead and Freezer Notes
Planning ahead? Fudge is your friend!
- Make-Ahead You can make this fudge several days or even a week in advance of when you plan to serve it. Just follow the storage instructions above.
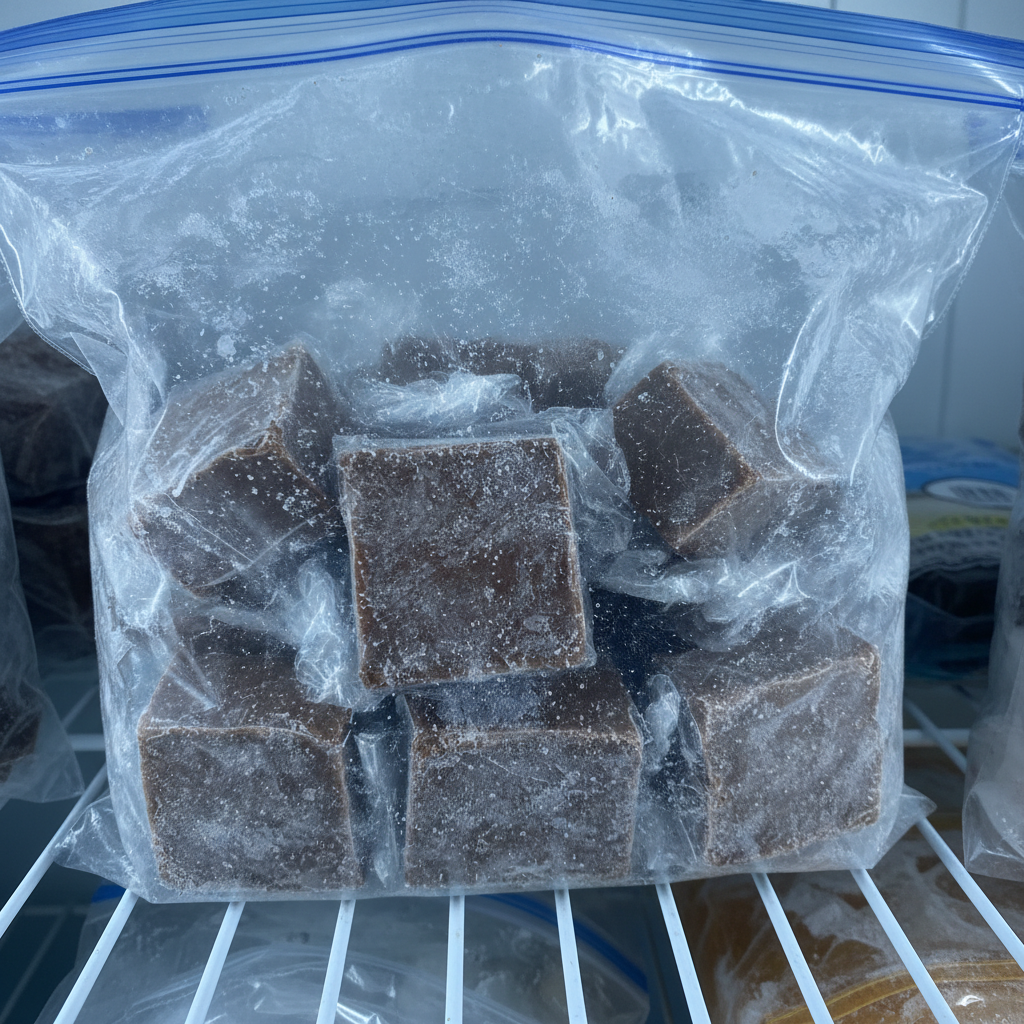
- Freezing Instructions To freeze fudge, first cut it into squares. Wrap each piece tightly in plastic wrap, then place the wrapped pieces in a freezer-safe airtight container or heavy-duty freezer bag. This double layer of protection prevents freezer burn.
- Freezer Life Fudge can be stored in the freezer for up to 3 months.
- Thawing When you’re ready to enjoy, simply remove the desired number of pieces from the freezer and let them thaw at room temperature for about 30-60 minutes. They’ll be just as delicious as when they were first made!
Serving Suggestions
Fudge is fantastic on its own, but here are some ideas to elevate your serving game:
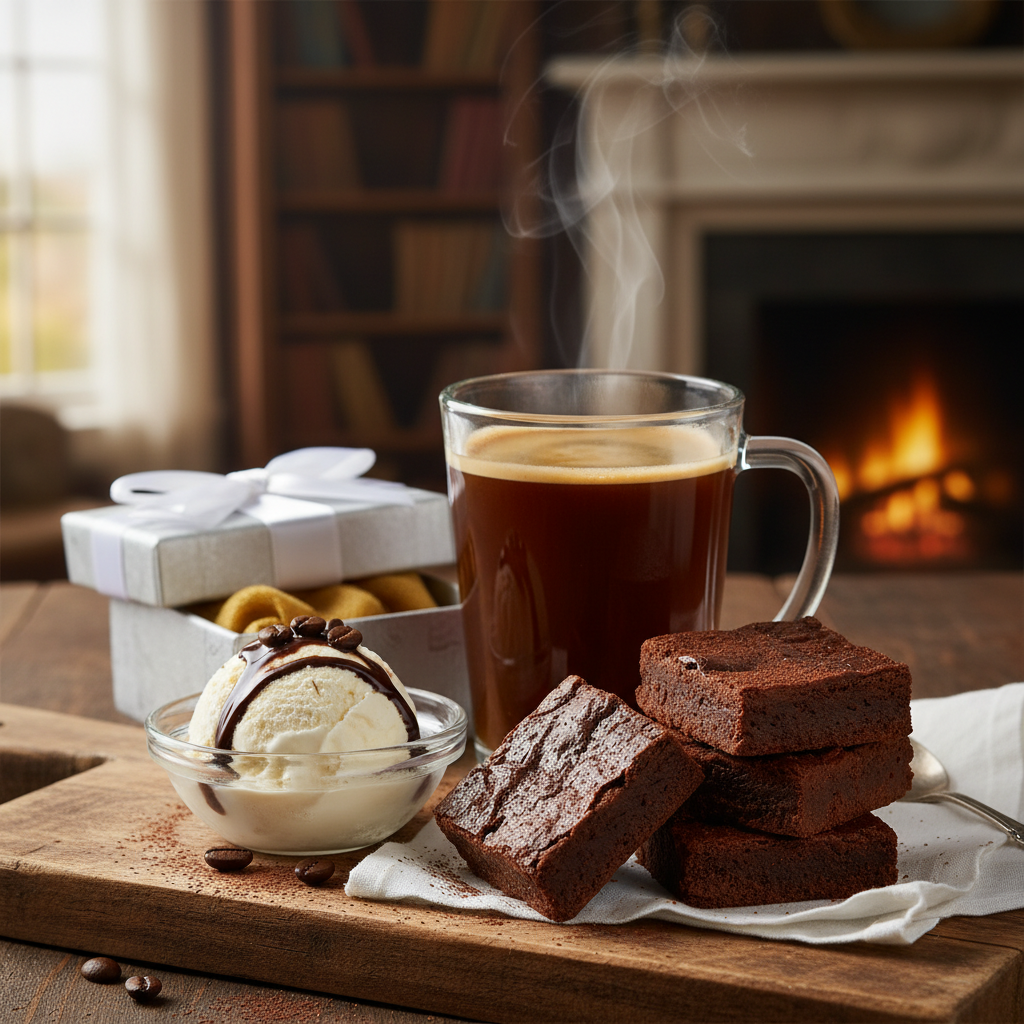
- With Coffee or Tea A square of rich fudge is the perfect accompaniment to your morning coffee or an afternoon tea break.
- Dessert Platter Arrange fudge alongside other small treats like cookies, brownies, and fresh berries for an impressive dessert spread.
- Ice Cream Topping Chop fudge into small pieces and sprinkle over vanilla ice cream for an instant upgrade. You can even warm it slightly for a gooey sauce.
- Gifts Package fudge in decorative boxes, tins, or cellophane bags with a ribbon for a thoughtful homemade gift. Perfect for holidays, birthdays, or hostess gifts.
- Hot Chocolate Stirrer For an extra decadent hot chocolate, drop a small piece of fudge into your warm drink and stir until melted.