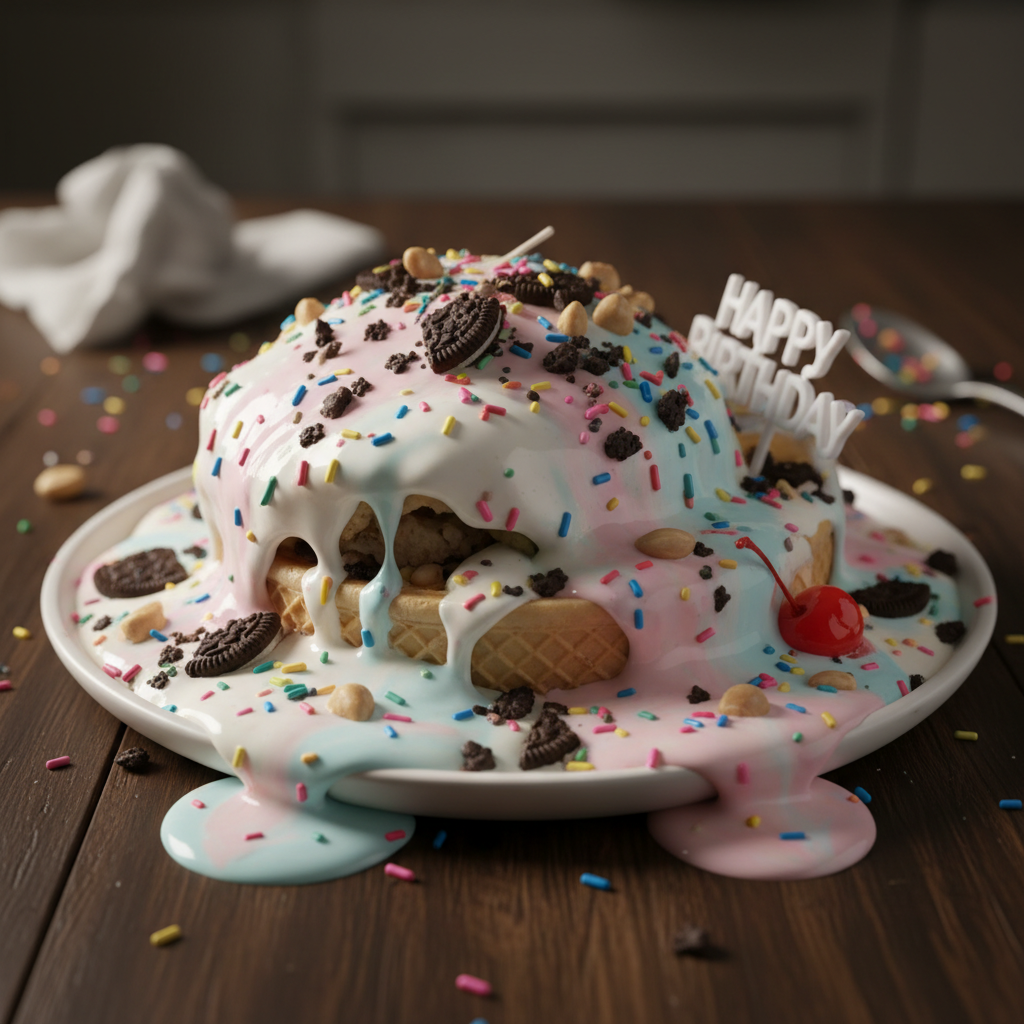
Picture this: a scorching summer day, the sun beating down, and all you crave is something wonderfully cool, incredibly easy, and undeniably delicious. If you’ve ever found yourself in this delightful predicament, then you’re in for a treat! Say hello to the no-bake ice cream sandwich cake – your new go-to dessert for effortless entertaining and pure frozen bliss. No oven required, minimal effort, and maximum deliciousness. Let’s dive into making this simple, show-stopping dessert!
History / Background

The humble ice cream sandwich has a surprisingly long and sweet history, dating back to the late 19th century. Street vendors in New York City were among the first to sell vanilla ice cream pressed between two thin wafers, offering a portable and affordable treat. Over the decades, it evolved, with chocolate wafers becoming a popular choice, and brands making them a staple in freezer aisles everywhere.
No-bake desserts, on the other hand, gained immense popularity for their convenience, especially during warmer months or when oven space was limited. Combining the nostalgic charm of ice cream sandwiches with the ease of a no-bake cake was a stroke of genius, creating a dessert that’s both fun and incredibly simple. It’s a modern classic that taps into our love for quick fixes and delightful flavors, making it perfect for today’s busy home cooks.
Why You’ll Love This Recipe

- Effortlessly Easy This recipe requires absolutely no baking, making it perfect for beginners and seasoned pros alike.
- No Oven Needed Keep your kitchen cool, especially during hot summer days.
- Customizable Fun Easily swap out ice cream sandwich flavors, toppings, and sauces to create endless variations.
- Crowd-Pleaser Guaranteed Kids and adults will adore this nostalgic and delicious dessert.
- Quick Assembly You can put this cake together in under 20 minutes, with just a bit of chilling time.
- Budget-Friendly Made with readily available and affordable ingredients.
Ingredient Notes

- Ice Cream Sandwiches The star of our show! You’ll typically need 10-12 standard-sized sandwiches for a 9×13-inch pan. Feel free to experiment with different flavors – classic vanilla, chocolate, mint chip, or even strawberry for a unique twist. Ensure they are still frozen solid when you start.
- Whipped Topping A large tub (like Cool Whip) works perfectly for convenience. If you prefer, you can make your own sweetened whipped cream, but ensure it’s firm enough to hold its shape. Thaw the store-bought whipped topping in the refrigerator for a few hours before using, but don’t let it get too warm.
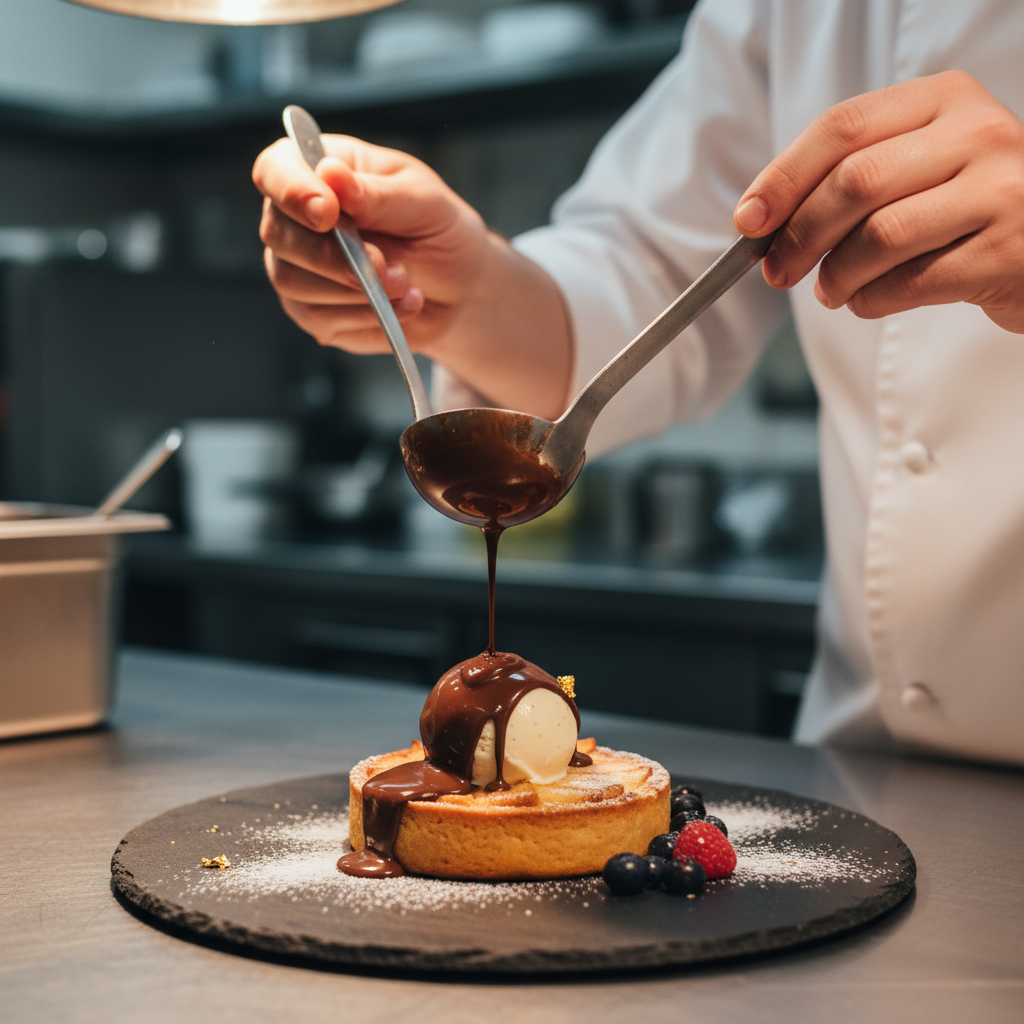
- Chocolate Syrup / Hot Fudge A crucial layer for flavor and texture. Choose your favorite brand. You can also use caramel sauce or a combination of both!
- Optional Toppings This is where you can get creative! Sprinkles, chopped nuts (peanuts, pecans), crushed cookies (Oreos, graham crackers), mini chocolate chips, fresh berries, or even candy bar pieces work wonderfully.
Equipment Needed
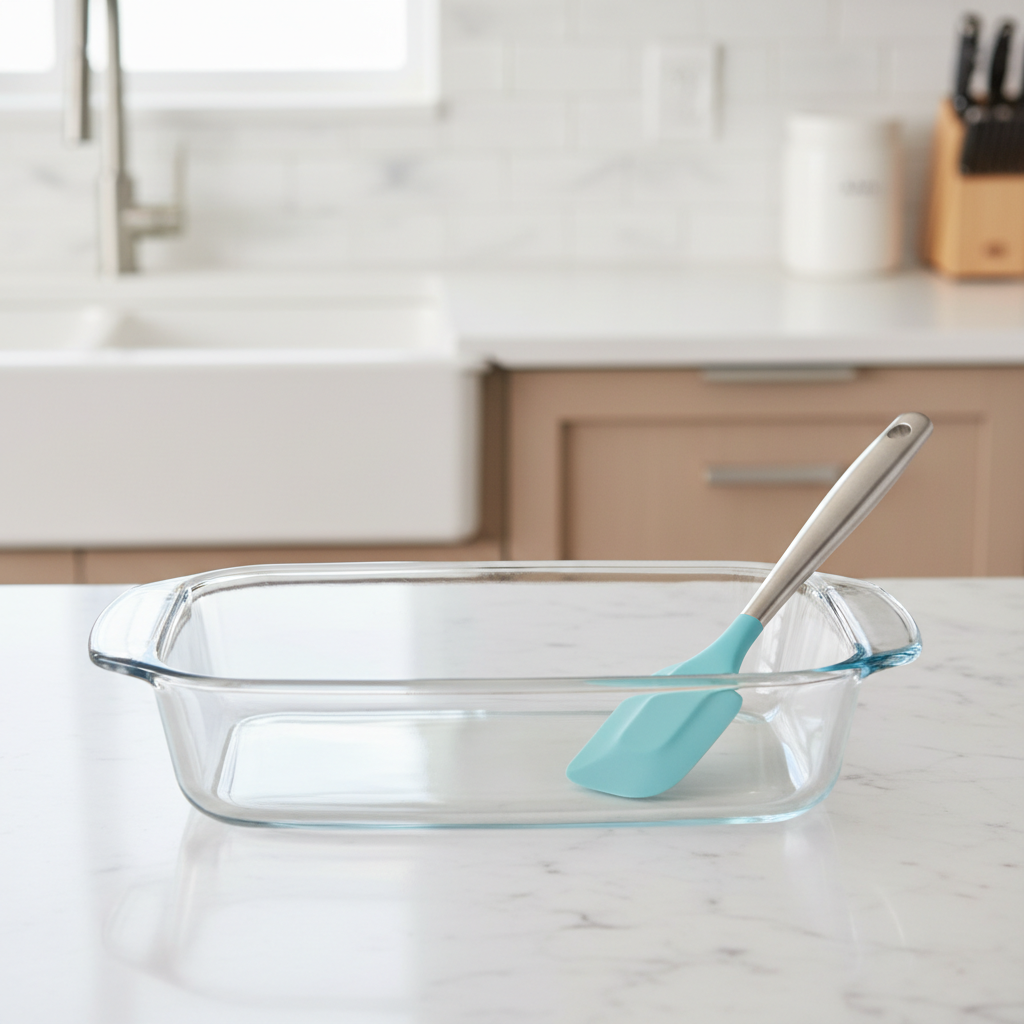
- 9×13-inch Baking Dish A standard rectangular baking dish is ideal for this cake. Glass or ceramic works best.
- Rubber Spatula or Offset Spatula Essential for spreading the whipped topping and sauces evenly.
- Measuring Cups/Spoons For any specific topping or sauce measurements.
Full Recipe Card
Ingredients
- 10-12 standard-sized ice cream sandwiches (vanilla, chocolate, or your preferred flavor)
- 1 (8-ounce) container frozen whipped topping, thawed
- 1/2 cup chocolate syrup or hot fudge (plus more for serving)
- Optional toppings: sprinkles, chopped nuts, crushed cookies, fresh berries
Instructions
- Prepare Your Pan Line a 9×13-inch baking dish with parchment paper, leaving an overhang on the sides. This makes it super easy to lift the cake out later.
- First Layer of Sandwiches Unwrap half of your ice cream sandwiches. Arrange them in a single layer at the bottom of the prepared baking dish, cutting them as needed to fit snugly and cover the entire bottom.
- First Whipped Topping Layer Spread half of the thawed whipped topping evenly over the ice cream sandwiches. Make sure to cover them completely, right to the edges.
- Chocolate Drizzle Drizzle about half of the chocolate syrup evenly over the whipped topping layer.
- Second Layer of Sandwiches Arrange the remaining unwrapped ice cream sandwiches over the chocolate layer, again cutting to fit if necessary.
- Second Whipped Topping Layer Spread the remaining whipped topping evenly over the second layer of ice cream sandwiches.
- Final Drizzle & Chill Drizzle the remaining chocolate syrup over the top layer of whipped topping. If using, add any desired toppings like sprinkles or nuts now. Cover the dish loosely with plastic wrap or foil.
- Freeze Place the cake in the freezer for at least 4-6 hours, or preferably overnight, to allow it to firm up completely.
- Slice and Serve When ready to serve, use the parchment paper overhang to lift the cake out of the dish. Remove the parchment paper, slice with a sharp knife (running it under hot water helps for cleaner cuts), and serve immediately. Add extra chocolate syrup or fresh berries if desired!
Notes
- For easier slicing, let the cake sit at room temperature for 5-10 minutes before cutting.
- To prevent freezer burn, ensure the cake is tightly covered if freezing overnight.
Tips & Variations
- Flavor Fusion Don’t limit yourself to vanilla! Try chocolate ice cream sandwiches with caramel sauce, or mint chip sandwiches with hot fudge.
- Fruity Fun Layer sliced bananas or strawberries between the ice cream and whipped topping layers.
- Cookie Crumble Add a layer of crushed Oreos, graham crackers, or shortbread cookies for extra texture.
- Candy Bar Dream Crush your favorite candy bars (like Snickers, Reese’s, or Butterfingers) and sprinkle them between layers or on top.
- Boozy Bliss For an adult version, lightly brush the ice cream sandwiches with a liqueur like Kahlua or Irish cream before adding the whipped topping.
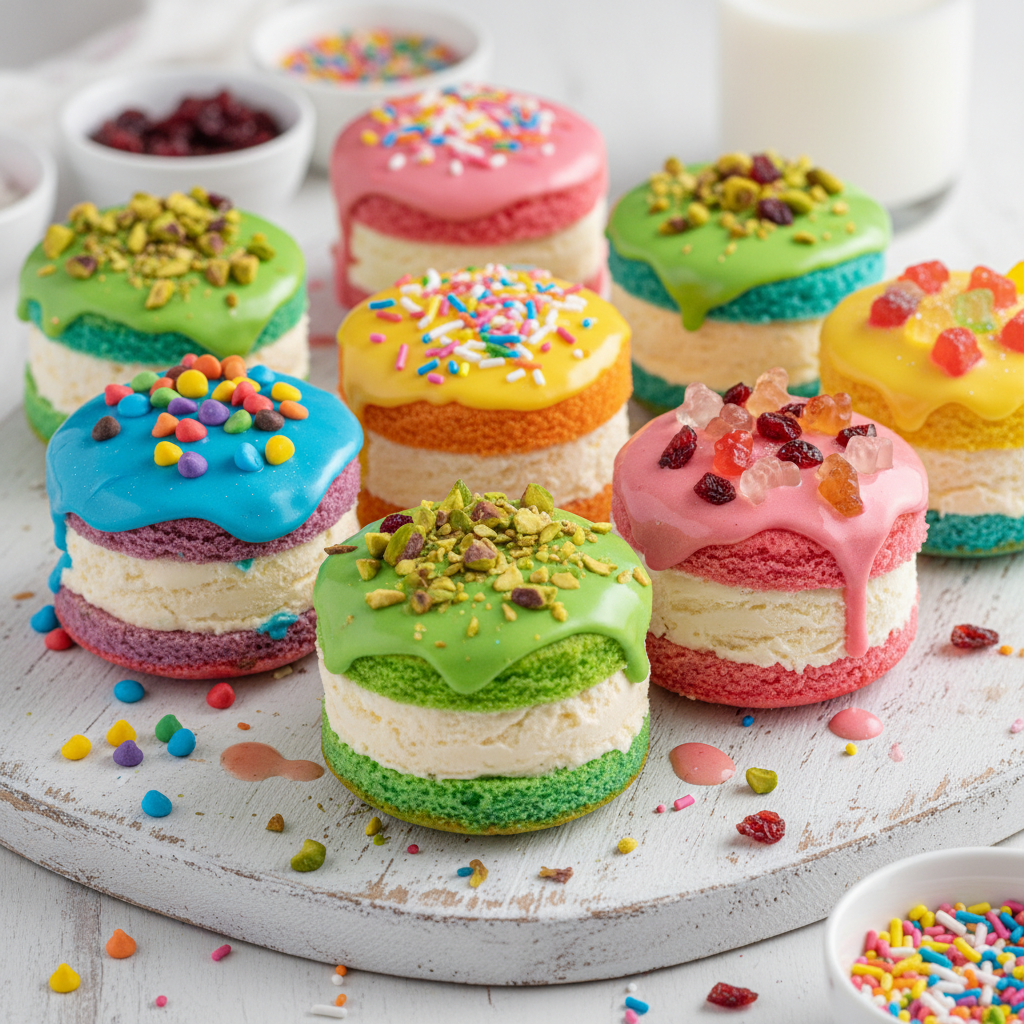
- Mini Cakes Use smaller loaf pans or even individual ramekins to create personal-sized ice cream sandwich cakes.
Pro Chef Tips
- Pre-chill Your Dish Pop your baking dish in the freezer for 10-15 minutes before you start assembling. This helps keep everything colder and prevents the ice cream sandwiches from melting too quickly.
- Work Quickly Ice cream melts fast! Have all your ingredients ready and unwrapped before you begin assembling to minimize melting time.
- Even Layers Use an offset spatula or the back of a spoon to spread the whipped topping and sauces in even layers. This ensures a beautiful presentation and balanced flavor in every bite.
- Freeze Solid The key to a perfectly sliceable cake is adequate freezing time. Don’t rush it! Overnight is always best for the firmest results.
- Warm Knife for Clean Slices Dip your knife in hot water and wipe it clean between each slice for beautifully neat portions.
Common Mistakes to Avoid
- Not Freezing Long Enough This is the most common mistake. If the cake isn’t frozen solid, it will be messy and difficult to slice. Patience is key!
- Over-Softening Ice Cream Sandwiches While you want them pliable enough to arrange, don’t let them get too soft, or they’ll turn into a soupy mess. Work quickly from the freezer.
- Uneven Layers Rushing the spreading can lead to some bites having too much whipped topping and others not enough. Take your time to create smooth, even layers.
- Too Many Toppings Too Soon If adding fresh fruit or very delicate toppings, it’s often best to add them just before serving to prevent them from freezing solid or becoming soggy.
- Not Covering Properly An uncovered cake in the freezer is prone to freezer burn, which can affect its taste and texture. Always cover tightly with plastic wrap or foil.
Storage & Meal Prep
This ice cream sandwich cake is a fantastic dessert for meal prepping! Once assembled and frozen, ensure it is tightly wrapped in plastic wrap, then covered again with aluminum foil. This double layer of protection helps prevent freezer burn and keeps unwanted freezer odors at bay.
Stored properly, your no-bake ice cream sandwich cake will last beautifully in the freezer for up to 2-3 weeks. Beyond that, while still safe to eat, the texture and flavor might start to degrade slightly.
Make-Ahead & Freezer Notes
This cake is designed to be made ahead! You can assemble the entire cake up to 2-3 weeks in advance of when you plan to serve it. This makes it perfect for parties, holidays, or any time you need a delicious dessert ready to go without last-minute stress.
When freezing, make sure the plastic wrap is directly touching the surface of the whipped topping to prevent ice crystals from forming. Then, add the foil layer. When you’re ready to serve, simply pull it out of the freezer, let it sit for a few minutes, slice, and enjoy!
Serving Suggestions

While this cake is absolutely divine on its own, a few simple additions can elevate the experience:
- Extra Drizzle Offer additional chocolate syrup, caramel sauce, or even a berry coulis for guests to add to their slices.
- Fresh Fruit A side of fresh berries (strawberries, raspberries, blueberries) adds a lovely freshness and color contrast.
- Coffee Pairing Serve with a hot cup of coffee or an iced coffee for a delightful after-dinner treat.
- Whipped Cream Dollop A fresh dollop of homemade whipped cream can never hurt!