Halloween is a magical time, especially for kids! The air buzzes with excitement, costumes are chosen with great care, and of course, there are all those delightful treats. While store-bought candy is always a hit, there’s something truly special about homemade goodies. And what could be more fun than baking a batch of spooky Halloween cookies with your little monsters?
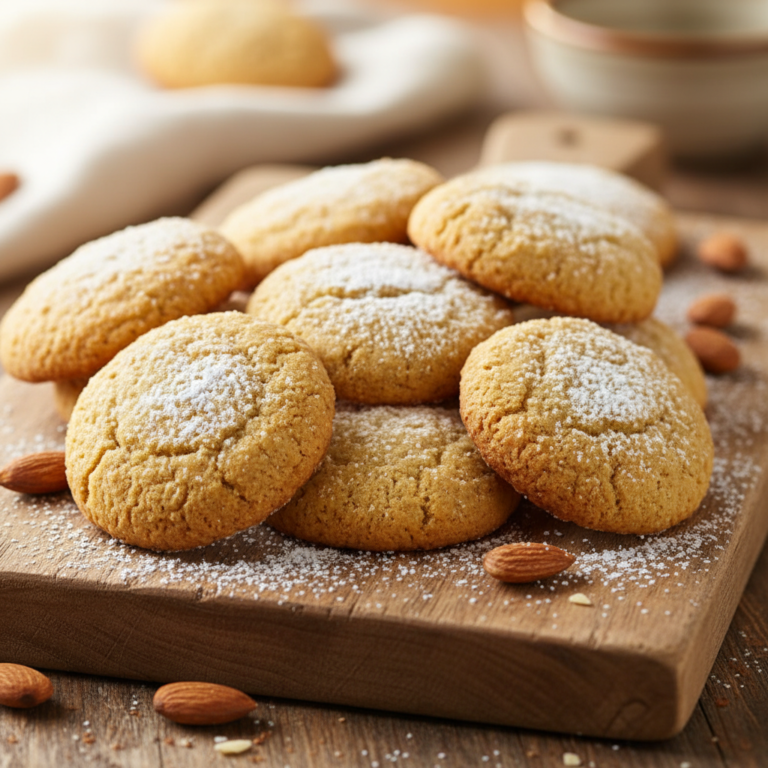
This recipe is designed to be super simple, making it perfect for bakers of all ages and skill levels. We’ll guide you through creating delicious, soft sugar cookies that are just begging to be decorated with ghoulish glee. Get ready to sprinkle, pipe, and gobble up some seriously spooky treats!
History / Background
Halloween’s roots stretch back thousands of years to the ancient Celtic festival of Samhain. It was a time when the boundary between the living and the dead was believed to blur, and people would light bonfires and wear costumes to ward off spirits. Over centuries, these traditions evolved, eventually blending with Christian observances and immigrant customs, especially in America.
Cookies, in various forms, have been part of celebrations for millennia. Sugar cookies, as we know them today, gained popularity in the 1700s in Pennsylvania, thanks to German immigrants. The idea of decorating them for specific holidays, like Halloween, became a beloved tradition, allowing for creative expression and a delicious way to celebrate the season. It’s a wonderful way to bring a little bit of history and creativity into your kitchen!
Why You’ll Love This Recipe
- Kid-Friendly Fun This recipe is perfect for involving children in the kitchen, from mixing to decorating.
- Simple Ingredients You likely have most of these pantry staples already.
- Easy to Decorate We provide ideas for simple, spooky decorations even beginners can master.
- Deliciously Soft The cookies are tender and flavorful, not just pretty.
- Versatile Easily adaptable with different cutters and icing colors.
- Great for Parties Perfect for school parties, trick-or-treaters, or family gatherings.
Ingredient Notes
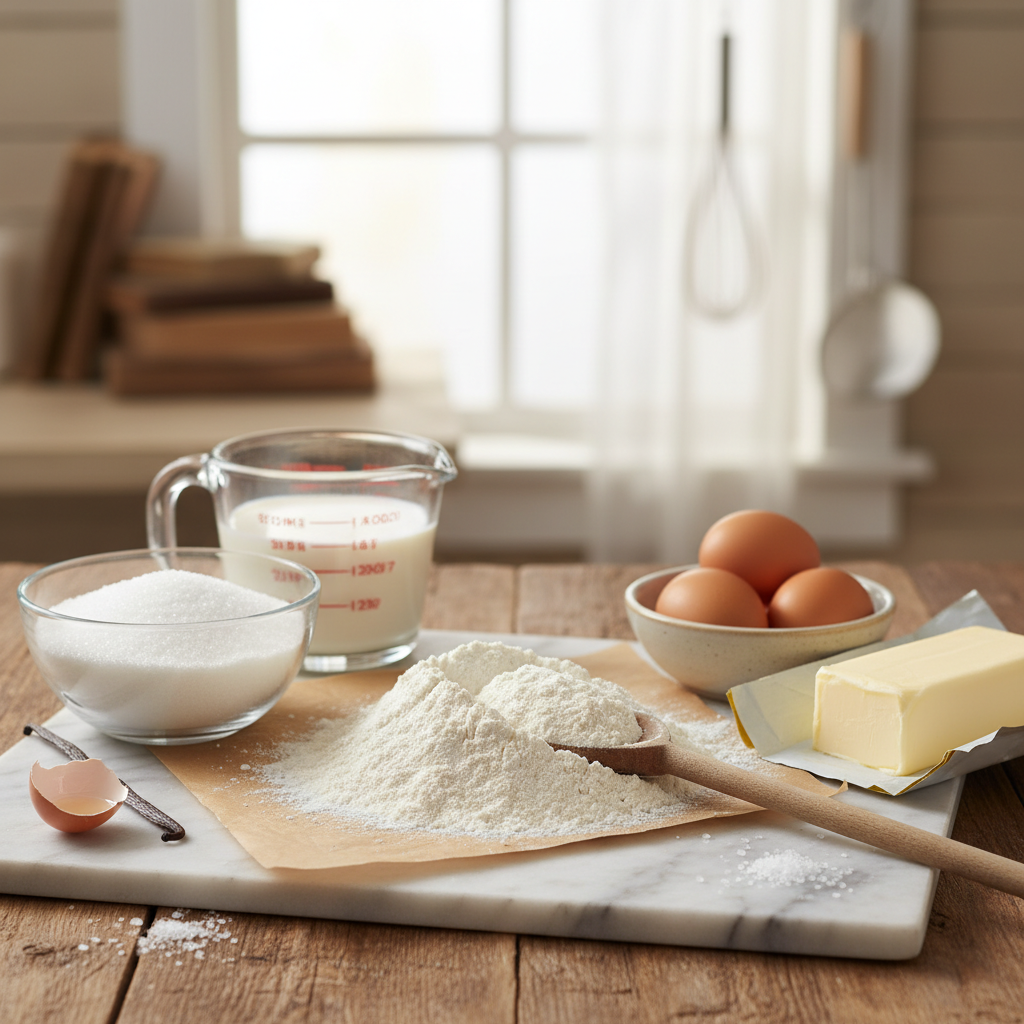
- Unsalted Butter Make sure it’s softened to room temperature. This helps create a smooth dough and prevents overmixing. If you only have salted butter, omit the added salt in the recipe.
- Granulated Sugar Sweetens the cookies and contributes to their tender texture.
- Large Egg Binds the ingredients together and adds richness.
- Vanilla Extract Use good quality vanilla for the best flavor. It really makes a difference!
- All-Purpose Flour The base of our cookies. Measure it correctly by spooning it into your measuring cup and leveling it off.
- Baking Powder Helps the cookies rise slightly and become soft.
- Salt Balances the sweetness and enhances all the flavors.
- Powdered Sugar (for icing) Essential for smooth, lump-free icing. Sift it to avoid any grittiness.
- Milk or Water (for icing) Adjusts the consistency of your icing.
- Food Coloring (gel preferred) Gel food coloring gives vibrant colors without thinning the icing too much.
Equipment Needed
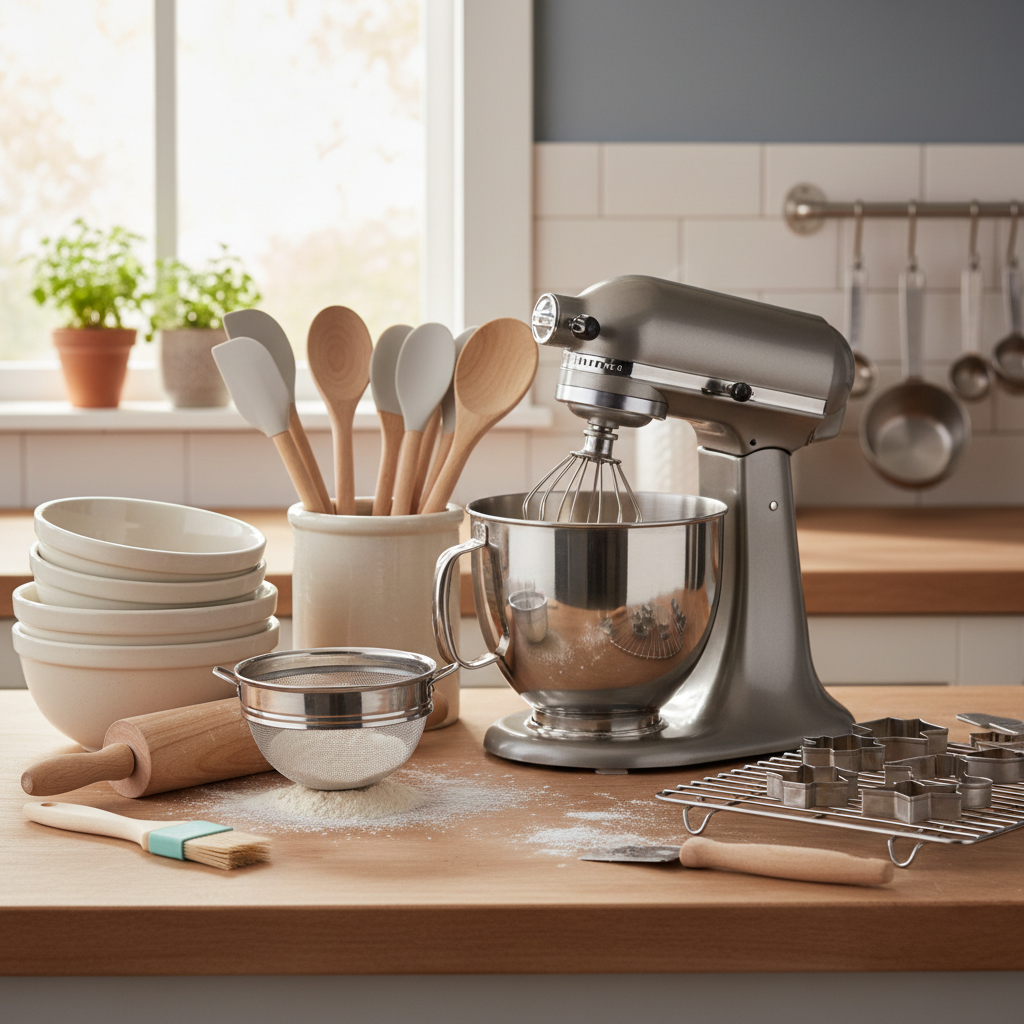
- Large mixing bowls
- Electric mixer (stand or hand-held)
- Rubber spatula
- Measuring cups and spoons
- Rolling pin
- Halloween-themed cookie cutters (ghosts, pumpkins, bats, spiders)
- Baking sheets
- Parchment paper or silicone baking mats
- Wire cooling rack
- Small bowls for icing colors
- Piping bags or Ziploc bags with a corner snipped
Full Recipe Card
Spooky Sugar Cookies
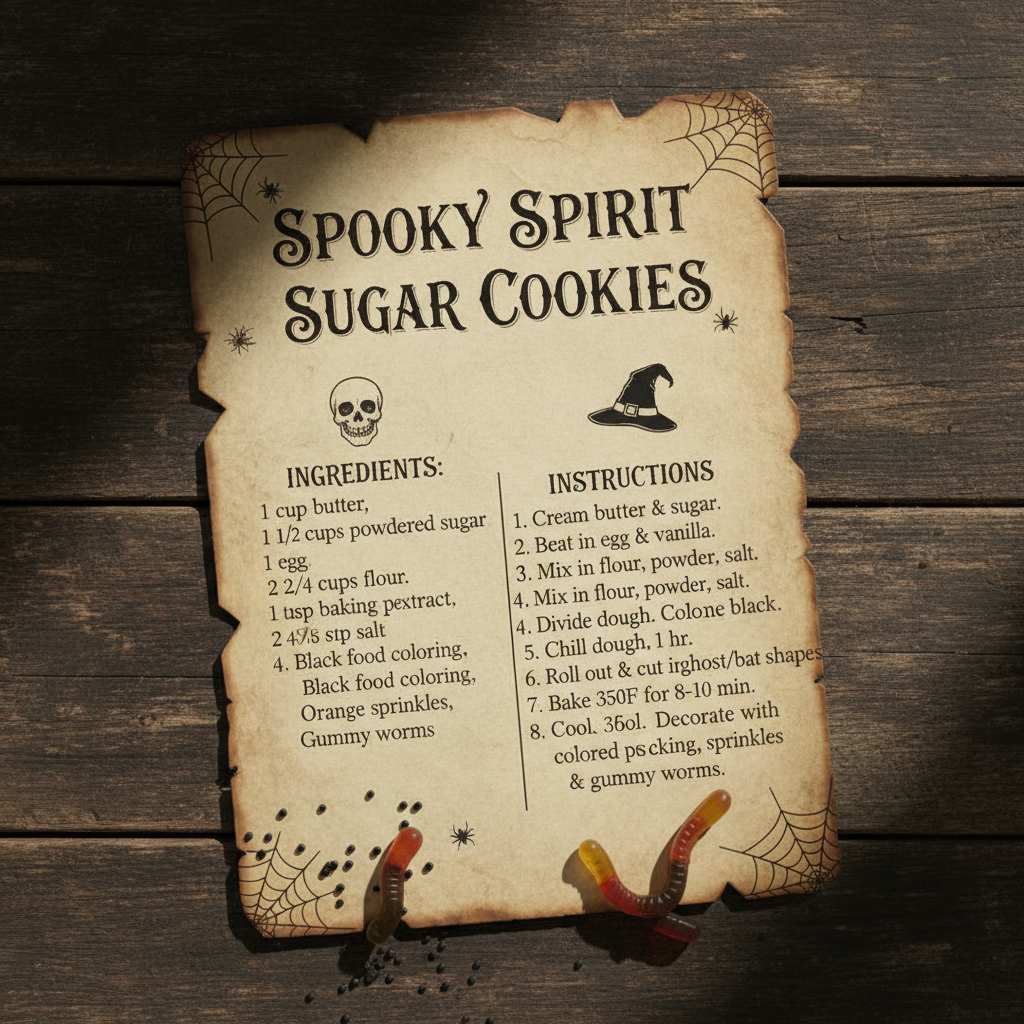
Ingredients
For the Cookies:
- 1 cup (2 sticks) unsalted butter, softened
- 1 ½ cups granulated sugar
- 1 large egg
- 1 teaspoon vanilla extract
- 3 cups all-purpose flour
- 1 teaspoon baking powder
- ½ teaspoon salt
For the Royal-ish Icing:
- 2 cups powdered sugar, sifted
- 2-4 tablespoons milk or water
- ½ teaspoon vanilla extract (optional)
- Gel food coloring (orange, black, green, purple)
- Assorted Halloween sprinkles (optional)
- Edible googly eyes (optional)
Instructions
- Cream Butter and Sugar In a large mixing bowl, cream together the softened butter and granulated sugar with an electric mixer until light and fluffy, about 2-3 minutes.
- Add Wet Ingredients Beat in the egg and vanilla extract until well combined.
- Combine Dry Ingredients In a separate bowl, whisk together the flour, baking powder, and salt.
- Mix Wet and Dry Gradually add the dry ingredients to the wet ingredients, mixing on low speed until just combined. Be careful not to overmix. The dough will be thick.
- Chill the Dough Divide the dough in half, flatten each half into a disk, wrap tightly in plastic wrap, and refrigerate for at least 1 hour (or up to 2 days). This helps prevent spreading.
- Preheat Oven and Prep Preheat your oven to 375°F (190°C). Line baking sheets with parchment paper or silicone baking mats.
- Roll and Cut On a lightly floured surface, roll out one disk of chilled dough to about ¼-inch thickness. Use your Halloween cookie cutters to cut out shapes. Place the cut-out cookies on the prepared baking sheets, leaving about 1 inch between them. Gather and re-roll scraps once.
- Bake Bake for 8-10 minutes, or until the edges are lightly golden. Do not overbake.
- Cool Let the cookies cool on the baking sheets for 5 minutes before transferring them to a wire rack to cool completely.
- Make the Icing In a medium bowl, whisk together the sifted powdered sugar, 2 tablespoons of milk or water, and vanilla extract (if using) until smooth. Add more milk or water, a teaspoon at a time, until you reach a pourable but still thick consistency.
- Color the Icing Divide the icing into separate small bowls. Add a few drops of different gel food colorings to each bowl and mix well to create your desired Halloween colors (orange, black, green, purple).
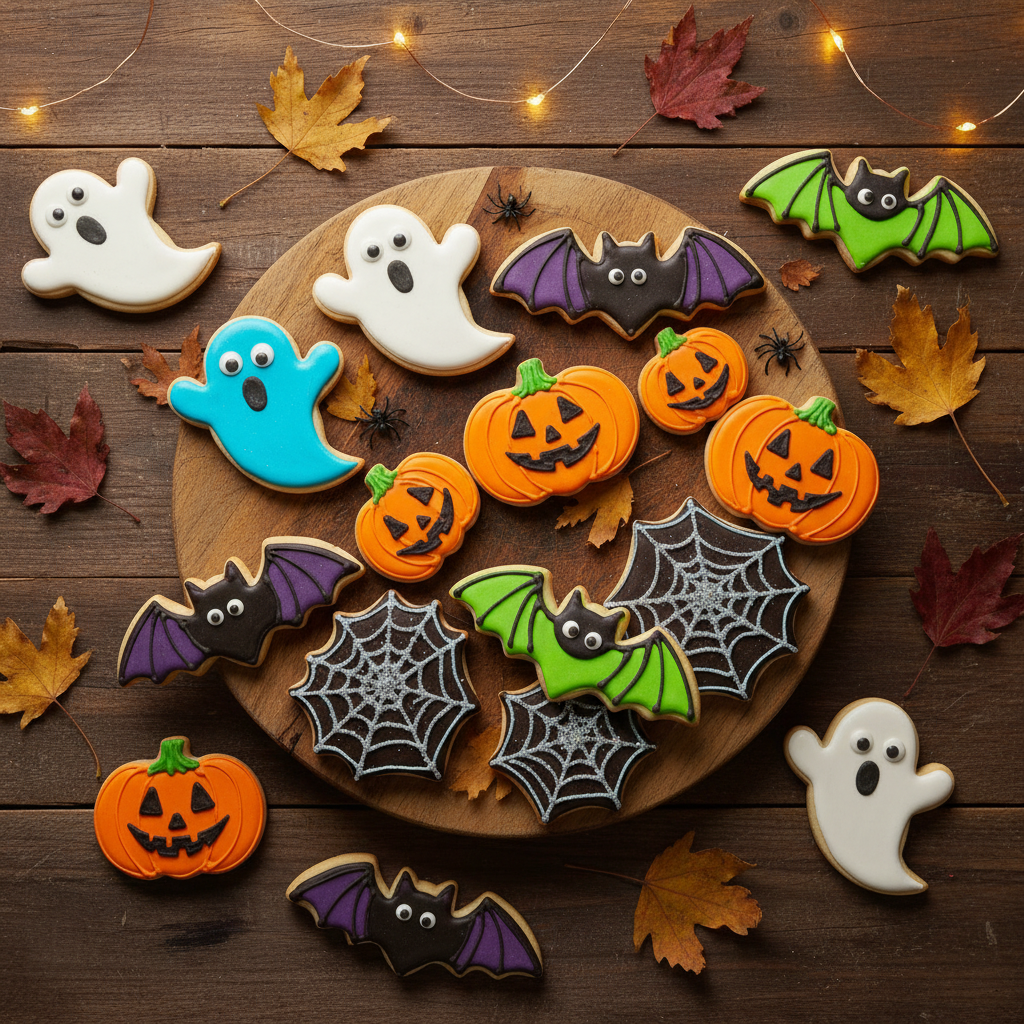
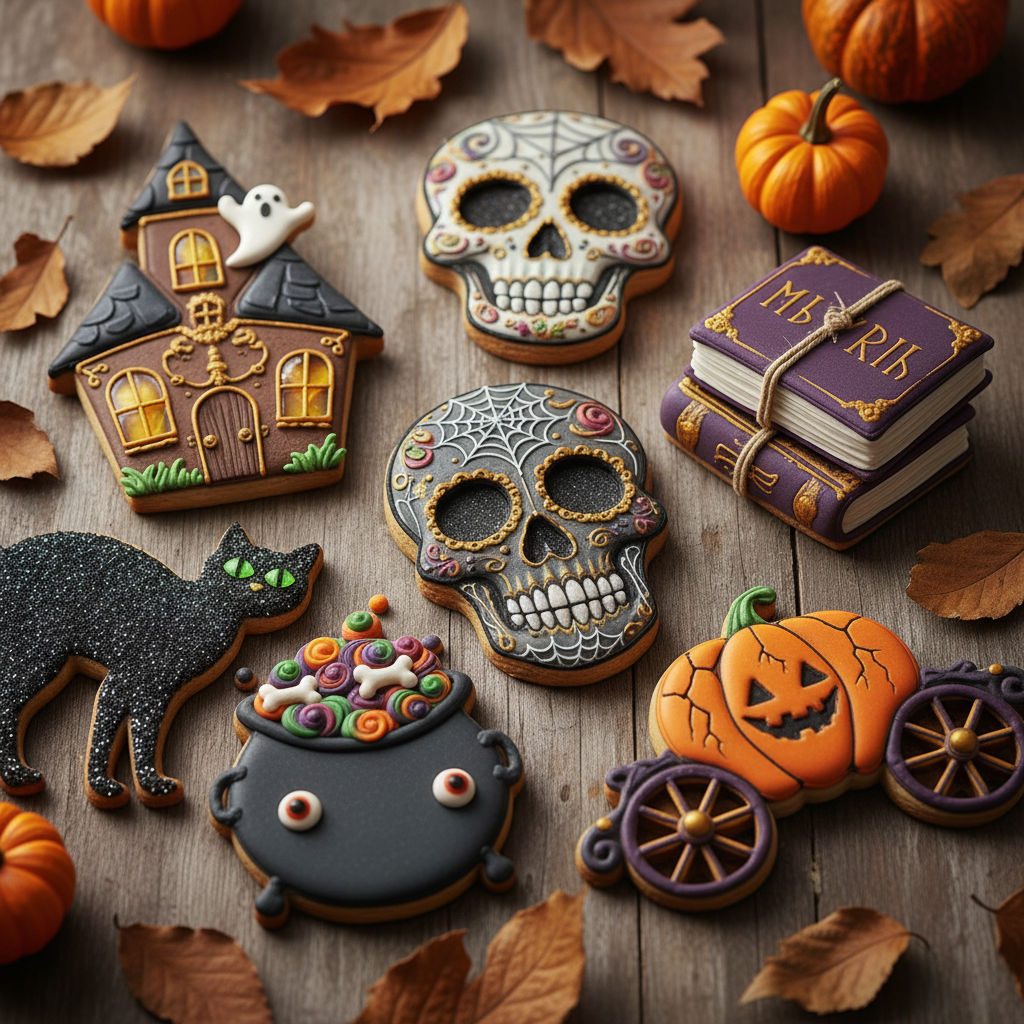
- Decorate Transfer icing to piping bags (or Ziploc bags with a corner snipped off). Decorate the cooled cookies. Get creative with ghosts, pumpkins, bats, and spiders! Add sprinkles or edible googly eyes while the icing is still wet.
- Set Allow the icing to set completely before stacking or storing the cookies, usually 1-2 hours or overnight.
Notes
- For extra flavor, add a pinch of nutmeg or lemon zest to the cookie dough.
- If your dough becomes too warm and sticky while rolling, pop it back into the fridge for 15-20 minutes.
- For crispier cookies, bake a minute or two longer. For softer cookies, stick to the shorter baking time.
Tips & Variations
- Cookie Pops Insert popsicle sticks into the base of the cookies before baking for fun cookie pops.
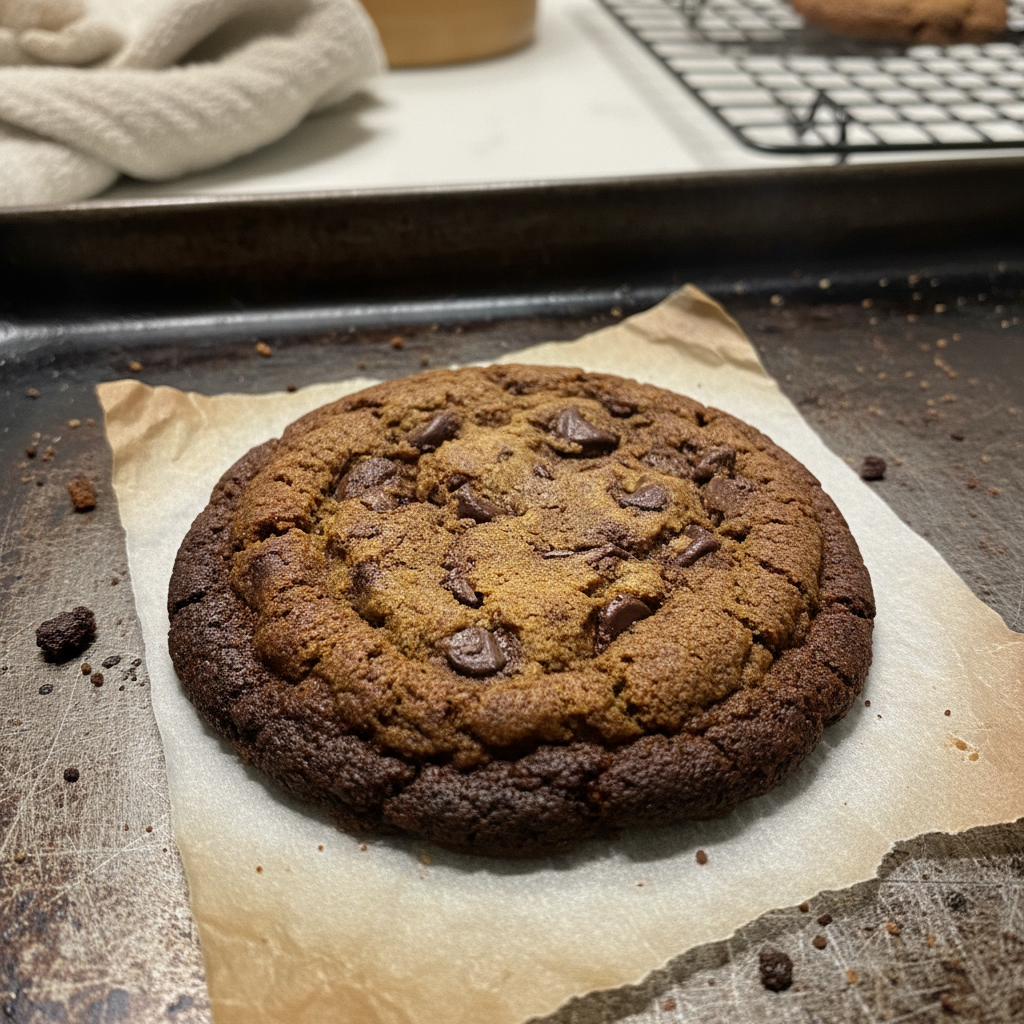
- Chocolate Cookies Replace ¼ cup of flour with ¼ cup of unsweetened cocoa powder for a chocolatey twist.
- Glaze Icing For a simpler, quicker icing, mix powdered sugar with a little milk and a squeeze of lemon juice until it’s a thin glaze. Dip the tops of the cookies instead of piping.
- Edible Markers After the base icing has dried, let kids draw faces and details with edible food markers.
- Sprinkle Magic Don’t underestimate the power of colorful Halloween sprinkles! They can instantly make any cookie festive.
Pro Chef Tips
- Precision in Measuring Flour Always spoon your flour into the measuring cup and level it off with a straight edge. Scooping directly can compact the flour, leading to dry, crumbly cookies.
- Don’t Skip the Chill Time Chilling the dough is crucial. It solidifies the butter, which helps prevent the cookies from spreading too much in the oven, ensuring your spooky shapes stay intact.
- Work with Cold Dough If you’re making many cookies, work with one half of the dough at a time, keeping the other half refrigerated. This maintains the dough’s chill and makes it easier to handle.
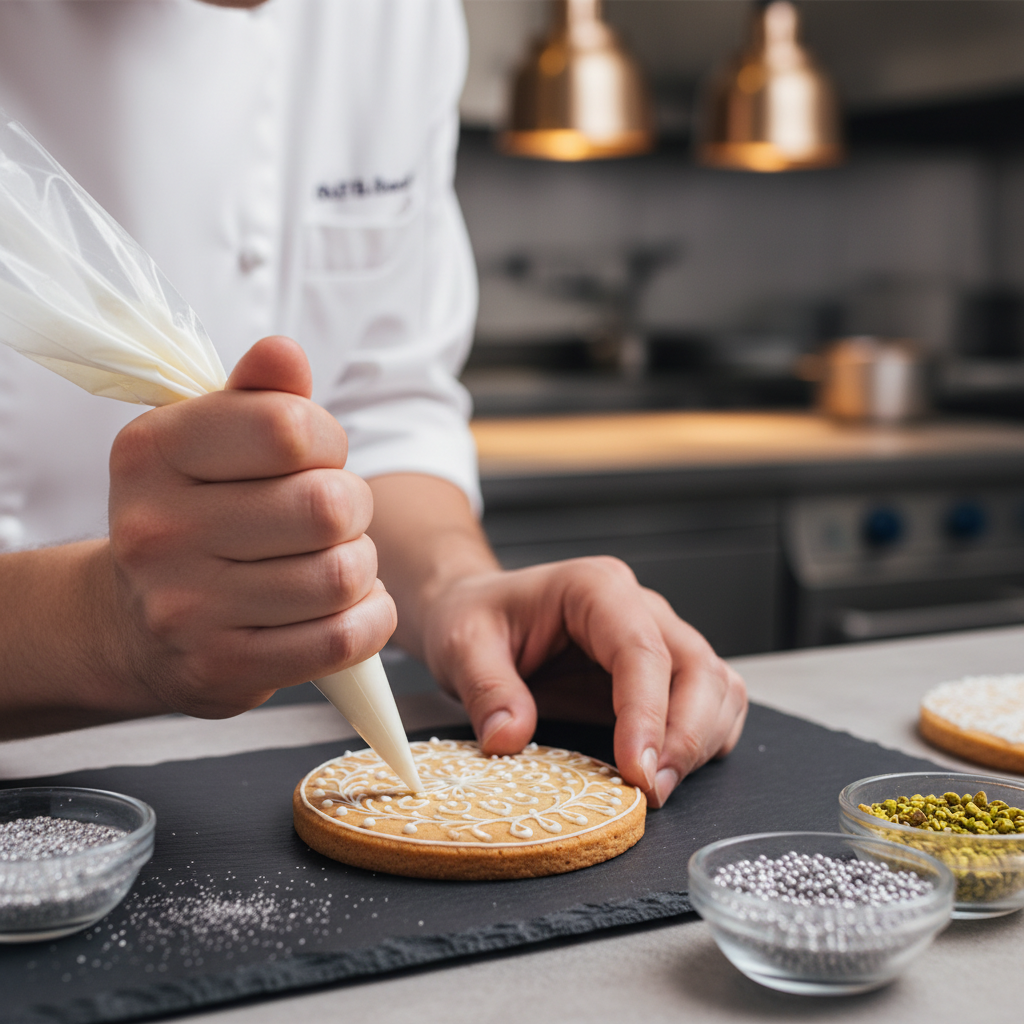
- Thin Icing for Flooding, Thicker for Outlines For professional-looking decorated cookies, create a slightly thicker icing consistency for outlining the shapes, then a thinner consistency (called flooding icing) to fill them in. Let the outline dry briefly before flooding.
Common Mistakes to Avoid
- Overmixing the Dough Overmixing develops the gluten in the flour, resulting in tough, chewy cookies instead of soft ones. Mix just until the ingredients are combined.
- Not Chilling the Dough Enough As mentioned, insufficient chilling leads to cookies spreading and losing their shape. Patience is key here!
- Overbaking Cookies can go from perfectly baked to dry and hard very quickly. Watch them closely. They should be just lightly golden at the edges.
- Decorating Warm Cookies Always wait until cookies are completely cool before icing. Warm cookies will melt the icing and create a messy result.
- Using Too Much Flour on the Counter While you need flour to prevent sticking, too much will make your cookies dry and tough. Use just enough to prevent sticking.
Storage & Meal Prep
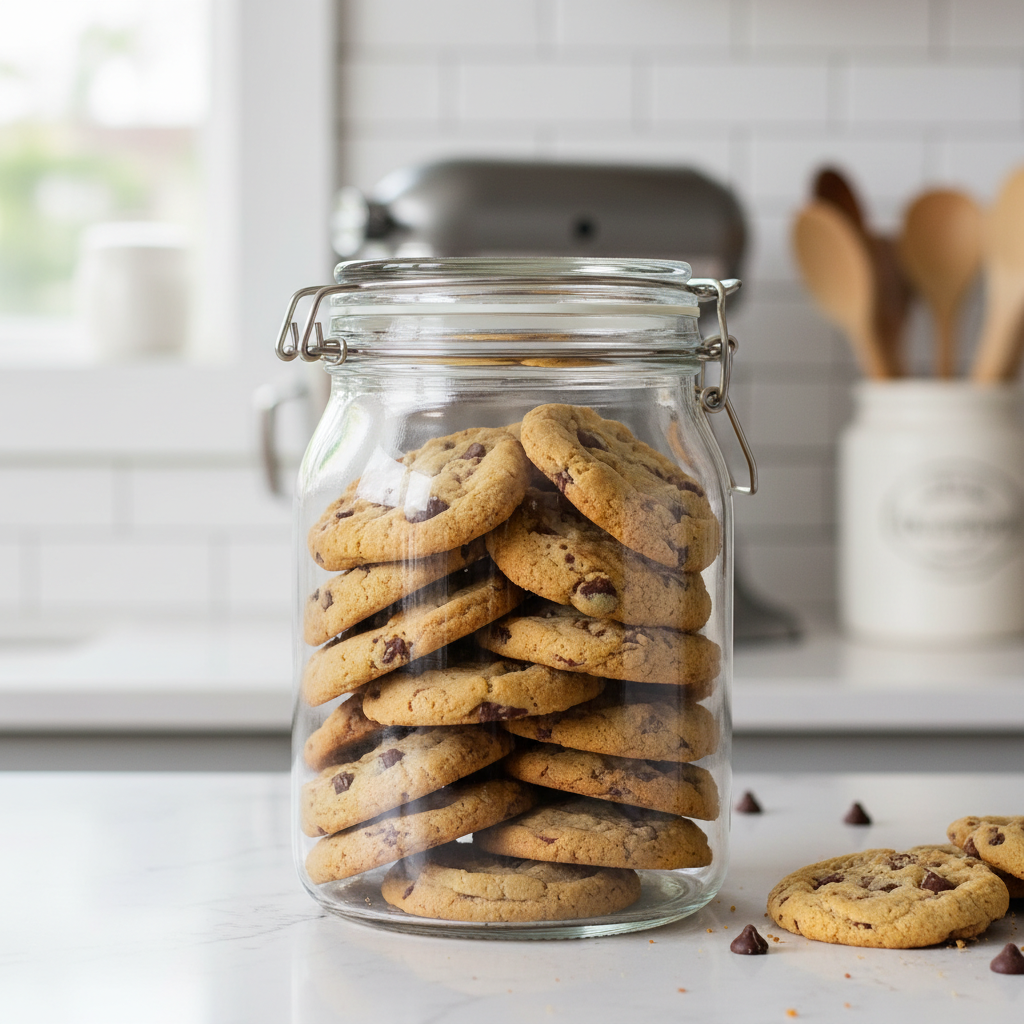
Once your Spooky Halloween Cookies are fully decorated and the icing has set, store them in an airtight container at room temperature for up to 5-7 days. To prevent sticking and smudging, you can place parchment paper between layers of cookies.
For meal prep, you can make the cookie dough in advance. It can be stored in the refrigerator for up to 2 days, or frozen for longer (see notes below).
Make-Ahead & Freezer Notes
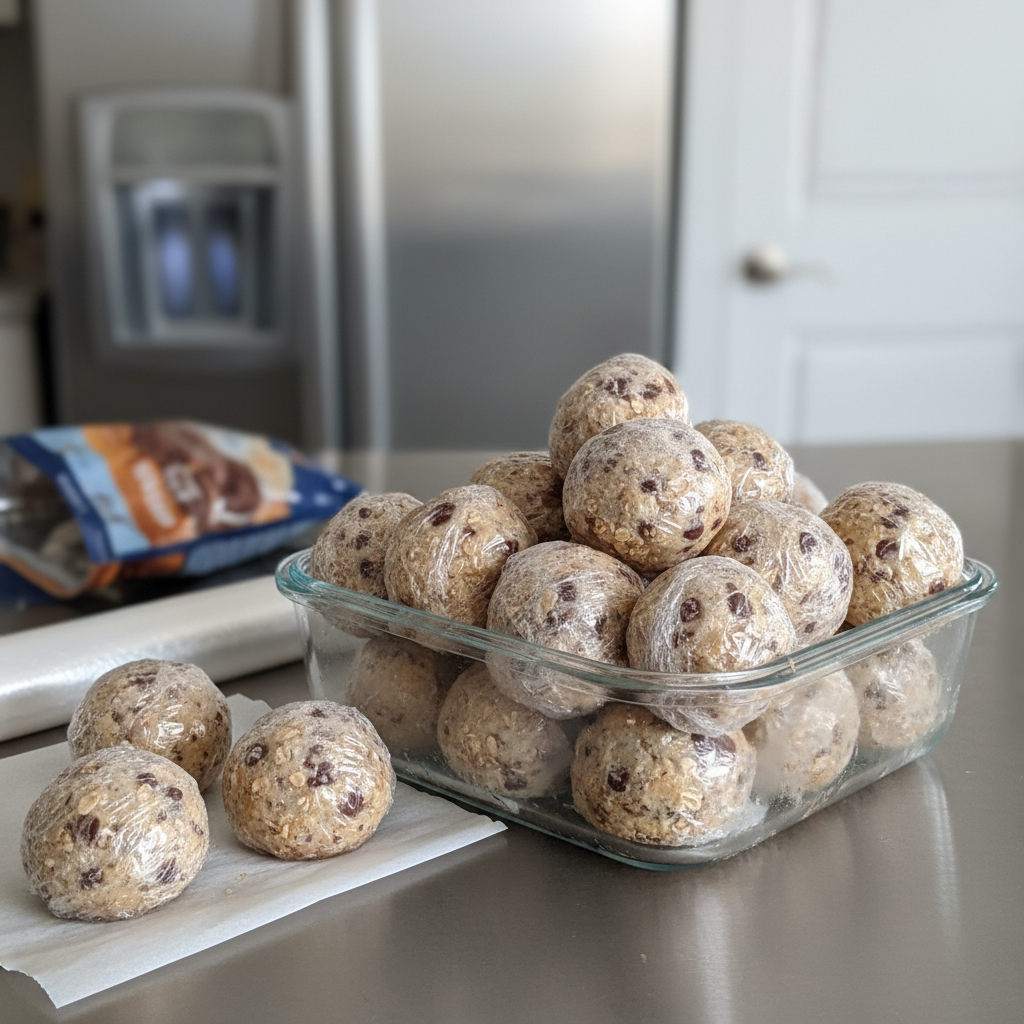
- Dough The cookie dough can be made ahead of time and stored in the refrigerator for up to 2 days. This is great for splitting the baking process over two days. You can also freeze the dough. Wrap the disks tightly in plastic wrap, then place in a freezer-safe bag or container for up to 3 months. Thaw in the refrigerator overnight before rolling and baking.
- Unbaked Cut-Outs You can cut out your cookie shapes and freeze them on a baking sheet until solid. Then transfer the frozen cut-outs to a freezer-safe bag. Bake directly from frozen, adding a couple of minutes to the baking time.
- Baked Cookies (Un-iced) Baked, un-iced cookies can be frozen for up to 3 months. Once completely cooled, place them in a single layer on a baking sheet to freeze solid, then transfer to an airtight freezer-safe container or bag. Thaw at room temperature before icing.
Serving Suggestions
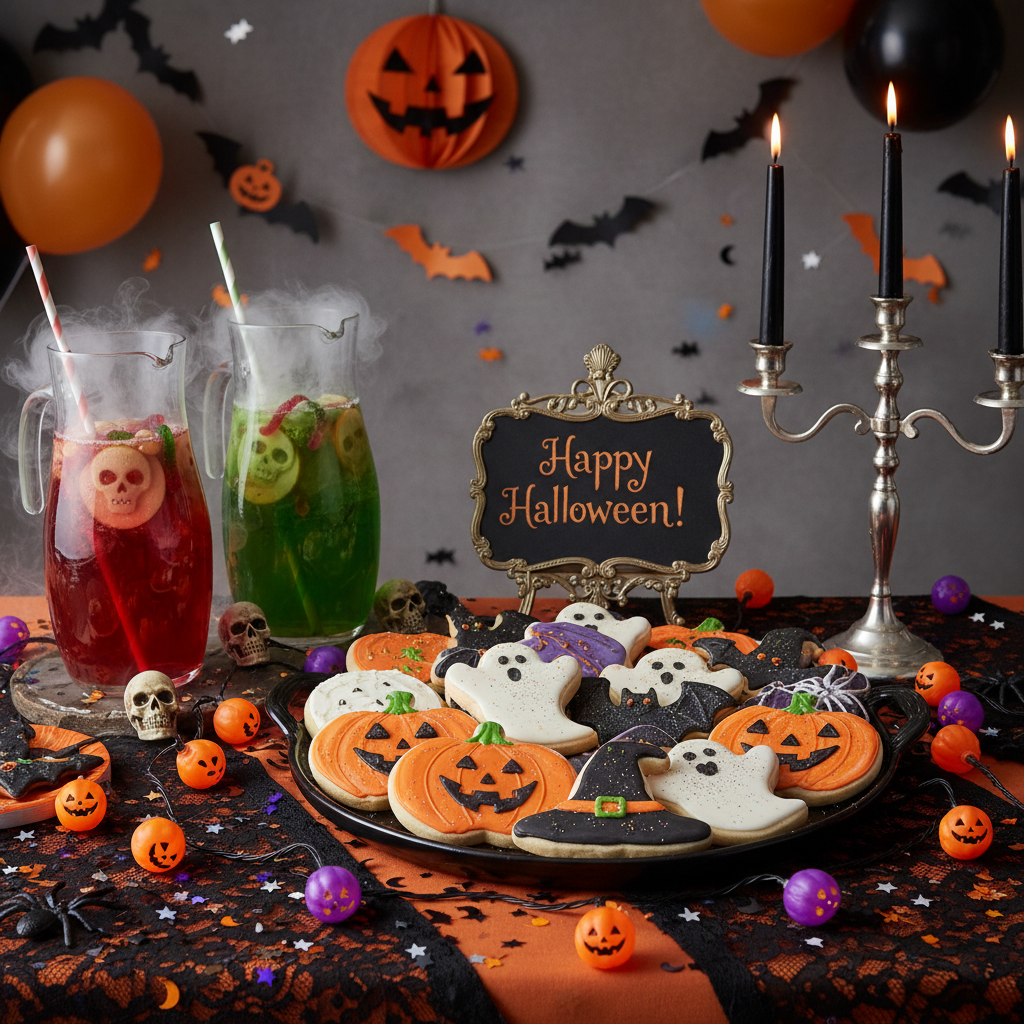
These Spooky Halloween Cookies are perfect on their own, but here are some fun ways to serve them:
- Halloween Party Platter Arrange them creatively on a large platter with other Halloween treats like candy corn, mini chocolates, and fruit skewers.
- Cookie Decorating Station Set up a decorating station at your party with plain cookies, various colored icings, sprinkles, and candies. Let the kids (and adults!) decorate their own!
- Milk and Cookies A classic pairing! Serve with a cold glass of milk for the perfect after-school or evening treat.
- Gift Bags Package a few cookies in clear treat bags with festive ribbons as party favors or for trick-or-treaters.