Hey there, fellow sweet tooth! Are you ready to dive into the wonderful world of homemade candy? There’s something truly magical about transforming simple ingredients into a dazzling, crunchy treat, and butter toffee is at the top of that list. Many people think making candy from scratch is super complicated, reserved only for seasoned chefs. But guess what? It’s much easier than you might imagine, especially with our simple, foolproof method. Get ready to impress your friends, delight your family, and maybe even treat yourself to the best butter toffee you’ve ever tasted!
History and Background

Toffee, in its many delightful forms, has a rich and delicious history stretching back centuries. While its exact origins are a bit hazy, we know that sugar-based confections were popular in Europe as early as the 16th century. The word “toffee” itself is thought to have emerged in the 19th century, likely from a combination of “taffy” and “tough.” Early toffee recipes were often quite basic, relying on just sugar and butter, cooked until caramelized and hard. Over time, variations emerged, incorporating nuts, chocolate, and different flavorings. What we now recognize as classic butter toffee, with its crisp, buttery snap, became a beloved staple, especially around holidays. It’s a testament to simple ingredients coming together to create something truly extraordinary, a tradition we’re keeping alive today!
Why You Will Love This Recipe

- It’s Surprisingly Simple: Don’t let candy making intimidate you! This recipe breaks it down into easy, manageable steps.
- Irresistibly Delicious: That perfect balance of sweet, buttery, and crunchy is absolutely addictive.
- Customizable Fun: Easily add your favorite nuts or chocolate for a personalized touch.
- Perfect for Gifting: Homemade toffee makes a thoughtful and impressive gift for any occasion.
- No Fancy Skills Needed: If you can stir and follow instructions, you can make this toffee!
Ingredient Notes

Making great toffee starts with great ingredients. Here’s a quick rundown of what you’ll need and why each component is important:
- Unsalted Butter: This is the star of the show! Using unsalted butter allows you to control the salt content precisely. Make sure it’s good quality, as its flavor really shines through.
- Granulated Sugar: The foundation of our toffee’s sweetness and structure. It caramelizes to give that signature golden color and crisp texture.
- Water: A small amount of water helps the sugar dissolve evenly at the beginning, preventing crystallization and ensuring a smooth melt.
- Light Corn Syrup: This is a secret weapon in candy making! Corn syrup helps prevent sugar crystals from forming, ensuring your toffee stays smooth and not grainy. Don’t worry, you won’t taste it in the final product.
- Salt: A pinch of salt balances the sweetness and enhances all the other flavors, making the toffee even more delicious.
- Vanilla Extract: Added at the very end, vanilla provides a beautiful aromatic depth that complements the buttery richness.
- Optional Toppings: Chopped nuts (almonds, pecans, walnuts) and melted chocolate are classic additions that take your toffee to the next level.
Equipment Needed
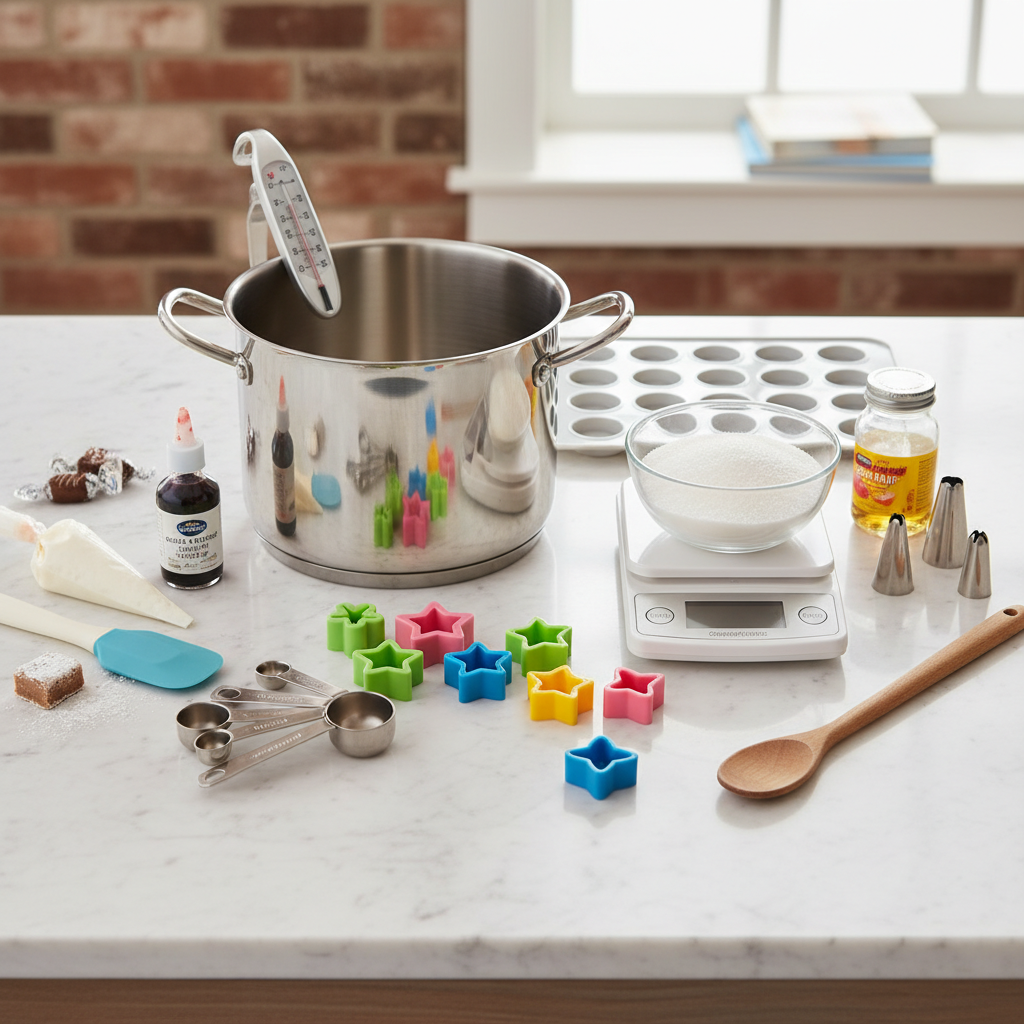
Having the right tools makes all the difference for a smooth candy-making experience. You don’t need a professional kitchen, just a few key items:
- Heavy-Bottomed Saucepan (3-4 quart): A good quality, heavy-bottomed pan distributes heat evenly, which is crucial for preventing scorching.
- Candy Thermometer: Absolutely essential! This is your guide to reaching the perfect temperature for hard crack stage. Don’t eyeball it; trust the thermometer.
- Whisk and/or Heatproof Spatula: For stirring your mixture.
- 9×13 Inch Baking Sheet: Lined with parchment paper or a silicone mat for easy removal.
- Parchment Paper or Silicone Baking Mat: Prevents sticking and makes cleanup a breeze.
- Pastry Brush (optional): For brushing down sugar crystals from the sides of the pan.
Full Recipe Card

Ingredients
- 1 cup (2 sticks) unsalted butter, cut into pieces
- 1 3/4 cups granulated sugar
- 1/4 cup water
- 2 tablespoons light corn syrup
- 1/2 teaspoon salt
- 1 teaspoon pure vanilla extract
- Optional toppings: 1 cup chopped toasted nuts (almonds, pecans), 1 cup melted chocolate chips
Instructions
- Prepare Your Pan: Line a 9×13 inch baking sheet with parchment paper or a silicone baking mat. If using nuts, sprinkle half of them evenly over the bottom of the prepared pan.
- Combine Ingredients: In a heavy-bottomed 3-4 quart saucepan, combine the butter, granulated sugar, water, light corn syrup, and salt.
- Melt and Stir: Place the saucepan over medium heat. Stir constantly with a whisk or heatproof spatula until the butter is completely melted and the sugar is fully dissolved. The mixture will come to a boil.
- Cook to Temperature: Insert your candy thermometer, making sure it doesn’t touch the bottom of the pan. Continue to cook, stirring occasionally, until the mixture reaches 300-310°F (149-154°C), which is the “hard crack” stage. This usually takes about 15-20 minutes, but can vary. The mixture will turn a beautiful amber color.
- Add Vanilla: Once the desired temperature is reached, immediately remove the pan from the heat. Stir in the vanilla extract quickly and carefully. The mixture will bubble vigorously.
- Pour and Spread: Immediately pour the hot toffee mixture onto your prepared baking sheet. Working quickly, use an offset spatula or the back of a spoon to spread it into an even layer.
- Add Toppings (Optional): If using the remaining nuts, sprinkle them over the hot toffee. If adding chocolate, let the toffee cool for about 5-10 minutes, then sprinkle chocolate chips over it. Let them sit for a few minutes to melt, then spread evenly with a spatula.
- Cool Completely: Allow the toffee to cool completely at room temperature, or in the refrigerator for faster setting (about 30-60 minutes).
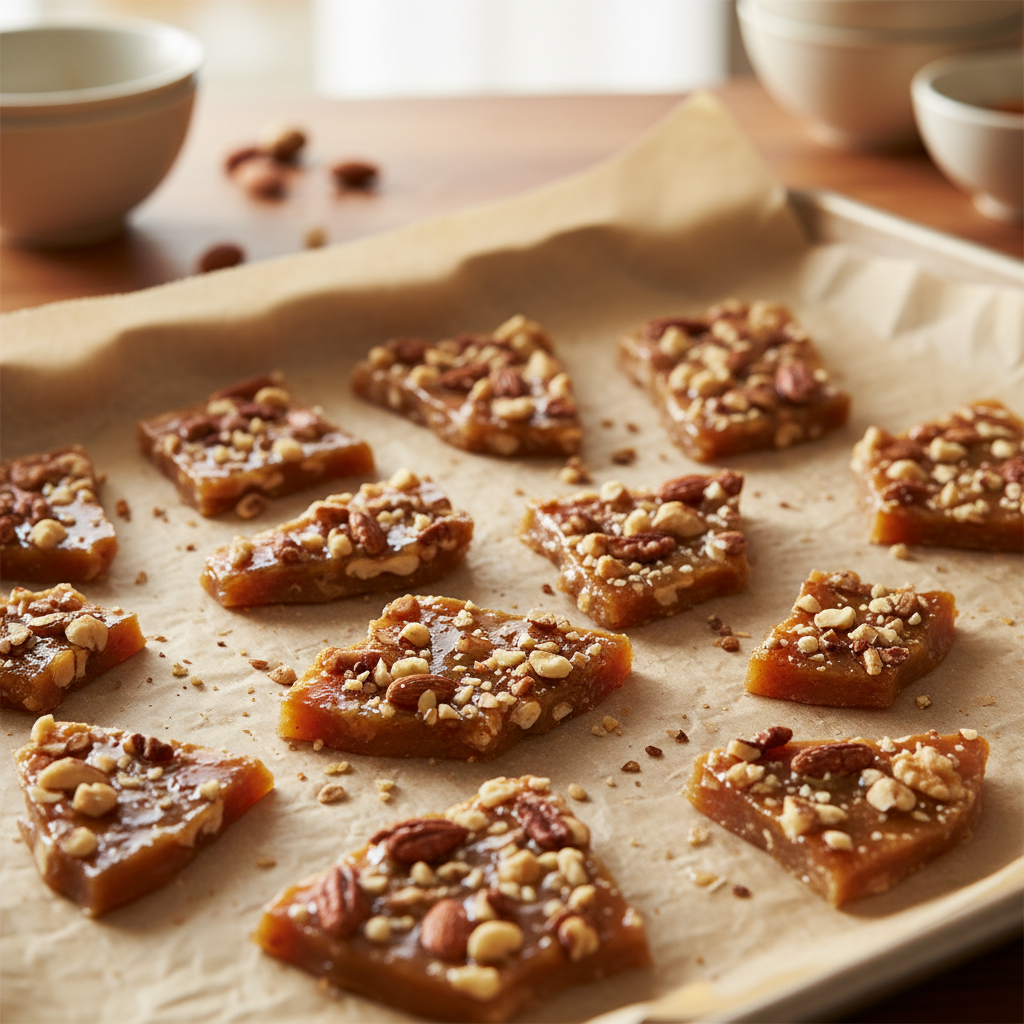
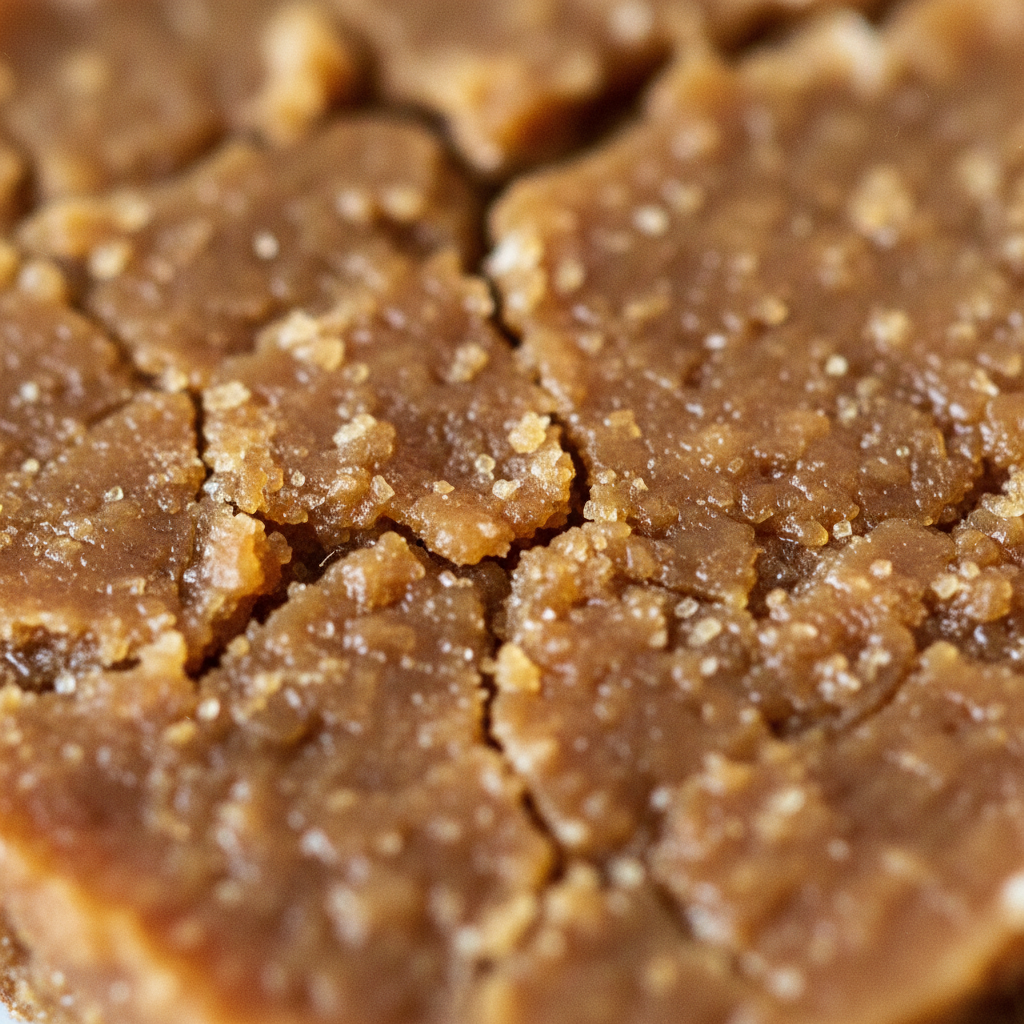
- Break Apart: Once fully hardened, lift the parchment paper from the pan. Break the toffee into irregular pieces using your hands or a sharp knife.
- Serve and Enjoy: Your homemade butter toffee is ready to be devoured!
Notes
For best results, make sure all your ingredients are measured accurately. Humidity can affect candy making, so a dry day is ideal. Do not scrape the bottom of the pan when pouring, as this can introduce crystals. If you don’t have a candy thermometer, it’s highly recommended to get one for this recipe. It’s the key to success!
Tips and Variations

- Nutty Delight: Experiment with different nuts! Pecans, walnuts, or even a mix can be fantastic. Toast them lightly before adding for extra flavor.
- Chocolate Lovers: Use dark, milk, or white chocolate for your topping. You can even drizzle different types of chocolate for a marbled effect.
- Sea Salt Sprinkle: A sprinkle of flaky sea salt over the melted chocolate topping enhances the flavor beautifully, creating a delightful sweet and salty contrast.
- Spice It Up: Add a tiny pinch of cinnamon or a dash of almond extract along with the vanilla for a different flavor profile.
- Coffee Toffee: Stir in 1/2 teaspoon of instant espresso powder with the sugar mixture for a subtle coffee note.
Pro Chef Tips

- Prep is Key: Have all your ingredients measured and your pan prepared before you even start heating. Candy making moves fast!
- Watch the Heat: Maintain medium heat. Too high, and it will burn; too low, and it will take forever and might not reach the correct temperature.
- Don’t Stir Excessively: Once the sugar is dissolved and boiling, resist the urge to stir constantly. Stirring can introduce air and encourage crystallization. Only stir occasionally to prevent sticking or uneven cooking.
- Sugar Crystal Patrol: If you see sugar crystals forming on the sides of the pan, dip a pastry brush in a little water and gently brush them down into the mixture. This prevents them from causing the entire batch to crystallize.
- Calibrate Your Thermometer: Before you start, check your candy thermometer by placing it in boiling water. It should read 212°F (100°C). If it’s off, adjust your target temperature accordingly.
Common Mistakes to Avoid
- Not Using a Candy Thermometer: This is the number one mistake! Guessing the temperature almost always leads to failure – either soft, chewy toffee or burnt, bitter toffee.
- Over-stirring: As mentioned, too much stirring after the sugar dissolves can lead to grainy toffee. Let it do its thing!
- Scorching: Cooking on too high a heat, or not using a heavy-bottomed pan, can cause the sugar to burn on the bottom, resulting in a bitter taste.
- High Humidity: Attempting to make toffee on a very humid day can make it difficult for the candy to reach the hard crack stage and can result in a sticky, soft product.
- Not Spreading Quickly Enough: Once the toffee reaches temperature, it sets very fast. Have your pan ready and be prepared to pour and spread immediately.
Storage and Meal Prep

Once your beautiful butter toffee is cooled and broken into pieces, proper storage is key to keeping it fresh and crunchy. Store the toffee in an airtight container at room temperature. It will stay fresh and delicious for up to 2-3 weeks. If you live in a very humid climate, you might consider storing it in the refrigerator, but allow it to come to room temperature before serving for the best texture. Avoid extreme temperature changes, as this can cause condensation and make the toffee sticky.
Make-Ahead and Freezer Notes
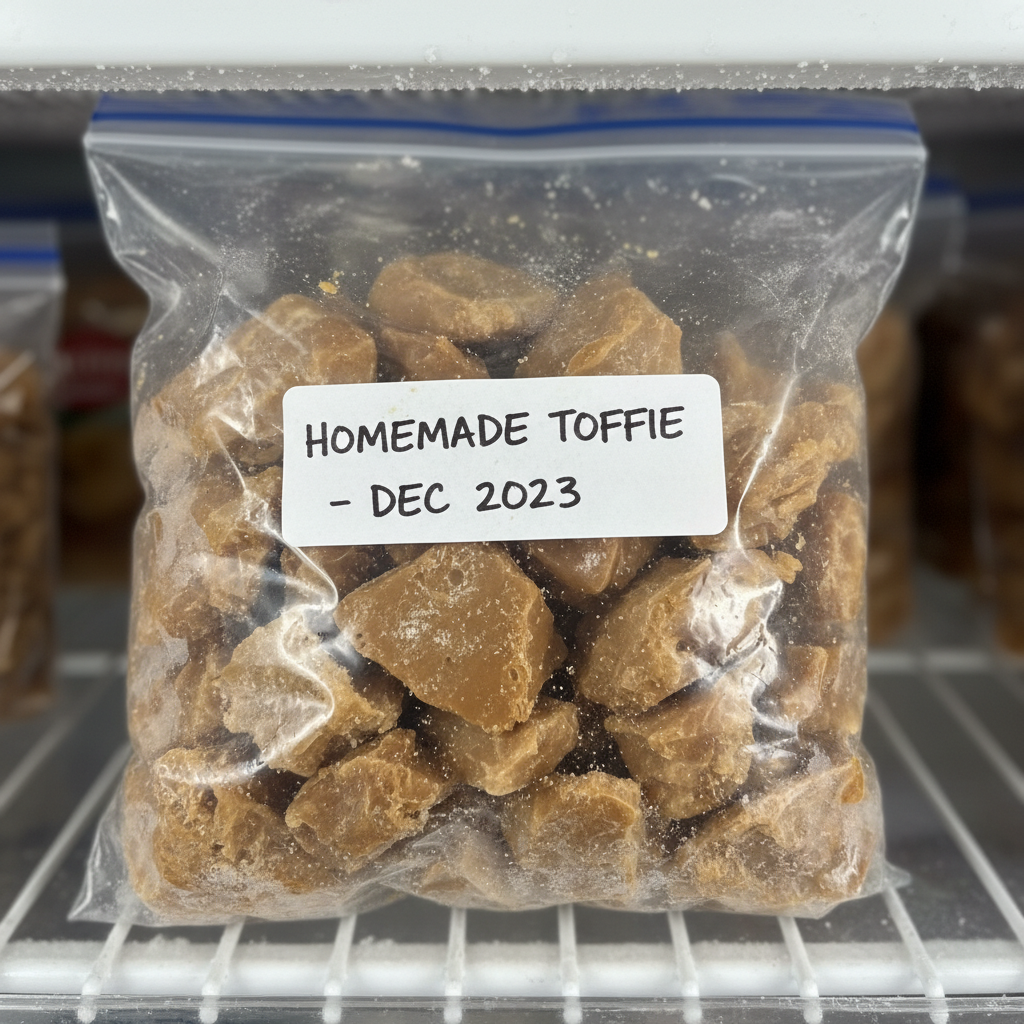
Butter toffee is a fantastic make-ahead treat! You can easily prepare a batch a week or two in advance of when you plan to serve it. Just follow the storage instructions above. For longer storage, toffee freezes surprisingly well. Place cooled, broken pieces in an airtight freezer-safe container or a heavy-duty freezer bag. It can be frozen for up to 2-3 months. When you’re ready to enjoy, simply remove it from the freezer and let it come to room temperature for about an hour before serving. This makes it perfect for holiday gifting or having a stash of deliciousness on hand whenever a craving strikes!
Serving Suggestions
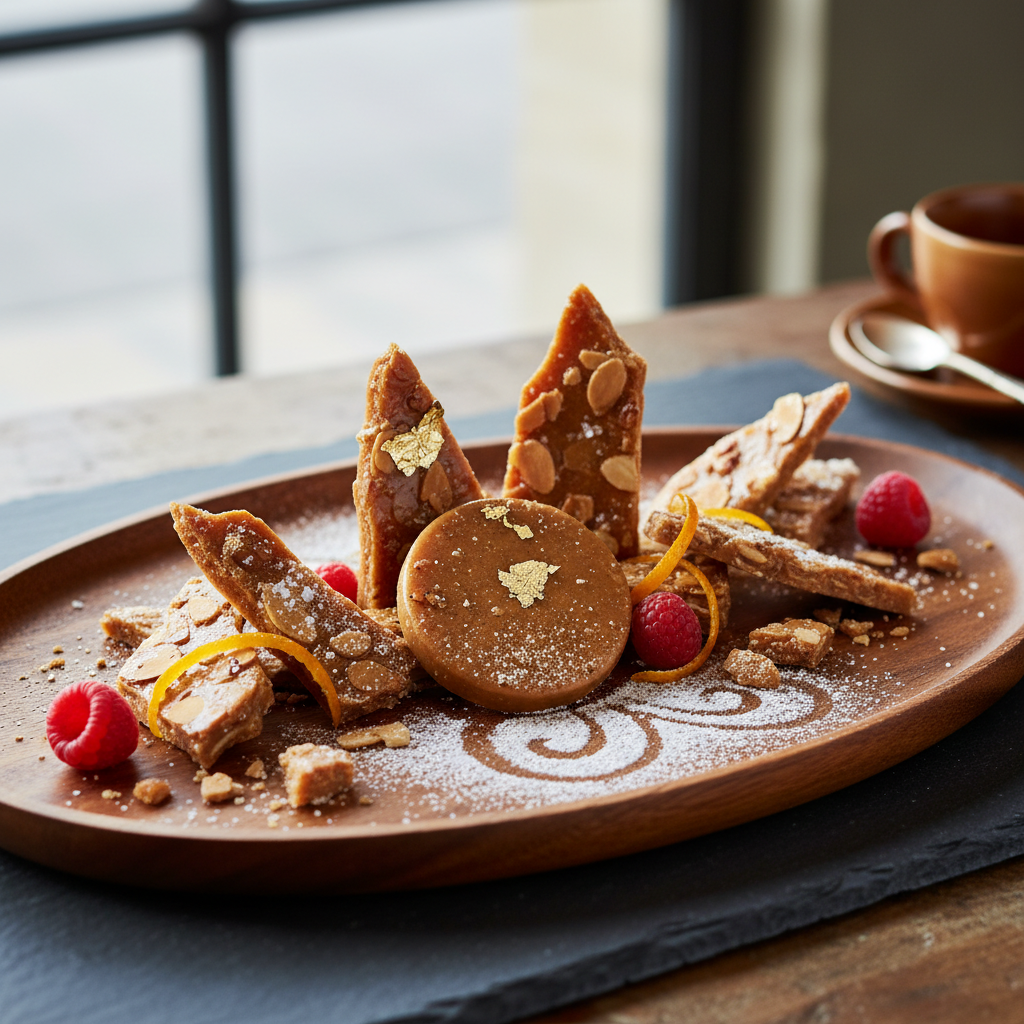
While butter toffee is absolutely divine on its own, there are so many creative ways to enjoy this crunchy confection:
- Coffee or Tea Companion: A small piece of toffee is the perfect accompaniment to a hot cup of coffee, tea, or even hot cocoa.
- Ice Cream Topping: Crush some toffee into smaller pieces and sprinkle generously over vanilla or chocolate ice cream for an incredible textural crunch.
- Dessert Garnish: Use broken toffee pieces to garnish cakes, cupcakes, or puddings.
- Cookie Add-in: Fold crushed toffee into your favorite chocolate chip cookie dough before baking for an extra layer of buttery crunch.
- Party Platter: Arrange pieces of toffee on a dessert board alongside other candies, cookies, and fresh fruit for a stunning display.
- Gift Giving: Package up small bags or boxes of homemade toffee for thoughtful holiday gifts, hostess presents, or party favors.