Who doesn’t love a classic candy bar? There’s something truly magical about the combination of sweet coconut, crunchy almonds, and rich chocolate. And if you’re a fan of the iconic Almond Joy, get ready for a treat! We’re diving into a super simple, incredibly satisfying recipe for homemade Almond Joy bars that requires just a few ingredients and delivers all the nostalgic flavor you crave. Forget the store-bought versions – once you taste these fresh, customizable, and unbelievably easy-to-make bars, you’ll be hooked!
This recipe is perfect for beginners, busy home cooks, or anyone looking for a delightful sweet escape. It’s a fantastic way to impress friends and family, or simply treat yourself to a moment of pure bliss. Let’s get baking (or rather, no-baking!).
History and Background of Almond Joy
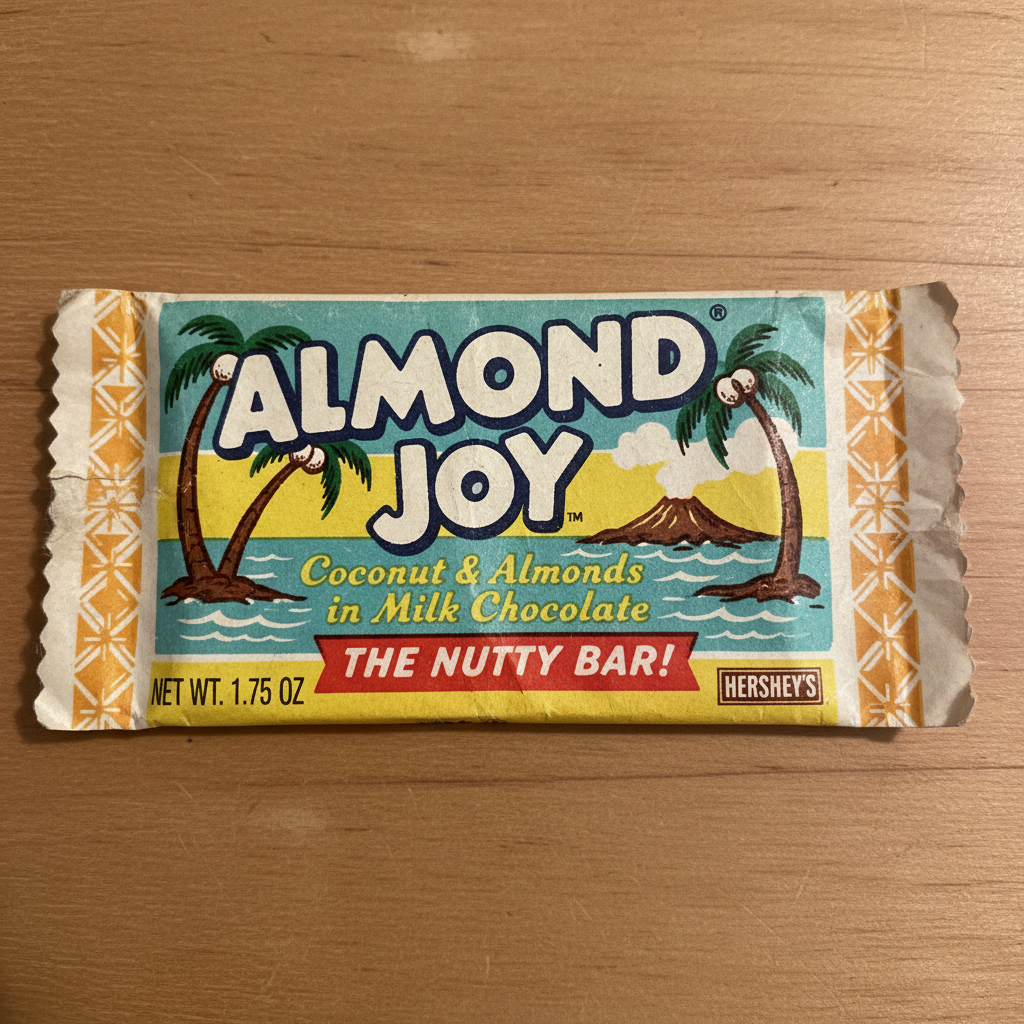
The story of Almond Joy is a sweet one, dating back to 1946 when Peter Paul Candy Manufacturing Company introduced it. It was designed as a sister candy bar to the Mounds bar, which featured coconut and dark chocolate. The key difference? Almond Joy added the delightful crunch of a whole almond and swapped the dark chocolate for a smoother milk chocolate coating. This combination quickly became a beloved classic, embodying a tropical escape in every bite. While our homemade version uses a rich dark chocolate for a more gourmet feel, the spirit of that original coconut and almond harmony remains perfectly intact.
Why You’ll Love This Recipe

- So Easy to Make You don’t need any fancy skills or equipment. Just mix, shape, and dip!
- Few Ingredients Required We’re talking about a handful of pantry staples.
- Deliciously Customizable Easily adjust sweetness, chocolate type, or add extras.
- Perfect for Gifting Homemade treats always make the best presents.
- Nostalgic Flavor Tastes just like your favorite candy bar, but even better!
- No Baking Involved A great recipe for hot days or when you just don’t want to turn on the oven.
Ingredient Notes
You’ll be amazed at how few ingredients are needed to create these delightful bars!
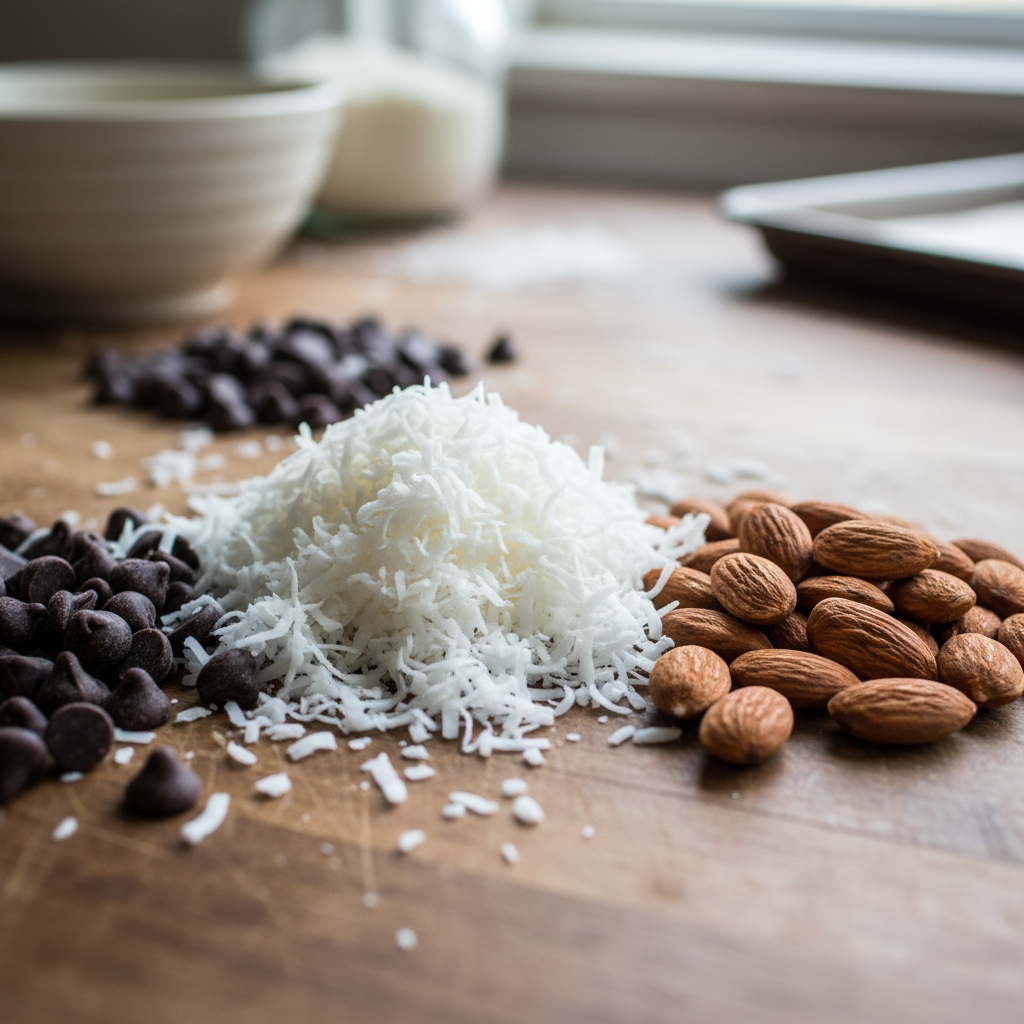
- Sweetened Shredded Coconut This is the heart of our bars. Make sure it’s sweetened for that authentic candy bar taste.
- Sweetened Condensed Milk This magical ingredient binds the coconut together and adds incredible sweetness and creaminess.
- Vanilla Extract A touch of vanilla enhances all the other flavors. Don’t skip it!
- Whole Almonds One almond per bar is traditional. Lightly toasted almonds can add an extra layer of flavor.
- Chocolate Chips or Melting Wafers For the coating. Dark chocolate, milk chocolate, or even a mix works wonderfully. High-quality chocolate makes a big difference here.
- Coconut Oil (optional, for dipping) A tiny bit can help thin the chocolate for easier dipping and a smoother finish.
Equipment Needed
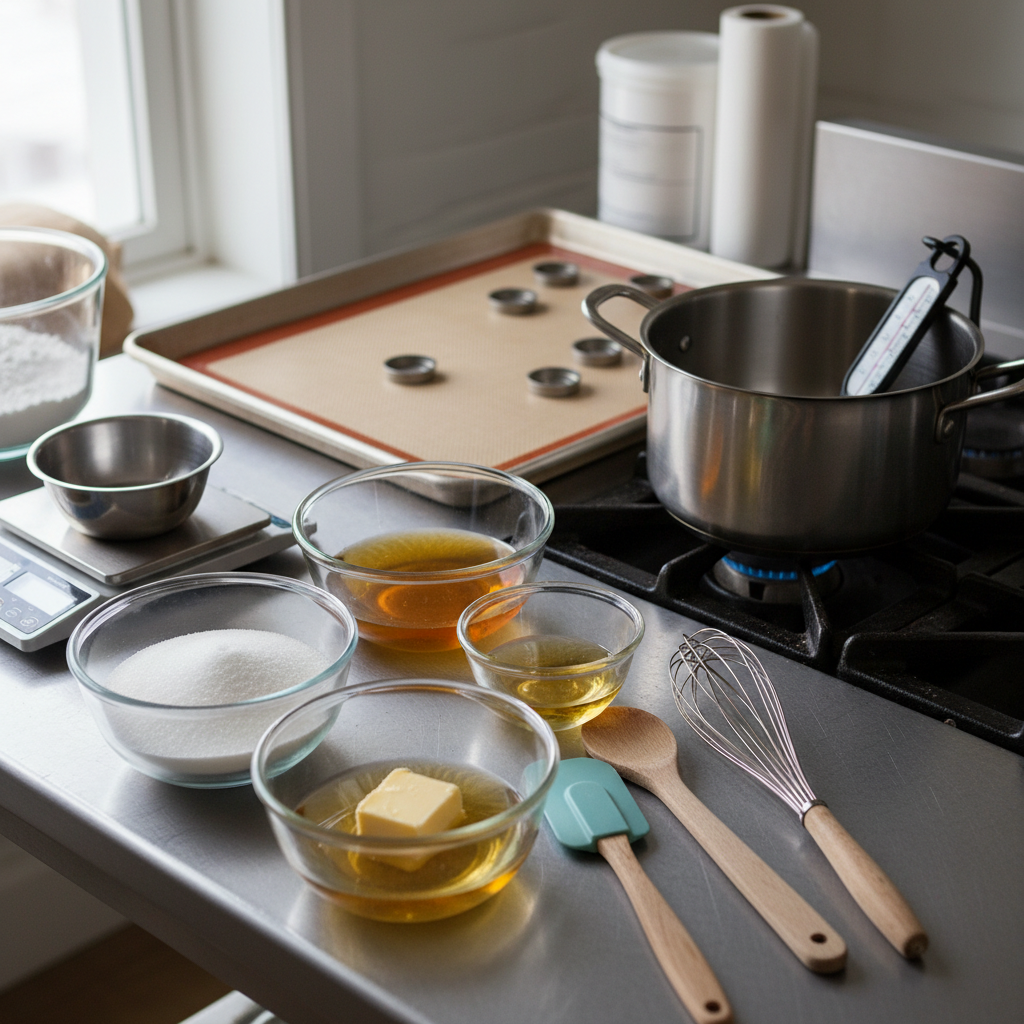
Good news! You likely have most of these in your kitchen already.
- Mixing Bowl For combining the coconut mixture.
- Baking Sheet Lined with parchment paper or a silicone mat for chilling the bars.
- Parchment Paper or Silicone Mat Prevents sticking and makes cleanup a breeze.
- Spoon or Spatula For mixing.
- Small Microwave-Safe Bowl or Double Boiler For melting the chocolate.
- Fork or Dipping Tools Essential for coating the bars evenly in chocolate.
Full Recipe Card
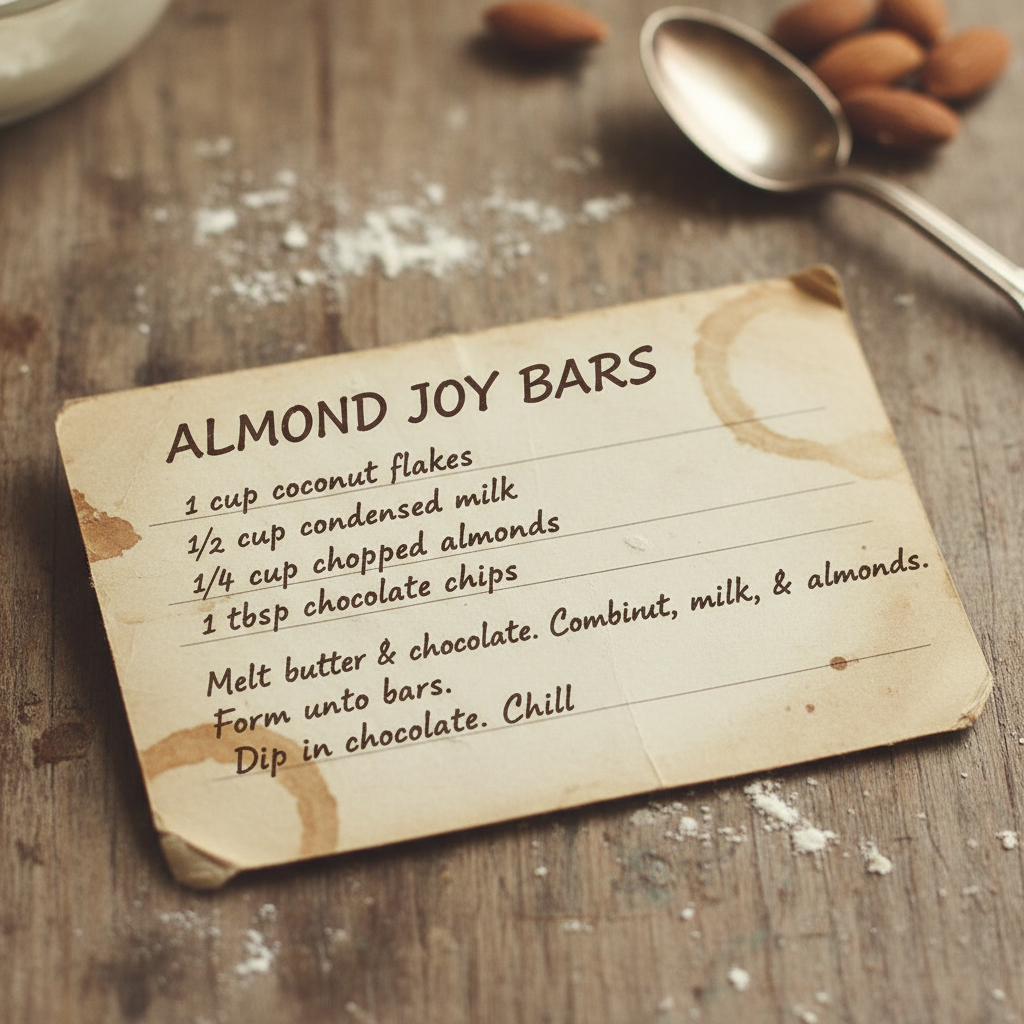
Yields 12-15 bars Prep time 20 minutes Chill time 1 hour
Ingredients
- 3 cups sweetened shredded coconut
- 1 (14-ounce) can sweetened condensed milk
- 1 teaspoon vanilla extract
- 12-15 whole almonds (lightly toasted, optional)
- 12 ounces dark chocolate chips or melting wafers
- 1 teaspoon coconut oil (optional)
Instructions
- Prepare the Coconut Mixture In a large mixing bowl, combine the shredded coconut, sweetened condensed milk, and vanilla extract. Mix thoroughly until the coconut is evenly coated and sticky.
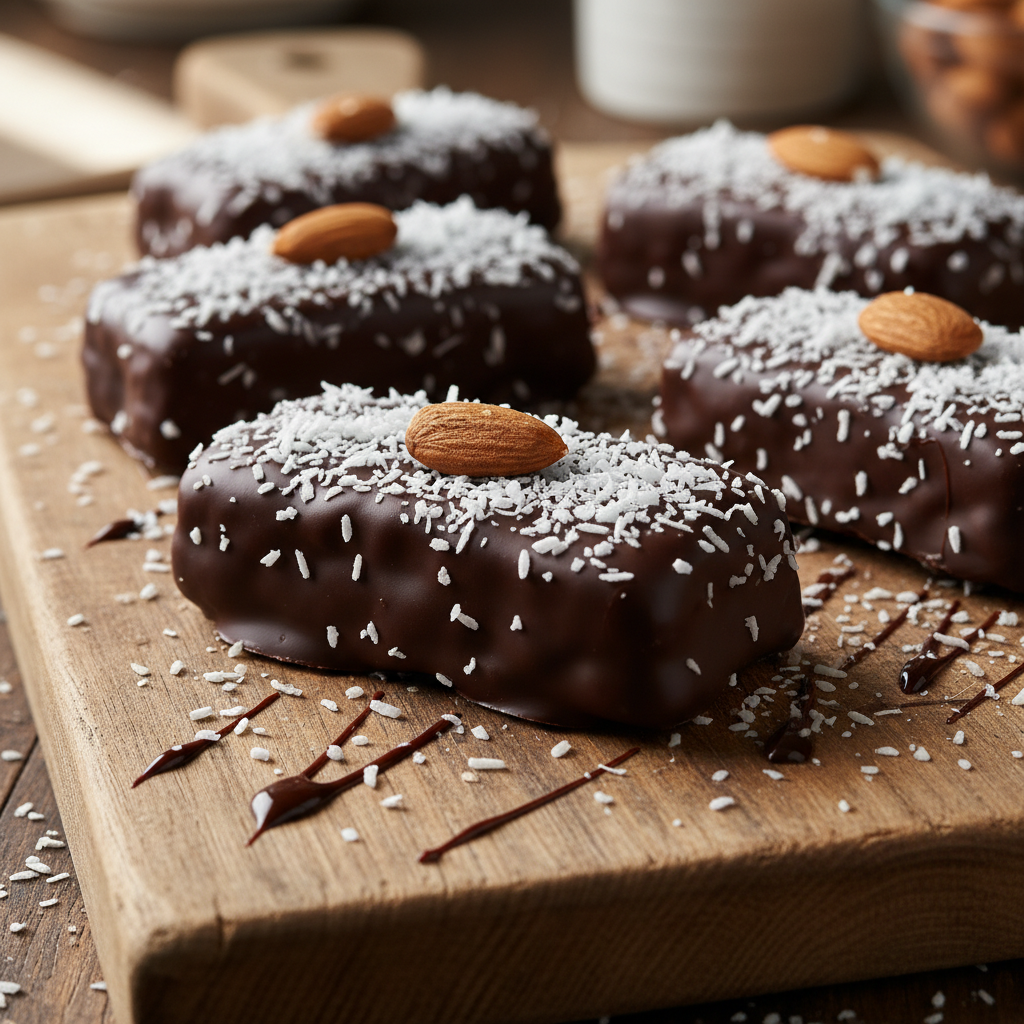
- Shape the Bars Line a baking sheet with parchment paper. Take about 1-2 tablespoons of the coconut mixture and press it firmly into a compact, rectangular bar shape (about 2 inches long). Place a whole almond on top of each bar, pressing it gently into the coconut. Repeat with the remaining mixture.
- Chill the Bars Place the baking sheet with the shaped bars into the refrigerator for at least 30-60 minutes, or until the bars are firm. This step is crucial for easy dipping.
- Melt the Chocolate While the bars are chilling, melt the chocolate. In a microwave-safe bowl, melt the chocolate chips in 30-second intervals, stirring well after each, until smooth. Alternatively, use a double boiler on the stovetop. If using, stir in the coconut oil to thin the chocolate slightly.
- Dip the Bars Once the coconut bars are firm, carefully dip each one into the melted chocolate using a fork or dipping tool. Allow excess chocolate to drip off. Place the chocolate-coated bars back onto the parchment-lined baking sheet.
- Set and Enjoy For an extra touch, you can sprinkle a tiny bit of shredded coconut on top of the wet chocolate. Place the baking sheet back into the refrigerator for another 15-20 minutes, or until the chocolate is completely set.
- Serve and enjoy your homemade Almond Joy bars!
Recipe Notes
- For a thicker chocolate coating, you can double dip the bars after the first layer has set.
- If your chocolate starts to thicken during dipping, gently reheat it in the microwave for a few seconds.
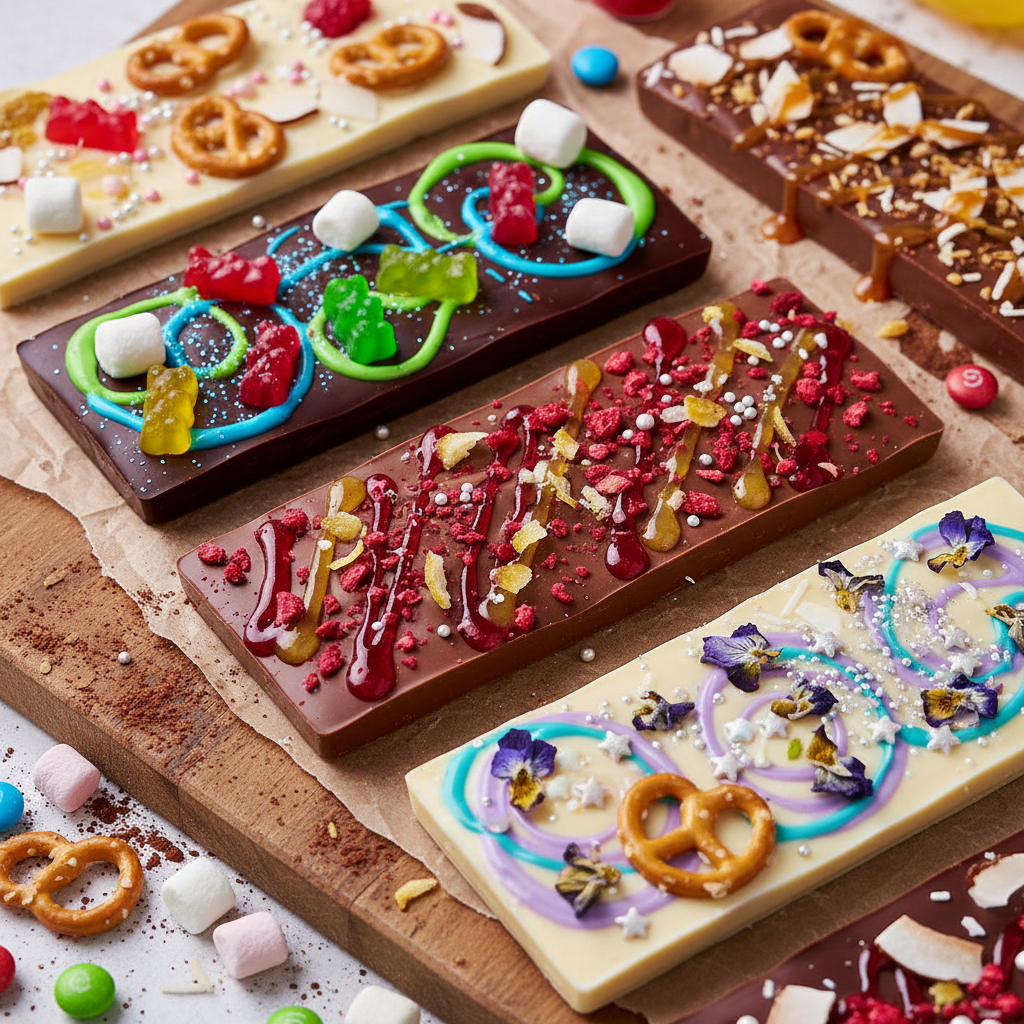
- Feel free to experiment with different types of chocolate – milk, semi-sweet, or even white chocolate!
Tips and Variations
- Nutty Variations Try pecans, walnuts, or even a mix of nuts instead of just almonds.
- Citrus Zest Add a teaspoon of orange or lime zest to the coconut mixture for a bright, refreshing twist.
- Spiced Coconut A pinch of cinnamon or cardamom can add a warm, exotic flavor.
- Toasted Coconut Lightly toast the shredded coconut before mixing for a deeper, nuttier flavor.
- Mini Bites Shape the mixture into small balls instead of bars for bite-sized treats.
- Different Coatings Experiment with white chocolate, or drizzle with contrasting chocolate colors for decoration.
Pro Chef Tips

- Temperature Control is Key Ensure your coconut bars are very cold before dipping. This helps the chocolate set quickly and prevents the bars from falling apart.
- Use Quality Chocolate The better the chocolate, the better your bars will taste. Compound chocolate or melting wafers are often easier to work with for dipping than standard chocolate chips.
- Thin Your Chocolate Wisely If your chocolate is too thick, add coconut oil or a tiny bit of vegetable shortening (1/2 to 1 teaspoon per 12 ounces of chocolate) to get a smoother, more manageable consistency for dipping.
- Patience with Dipping Don’t rush! Let excess chocolate drip off completely before placing the bar on the parchment paper. A gentle tap of the fork on the side of the bowl helps.
- Clean Edges Use a toothpick to gently clean up any excess chocolate around the base of the bar before it sets.
Common Mistakes to Avoid
Melted chocolate mess on a kitchen counter, slightly chaotic, photorealistic.
- Warm Coconut Bars Dipping warm bars will cause the chocolate to melt and slide off, creating a messy situation. Always chill thoroughly!
- Overheating Chocolate Burnt or seized chocolate is no fun. Melt slowly, in short intervals, stirring frequently.
- Too Much Coconut Oil Adding too much coconut oil can make the chocolate too thin and greasy, preventing it from setting properly. A little goes a long way.
- Impatience Rushing the chilling or setting process will result in soft, sticky bars. Good things come to those who wait!
- Not Pressing Firmly Enough If the coconut mixture isn’t pressed firmly, the bars might crumble when you try to dip them.
Storage and Meal Prep
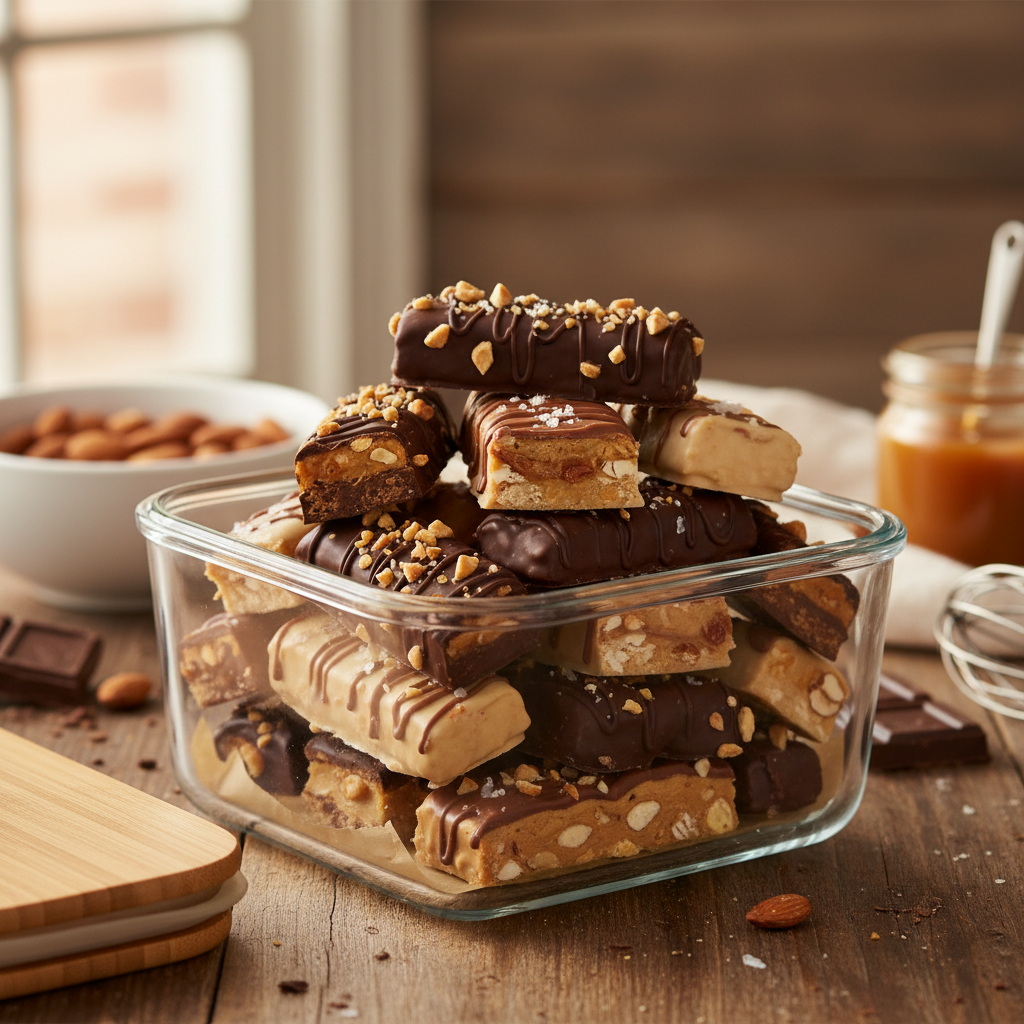
These homemade Almond Joy bars are best stored in an airtight container in the refrigerator. They will keep well for up to 2 weeks. If you prefer them at room temperature, they can sit out for a few hours, but for optimal freshness and firmness, the fridge is your best bet.
Make-Ahead and Freezer Notes
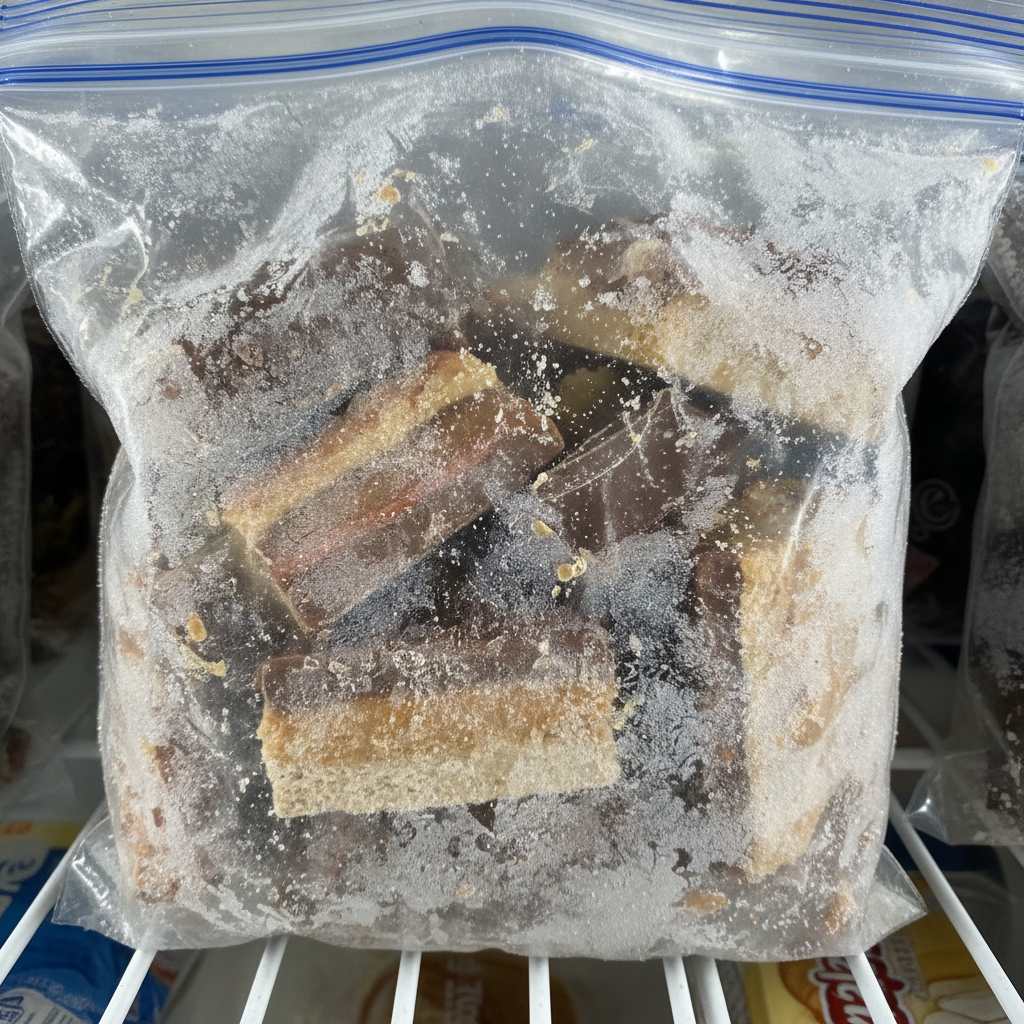
These bars are fantastic for making ahead! You can prepare the coconut mixture and shape the bars, then store them in an airtight container in the refrigerator for up to 3-4 days before dipping. Once dipped and set, they can also be frozen. Place them in a single layer on a baking sheet until solid, then transfer to a freezer-safe bag or container, separated by parchment paper, for up to 2-3 months. Thaw in the refrigerator before serving.
Serving Suggestions
These homemade Almond Joy bars are delightful on their own, but here are a few ideas to elevate your experience:
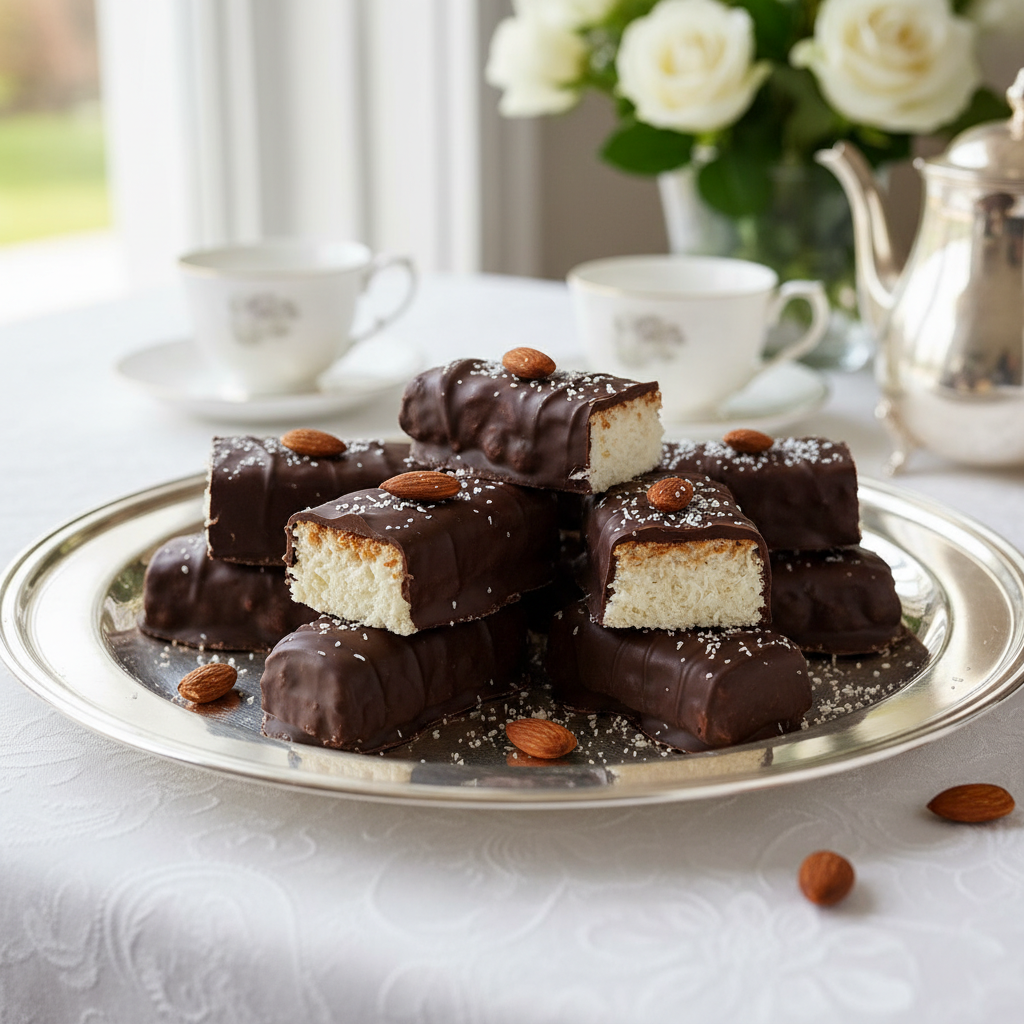
- Serve them alongside a cup of hot coffee or tea for a perfect afternoon treat.
- Crumble them over vanilla ice cream for an instant dessert upgrade.
- Chop them up and add them to a homemade trail mix for a sweet and nutty crunch.
- Arrange them on a dessert platter for parties or gatherings – they’re always a crowd-pleaser!
- Enjoy them chilled straight from the fridge for a refreshing candy experience.
Conclusion
There you have it – a wonderfully simple, incredibly satisfying recipe for homemade Almond Joy bars. It’s truly amazing how a few humble ingredients can come together to create such a beloved classic. Whether you’re making them for a special occasion, a thoughtful gift, or just a treat for yourself, these bars are sure to bring a smile to anyone’s face. So go ahead, gather your ingredients, and get ready to create some sweet magic in your kitchen. Happy candy making!