Who doesn’t love a decadent dessert that requires absolutely no oven time? If you’re anything like us, the thought of a rich, creamy chocolate cheesecake is always tempting, but sometimes, the baking process feels a little too involved. Especially when the weather gets warm, turning on the oven is the last thing you want to do!
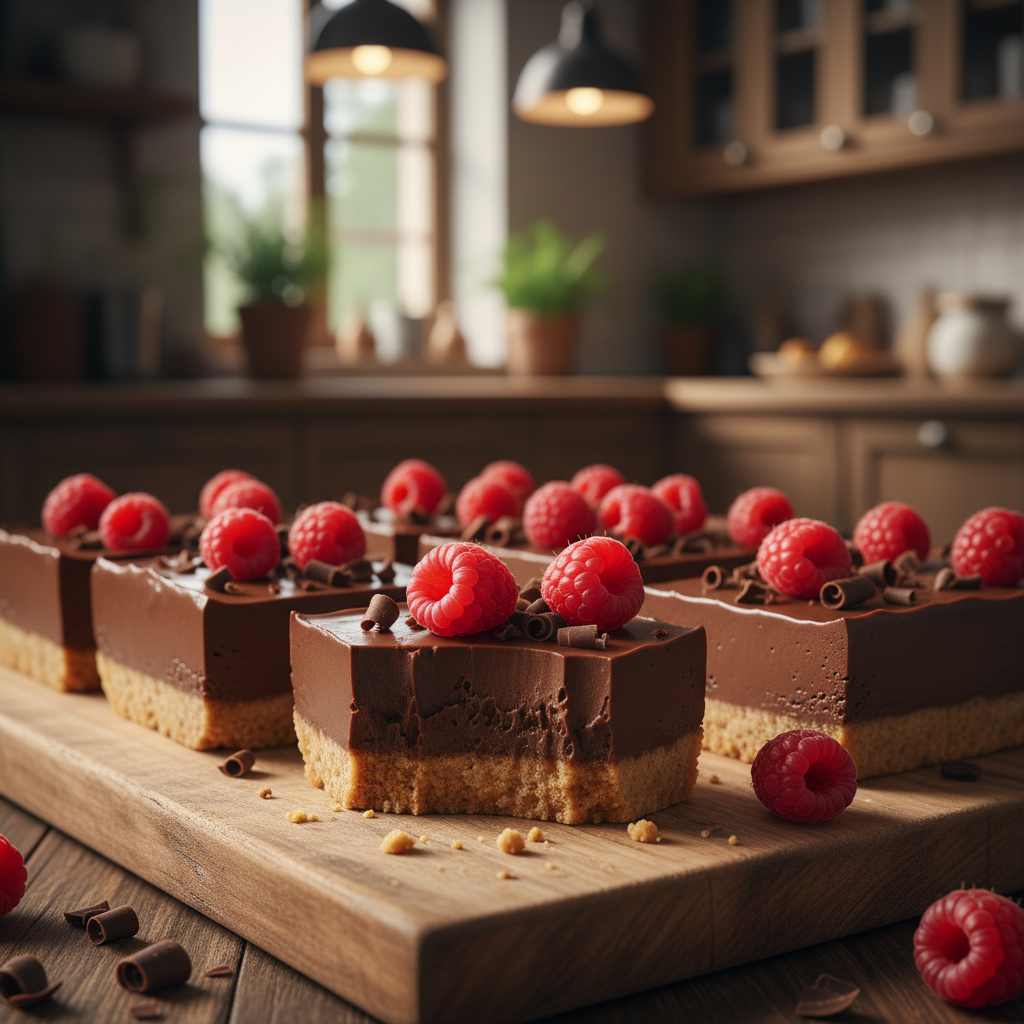
Well, get ready to have your dessert dreams come true with our incredible No Bake Chocolate Cheesecake Bars. These bars are a true game-changer – super easy to whip up, packed with intense chocolate flavor, and boasting a wonderfully smooth, velvety texture that melts in your mouth. They’re the perfect treat for potlucks, parties, or simply satisfying that late-night chocolate craving without breaking a sweat. Let’s dive into making this irresistible dessert!
A Sweet History – The Story of Cheesecake and No-Bake Wonders
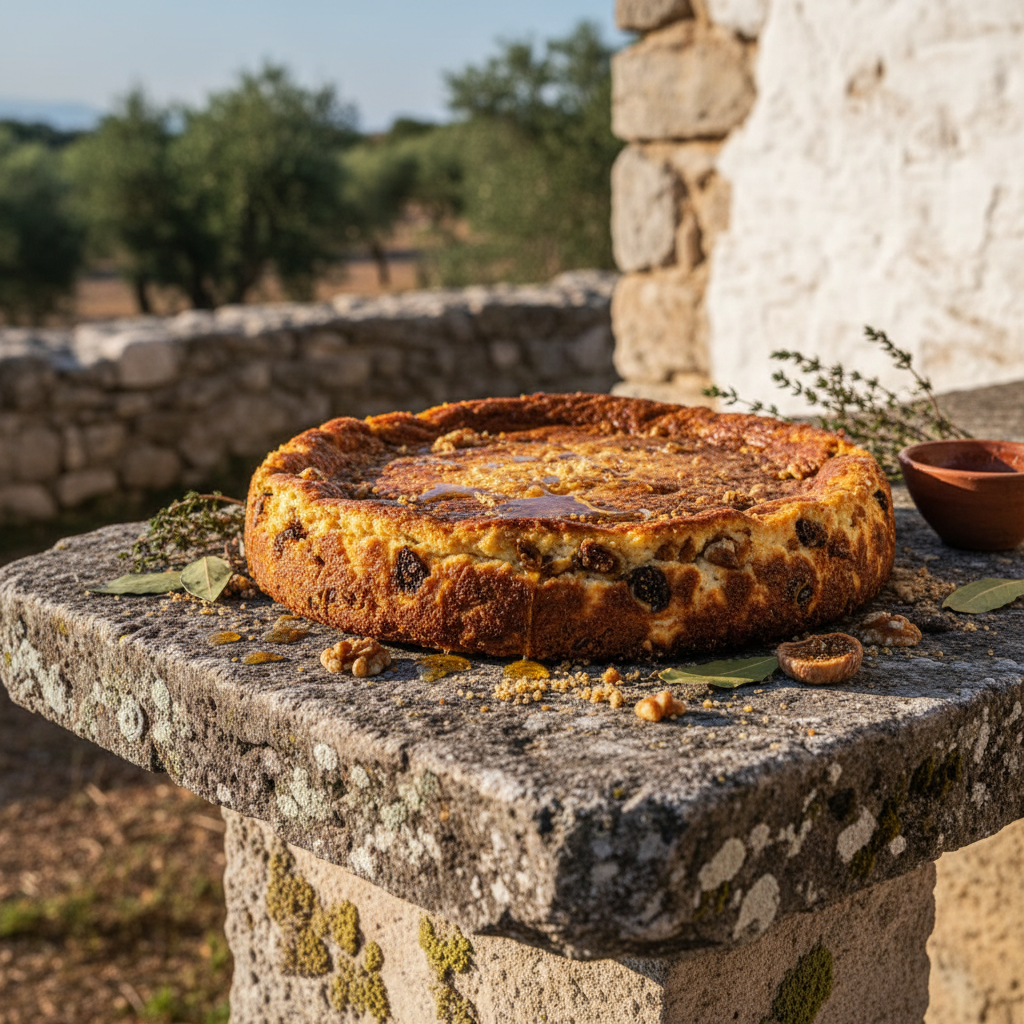
Cheesecake has a surprisingly long and rich history, dating back to ancient Greece, where it was served to athletes during the Olympic Games. The Romans later adopted and adapted the recipe, spreading it across Europe. Over centuries, it evolved, with different cultures adding their unique twists, from the ricotta-based Italian versions to the cream cheese-centric New York style we know and love today.
The concept of ‘no-bake’ desserts, while seemingly modern, also has roots in practicality. Before widespread access to ovens, or during times when fuel was scarce, cold desserts were a clever way to enjoy sweet treats. The no-bake cheesecake specifically gained popularity in the mid-20th century, especially with the rise of gelatin and stabilized dairy products, making it possible to achieve that familiar cheesecake texture without the need for baking. Our chocolate version takes this classic comfort and elevates it with a deep, satisfying cocoa richness.
Why You’ll Love This Recipe – Quick Points

- No Oven Required Say goodbye to heating up your kitchen! This recipe is perfect for hot days or when you just don’t feel like baking.
- Simple Ingredients You’ll find most of these staples already in your pantry and fridge.
- Rich Chocolate Flavor Made with real cocoa powder, these bars deliver a deep, satisfying chocolate punch.
- Beginner-Friendly If you’re new to making desserts, this is a fantastic starting point. The steps are straightforward and forgiving.
- Perfect for Any Occasion From casual family desserts to elegant party platters, these bars fit right in.
- Easy to Make Ahead Prepare them in advance, chill, and they’re ready to serve when you are.
- Crowd-Pleaser Seriously, who can resist chocolate and cheesecake combined in such an easy-to-eat format?
Ingredient Notes – What You’ll Need

Each ingredient plays a crucial role in creating the perfect texture and flavor for these bars. Here’s a quick rundown of what you’ll need and why:
- Graham Cracker Crumbs These form the classic, slightly sweet, and crunchy base. You can buy them pre-crushed or crush whole crackers yourself.
- Melted Unsalted Butter Binds the crust together, giving it that firm, buttery foundation.
- Granulated Sugar (for crust) A little sweetness for the base.
- Full-Fat Cream Cheese This is the star of the show! Make sure it’s full-fat and softened to room temperature for the creamiest, smoothest filling.
- Powdered Sugar (Confectioners’ Sugar) Sweetens the filling and helps create a smooth, lump-free texture.
- Unsweetened Cocoa Powder For that deep, rich chocolate flavor. Use a good quality cocoa for the best results.
- Heavy Cream (Cold) Whipped to stiff peaks, it lightens the filling and gives it that airy, mousse-like quality. Make sure it’s very cold!
- Vanilla Extract Enhances all the other flavors. Use pure vanilla extract for the best taste.
- Pinch of Salt A tiny bit of salt balances the sweetness and brings out the chocolate flavor.
Equipment Needed – Your Kitchen Toolkit
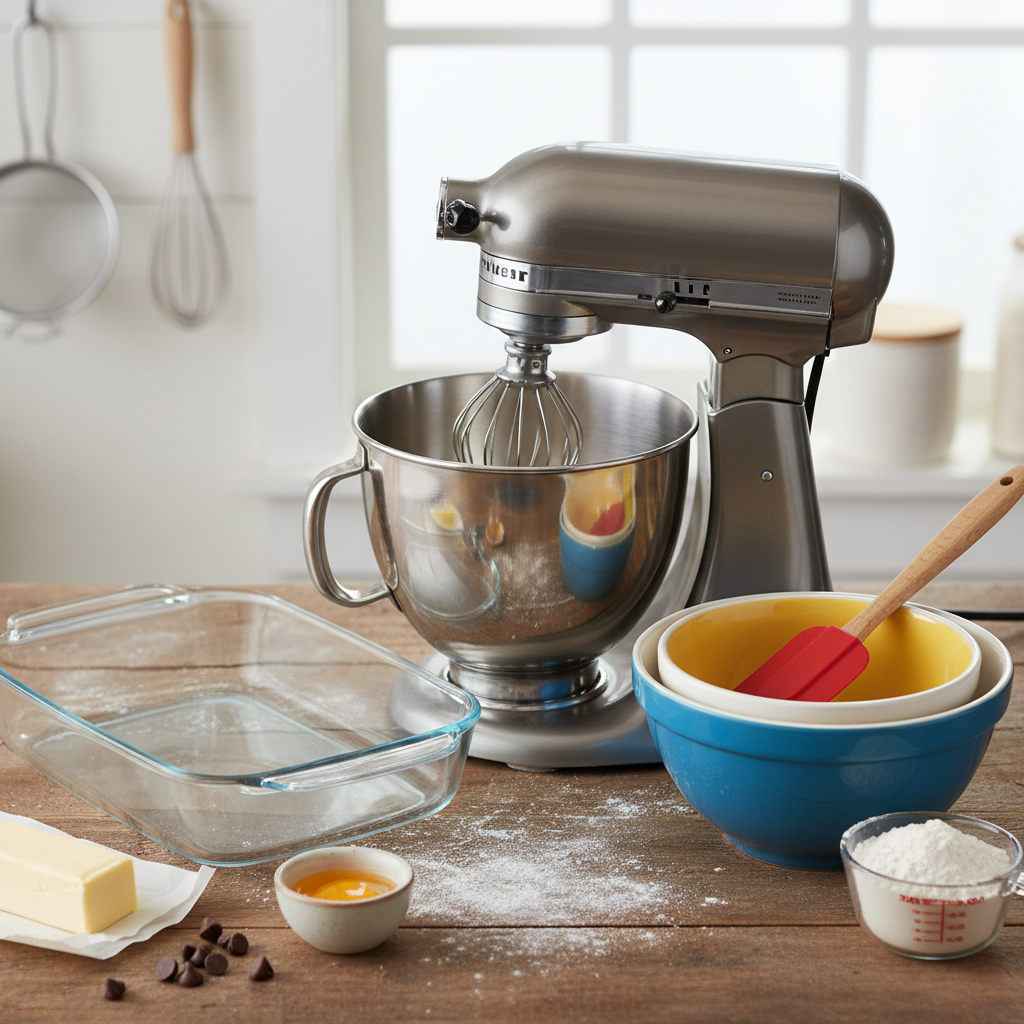
You won’t need anything fancy for these bars, just a few common kitchen tools:
- 9×13 Inch Baking Pan A standard pan size that’s perfect for bars. Line it with parchment paper for easy lifting and cutting.
- Mixing Bowls You’ll need a couple – one for the crust, one for the cream cheese mixture, and another for whipping cream.
- Electric Mixer (Handheld or Stand) Essential for achieving a smooth cream cheese mixture and perfectly whipped cream.
- Rubber Spatula For scraping down bowls and folding ingredients.
- Measuring Cups and Spoons Accuracy is key in baking, even no-bake!
- Whisk Handy for combining dry ingredients.
Full Recipe Card – No Bake Chocolate Cheesecake Bars
Ingredients
- For the Crust:
- 1 ½ cups graham cracker crumbs (about 10-12 full graham cracker sheets)
- ¼ cup granulated sugar
- ½ cup (1 stick) unsalted butter, melted
- For the Filling:
- 2 (8-ounce) packages full-fat cream cheese, softened to room temperature
- 1 ½ cups powdered sugar, sifted
- ½ cup unsweetened cocoa powder, sifted
- 1 teaspoon pure vanilla extract
- ¼ teaspoon salt
- 1 ½ cups cold heavy cream
Instructions
- Prepare the Pan Line a 9×13 inch baking pan with parchment paper, leaving an overhang on the sides. This will make it super easy to lift the bars out later.
- Make the Crust In a medium bowl, combine the graham cracker crumbs, ¼ cup granulated sugar, and melted butter. Mix well until the crumbs are evenly moistened. Press the mixture firmly and evenly into the bottom of the prepared pan. Use the bottom of a glass or a flat measuring cup to get a really compact crust. Place the pan in the refrigerator to chill while you prepare the filling.
- Beat Cream Cheese In a large mixing bowl, using an electric mixer, beat the softened cream cheese on medium speed until completely smooth and creamy, about 2-3 minutes. Make sure there are no lumps!
- Add Dry Ingredients Gradually add the sifted powdered sugar, sifted cocoa powder, vanilla extract, and salt to the cream cheese. Beat on low speed until just combined, then increase to medium and beat until smooth and well incorporated. Scrape down the sides of the bowl as needed.
- Whip Heavy Cream In a separate, very cold mixing bowl (you can chill it beforehand), pour the cold heavy cream. Using clean beaters, whip the heavy cream on high speed until stiff peaks form. Be careful not to over-whip, or it might become grainy.
- Fold Together Gently fold the whipped cream into the cream cheese mixture using a rubber spatula. Do this in two additions, being careful not to deflate the whipped cream. Mix until just combined and no streaks of white cream remain. The mixture should be light and airy.
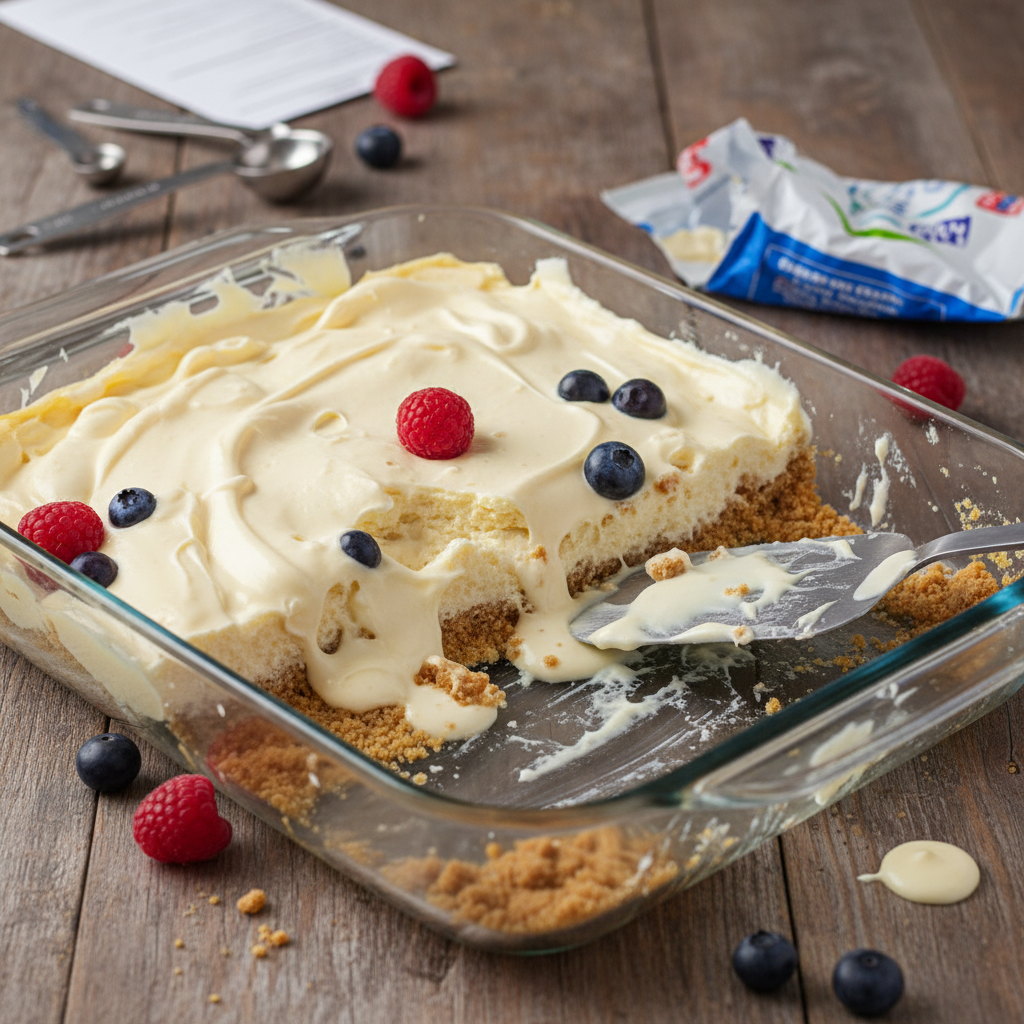
- Assemble and Chill Pour the chocolate cheesecake filling over the chilled crust in the pan. Spread it evenly with a spatula. Cover the pan loosely with plastic wrap and refrigerate for at least 6 hours, or preferably overnight, until firm.
- Slice and Serve Once fully chilled and firm, use the parchment paper overhang to lift the entire cheesecake out of the pan. Place it on a cutting board and cut into desired bar sizes using a sharp knife dipped in hot water and wiped clean between cuts.
Notes
- For the cleanest cuts, dip your knife in hot water and wipe it clean between each slice.
- Ensure cream cheese is at room temperature for a lump-free, smooth filling.
- Do not overmix the cream cheese mixture once the dry ingredients are added; mix until just combined.
- Chilling for the full recommended time is crucial for setting.
Tips & Variations – Get Creative!
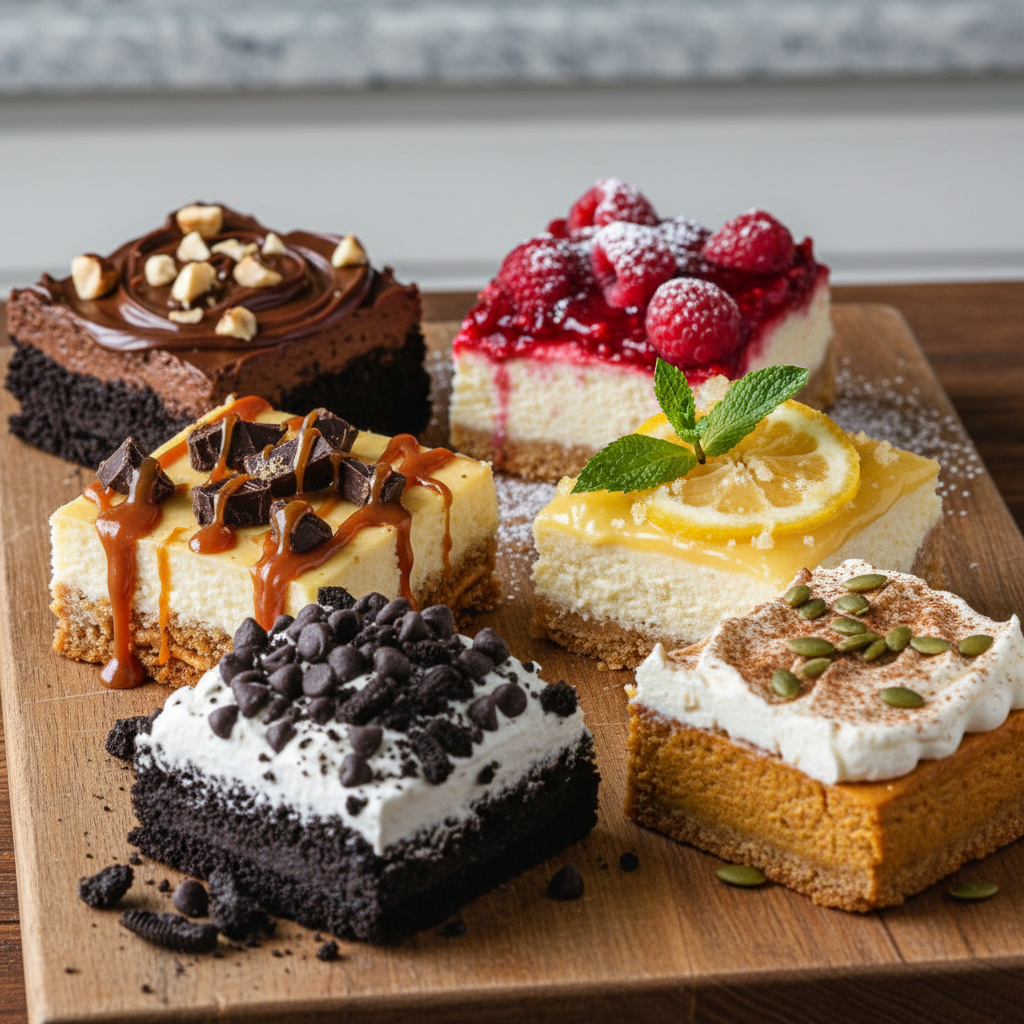
This recipe is wonderfully versatile! Feel free to experiment with these ideas:
- Different Crusts Instead of graham crackers, try crushed Oreo cookies (for a super chocolatey experience), shortbread cookies, or even pretzel crumbs for a sweet and salty twist.
- Add a Liqueur A tablespoon or two of Kahlua, Irish cream, or rum can add a sophisticated touch to the chocolate filling.
- Different Chocolate Types Use a mix of dark cocoa and regular cocoa, or fold in some mini chocolate chips or chopped chocolate chunks into the filling for extra texture.
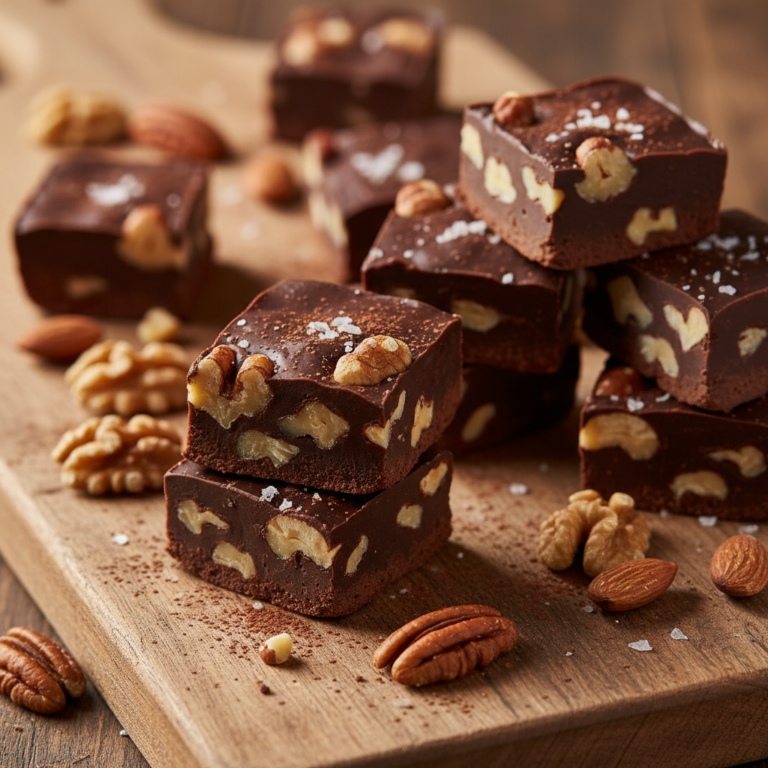
- Nutty Addition Sprinkle finely chopped toasted pecans or walnuts over the crust before chilling, or on top of the finished bars.
- Espresso Boost Add ½ teaspoon of instant espresso powder to the cocoa powder for a deeper, more intense chocolate flavor. It won’t taste like coffee, but it will enhance the chocolate.
Pro Chef Tips – Elevate Your Bars
- Room Temperature Cream Cheese is Non-Negotiable This is the golden rule for any cheesecake, baked or no-bake. Cold cream cheese will result in lumps, no matter how long you beat it. Take it out of the fridge at least an hour before you start.
- Sift Your Dry Ingredients Powdered sugar and cocoa powder can be clumpy. Sifting them ensures a silky-smooth filling without any grainy bits.
- Don’t Over-Whip the Cream Cheese Mixture Once the cream cheese is smooth, add the other ingredients and mix until just combined. Overmixing can incorporate too much air, which can lead to a less dense, less creamy texture.
- Whip Heavy Cream to Stiff Peaks This provides the necessary structure to the no-bake filling. Under-whipped cream will make your bars too soft.
- Chill, Chill, Chill We cannot stress this enough! The chilling time allows the filling to fully set and firm up. Rushing this step will result in a messy, unset dessert.
Common Mistakes to Avoid – Learn from Others
Even simple recipes can have pitfalls. Here are some common mistakes and how to avoid them:
- Not Chilling Long Enough The biggest culprit for runny no-bake cheesecake! Resist the urge to cut into them early. Give them at least 6 hours, or better yet, overnight.
- Using Cold Cream Cheese As mentioned, this leads to a lumpy filling. Always soften it first.
- Overmixing the Cream Cheese Filling Once smooth, add the remaining ingredients and mix gently until just combined. Excessive beating can incorporate too much air, making the texture less dense and creamy.
- Under-Whipping the Heavy Cream If your heavy cream isn’t whipped to stiff peaks, the filling won’t set properly. It needs that structure.
- Not Lining the Pan Without parchment paper, getting the bars out cleanly can be a real challenge, potentially ruining your beautiful dessert.
Storage & Meal Prep – Keeping Them Fresh
These No Bake Chocolate Cheesecake Bars are fantastic for making ahead, and they store wonderfully:
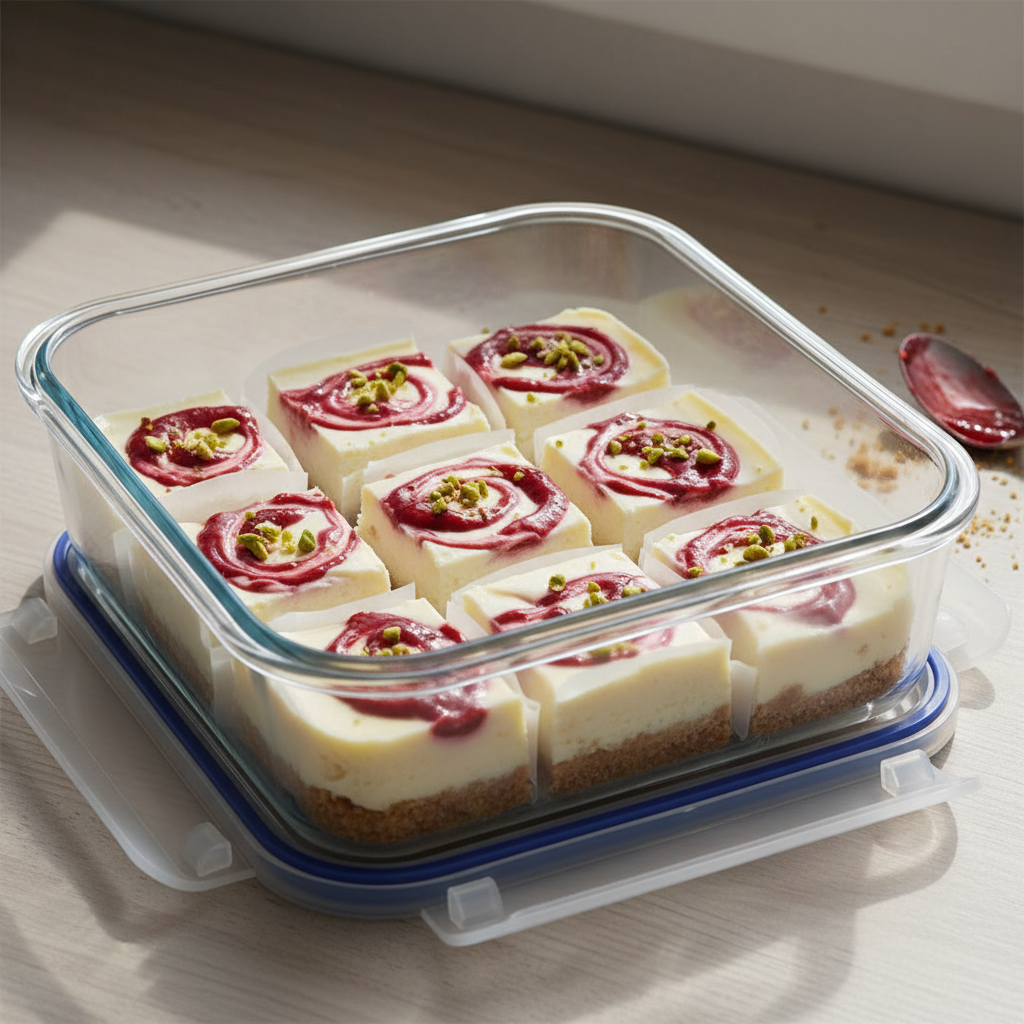
- Refrigerator Storage Store leftover bars in an airtight container in the refrigerator for up to 4-5 days. Keep them covered to prevent them from absorbing fridge odors and drying out.
- Meal Prep These are excellent for weekly meal prep! Make a batch on Sunday, and you’ll have delicious treats to enjoy throughout the week.
Make-Ahead & Freezer Notes – Plan Ahead
Planning a party or just want to have dessert ready whenever a craving strikes?
- Make-Ahead You can assemble the entire pan of bars up to 2 days in advance. Just keep it covered in the refrigerator until about 30 minutes before you plan to serve.
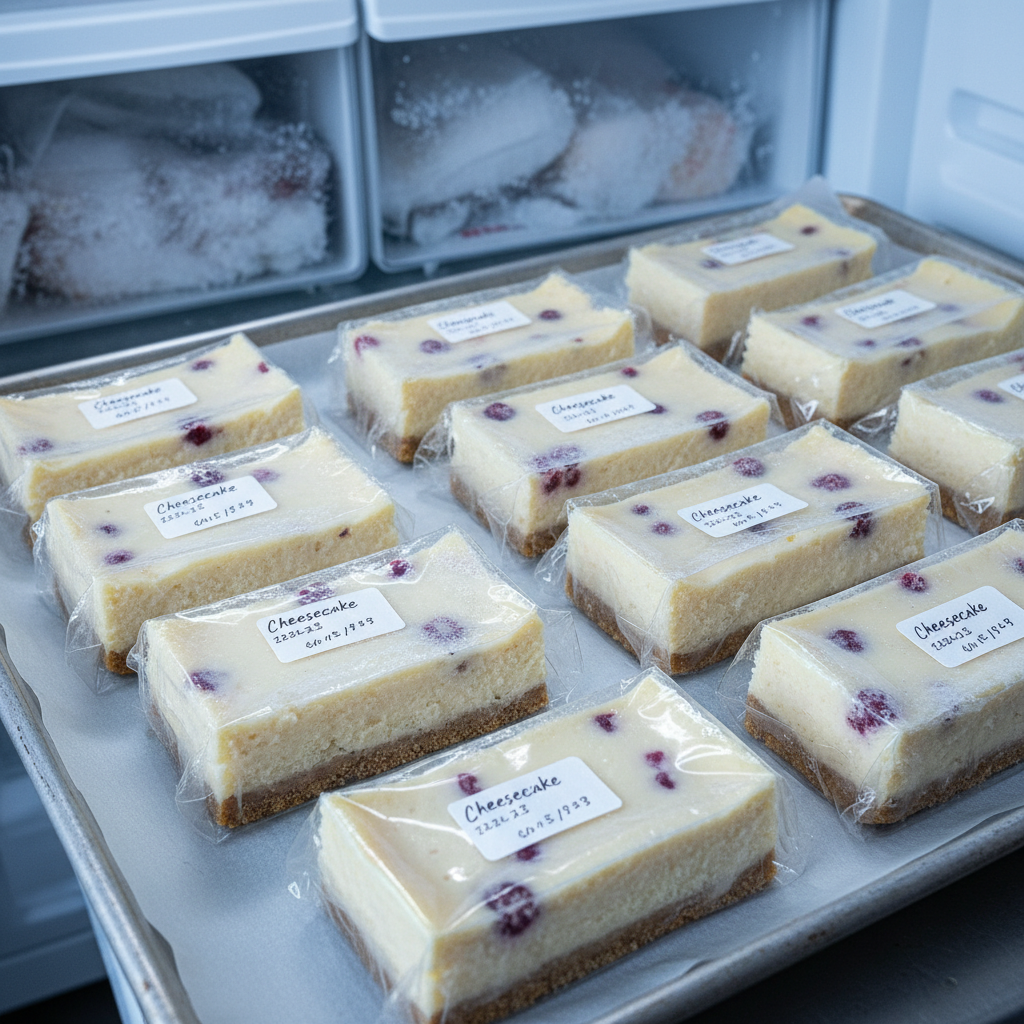
- Freezing Yes, these bars freeze beautifully! Once the bars are fully set, cut them into individual portions. Place them on a baking sheet and freeze until firm (about 1-2 hours). Once firm, wrap each bar individually in plastic wrap, then place them in a freezer-safe airtight container or freezer bag. They can be stored in the freezer for up to 1 month.
- Thawing To enjoy, simply remove a frozen bar from the freezer and let it thaw in the refrigerator for a few hours or at room temperature for about 30 minutes.
Serving Suggestions – Perfect Pairings
While these bars are absolutely delicious on their own, a few simple additions can elevate them even further:
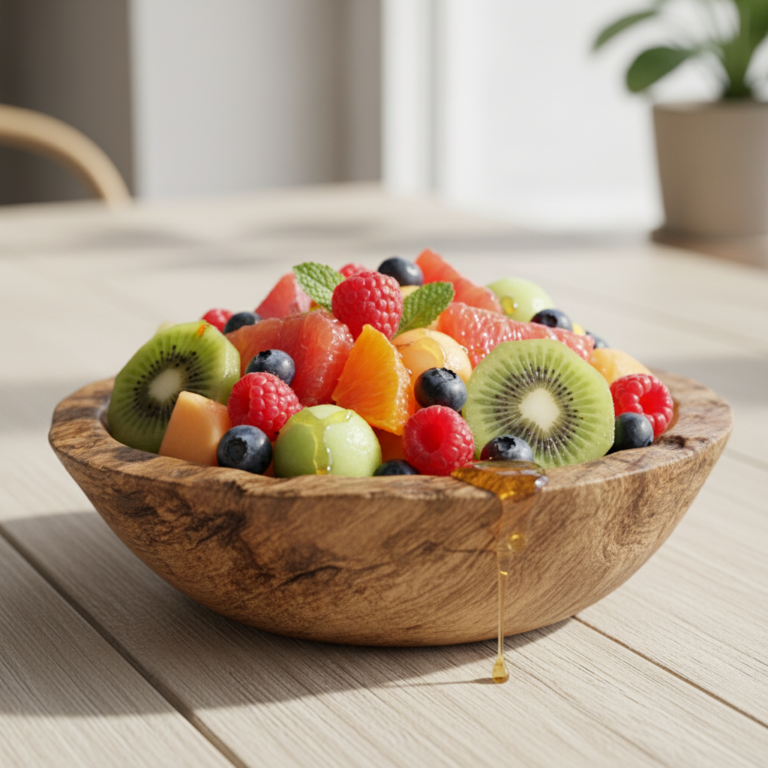
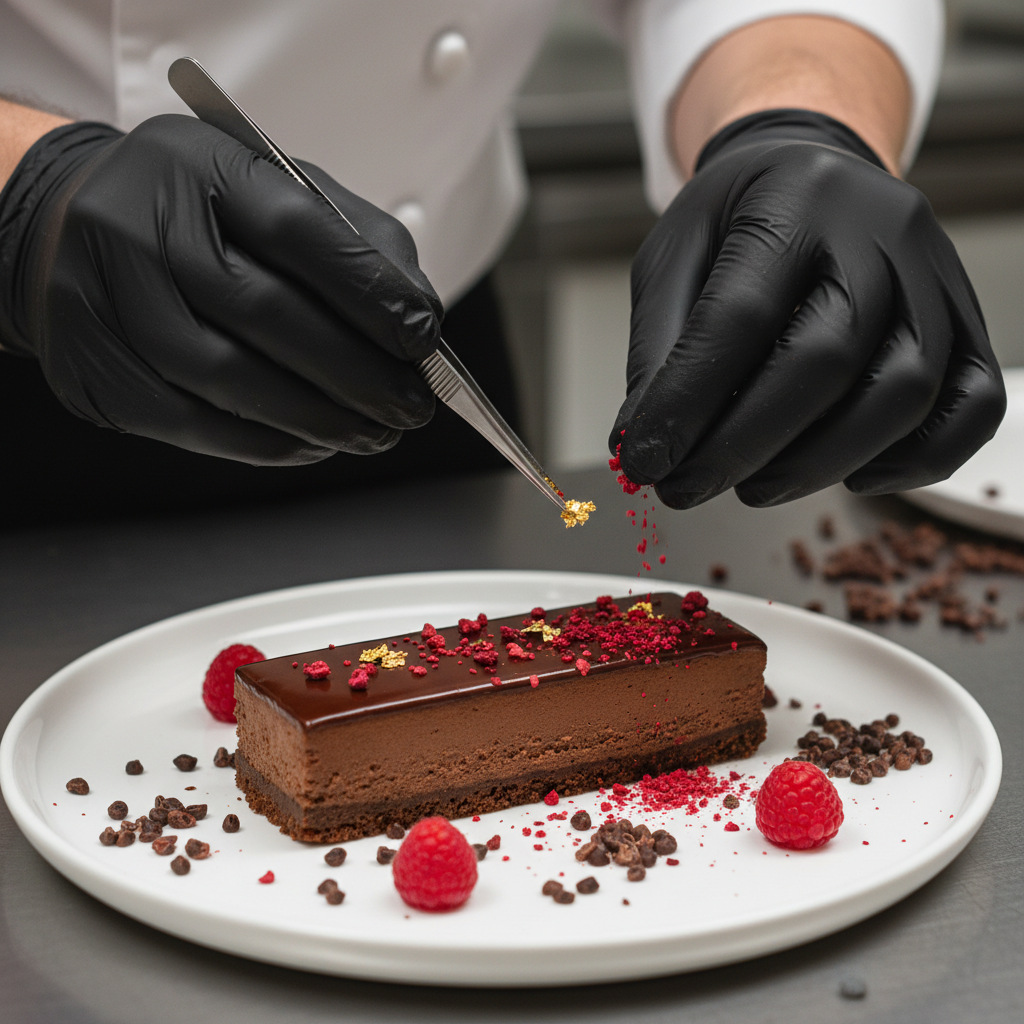
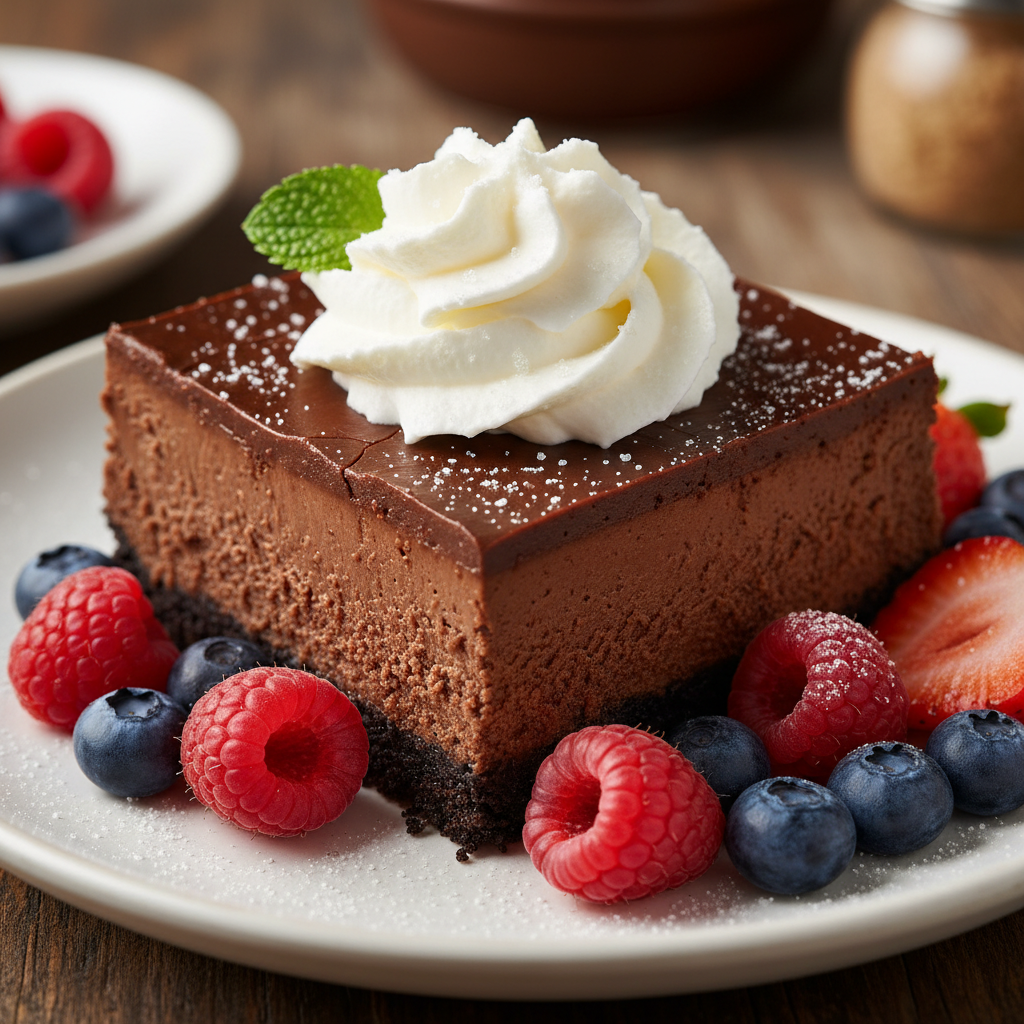
- Fresh Berries Raspberries, strawberries, or blueberries add a lovely tart contrast to the rich chocolate.
- Whipped Cream A dollop of freshly whipped cream is always a welcome addition.
- Chocolate Shavings or Cocoa Powder A sprinkle of extra chocolate shavings or a dusting of cocoa powder makes for an elegant presentation.
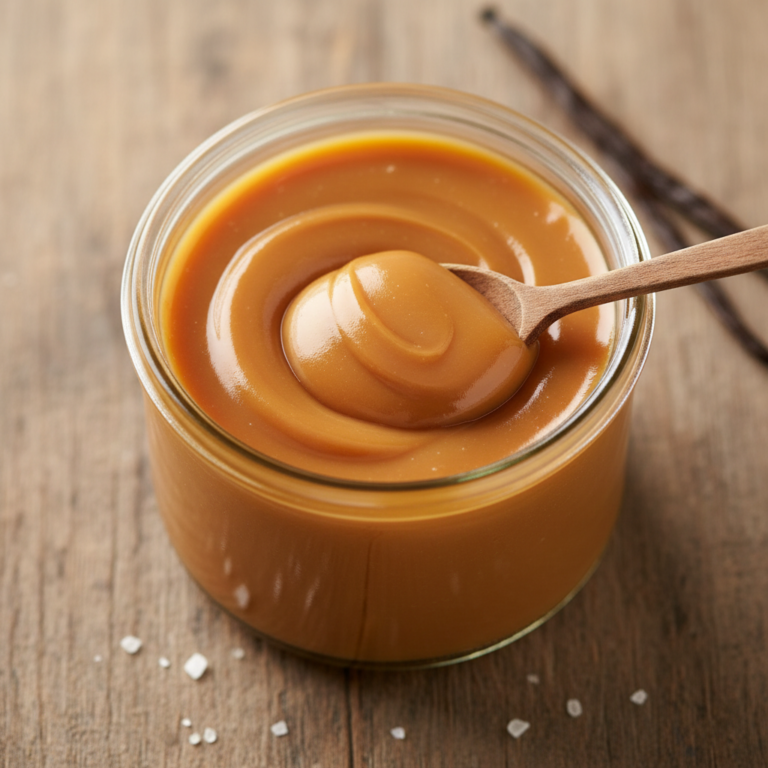
- A Drizzle of Sauce Caramel sauce, raspberry coulis, or even a little extra chocolate ganache can take these to the next level.
- Coffee or Milk A perfect accompaniment for a morning treat or an evening indulgence.