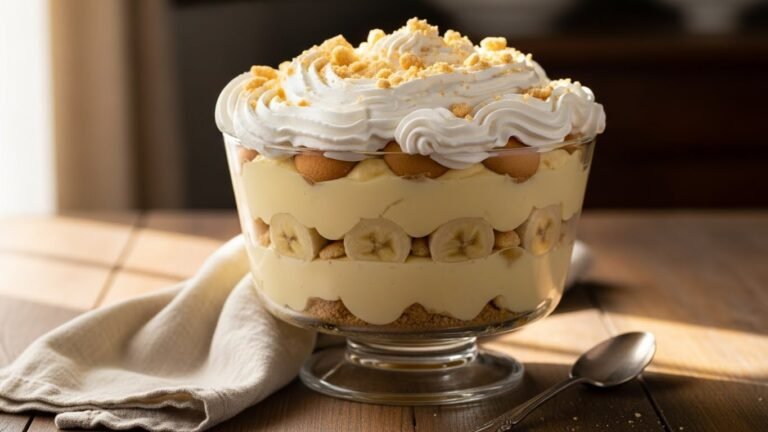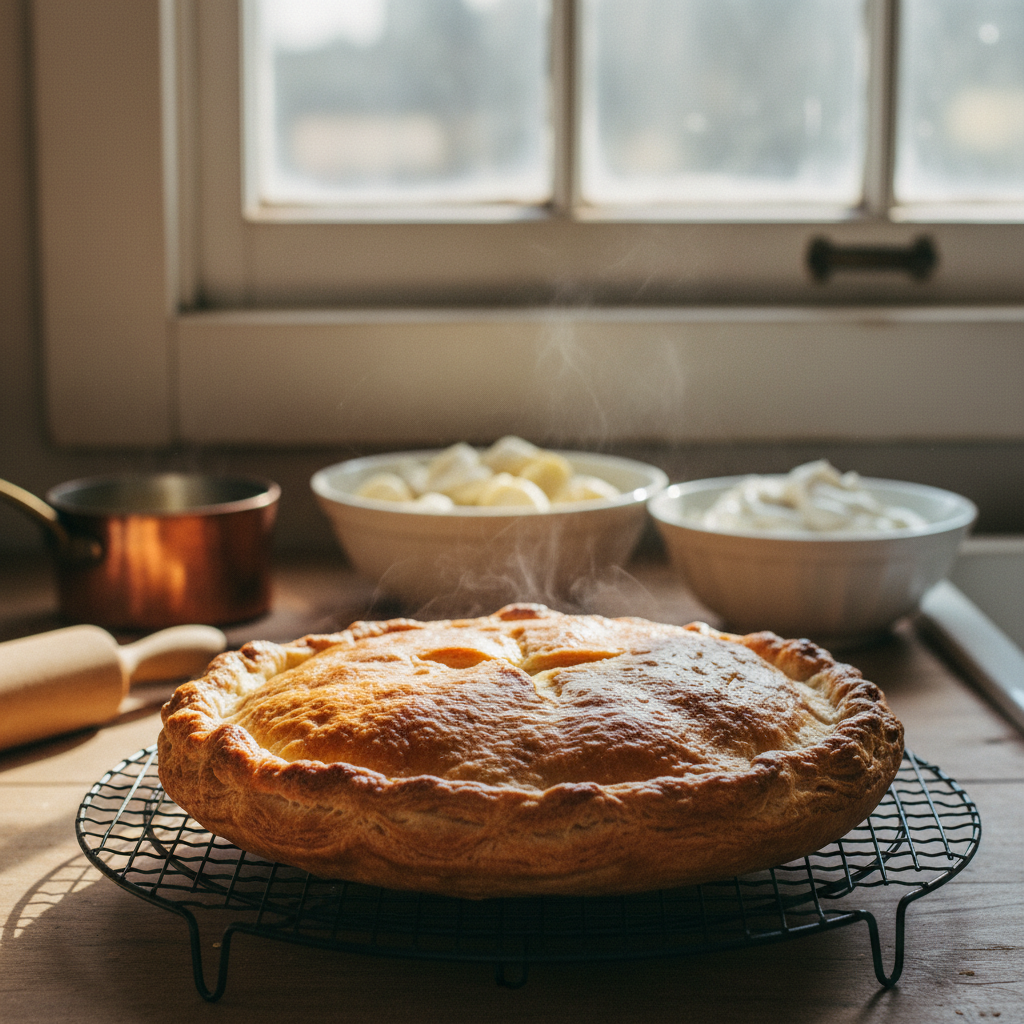
Oh, the majestic banana cream pie! It’s a dessert that whispers sweet nostalgia, with its creamy filling, sliced bananas, and a generous cloud of whipped cream. But let’s be honest, what truly elevates a good banana cream pie to an unforgettable one? It’s the crust, my friends. A truly remarkable pie starts with a truly remarkable crust—one that’s golden, buttery, and so flaky it practically melts in your mouth. Forget store-bought shortcuts; today, we’re diving into the delightful world of crafting your own perfect flaky crust, specifically designed to cradle that luscious banana cream filling. Get ready to impress yourself and everyone lucky enough to grab a slice!
History / Background of the Humble Pie Crust

The history of pie crusts is as rich and layered as the crust itself! Pies, in various forms, have existed for centuries, with early versions often serving as mere vessels for cooking and preserving meat, rather than a delicious part of the meal. The crusts were thick, tough, and not meant to be eaten. It wasn’t until the Middle Ages that the idea of a pastry crust, meant to be consumed, began to emerge. The French, of course, perfected many pastry techniques, leading to the delicate, buttery, flaky crusts we adore today. For banana cream pie, a flaky, tender crust provides the ideal contrast to the soft, sweet filling, creating a harmonious bite every single time.
Why You’ll Love This Recipe
- Incredibly Flaky: Achieve that coveted, delicate texture that shatters beautifully with every forkful.
- Rich and Buttery Flavor: Made with real butter for an unparalleled taste.
- Simple Ingredients: You likely have everything you need in your pantry right now.
- Beginner-Friendly: Detailed instructions make it easy for even novice bakers.
- Perfect for Banana Cream Pie: Specifically designed to complement creamy fillings without getting soggy.
- Versatile: While perfect for banana cream, this crust works wonderfully for other custard or fruit pies too!
Ingredient Notes
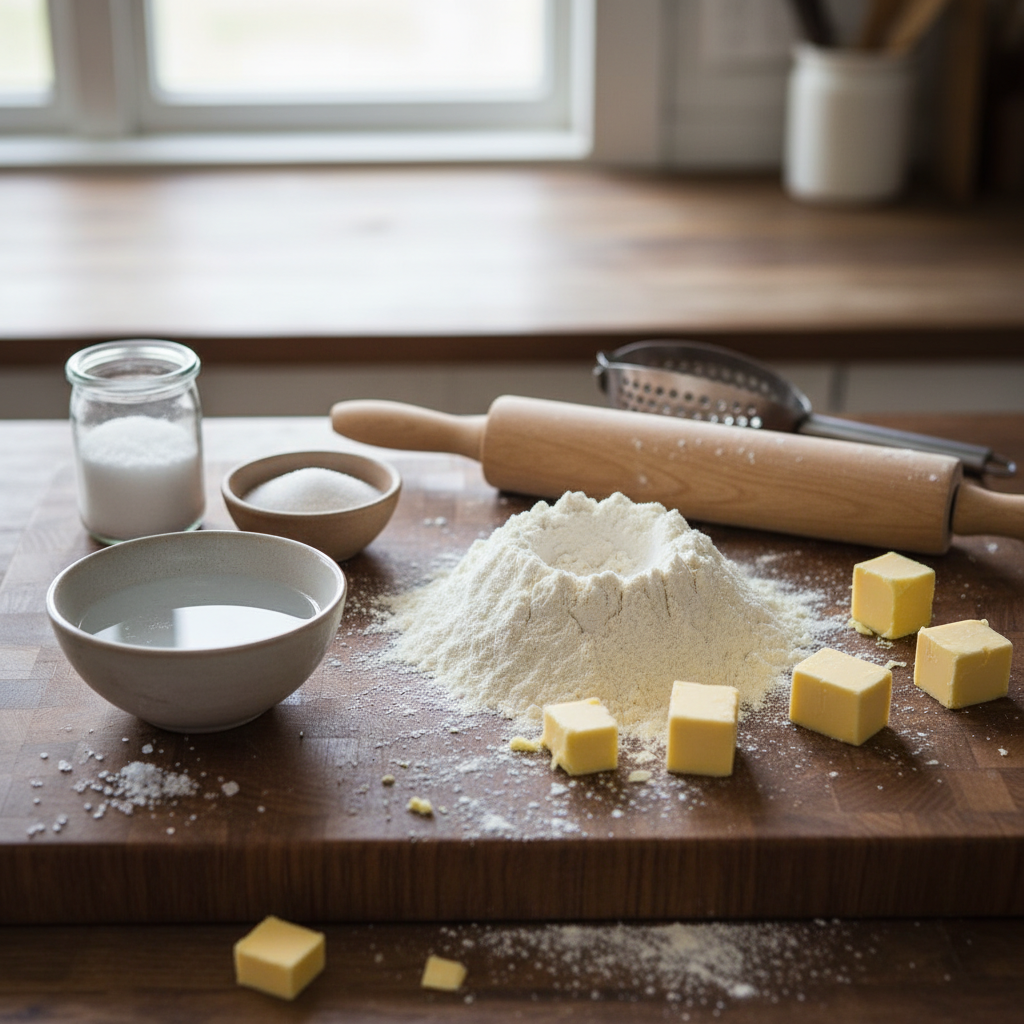
Creating a stellar pie crust doesn’t require a long list of fancy ingredients. In fact, its beauty lies in its simplicity. Here’s a quick rundown of what you’ll need and why each component is crucial:
- All-Purpose Flour: The backbone of our crust. Use unbleached for best results. No need for special pastry flour here.
- Unsalted Butter: This is where the magic happens! Cold butter is key to flakiness. The fat creates pockets of steam during baking, separating the layers of dough. Using unsalted butter gives you control over the overall saltiness.
- Ice Water: Keeping everything cold is the golden rule of pie crust. Ice water helps prevent the butter from melting too soon and developing gluten, which can lead to a tough crust.
- Salt: Don’t skip it! Salt enhances the flavor of the butter and balances the sweetness of your pie filling.
Equipment Needed
Image generation failedRegenerate
You don’t need a professional kitchen to make a fantastic pie crust. A few basic tools will do the trick:
- Large Mixing Bowl: For combining your ingredients.
- Pastry Blender or Food Processor: A pastry blender helps cut the butter into the flour efficiently. A food processor works even faster, but be careful not to overmix.
- Measuring Cups and Spoons: Accuracy is important in baking.
- Rolling Pin: Essential for rolling out your dough evenly.
- 9-inch Pie Plate: The perfect size for most standard pies.
- Plastic Wrap: For chilling the dough.
- Parchment Paper or Silicone Mat: Helpful for rolling out the dough without sticking.
Full Recipe Card
Ingredients
- 2 ½ cups all-purpose flour, plus more for dusting
- 1 teaspoon salt
- 1 cup (2 sticks) unsalted butter, very cold and cut into ½-inch cubes
- ½ to ¾ cup ice water
Instructions
- Combine Dry Ingredients: In a large bowl, whisk together the flour and salt. If using a food processor, pulse them together a few times.
- Cut in the Butter: Add the cold butter cubes to the flour mixture. If using a pastry blender, cut the butter into the flour until the mixture resembles coarse meal with some pea-sized pieces of butter remaining. If using a food processor, pulse in short bursts (about 10-15 pulses) until the butter is incorporated similarly.
- Add Ice Water Gradually: Drizzle ½ cup of ice water over the mixture. Mix gently with your hands or pulse a few times in the food processor until the dough just starts to come together. If it’s too dry, add more water, one tablespoon at a time, until the dough forms a shaggy ball when pressed. Be careful not to add too much water.
- Form and Chill the Dough: Divide the dough into two equal discs. Flatten each disc slightly, wrap tightly in plastic wrap, and refrigerate for at least 30 minutes, or up to 2 days. Chilling is crucial for flakiness and ease of handling.
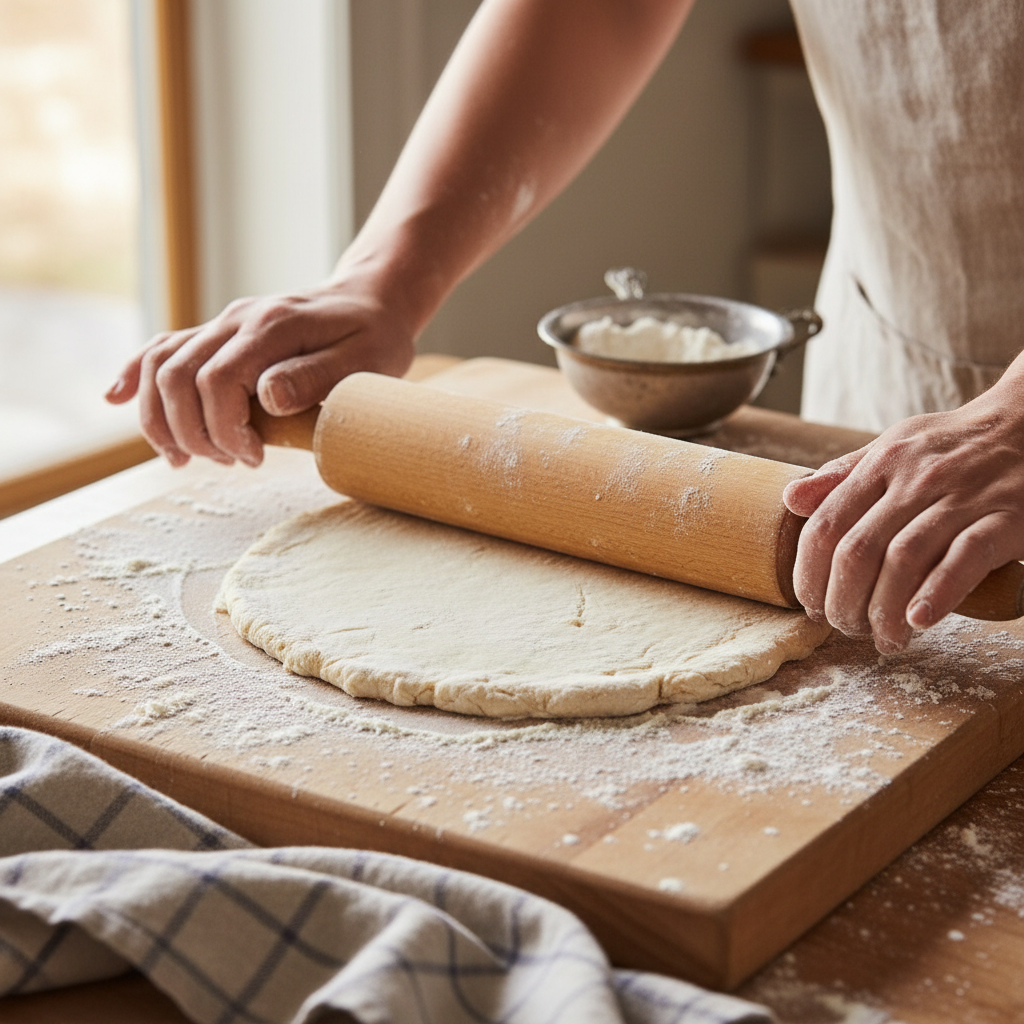
- Roll Out the Dough: On a lightly floured surface, unwrap one disc of dough. Roll it out from the center outwards into a 12-inch circle, about ⅛-inch thick. Periodically lift and rotate the dough to prevent sticking, adding a little more flour if needed.
- Transfer to Pie Plate: Carefully transfer the rolled-out dough to your 9-inch pie plate. Trim the edges, leaving about a ½-inch overhang. Fold the overhang under itself and crimp the edges decoratively.
- Chill Again (Optional but Recommended): For best results, chill the pie crust in the pie plate for another 15-30 minutes before blind baking. This helps prevent shrinkage.
- Blind Bake (for Banana Cream Pie): Preheat your oven to 400°F (200°C). Line the chilled pie crust with parchment paper and fill with pie weights, dried beans, or rice. Bake for 15-20 minutes, or until the edges are lightly golden. Remove the parchment and weights. Prick the bottom of the crust with a fork a few times to prevent bubbling. Continue baking for another 5-10 minutes, or until the bottom is golden brown and cooked through. Let cool completely before filling.
Notes
- Keep all ingredients, especially butter and water, as cold as possible.
- Do not overmix the dough; visible butter pieces are good for flakiness.
- Chilling the dough is non-negotiable for a tender, flaky crust.
Tips & Variations
Once you’ve mastered the basic flaky crust, you can experiment a little!
- Sweet Crust: For a sweeter pie like banana cream, add 1-2 tablespoons of granulated sugar to the flour mixture. This will also help with browning.
- Herbed Crust: For savory pies, incorporate dried herbs like thyme or rosemary into the flour.
- Spiced Crust: A pinch of cinnamon or nutmeg can add a subtle warmth, especially lovely for apple or pumpkin pies.
- Egg Wash: For a golden, shiny crust, brush the edges with an egg wash (1 egg yolk + 1 tablespoon water) before baking.
Pro Chef Tips

Even the pros have their secrets for perfect pie crust. Here are a few to elevate your game:
- Grating Butter: If you’re struggling to cut butter into flour, try grating frozen butter directly into the flour mixture. This creates tiny, even pieces that are easy to work with.
- The Vodka Trick: Replace half of the ice water with cold vodka. Vodka inhibits gluten formation more effectively than water, resulting in an incredibly tender crust that’s still easy to roll out. The alcohol bakes off completely.
- Laminating Layers: After the first chill, roll out the dough slightly, fold it into thirds (like a letter), and chill again. Repeat this process once or twice. This creates extra layers, enhancing flakiness.
- Don’t Overwork: This is the cardinal rule. Overworking develops gluten, leading to a tough, chewy crust. Mix just until the dough comes together.
Common Mistakes to Avoid
Even seasoned bakers can make these common pie crust blunders:
- Warm Ingredients: Using warm butter or water will melt the butter into the flour too quickly, preventing those flaky layers. Keep everything cold!
- Too Much Water: A sticky dough that’s hard to handle often means too much water. This also leads to a tough crust. Add water sparingly, just until the dough comes together.
- Over-mixing the Dough: As mentioned, this develops gluten, making your crust tough instead of tender and flaky.
- Skipping the Chill Time: Chilling allows the gluten to relax and the butter to firm up, making the dough easier to roll and preventing shrinkage during baking.
- Not Blind Baking for Custard Pies: For wet fillings like banana cream, blind baking (pre-baking) the crust is essential to prevent a soggy bottom.
Storage & Meal Prep
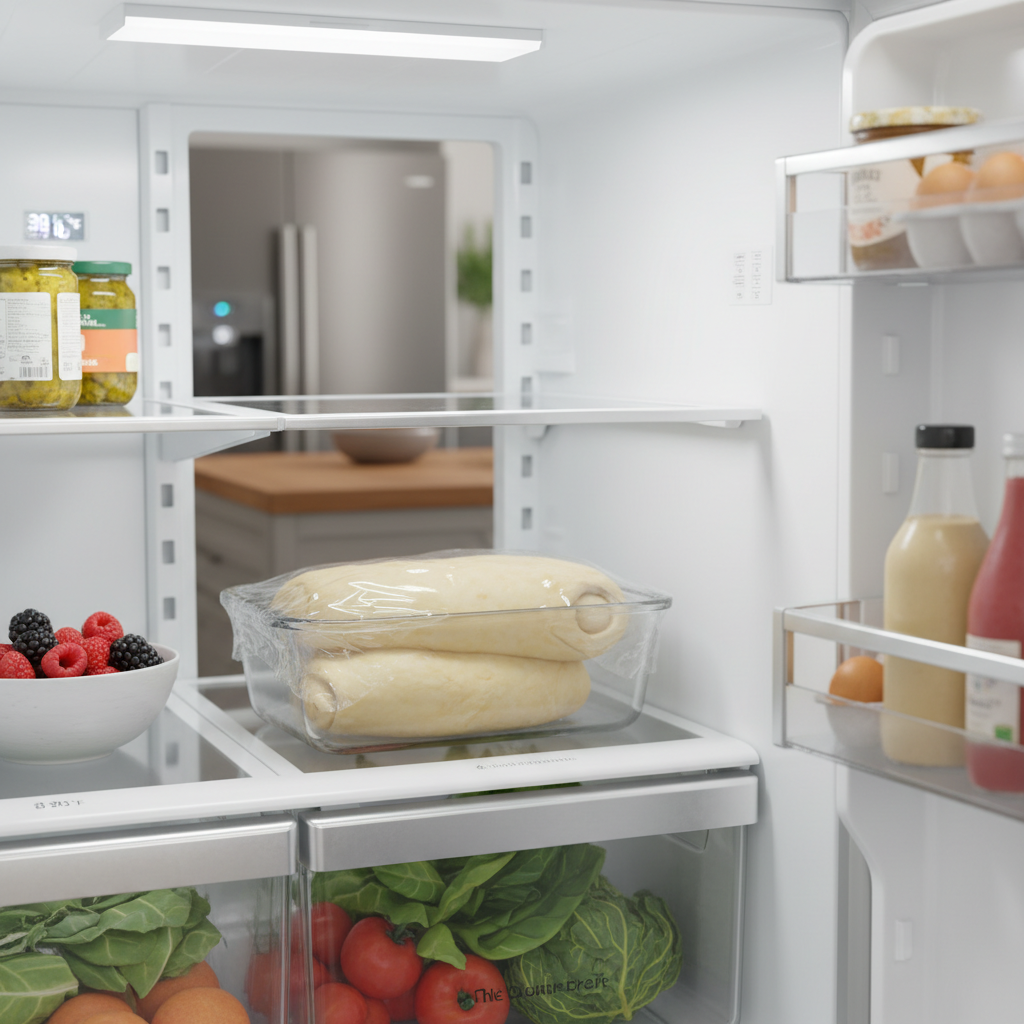
This flaky crust recipe is fantastic for meal prep! You can make the dough ahead of time and store it, ready for when a pie craving strikes.
- Unbaked Dough: Tightly wrapped in plastic, the dough discs can be stored in the refrigerator for up to 2 days.
- Unbaked Crust in Pie Plate: Once you’ve transferred the dough to the pie plate and crimped the edges, you can cover it loosely with plastic wrap and refrigerate for up to 24 hours before baking.
- Baked (Blind-Baked) Crust: A fully blind-baked crust can be stored at room temperature, loosely covered, for up to 1 day before filling. For longer storage, see freezer notes below.
Make-Ahead & Freezer Notes
Freezing is your friend when it comes to pie crust!
- Freezing Unbaked Dough: Wrap the dough discs very tightly in plastic wrap, then place them in a freezer-safe bag. They will keep in the freezer for up to 3 months. Thaw overnight in the refrigerator before rolling out.
- Freezing Blind-Baked Crusts: Bake your crust as directed for blind baking, let it cool completely. Once cool, wrap it tightly in plastic wrap, then aluminum foil. You can freeze blind-baked crusts for up to 1 month. To use, unwrap and bake from frozen at 350°F (175°C) for 10-15 minutes, or until crisp, before filling.
Serving Suggestions
While this crust is the absolute star for a Banana Cream Pie, its versatility means it can host a variety of delicious fillings:
- Classic Banana Cream Pie: Of course! Layer with sliced bananas, rich pastry cream, and a generous topping of whipped cream.
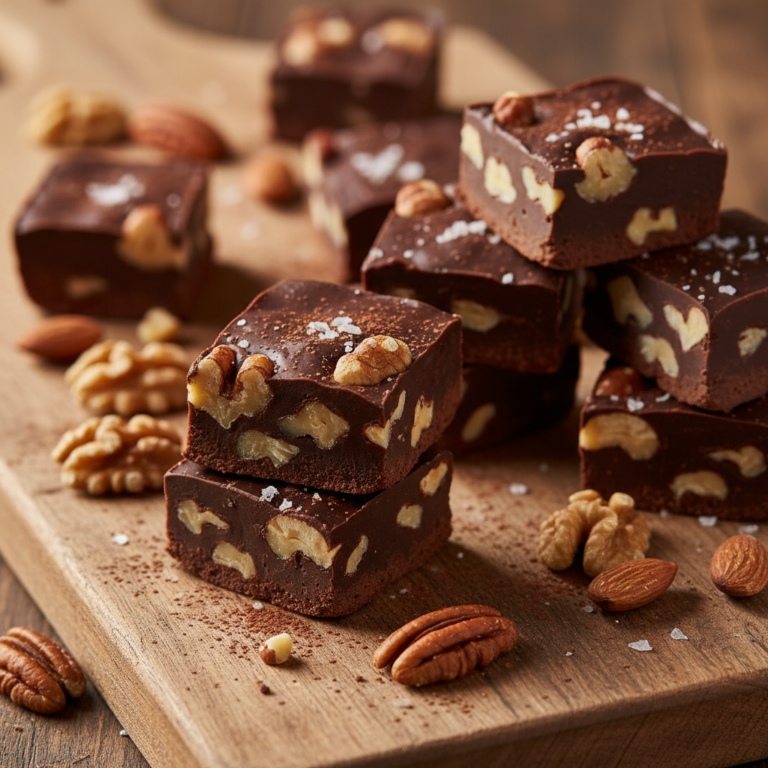
- Chocolate Cream Pie: A decadent chocolate custard filling would be divine in this flaky crust.
- Coconut Cream Pie: Another tropical delight that pairs perfectly with a buttery base.
- Lemon Meringue Pie: The tartness of lemon curd and sweet meringue would sing with this crust.
- Key Lime Pie: A refreshing and tangy option for warmer days.