Summer is here, and with it comes the craving for light, refreshing desserts that don’t require you to turn on your oven. That’s right, we’re talking about the magic of a no-bake pie! Imagine a cool, creamy, and utterly delicious treat that comes together with minimal effort, leaving you more time to enjoy the sunshine. This recipe is your new best friend for those warm days when you want something sweet and satisfying without breaking a sweat in the kitchen.
Forget complicated baking techniques and long ingredient lists. This no-bake pie is designed for simplicity, making it perfect for beginners and seasoned home cooks alike. It’s a delightful blend of textures and flavors, guaranteed to put a smile on everyone’s face. Get ready to dive into the world of effortless summer desserts!
A Sweet History of No Bake Treats

While the concept of desserts has been around for centuries, no-bake treats really took off in popularity during the mid-20th century. As refrigerators became common household appliances, people began experimenting with chilled desserts that didn’t require baking. The convenience factor was huge, especially in warmer climates or during summer months when heating up the kitchen was undesirable.
Many early no-bake pies relied on gelatin, whipped cream, and crushed cookie crusts, offering a lighter alternative to traditional baked goods. They quickly became staples at potlucks, family gatherings, and picnics, celebrated for their ease and refreshing qualities. This tradition continues today, with countless variations proving that sometimes, the best desserts are the ones you don’t have to bake!
Why You’ll Love This Recipe

- No Oven Required This is the ultimate summer dessert, keeping your kitchen cool.
- Beginner Friendly Simple steps and common ingredients make it foolproof.
- Quick to Prepare Most of the time is chilling, hands-on time is minimal.
- Versatile Flavors Easily adaptable to different fruit and cream combinations.
- Crowd Pleaser Always a hit at parties, potlucks, and family dinners.
- Refreshing and Light Perfect for a hot day without feeling too heavy.
Ingredient Notes for Perfection
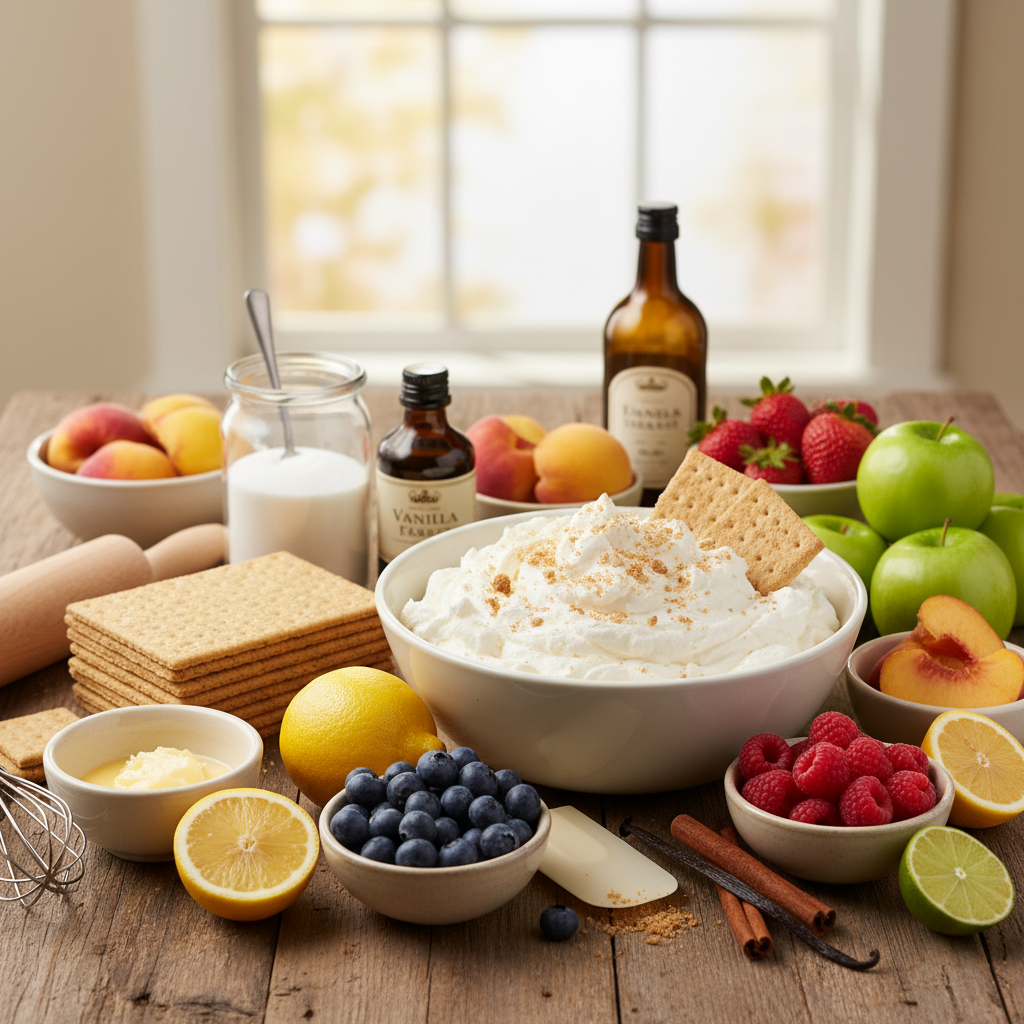
Gathering your ingredients is the first step to no-bake bliss. Here’s a quick rundown of what you’ll need and why each component is important:
- Graham Cracker Crumbs The foundation of our pie! You can buy pre-crushed crumbs or crush whole crackers yourself.
- Melted Butter Binds the crumbs together for a sturdy, flavorful crust.
- Granulated Sugar A touch of sweetness for both the crust and the filling.
- Cream Cheese, Softened The star of our creamy filling, providing richness and tang.
- Sweetened Condensed Milk Adds sweetness and helps create that smooth, luscious texture without cooking.
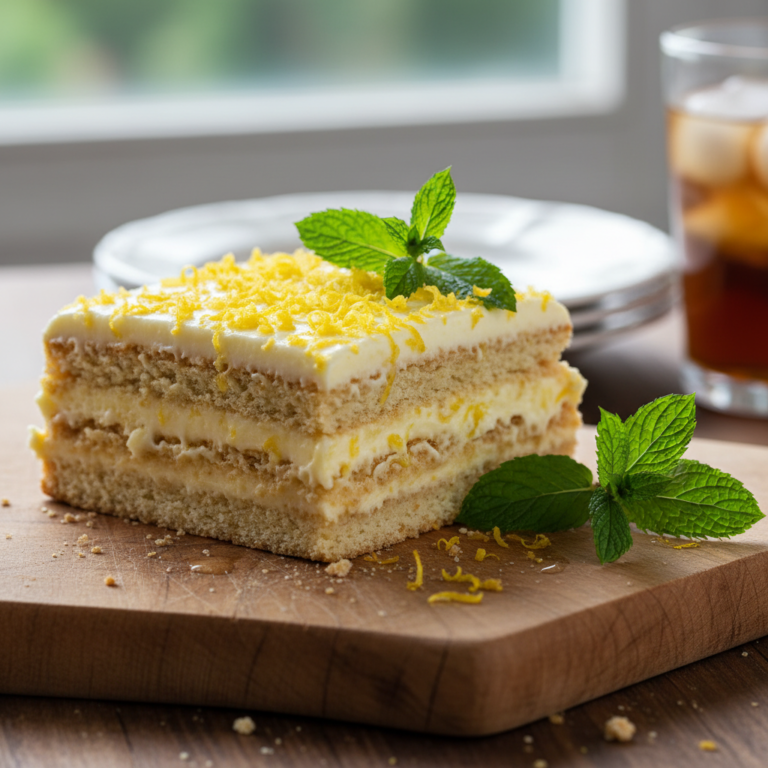
- Fresh Lemon or Lime Juice Essential for balancing the sweetness and adding a bright, zesty flavor.
- Whipped Topping or Heavy Cream For a light and airy texture in the filling, and a beautiful garnish.
- Vanilla Extract Enhances all the sweet flavors.
Equipment Needed for Success
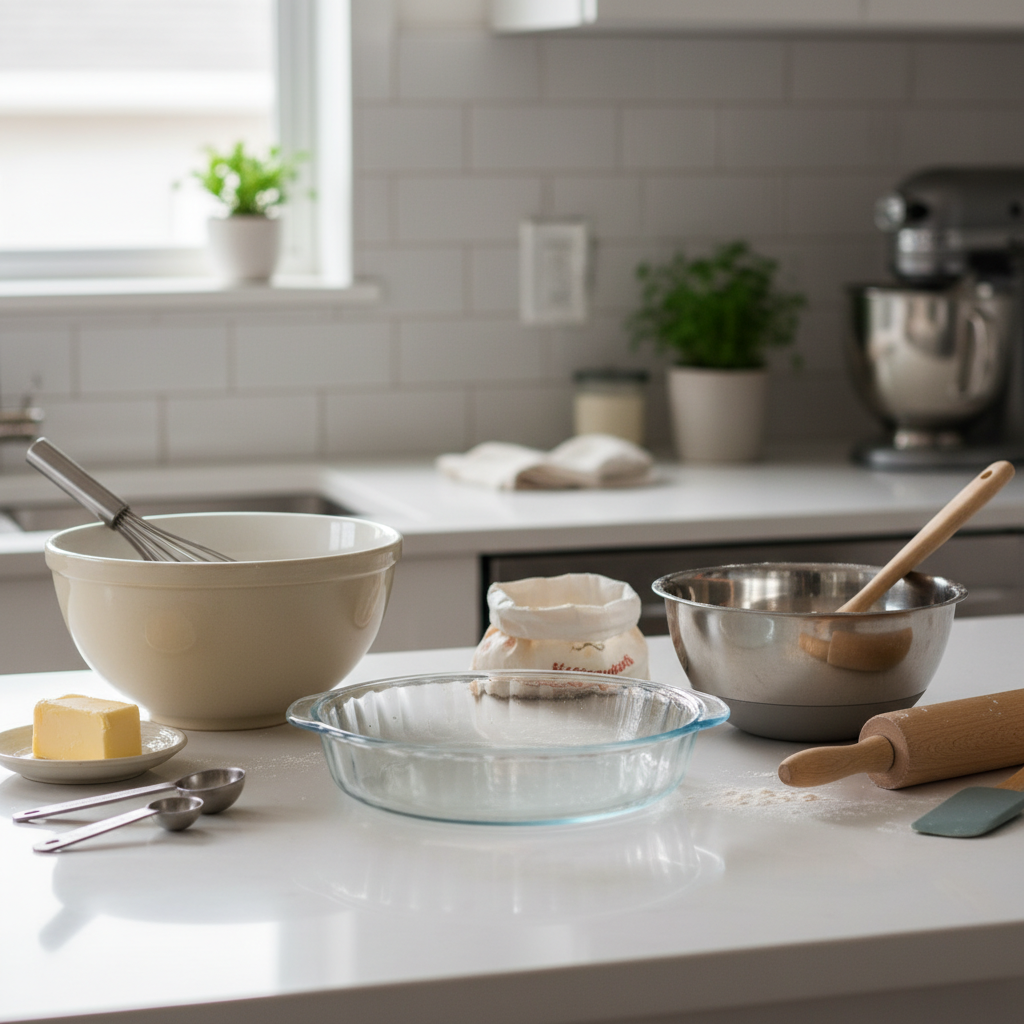
You won’t need much, which is another reason this recipe is so fantastic!
- 9-inch Pie Dish A standard glass or ceramic pie dish works perfectly.
- Mixing Bowls A large bowl for the filling and a smaller one for the crust.
- Electric Mixer (Handheld or Stand) Makes whipping the cream cheese and incorporating ingredients much easier.
- Rubber Spatula For scraping down bowls and folding ingredients gently.
- Measuring Cups and Spoons For accurate ingredient proportions.
- Small Saucepan (for melting butter) Or a microwave-safe bowl.
Full Recipe Card Easy No Bake Pie
Ingredients
- 1 ½ cups graham cracker crumbs (about 10-12 full sheets)
- ¼ cup granulated sugar
- ½ cup unsalted butter, melted
- 1 (8 ounce) package cream cheese, softened
- 1 (14 ounce) can sweetened condensed milk
- ½ cup fresh lemon or lime juice
- 1 teaspoon vanilla extract
- 1 (8 ounce) container frozen whipped topping, thawed, or 2 cups homemade whipped cream
- Optional toppings: Fresh berries, citrus zest, extra whipped cream
Instructions
- Prepare the Crust In a medium bowl, combine the graham cracker crumbs and ¼ cup granulated sugar. Pour in the melted butter and mix until all crumbs are moistened. Press the mixture firmly and evenly into the bottom and up the sides of a 9-inch pie dish. You can use the bottom of a glass or your fingers to get it nice and compact. Place the crust in the refrigerator to chill while you prepare the filling, for at least 15 minutes.
- Make the Filling In a large mixing bowl, using an electric mixer, beat the softened cream cheese until smooth and creamy, about 2-3 minutes.
- Gradually beat in the sweetened condensed milk until well combined and smooth.
- Add the lemon or lime juice and vanilla extract. Beat until just combined. Do not overmix after adding the juice.
- Gently fold in half of the thawed whipped topping (or 1 cup of homemade whipped cream) into the cream cheese mixture until no streaks remain.
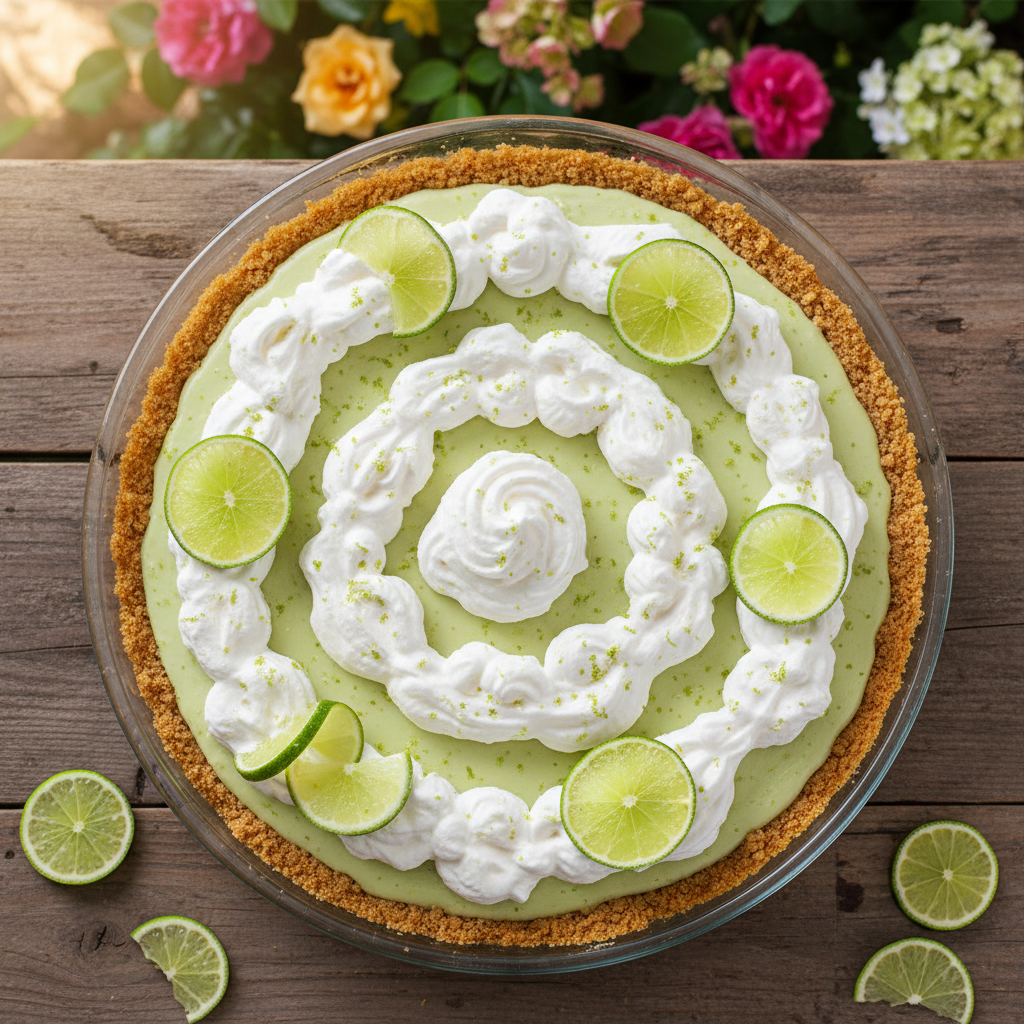
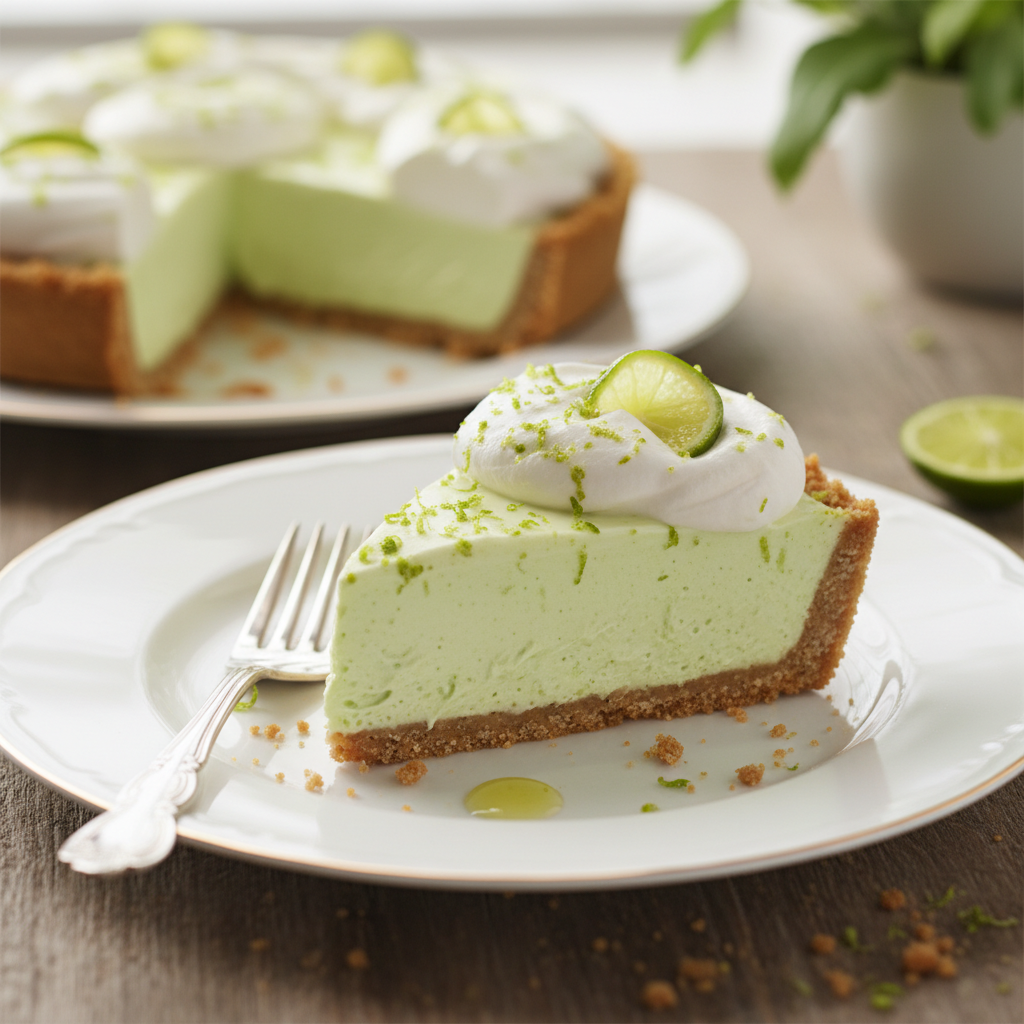
- Assemble the Pie Pour the filling into the chilled graham cracker crust and spread evenly with a spatula.
- Chill Cover the pie loosely with plastic wrap and refrigerate for at least 4 hours, or preferably overnight, until firm.
- Serve Before serving, top with the remaining whipped topping and any desired garnishes like fresh fruit or citrus zest. Slice and enjoy your delightful no-bake pie!
Notes
- For an extra tangy pie, increase the citrus juice by 1-2 tablespoons.
- Ensure cream cheese is truly softened to avoid lumps in the filling.
- Homemade whipped cream can be used for a richer flavor. Beat 1 cup heavy cream with 2 tablespoons powdered sugar until stiff peaks form.
Tips and Variations for Your Pie
This recipe is a fantastic starting point, but don’t be afraid to make it your own!
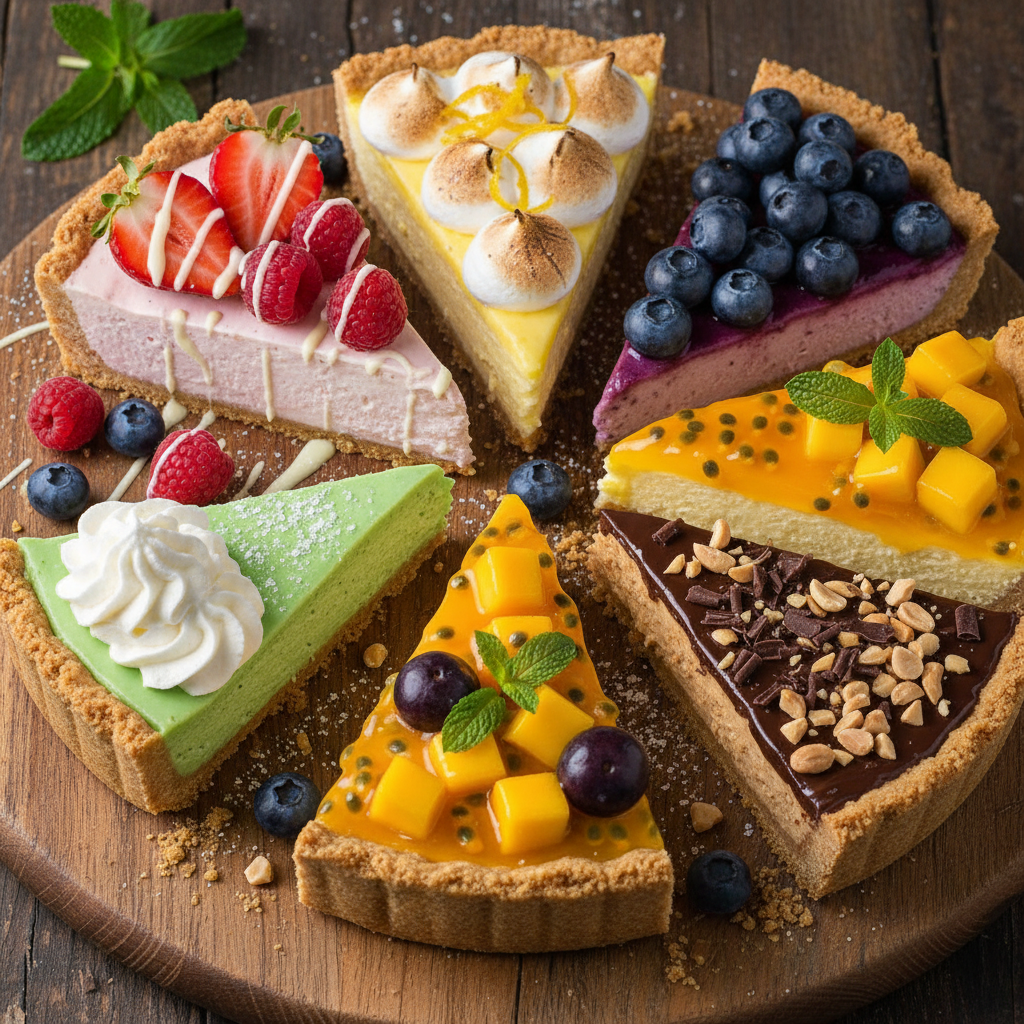
- Berry Blast Fold in ½ cup of finely diced fresh strawberries or raspberries into the filling before chilling.
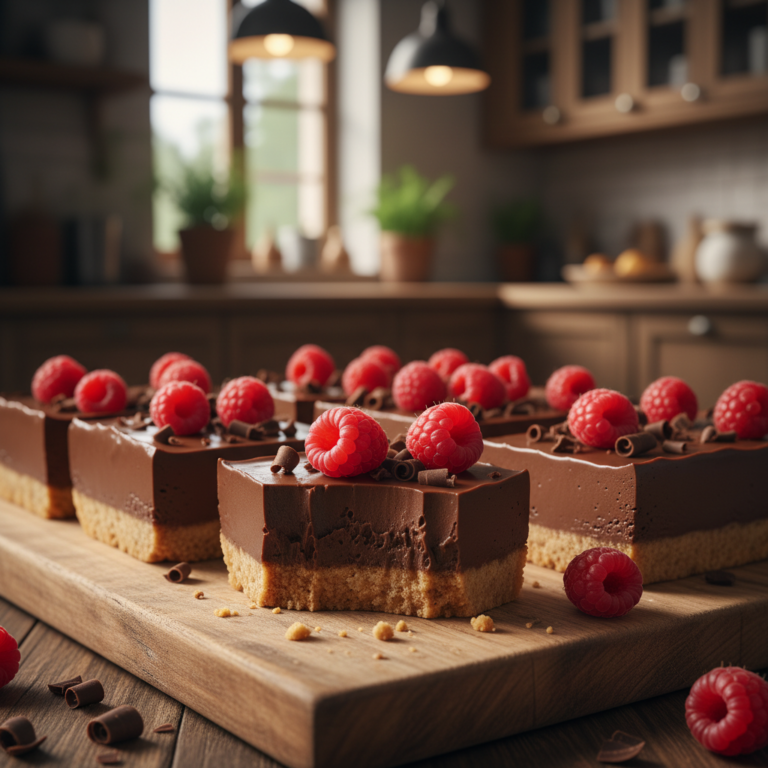
- Chocolate Lover’s Dream Add 2 tablespoons of cocoa powder to the crust mixture. For the filling, melt ½ cup of chocolate chips and fold them into the cream cheese mixture.
- Tropical Twist Use passion fruit juice or crushed pineapple (well-drained) for a more exotic flavor.
- Nutty Crust Replace half of the graham cracker crumbs with finely chopped pecans or walnuts for an added crunch.
- Cookie Crust Alternatives Try using crushed vanilla wafers, shortbread cookies, or even Oreos for a different crust flavor.
Pro Chef Tips for a Perfect Pie

Even though it’s no-bake, a few professional tricks can elevate your pie:
- Chill Your Bowl and Whisk If making homemade whipped cream, chill your mixing bowl and whisk attachment for 15 minutes before whipping. This helps the cream whip up faster and hold its peaks better.
- Don’t Overmix Once you add the citrus juice to the cream cheese mixture, mix only until just combined. Overmixing can cause the filling to become too thin.
- Press Crust Firmly A well-pressed crust is crucial for holding its shape. Use the flat bottom of a drinking glass to really compact those crumbs.
- Taste and Adjust Before chilling, taste a small spoonful of your filling. Need more tang? Add a tiny bit more juice. Prefer it sweeter? A little powdered sugar can be folded in.
Common Mistakes to Avoid

Even simple recipes can have pitfalls. Here’s what to watch out for:
- Not Softening Cream Cheese Enough Cold cream cheese will result in a lumpy filling. Ensure it’s at room temperature for a smooth consistency.
- Not Chilling Long Enough Patience is key! If you cut into the pie too soon, it will be runny and won’t hold its shape. Allow the full chilling time.
- Wet Crust Ensure your melted butter is fully incorporated into the crumbs, but don’t add too much. A soggy crust is no fun.
- Over-Folding Whipped Topping Be gentle when incorporating the whipped topping. Over-folding can deflate it and make your filling less airy.
Storage and Meal Prep Made Easy

This no-bake pie is fantastic for making ahead and enjoying throughout the week!
- Storage Store leftover pie, covered loosely with plastic wrap, in the refrigerator for up to 3-4 days.
- Meal Prep You can assemble the entire pie (without the final whipped topping garnish) up to 2 days in advance. This makes it perfect for entertaining! Just add the fresh topping right before serving.
Make-Ahead and Freezer Notes
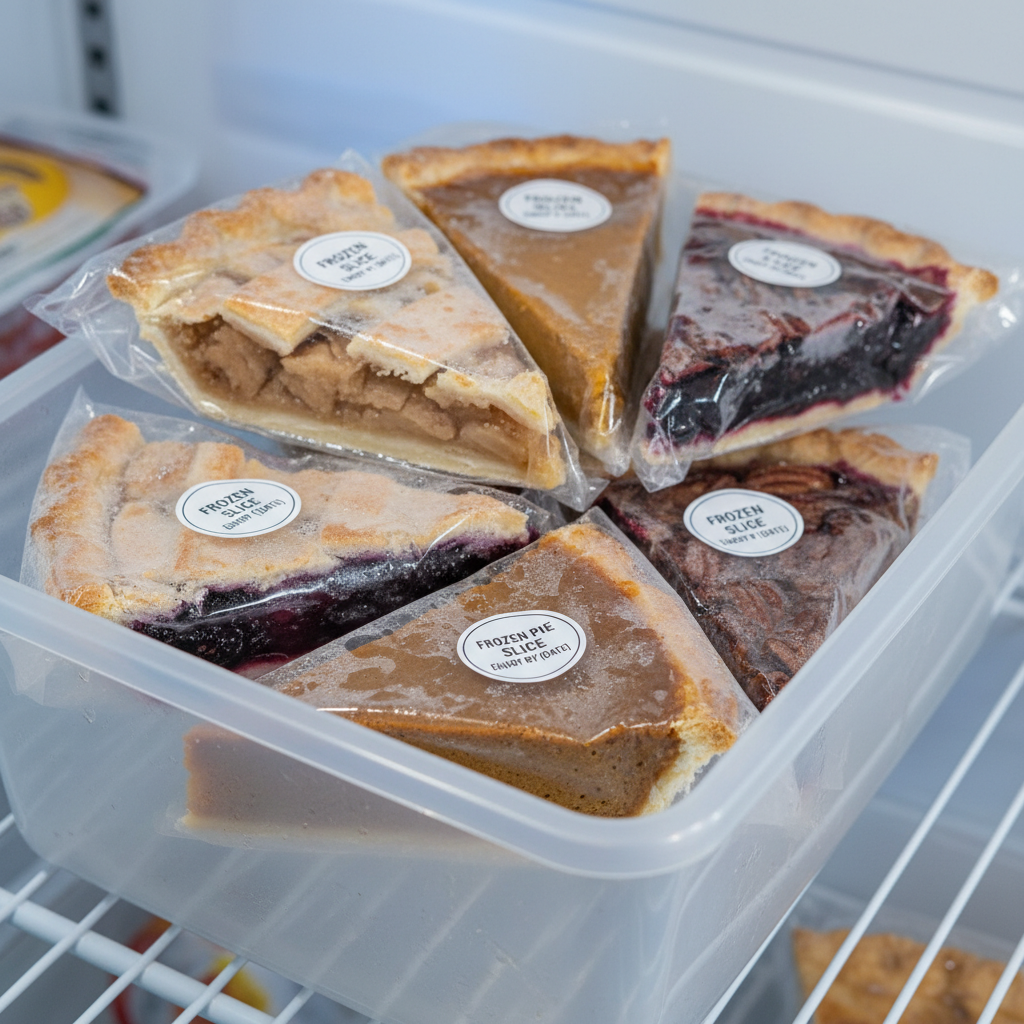
Yes, you can absolutely make this pie ahead of time, and it even freezes well!
- Make-Ahead Prepare the pie completely, cover it tightly, and refrigerate for up to 2 days. The flavors will meld beautifully. Add fresh garnishes just before serving.
- Freezer Friendly For longer storage, wrap the entire pie (or individual slices) tightly in plastic wrap, then again in aluminum foil. Freeze for up to 1 month. Thaw in the refrigerator for several hours or overnight before serving. Note that the texture of the crust might soften slightly after freezing and thawing.
Serving Suggestions for Any Occasion

This versatile dessert pairs wonderfully with many accompaniments:
- Fresh Berries A classic pairing! Strawberries, blueberries, raspberries, or a mix.
- Citrus Zest A sprinkle of fresh lemon or lime zest brightens every bite.
- Chocolate Shavings A delicate touch of bittersweet chocolate can be a lovely contrast.
- A Dollop of Cream Extra whipped cream is always a good idea!
- Fruit Coulis A drizzle of raspberry or strawberry coulis adds elegance and extra fruit flavor.
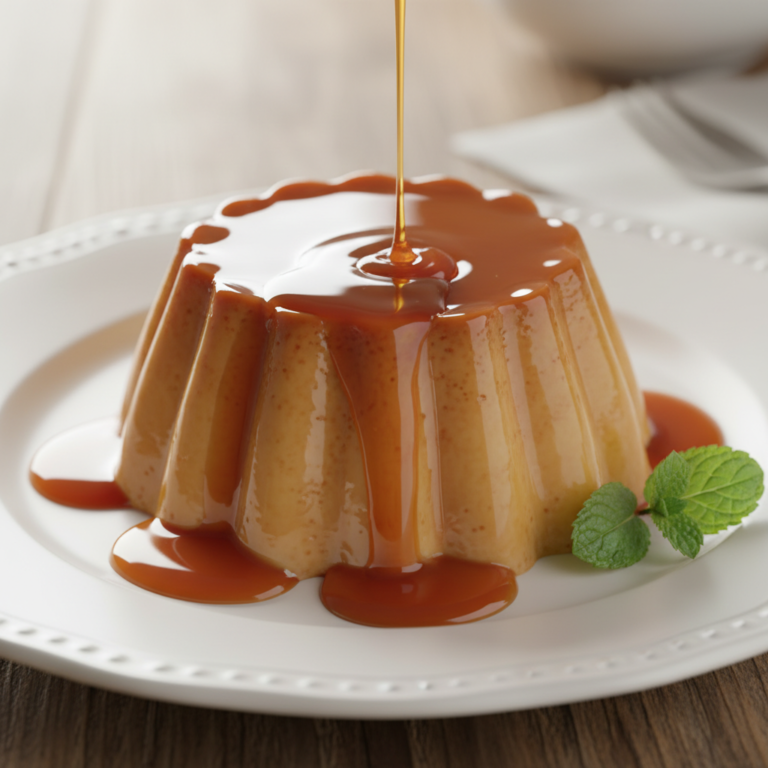
- Mint Sprig For a touch of color and fresh aroma.