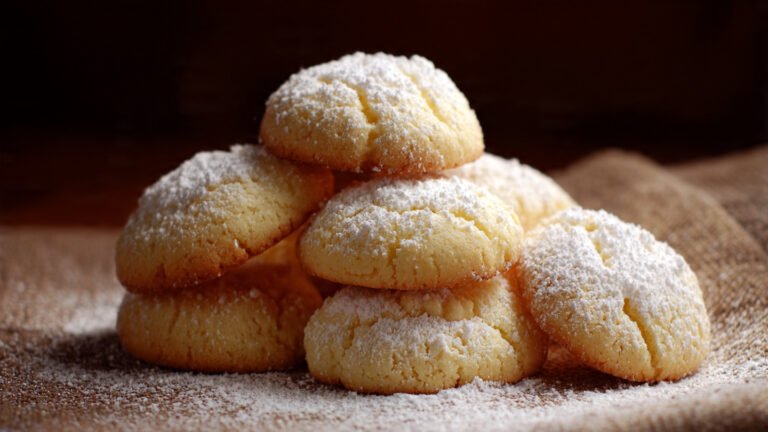
Welcome, fellow cookie lovers! There’s nothing quite like the aroma of freshly baked cookies filling your home, instantly bringing smiles and warmth. If you’ve been dreaming of creating those perfect, melt-in-your-mouth treats but feel a little intimidated by baking, you’ve come to the right place. This guide is all about making cookie baking simple, fun, and incredibly rewarding, especially when you’re baking for your loved ones. Get ready to whip up some delicious memories!
History / Background of Easy Cookies
Cookies, in some form, have been around for centuries, often starting as small test cakes to check oven temperature before baking larger items. The word ‘cookie’ itself comes from the Dutch word ‘koekje,’ meaning ‘little cake.’ Over time, these humble test cakes evolved into the delightful treats we know and love today. The concept of ‘easy cookies’ really took off with the rise of home baking and the need for quick, satisfying desserts. Recipes became simplified, ingredients more accessible, and techniques streamlined, allowing busy families to enjoy homemade goodness without all the fuss. From classic chocolate chip to simple sugar cookies, the goal has always been the same: deliciousness made easy.
Why You’ll Love This Recipe
- Beginner-Friendly These recipes are designed for success, even if you’re new to baking.
- Quick to Prepare Spend less time in the kitchen and more time enjoying your treats.
- Family-Approved Flavors Classic tastes that everyone, from toddlers to grandparents, will adore.
- Versatile Easily adapt these recipes with your favorite mix-ins and toppings.
- Budget-Friendly Made with common, affordable pantry staples.
- Creates Wonderful Memories Baking together is a fantastic family activity.
Ingredient Notes
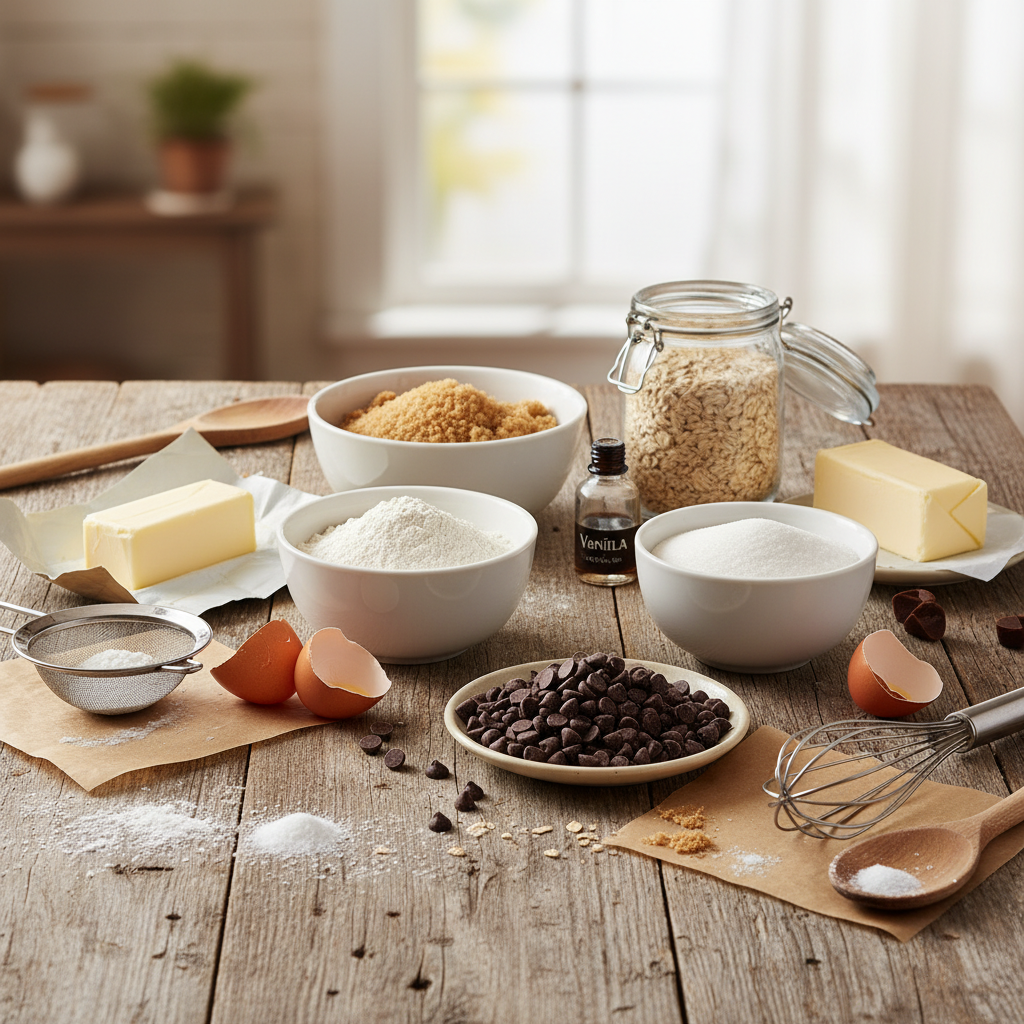
Great cookies start with great ingredients. You don’t need anything fancy for these easy recipes, just good quality basics:
- All-Purpose Flour The backbone of most cookies. Make sure it’s fresh.
- Granulated Sugar Provides sweetness and helps with browning and texture.
- Brown Sugar Adds moisture, chewiness, and a lovely molasses flavor.
- Unsalted Butter Always use unsalted butter so you can control the salt content. Make sure it’s softened to room temperature for creaming.
- Eggs Act as a binder and add richness. Use large eggs, at room temperature if possible.
- Vanilla Extract Essential for enhancing all the other flavors. Use pure vanilla extract for the best taste.
- Baking Soda / Baking Powder Leavening agents that help cookies rise and spread.
- Salt Balances the sweetness and enhances flavor.
- Chocolate Chips / Other Mix-ins Use your favorite kind! Semi-sweet is a classic, but milk, dark, or white chocolate work too.
Equipment Needed
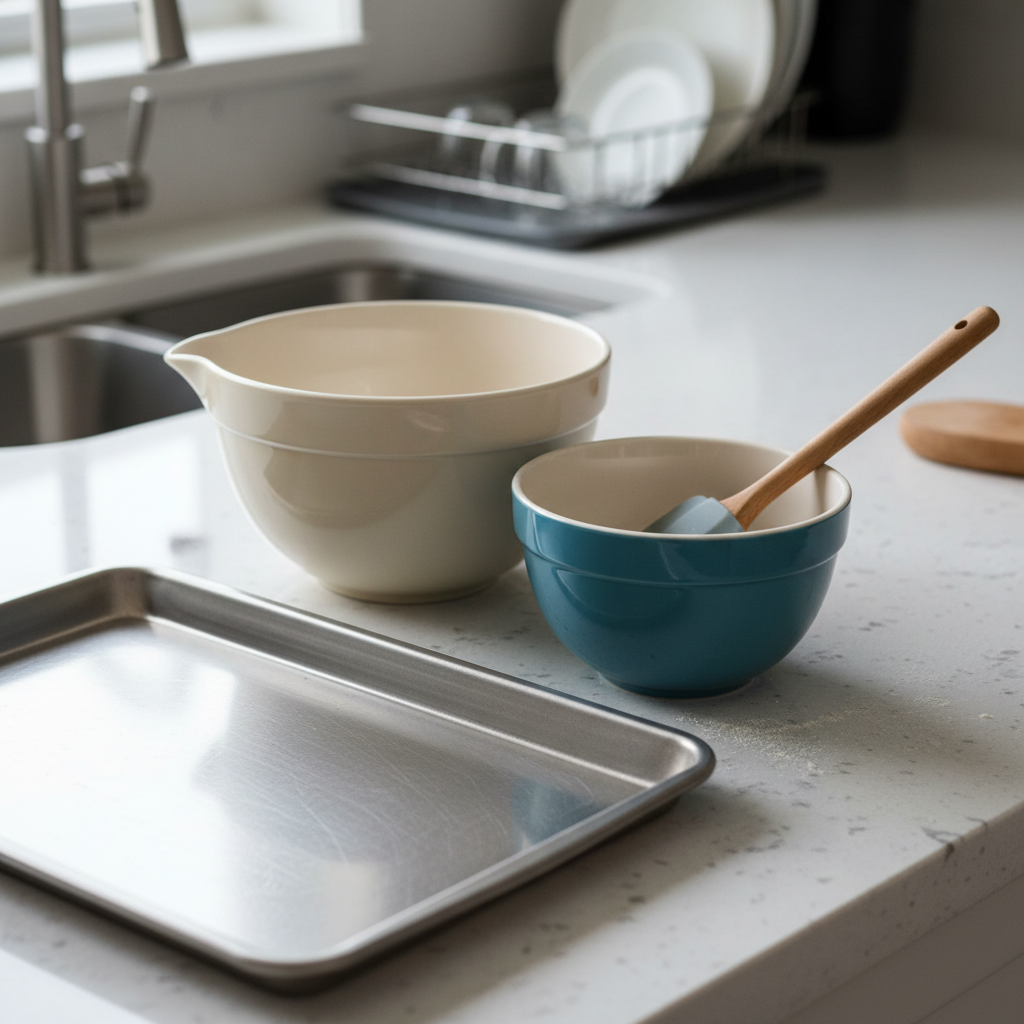
No need for a professional bakery setup! These simple tools will get the job done:
- Large Mixing Bowls For combining your wet and dry ingredients.
- Electric Mixer (Handheld or Stand) While you can mix by hand, an electric mixer makes creaming butter and sugar much easier and faster.
- Measuring Cups and Spoons Accuracy is key in baking!
- Rubber Spatula For scraping down the sides of the bowl.
- Baking Sheets Light-colored sheets are best for even baking.
- Parchment Paper or Silicone Baking Mats Prevents sticking and makes cleanup a breeze.
- Wire Cooling Rack Essential for letting cookies cool completely and preventing sogginess.
- Cookie Scoop (Optional but Recommended) Ensures uniform cookie size for even baking.
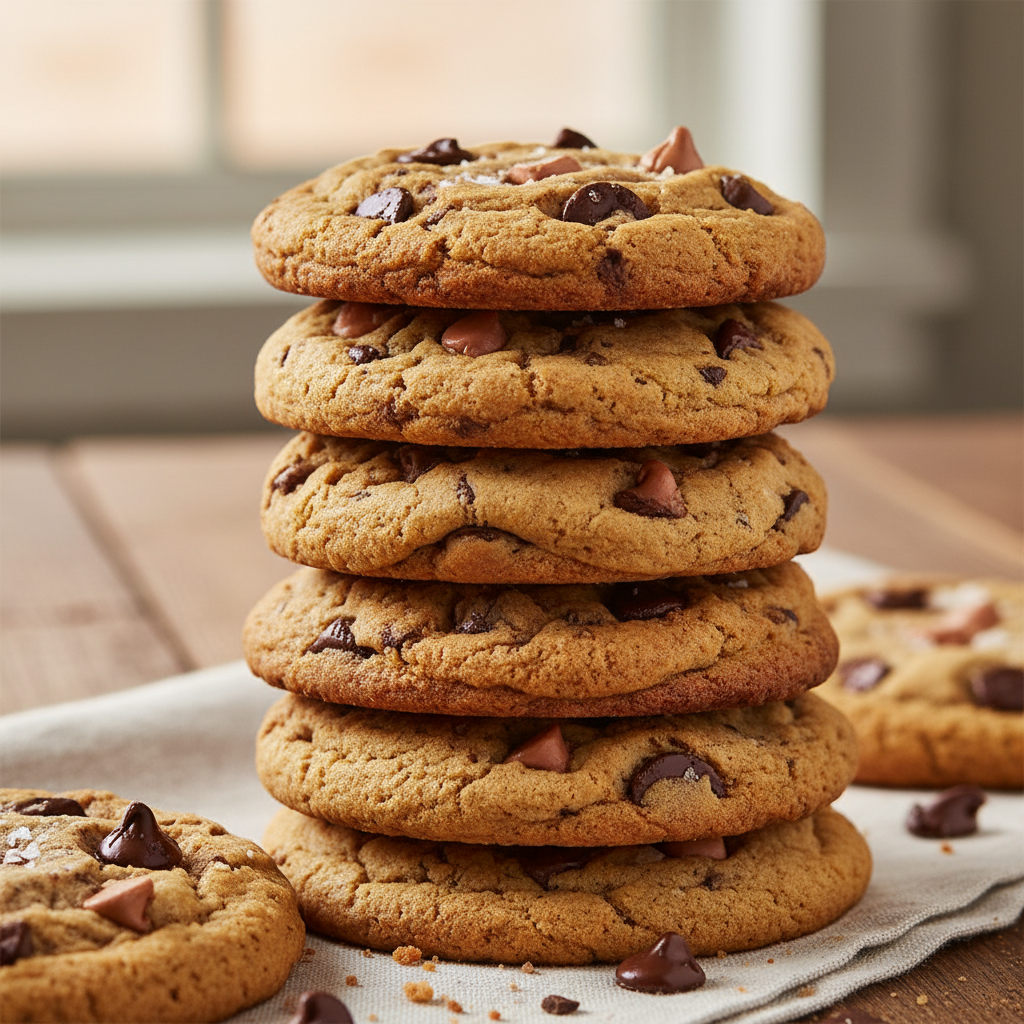
Full Recipe Card – Classic Chocolate Chip Cookies
Ingredients
- 1 cup (2 sticks) unsalted butter, softened
- 3/4 cup granulated sugar
- 3/4 cup packed light brown sugar
- 2 large eggs
- 1 teaspoon pure vanilla extract
- 2 1/4 cups all-purpose flour
- 1 teaspoon baking soda
- 1/2 teaspoon salt
- 1 1/2 cups semi-sweet chocolate chips
Instructions
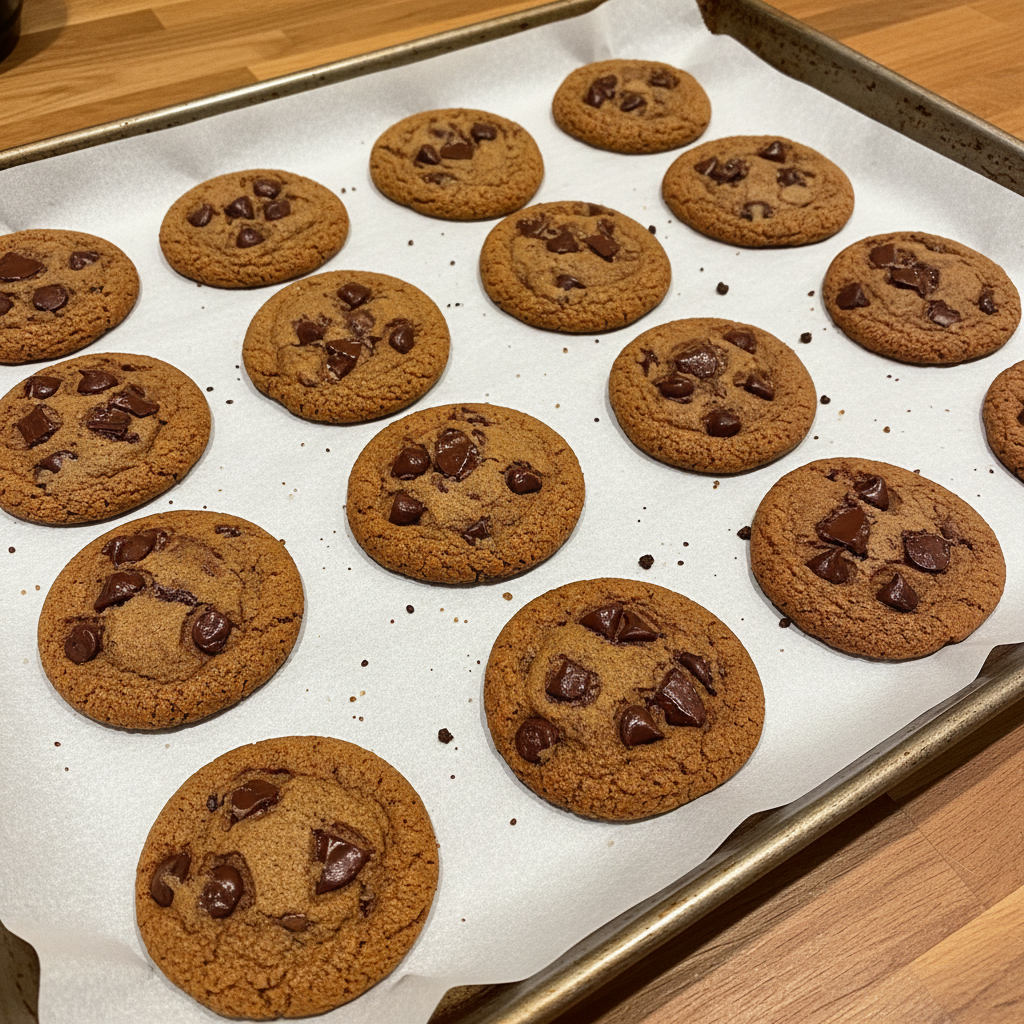
- Preheat your oven to 375°F (190°C). Line baking sheets with parchment paper or silicone baking mats.
- In a large bowl, cream together the softened butter, granulated sugar, and brown sugar with an electric mixer until light and fluffy (about 2-3 minutes).
- Beat in the eggs one at a time, mixing well after each addition. Stir in the vanilla extract.
- In a separate medium bowl, whisk together the flour, baking soda, and salt.
- Gradually add the dry ingredients to the wet ingredients, mixing on low speed until just combined. Be careful not to overmix.
- Stir in the chocolate chips by hand until evenly distributed throughout the dough.
- Drop rounded tablespoons of dough (or use a cookie scoop) onto the prepared baking sheets, about 2 inches apart.
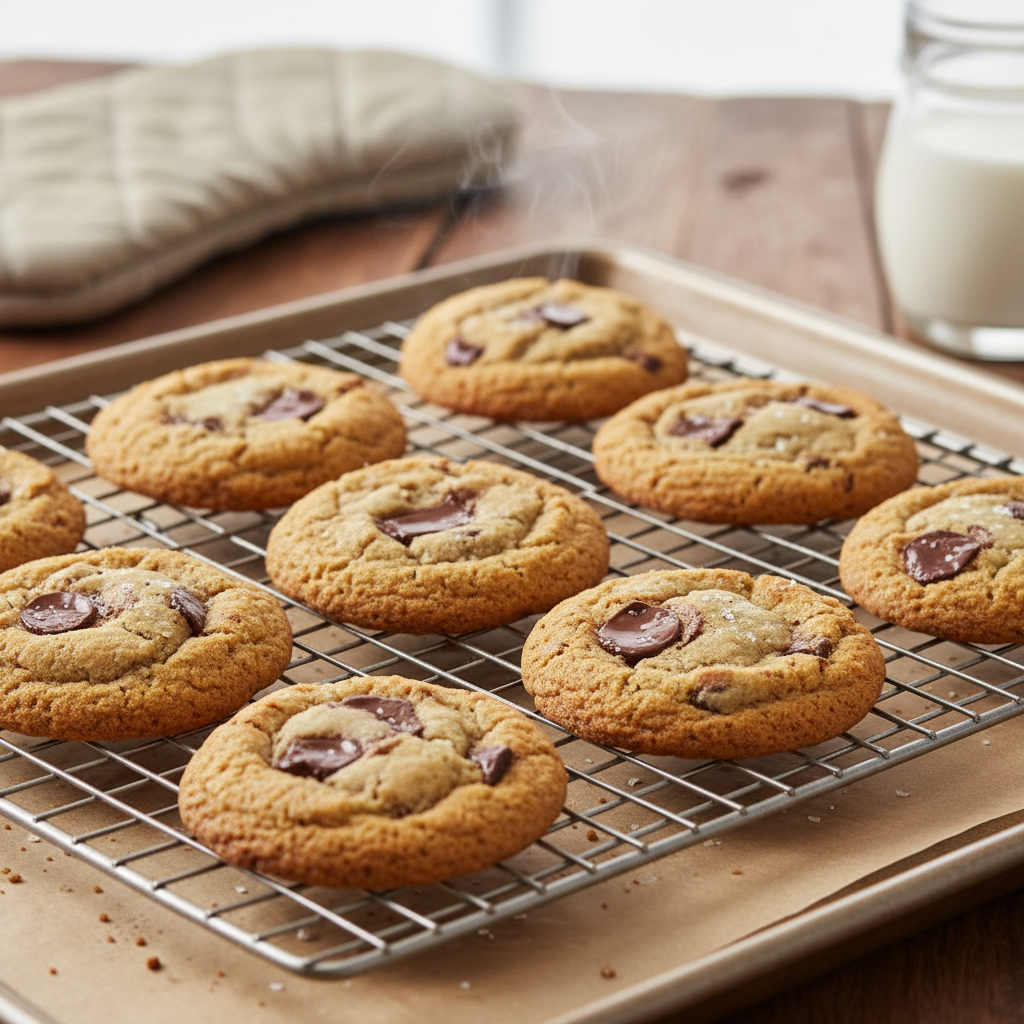
- Bake for 9-11 minutes, or until the edges are golden brown and the centers are just set. They might look slightly underdone in the middle, but they will continue to set as they cool.
- Remove from the oven and let cool on the baking sheets for 5 minutes before transferring to a wire rack to cool completely.
Notes
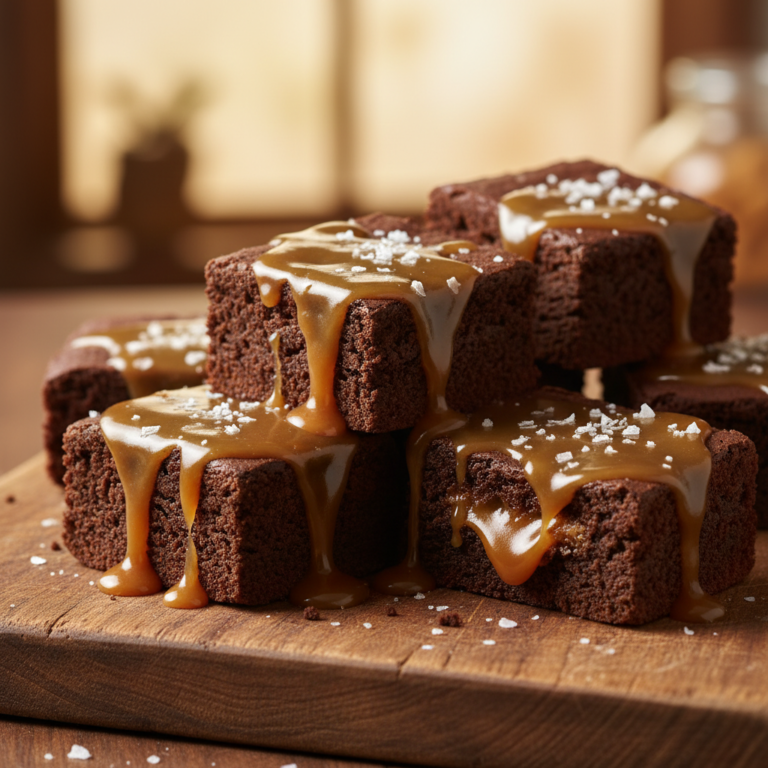
For extra flavor, sprinkle a little sea salt on top of the cookies immediately after they come out of the oven.
Tips & Variations
- Nutty Twist Add 1/2 cup chopped walnuts or pecans to the dough for extra crunch and flavor.
- Oatmeal Raisin Swap out some flour for rolled oats and use raisins instead of chocolate chips.
- Spice It Up Add 1/2 teaspoon of cinnamon or a pinch of nutmeg to the dry ingredients for a warm flavor.
- Different Chocolates Experiment with milk chocolate, dark chocolate, white chocolate, or even a mix of all three!
- Peanut Butter Cookies For a simple variation, swap half of the butter for creamy peanut butter.
Pro Chef Tips

- Room Temperature Ingredients Ensure your butter and eggs are at room temperature. This helps them emulsify better, creating a smoother dough and a more consistent texture.
- Don’t Overmix Once you add the flour, mix only until just combined. Overmixing develops the gluten, leading to tough cookies.
- Chill the Dough If you have time, chilling the dough for at least 30 minutes (or even overnight) can significantly improve flavor and texture, preventing excessive spreading.
- Use a Cookie Scoop This ensures all your cookies are the same size, leading to even baking and a professional look.
- Rotate Baking Sheets If your oven has hot spots, rotate your baking sheets halfway through baking for uniform browning.
Common Mistakes to Avoid
- Overbaking The most common mistake! Cookies continue to bake slightly after being removed from the oven. Pull them out when the edges are golden and the centers still look a little soft.
- Using Cold Butter As mentioned, cold butter won’t cream properly with sugar, resulting in a dense cookie.
- Not Measuring Accurately Baking is a science. Use proper measuring cups and spoons, and level off your flour correctly.
- Crowding the Baking Sheet Give your cookies space to spread. If they’re too close, they’ll merge into one giant cookie.
- Baking on Warm Sheets Always use a cool baking sheet for each batch. A warm sheet will cause the dough to spread too quickly.
Storage & Meal Prep
Proper storage ensures your delicious cookies stay fresh and enjoyable:
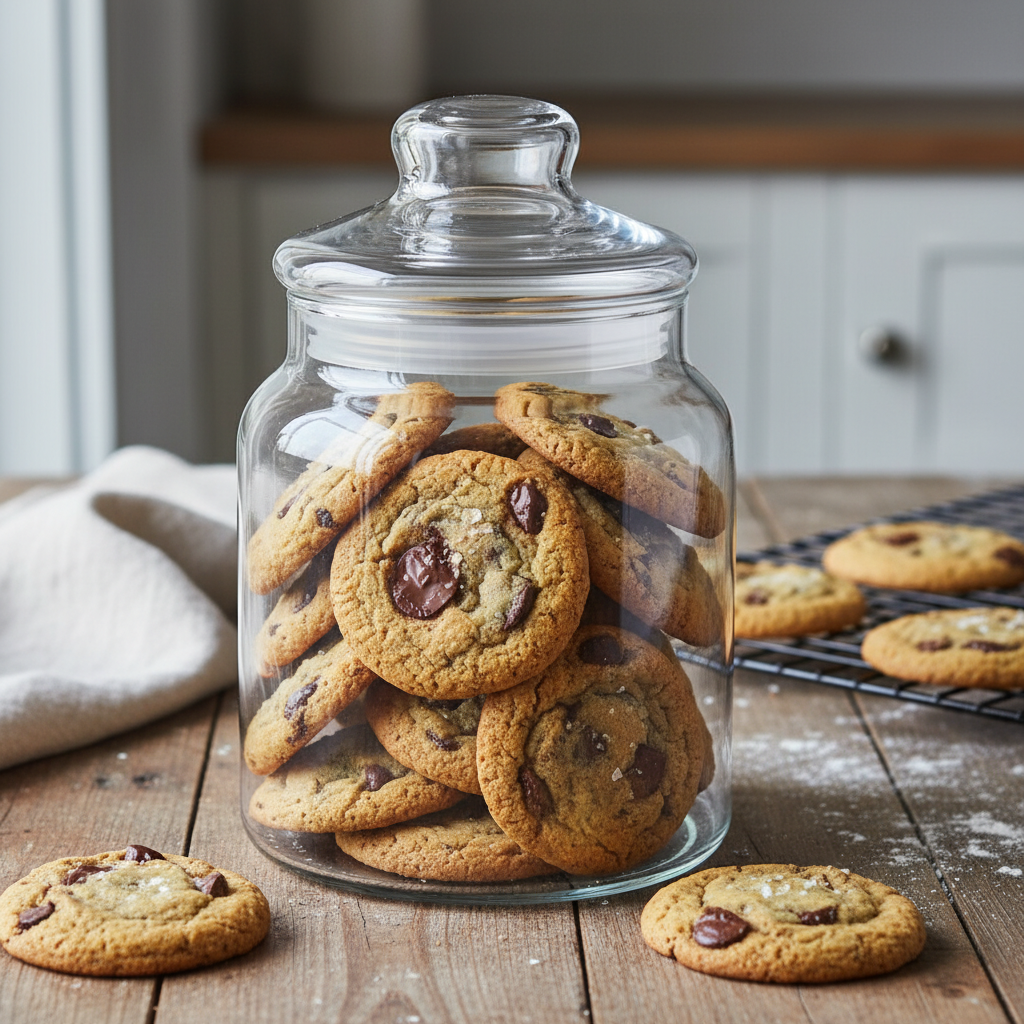
- At Room Temperature Store cooled cookies in an airtight container for up to 3-5 days. For best results, place a slice of bread in the container to help keep them soft.
- Freezing Baked Cookies Once completely cooled, place cookies in a single layer on a baking sheet and freeze until solid. Transfer to a freezer-safe bag or container and freeze for up to 3 months. Thaw at room temperature.
Make-Ahead & Freezer Notes
These recipes are perfect for making ahead!
- Dough in the Fridge Prepare the cookie dough and store it in an airtight container in the refrigerator for up to 3 days. When ready to bake, let it come to room temperature slightly before scooping and baking.
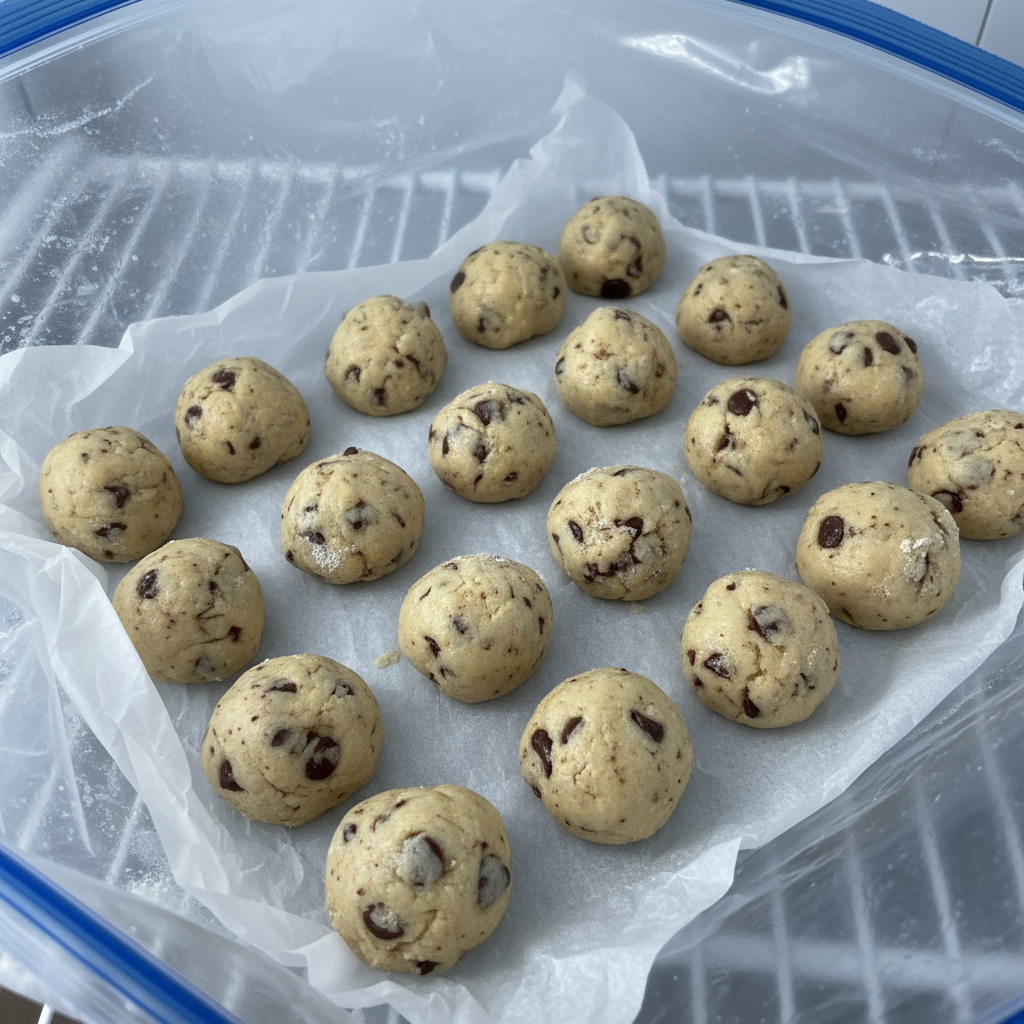
- Freezing Cookie Dough Balls Scoop the dough into individual balls and place them on a parchment-lined baking sheet. Freeze until solid, then transfer to a freezer-safe bag. You can bake them directly from frozen (add a few extra minutes to baking time) or let them thaw slightly.
Serving Suggestions
While these cookies are fantastic on their own, here are some ideas to make them even more special:
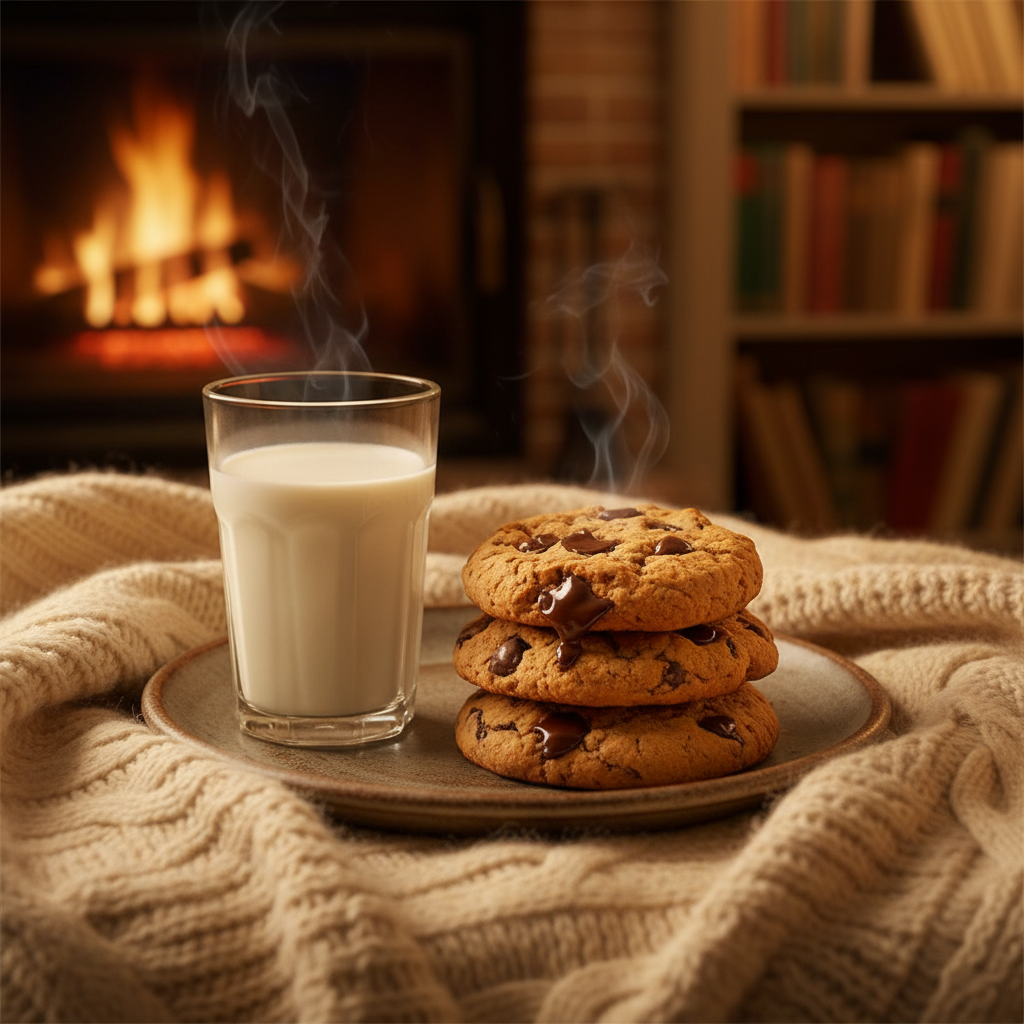
- Classic Milk Pairing Nothing beats a warm cookie with a cold glass of milk.
- Ice Cream Sandwiches Sandwich your favorite ice cream flavor between two cookies for a delightful treat.
- Coffee or Tea Time Enjoy them with your morning coffee or an afternoon cup of tea.
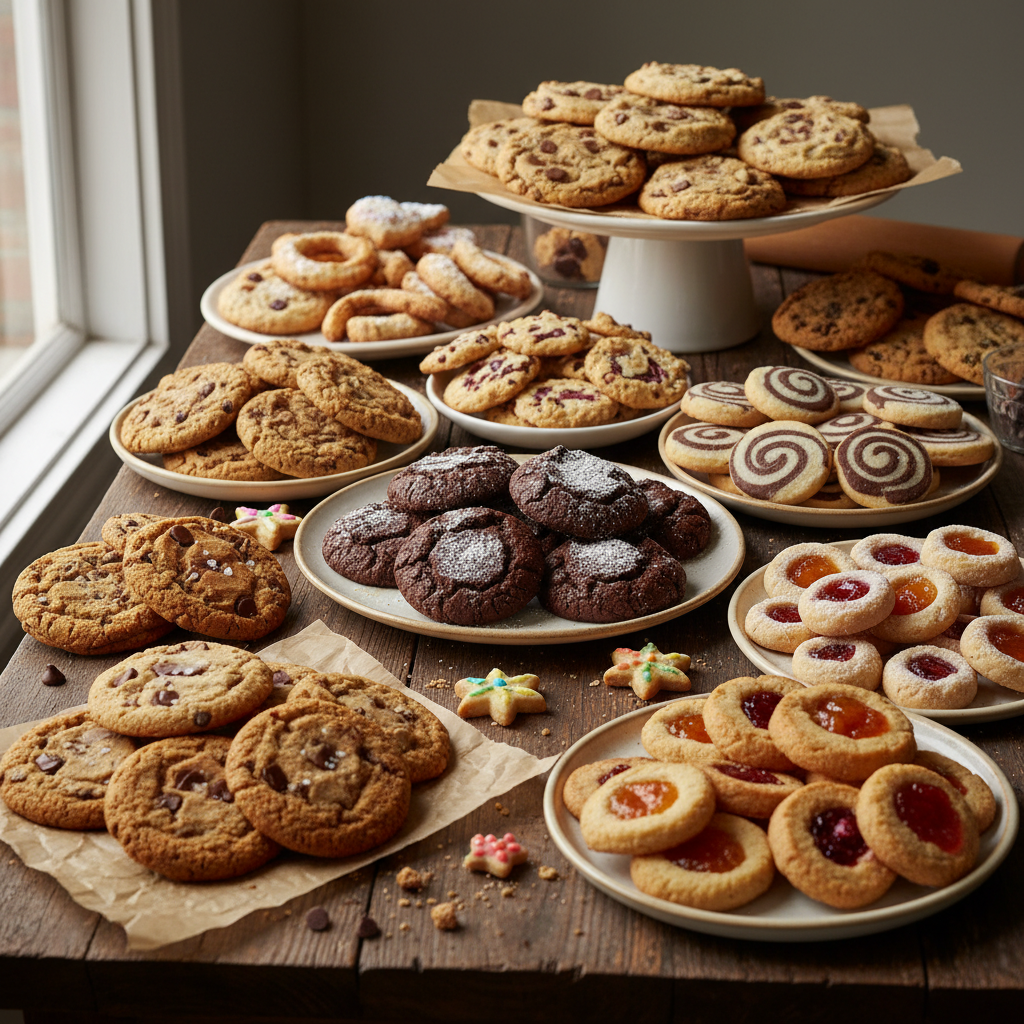
- Dessert Platter Arrange a variety of your easy cookies on a platter for gatherings.
- With Hot Cocoa A perfect winter warmer!