There’s nothing quite like waking up to the aroma of freshly made pancakes. That golden-brown stack, drizzled with sweet maple syrup, is a classic comfort food that brings smiles to faces young and old. If you’ve ever dreamt of creating perfectly fluffy pancakes that are light, airy, and melt-in-your-mouth delicious, you’ve come to the right place! This guide will walk you through every step, ensuring your pancake dreams become a delicious reality. Get ready to impress your family and friends with the best homemade pancakes they’ve ever tasted.
History and Background
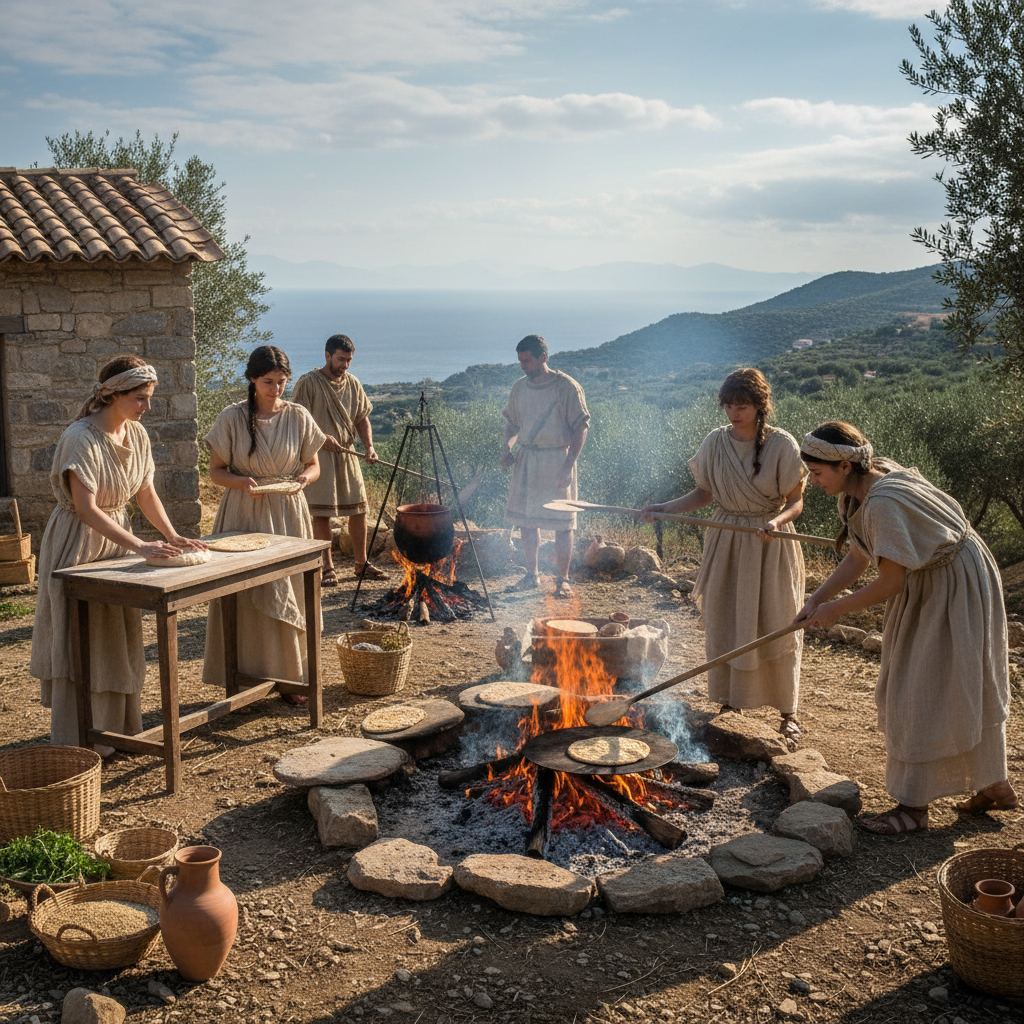
Pancakes have a surprisingly long and rich history, dating back thousands of years. The earliest known pancakes were simple flatbreads made from ground grains and water, cooked on hot stones. Ancient Greeks and Romans enjoyed them, often sweetened with honey. Fast forward to the Middle Ages, and pancakes became a staple across Europe, evolving with local ingredients and cooking methods. They were particularly popular during Lent, as a way to use up rich ingredients like eggs and butter before fasting periods, leading to traditions like Shrove Tuesday (Pancake Day). The American pancake, as we know it today, gained popularity in the 19th century with the advent of leavening agents like baking powder and baking soda, which gave them their signature fluffy texture. From humble beginnings to a beloved breakfast icon, pancakes have truly stood the test of time.
Why You Will Love This Recipe
- Incredibly Fluffy Texture This recipe guarantees light, airy pancakes every single time.
- Simple Ingredients You likely already have everything you need in your pantry.
- Easy to Follow Perfect for beginners with clear, step-by-step instructions.
- Versatile Easily customizable with your favorite mix-ins and toppings.
- Crowd-Pleaser A guaranteed hit for breakfast, brunch, or even ‘brinner’!
- Nostalgic Comfort Brings a warm, cozy feeling with every bite.
Ingredient Notes for Perfect Pancakes
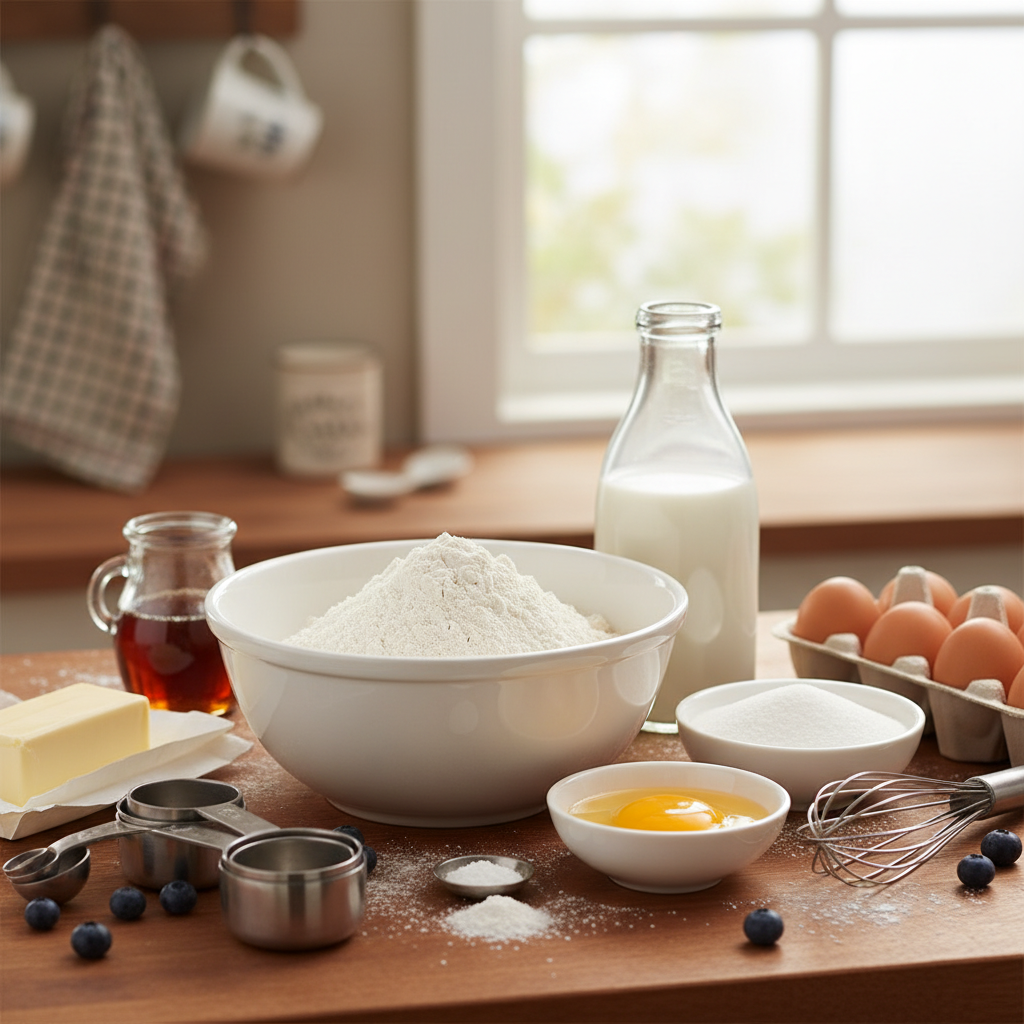
Quality ingredients make all the difference in achieving that perfect pancake. Here’s a quick run-down of what you’ll need and why:
- All-Purpose Flour The base of our pancakes. Sifting it can help prevent lumps, but it’s not strictly necessary if you whisk well.
- Granulated Sugar Just a touch to sweeten the batter and aid in browning.
- Baking Powder & Baking Soda These are the magic leavening agents that create those beautiful bubbles and give our pancakes their incredible lift and fluffiness. Don’t skip them!
- Salt A pinch of salt balances the sweetness and enhances all the flavors.
- Milk Whole milk is recommended for the richest flavor and best texture, but 2% milk works fine too.
- Large Egg Acts as a binder and adds richness to the batter.
- Melted Unsalted Butter Adds moisture, flavor, and helps achieve a tender crumb. Unsalted is preferred so you can control the salt content.
- Vanilla Extract A splash of vanilla elevates the flavor profile, adding warmth and depth.
Equipment Needed
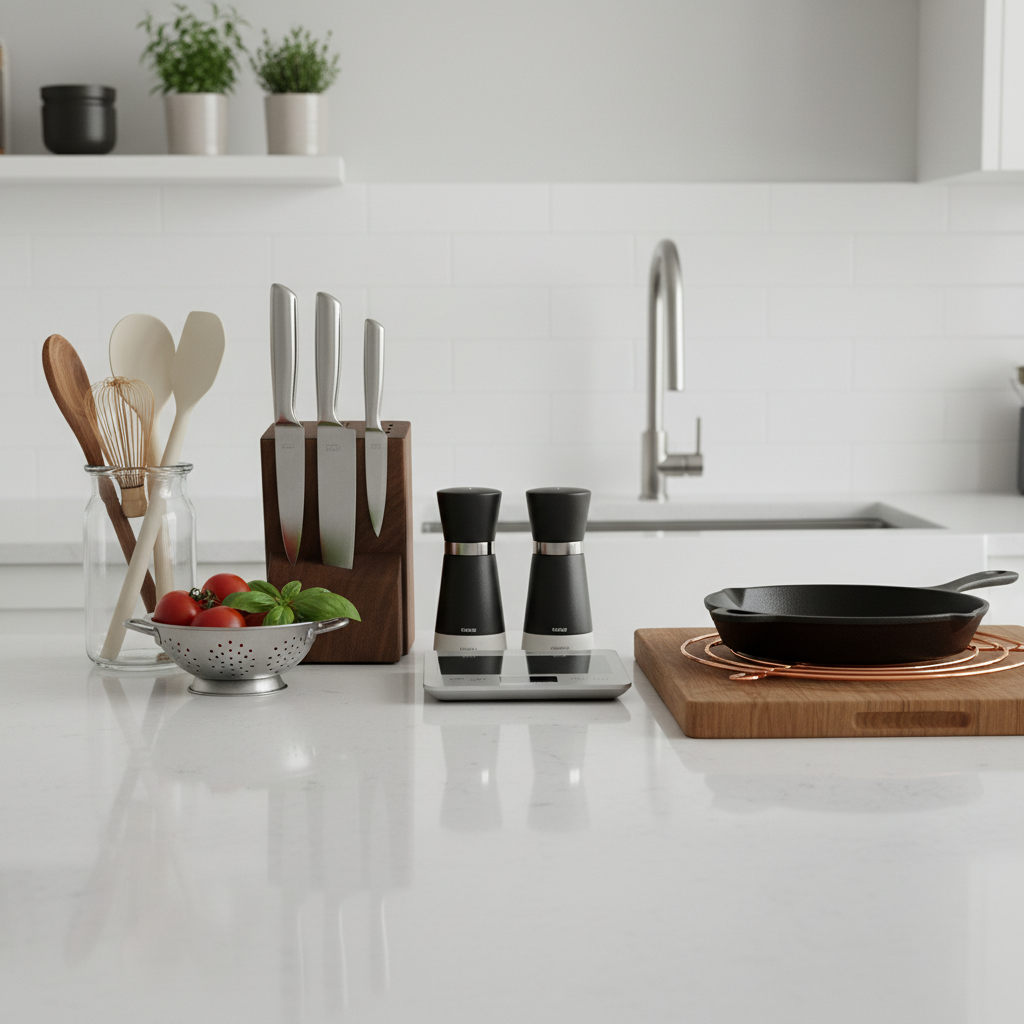
You don’t need a lot of fancy gadgets to make great pancakes, just a few kitchen essentials:
- Large Mixing Bowls Two bowls are ideal- one for dry, one for wet ingredients.
- Whisk For combining ingredients and ensuring a smooth batter.
- Measuring Cups and Spoons Accuracy is key in baking.
- Griddle or Large Non-Stick Frying Pan Essential for cooking the pancakes evenly.
- Spatula For flipping those beautiful pancakes.
- Ladle or 1/4 Cup Measuring Cup For portioning out the batter onto the griddle.
Full Recipe Card
Get ready to make the best fluffy pancakes!
Ingredients
- 1 ½ cups all-purpose flour
- 2 tablespoons granulated sugar
- 1 tablespoon baking powder
- 1 teaspoon baking soda
- ½ teaspoon salt
- 1 ¼ cups milk (whole milk recommended)
- 1 large egg
- 2 tablespoons unsalted butter, melted and slightly cooled
- 1 teaspoon vanilla extract
- Butter or oil for greasing the griddle
- Maple syrup and desired toppings for serving
Instructions
- Combine Dry Ingredients In a large mixing bowl, whisk together the flour, sugar, baking powder, baking soda, and salt. Make sure there are no lumps and everything is well combined.
- Combine Wet Ingredients In a separate medium mixing bowl, whisk together the milk, egg, melted butter, and vanilla extract until smooth.
- Combine Wet and Dry Pour the wet ingredients into the dry ingredients. Mix gently with a whisk or spatula until just combined. The batter should be slightly lumpy; do not overmix! Overmixing develops gluten, leading to tough pancakes. A few small lumps are perfectly fine.
- Rest the Batter Let the batter rest for 5-10 minutes. This allows the baking powder to activate and the gluten to relax, resulting in fluffier pancakes.
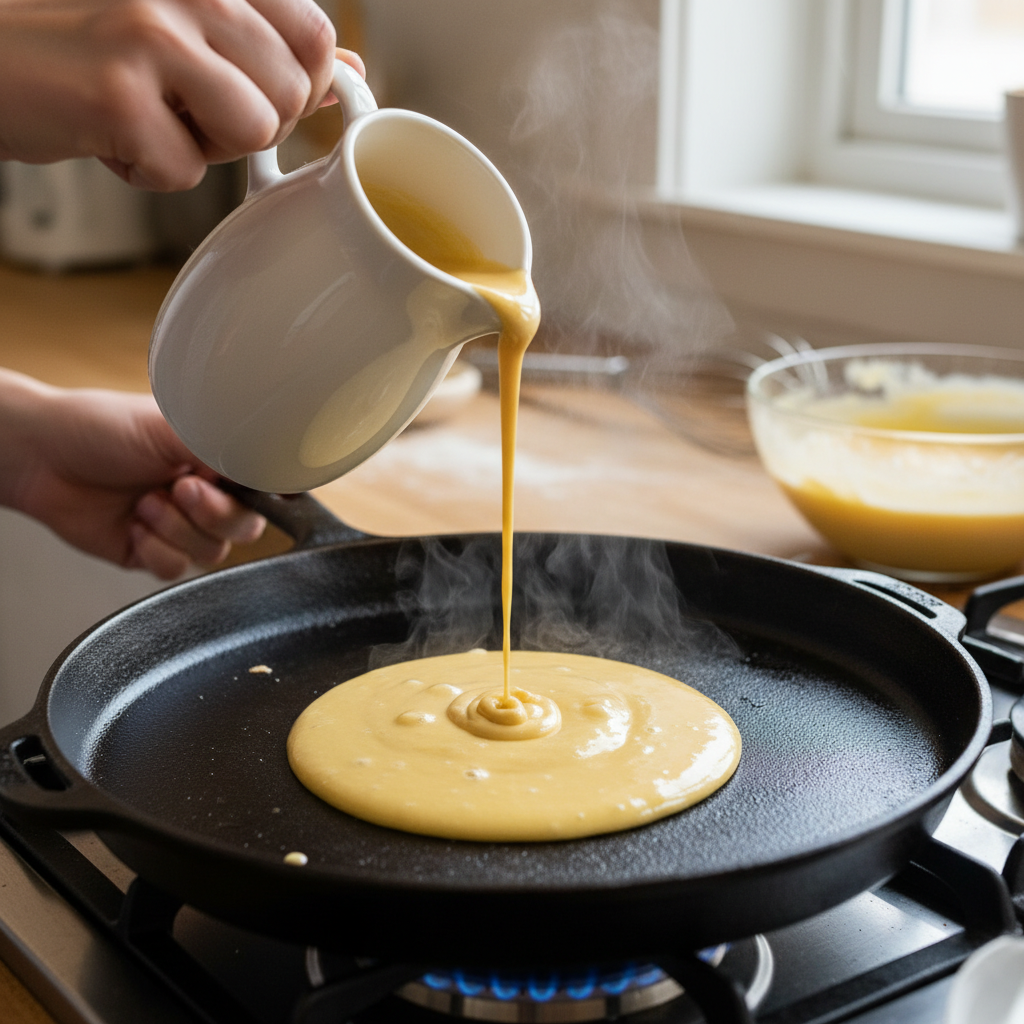
- Heat the Griddle While the batter rests, heat a lightly greased griddle or large non-stick frying pan over medium-low heat. You’ll know it’s ready when a drop of water sizzles and evaporates quickly.
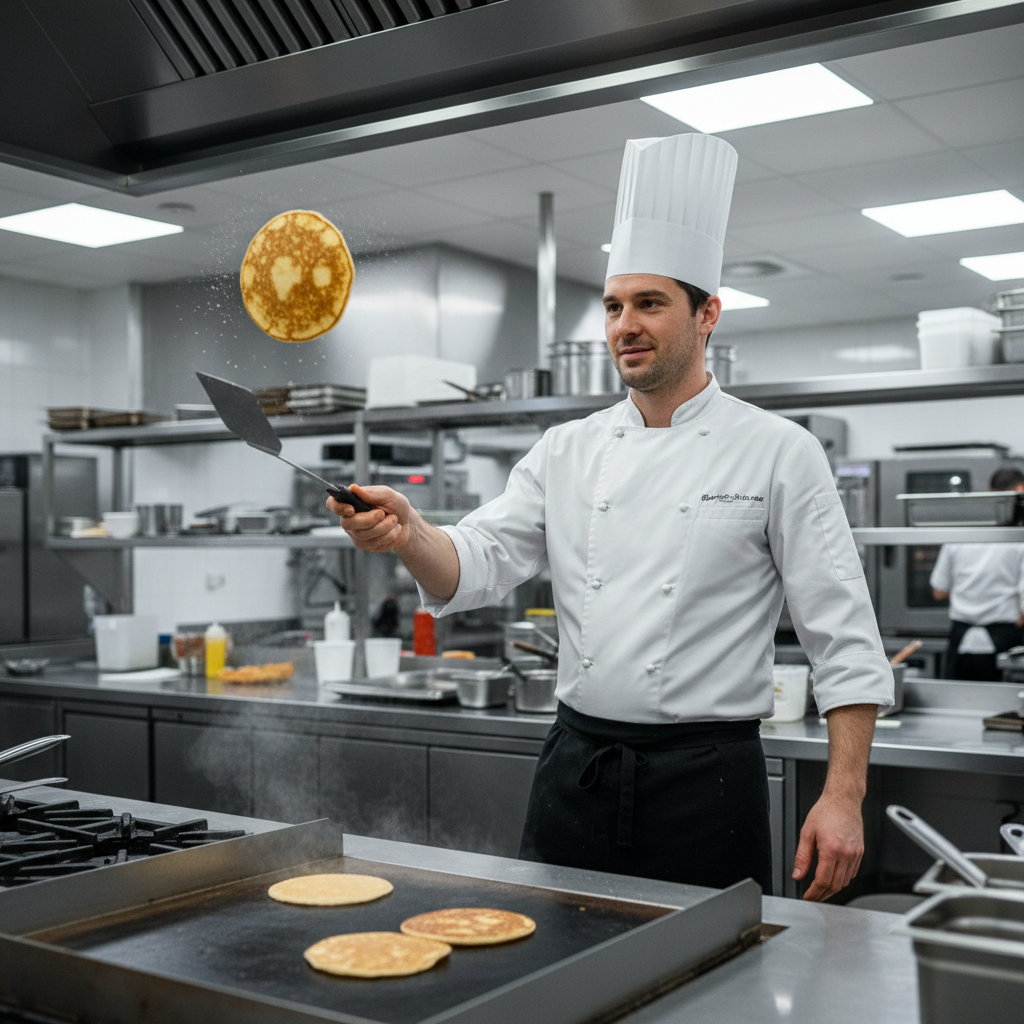
- Cook Pancakes Pour about ¼ cup of batter per pancake onto the hot griddle. Cook for 2-3 minutes per side, or until golden brown and bubbles start to form on the surface of the pancake and the edges look set.
- Flip and Finish Carefully flip the pancakes with a spatula and cook for another 1-2 minutes on the second side, until golden brown and cooked through.
- Serve Immediately Transfer cooked pancakes to a plate. Serve warm with maple syrup, fresh fruit, or your favorite toppings. Enjoy!
Notes
- For extra fluffy pancakes, separate the egg yolk and white. Add the yolk to the wet ingredients. Beat the egg white to soft peaks and gently fold into the batter as the last step.
- Adjust heat as needed. If pancakes are browning too quickly, lower the heat. If they’re not browning, increase slightly.
Tips and Variations
- Buttermilk Pancakes Substitute regular milk with buttermilk. You might need to add an extra pinch of baking soda to react with the acidity.
- Chocolate Chip Pancakes Fold in ½ cup of chocolate chips (mini or regular) into the batter before cooking.
- Berry Pancakes Gently fold in fresh blueberries, raspberries, or sliced strawberries into the batter.
- Lemon Ricotta Pancakes Add ¼ cup of ricotta cheese and 1 teaspoon of lemon zest to the wet ingredients for an extra moist and flavorful pancake.
- Spiced Pancakes Add ½ teaspoon of cinnamon or a pinch of nutmeg to the dry ingredients for a warm, comforting flavor.
Pro Chef Tips
- Don’t Overmix the Batter This is the golden rule! A lumpy batter is a happy batter. Overmixing develops gluten, leading to tough, chewy pancakes. Mix until just combined.
- Rest the Batter A short rest (5-10 minutes) allows the flour to fully hydrate and the leavening agents to begin their work, resulting in a lighter, fluffier pancake.
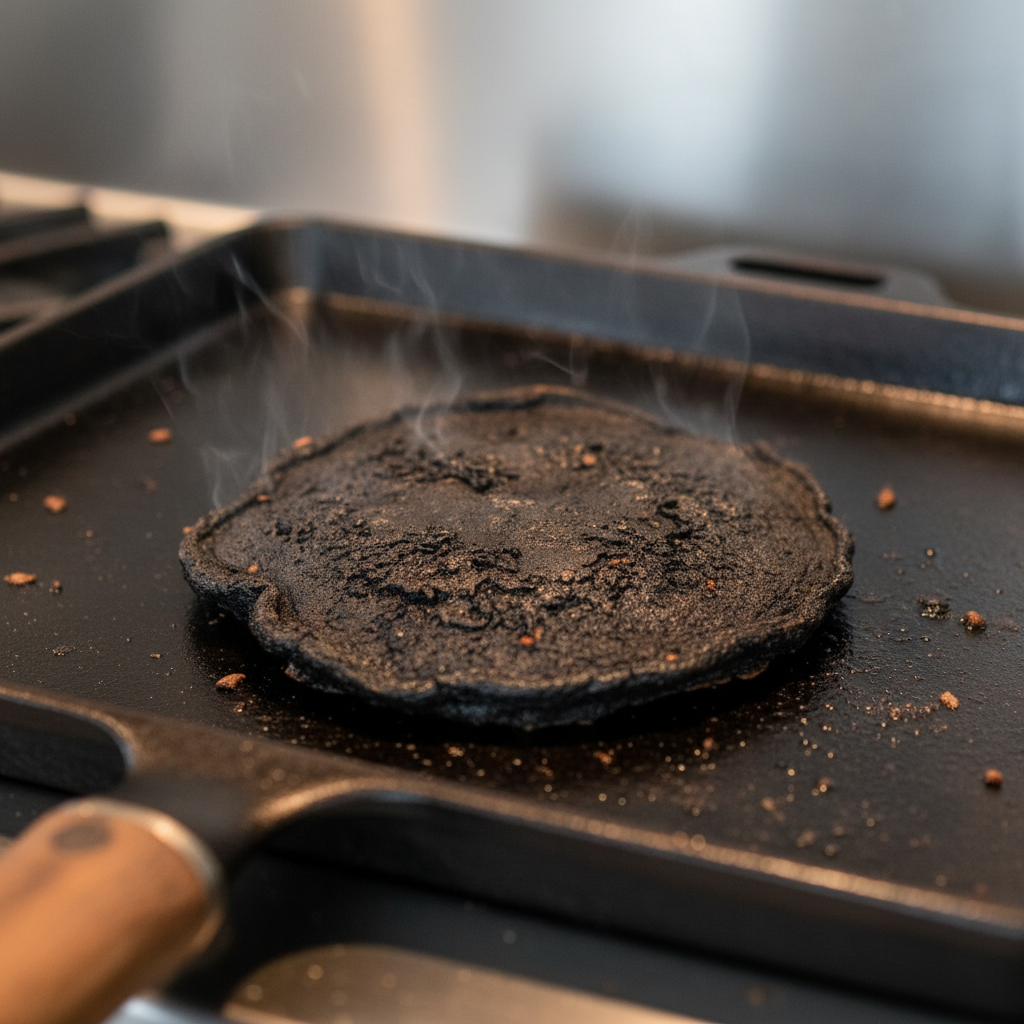
- Proper Griddle Temperature This is crucial. Too hot, and the outside burns before the inside cooks. Too cool, and they won’t brown properly. Medium-low is usually ideal. Test with a small drop of water; it should sizzle gently.
- Use Fresh Leavening Agents Baking powder and baking soda lose potency over time. Check their freshness by adding a pinch to hot water (baking powder should bubble) or vinegar (baking soda should bubble).
- Keep Warm As you cook batches, place finished pancakes on an oven-safe plate in a warm oven (around 200°F / 95°C) to keep them warm until ready to serve.
Common Mistakes to Avoid
- Overmixing the Batter As mentioned, this is the number one culprit for tough pancakes. Mix just until the wet and dry ingredients are incorporated.
- Too Much Batter on the Griddle Don’t overcrowd your cooking surface. Give each pancake space to breathe and cook evenly.
- Flipping Too Early or Too Often Wait for bubbles to appear on the surface and the edges to set before flipping. Flip only once!
- Using Cold Ingredients Room temperature milk and eggs integrate better into the batter and cook more evenly.
- Not Greasing the Griddle Properly Too much oil makes them greasy; too little and they stick. A thin, even layer is best.
Storage and Meal Prep
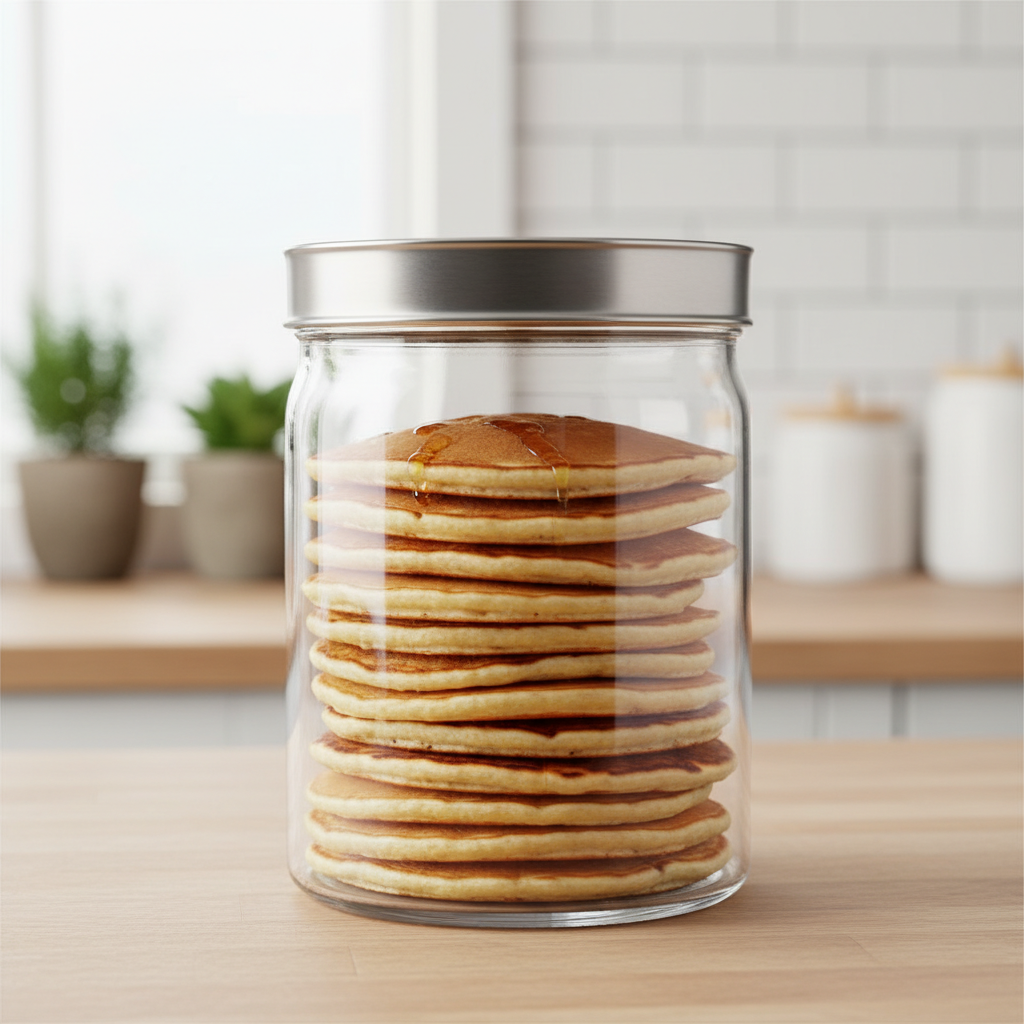
Pancakes are fantastic for meal prep! Once cooled completely, store leftover pancakes in an airtight container in the refrigerator for up to 3-4 days. For longer storage, see the freezer notes below.
Make-Ahead and Freezer Notes
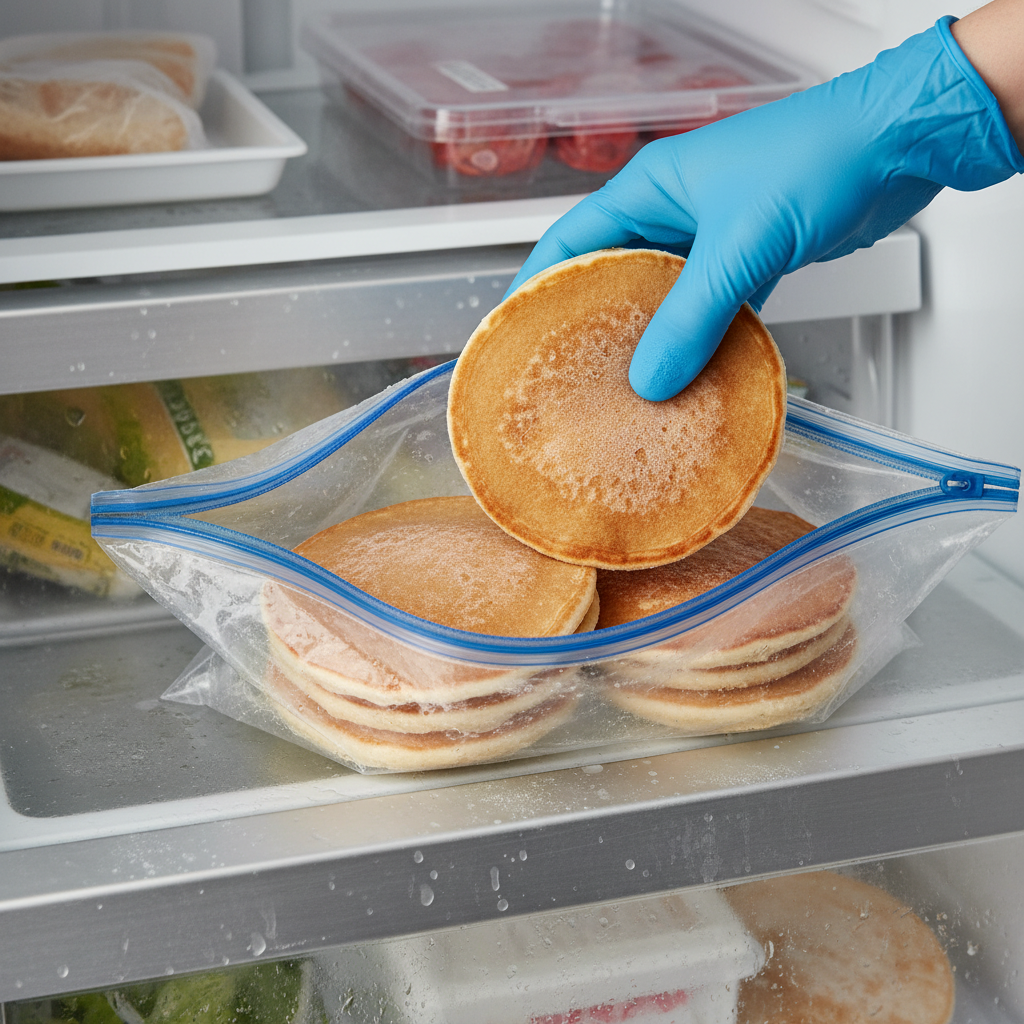
You can absolutely make pancakes ahead of time and freeze them for quick breakfasts. Once cooked and completely cooled, stack them with parchment paper in between each pancake to prevent sticking. Place the stack in a freezer-safe bag or container and freeze for up to 2-3 months. To reheat, simply pop them in the toaster, microwave, or warm them in a single layer on a baking sheet in a 350°F (175°C) oven until heated through.
Serving Suggestions

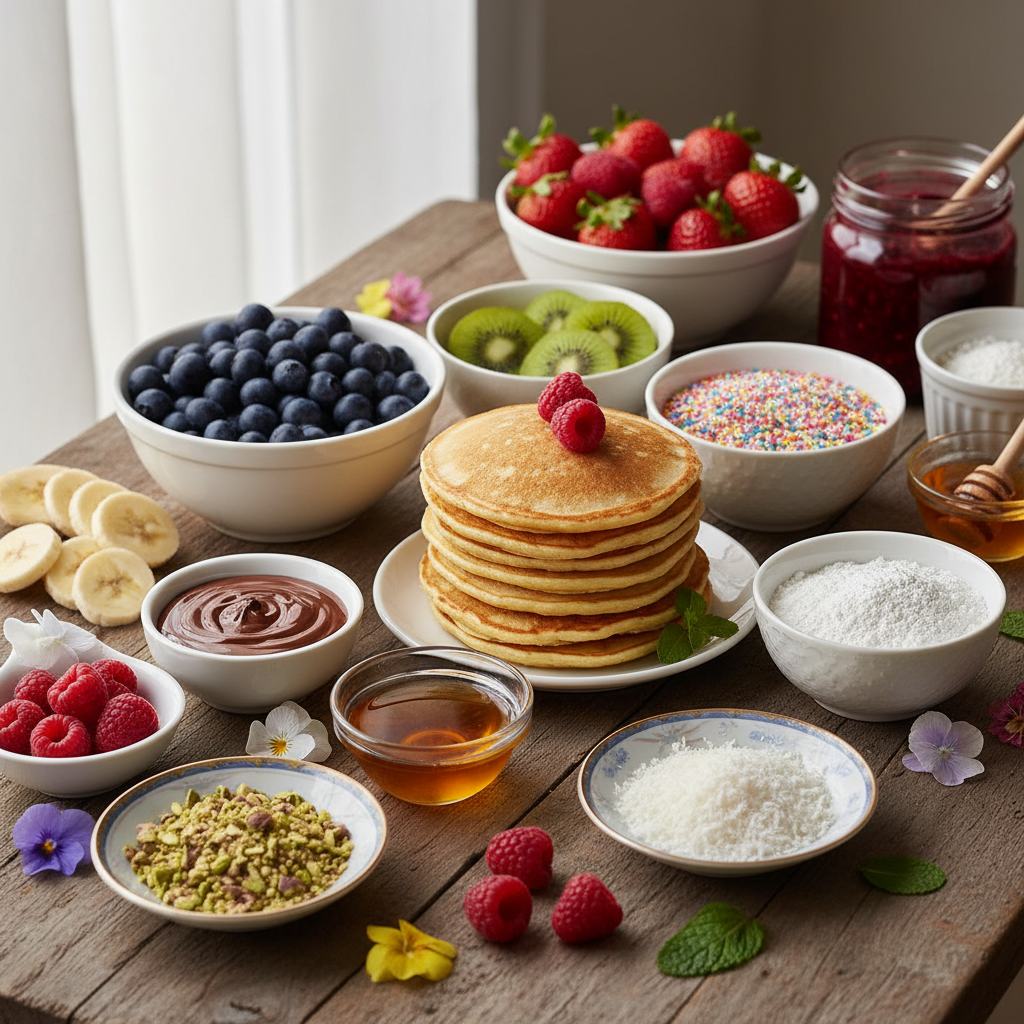
While classic maple syrup is always a winner, don’t limit yourself! Here are some delicious serving ideas:
- Fresh Fruit Sliced bananas, berries, peaches, or a fruit compote.
- Whipped Cream A dollop of homemade whipped cream adds a touch of indulgence.
- Nut Butters Peanut butter, almond butter, or hazelnut spread for extra protein and flavor.
- Chocolate Sauce or Caramel Drizzle For a dessert-like treat.
- Bacon or Sausage A savory side complements the sweet pancakes perfectly.
- Yogurt A scoop of Greek yogurt for a tangy contrast.
- Powdered Sugar A simple, elegant dusting.