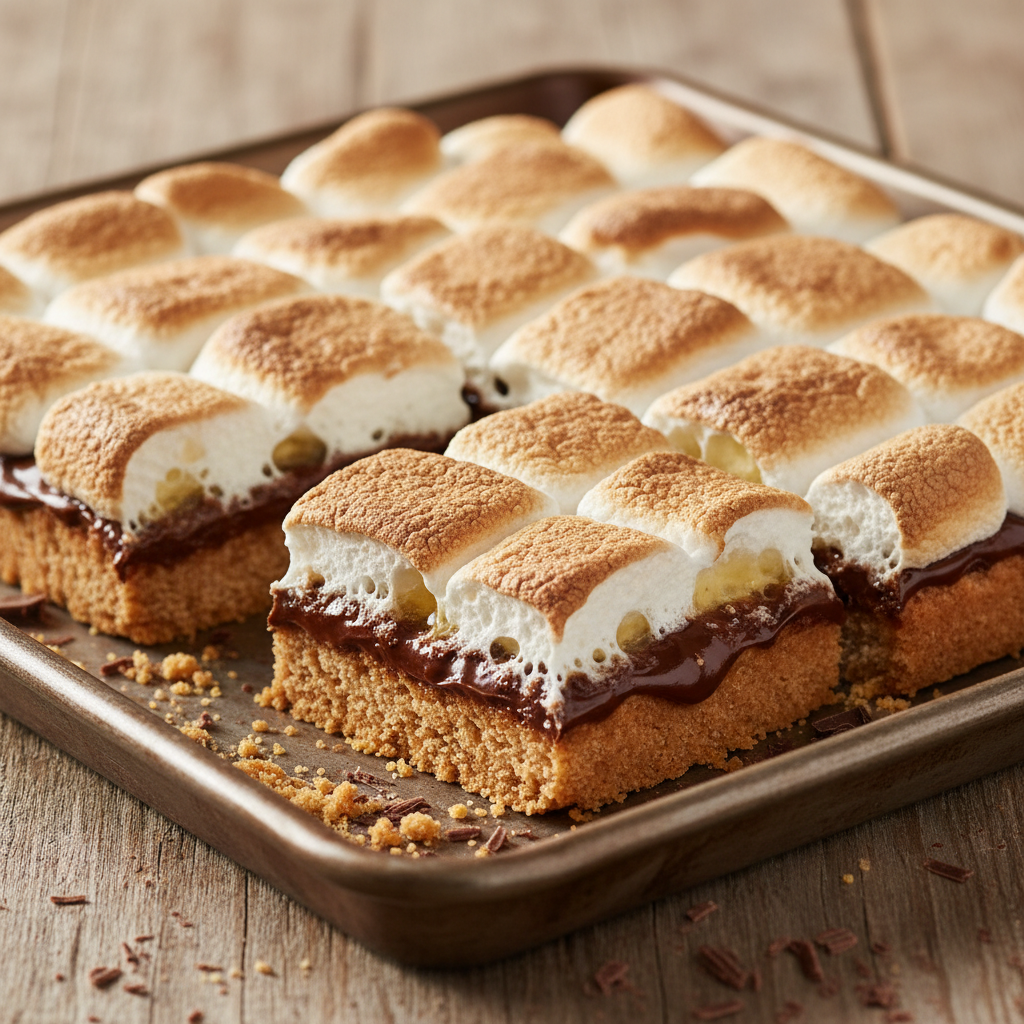

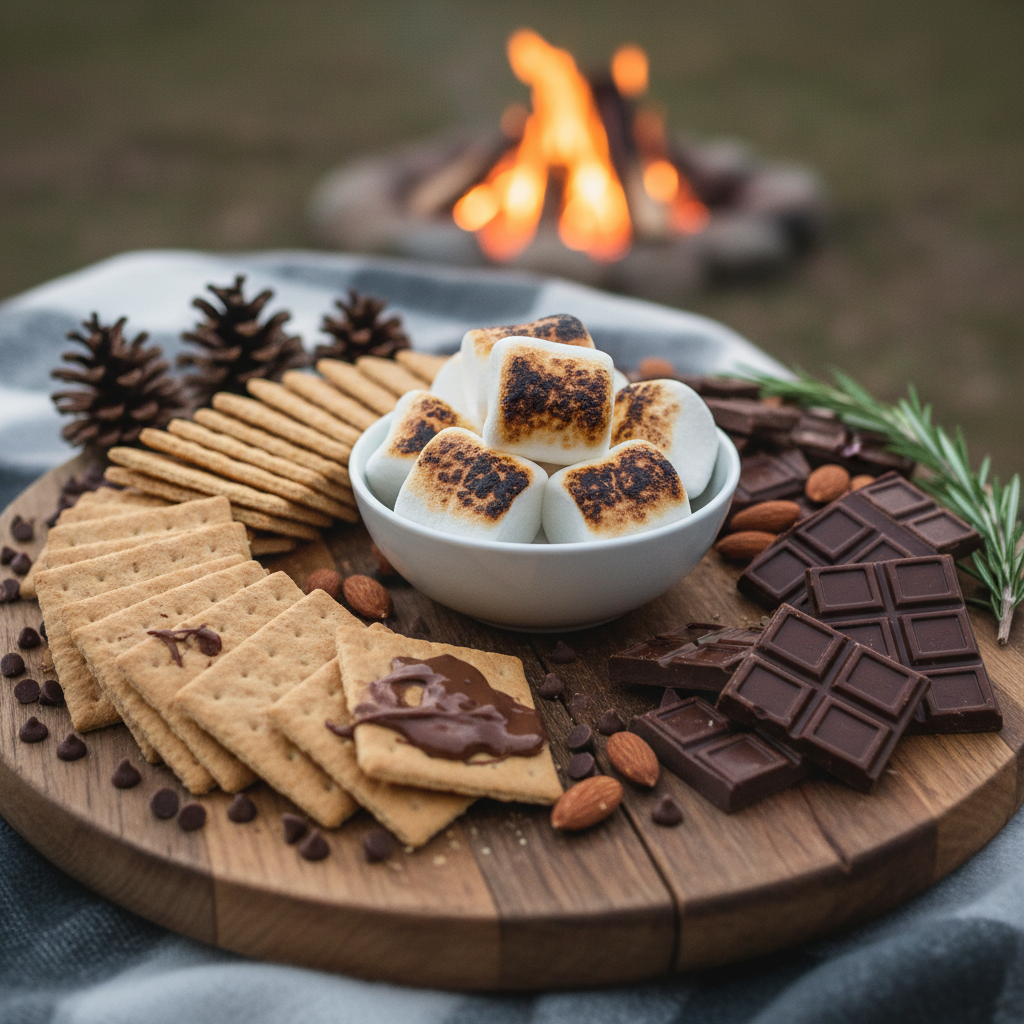
Who doesn’t love the gooey, chocolatey, crunchy perfection of a s’more? The smoky flavor, the melted marshmallow, the snap of a graham cracker – it’s pure magic. But let’s be honest, sometimes you just don’t have a campfire handy, or you’re looking for a simpler way to enjoy that beloved treat. Well, get ready to have your dessert dreams come true because today we’re diving into the world of easy no-bake S’mores Bars! This recipe brings all the classic flavors you adore into a convenient, crowd-pleasing bar form that requires zero oven time. Perfect for summer gatherings, potlucks, or just a sweet craving at home, these bars are a game-changer. Let’s get baking (or, rather, not baking)!
History and Background of S’mores

The s’more, a beloved campfire classic, has a history as rich and sweet as its flavor. While the exact origins are a bit hazy, the first known recipe for a ‘Graham Cracker Sandwich’ appeared in the 1927 publication ‘Tramping and Trailing with the Girl Scouts’. It was described as a treat ‘some mores’, quickly evolving into the shortened ‘s’more’. The combination of toasted marshmallow, melted chocolate, and crisp graham crackers became synonymous with outdoor adventures and cozy evenings around a crackling fire. Over the decades, this simple dessert has captured hearts, becoming a quintessential American treat. Our no-bake bars pay homage to this delicious legacy, making it accessible anytime, anywhere.
Why You’ll Love This Recipe

- No-Bake Wonder No need to turn on your oven, making it perfect for hot days or quick prep.
- Classic S’mores Flavor All the beloved taste of s’mores without the campfire hassle.
- Beginner-Friendly Simple steps and common ingredients make it ideal for new bakers.
- Crowd-Pleaser Always a hit at parties, potlucks, and family gatherings.
- Quick to Prepare Minimal active time means you’ll have dessert ready in a flash.
- Portable Perfection Easy to transport and serve, unlike traditional s’mores.
Ingredient Notes
Gathering your ingredients is the first step to s’mores bar bliss. Here’s a quick rundown of what you’ll need and why each component is key:
- Graham Crackers These form the crunchy base. You’ll want to crush them finely.
- Unsalted Butter Essential for binding the graham cracker crust and adding richness.
- Granulated Sugar A touch of sweetness for the crust.
- Salt A pinch balances the sweetness and enhances flavor.
- Chocolate Chips or Bars Milk chocolate is classic for s’mores, but semi-sweet works beautifully too. Use good quality chocolate for the best melt.
- Sweetened Condensed Milk This is the magic ingredient for the creamy chocolate layer, making it rich and smooth.
- Vanilla Extract A dash enhances all the sweet flavors.
- Mini Marshmallows The star of the show! Mini marshmallows melt beautifully and create that iconic gooey top layer.
Equipment Needed

You don’t need a fancy kitchen to whip up these bars. Here’s what will make your life easier:
- 9×13 inch Baking Pan Essential for forming and chilling your bars.
- Parchment Paper Lines the pan, making it super easy to lift out and cut the bars.
- Food Processor or Ziploc Bag and Rolling Pin For crushing graham crackers.
- Large Microwave-Safe Bowl or Double Boiler For melting chocolate.
- Saucepan If using the stovetop method for the chocolate layer.
- Rubber Spatula For mixing and spreading.
- Measuring Cups and Spoons For accurate ingredient amounts.
Full Recipe Card
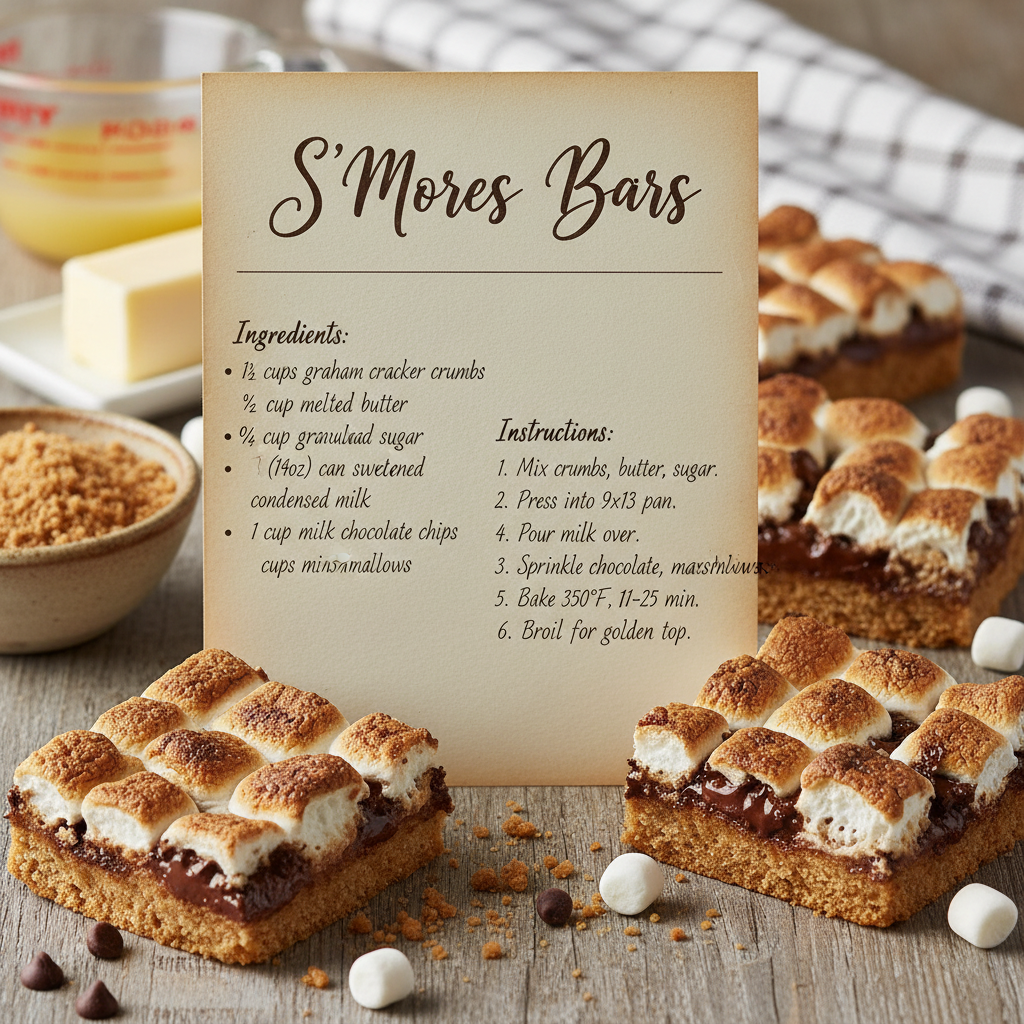
Ingredients
- 2 cups (about 1 sleeve) graham cracker crumbs
- 1/2 cup (1 stick) unsalted butter, melted
- 1/4 cup granulated sugar
- Pinch of salt
- 2 cups (about 12 ounces) milk chocolate chips or chopped milk chocolate bars
- 1 (14 ounce) can sweetened condensed milk
- 1 teaspoon vanilla extract
- 4 cups mini marshmallows
Instructions
- Prepare the Pan Line a 9×13 inch baking pan with parchment paper, leaving an overhang on the sides to easily lift the bars out later.
- Make the Crust In a medium bowl, combine the graham cracker crumbs, melted butter, sugar, and salt. Mix until well combined and the crumbs are evenly moistened. Press this mixture firmly and evenly into the bottom of the prepared baking pan. Use the bottom of a glass or your hands to ensure a compact crust. Place the pan in the refrigerator while you prepare the next layer.
- Create the Chocolate Layer In a microwave-safe bowl, combine the chocolate chips and sweetened condensed milk. Microwave in 30-second intervals, stirring well after each, until the chocolate is fully melted and smooth. Alternatively, melt over a double boiler on the stovetop. Stir in the vanilla extract.
- Assemble the Layers Pour the melted chocolate mixture evenly over the chilled graham cracker crust. Spread with a spatula to cover completely.
- Add Marshmallows Sprinkle the mini marshmallows evenly over the chocolate layer.
- Chill Return the pan to the refrigerator and chill for at least 2-3 hours, or until the chocolate layer is firm and the bars are set.
- Torch (Optional) For that authentic toasted marshmallow flavor and look, you can gently toast the marshmallows with a kitchen torch just before serving. Be careful not to burn them!
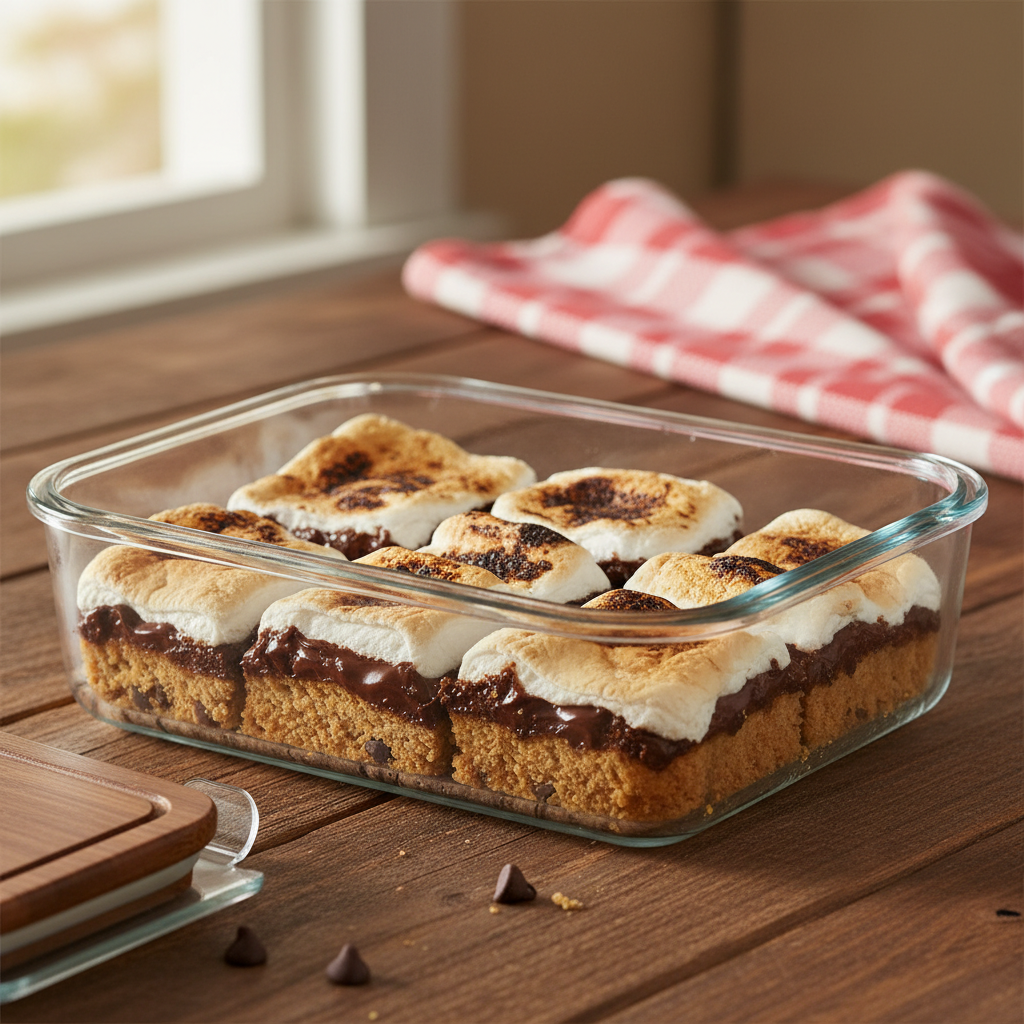
- Slice and Serve Once chilled, lift the bars out of the pan using the parchment paper overhang. Place on a cutting board and cut into squares or rectangles. Serve immediately and enjoy!
Notes
- For extra flavor, add a sprinkle of flaky sea salt on top of the chocolate layer before adding marshmallows.
- If you don’t have mini marshmallows, you can cut larger marshmallows into smaller pieces.
- Ensure your graham cracker crumbs are fine for a smooth crust.
Tips and Variations
Get creative with your S’mores Bars! Here are some ideas to make them your own:
- Dark Chocolate Delight Use dark chocolate chips for a richer, less sweet bar.
- Nutty Crunch Add a layer of chopped pecans or walnuts to the graham cracker crust for extra texture.
- Peanut Butter Swirl Swirl a few spoonfuls of melted peanut butter into the chocolate layer.
- Cookie Crust Substitute crushed shortbread cookies or Oreos for graham crackers.
- Extra Toppings Drizzle with caramel sauce, sprinkle with chocolate shavings, or add a few chocolate candies on top after chilling.
Pro Chef Tips

Even though this is a simple recipe, a few pro tips can elevate your S’mores Bars to gourmet status:
- Compact Crust Really press that graham cracker crust down firmly. This prevents it from crumbling when you cut the bars.
- Quality Chocolate Using a good quality milk or semi-sweet chocolate will make a noticeable difference in the flavor and texture of your chocolate layer.
- Even Layers Take your time to spread the chocolate mixture and marshmallows evenly for consistent bars.
- Chill Thoroughly Don’t rush the chilling process. A fully chilled bar is easier to cut and holds its shape better.
- Sharp Knife for Cutting For clean cuts, use a sharp knife and wipe it clean between slices, especially if the chocolate is sticky.
Common Mistakes to Avoid

Even the simplest recipes can have pitfalls. Here’s what to watch out for:
- Not Crushing Graham Crackers Enough Large chunks in the crust can make it uneven and hard to cut.
- Not Chilling Long Enough An insufficiently chilled bar will be messy and difficult to serve. Patience is key!
- Over-Torching Marshmallows If using a kitchen torch, a quick pass is all you need for a golden hue. Too long, and they’ll burn.
- Uneven Layers This can lead to some bars having too much crust and others too much chocolate. Spread carefully.
- Skipping Parchment Paper Trying to remove the bars without parchment paper is a sticky situation you want to avoid!
Storage and Meal Prep
These S’mores Bars are fantastic for making ahead and storing:
- Storage Store leftover S’mores Bars in an airtight container at room temperature for up to 3 days, or in the refrigerator for up to 5 days. If refrigerated, let them sit at room temperature for a few minutes before serving for optimal texture.
- Meal Prep You can easily make a batch of these bars on the weekend and enjoy them throughout the week as a quick dessert or snack.
Make-Ahead and Freezer Notes

These bars are perfect for preparing in advance!
- Make-Ahead The entire recipe can be made a day or two in advance and stored in the refrigerator. Just cover the pan tightly with plastic wrap.
- Freezer Notes Yes, you can freeze S’mores Bars! Once fully chilled and cut, place the bars in a single layer on a baking sheet and freeze until solid. Then, transfer them to an airtight freezer-safe container or bag, separating layers with parchment paper. They will keep for up to 1 month. Thaw in the refrigerator or at room temperature before serving.Serving Suggestions
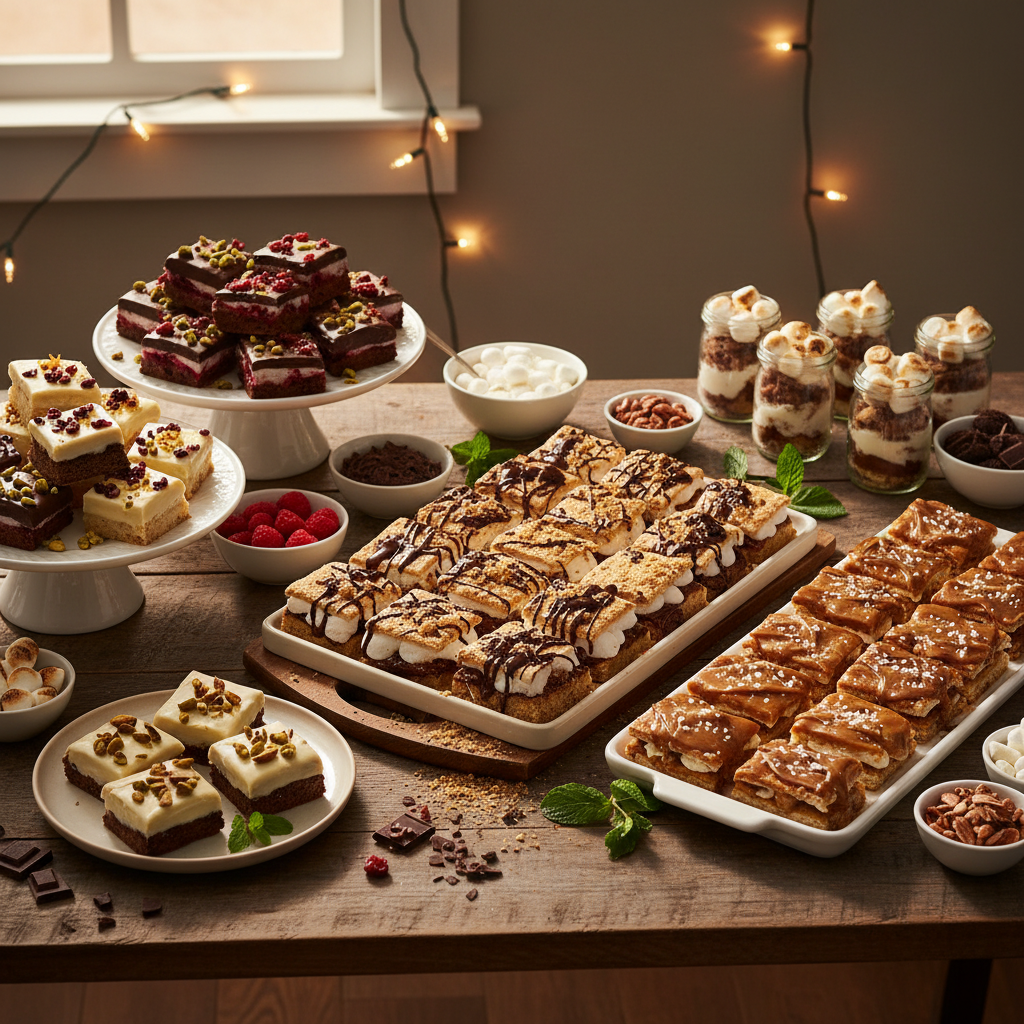
While delicious on their own, S’mores Bars can be elevated with a few serving ideas:
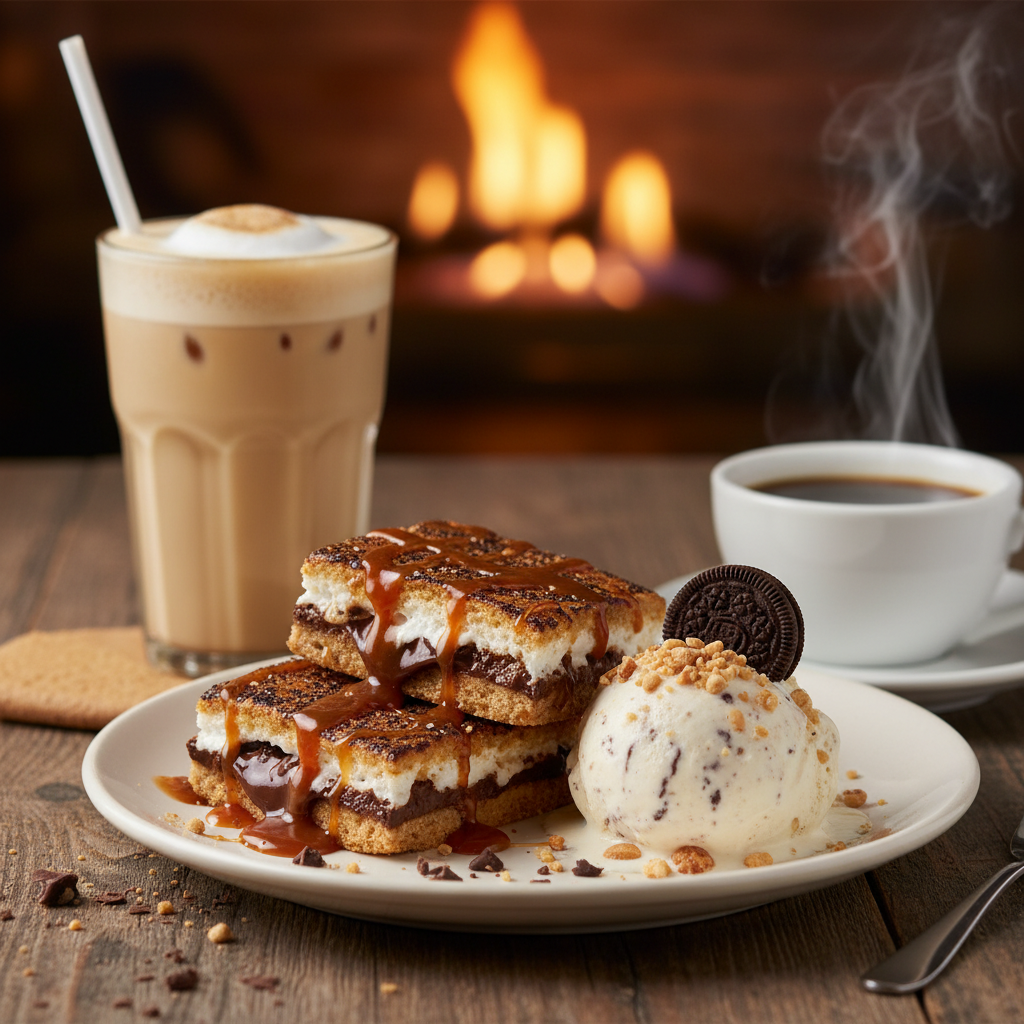
- With Ice Cream A scoop of vanilla bean ice cream is the perfect companion.
- Coffee or Milk Enjoy them with a hot cup of coffee, a glass of cold milk, or even a mug of hot cocoa.
- Fruit Pairing A side of fresh berries, like raspberries or strawberries, adds a lovely tart contrast.
- Dessert Platter Arrange them on a platter with other small desserts for a party spread.