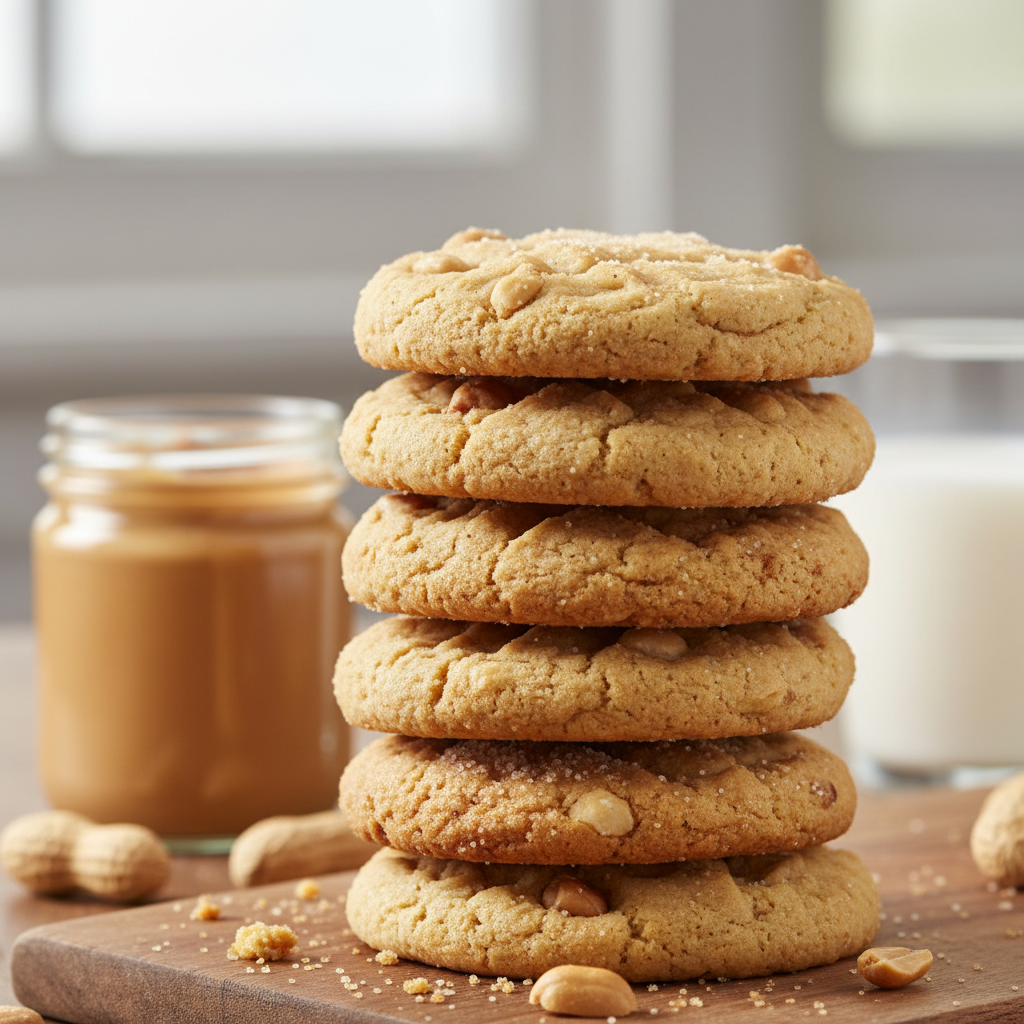
Welcome, fellow cookie lovers! Are you on the hunt for that perfect peanut butter cookie—the one that’s incredibly soft, wonderfully chewy, and packed with irresistible peanut butter flavor? Look no further! This recipe is your golden ticket to achieving cookie nirvana. Forget dry, crumbly cookies; we’re diving into a world of melt-in-your-mouth goodness that will have everyone asking for seconds. Get ready to fill your kitchen with the most comforting aroma and your cookie jar with pure joy.
History / Background

Peanut butter cookies hold a special place in the hearts of many, a true American classic. While peanuts themselves have a rich history dating back thousands of years, their processed form, peanut butter, really took off in the late 19th and early 20th centuries. It wasn’t until the 1920s that combining peanut butter with cookies became widely popular. The iconic crosshatch pattern, pressed with a fork, was originally suggested by Fannie Farmer in 1932 to prevent the dense dough from crumbling, and it quickly became a beloved tradition. This simple cookie has since evolved into countless variations, but the core appeal of its nutty, sweet, and comforting flavor remains timeless.
Why You’ll Love This Recipe
- Incredibly Soft and Chewy: No more dry cookies! This recipe guarantees a tender crumb and delightful chewiness.
- Rich Peanut Butter Flavor: Every bite is bursting with that comforting, nutty taste we all adore.
- Simple and Straightforward: Perfect for beginners, with easy-to-follow steps and common ingredients.
- Quick to Make: From mixing to baking, you’ll have warm cookies in no time.
- Crowd-Pleaser: These cookies disappear fast at parties, potlucks, and family gatherings.
- Freezer-Friendly: Dough and baked cookies can be frozen for future cravings.
Ingredient Notes

The magic of these cookies lies in a few simple ingredients. Here’s a closer look at what you’ll need and why each component is important:
- Creamy Peanut Butter: Stick to regular, processed creamy peanut butter (like Jif or Skippy) for the best texture and consistent results. Natural peanut butter can separate and affect the cookie’s structure.
- Unsalted Butter: Softened to room temperature. This provides richness and helps with the cookie’s spread and texture.
- Granulated Sugar & Brown Sugar: The combination is key! Granulated sugar provides crispness, while brown sugar adds moisture, chewiness, and a lovely molasses flavor.
- Egg: Binds the ingredients together and adds moisture.
- Vanilla Extract: Enhances all the flavors, adding warmth and depth.
- All-Purpose Flour: The structure of our cookie.
- Baking Soda: Our leavening agent, helping the cookies rise and spread.
- Salt: Balances the sweetness and brings out the peanut butter flavor. Don’t skip it!
Equipment Needed

- Large mixing bowl
- Electric mixer (stand or hand-held) or sturdy whisk
- Rubber spatula
- Measuring cups and spoons
- Baking sheets
- Parchment paper or silicone baking mats
- Wire cooling rack
- Fork (for the classic crosshatch pattern)
Full Recipe Card
Ready to bake the best peanut butter cookies? Let’s do this!
Prep Time- 15 minutes

Cook Time- 10-12 minutes
Yield- Approximately 2 dozen cookies
Ingredients
- 1 cup (226g) unsalted butter, softened
- 1 cup (200g) granulated sugar
- 1 cup (220g) packed light brown sugar
- 1 cup (250g) creamy peanut butter
- 2 large eggs
- 1 teaspoon vanilla extract
- 2 ½ cups (300g) all-purpose flour
- 1 teaspoon baking soda
- ½ teaspoon salt
Instructions
- Preheat & Prepare: Preheat your oven to 350°F (175°C). Line two baking sheets with parchment paper or silicone baking mats.
- Cream Wet Ingredients: In a large mixing bowl, using an electric mixer, cream together the softened butter, granulated sugar, and brown sugar until light and fluffy (about 2-3 minutes).
- Add Peanut Butter & Egg: Beat in the creamy peanut butter until well combined. Then, add the eggs one at a time, mixing well after each addition. Stir in the vanilla extract.
- Combine Dry Ingredients: In a separate medium bowl, whisk together the all-purpose flour, baking soda, and salt.
- Combine Wet and Dry: Gradually add the dry ingredients to the wet ingredients, mixing on low speed until just combined. Be careful not to overmix.
- Scoop & Shape: Roll the dough into 1-inch balls. Place them about 2 inches apart on the prepared baking sheets.
- Create Crosshatch: Using a fork, gently press down on each cookie dough ball to create a crosshatch pattern. This helps flatten the cookies and gives them their signature look.
- Bake: Bake for 10-12 minutes, or until the edges are lightly golden and the centers are just set. Do not overbake; they will continue to set as they cool.
- Cool: Let the cookies cool on the baking sheets for 5 minutes before transferring them to a wire rack to cool completely.
Notes
For extra peanut butter flavor, you can add a tablespoon or two of chopped roasted peanuts to the dough. If your dough is too sticky to roll, chill it in the refrigerator for 15-20 minutes.
Tips & Variations
- Chocolate Chip Peanut Butter Cookies: Fold in 1 cup of chocolate chips (milk, semi-sweet, or dark) with the dry ingredients.
- Peanut Butter Blossoms: Instead of the fork pattern, press a Hershey’s Kiss into the center of each warm cookie immediately after baking.
- Nutty Crunch: Add ½ cup of finely chopped peanuts to the dough for extra texture.
- Spice It Up: A pinch of cinnamon or nutmeg can add a warm, cozy twist.
- Different Nut Butters: While this recipe is optimized for peanut butter, you could experiment with almond butter or cashew butter, though texture might vary slightly.
Pro Chef Tips
- Room Temperature Ingredients: Ensure your butter and eggs are at room temperature. This allows them to cream together properly, creating a smooth, emulsified dough that bakes evenly.
- Do Not Overmix: Once you add the flour, mix only until just combined. Overmixing develops the gluten in the flour, leading to tougher, drier cookies.
- Use a Cookie Scoop: For perfectly uniform cookies that bake evenly, invest in a cookie scoop. It makes the process much faster and ensures consistent size.
- Slightly Underbake: For that truly soft and chewy texture, take the cookies out of the oven when the edges are set and lightly golden, but the centers still look a little soft. They will continue to cook on the hot baking sheet.
- Chill the Dough (Optional): If time allows, chilling the dough for 30 minutes can help prevent excessive spreading, resulting in thicker cookies with a more concentrated flavor.
Common Mistakes to Avoid

- Using Natural Peanut Butter: As mentioned, natural peanut butter can have varying oil content, which can throw off the cookie’s texture and cause them to spread too much or be too dry.
- Overmixing the Dough: Leads to tough cookies. Mix just until the flour streaks disappear.
- Overbaking: The number one culprit for dry, hard cookies. Keep an eye on them and remove them when they’re just set.
- Not Chilling the Dough: If your kitchen is warm or your butter was too soft, skipping the chill can lead to flat, greasy cookies.
- Incorrect Oven Temperature: An inaccurate oven can ruin cookies. Consider using an oven thermometer to ensure your oven is truly at 350°F (175°C).
Storage & Meal Prep
These cookies are best enjoyed fresh, but they store beautifully!
- Room Temperature: Store cooled cookies in an airtight container at room temperature for up to 5-7 days. To keep them extra soft, you can place a slice of bread in the container; the cookies will absorb moisture from the bread.
- Refrigeration: Not recommended for baked cookies as it can dry them out.
Make-Ahead & Freezer Notes
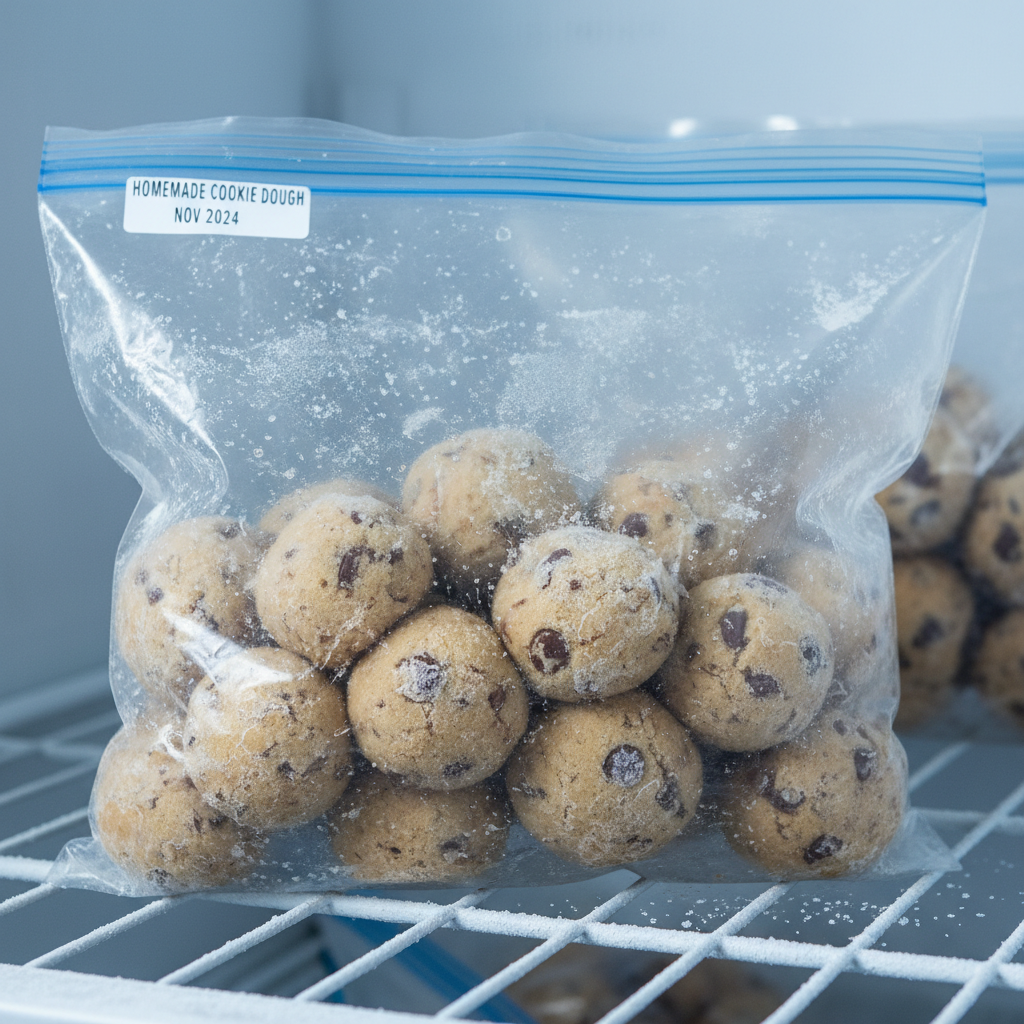
- Freezing Cookie Dough: Roll the dough into balls and place them on a parchment-lined baking sheet. Freeze until solid, then transfer the frozen dough balls to a freezer-safe bag or container. They can be stored for up to 3 months. When ready to bake, place frozen dough balls on a baking sheet and bake as directed, adding an extra 2-4 minutes to the baking time.
- Freezing Baked Cookies: Once completely cooled, place cookies in a single layer on a baking sheet and freeze until solid. Transfer to a freezer-safe bag or container, separating layers with parchment paper. Freeze for up to 3 months. Thaw at room temperature or gently warm in the microwave for a few seconds.
Serving Suggestions
Peanut butter cookies are delightful on their own, but here are some ways to elevate the experience:
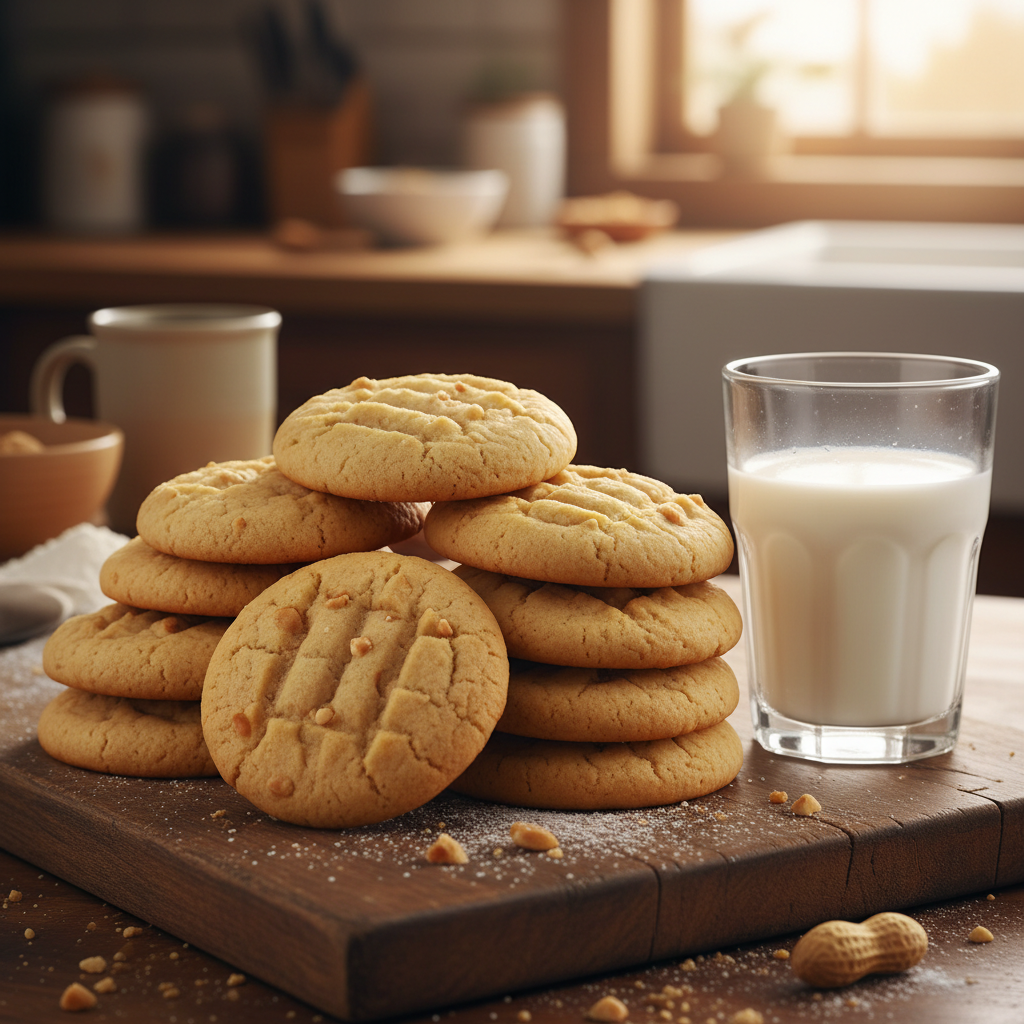
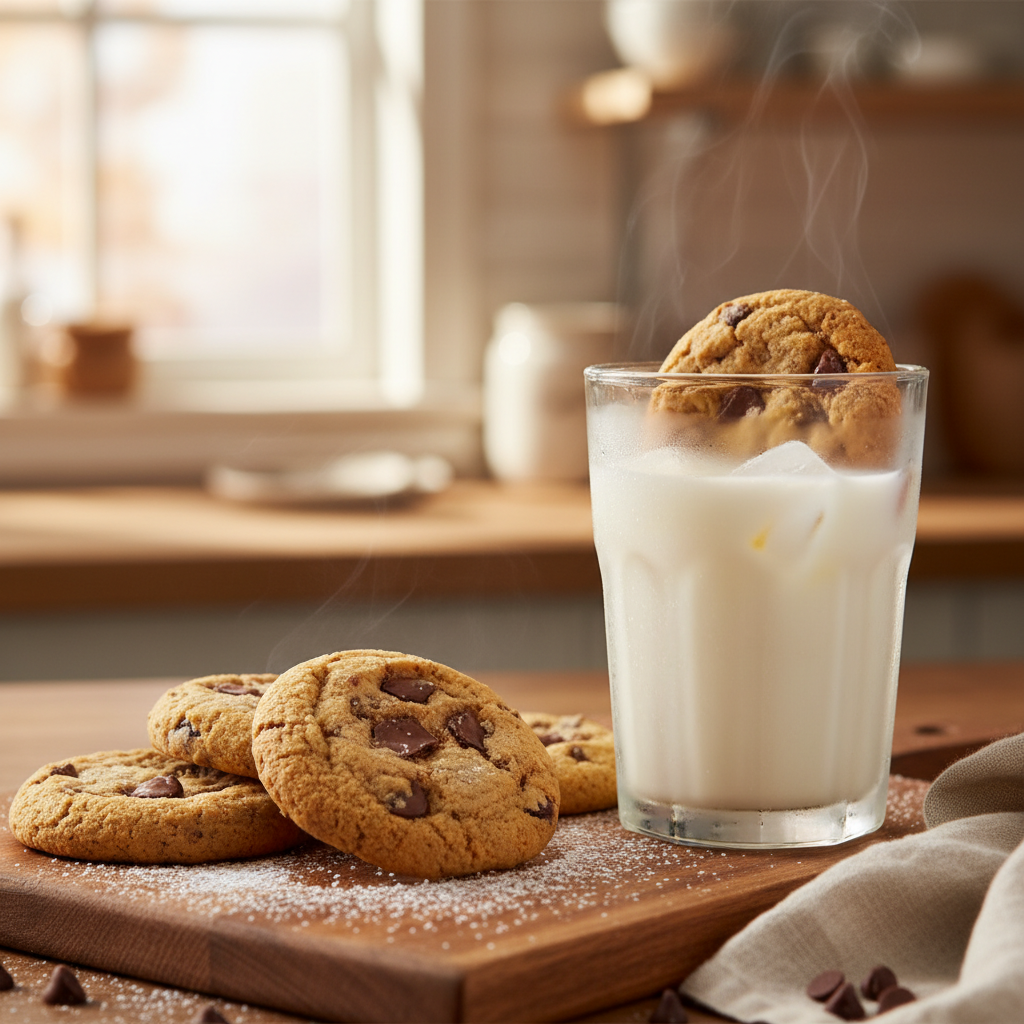
- Classic with Milk: A tall, cold glass of milk is the ultimate companion.
- Ice Cream Sandwich: Press two cookies around a scoop of vanilla or chocolate ice cream.
- Coffee or Tea: Perfect for dunking into your morning coffee or afternoon tea.
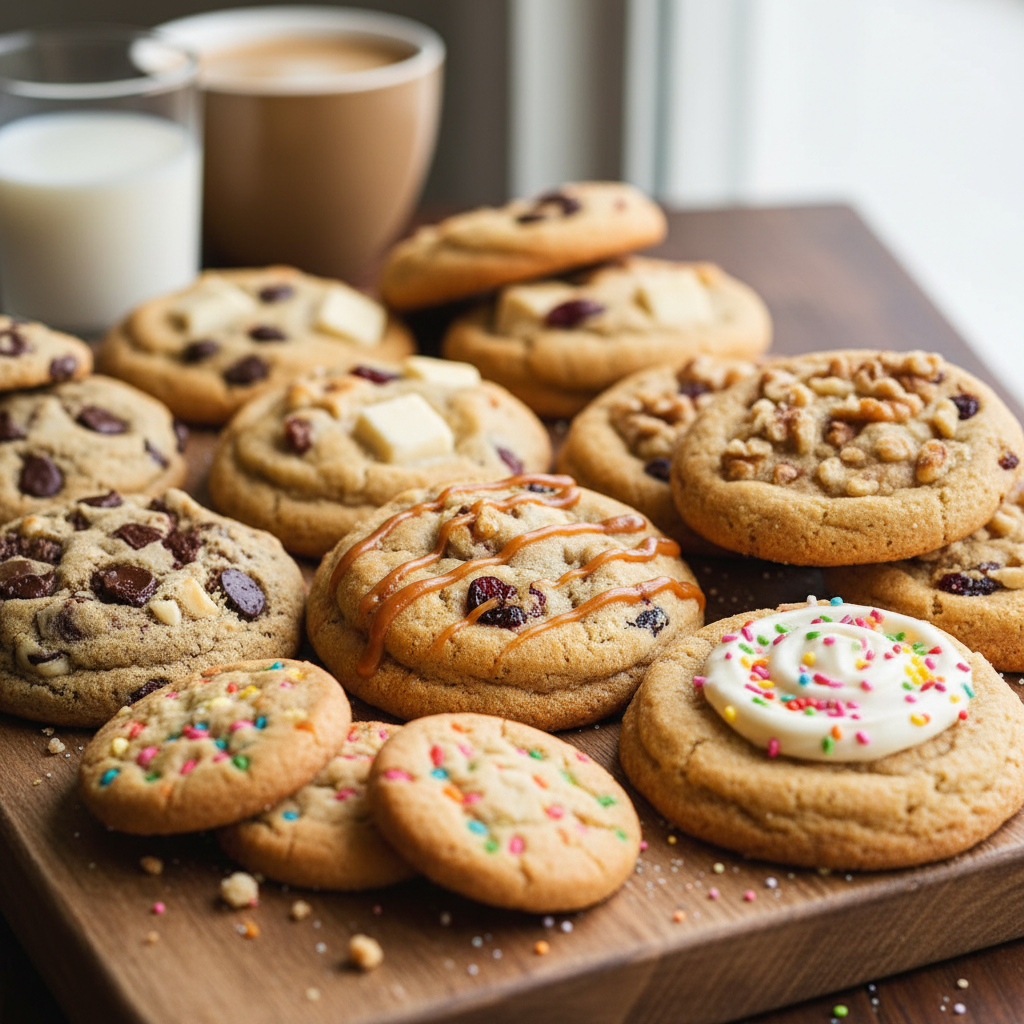
- Dessert Platter: Add them to a platter with other cookies and treats for a festive spread.
- Crumbled Topping: Crumble over ice cream, yogurt, or even oatmeal for a delicious twist.