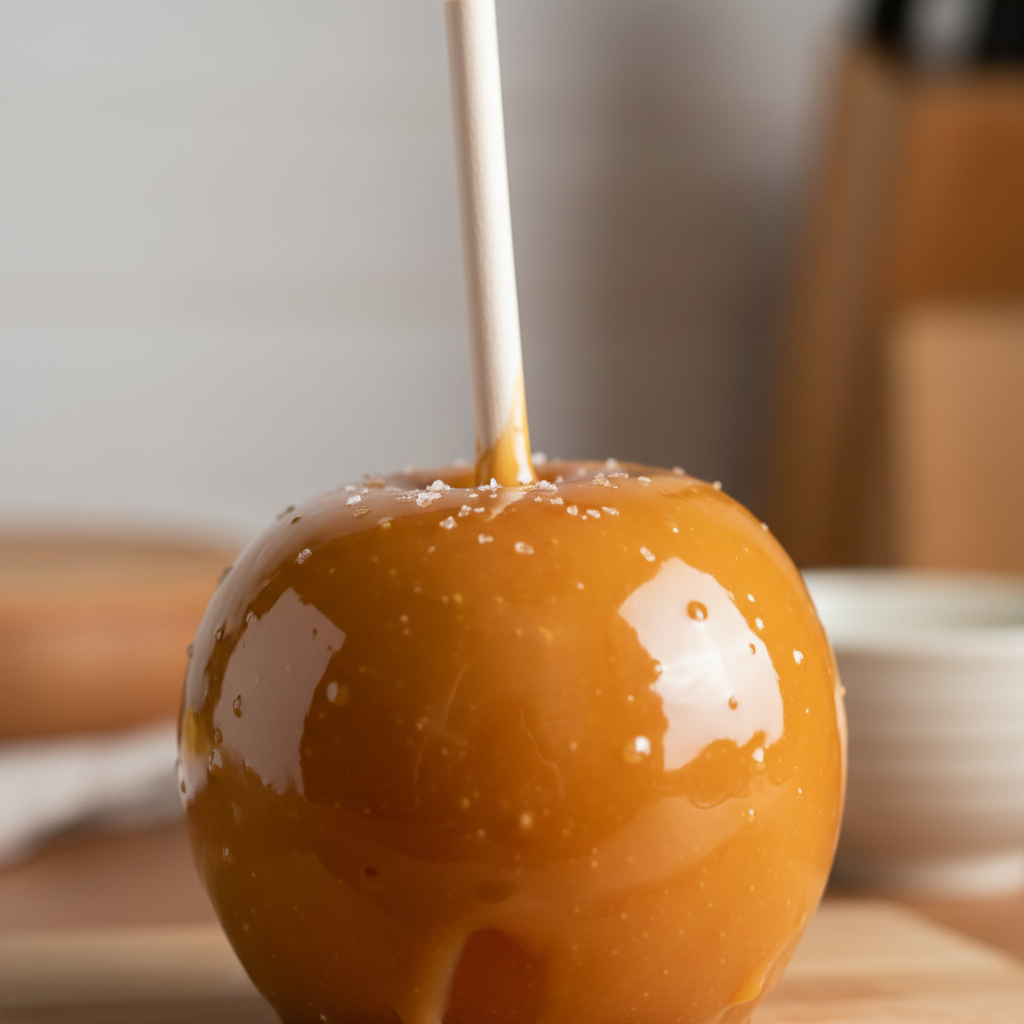
There’s something truly magical about the arrival of fall. Crisp air, colorful leaves, and the irresistible aroma of sweet treats. Among these, caramel apples hold a special place in our hearts. They’re a quintessential autumn delight, evoking memories of fairs, festivals, and cozy evenings. While store-bought versions are great, there’s nothing quite like the satisfaction of making your own perfectly coated, glossy caramel apples right in your kitchen. This guide will walk you through every step, ensuring you create a treat that’s not only delicious but also incredibly fun to make. Get ready to dive into the sweet world of homemade caramel apples!
History and Background of Caramel Apples

The story of caramel apples is as sweet as the treat itself! While candy apples (made with a hard, sugary coating) have been around since the early 20th century, the caramel apple we know and love today came a little later. Legend has it that in the 1950s, a Kraft Foods employee named Dan Walker was experimenting with leftover caramels from Halloween. He melted them down and, on a whim, dipped an apple into the gooey mixture. The result? An instant classic! Since then, caramel apples have become a beloved staple of fall festivals, Halloween parties, and cozy autumn gatherings worldwide. They combine the crisp freshness of an apple with the rich, buttery sweetness of caramel, creating a truly irresistible flavor and texture experience.
Why You’ll Love This Recipe
- Simple Ingredients This recipe uses common, easy-to-find ingredients.
- Beginner-Friendly Clear, step-by-step instructions make it perfect for first-timers.
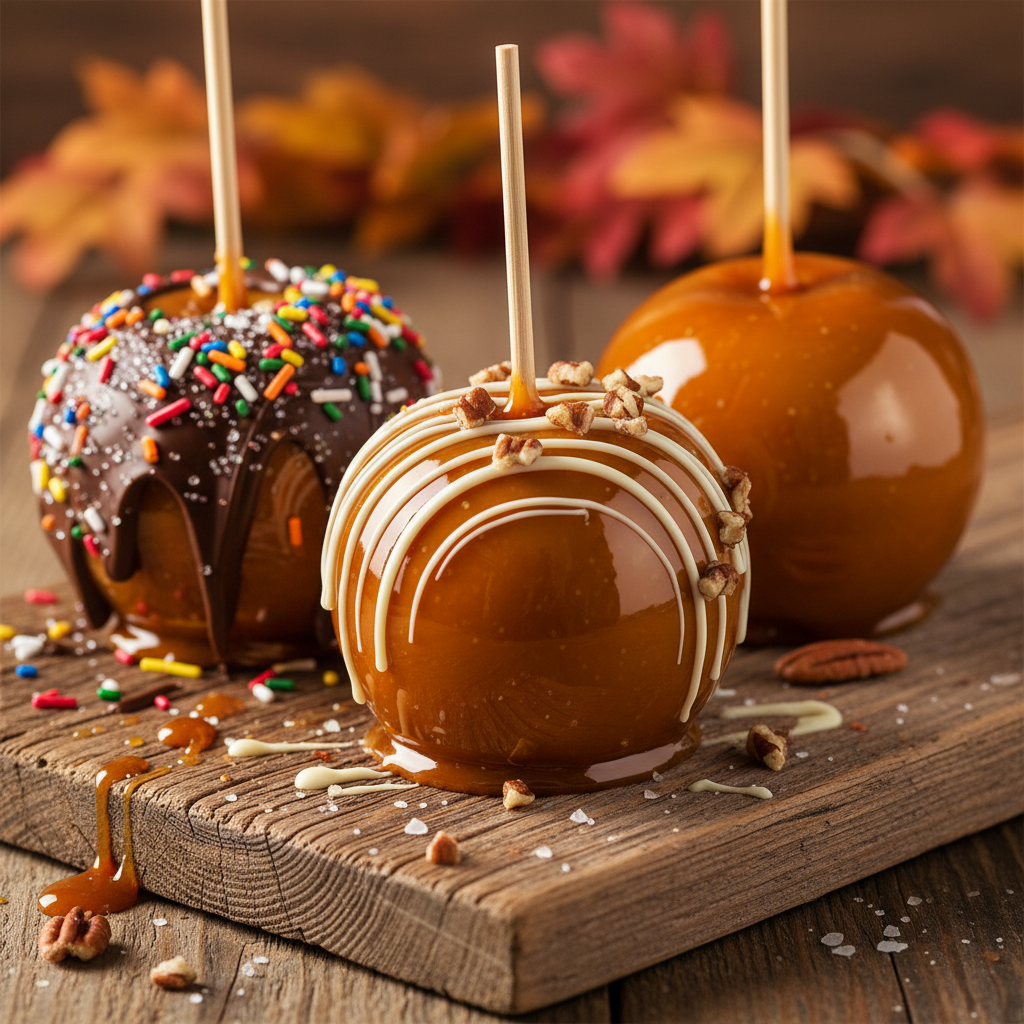
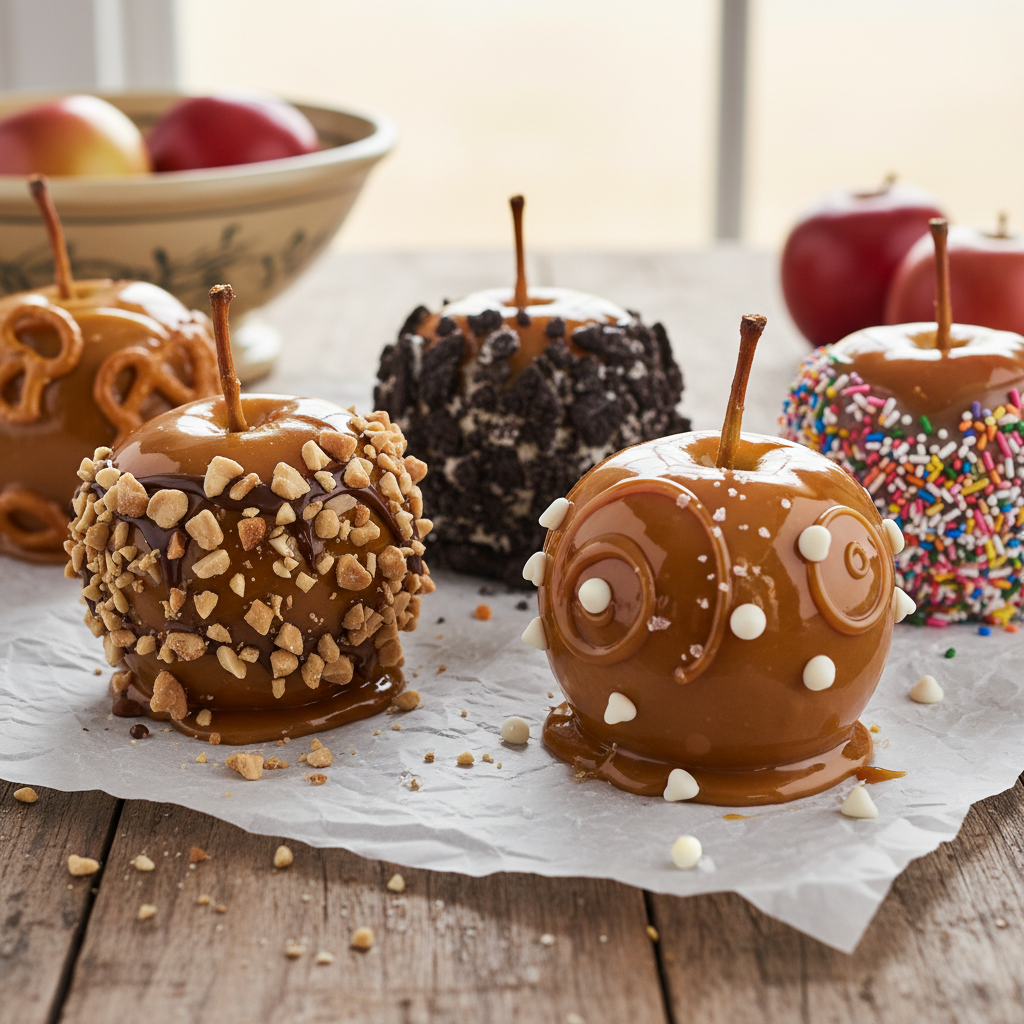
- Customizable Easily add your favorite toppings like nuts, sprinkles, or chocolate.
- Fun for All Ages A fantastic activity to do with family and friends.
- Deliciously Rewarding The taste of homemade caramel apples is simply unbeatable.
- Perfect Fall Treat Ideal for Halloween, Thanksgiving, or any autumn celebration.
Ingredient Notes for Perfect Caramel Apples

Choosing the right ingredients is key to successful caramel apples. Here’s what you’ll need and why:
- Apples Firm, tart apples like Granny Smith, Honeycrisp, or Fuji work best. Their tartness balances the sweet caramel beautifully. Make sure they are washed and thoroughly dried.
- Butter Unsalted butter is preferred to control the saltiness. It adds richness and helps create that smooth, creamy caramel texture.
- Granulated Sugar The primary sweetener, providing the base for our caramel.
- Brown Sugar Adds depth of flavor and a lovely chewiness to the caramel.
- Heavy Cream Essential for a rich, luscious, and pourable caramel. Don’t substitute with milk.
- Corn Syrup This is a secret weapon! It prevents sugar crystallization, ensuring your caramel stays smooth and glossy, not grainy.
- Vanilla Extract A splash of vanilla enhances all the sweet flavors. Add it at the end.
- Salt Just a pinch balances the sweetness and brings out the caramel’s depth.
- Sticks Wooden craft sticks or sturdy lollipop sticks are perfect for holding your apples.
Equipment Needed
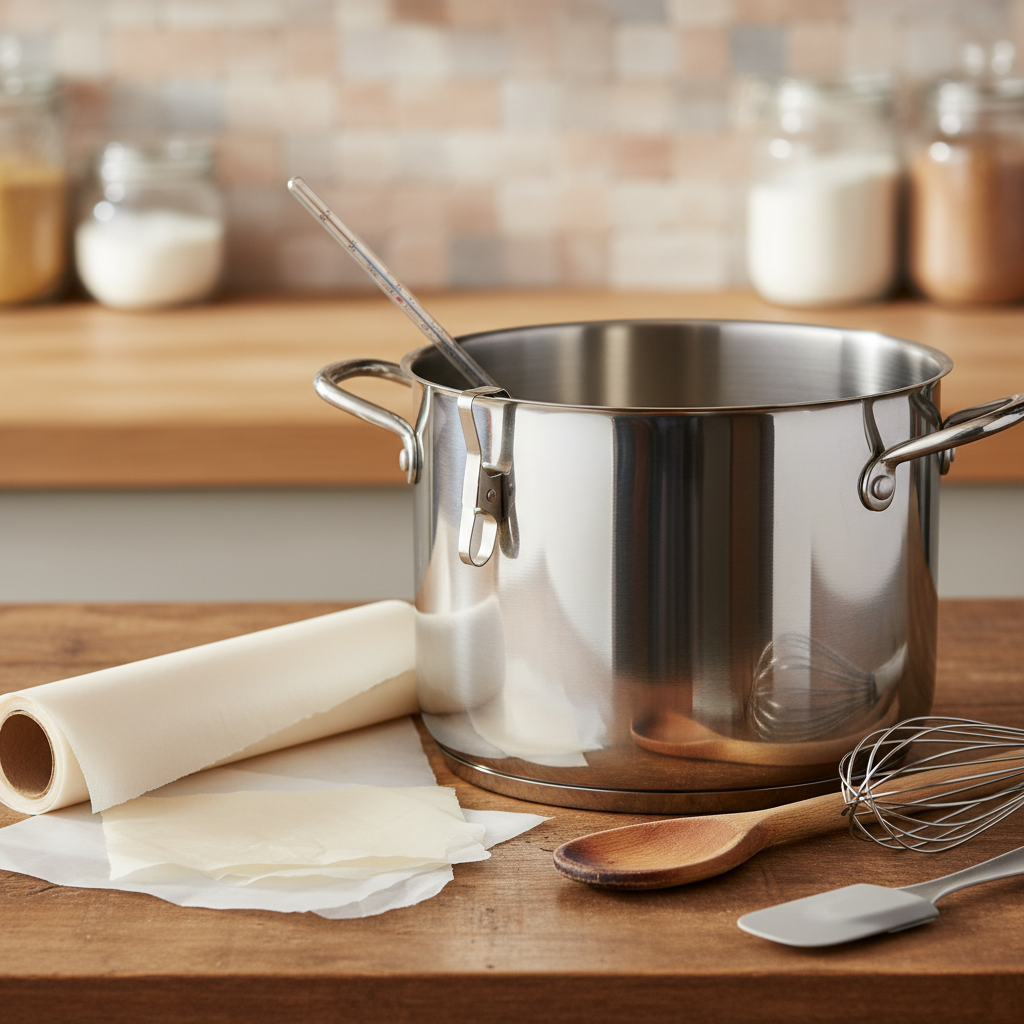
Having the right tools makes the process much smoother:
- Heavy-Bottomed Pot Essential for even heat distribution and preventing the caramel from burning.
- Candy Thermometer Crucial for achieving the correct caramel consistency. Don’t skip this!
- Parchment Paper or Silicone Mat For placing your dipped apples without sticking.
- Wooden Skewers or Sticks For holding the apples.
- Pastry Brush For brushing down sugar crystals from the sides of the pot (optional but helpful).
- Measuring Cups and Spoons For accurate ingredient measurement.
- Whisk or Heatproof Spatula For stirring the caramel.
Full Recipe Card Caramel Apples Made at Home
Yield 8-10 caramel apples
Prep time 20 minutes
Cook time 20 minutes
Chill time 30 minutes
Ingredients
- 8-10 medium-sized firm apples (Granny Smith, Honeycrisp, Fuji)
- 1 cup (2 sticks) unsalted butter
- 2 cups granulated sugar
- 1 cup packed light brown sugar
- 1 cup heavy cream
- 1/2 cup light corn syrup
- 1 teaspoon vanilla extract
- 1/2 teaspoon salt
- 8-10 wooden craft sticks
Instructions
- Prepare Apples Wash and thoroughly dry your apples. Remove any stems. Insert a wooden stick firmly into the stem end of each apple, pushing about halfway through. Line a baking sheet with parchment paper or a silicone mat and set aside.
- Combine Ingredients In a heavy-bottomed pot, combine butter, granulated sugar, brown sugar, heavy cream, corn syrup, and salt. Stir gently to combine.
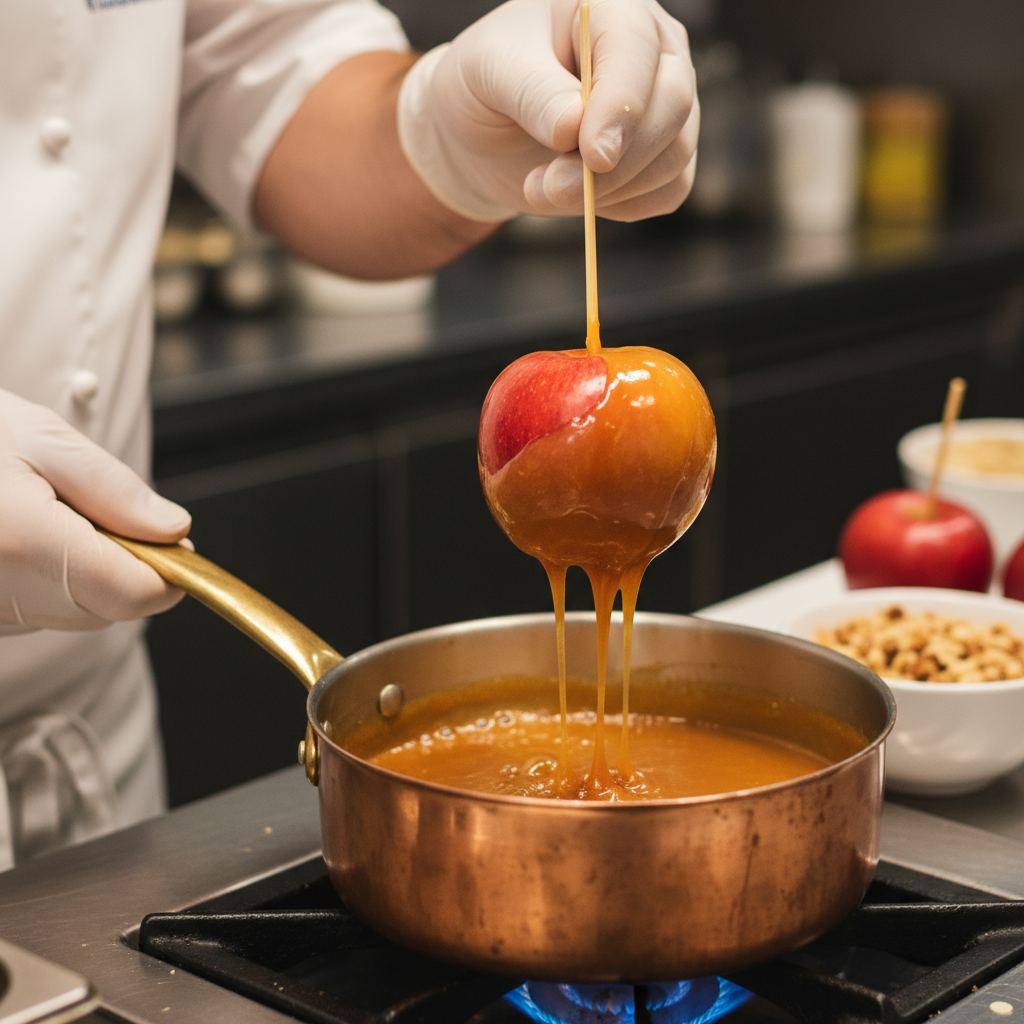
- Cook Caramel Place the pot over medium heat. Stir constantly until the butter is melted and sugars are dissolved. Attach a candy thermometer to the side of the pot, ensuring it doesn’t touch the bottom.
- Boil and Reach Temperature Bring the mixture to a boil without stirring. Let it boil, watching the thermometer, until it reaches 245°F (118°C) for a softer chew or 250°F (121°C) for a firmer, chewier caramel. This usually takes 15-20 minutes.
- Add Vanilla Once the desired temperature is reached, immediately remove the pot from the heat. Stir in the vanilla extract. Be careful, as the mixture will be very hot.
- Dip Apples Working quickly, tilt the pot slightly and dip one apple at a time into the hot caramel. Rotate the apple to coat it evenly, letting any excess caramel drip back into the pot. You can use a spoon to help coat if needed.
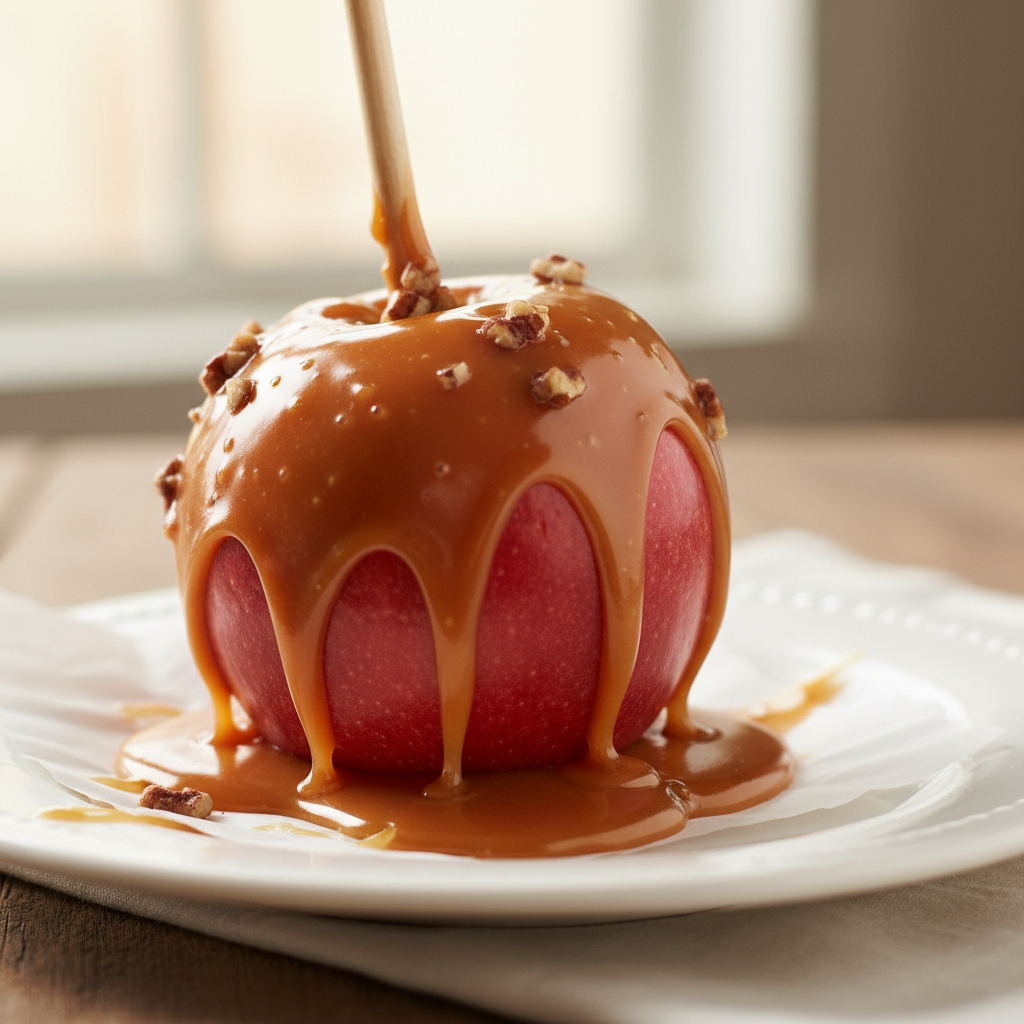
- Cool and Set Place each coated apple onto the prepared parchment-lined baking sheet. If desired, immediately roll in toppings like chopped nuts, sprinkles, or mini chocolate chips before the caramel sets.
- Chill Allow the caramel apples to cool completely at room temperature for about 30 minutes, then transfer them to the refrigerator for at least 30 minutes to firm up the caramel.
- Serve and Enjoy Once set, your homemade caramel apples are ready to be enjoyed!
Notes
- Apple Prep Ensure apples are very dry. Any moisture can prevent the caramel from sticking.
- Caramel Temperature A candy thermometer is crucial for the right consistency. Don’t guess!
- Working Quickly Caramel cools and thickens fast. Have your apples and toppings ready.
- Safety First Hot caramel is extremely hot. Exercise caution when handling.
Tips and Variations for Your Caramel Apples

Once you’ve mastered the basic recipe, feel free to get creative!
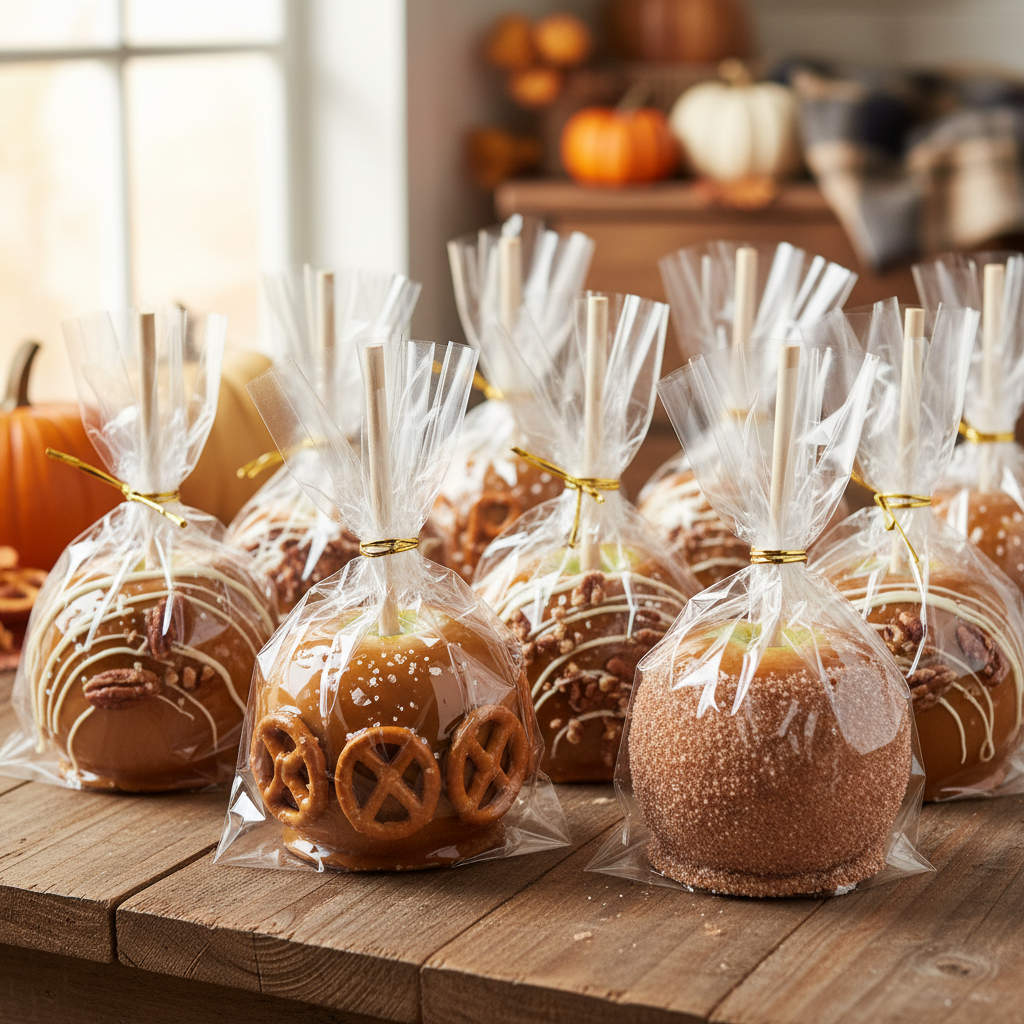
- Chocolate Drizzle After the caramel sets, melt some chocolate chips (milk, dark, or white) and drizzle over the apples.
- Nutty Crunch Roll the freshly dipped apples in finely chopped peanuts, pecans, walnuts, or almonds.
- Sprinkle Fun Add colorful sprinkles for a festive touch, especially for parties or holidays.
- Toffee Bits Roll in crushed toffee bits for an extra layer of crunch and buttery flavor.
- Coconut Flakes Toasted coconut flakes add a tropical twist.
- Cinnamon Sugar A light dusting of cinnamon sugar can enhance the apple’s flavor before dipping.
Pro Chef Tips for Caramel Apple Success
Achieve professional-level caramel apples with these insider tricks:
- Clean Apples Thoroughly Wax on apples can prevent caramel from sticking. Briefly dip apples in boiling water for 10-15 seconds, then quickly rinse with cold water and dry thoroughly to remove wax.
- Room Temperature Ingredients Ensure your butter and cream are at room temperature before starting. This helps them incorporate smoothly.
- Don’t Rush the Cook Cooking caramel requires patience. Keep the heat steady and don’t try to speed up the process by cranking up the heat, or it might burn.
- Brush Down Sugar Crystals If you see sugar crystals forming on the sides of the pot, use a wet pastry brush to gently brush them down into the caramel. This prevents graininess.
- Angle the Pot When dipping, tilt the pot to create a deeper pool of caramel, making it easier to fully coat the apples without needing too much caramel at once.
- Twirl and Tap After dipping, gently twirl the apple and tap it against the rim of the pot to remove excess caramel. This prevents a thick, pooling bottom.
Common Mistakes to Avoid
Even seasoned home cooks can make mistakes. Here’s what to watch out for:
- Wet Apples This is the number one culprit for caramel sliding off. Ensure apples are bone dry.
- Not Using a Candy Thermometer Guessing the temperature leads to either too-soft (runny) or too-hard (brittle) caramel.
- Stirring While Boiling Once the caramel mixture boils, resist the urge to stir. Stirring can encourage sugar crystallization, leading to grainy caramel.
- Over or Under-Cooking Caramel Too hot, and it burns; not hot enough, and it won’t set properly.
- Ignoring Wax on Apples Commercial apples often have a wax coating. Removing it is vital for caramel adhesion.
- Dipping Cold Apples Room temperature apples are best. Cold apples can cause the caramel to seize and become lumpy.
Storage and Meal Prep
Caramel apples are best enjoyed fresh, but they can be stored:
- Room Temperature If you plan to eat them within a few hours, they can sit at room temperature, especially if it’s not too warm.
- Refrigeration For longer storage, wrap each caramel apple individually in wax paper or cellophane and store in an airtight container in the refrigerator for up to 1 week.
- Serving Tip For the best texture, let refrigerated caramel apples sit at room temperature for 15-30 minutes before serving to allow the caramel to soften slightly.
Make-Ahead and Freezer Notes
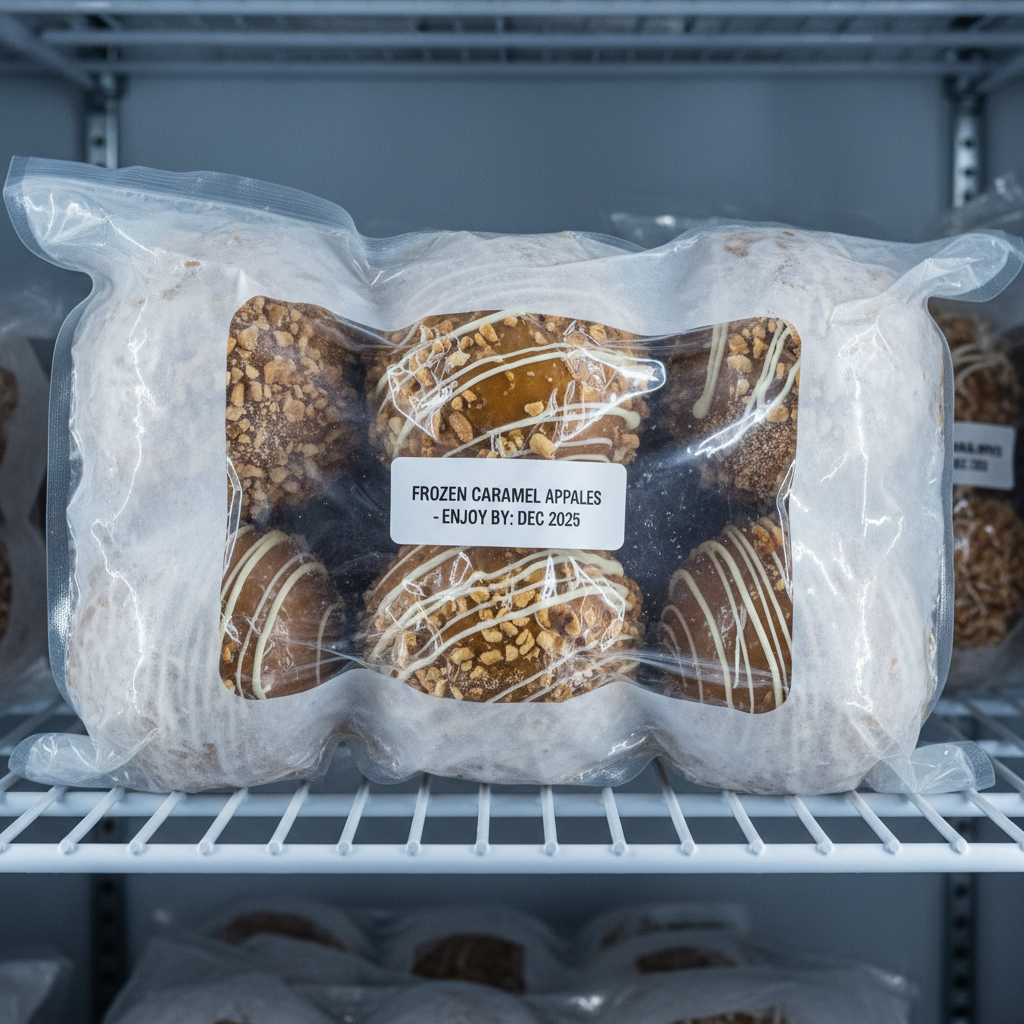
Caramel apples are generally not ideal for freezing once fully assembled, as the apples can become mealy upon thawing, and the caramel texture might change. However, you can make the caramel sauce ahead of time:
- Caramel Sauce Prepare the caramel sauce as directed and let it cool completely. Store it in an airtight container in the refrigerator for up to 2 weeks. When ready to use, gently reheat it over low heat, stirring frequently, until it reaches dipping consistency (around 200-220°F or 93-104°C).
Serving Suggestions

While delicious on their own, caramel apples can be elevated with a few serving ideas:
- Slice and Share For easier eating, especially for kids, slice the caramel apples into wedges before serving.
- Dessert Bar Set up a caramel apple bar with various toppings like crushed cookies, mini marshmallows, sea salt, or different chocolate drizzles.
- Warm it Up A quick 10-15 second zap in the microwave can slightly soften the caramel for an even gooier experience. Be careful not to overheat.
- Pair with Ice Cream Serve a slice of caramel apple alongside a scoop of vanilla bean ice cream for a decadent dessert.