Who doesn’t love a perfectly cooked waffle? That magical combination of a golden, crispy exterior giving way to a light, fluffy interior is pure breakfast bliss. For too long, many of us have settled for mediocre waffles, either too dense, too soggy, or just plain bland. But what if I told you that achieving waffle perfection at home is not only possible but surprisingly simple? Get ready to transform your breakfast game with our ultimate recipe for fluffy waffles that are wonderfully crispy on the outside and unbelievably soft on the inside. Say goodbye to dry, chewy waffles and hello to your new favorite weekend treat!
History and Background of Waffles
Waffles have a surprisingly rich and delicious history that spans centuries and continents. Their origins can be traced back to ancient Greece, where flat cakes called obelios were cooked between hot metal plates. Over time, these evolved, and by the Middle Ages in Europe, wafer irons were used to imprint intricate designs, often religious or heraldic, onto thin, crisp wafers. The word “waffle” itself comes from the Dutch “wafel,” which emerged in the 17th century, referring to the honeycomb pattern. The Belgian waffle, with its deep pockets, gained popularity at the 1964 New York World’s Fair, solidifying waffles as a beloved breakfast and dessert item worldwide. From humble beginnings to a global sensation, waffles have always been about bringing joy to the table.
Why You Will Love This Waffle Recipe

This isn’t just another waffle recipe; it’s the waffle recipe you’ve been searching for. Here’s why you’ll fall head over heels for it:
- Consistently Perfect Texture– Enjoy waffles that are always crispy on the outside and delightfully fluffy inside.
- Simple Ingredients– Uses common pantry staples you likely already have on hand.
- Beginner Friendly– Clear, step-by-step instructions make it easy for even novice cooks.
- Customizable– A fantastic base for all your favorite toppings and variations.
- Meal Prep Friendly– Waffles can be made ahead and frozen for quick breakfasts.
Ingredient Notes for Perfect Waffles
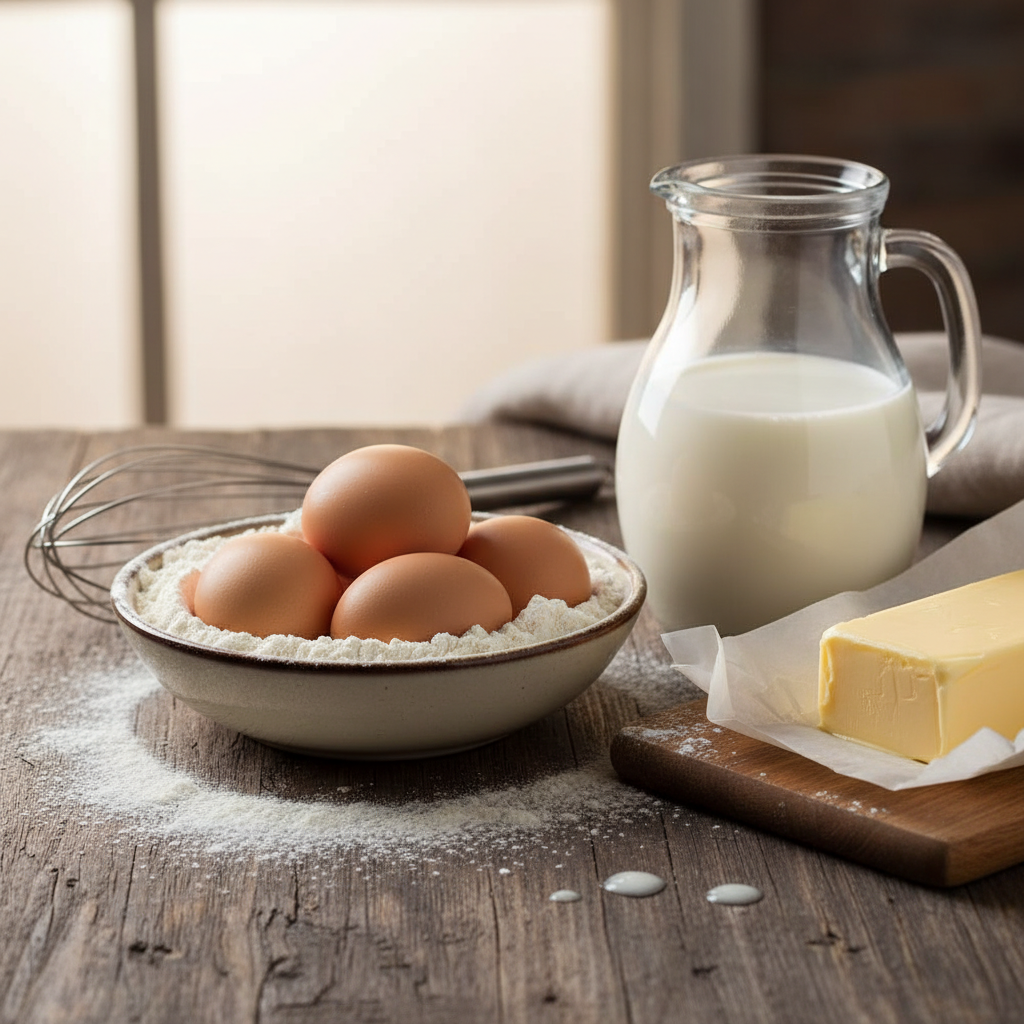
While the ingredients for waffles are simple, understanding their role can make all the difference:
- All-Purpose Flour– Provides the main structure. Sifting it can help prevent lumps.
- Baking Powder and Baking Soda– These are your leavening agents, crucial for that fluffy rise. Make sure they are fresh!
- Sugar– Adds a touch of sweetness and helps with browning and crispness.
- Salt– Balances the sweetness and enhances all the flavors.
- Eggs– Provide structure, richness, and help bind everything together. Separating egg whites and whipping them to soft peaks is our secret for ultimate fluffiness!
- Milk– Adds moisture and helps create a tender crumb. Any type of milk works.
- Melted Butter– Adds incredible flavor and helps achieve that golden, crispy exterior.
- Vanilla Extract– A touch of vanilla elevates the overall taste.
Equipment You Will Need
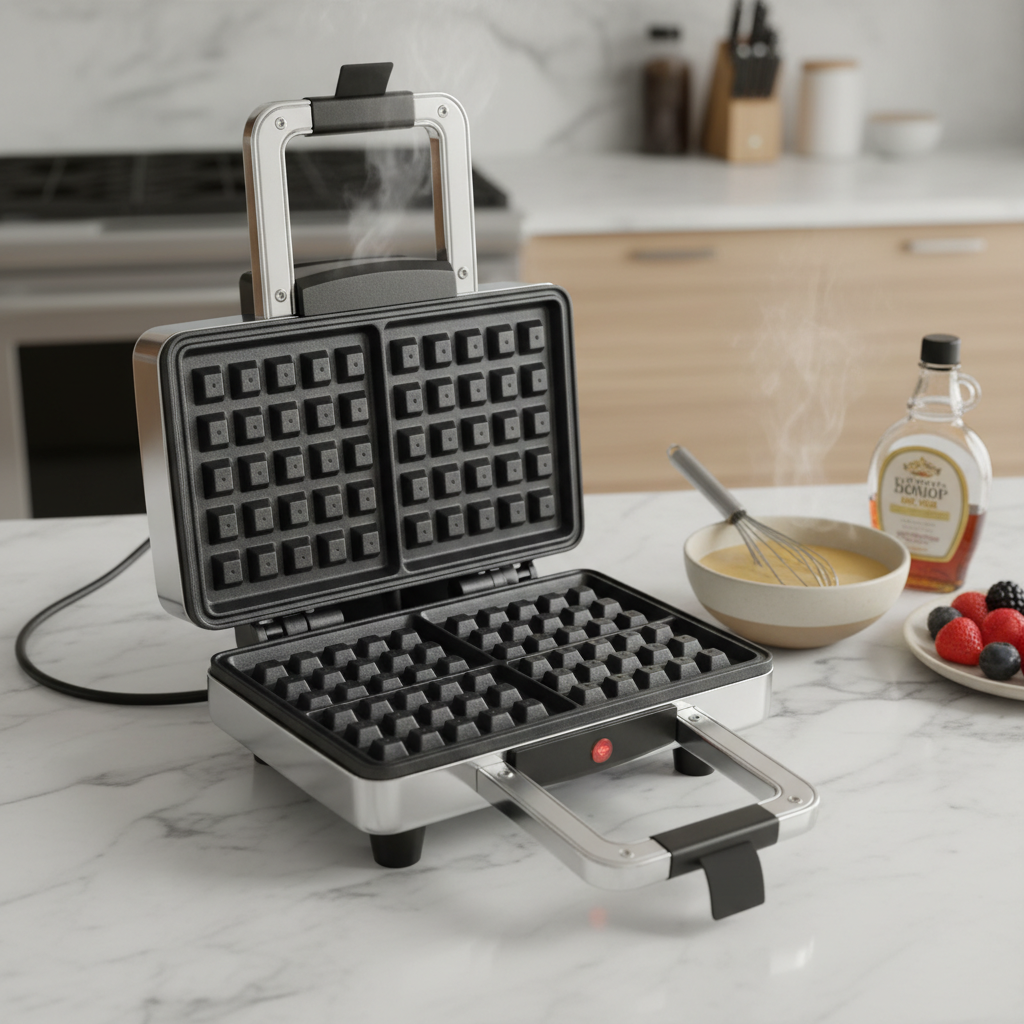
Having the right tools makes the waffle-making process much smoother:
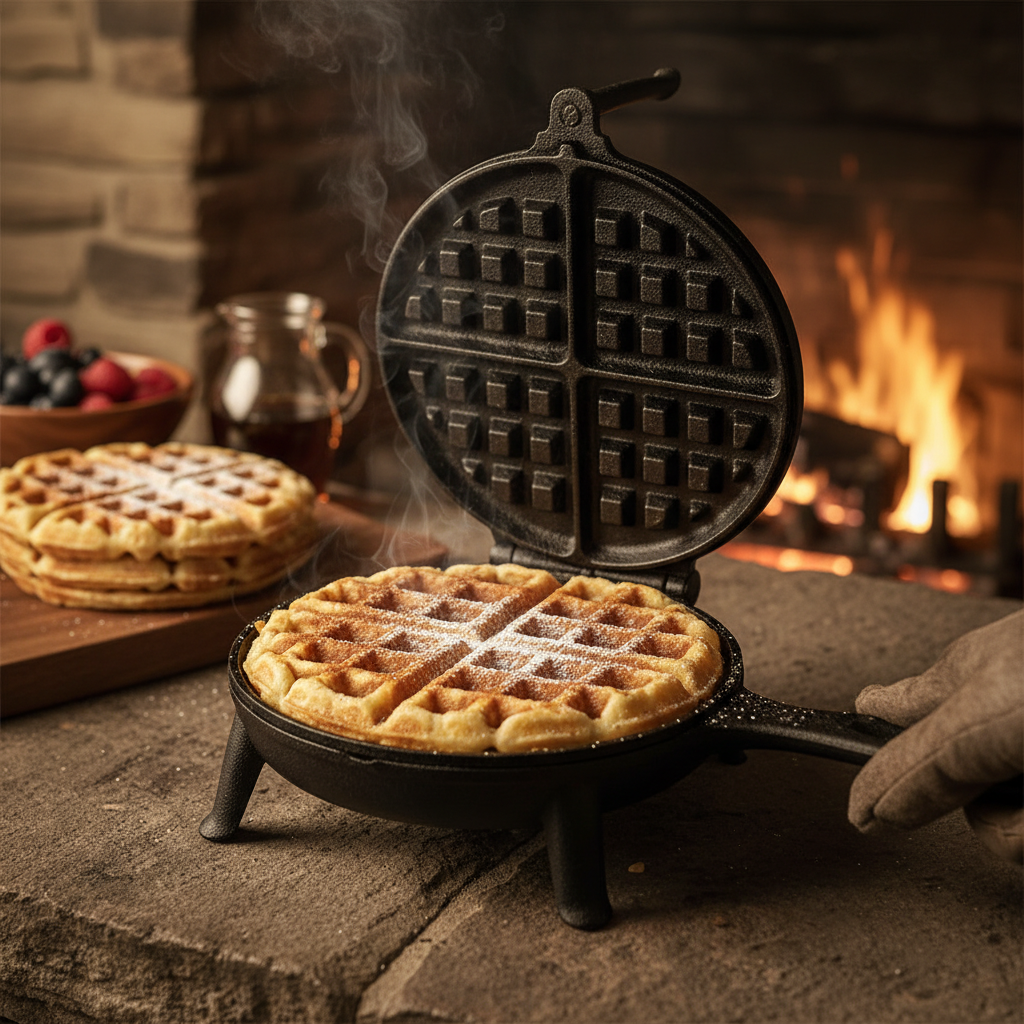
- Waffle Maker– The star of the show! Any type (Belgian, classic) will work, but Belgian makers create deeper pockets perfect for holding syrup.
- Large Mixing Bowls– You’ll need at least two, especially if separating egg whites.
- Whisk– For combining dry ingredients and mixing the batter.
- Electric Mixer (optional)– Helpful for whipping egg whites quickly.
- Rubber Spatula– For folding in egg whites gently.
- Measuring Cups and Spoons– For accurate ingredient measurements.
- Ladle or Ice Cream Scoop– For portioning batter into the waffle maker.
Fluffy Waffles Recipe Card
Yields 4-6 waffles
Prep time 15 minutes
Cook time 15-20 minutes
Ingredients
- 1 ½ cups all-purpose flour, sifted
- 2 tablespoons sugar
- 1 tablespoon baking powder
- ½ teaspoon baking soda
- ¼ teaspoon salt
- 2 large eggs, separated
- 1 ½ cups milk (whole or 2%)
- ½ cup unsalted butter, melted and cooled slightly
- 1 teaspoon vanilla extract
Instructions
- In a large bowl, whisk together the sifted flour, sugar, baking powder, baking soda, and salt. Set aside.
- In a separate medium bowl, whisk the egg yolks, milk, melted butter, and vanilla extract until well combined.
- Pour the wet ingredients into the dry ingredients and stir gently until just combined. A few lumps are okay; do not overmix.
- In a clean, third bowl (or using an electric mixer), beat the egg whites until soft peaks form.
- Gently fold the whipped egg whites into the waffle batter using a rubber spatula. Be careful not to deflate the whites.
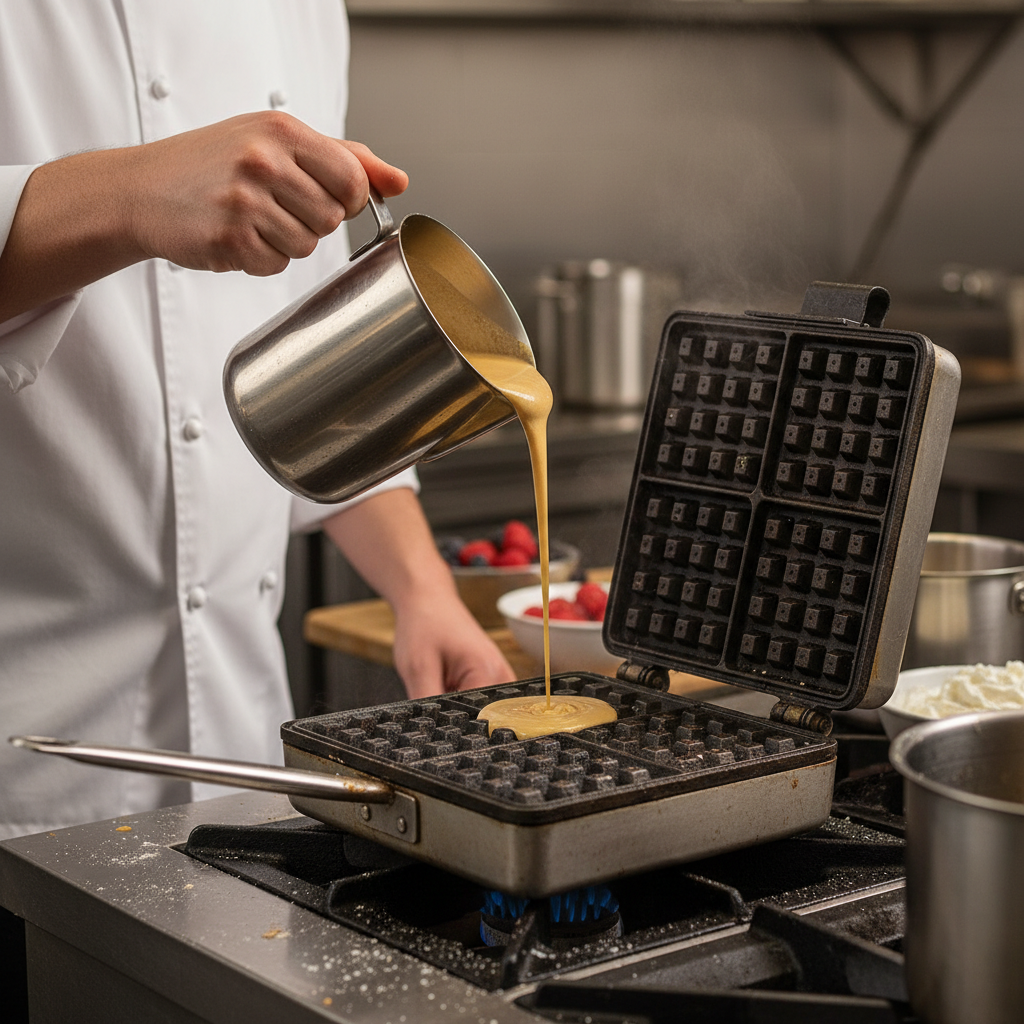
- Preheat your waffle maker according to the manufacturer’s instructions. Lightly grease it if necessary.
- Pour about ½ to ¾ cup of batter onto the hot waffle iron (adjust amount based on your waffle maker’s size).
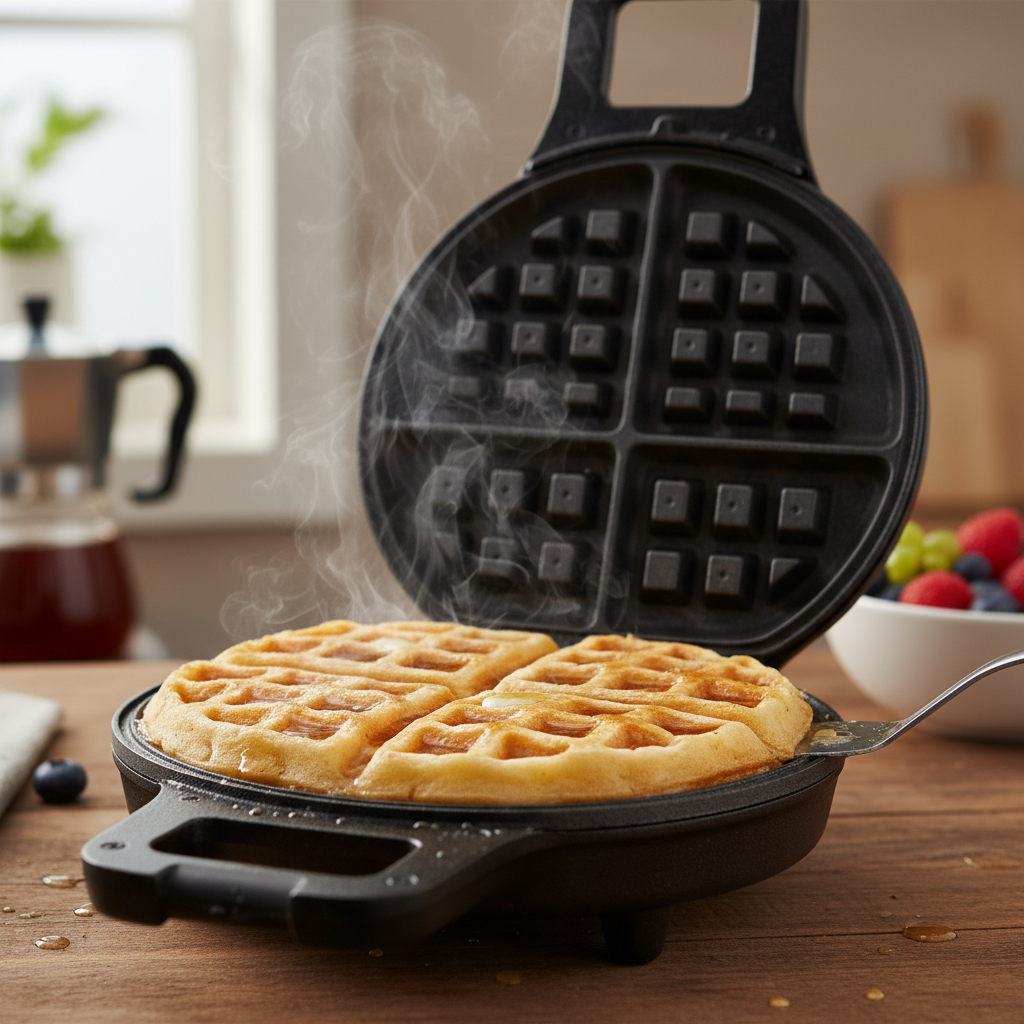
- Cook for 3-5 minutes, or until golden brown and crispy, and steam stops escaping.
- Carefully remove the waffles and serve immediately, or keep warm on a wire rack in a low oven (200°F / 95°C) while you cook the remaining batter.
Notes
For extra crispness, cook waffles a minute longer. Do not open the waffle maker too early; wait until steam largely subsides.
Tips and Delicious Variations
Once you’ve mastered the basic recipe, the possibilities are endless! Here are some fun ways to customize your waffles:
- Chocolate Chip Waffles– Fold in ½ cup of chocolate chips (mini or regular) with the dry ingredients.
- Blueberry Waffles– Gently fold in ¾ cup of fresh blueberries into the batter just before cooking.
- Cinnamon Swirl Waffles– Add 1 teaspoon of ground cinnamon to the dry ingredients.
- Savory Waffles– Omit the sugar, add a pinch more salt, and stir in shredded cheese, chives, or cooked bacon bits for a savory treat.
- Buttermilk Waffles– Substitute regular milk with buttermilk for a tangy flavor and even more tender crumb. You might need to adjust baking soda slightly.
Pro Chef Tips for Waffle Perfection
Want to elevate your waffle game to a professional level? These tips are for you:
- Don’t Overmix the Batter– Lumps are okay! Overmixing develops gluten, leading to tough waffles. Mix just until combined.
- Separate and Whip Egg Whites– This is the absolute secret to airy, fluffy waffles. The whipped whites incorporate air, creating that light texture.
- Keep Waffles Warm– As you cook batches, place finished waffles on a wire rack in a preheated oven (around 200°F / 95°C) to keep them warm and crispy until serving.
- Don’t Skimp on Butter– Use real butter for the best flavor and a truly golden, crispy crust.
- Preheat Your Waffle Iron Properly– A hot iron is crucial for immediate crisping and even cooking.
Common Waffle Mistakes to Avoid
Even seasoned cooks can make mistakes. Here are some common pitfalls and how to steer clear of them:
- Opening the Waffle Maker Too Soon– Resist the urge! Opening it prematurely can cause the waffle to tear or deflate. Wait for the steam to subside.
- Overfilling the Waffle Maker– This leads to messy overflow. Start with a smaller amount of batter and adjust as needed for your specific iron.
- Not Greasing the Iron (if needed)– Even non-stick irons can benefit from a light spray or brush of oil, especially after a few batches.
- Using Cold Ingredients– Room temperature ingredients mix more easily and create a smoother, more emulsified batter.
- Impatience– Waffles take a few minutes per batch. Don’t rush the process; good things come to those who wait!
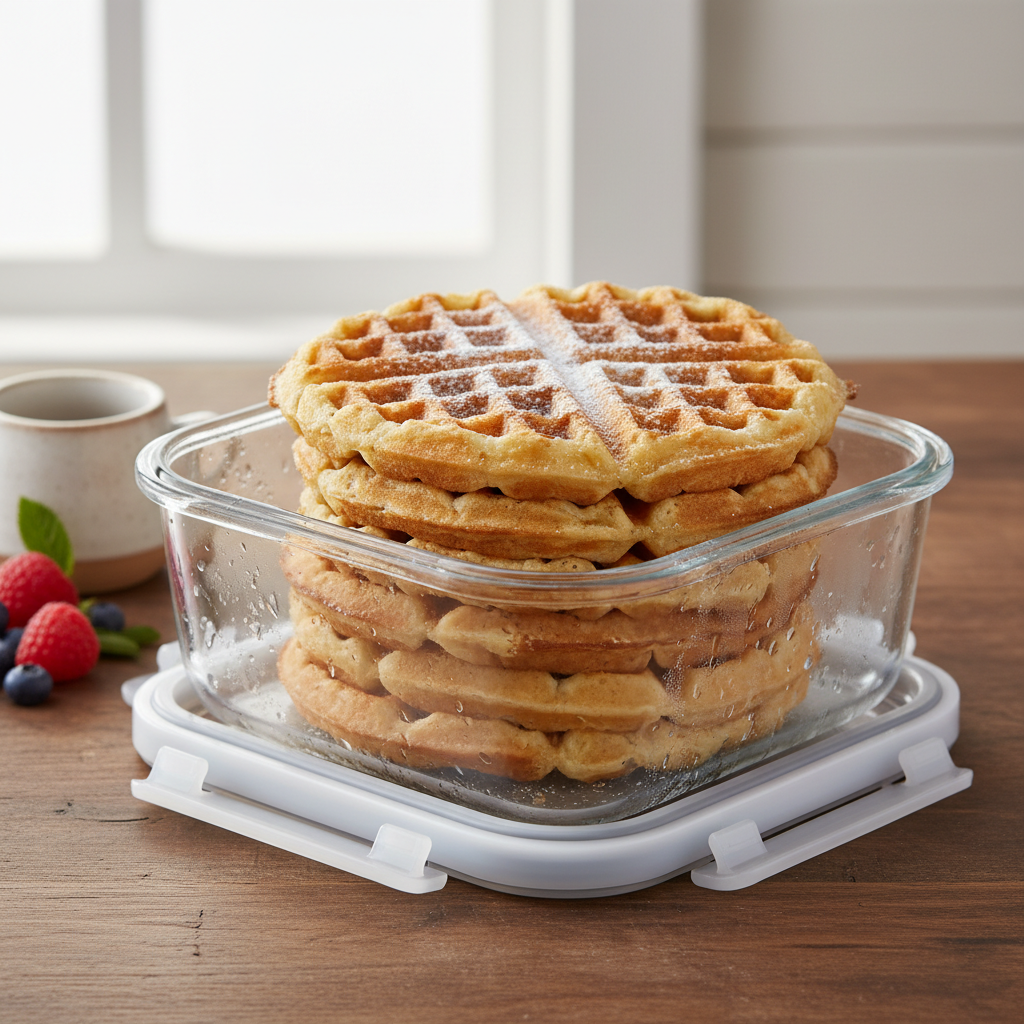
Storage and Easy Meal Prep
Waffles are fantastic for meal prep! Enjoy fresh ones now and save some for later:
- Storing Leftovers– Allow cooked waffles to cool completely on a wire rack. Store them in an airtight container or zip-top bag in the refrigerator for up to 3-4 days.
- Reheating– To reheat, pop them in a toaster or toaster oven until crispy and warm. A microwave will make them soft, which isn’t ideal for that crispy texture.
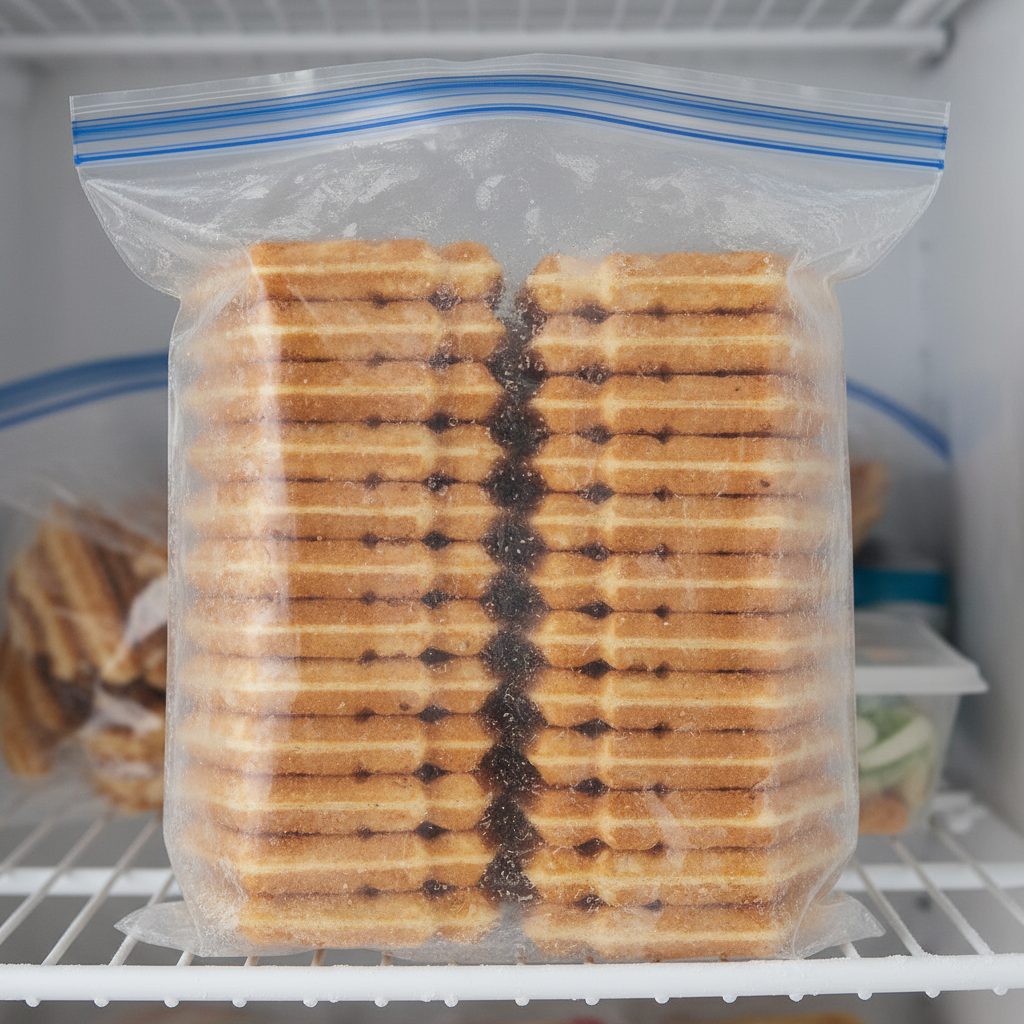
Make Ahead and Freezer Notes
Waffles are incredibly freezer-friendly, making them perfect for quick breakfasts on busy mornings:
- Freezing Cooked Waffles– Cook waffles as directed and let them cool completely on a wire rack. Once cool, flash freeze them in a single layer on a baking sheet for about 30 minutes to prevent sticking. Then, transfer them to a freezer-safe zip-top bag or airtight container. They will last for up to 2-3 months.
- Reheating from Frozen– No need to thaw! Simply pop frozen waffles directly into a toaster, toaster oven, or even a regular oven (at 350°F / 175°C for 5-10 minutes) until heated through and crispy.
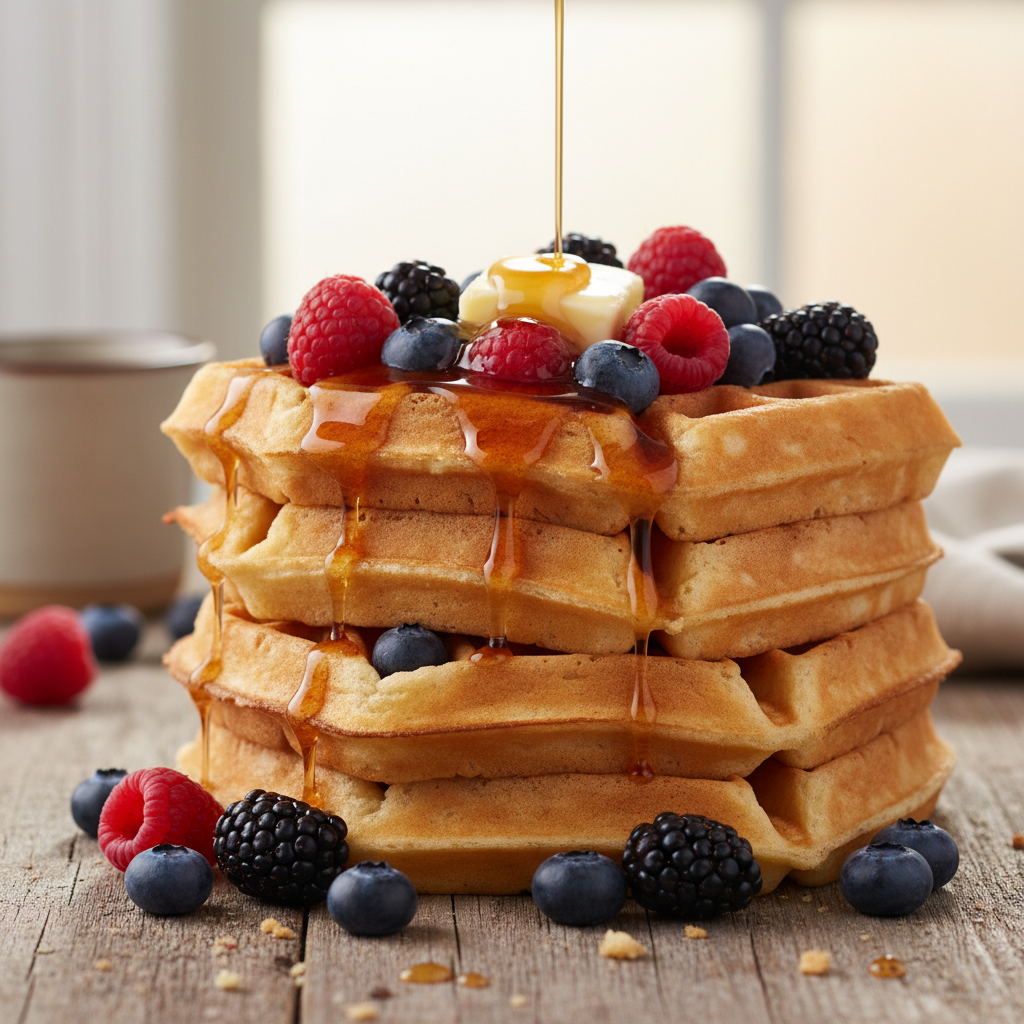
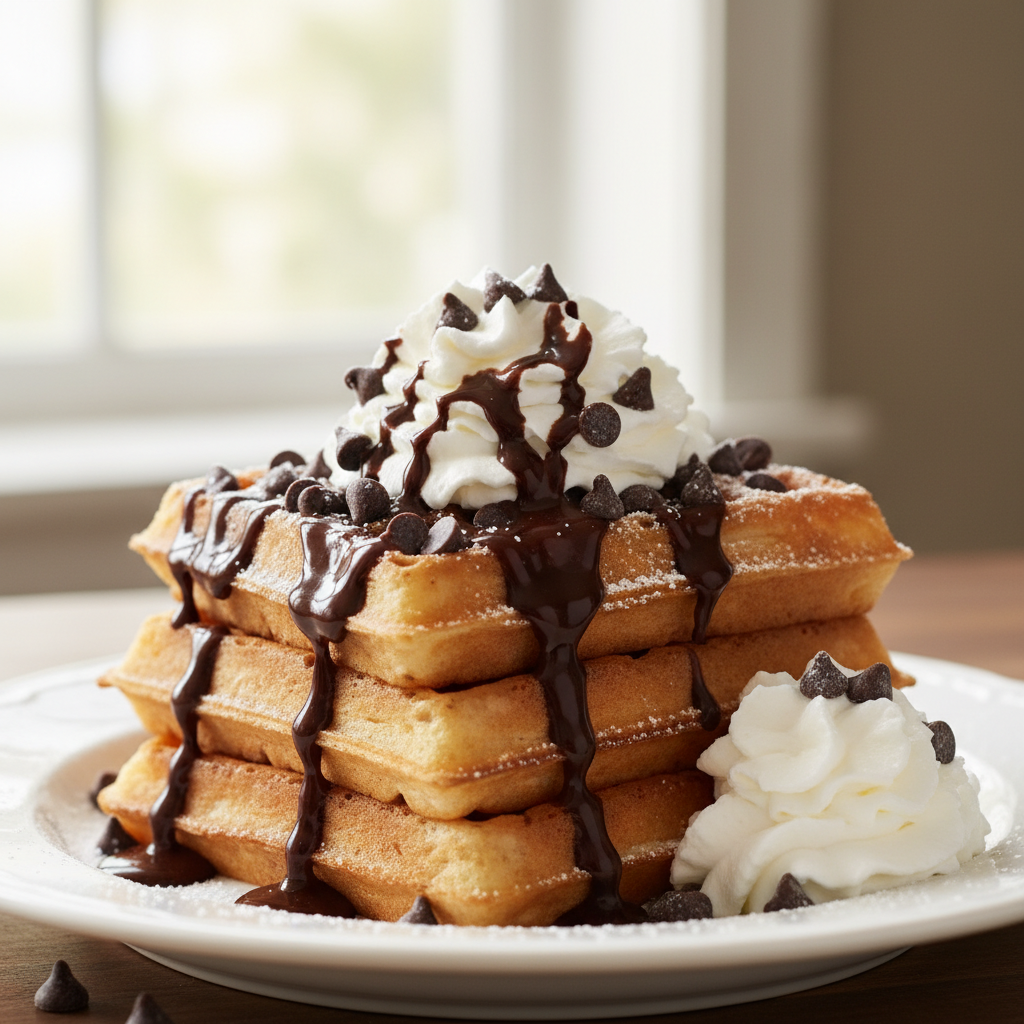
Delicious Serving Suggestions
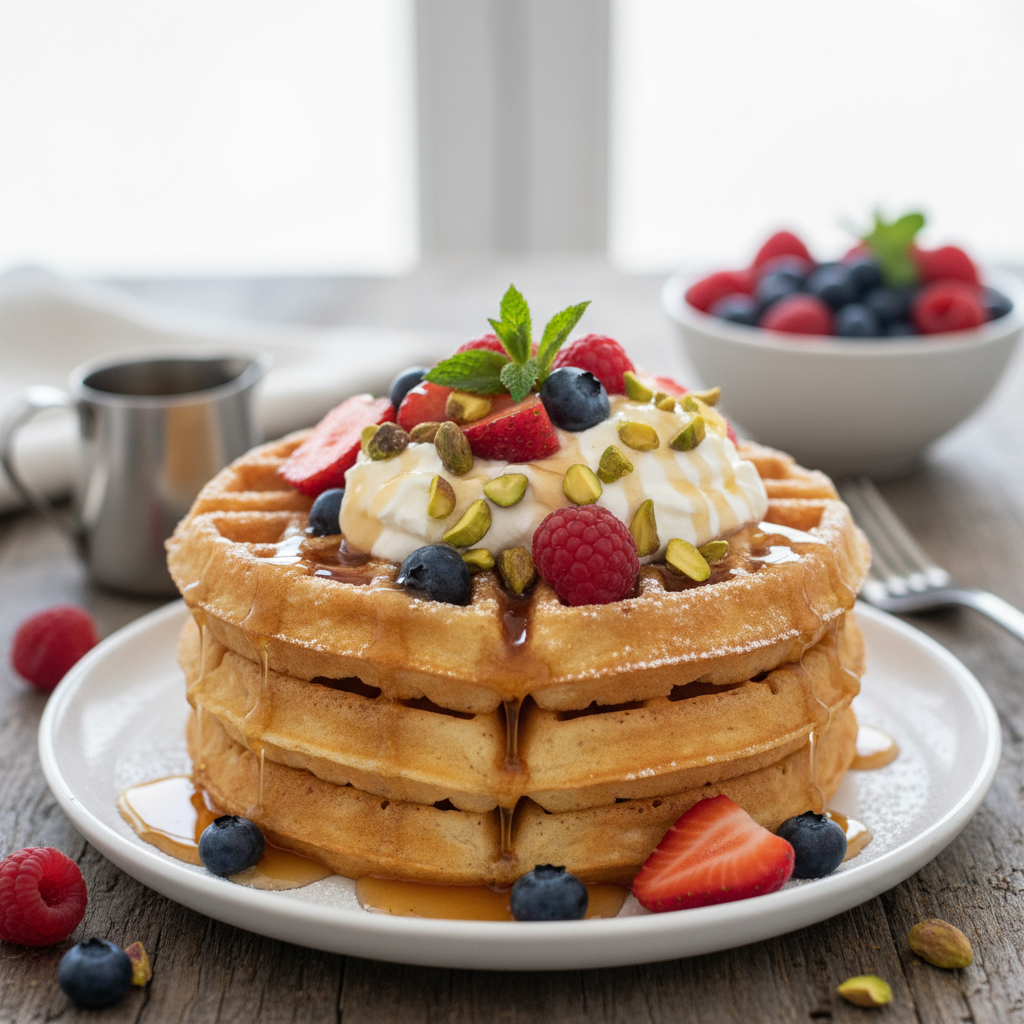
The beauty of waffles is how versatile they are! Here are some classic and creative serving ideas:
- Classic Maple Syrup and Butter– A timeless combination that never disappoints.
- Fresh Berries and Whipped Cream– Strawberries, blueberries, raspberries, or a mix, topped with a dollop of fresh whipped cream.
- Fruit Compote– A warm homemade berry or apple compote adds a lovely touch.
- Chocolate Sauce and Bananas– Drizzle with chocolate sauce and sliced bananas for a decadent treat.
- Savory Toppings– Don’t forget savory! Fried chicken, bacon, eggs, or even a poached egg with hollandaise sauce can be incredible.
- Powdered Sugar– A simple dusting of powdered sugar adds elegance and a touch of sweetness.
Frequently Asked Questions About Waffles
Here are answers to some common questions about making perfect waffles:
Conclusion- Enjoy Your Waffles
There you have it- the ultimate guide to making fluffy waffles with that irresistible crispy exterior. No more settling for soggy or dense breakfast disappointments! With a few simple steps, a little patience, and these tried-and-true tips, you’re now equipped to create breakfast magic in your own kitchen. Gather your ingredients, fire up that waffle maker, and get ready to impress your taste buds and loved ones. Happy waffling, and enjoy every delicious bite!