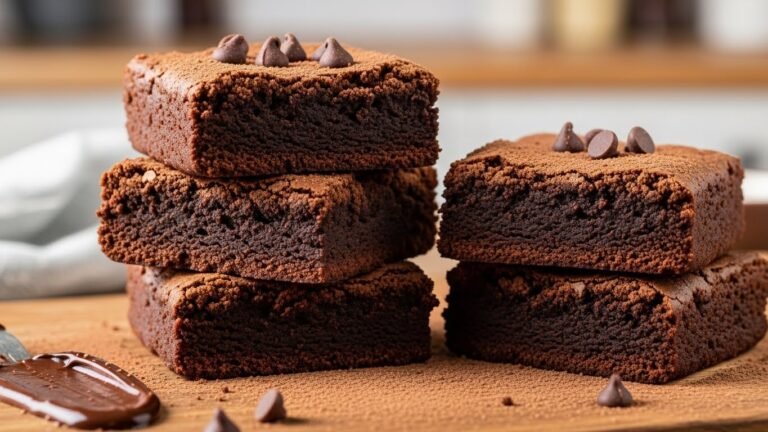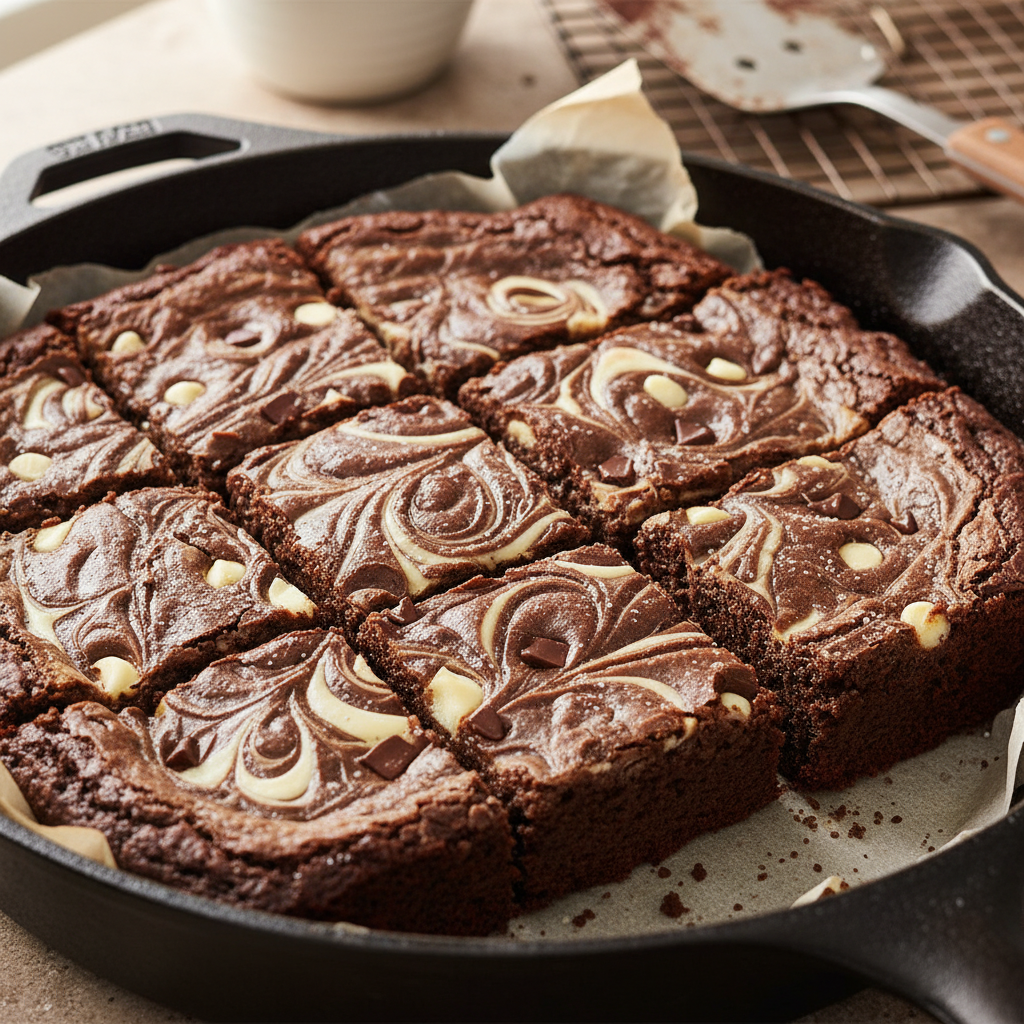
Welcome, fellow dessert lovers! Get ready to embark on a baking adventure that’s as delightful to look at as it is to eat. Today, we’re diving into the wonderful world of Zebra Brownies Chocolate Swirl. Imagine a brownie that’s not just rich and fudgy, but also boasts a mesmerizing pattern of dark and white chocolate. It’s a showstopper, a crowd-pleaser, and surprisingly simple to master. Whether you’re a seasoned baker or just starting your culinary journey, this recipe will guide you to brownie perfection. Prepare for oohs and aahs!
History and Background
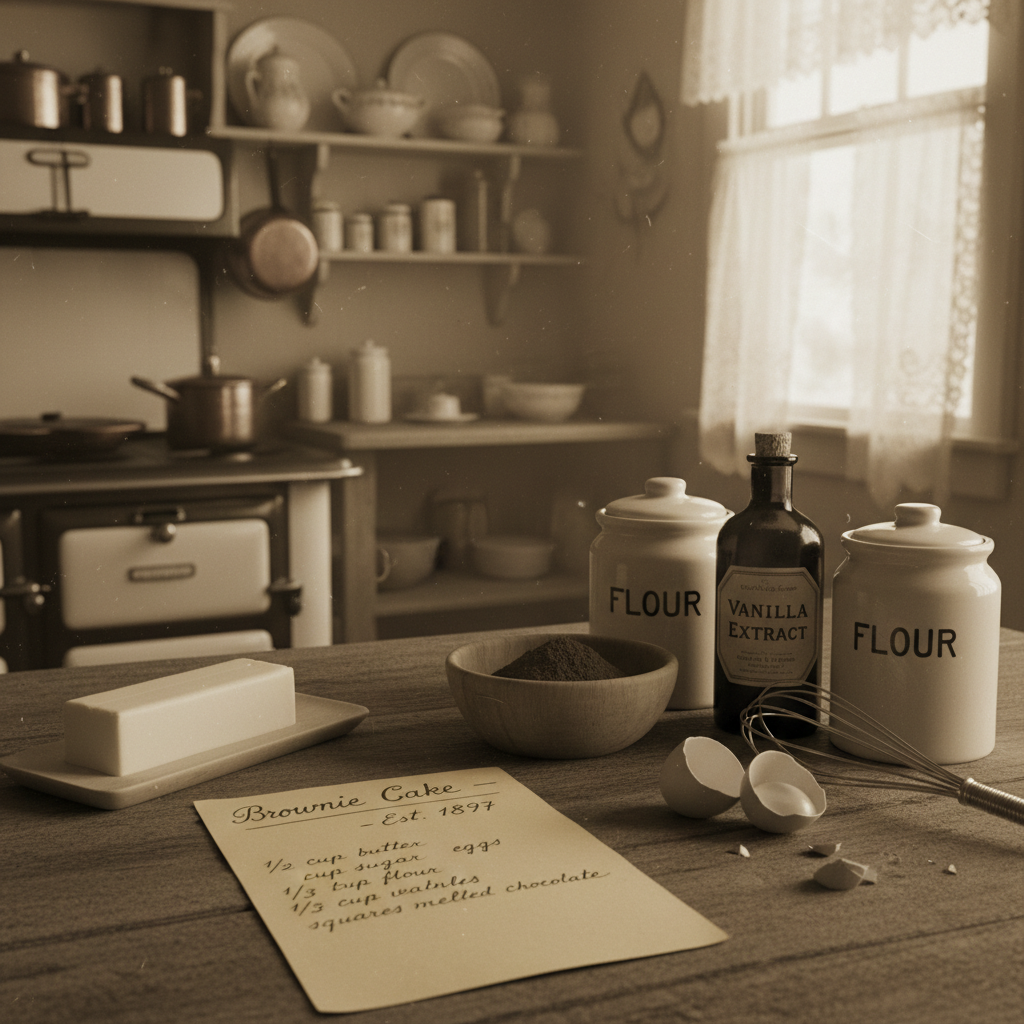
Brownies, in their simplest form, have been a beloved American treat for over a century. Legend has it that they were first created in Chicago at the Palmer House Hotel for the World’s Columbian Exposition in 1893, specifically requested by Bertha Palmer for a dessert smaller than a piece of cake but with a cake-like consistency. Fast forward through decades of brownie evolution—from fudgy to cakey, with nuts, without nuts—and we arrive at more creative variations. The ‘zebra’ swirl technique, while not exclusive to brownies, became popular for its striking visual appeal, allowing bakers to combine contrasting flavors and colors into one beautiful dessert. Our Zebra Brownies blend the classic rich chocolate brownie with a creamy white chocolate swirl, creating a modern twist on a timeless favorite.
Why You Will Love This Recipe

- Visually Stunning: The striking dark and white chocolate swirl makes these brownies incredibly impressive.
- Fudgy Perfection: We’re talking truly fudgy brownies, not cakey ones.
- Beginner-Friendly: Simple steps and clear instructions make this recipe accessible for all skill levels.
- Rich Flavor: A perfect balance of intense dark chocolate and sweet white chocolate.
- Versatile: Easy to customize with extra mix-ins or different flavorings.
- Crowd-Pleaser: Always a hit at parties, potlucks, or family gatherings.
Ingredient Notes
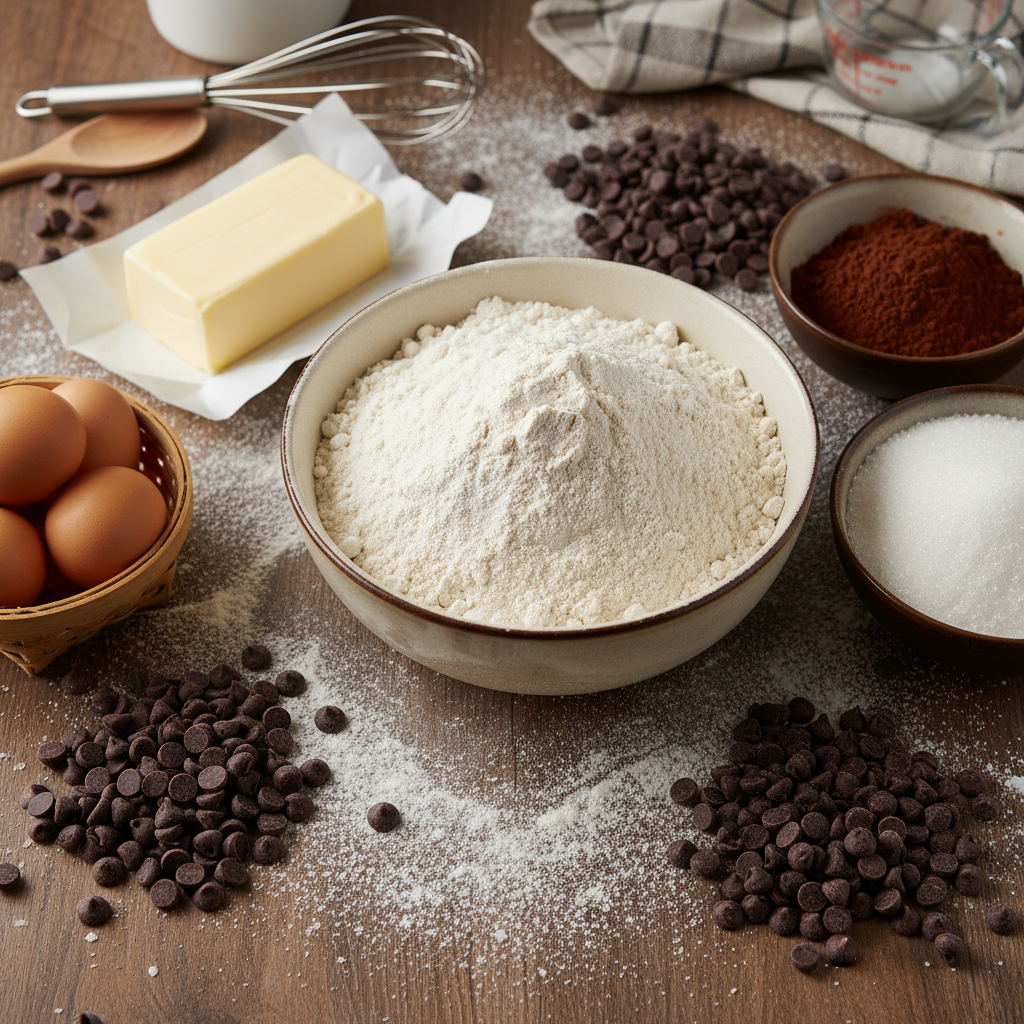
Quality ingredients make all the difference! Here’s a quick rundown of what you’ll need and why:
- Unsalted Butter: Using unsalted butter allows you to control the salt content in your recipe. It also provides that rich, buttery flavor and tender texture.
- Granulated Sugar: Sweetness and contributes to the fudgy texture.
- Large Eggs: Binders, emulsifiers, and contribute to the richness and structure.
- Vanilla Extract: Enhances the chocolate flavor. Use pure vanilla for the best taste.
- All-Purpose Flour: Just enough to give structure without making the brownies cakey.
- Unsweetened Cocoa Powder: This is where the deep chocolate flavor comes from. Dutch-processed cocoa will give a darker color and milder flavor, while natural cocoa is fruitier.
- Salt: Balances the sweetness and amplifies the chocolate. Don’t skip it!
- Dark Chocolate Chips or Chunks: For melting into the brownie batter. Use good quality chocolate for a superior taste.
- White Chocolate Chips or Chunks: For the swirl. Choose a brand you enjoy eating on its own.
Equipment Needed
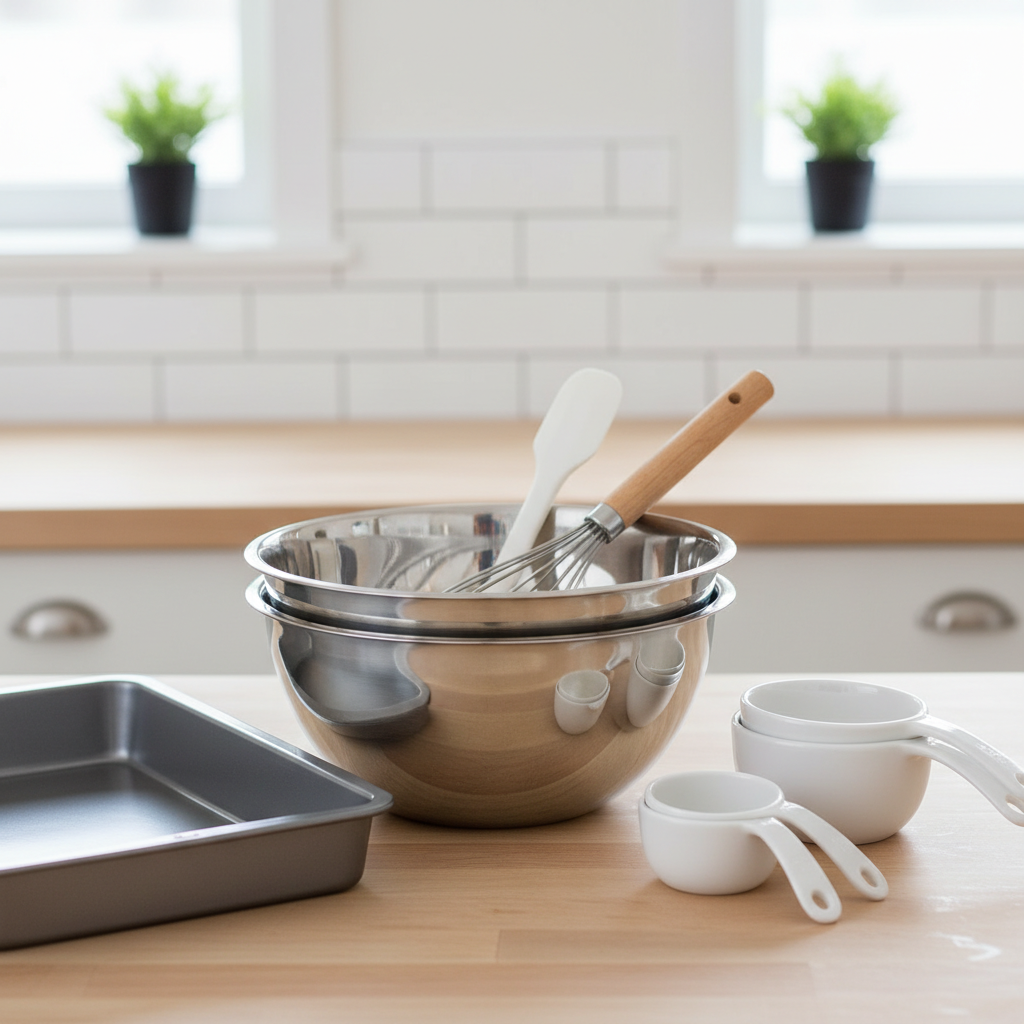
Gathering your tools before you start makes baking so much smoother:
- 9×13 inch Baking Pan: A standard size for a good batch of brownies.
- Parchment Paper: Essential for easy lifting and clean-up.
- Large Mixing Bowls: At least two—one for the brownie batter, one for the white chocolate.
- Whisk and Spatula: For mixing and folding.
- Measuring Cups and Spoons: Accuracy is key in baking.
- Small Saucepan or Microwave-Safe Bowls: For melting butter and chocolate.
- Toothpick or Skewer: For creating that beautiful zebra swirl pattern.
Full Recipe Card

Ingredients
- 1 cup (226g) unsalted butter, melted
- 2 cups (400g) granulated sugar
- 4 large eggs
- 2 teaspoons vanilla extract
- 1 cup (120g) all-purpose flour
- ¾ cup (75g) unsweetened cocoa powder
- ½ teaspoon salt
- 1 cup (170g) dark chocolate chips or chunks
- ½ cup (85g) white chocolate chips or chunks
Instructions
- Prepare Your Pan: Preheat your oven to 350°F (175°C). Line a 9×13 inch baking pan with parchment paper, leaving an overhang on the sides for easy removal. Lightly grease the parchment.
- Melt Butter and Sugar: In a large microwave-safe bowl or a saucepan over low heat, melt the butter. Remove from heat and stir in the granulated sugar until well combined.
- Add Wet Ingredients: Whisk in the eggs, one at a time, until fully incorporated. Stir in the vanilla extract.
- Combine Dry Ingredients: In a separate bowl, whisk together the flour, cocoa powder, and salt.
- Combine Wet and Dry: Gradually add the dry ingredients to the wet ingredients, mixing with a spatula until just combined. Be careful not to overmix.
- Melt Dark Chocolate: Gently fold in the dark chocolate chips or chunks into the brownie batter. Pour the batter into your prepared baking pan and spread evenly.
- Melt White Chocolate: In a small microwave-safe bowl, melt the white chocolate chips in 20-30 second intervals, stirring until smooth. Be careful not to overheat.
- Create the Swirl: Drizzle spoonfuls of melted white chocolate over the dark brownie batter in the pan. Using a toothpick or a skewer, gently swirl the white chocolate into the dark chocolate to create a zebra pattern. Avoid over-swirling, as this can muddy the colors.
- Bake: Bake for 25-30 minutes, or until a toothpick inserted into the center comes out with moist crumbs, but not wet batter.
- Cool: Let the brownies cool completely in the pan on a wire rack before lifting out and cutting into squares. Cooling is crucial for fudgy brownies!
Recipe Notes
- For extra fudginess, slightly underbake the brownies.
- Don’t overmix the batter; this can lead to tougher brownies.
- Ensure your white chocolate isn’t too hot when drizzling, or it might sink too much.
Tips and Variations

- Nutty Swirl: Add a handful of chopped walnuts or pecans to the brownie batter for extra crunch.
- Minty Twist: Incorporate a few drops of peppermint extract into the dark chocolate batter for a refreshing flavor.
- Coffee Kick: Add a teaspoon of instant espresso powder to the dark chocolate batter to deepen the chocolate flavor.
- Salted Caramel Swirl: Drizzle a bit of store-bought or homemade salted caramel sauce along with the white chocolate for an extra layer of decadence.
- Chocolate Chip Topping: Sprinkle extra dark or white chocolate chips on top of the swirled batter before baking for added texture.
Pro Chef Tips
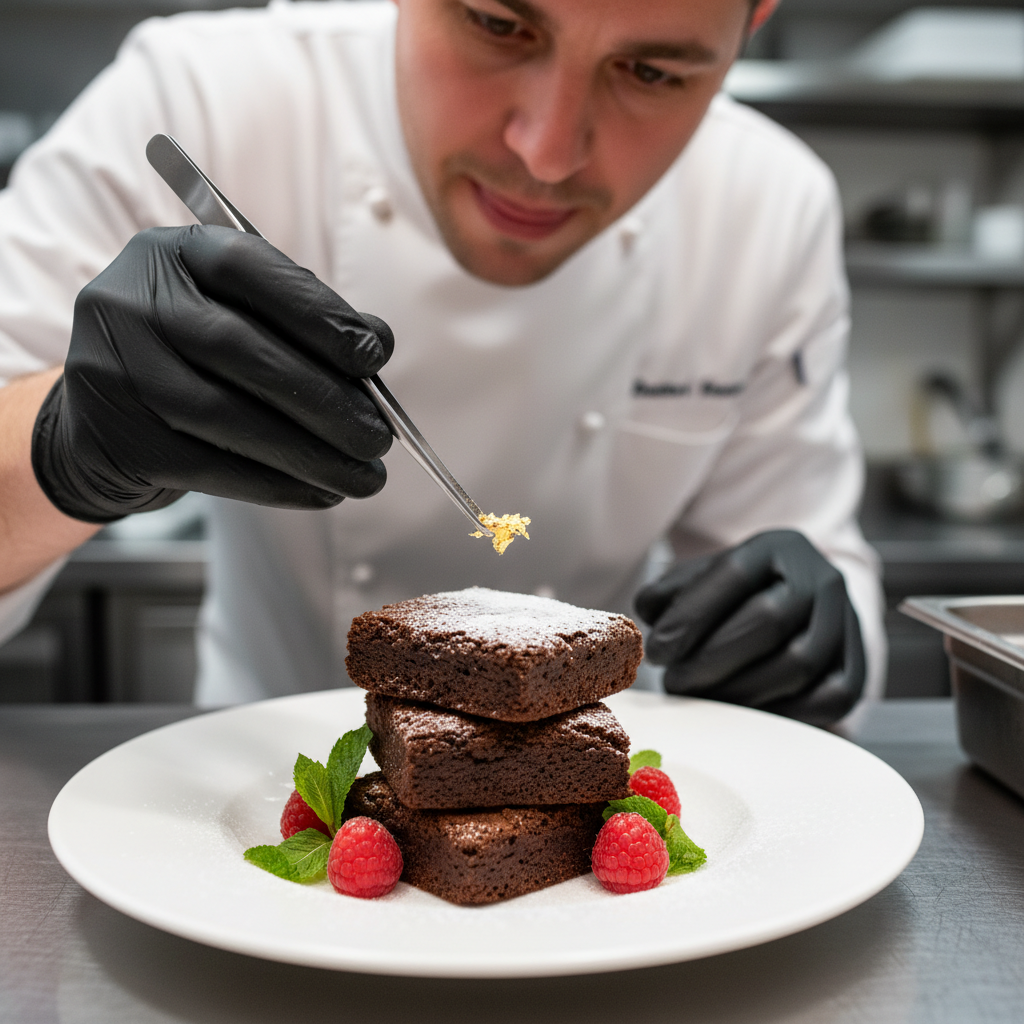
- Don’t Overbake: This is the golden rule for fudgy brownies. They should still look a little underdone in the center when you pull them out of the oven, as they will continue to cook from residual heat.
- Cool Completely: Resist the urge to cut into warm brownies! They need to set and firm up for that perfect fudgy texture and clean cuts.
- Use Good Quality Chocolate: Since chocolate is a star ingredient, using high-quality dark and white chocolate will significantly improve the flavor.
- Room Temperature Eggs: Room temperature eggs emulsify better with the butter and sugar, resulting in a smoother batter.
- Clean Cuts: For perfectly clean brownie squares, run a large knife under hot water, wipe it clean, and then cut. Repeat for each cut.
Common Mistakes to Avoid

- Overmixing the Batter: This develops the gluten in the flour, leading to tough, cakey brownies instead of fudgy ones. Mix until just combined.
- Overbaking: The most common culprit for dry brownies. Keep an eye on the baking time and trust the toothpick test.
- Not Cooling Enough: Cutting warm brownies can result in a messy, crumbly texture. Patience is a virtue here!
- Over-Swirling: If you swirl the white chocolate too much, it will blend completely with the dark chocolate, and you’ll lose that distinct zebra pattern. A few gentle swirls are all you need.
- Using Cold Ingredients: Especially eggs, can make your batter lumpy and harder to combine smoothly.
Storage and Meal Prep
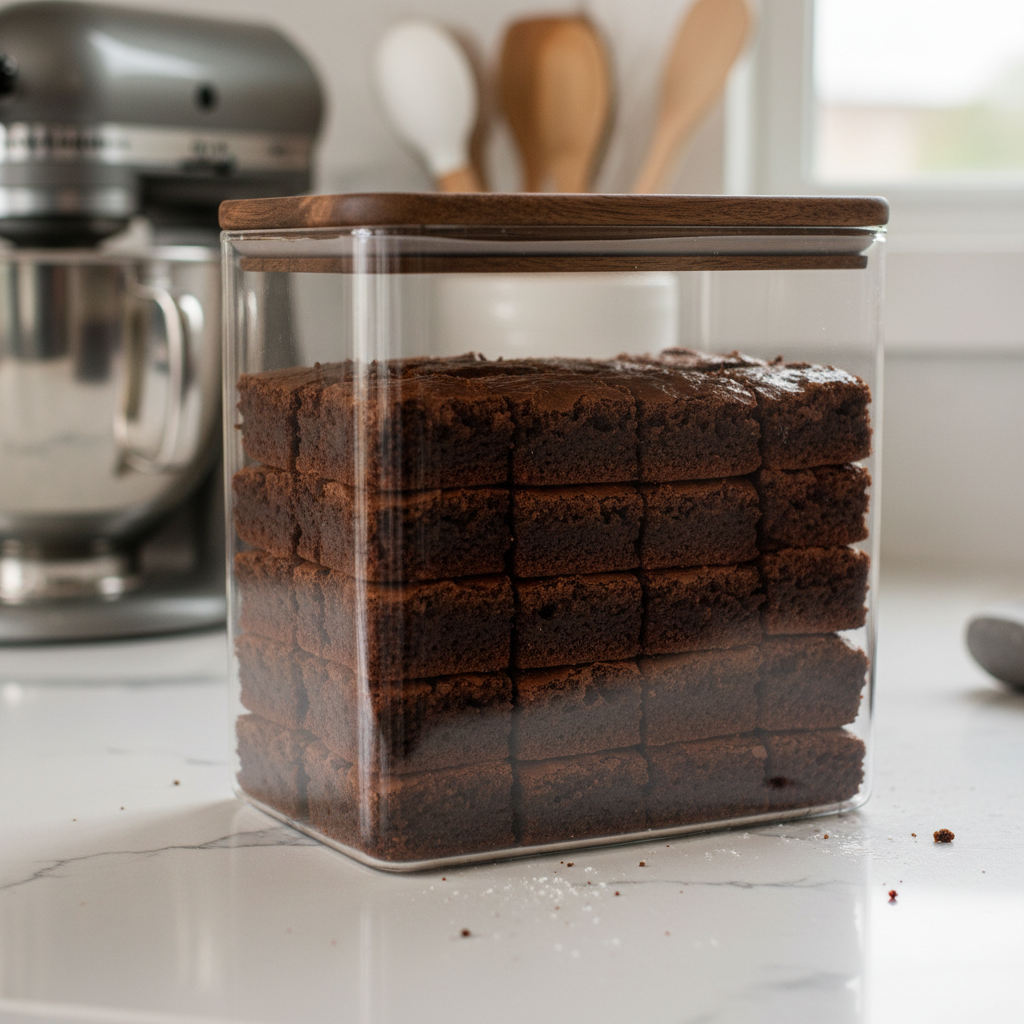
Proper storage ensures your Zebra Brownies stay fresh and delicious:
- Room Temperature: Store cooled brownies in an airtight container at room temperature for up to 3-4 days.
- Refrigeration: While not strictly necessary, refrigerating brownies can extend their freshness for up to a week. Just be aware they might firm up a bit. Bring to room temperature before serving for the best texture.
- Meal Prep: These brownies are excellent for meal prep! Bake a batch on the weekend and have a delicious treat ready for your week.
Make-Ahead and Freezer Notes

- Make-Ahead: Zebra Brownies are a fantastic make-ahead dessert. You can bake them a day or two in advance, store them properly, and they’ll still be perfect for your event.
- Freezing Baked Brownies: Once completely cooled, cut the brownies into individual squares. Wrap each square tightly in plastic wrap, then place them in a freezer-safe airtight container or freezer bag. They can be frozen for up to 3 months.
- Thawing: To thaw, simply take the desired number of brownies out of the freezer and let them come to room temperature on the counter for a few hours.
Serving Suggestions
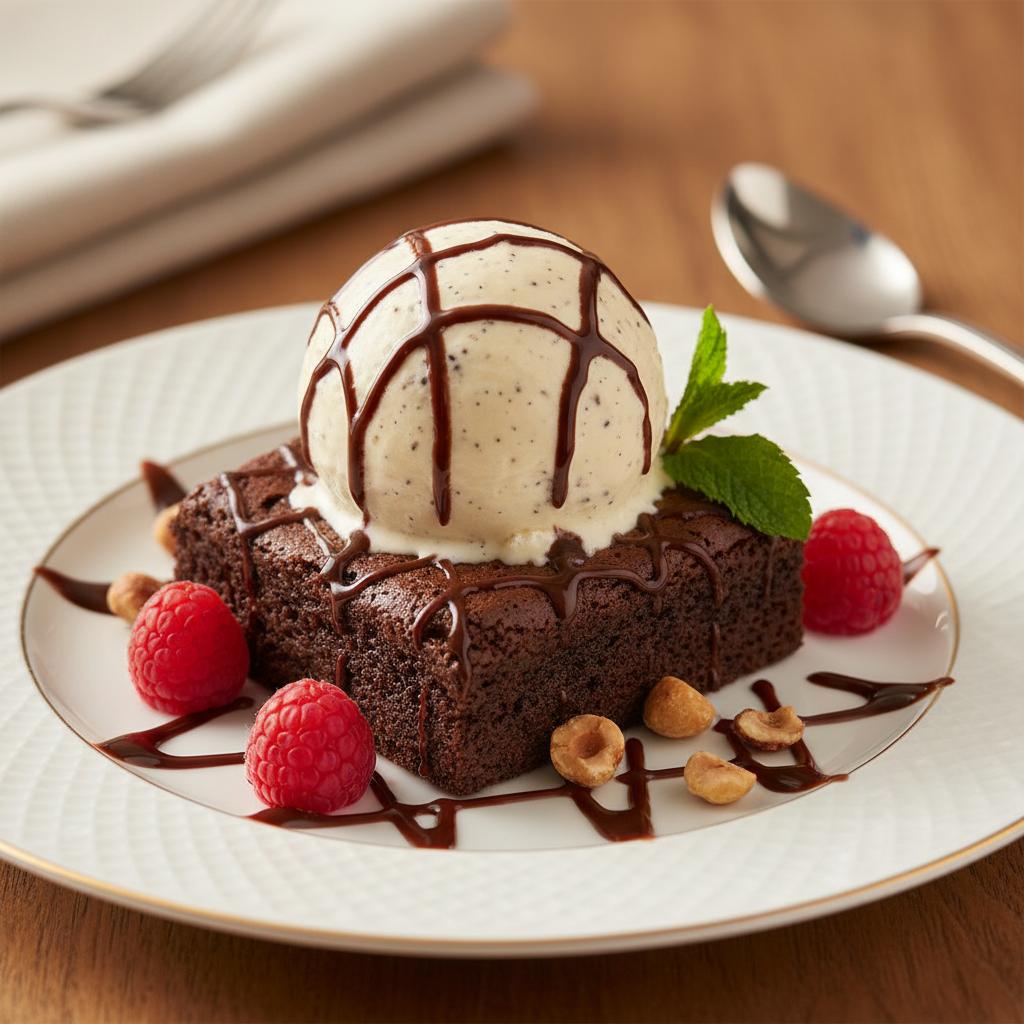
These Zebra Brownies are amazing on their own, but here are a few ideas to elevate your dessert experience:
- A la Mode: Serve warm brownies with a scoop of vanilla bean ice cream. The contrast of warm and cold, fudgy and creamy, is heavenly.
- With a Drizzle: A light drizzle of extra melted chocolate, caramel sauce, or a dusting of powdered sugar adds a touch of elegance.
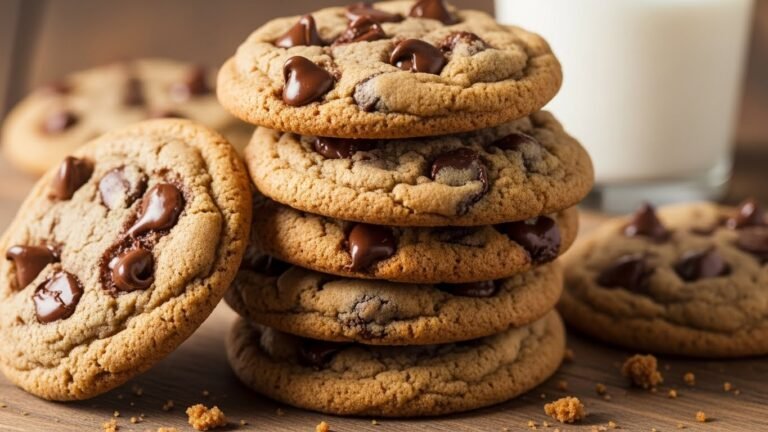
- Coffee Companion: Pair with a hot cup of coffee, espresso, or a glass of cold milk for a classic combination.
- Fruit Pairing: A side of fresh raspberries or strawberries can cut through the richness beautifully.
- Whipped Cream: A dollop of freshly whipped cream is always a welcome addition.