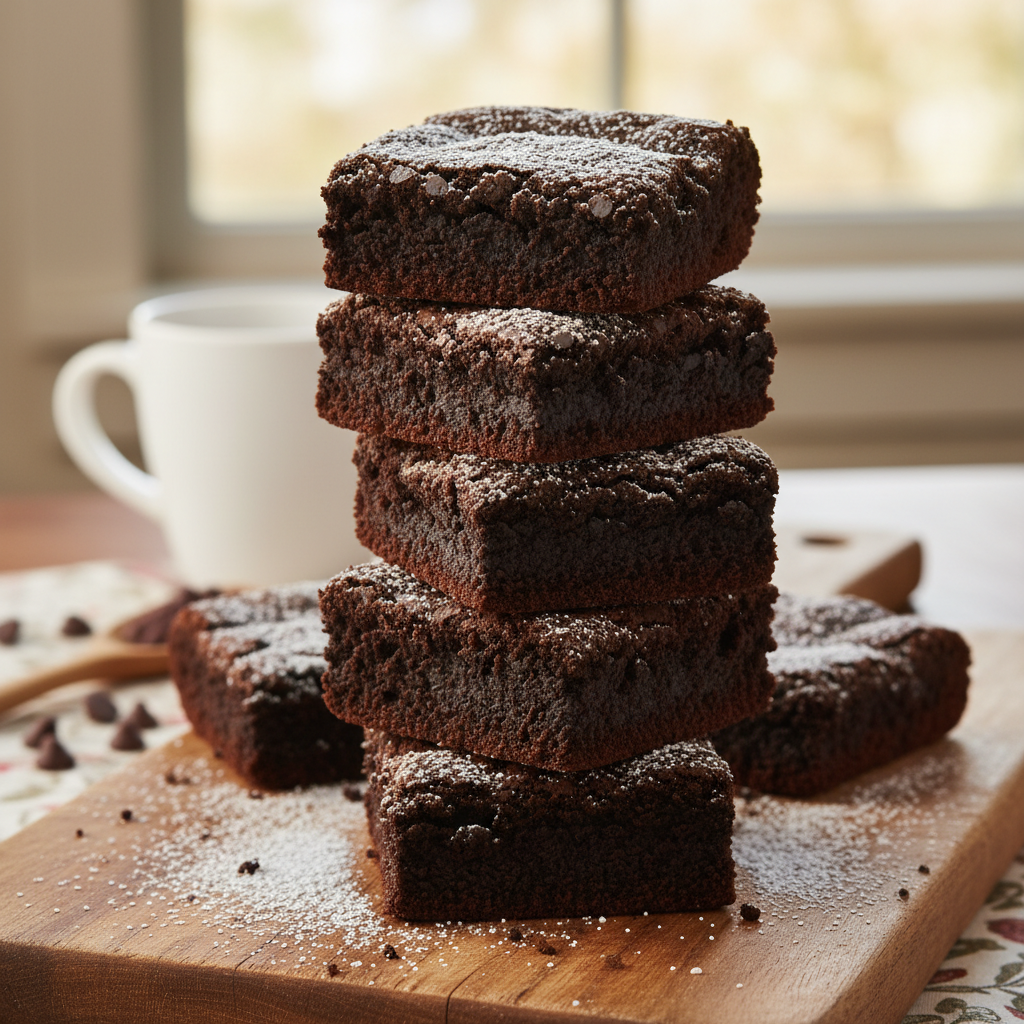
Hey there, fellow dessert lovers! Are you ready to dive into a world of rich, chocolatey goodness that’s so fudgy it almost melts in your mouth? If you’ve ever struggled with dry, crumbly brownies, or just want to take your homemade treats to the next level, you’ve come to the right place. Today, we’re unlocking the secret ingredient that transforms ordinary brownies into an extraordinary experience: yogurt!
Yes, you heard that right – yogurt! This humble dairy hero is about to become your new best friend in the kitchen, bringing an incredible moistness and tender crumb to your brownies without any extra fuss. Forget complicated techniques; this recipe is all about simple steps and sensational results. Get ready to bake the fudgiest, most delicious yogurt brownies you’ve ever tasted!
The Sweet History of Brownies and Their Evolution
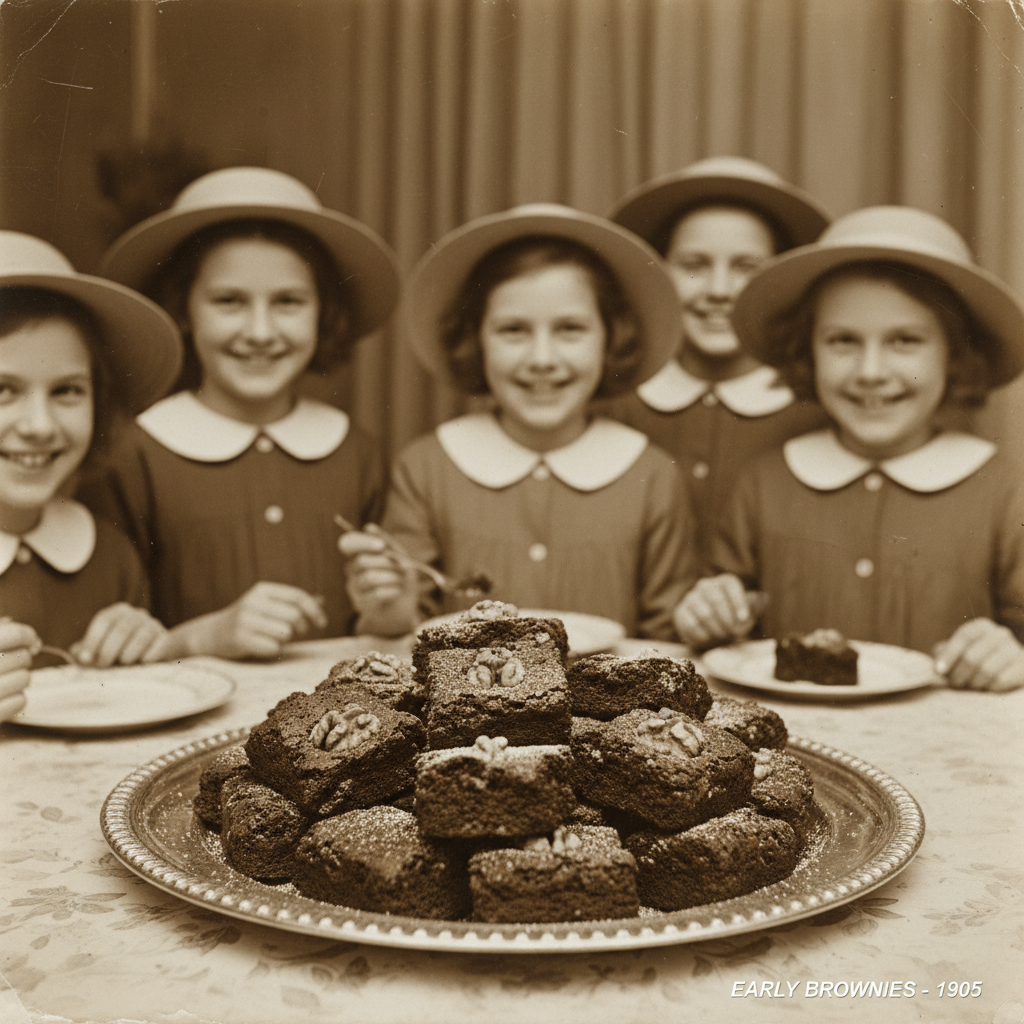
Brownies, those beloved squares of chocolate delight, have a fascinating origin story. Legend has it they were first created in the late 19th century, possibly at the Palmer House Hotel in Chicago, when Bertha Palmer requested a dessert suitable for women attending the Chicago World’s Fair – something cake-like but smaller than a piece of cake. The result was a rich, fudgy bar topped with an apricot glaze and walnuts, a predecessor to the brownies we know and love today.
Over the decades, brownie recipes evolved, with variations popping up everywhere from family kitchens to professional bakeries. Bakers experimented with different fats, leavening agents, and mix-ins. The addition of yogurt is a more modern twist, a brilliant innovation to enhance moisture and tenderness, making for a truly irresistible treat that’s both classic and refreshingly new.
Why You Will Love This Recipe
- Unbeatable Fudginess The yogurt works magic, ensuring every bite is incredibly moist and dense.
- Simple Ingredients You likely have most of these staples in your pantry already.
- Easy to Follow Perfect for beginner bakers, with clear, step-by-step instructions.
- Versatile Easily adaptable with various mix-ins and toppings to suit your taste.
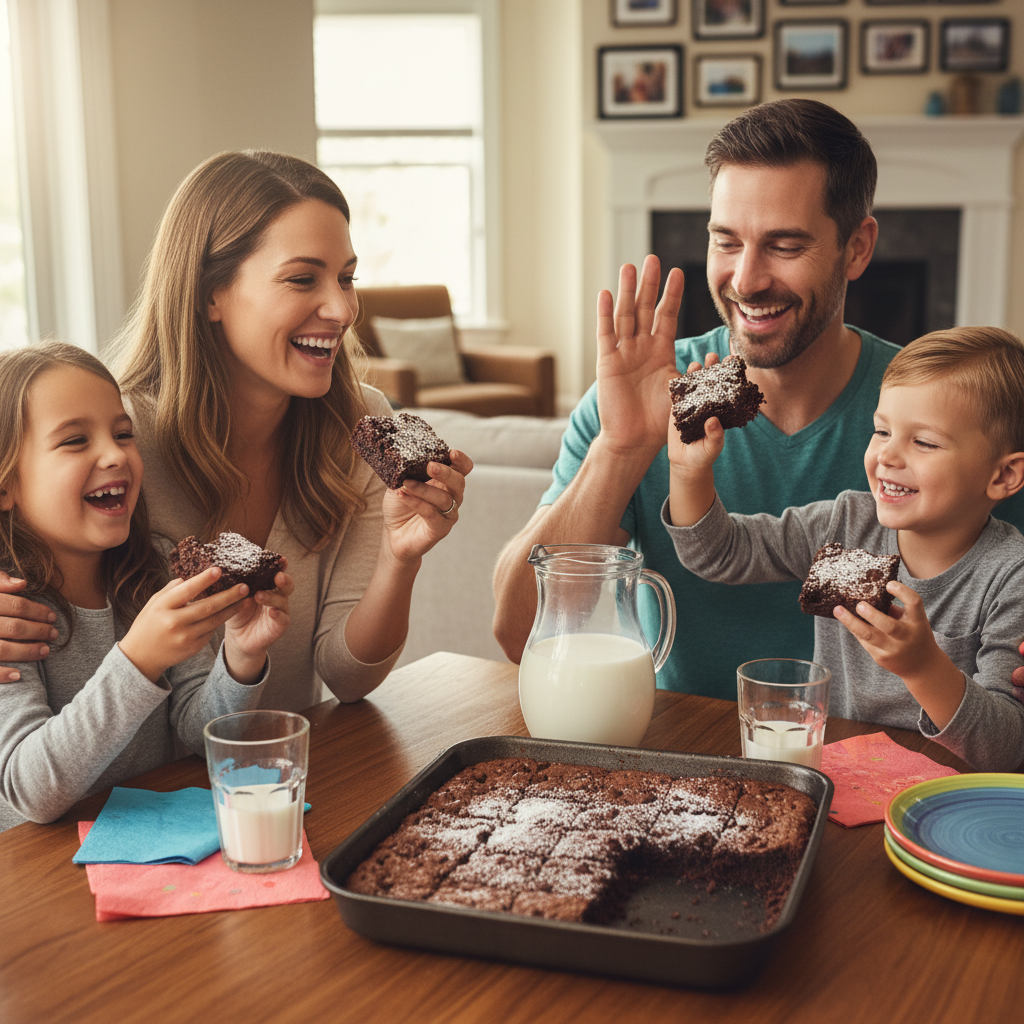
- Crowd-Pleaser These brownies disappear fast at parties, potlucks, and family gatherings!
- Satisfies Chocolate Cravings Rich, deep chocolate flavor that hits all the right notes.
Ingredient Notes for Perfect Brownies
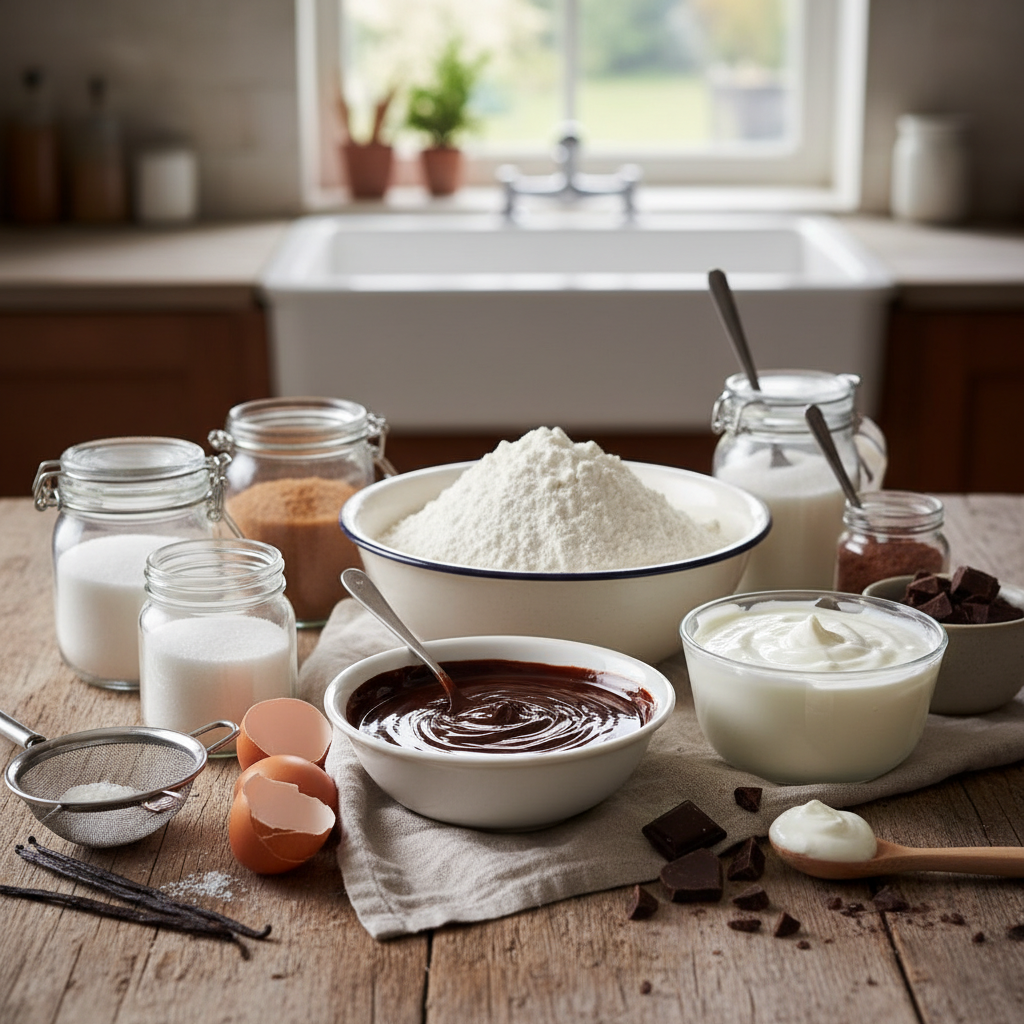
Let’s talk about the stars of our show! Using quality ingredients makes all the difference in baking, especially when it comes to brownies.
- Unsalted Butter Using unsalted butter gives you control over the salt content. Melted butter contributes to that fudgy texture.
- Granulated Sugar and Brown Sugar The combination provides both sweetness and moisture. Brown sugar adds a deeper, caramel-like note and chewiness.
- Eggs Eggs are crucial for structure, richness, and binding the ingredients together. Ensure they are at room temperature for better emulsion.
- Vanilla Extract Don’t skip this! Good quality vanilla enhances all the chocolate flavors.
- Plain Full-Fat Yogurt This is our secret weapon! Full-fat yogurt provides moisture and tenderness without adding too much liquid. Greek yogurt works too, just thin it slightly with a splash of milk if it’s too thick.
- All-Purpose Flour Just enough to bind without making them cakey. Don’t overmix!
- Unsweetened Cocoa Powder For that intense chocolate flavor. Dutch-processed cocoa powder often yields a darker, less acidic brownie.
- Salt A pinch of salt balances the sweetness and brings out the chocolate flavor.
- Chocolate Chips or Chunks Optional, but highly recommended for extra pockets of melted chocolate goodness. Use good quality semi-sweet or dark chocolate.
Essential Equipment Needed
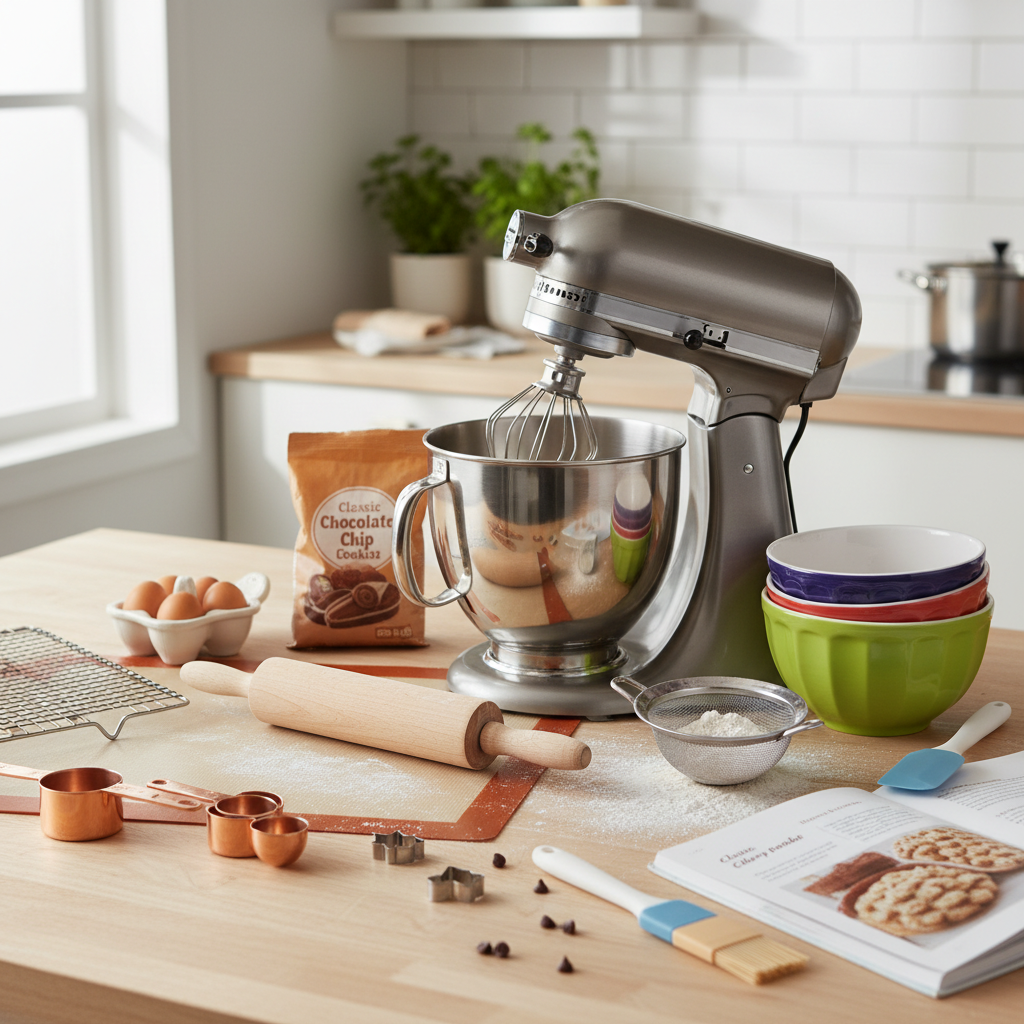
You don’t need a fancy kitchen to make amazing brownies, but having these basics will make your baking journey smooth and enjoyable.
- 9×13 inch Baking Pan A light-colored metal pan is ideal for even baking.
- Parchment Paper For easy removal and clean-up. Don’t forget the overhang!
- Large Mixing Bowls You’ll need at least two – one for wet ingredients, one for dry.
- Whisk For combining dry ingredients and whisking eggs.
- Rubber Spatula Essential for folding in dry ingredients without overmixing.
- Measuring Cups and Spoons Accuracy is key in baking.
- Small Saucepan or Microwave-Safe Bowl For melting butter and chocolate.
Full Recipe Card – Yogurt Brownies

Ready to get baking? Here’s the step-by-step guide to your new favorite brownies!
Ingredients
- 1 cup (2 sticks) unsalted butter, melted
- 2 cups granulated sugar
- 1/2 cup packed light brown sugar
- 4 large eggs, room temperature
- 2 teaspoons vanilla extract
- 1/2 cup plain full-fat yogurt
- 1 1/2 cups all-purpose flour
- 3/4 cup unsweetened cocoa powder
- 1 teaspoon salt
- 1 cup chocolate chips or chunks (optional)
Instructions
- Preheat and Prepare Preheat your oven to 350°F (175°C). Line a 9×13 inch baking pan with parchment paper, leaving an overhang on the sides for easy lifting. Lightly grease the parchment paper.
- Melt Butter and Sugars In a large mixing bowl, combine the melted butter, granulated sugar, and brown sugar. Whisk until well combined and smooth.
- Add Wet Ingredients Whisk in the eggs one at a time, incorporating each fully before adding the next. Stir in the vanilla extract and yogurt until just combined. Don’t overmix.
- Combine Dry Ingredients In a separate medium bowl, whisk together the flour, cocoa powder, and salt.
- Combine Wet and Dry Gradually add the dry ingredients to the wet ingredients. Fold gently with a rubber spatula until just combined. Be careful not to overmix; a few streaks of flour are okay. If using, fold in the chocolate chips or chunks.
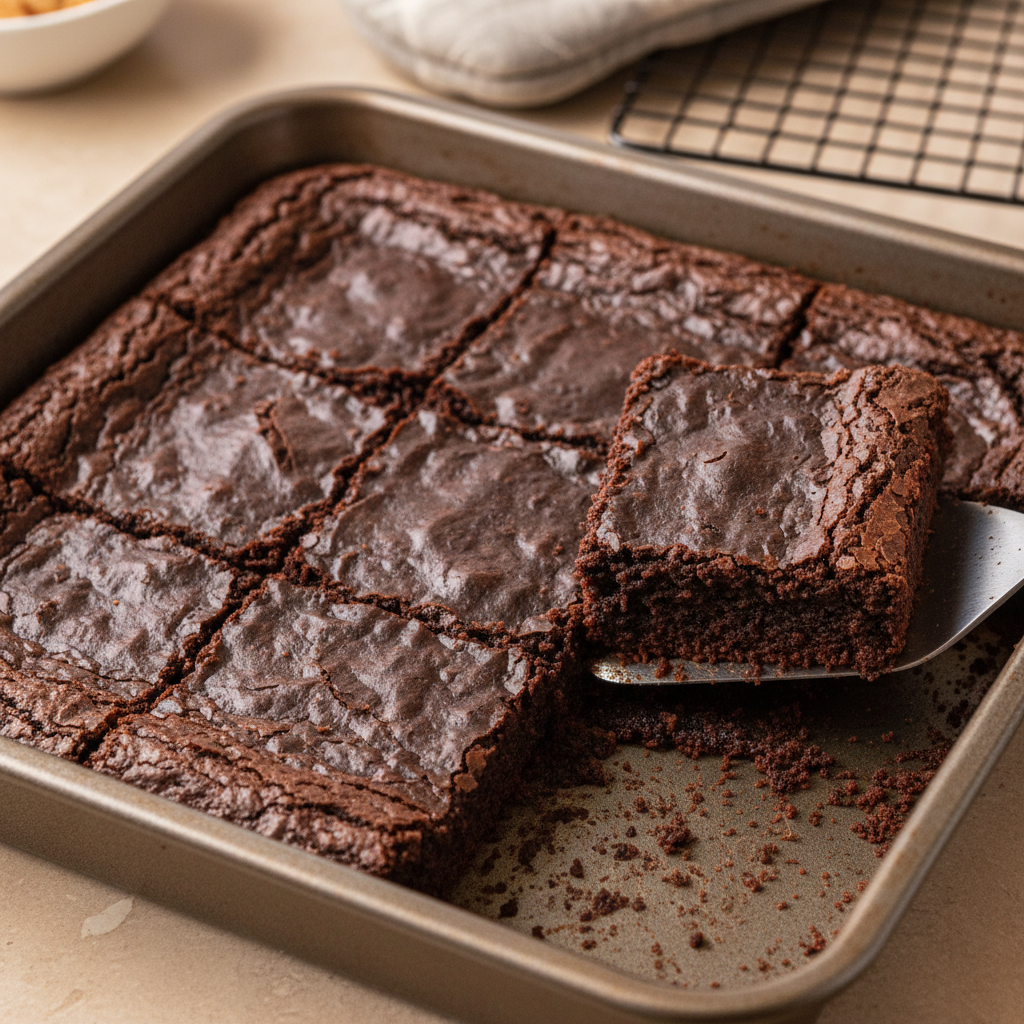
- Bake Pour the batter evenly into the prepared baking pan.
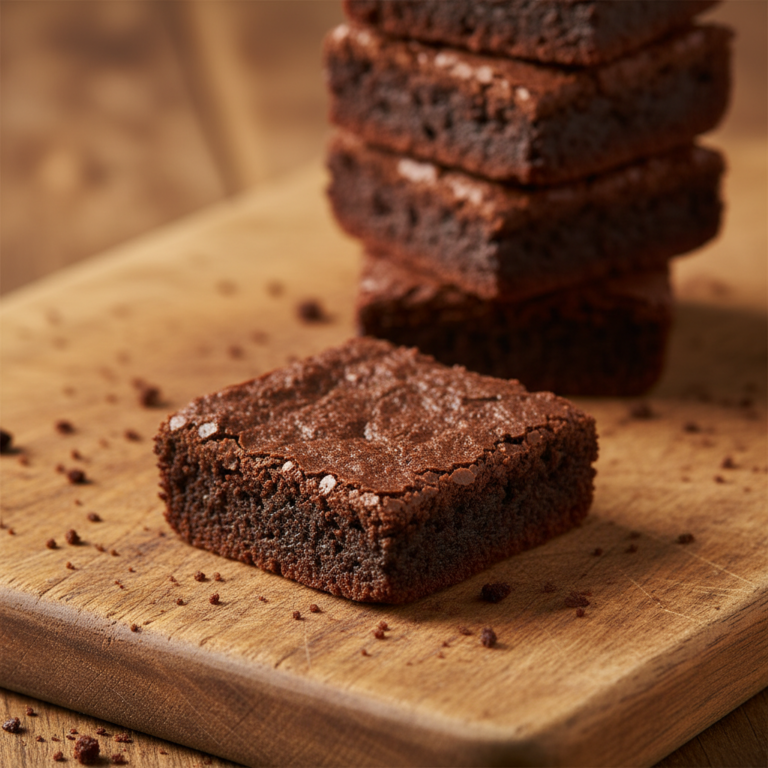
- Bake to Perfection Bake for 25-30 minutes, or until a toothpick inserted into the center comes out with moist crumbs, but not wet batter. The edges should look set, and the center might still look slightly gooey. This is the secret to fudgy brownies!
- Cool Completely Let the brownies cool completely in the pan on a wire rack before lifting them out using the parchment paper overhang. This is crucial for fudginess and clean cuts.
- Slice and Serve Once completely cooled, slice into squares and enjoy!
Recipe Notes
- Do Not Overbake This is the golden rule for fudgy brownies. They might seem slightly underdone when you pull them out, but they will continue to cook as they cool.
- Room Temperature Eggs Help create a smoother batter and better emulsification.
- Quality Chocolate Using good quality cocoa powder and chocolate chips makes a noticeable difference in flavor.
Tips and Variations for Your Brownies
Once you master the basic recipe, the fun really begins! Here are some ideas to customize your yogurt brownies:
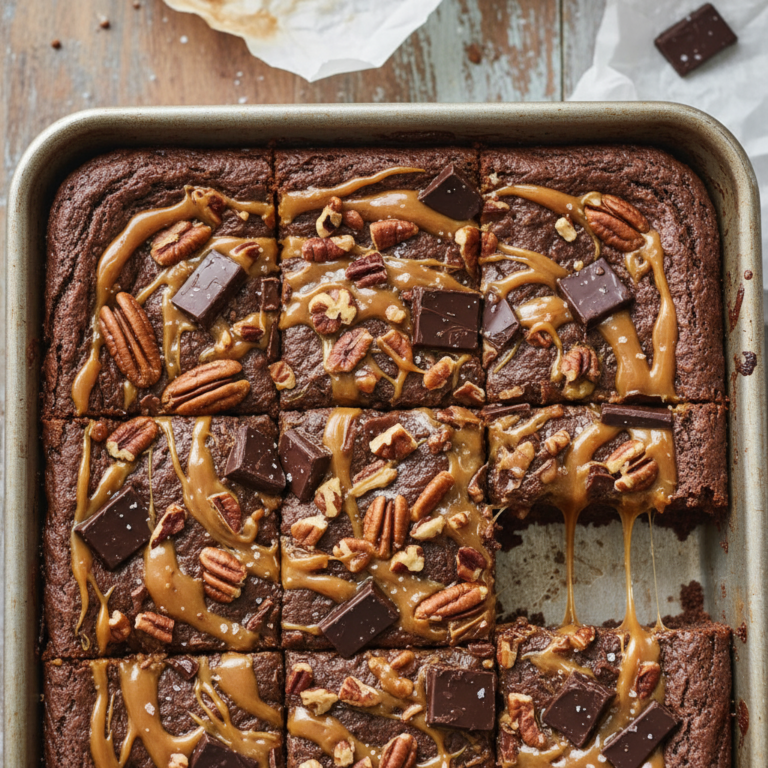
- Nutty Goodness Add 1/2 cup of chopped walnuts, pecans, or almonds to the batter for a delightful crunch.
- Espresso Boost A teaspoon of instant espresso powder (or strong brewed coffee) deepens the chocolate flavor without making the brownies taste like coffee.
- Mint Chocolate Fold in mint chocolate chips or a few drops of mint extract for a refreshing twist.
- Cream Cheese Swirl Swirl a sweetened cream cheese mixture over the top of the batter before baking for a tangy, creamy layer.
- Zesty Flavor Add a teaspoon of orange zest to the batter – chocolate and orange are a match made in heaven!
- Sea Salt Sprinkle A sprinkle of flaky sea salt on top before baking enhances the chocolate flavor and adds a lovely contrast.
Pro Chef Tips for Next-Level Baking

- Blooming Cocoa For an even richer chocolate flavor, whisk your cocoa powder with the melted butter and sugars for a minute or two before adding other wet ingredients. This “blooms” the cocoa, intensifying its flavor.
- The Toothpick Test Reimagined Instead of looking for a completely clean toothpick, aim for moist crumbs attached. If it comes out completely clean, your brownies might be overbaked.
- Chill Before Cutting For super clean, professional-looking slices, chill your cooled brownies in the refrigerator for at least an hour (or even overnight) before cutting. Use a hot, clean knife, wiping it between each cut.
- Don’t Be Afraid of the Gooey Center A slightly gooey center is the hallmark of a truly fudgy brownie. Trust the process!
Common Mistakes to Avoid
Even the best bakers make mistakes sometimes, but by being aware of these common pitfalls, you can ensure your brownies turn out perfect every time.
- Overmixing the Batter This develops the gluten in the flour, leading to tough, cakey brownies instead of fudgy ones. Mix only until just combined.
- Overbaking As mentioned, this is the number one culprit for dry brownies. Keep an eye on the baking time and trust the moist crumb test.
- Cutting Warm Brownies Patience is a virtue! Cutting warm brownies results in messy, crumbly edges. Let them cool completely.
- Using Low-Fat Yogurt While it might seem healthier, full-fat yogurt provides the necessary moisture and richness for the best texture.
- Ignoring Pan Size Using a pan that’s too small will result in very thick brownies that take longer to bake and might be dense. Too large, and they’ll be thin and crispy. Stick to the recommended 9×13 inch pan.
Storage and Meal Prep
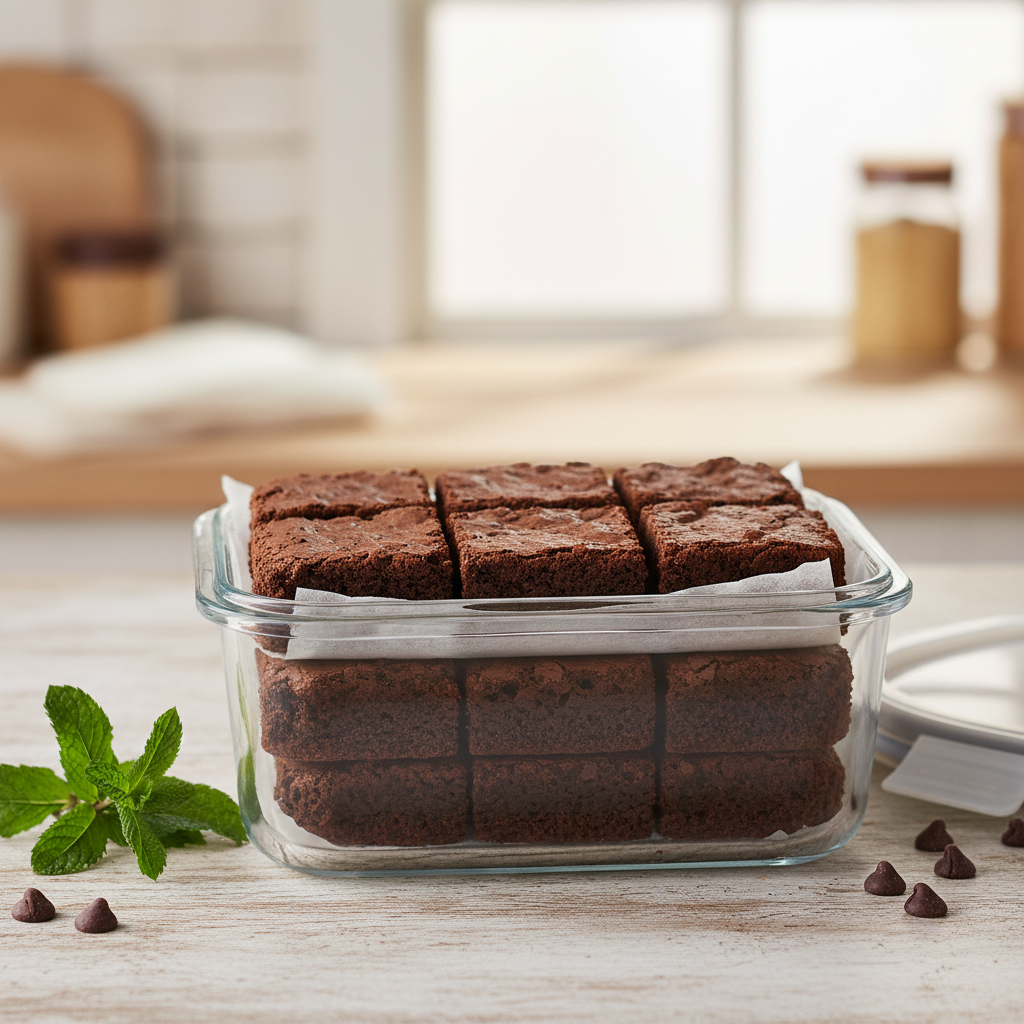
Once your delicious brownies are baked, you’ll want to keep them fresh for as long as possible. Here’s how:
- Room Temperature Store cooled brownies in an airtight container at room temperature for up to 3-4 days. Placing a slice of bread in the container can help keep them moist (the brownies will absorb moisture from the bread).
- Refrigeration If your kitchen is very warm, or if you prefer them chilled, you can store them in an airtight container in the refrigerator for up to a week. Bring them to room temperature or warm slightly before serving for the best texture.
Make-Ahead and Freezer Notes
These brownies are fantastic for making ahead, especially if you’re planning for a party or just want a quick treat on hand.
- Make-Ahead Batter You can prepare the brownie batter up to a day in advance. Store it covered in the refrigerator. Let it come to room temperature for about 30 minutes before baking, as it will be very thick when cold.
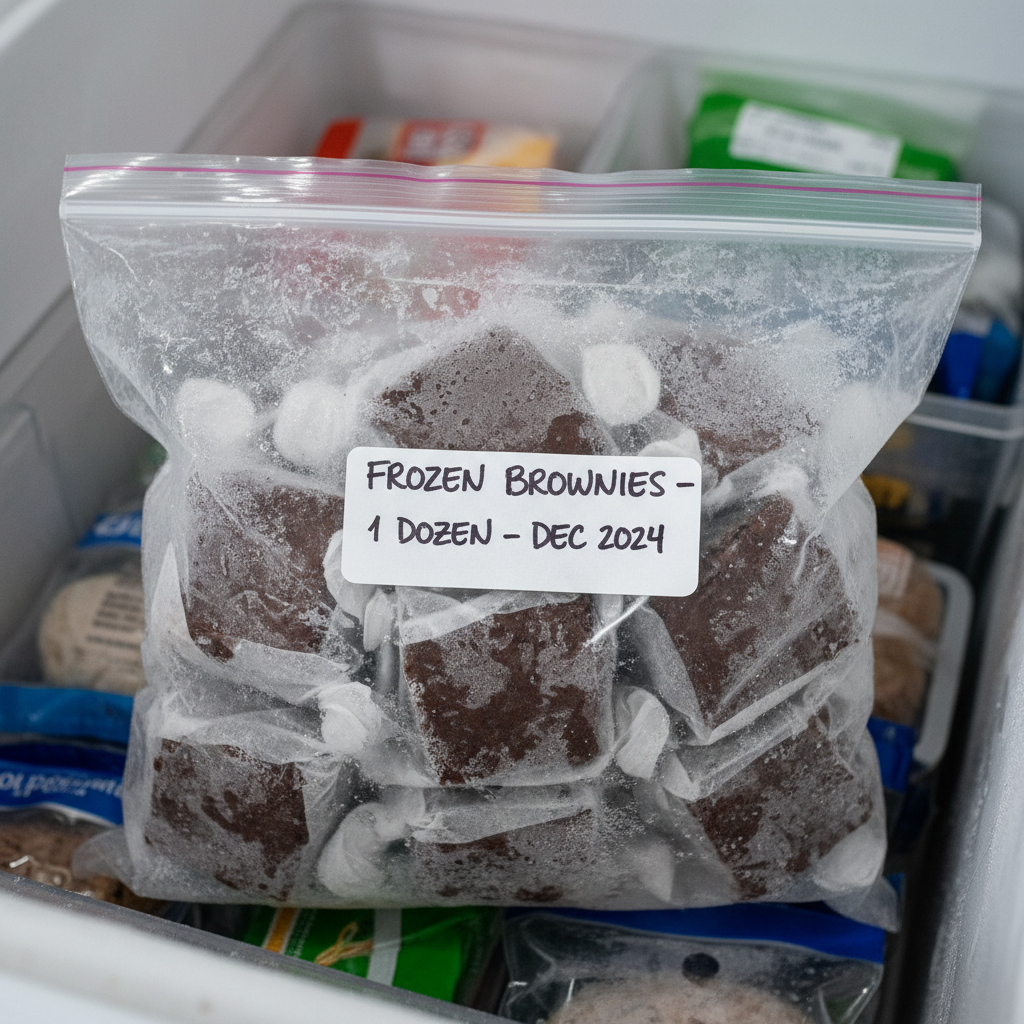
- Freezing Baked Brownies Fully baked and cooled brownies freeze beautifully!
- Wrap individual brownies tightly in plastic wrap.
- Place the wrapped brownies in a freezer-safe airtight container or heavy-duty freezer bag.
- Freeze for up to 3 months.
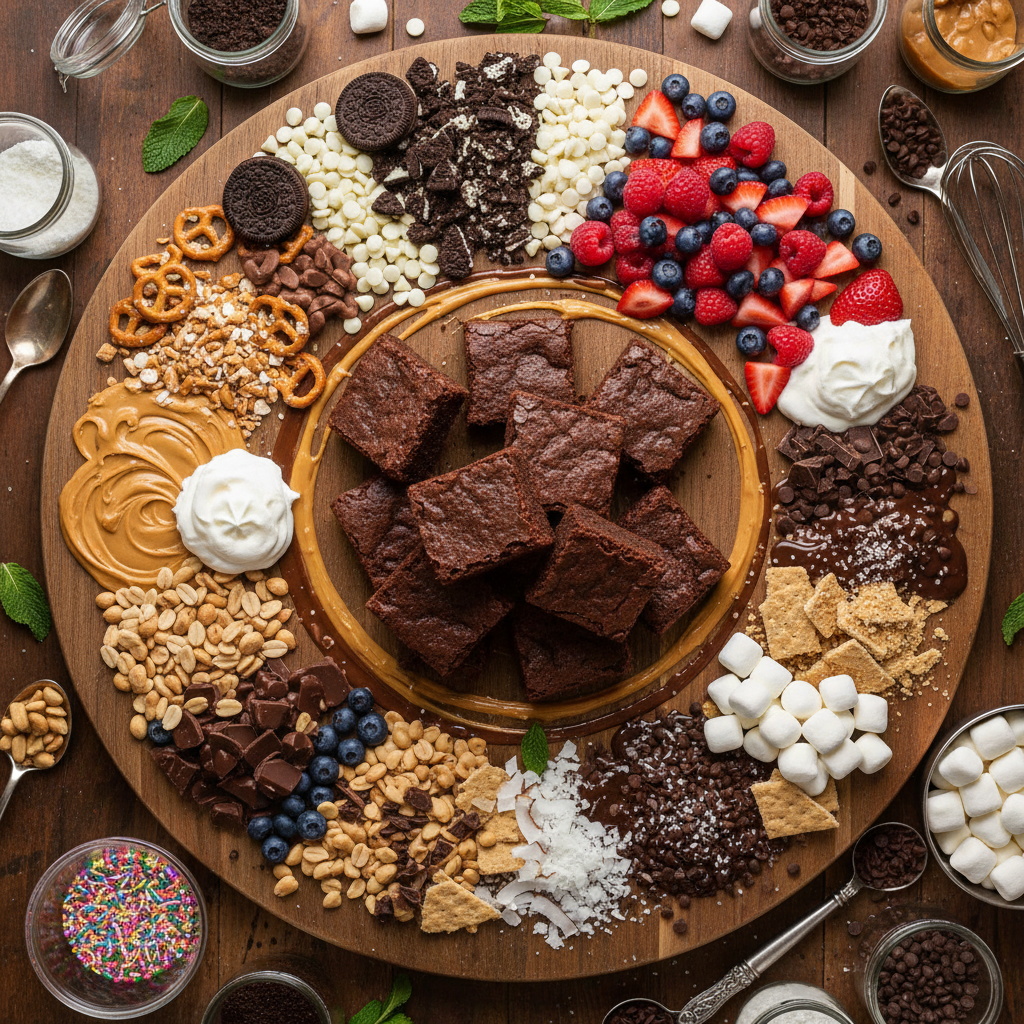
Serving Suggestions for Your Fudgy Treats
While these yogurt brownies are absolutely divine on their own, a few simple additions can turn them into an even more decadent dessert experience.
- A Scoop of Ice Cream Classic pairing! Vanilla bean, coffee, or even a mint chip ice cream would be fantastic.
- Warm Drizzle A warm drizzle of caramel sauce, chocolate ganache, or raspberry coulis elevates them instantly.
- Fresh Berries A handful of fresh raspberries or sliced strawberries adds a lovely tart contrast and a pop of color.
- Whipped Cream A dollop of freshly whipped cream lightens the richness beautifully.
- Powdered Sugar Dusting A simple dusting of powdered sugar adds an elegant touch and a subtle sweetness.