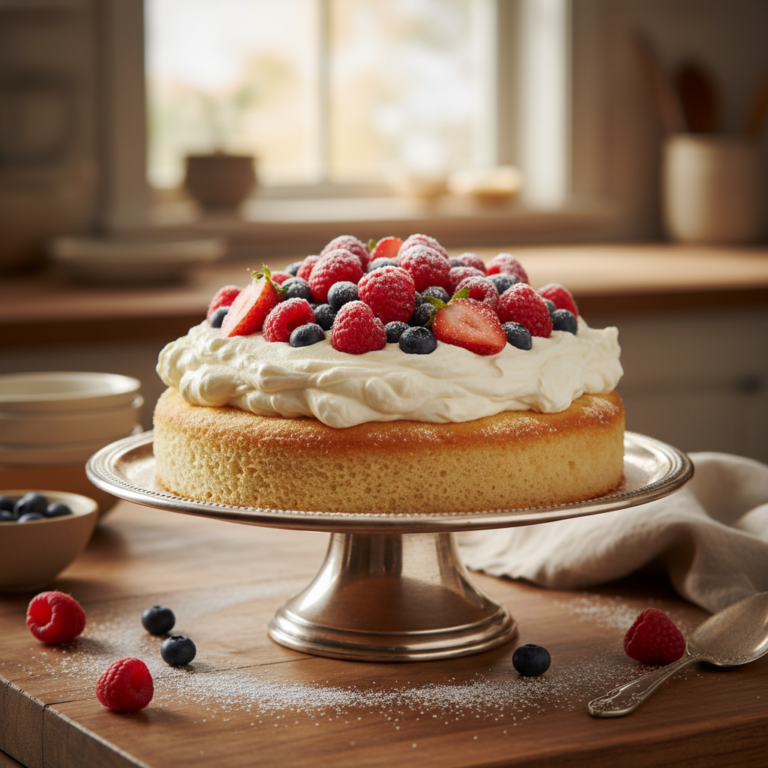
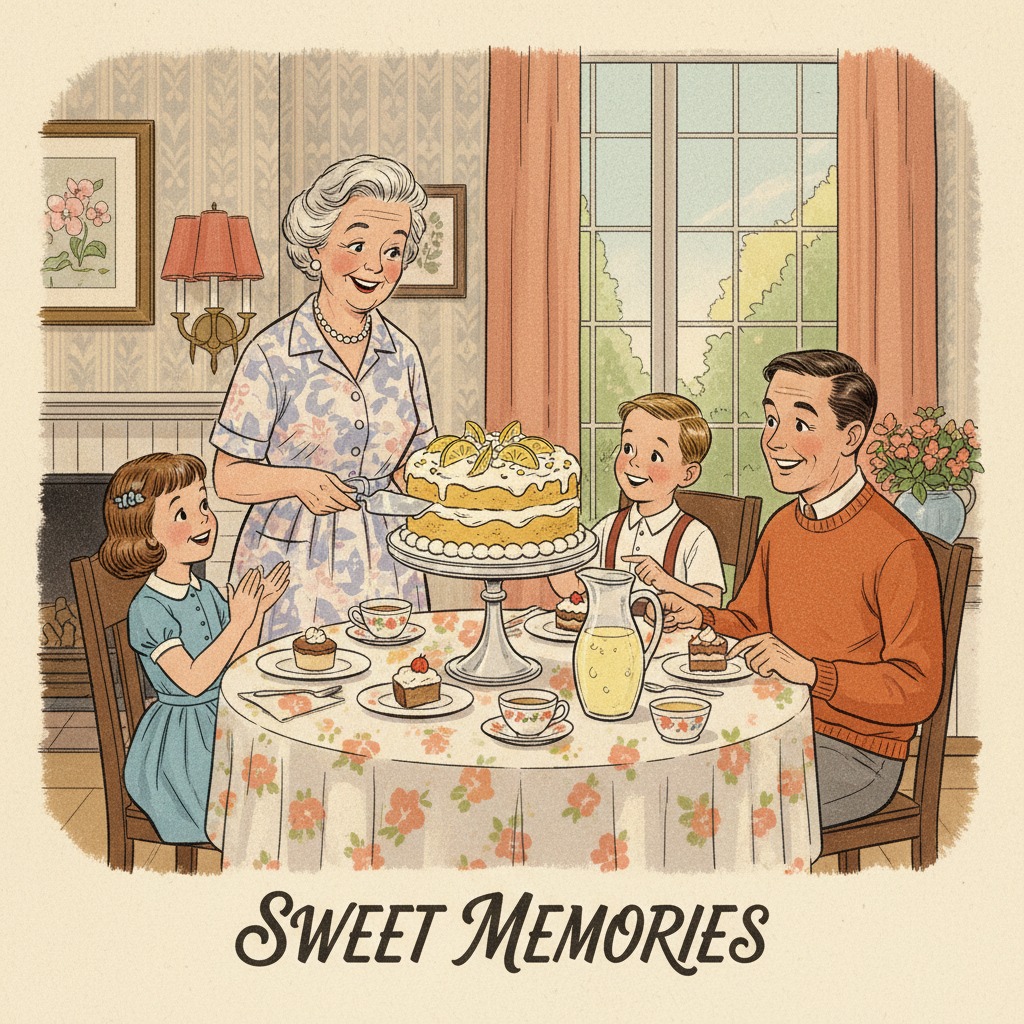
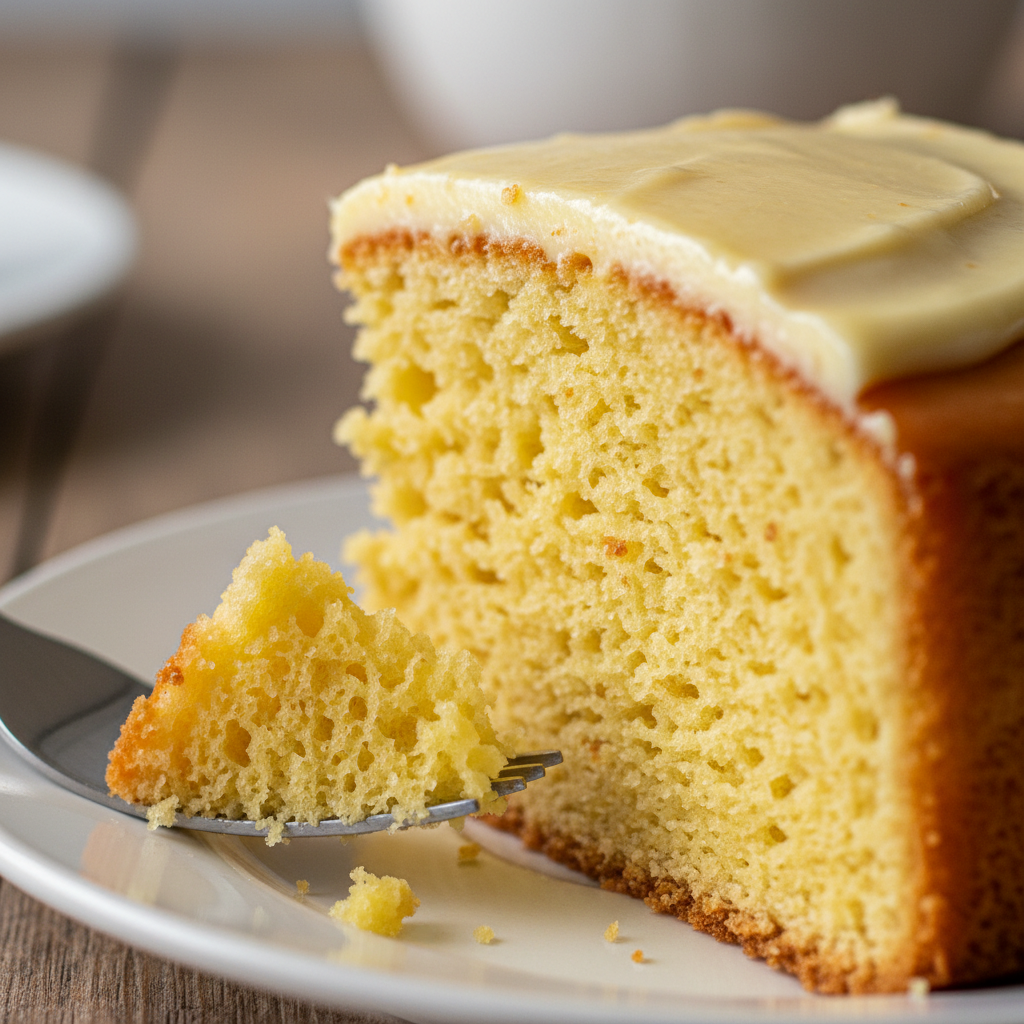
There’s something truly magical about a classic yellow cake. It’s more than just a dessert; it’s a taste of nostalgia, a staple at birthday parties, and the comforting centerpiece of countless celebrations. If you’ve been searching for that perfect, tender crumb, rich buttery flavor, and a cake that’s surprisingly simple to master, your quest ends here! This recipe is designed for bakers of all levels, promising a soft, buttery, and utterly delicious yellow cake every single time.
Forget dry, crumbly disappointments. We’re diving into a foolproof method that ensures a moist, fluffy texture that practically melts in your mouth. Get ready to impress your friends and family with this timeless classic.
History and Background
The yellow cake, as we know it today, has a rich and comforting history rooted deep in American baking traditions. Its characteristic golden hue comes from the generous use of egg yolks and butter, ingredients that were once considered luxuries. Early versions of ‘butter cakes’ or ‘pound cakes’ laid the groundwork, but it was in the late 19th and early 20th centuries that recipes for what we now call yellow cake truly began to standardize and gain widespread popularity.
With the advent of baking powder and soda, cakes became lighter and fluffier, moving away from the dense pound cake style. The yellow cake quickly became a symbol of home baking, often paired with chocolate frosting or a simple vanilla buttercream. It’s a testament to its enduring appeal that, even with countless modern dessert trends, the soft, buttery yellow cake remains a beloved classic, cherished across generations.
Why You’ll Love This Recipe
- Beginner-Friendly This recipe is straightforward, with clear instructions perfect for new bakers.
- Incredibly Moist Say goodbye to dry cakes! This one stays tender and delicious for days.
- Rich Buttery Flavor The generous amount of butter gives it that classic, irresistible taste.
- Versatile Perfect for birthdays, holidays, or just a sweet treat any day.
- Crowd-Pleaser Everyone loves a classic yellow cake, making it ideal for gatherings.
- Perfect Texture A wonderfully soft, fluffy, and delicate crumb that melts in your mouth.
Ingredient Notes

Each ingredient plays a crucial role in achieving the perfect yellow cake. Here’s what you need to know:
- All-Purpose Flour Use unbleached all-purpose flour for best results. Sifting isn’t strictly necessary if you measure correctly, but it helps create a lighter cake.
- Granulated Sugar Provides sweetness and helps with moisture and tenderness.
- Unsalted Butter Room temperature butter is key! It creams better with sugar, incorporating air for a light texture. Unsalted gives you control over the salt content.
- Large Eggs Also at room temperature. They add richness, structure, and that beautiful yellow color.
- Whole Milk Room temperature milk helps create a smooth batter and contributes to the cake’s moisture.
- Baking Powder & Baking Soda Leavening agents that give the cake its lift and airy texture. Ensure they are fresh!
- Vanilla Extract Use good quality pure vanilla extract for the best flavor.
- Salt Balances the sweetness and enhances all the other flavors.
Equipment Needed
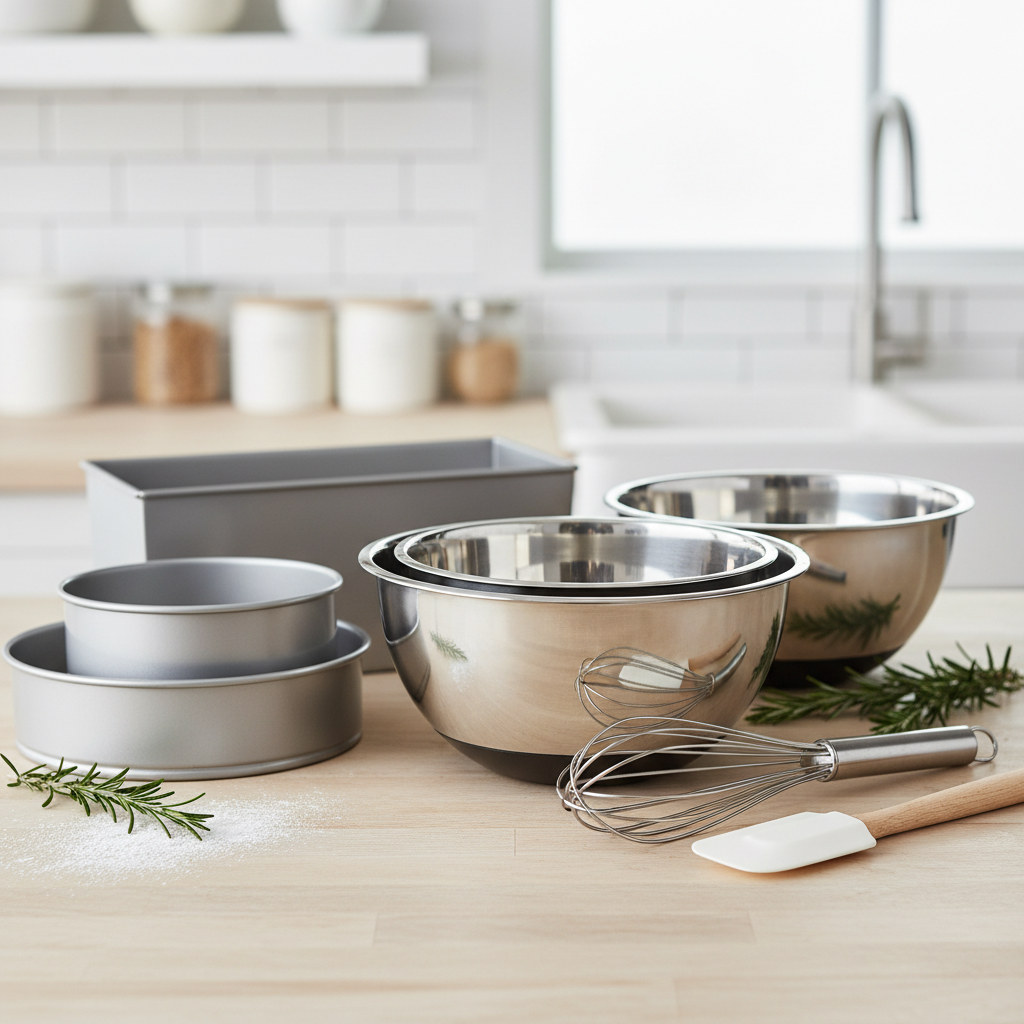
- Two 8-inch or 9-inch Round Cake Pans Light-colored pans are best for even baking.
- Electric Mixer (Stand mixer or hand mixer) Essential for creaming butter and sugar.
- Large Mixing Bowls For preparing the batter.
- Whisk For combining dry ingredients.
- Rubber Spatula For scraping bowls and folding ingredients.
- Measuring Cups and Spoons For accurate ingredient measurements.
- Parchment Paper For lining cake pans to prevent sticking.
Full Recipe Card
Ingredients
- 2 1/2 cups (300g) all-purpose flour
- 1 1/2 cups (300g) granulated sugar
- 1 cup (226g) unsalted butter, softened to room temperature
- 4 large eggs, room temperature
- 1 cup (240ml) whole milk, room temperature
- 2 1/2 teaspoons baking powder
- 1/2 teaspoon baking soda
- 1 teaspoon pure vanilla extract
- 1/2 teaspoon salt
Instructions
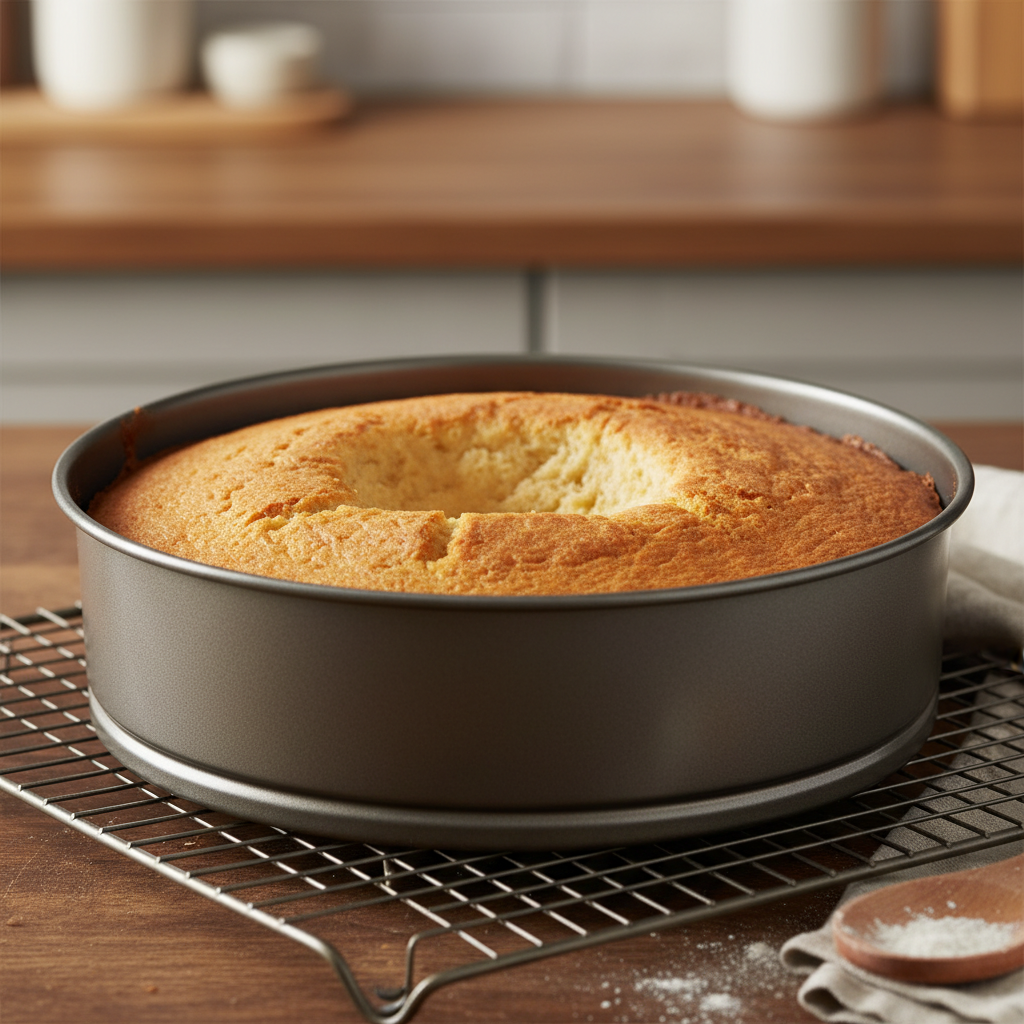
- Preheat Oven and Prep Pans Preheat your oven to 350°F (175°C). Grease and flour two 8-inch or 9-inch round cake pans. Line the bottoms with parchment paper.
- Combine Dry Ingredients In a medium bowl, whisk together the flour, baking powder, baking soda, and salt. Set aside.
- Cream Butter and Sugar In a large mixing bowl, using an electric mixer, cream the softened butter and granulated sugar together on medium-high speed until light and fluffy, about 3-5 minutes.
- Add Eggs and Vanilla Add the eggs one at a time, beating well after each addition until fully incorporated. Scrape down the sides of the bowl as needed. Beat in the vanilla extract.
- Alternate Dry and Wet Ingredients With the mixer on low speed, gradually add the dry ingredients to the wet ingredients in three additions, alternating with the milk in two additions. Begin and end with the dry ingredients. Mix until just combined; do not overmix.
- Fill Pans and Bake Divide the batter evenly between the prepared cake pans. Smooth the tops with a spatula.
- Bake Bake for 28-32 minutes, or until a wooden skewer inserted into the center comes out clean.
- Cool Let the cakes cool in their pans on a wire rack for 10-15 minutes before inverting them onto the rack to cool completely.
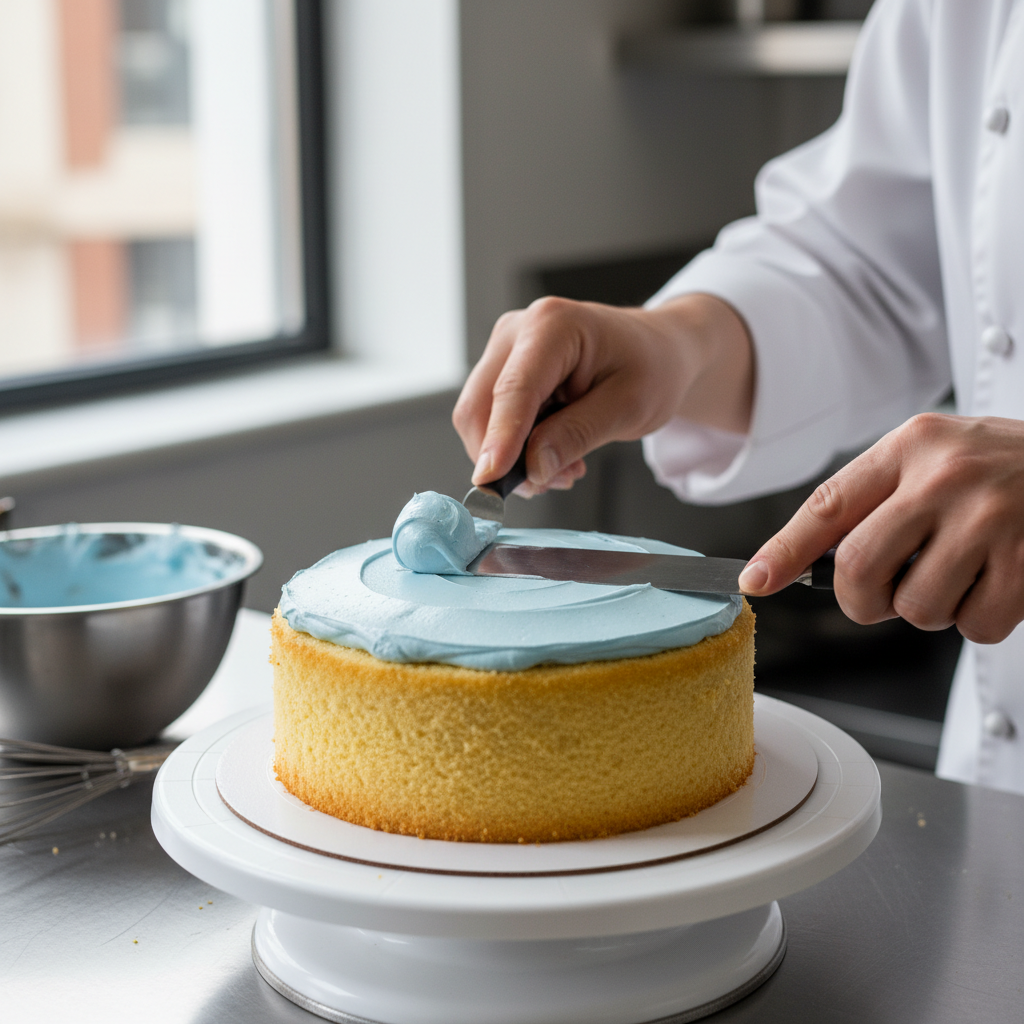
- Frost Once completely cool, frost with your favorite buttercream or chocolate frosting. Enjoy!
Notes
- Room Temperature is Key Ensure all cold ingredients (butter, eggs, milk) are at room temperature for a smooth, emulsified batter.
- Do Not Overmix Overmixing develops gluten, leading to a tough cake. Mix until just combined.
- Measure Flour Correctly Spoon flour into your measuring cup and level off with a straight edge for accuracy.
Tips and Variations
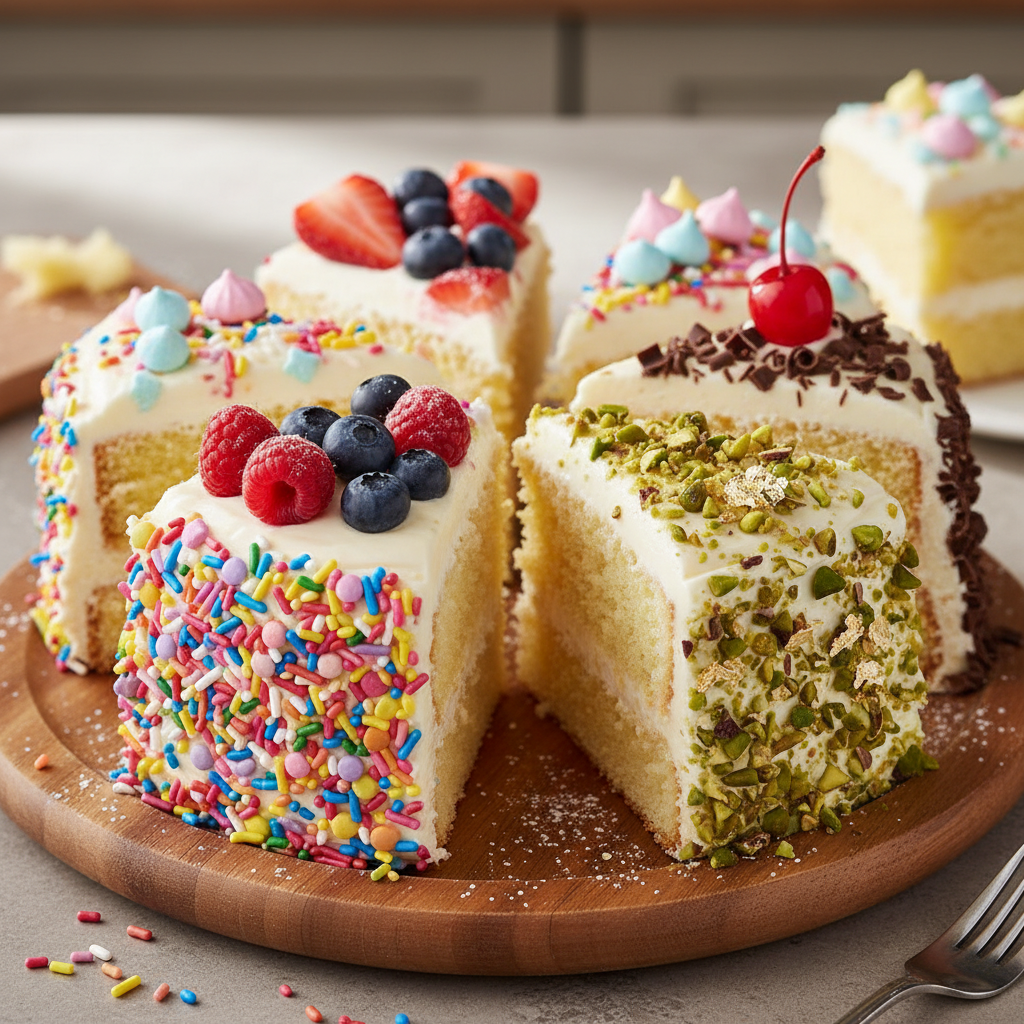
- Lemon Zest Add 1-2 teaspoons of lemon zest to the batter for a bright, citrusy note.
- Almond Extract Substitute half a teaspoon of vanilla with almond extract for a subtle nutty flavor.
- Cupcakes This recipe can easily be made into cupcakes. Bake for 18-22 minutes.
- Sheet Cake Bake in a 9×13 inch pan for about 30-35 minutes.
- Chocolate Chips Fold in 1 cup of mini chocolate chips for a fun twist.
Pro Chef Tips
- Weigh Your Ingredients For ultimate precision, especially with flour, use a kitchen scale. It ensures consistent results every time.
- Don’t Open the Oven Door Early Resist the urge to peek during the first 20 minutes of baking, as this can cause the cake to sink.
- Tap the Pans Gently tap the filled cake pans on the counter a few times to release any large air bubbles before baking.
- Level Your Cakes For perfectly flat layers, consider using cake strips around your pans or leveling cooled cakes with a serrated knife.
Common Mistakes to Avoid
- Cold Ingredients Using cold butter, eggs, or milk will result in a curdled batter and a denser cake.
- Overmixing the Batter This develops gluten, making your cake tough and chewy instead of tender.
- Incorrectly Measuring Flour Too much flour leads to a dry, dense cake. Spoon and level!
- Not Greasing and Flourishing Pans Properly Leads to sticking, making it difficult to remove the cakes.
- Baking at the Wrong Temperature An oven that’s too hot or too cold can drastically affect baking time and texture.
Storage and Meal Prep
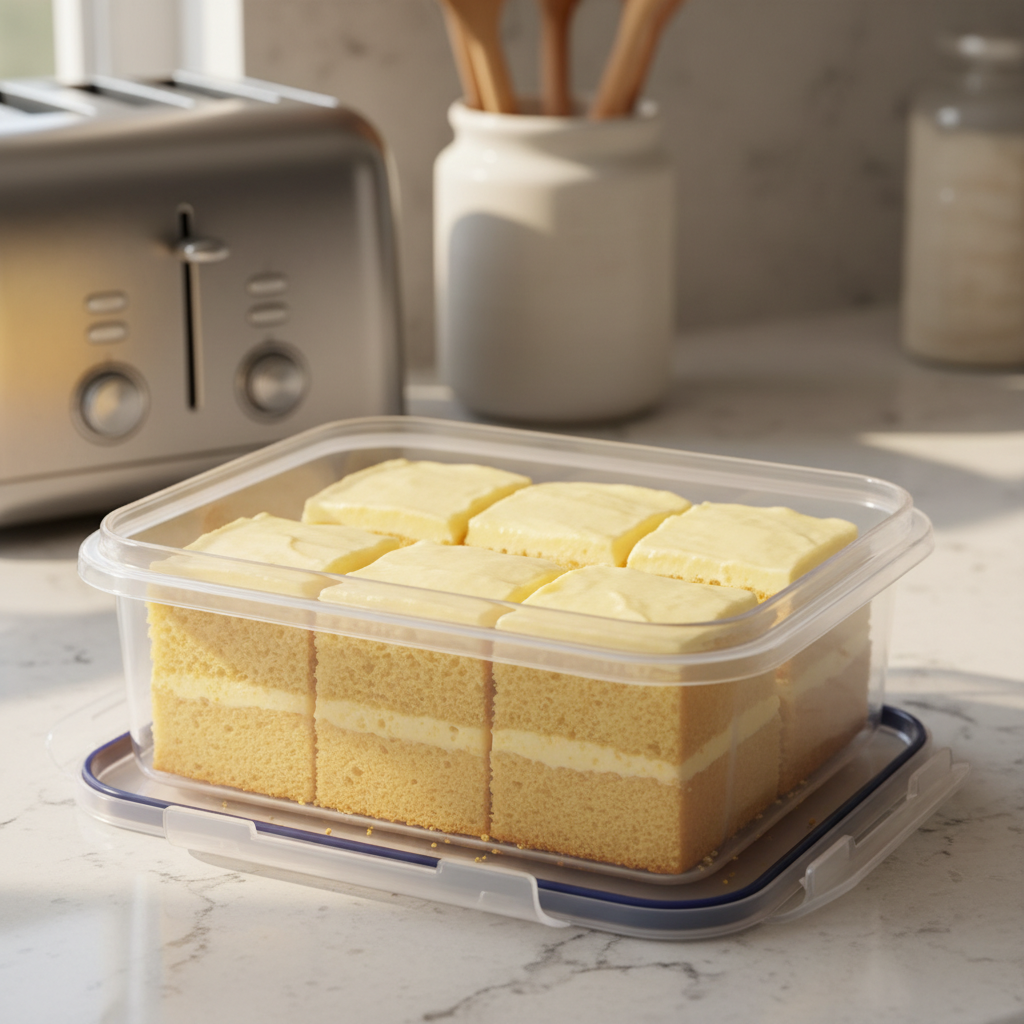
This yellow cake stores beautifully, making it excellent for meal prepping or enjoying over several days.
- Countertop Storage An unfrosted cake can be stored tightly wrapped in plastic wrap at room temperature for up to 2 days. Frosted cake, if using a butter-based frosting, can also be stored at room temperature in an airtight container for up to 3 days.
- Refrigeration If your frosting contains cream cheese or fresh fruit, refrigerate the cake in an airtight container for up to 5 days. Bring to room temperature before serving for best flavor.
Make-Ahead and Freezer Notes

- Make-Ahead Layers Bake the cake layers a day or two in advance. Once completely cooled, wrap each layer tightly in plastic wrap and store at room temperature.
- Freezing Unfrosted Layers Wrap individual cooled cake layers tightly in plastic wrap, then an additional layer of aluminum foil. Freeze for up to 2-3 months. Thaw overnight in the refrigerator before frosting.
- Freezing Frosted Cake For best results, freeze individual slices or a whole frosted cake (if sturdy) on a baking sheet until firm. Then, wrap tightly in plastic wrap and foil. Thaw in the refrigerator.
Serving Suggestions

A classic yellow cake is wonderful on its own, but here are some ideas to elevate your serving experience:
- Classic Buttercream Pair it with a simple vanilla or chocolate buttercream frosting.
- Fresh Berries A handful of fresh raspberries, strawberries, or blueberries adds a lovely tart contrast.
- Whipped Cream Serve slices with a dollop of freshly whipped cream.
- Ice Cream A scoop of vanilla bean ice cream alongside a warm slice is pure heaven.
- Fruit Compote Drizzle with a homemade berry or peach compote for extra flavor and moisture.