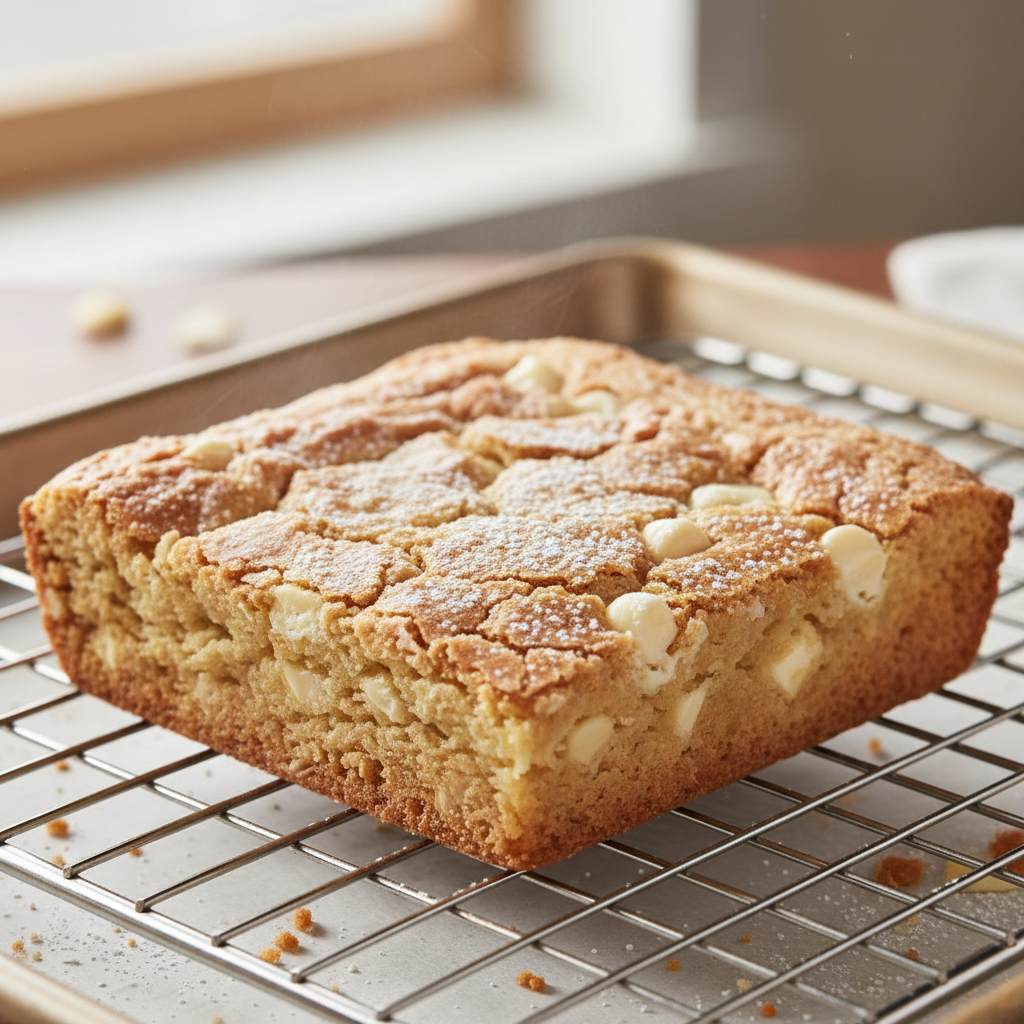
Hello, fellow dessert lovers! Are you ready to dive into a world of sweet, buttery, and utterly irresistible indulgence? Today, we’re taking a classic treat and giving it a delightful twist with our incredibly soft and fudgy white chocolate brownies. Forget everything you thought you knew about brownies – these blondie-like wonders are a game-changer, promising a melt-in-your-mouth experience that will have everyone asking for more. Whether you’re a seasoned baker or just starting your culinary journey, this recipe is designed to be simple, straightforward, and absolutely delicious. Get ready to bake some magic!
A Sweet History of Brownies
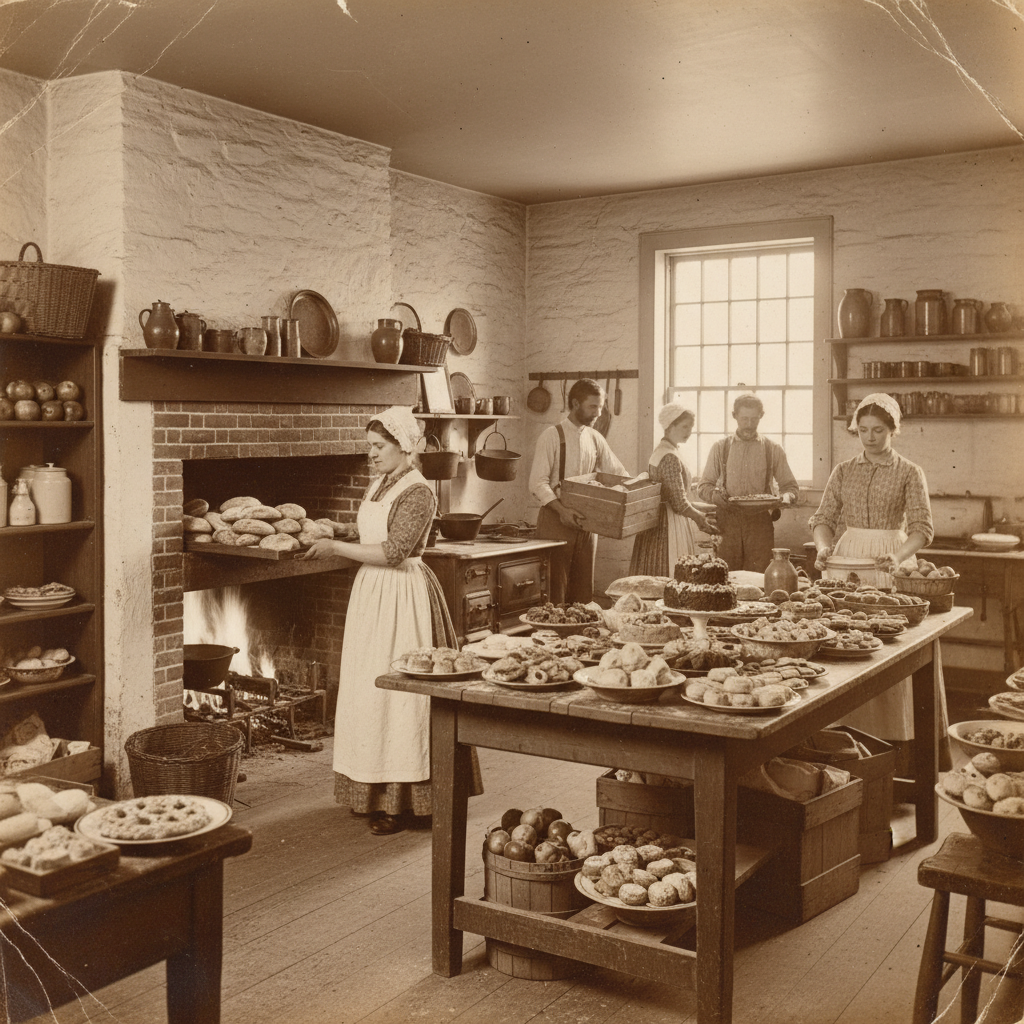
The story of the brownie is a charming tale rooted in American culinary history, often linked to the late 19th and early 20th centuries. While the exact origin is debated, one popular legend credits Bertha Palmer, a prominent Chicago socialite, for requesting a dessert suitable for ladies attending the 1893 World’s Columbian Exposition. She wanted a cake-like confection that was smaller than a piece of cake and easily eaten from a box. The pastry chef at the Palmer House Hotel supposedly created the first brownie, featuring a rich chocolate base with a delectable apricot glaze. Over the years, countless variations emerged, eventually leading to the beloved fudgy or cakey squares we know today. White chocolate, a relative newcomer to the chocolate family, made its appearance in the early 20th century. Its creamy, vanilla-infused profile perfectly complements the traditional brownie structure, giving birth to these delightful white chocolate versions, often called “blondies” when they lack cocoa powder but retain the chewy, dense texture.
Why You’ll Love This Recipe
This white chocolate brownie recipe isn’t just another dessert; it’s an experience waiting to happen! Here’s why you’ll absolutely adore making and devouring these treats:
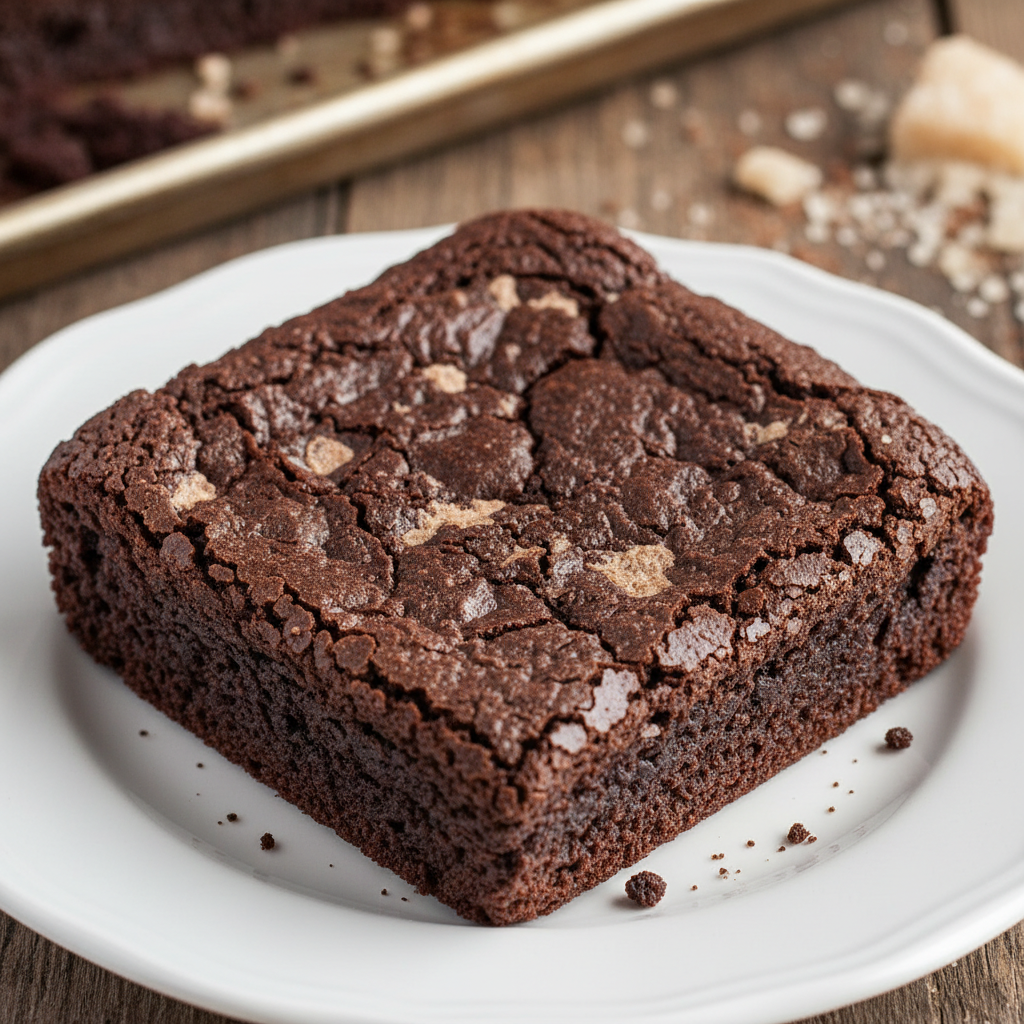
- Incredibly Fudgy Texture You won’t find any dry, crumbly brownies here! Our recipe guarantees a perfectly dense, moist, and fudgy interior that melts in your mouth.
- Simple Ingredients We use common pantry staples, making this recipe accessible for everyone. No fancy, hard-to-find items needed.
- Beginner-Friendly Clear, step-by-step instructions ensure even novice bakers can achieve spectacular results.
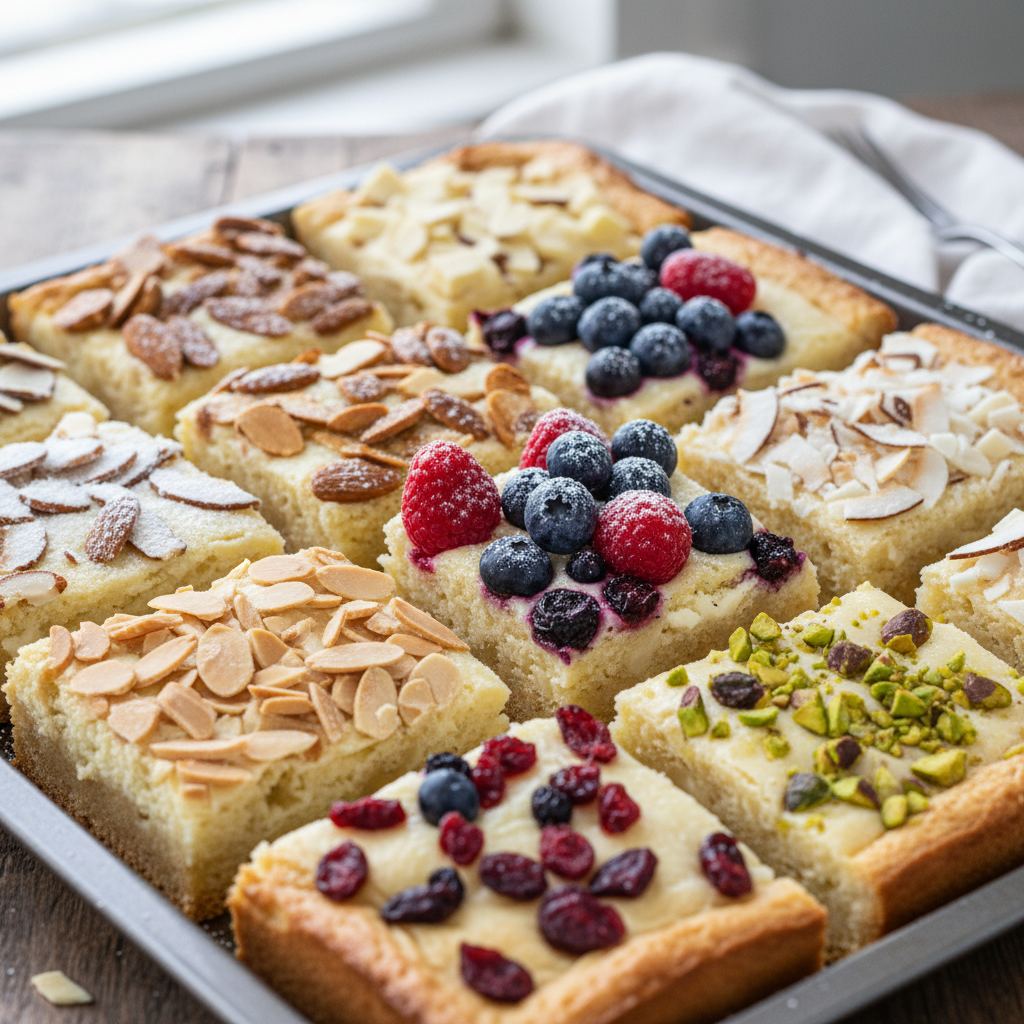
- Versatile for Customization Easily adapt this recipe with your favorite mix-ins, from nuts to dried fruits, making it uniquely yours.
- Crowd-Pleasing Flavor The rich, creamy sweetness of white chocolate shines through, creating a sophisticated yet comforting flavor profile that everyone will love.
- Quick to Prepare With minimal prep time, you can have these brownies baking in your oven in no time, perfect for last-minute cravings or entertaining.
Ingredient Notes for Perfection
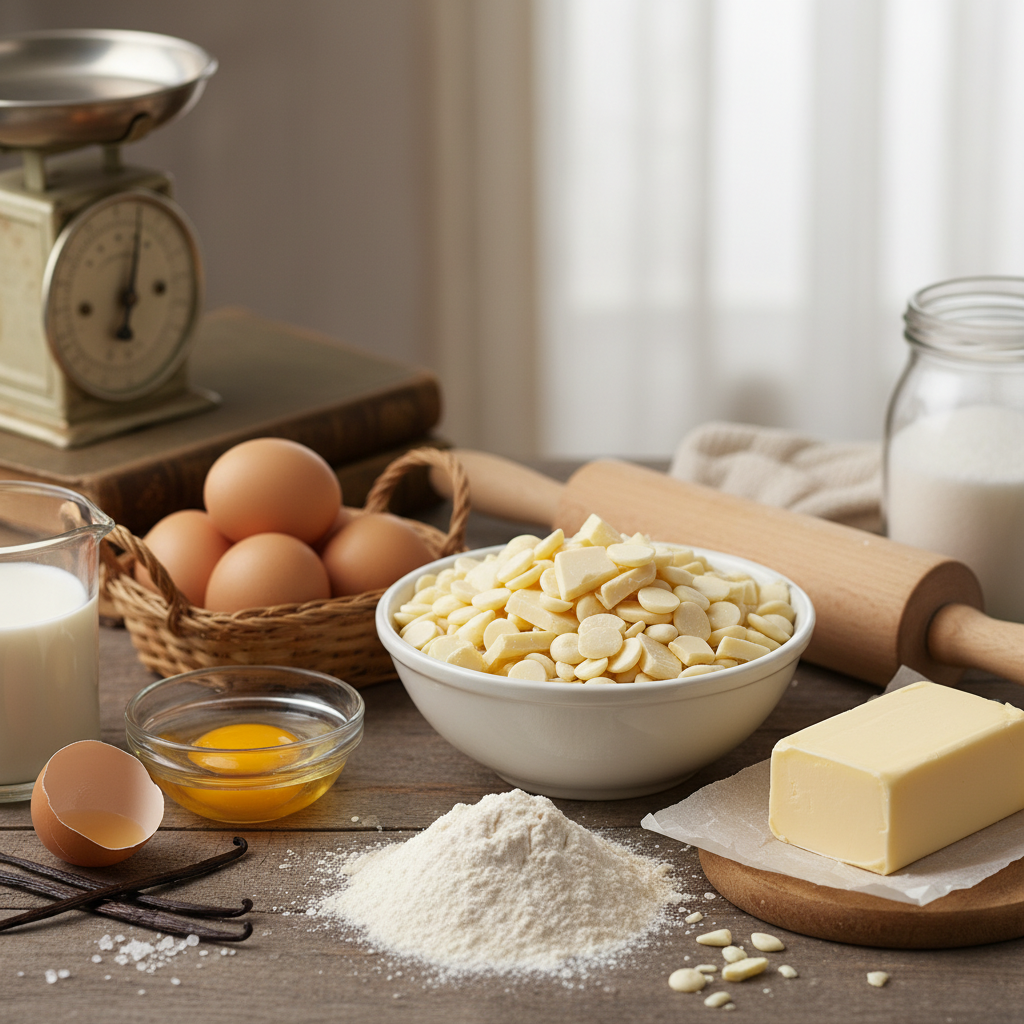
Every great recipe starts with great ingredients. Here’s a little insight into what you’re using and why it matters:
- White Chocolate Use good quality white chocolate chips or a chopped bar. It makes a huge difference in flavor and melt. Compound white chocolate (often labeled “white baking chips”) works, but pure white chocolate will give you a superior taste.
- Unsalted Butter We use unsalted butter to control the overall saltiness. If you only have salted butter, reduce the added salt in the recipe by half.
- Granulated Sugar Provides sweetness and helps create that signature chewy texture.
- Eggs Act as a binder and contribute to the fudgy texture. Ensure they are at room temperature for better emulsification with the butter and sugar.
- All-Purpose Flour Don’t overmix the flour, as this can lead to tough brownies. Just mix until combined.
- Vanilla Extract A must for enhancing the sweet, creamy notes of the white chocolate. Use pure vanilla extract for the best flavor.
- Salt A pinch of salt balances the sweetness and brings out the flavors of all the other ingredients.
Essential Equipment Needed
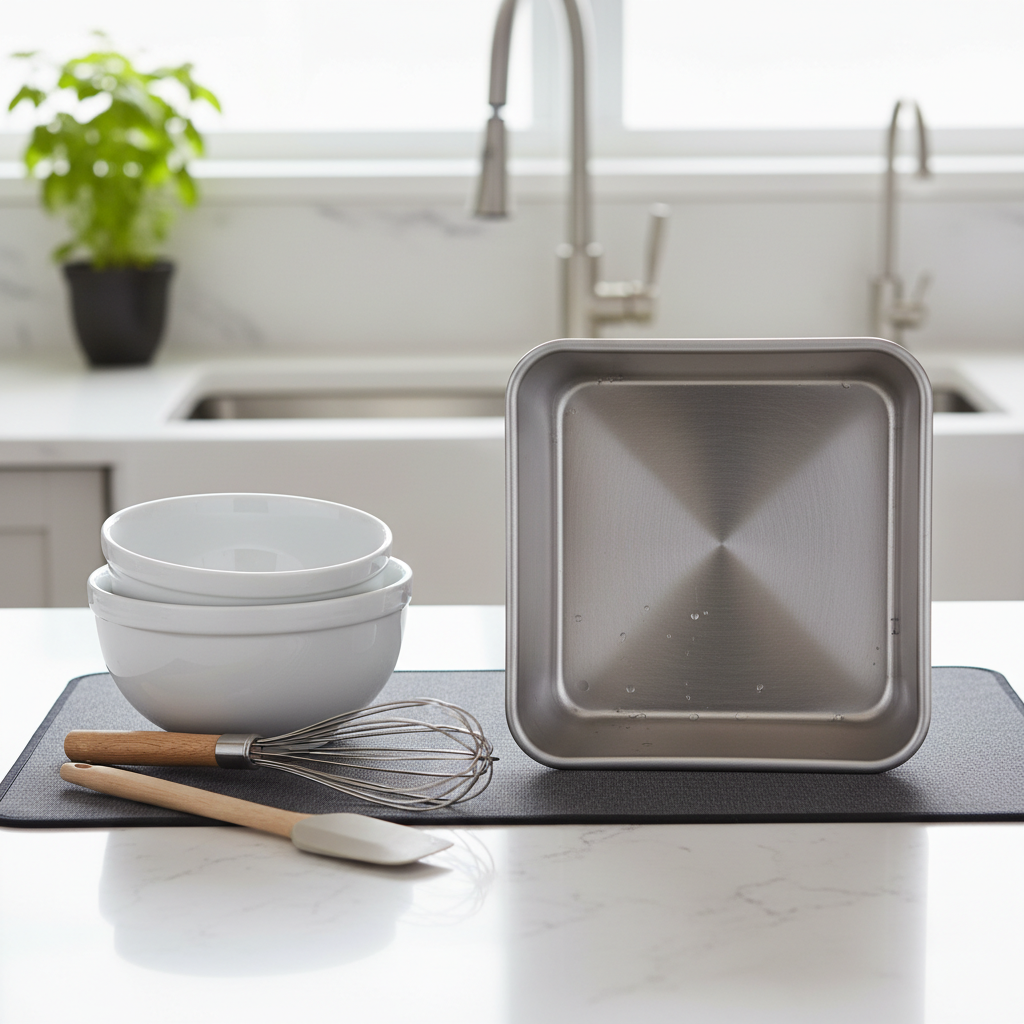
Gathering your tools before you start makes the baking process smooth and enjoyable. Here’s what you’ll need:
- 8×8 inch square baking pan A light-colored metal pan is best for even baking.
- Parchment paper To line the pan, making removal and clean-up a breeze.
- Large mixing bowls You’ll need at least two – one for dry ingredients and one for wet.
- Whisk For combining dry ingredients and light mixing.
- Rubber spatula Essential for folding in ingredients and scraping down bowls.
- Measuring cups and spoons Accuracy is key in baking!
- Small saucepan or microwave-safe bowl For melting butter and white chocolate.
Full Recipe Card White Chocolate Brownies
Ingredients
- 1 cup (2 sticks) unsalted butter, melted
- 1 1/2 cups granulated sugar
- 3 large eggs, room temperature
- 2 teaspoons pure vanilla extract
- 10 ounces good quality white chocolate chips or chopped white chocolate bar, divided
- 1 1/2 cups all-purpose flour
- 1/2 teaspoon salt
Instructions
- Preheat Oven and Prep Pan Preheat your oven to 350°F (175°C). Line an 8×8 inch square baking pan with parchment paper, leaving an overhang on two sides to easily lift the brownies out later. Lightly grease the exposed sides of the pan.
- Melt Butter and White Chocolate In a microwave-safe bowl or small saucepan, melt the butter. Add 8 ounces (about 1 1/3 cups) of the white chocolate chips to the melted butter. Stir until the white chocolate is completely melted and smooth. If needed, return to the microwave in 15-second intervals, stirring after each, until smooth. Let cool slightly.
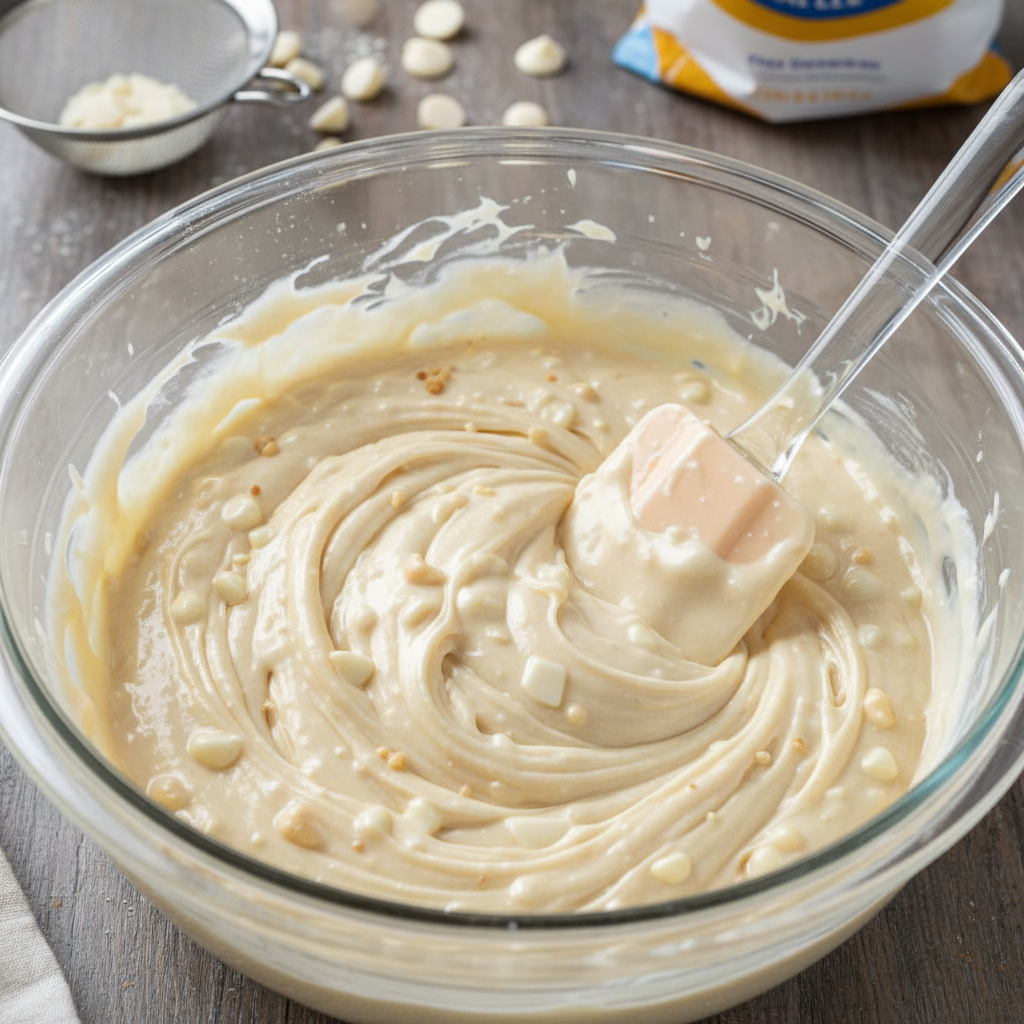
- Combine Wet Ingredients In a large mixing bowl, whisk together the slightly cooled melted butter and white chocolate mixture with the granulated sugar until well combined.
- Add Eggs and Vanilla Add the eggs one at a time, whisking well after each addition until fully incorporated. Stir in the vanilla extract.
- Combine Dry Ingredients In a separate medium bowl, whisk together the all-purpose flour and salt.
- Combine Wet and Dry Gradually add the dry ingredients to the wet ingredients, mixing with a rubber spatula until just combined. Be careful not to overmix.
- Fold in Remaining White Chocolate Gently fold in the remaining 2 ounces (about 1/3 cup) of white chocolate chips.
- Bake Pour the batter into the prepared baking pan and spread evenly.
- Bake Until Set Bake for 25-30 minutes, or until the edges are lightly golden and a toothpick inserted into the center comes out with moist crumbs, not wet batter. The center might still look a little soft – that’s perfect for fudgy brownies!
- Cool Completely Remove from the oven and let cool completely in the pan on a wire rack before lifting out and cutting into squares. Cooling is crucial for the fudgy texture to set properly.
Recipe Notes
- Don’t Overbake This is the golden rule for fudgy brownies. Overbaking leads to dry, cakey brownies. Keep an eye on them!
- Room Temperature Eggs Using room temperature eggs helps them incorporate better into the batter, leading to a smoother, more uniform texture.
- Quality White Chocolate The better the white chocolate, the better your brownies will taste.
- Cooling Time Resist the urge to cut warm brownies! They need to cool completely to set and achieve that perfect fudgy consistency.
Tips and Variations for Your Brownies
While these brownies are fantastic on their own, a little creativity can elevate them even further!
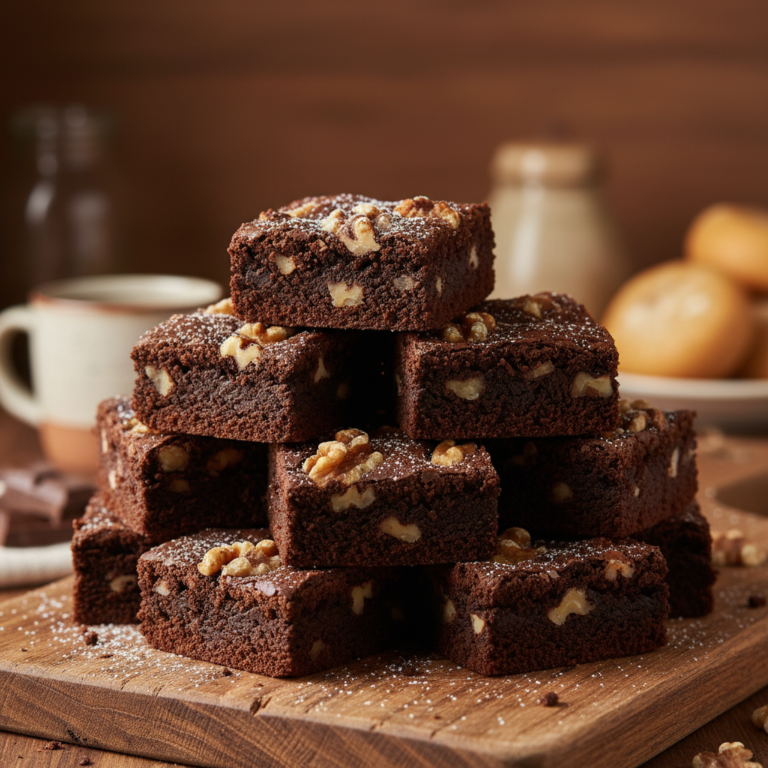
- Nutty Goodness Fold in 1/2 cup of chopped pecans, walnuts, or macadamia nuts for a delightful crunch.
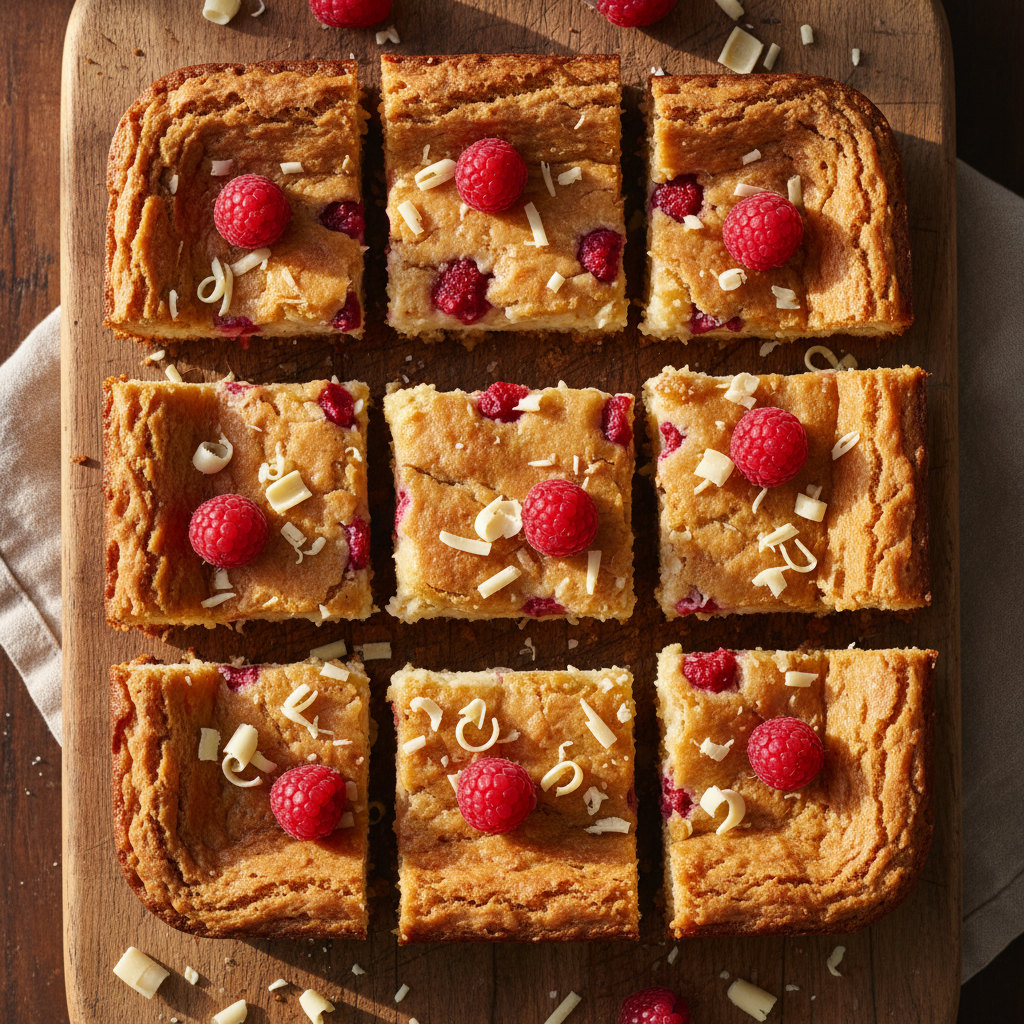
- Berry Bliss Swirl in fresh raspberries or chopped dried cranberries for a tart counterpoint to the sweetness.
- Double Chocolate Add 1/2 cup of semi-sweet or dark chocolate chips along with the white chocolate for a rich, layered flavor.
- Citrus Zest A teaspoon of lemon or orange zest can add a bright, fragrant note.
- Toffee Bits Stir in some toffee bits for an extra layer of caramel-like flavor and chewiness.
- Cream Cheese Swirl For an extra decadent treat, swirl in a cream cheese mixture (softened cream cheese, sugar, and an egg yolk) before baking.
Pro Chef Tips for Perfect Brownies
Want to bake like a pro? These tips will help you achieve bakery-quality white chocolate brownies every time:
- Emulsification is Key When you whisk the sugar into the melted butter and chocolate, continue whisking for a minute or two until the mixture lightens slightly in color and becomes thick. This creates a stable emulsion that traps air, contributing to the fudgy texture.
- The “Toothpick Test” for Brownies Instead of coming out completely clean, a toothpick inserted into the center of fudgy brownies should come out with moist crumbs attached, not wet batter. If it comes out clean, they’re likely overbaked.
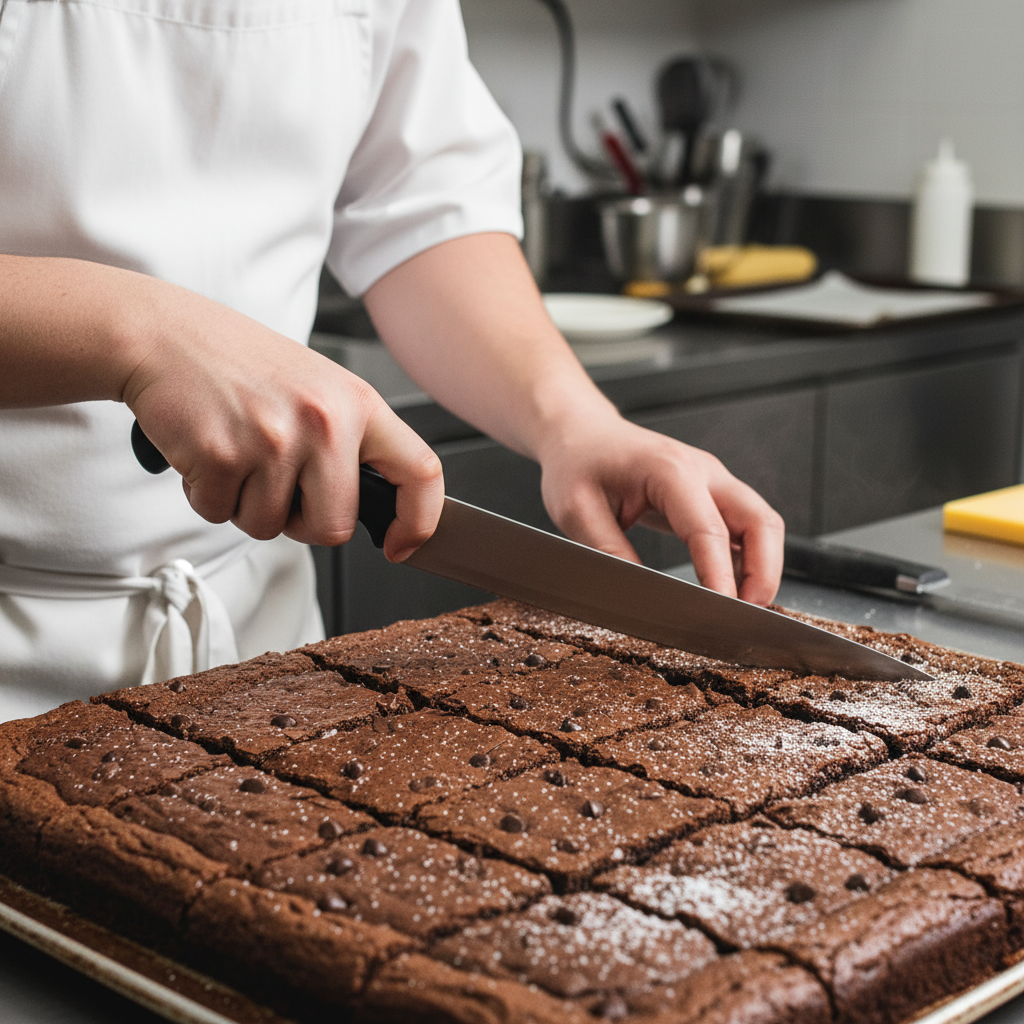
- Chill Before Cutting For super clean cuts, place your completely cooled brownies in the refrigerator for at least 30 minutes (or even an hour) before slicing. A sharp, warm knife (run under hot water and wiped dry) also helps.
- Don’t Substitute Flour Types Stick to all-purpose flour for this recipe. Using cake flour or bread flour will significantly alter the texture.
Common Mistakes to Avoid
Even the best bakers make mistakes sometimes! Here are a few common pitfalls to steer clear of:
- Overmixing the Batter Once you add the flour, mix only until just combined. Overmixing develops the gluten in the flour, leading to tough, chewy, rather than fudgy, brownies.
- Overbaking This is the number one culprit for dry, cakey brownies. Start checking your brownies at the lower end of the baking time.
- Cutting While Warm As tempting as it is, cutting warm brownies often results in messy, crumbly squares. Patience is a virtue here!
- Using Low-Quality White Chocolate The flavor of your brownies largely depends on the quality of your main ingredient. Invest in good white chocolate.
- Forgetting to Line the Pan Parchment paper is your best friend for easy removal and cleanup. Don’t skip it!
Storage and Meal Prep
Once you’ve baked a batch of these glorious white chocolate brownies, you’ll want to make sure they stay fresh and delicious.
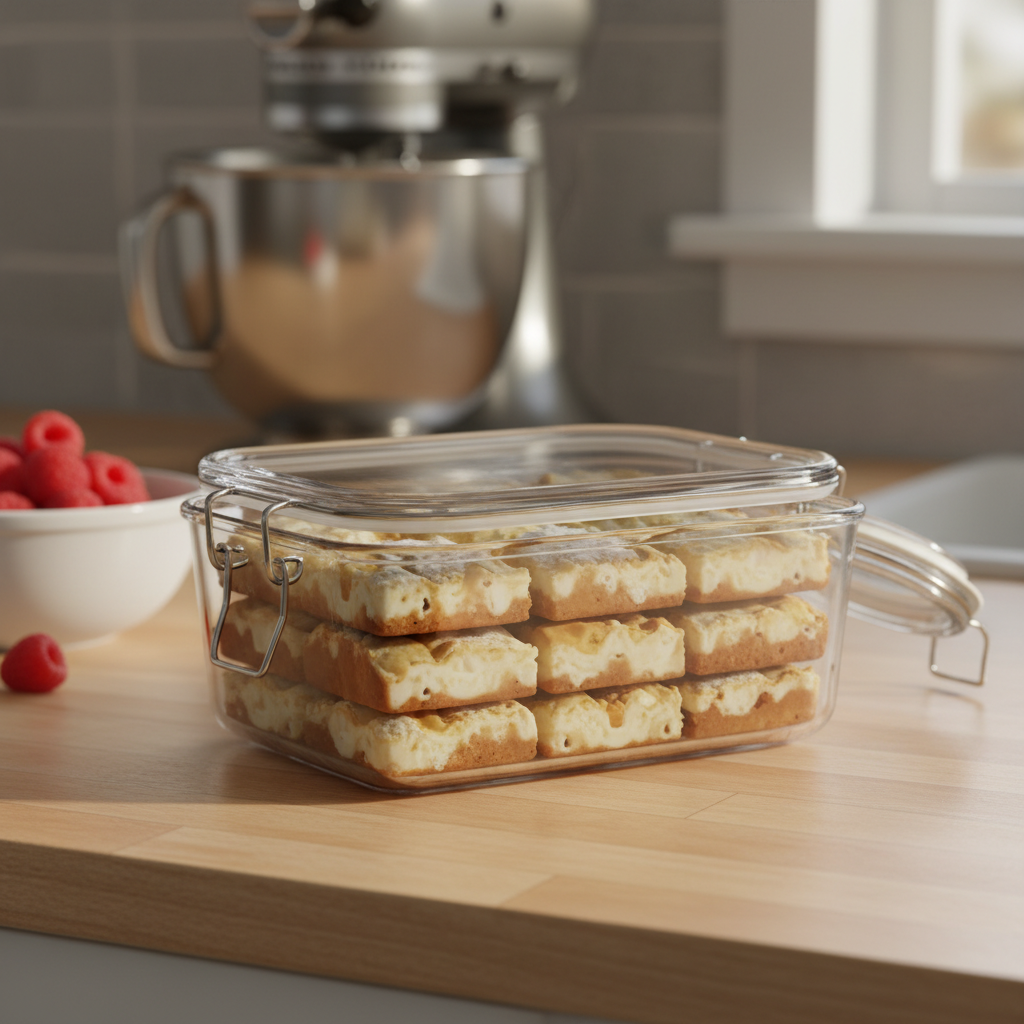
- Room Temperature Store cooled brownies in an airtight container at room temperature for up to 3-4 days. Placing a piece of parchment paper between layers can prevent sticking if stacking.
- Refrigeration While not strictly necessary, refrigerating them can extend their freshness slightly, up to a week. Bring them back to room temperature or warm slightly before serving for the best texture.
Make-Ahead and Freezer Notes
These brownies are excellent candidates for making ahead, perfect for parties or just having a treat ready when a craving strikes!
- Make-Ahead You can bake these brownies a day or two in advance. Store them at room temperature in an airtight container, and they’ll be just as delicious (some say even better!) the next day as the flavors meld.
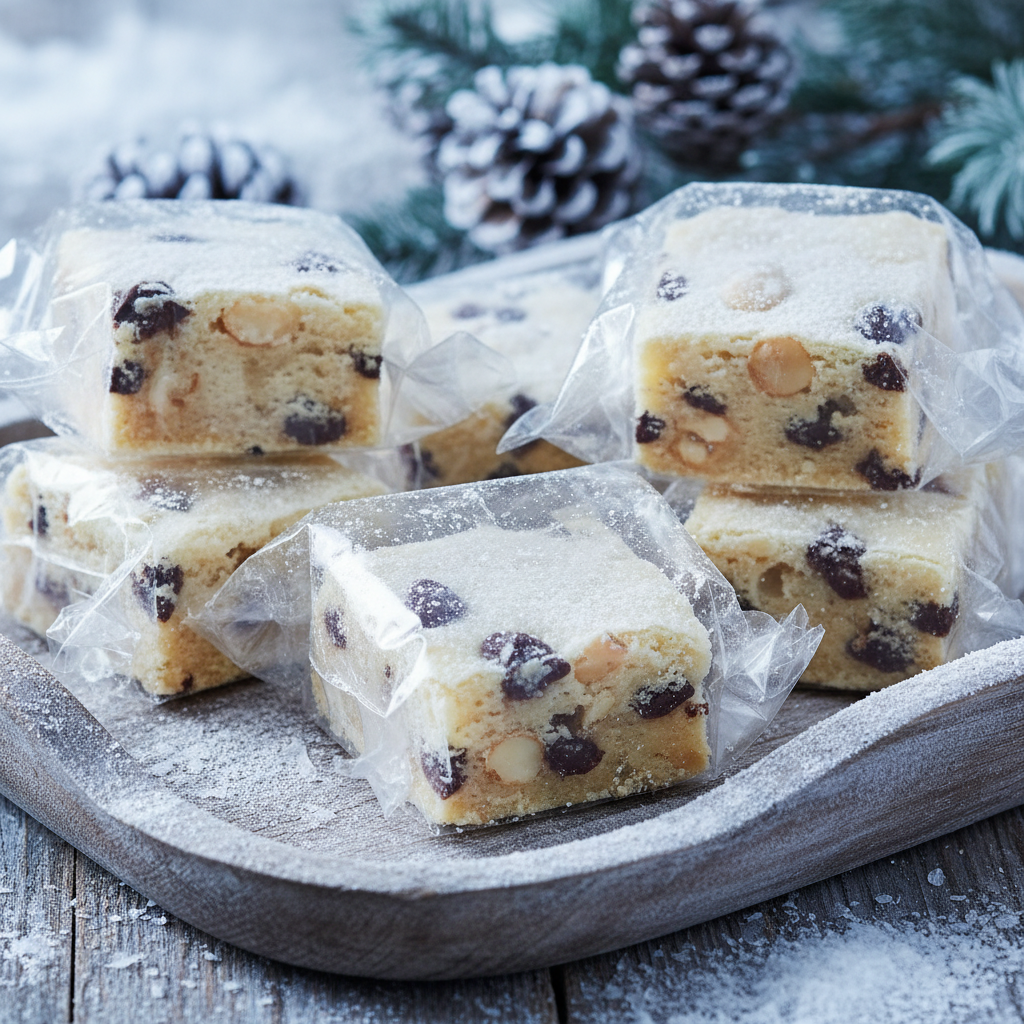
- Freezing Baked Brownies Fully baked and cooled brownies can be frozen for up to 2-3 months.
- Cut the brownies into individual squares.
- Wrap each square tightly in plastic wrap, then again in aluminum foil.
- Place the wrapped brownies in a freezer-safe bag or airtight container.
- To thaw, simply unwrap and let them come to room temperature on the counter for a few hours, or warm gently in the microwave for a quick treat.
Serving Suggestions for Delight
These white chocolate brownies are a star on their own, but here are some ideas to make them an even more spectacular dessert experience:
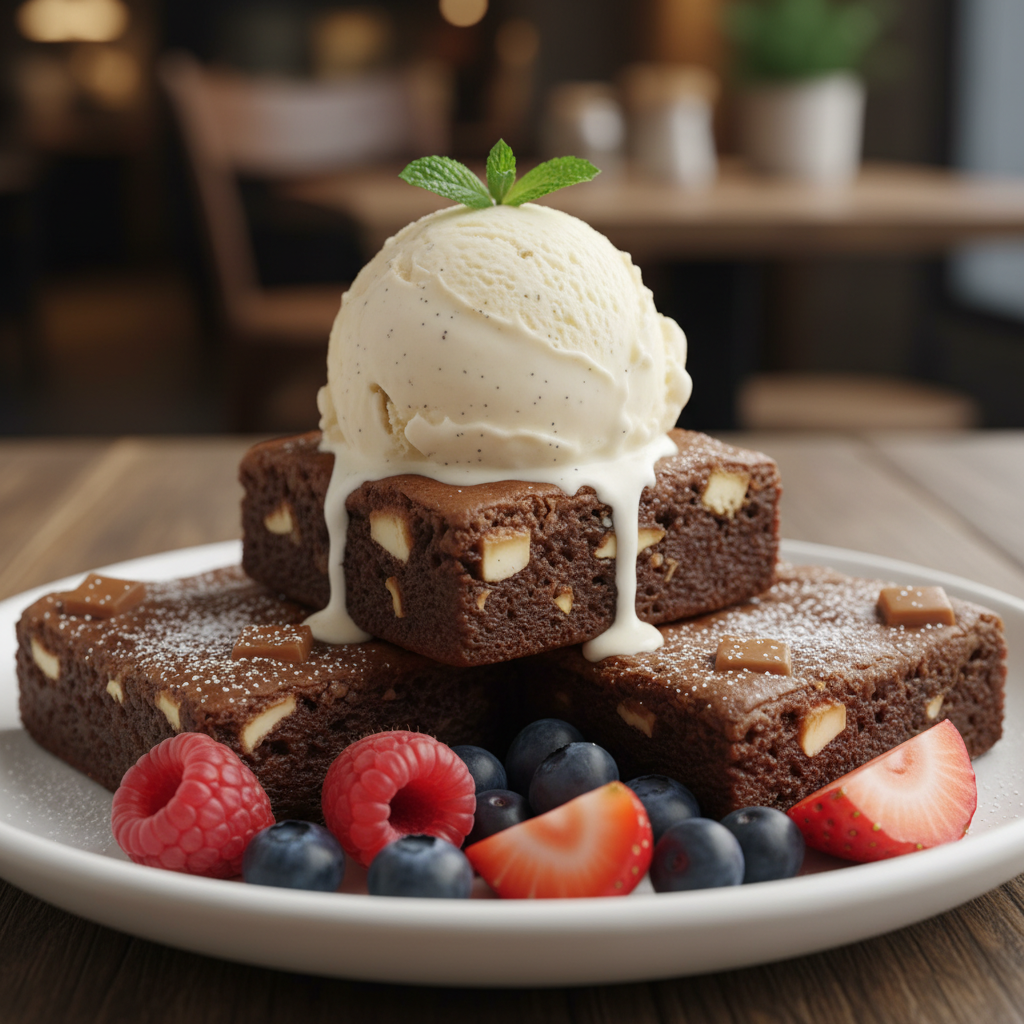
- A la Mode Serve warm brownies with a scoop of vanilla bean ice cream or a dollop of whipped cream.
- Fruity Pairing A side of fresh berries (strawberries, raspberries, blueberries) adds a lovely freshness and color contrast.
- Coffee or Tea Companion They pair wonderfully with a hot cup of coffee, a latte, or your favorite tea for a delightful afternoon treat.
- Drizzle Fun A drizzle of raspberry sauce, caramel sauce, or even melted dark chocolate can add an extra layer of flavor and visual appeal.