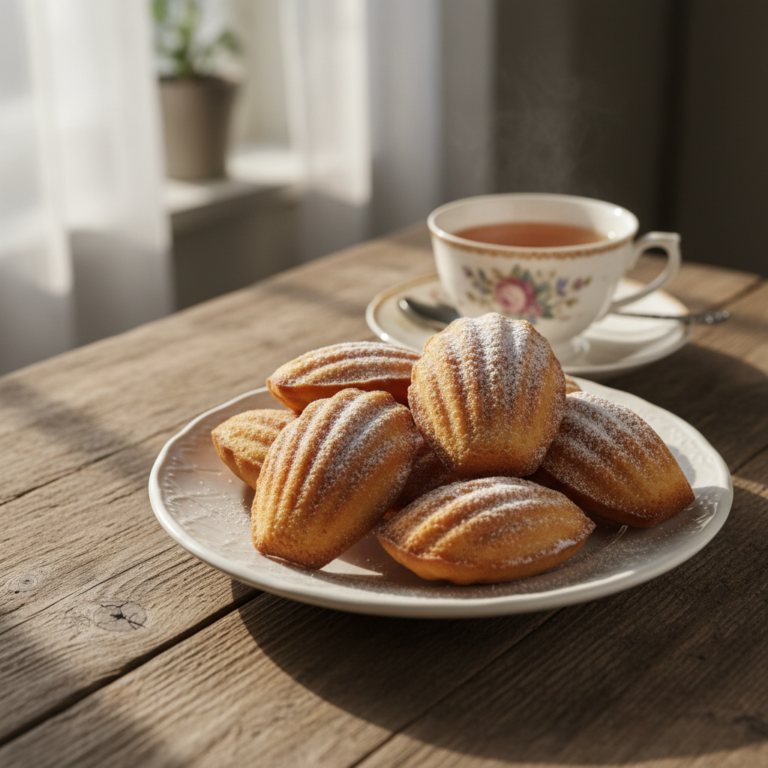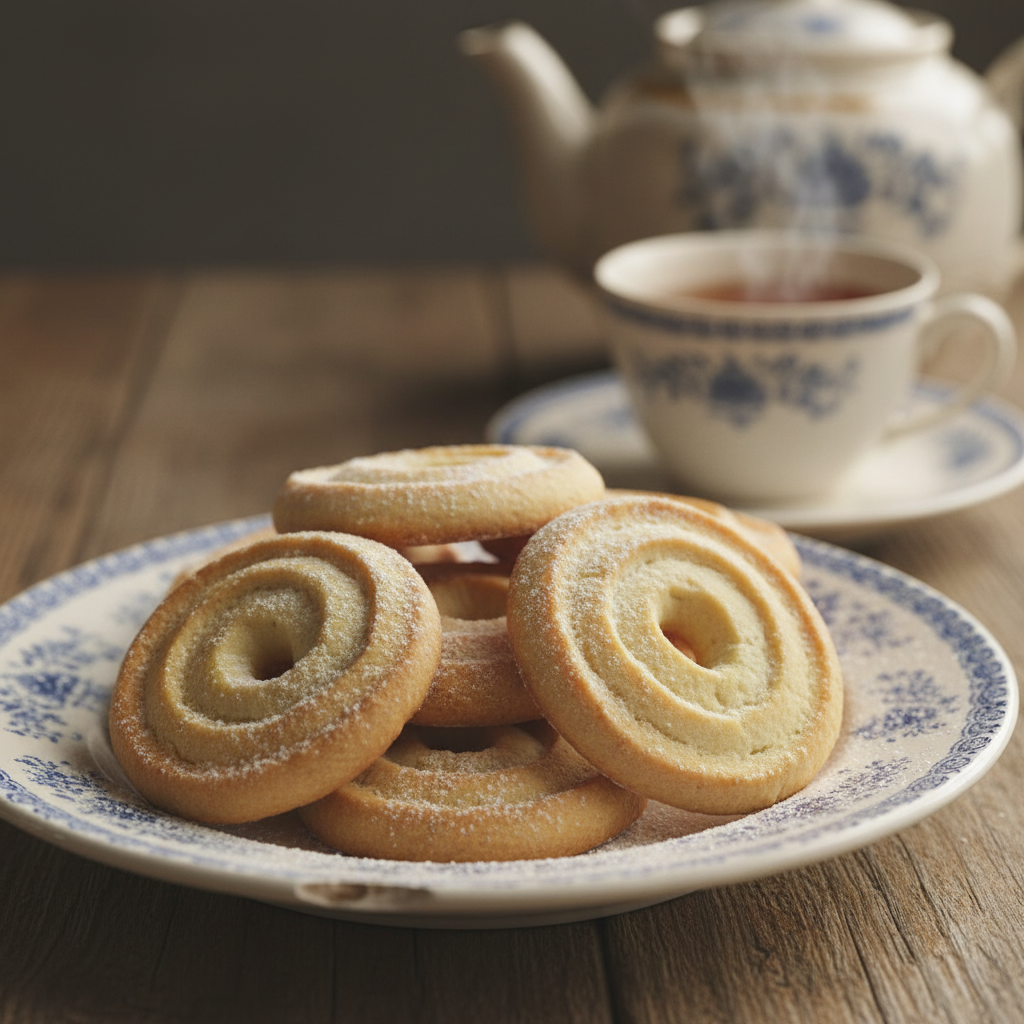
Imagine a cookie so delicate, so buttery, it practically melts in your mouth the moment it touches your tongue. That, my friends, is the magic of Viennese Whirls! These classic biscuits, often found gracing tea trays and dessert tables, might look fancy, but I promise you, they are surprisingly simple to make at home. Forget store-bought; nothing beats the fresh, tender crumb of a homemade whirl.
If you’ve ever been intimidated by the idea of piping cookies or thought elegant treats were beyond your reach, this recipe is here to change your mind. We’re going to walk through every step together, ensuring you achieve perfect, soft, and utterly delicious Viennese Whirls that will impress everyone (especially yourself!). Get ready to fill your kitchen with the irresistible aroma of freshly baked butter cookies.
History and Background

Viennese Whirls, despite their name, are widely considered a classic British biscuit, though their origins are rooted in the rich pastry traditions of Vienna, Austria. The technique of piping butter dough into elegant shapes became popular in European bakeries, eventually making its way to British shores where these particular cookies found immense popularity. Often associated with afternoon tea and comforting moments, they embody a timeless elegance and simple joy. Traditionally, they are two piped cookies sandwiched together with buttercream and sometimes a dollop of jam, creating an irresistible treat.
Why You’ll Love This Recipe

- Melt-in-Your-Mouth Texture These cookies are incredibly soft, tender, and literally melt in your mouth.
- Rich Buttery Flavor Made with high-quality butter, they boast an unparalleled, comforting buttery taste.
- Surprisingly Simple to Make Don’t let their elegant appearance fool you; the process is straightforward and beginner-friendly.
- Versatile and Customizable Easy to adapt with different fillings and flavorings to suit your taste.
- Perfect for Any Occasion Ideal for tea parties, holidays, or just a cozy afternoon treat.
Ingredient Notes

While the ingredient list for Viennese Whirls is short, the quality of each ingredient truly shines through. Here’s what you’ll need and why:
- Unsalted Butter This is the star of the show! Use good quality, unsalted butter, softened to room temperature. It needs to be soft enough to cream easily but not melted or greasy. This gives the cookies their signature rich flavor and tender texture.
- Powdered Sugar (Icing Sugar) Unlike granulated sugar, powdered sugar dissolves smoothly, contributing to the cookie’s fine, delicate crumb.
- All-Purpose Flour The base of our cookie. Measure it correctly, preferably by weight, to avoid a tough cookie.
- Cornstarch (Cornflour) This is our secret ingredient for ultimate tenderness! A little cornstarch helps to soften the flour, making the whirls extra delicate and melt-in-your-mouth.
- Vanilla Extract A good quality vanilla extract enhances all the other flavors beautifully.
Equipment Needed
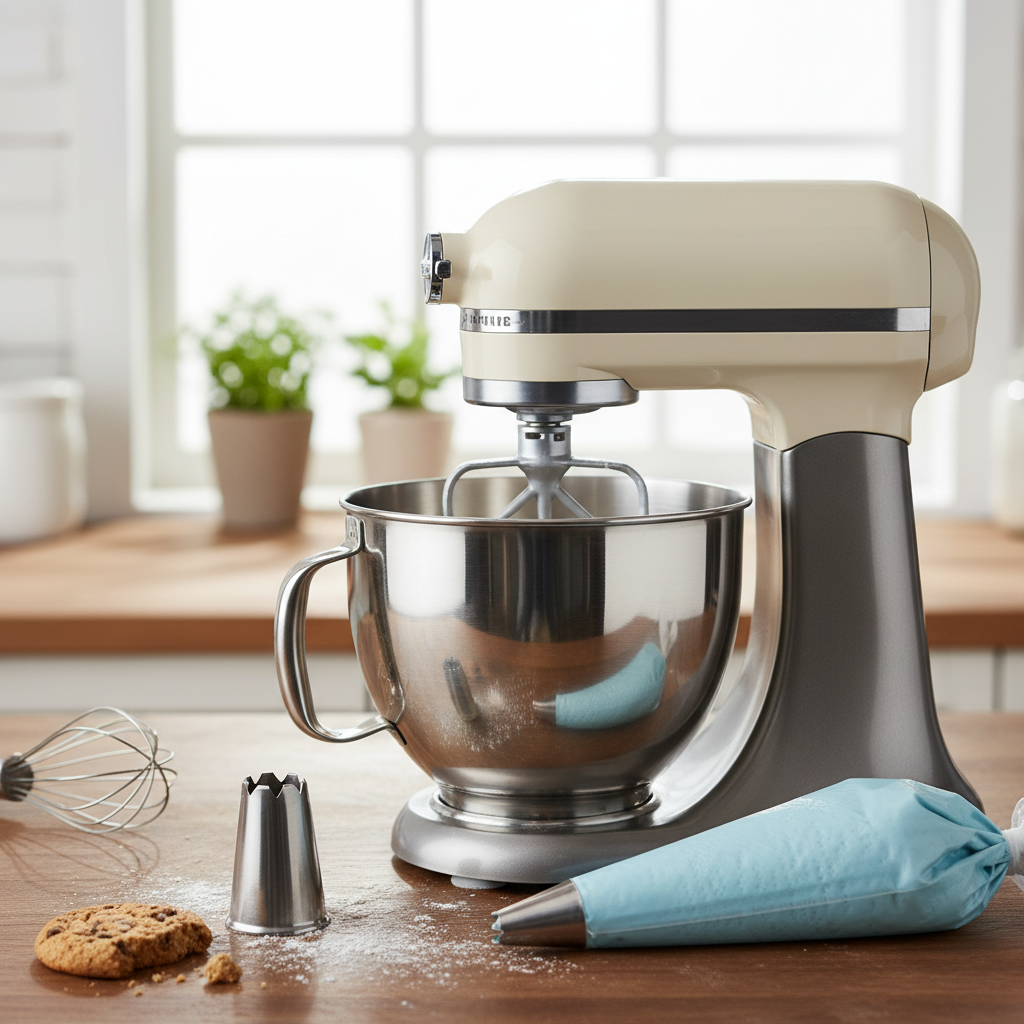
Having the right tools makes baking these whirls a breeze:
- Stand Mixer or Hand Mixer Essential for creaming the butter and sugar until light and fluffy.
- Piping Bag A strong, reusable piping bag is ideal.
- Star Nozzle/Tip An open star tip (like Wilton 1M or 2D) is perfect for creating the classic whirl shape.
- Baking Sheets Sturdy baking sheets for even baking.
- Parchment Paper or Silicone Baking Mats Prevents sticking and ensures easy cleanup.
- Rubber Spatula For scraping down the bowl.
- Measuring Cups and Spoons (or Kitchen Scale) Accuracy is key in baking!
Full Recipe Card
Ingredients
- 250g (1 cup + 2 tablespoons) unsalted butter, softened
- 50g (1/2 cup) powdered sugar, sifted
- 200g (1 2/3 cups) all-purpose flour, sifted
- 50g (1/3 cup + 1 tablespoon) cornstarch, sifted
- 1 teaspoon vanilla extract
For the Filling (Optional)
- 100g (1/2 cup) unsalted butter, softened
- 200g (1 2/3 cups) powdered sugar, sifted
- 1 teaspoon vanilla extract
- 1-2 tablespoons milk (optional, for consistency)
- Raspberry or strawberry jam
Instructions

- Cream Butter and Sugar In a large bowl, using a stand mixer with the paddle attachment (or a hand mixer), cream the softened butter and sifted powdered sugar together on medium speed until light, pale, and fluffy. This should take about 3-5 minutes. Scrape down the sides of the bowl as needed.
- Add Vanilla Beat in the vanilla extract until just combined.
- Combine Dry Ingredients In a separate bowl, whisk together the sifted all-purpose flour and sifted cornstarch.
- Add Dry to Wet Gradually add the dry ingredients to the butter mixture, mixing on low speed until just combined. Be careful not to overmix; stop as soon as no streaks of flour remain. The dough will be soft but pipeable.
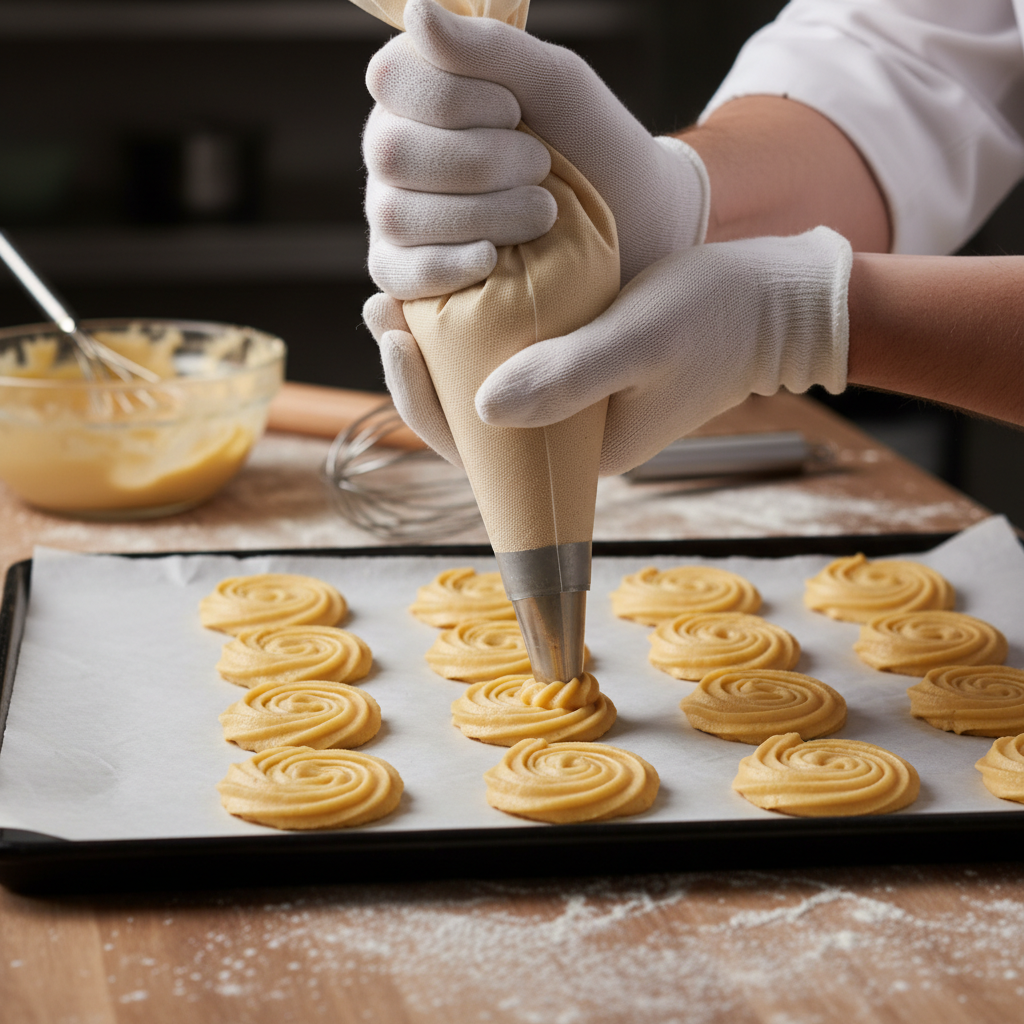
- Prepare for Piping Spoon the dough into a piping bag fitted with a large star nozzle (e.g., Wilton 1M).
- Pipe the Whirls Line baking sheets with parchment paper. Pipe whirl shapes (starting from the center and spiraling outwards) onto the prepared baking sheets, leaving about 1-2 inches between each cookie. You can also pipe simple ‘S’ shapes or rounds.
- Chill the Dough This is crucial! Place the piped cookies in the refrigerator for at least 30 minutes to firm up. This prevents them from spreading too much during baking and helps them hold their shape.
- Preheat Oven While the cookies are chilling, preheat your oven to 180°C (350°F).
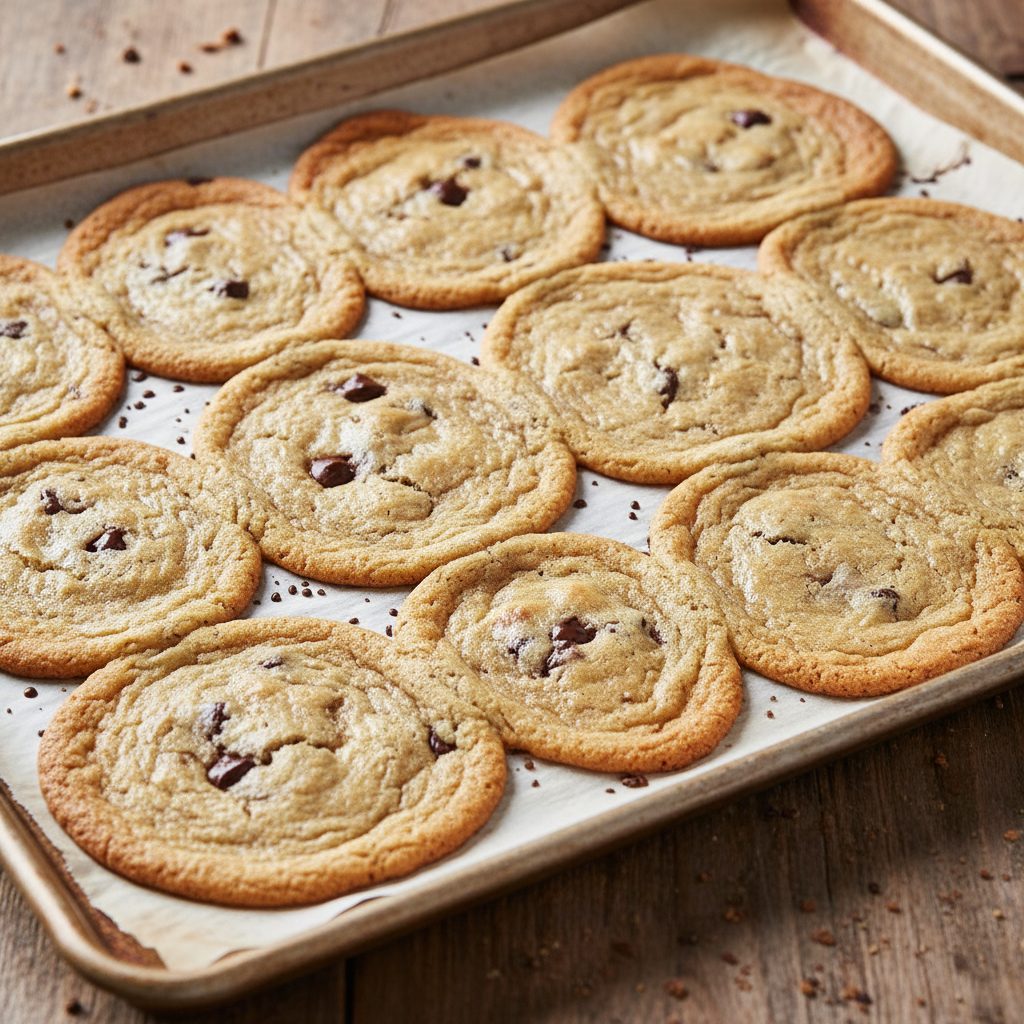
- Bake Bake the chilled cookies for 12-15 minutes, or until they are lightly golden around the edges but still pale in the center. They should feel firm to the touch.
- Cool Let the cookies cool on the baking sheets for 5 minutes before carefully transferring them to a wire rack to cool completely. They are delicate when warm.
- Prepare Filling (Optional) If making the filling, beat softened butter until creamy. Gradually add sifted powdered sugar and vanilla extract. Beat until light and fluffy. Add milk if needed to reach desired consistency.
- Assemble Once completely cooled, spread a thin layer of jam on the flat side of one cookie, then pipe or spread a dollop of buttercream on top. Sandwich with another cookie.
Notes
- For perfectly uniform cookies, use a kitchen scale to measure ingredients.
- Do not overmix the dough once flour is added, as this can make the cookies tough.
- Chilling is non-negotiable for maintaining shape.
Tips and Variations

- Flavor Swaps Add a teaspoon of lemon zest, orange zest, or almond extract to the dough for a different flavor profile.
- Chocolate Dipped Melt some good quality chocolate and dip half of the cooled whirls for an extra touch of indulgence.
- Different Fillings Instead of buttercream, try a chocolate ganache, lemon curd, or even a simple vanilla glaze.
- Dusting A simple dusting of powdered sugar makes them look elegant and adds a touch of sweetness.
Pro Chef Tips
- Butter Temperature is Key Your butter should be soft enough to leave an indent when pressed but still cool to the touch. Too warm, and your cookies will spread. Too cold, and it won’t cream properly.
- Sift Your Dry Ingredients Don’t skip sifting the powdered sugar, flour, and cornstarch. This removes lumps and aerates the ingredients, leading to a lighter, more tender cookie.
- Even Piping Pressure When piping, try to maintain consistent pressure on the bag for uniform cookie shapes and sizes. Practice on a spare piece of parchment if you’re new to piping.
- Don’t Overbake Viennese Whirls should remain pale with just a hint of golden on the edges. Overbaking will make them dry and crumbly rather than melt-in-your-mouth.
Common Mistakes to Avoid
- Overmixing the Dough Once the flour is added, mix only until just combined. Overmixing develops gluten, which makes cookies tough.
- Skipping the Chill Time Chilling the piped dough is vital. It solidifies the butter, preventing the cookies from spreading excessively in the oven.
- Using Warm Butter If your butter is too warm, the dough will be too soft to pipe cleanly and will spread drastically during baking.
- Incorrect Oven Temperature An oven that is too hot can cause rapid spreading, while one that’s too cool might result in pale, underbaked cookies. Use an oven thermometer to ensure accuracy.
- Piping Too Close Together Give your cookies space to breathe! They don’t spread much, but a little room ensures even baking.
Storage and Meal Prep

Once baked and cooled, unfrosted Viennese Whirls can be stored in an airtight container at room temperature for up to 5-7 days. If you’ve filled them with buttercream or jam, they are best enjoyed within 2-3 days. If your filling is dairy-based, consider refrigerating them, but bring them back to room temperature before serving for the best texture.
Make-Ahead and Freezer Notes
- Make-Ahead Dough You can prepare the dough and keep it covered in the refrigerator for up to 2 days before piping and baking. Let it come to room temperature for about 15-20 minutes to make it easier to pipe.
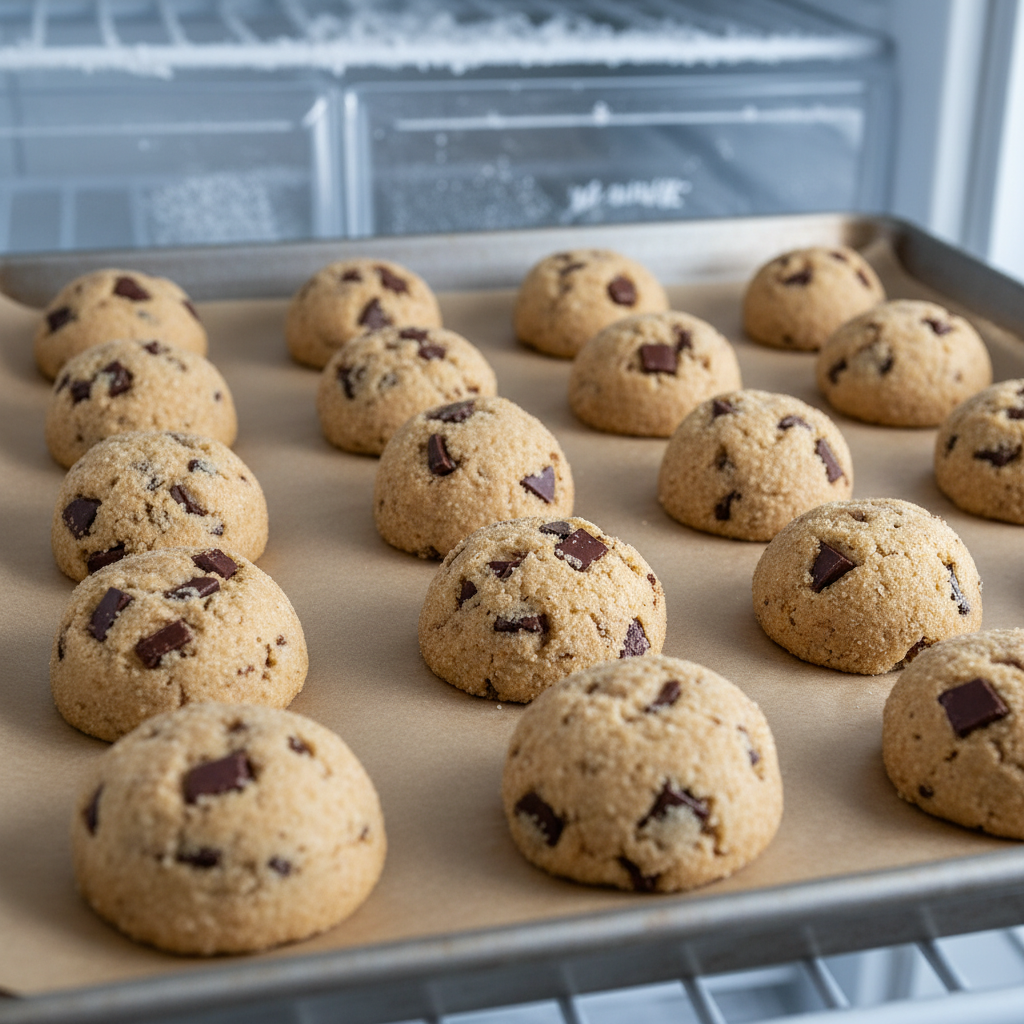
- Freezing Unbaked Dough Pipe the whirls onto a parchment-lined baking sheet and freeze until solid (about 1-2 hours). Once frozen, transfer the solid whirls to a freezer-safe bag or container and freeze for up to 1 month. When ready to bake, place them directly from the freezer onto a baking sheet and bake as directed, adding a few extra minutes to the baking time.
- Freezing Baked Cookies Baked, unfrosted Viennese Whirls can be frozen in an airtight container for up to 2 months. Thaw at room temperature before filling and serving.
Serving Suggestions

Viennese Whirls are the quintessential accompaniment to a warm cup of tea or coffee. They’re perfect for:
- Afternoon Tea A classic pairing that feels wonderfully indulgent.
- Dessert Platter Arrange them beautifully on a platter with other small treats for a delightful display.
- Gift Giving Package them in a pretty box or tin for a thoughtful homemade gift.
- Simple Snack Sometimes, nothing beats a single, perfect whirl with your favorite hot beverage.
Conclusion
Baking these soft and buttery Viennese Whirls is more than just following a recipe; it’s about creating a moment of pure joy and indulgence. With their delicate texture and rich flavor, they are a testament to the simple elegance of classic baking. Don’t be shy about trying your hand at these beautiful cookies; with the tips and tricks we’ve shared, you’re well on your way to becoming a Viennese Whirls master!
So, gather your ingredients, fire up your oven, and get ready to fill your home with the most comforting aromas. Happy baking, friends!