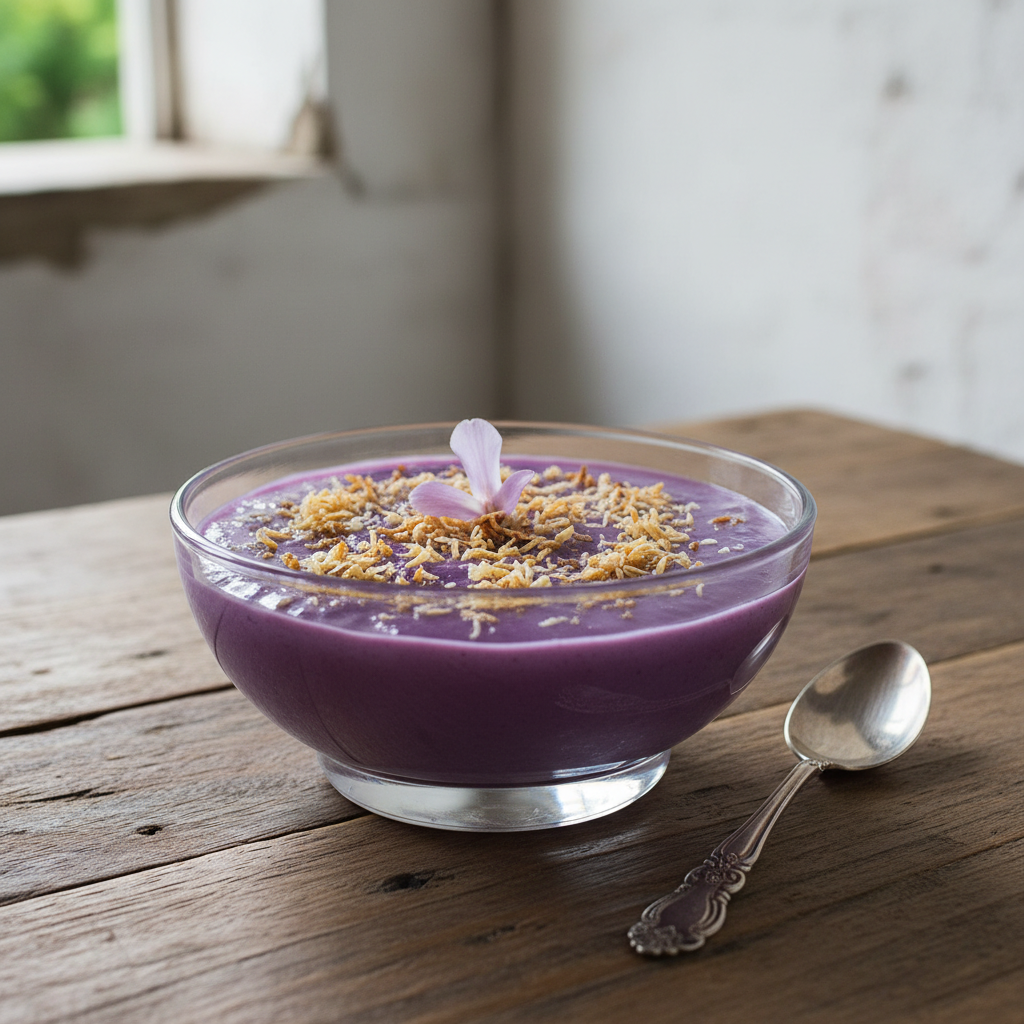
Welcome, fellow food lovers! Today, we’re diving into the enchanting world of ube – that glorious purple yam that has taken the culinary scene by storm. If you’ve ever been captivated by its vibrant color and unique, subtly sweet flavor, you’re in for a treat. Ube halaya, a creamy, dreamy purple yam jam, is a beloved Filipino dessert that’s surprisingly simple to make at home. Forget those store-bought versions; nothing beats the homemade goodness!
Many find the idea of making traditional Filipino desserts a bit intimidating, but I promise, this recipe is designed for everyone, especially beginners. We’ll walk through each step with warmth and clarity, ensuring your first homemade ube halaya is a resounding success. Get ready to impress your family and friends with this beautiful, delicious, and utterly satisfying treat.
History / Background of Ube Halaya

Ube, or purple yam, has been a staple in Filipino cuisine for centuries. It’s not just a pretty root vegetable; it holds a special place in the hearts and kitchens of Filipinos. Traditionally, ube halaya was a labor of love, often prepared for special occasions, fiestas, and holidays. Families would gather, grating fresh ube and stirring it patiently over an open fire until it reached that perfect, smooth consistency.
The word “halaya” itself refers to a jam or jelly-like consistency, and ube halaya perfectly embodies this. It’s more than just a dessert; it’s a symbol of Filipino heritage and hospitality. While modern methods have made it easier to prepare, the essence remains the same – a sweet, comforting, and deeply satisfying treat that brings joy to every bite.
Why You’ll Love This Recipe
- Incredibly Easy This recipe simplifies the traditional process, making it perfect for home cooks.
- Authentic Filipino Flavor Get that genuine taste of the Philippines right in your kitchen.
- Vibrant and Beautiful The natural purple hue is absolutely stunning and makes for a show-stopping dessert.
- Rich and Creamy Texture Smooth, velvety, and melts in your mouth – pure bliss!
- Versatile Treat Enjoy it on its own, with bread, or as an ingredient in other desserts.
- Comforting and Satisfying A truly heartwarming dessert that evokes warmth and nostalgia.
Ingredient Notes
Making delicious ube halaya starts with understanding your ingredients. Here’s what you’ll need and why each component is important:
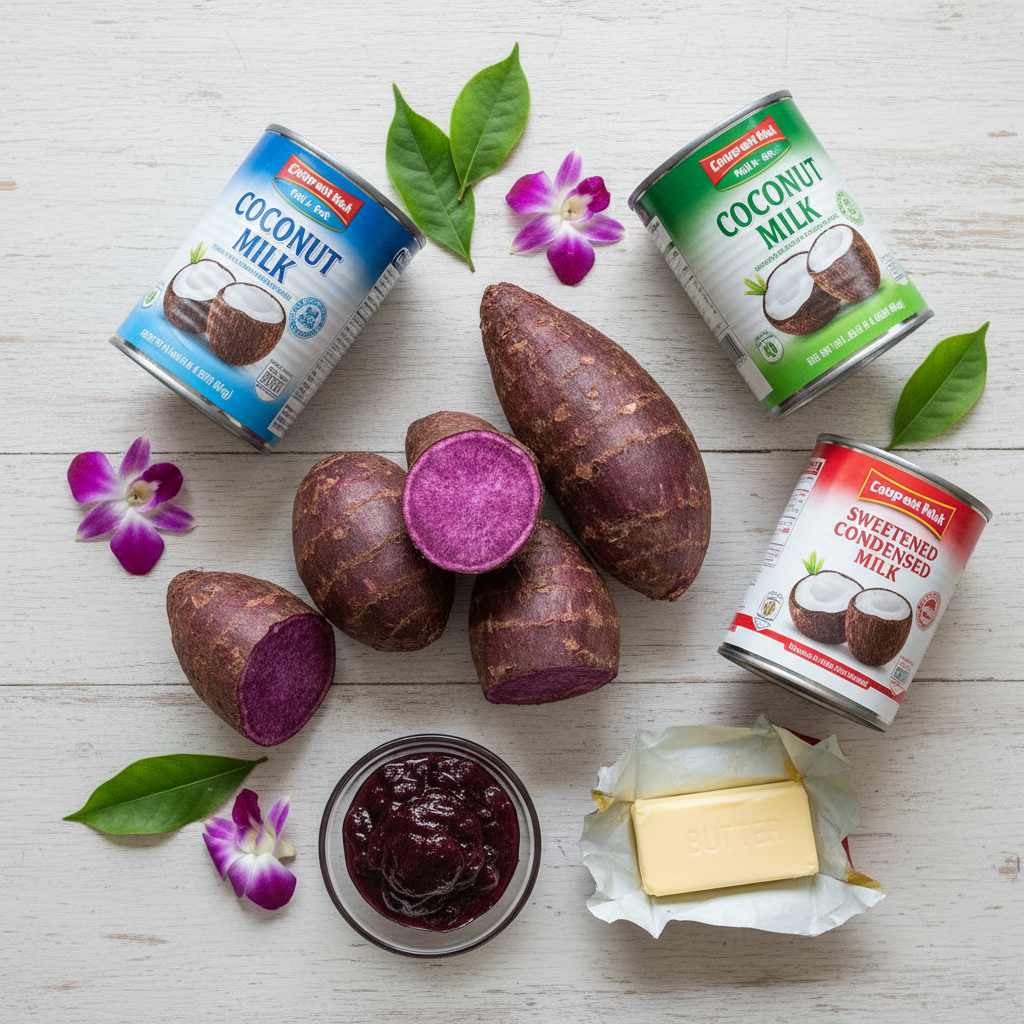
- Ube (Purple Yam) You can find ube in various forms: fresh, frozen grated, or ube powder. For this recipe, frozen grated ube is often the easiest and most consistent to work with, available in Asian grocery stores. If using fresh, make sure to peel, boil until very tender, and mash it thoroughly.
- Coconut Milk Full-fat coconut milk adds a rich, creamy texture and a subtle tropical flavor that complements the ube beautifully. Don’t skimp on the full-fat version for the best results.
- Condensed Milk This is where most of the sweetness comes from, along with contributing to the creamy consistency. Adjust the amount to your preferred level of sweetness.
- Evaporated Milk Adds another layer of creaminess without making it too heavy.
- Butter Unsalted butter adds richness and a lovely sheen to the halaya. It also helps prevent sticking and enhances the overall mouthfeel.
- Ube Extract (Optional but Recommended) A few drops of ube extract will intensify both the purple color and the ube flavor, making your halaya even more vibrant and delicious.
Equipment Needed
You don’t need fancy gadgets for this recipe, just a few kitchen essentials:
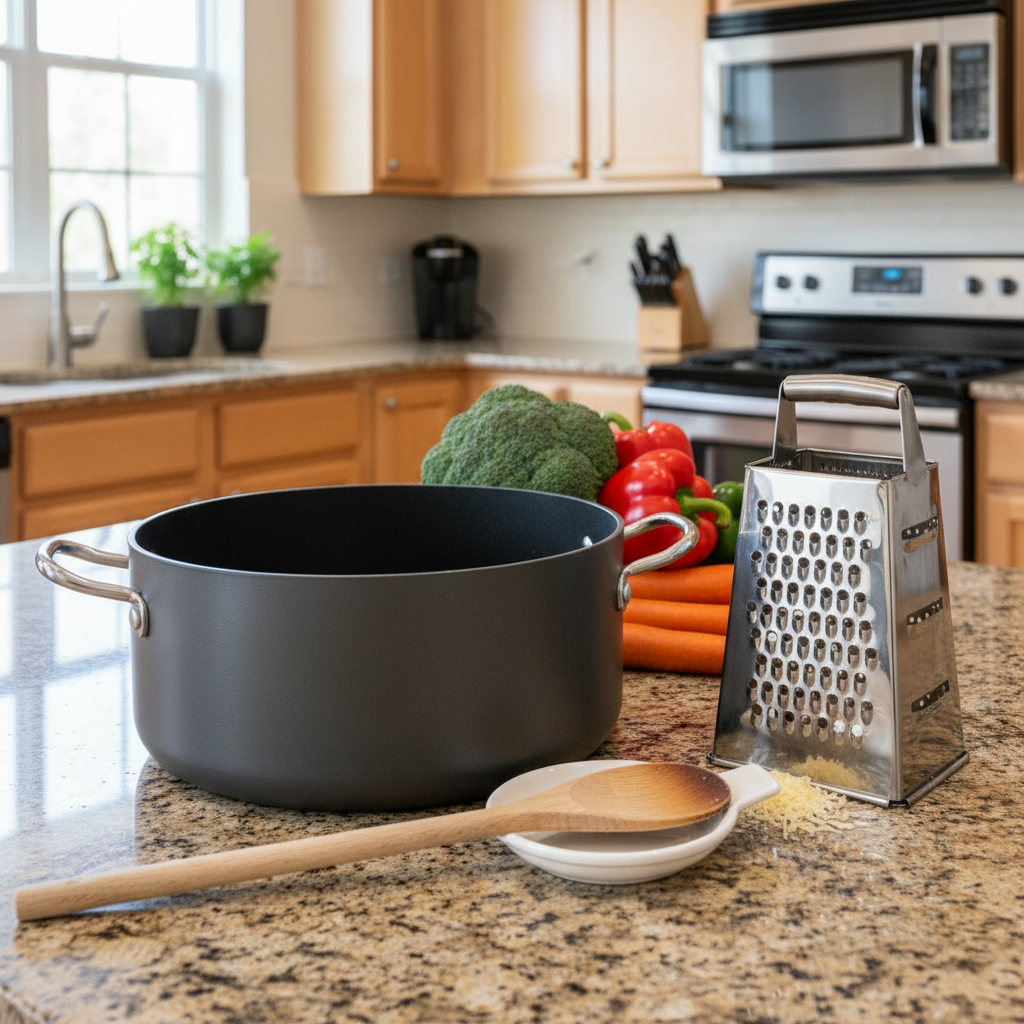
- Large Non-Stick Pot or Wok A heavy-bottomed non-stick pot is crucial for even heat distribution and to prevent the ube from sticking and burning as you stir.
- Wooden Spoon or Spatula Essential for constant stirring. A sturdy one will save your arm!
- Measuring Cups and Spoons For accurate ingredient measurements.
- Grater or Food Processor (if using fresh ube) To finely grate or mash the cooked ube.
- Serving Dish or Container For chilling and serving your finished ube halaya.
Full Recipe Card
Ingredients
- 2 lbs (approx. 900g) frozen grated ube, thawed (or fresh ube, peeled, boiled, and mashed)
- 1 can (13.5 oz / 400ml) full-fat coconut milk
- 1 can (14 oz / 397g) sweetened condensed milk
- 1 can (12 oz / 354ml) evaporated milk
- 1/2 cup (113g) unsalted butter, melted
- 1-2 teaspoons ube extract (optional, for color and flavor)
Instructions

- Prepare the Ube If using frozen grated ube, ensure it’s fully thawed. If using fresh ube, peel, cut into chunks, boil until fork-tender, then mash thoroughly until smooth.
- Combine Ingredients In a large, heavy-bottomed non-stick pot or wok, combine the thawed/mashed ube, coconut milk, condensed milk, and evaporated milk. Mix well until everything is incorporated.
- Cook the Mixture Place the pot over medium-low heat. Add the melted butter and ube extract (if using). Stir constantly with a wooden spoon or spatula. This constant stirring is key to preventing the ube from sticking and burning.
- Stir Until Thickened Continue stirring for about 30-45 minutes, or until the mixture thickens considerably and pulls away from the sides of the pot. The mixture should be glossy and very dense, almost like a thick paste. A good test is to drag your spoon across the bottom of the pot; if it leaves a clear path for a few seconds before the mixture flows back, it’s ready.
- Cool and Set Once thickened, remove the pot from the heat. Carefully transfer the ube halaya to a greased (with butter or oil) serving dish or individual molds. Smooth the top with a spatula.
- Chill Allow the ube halaya to cool completely at room temperature, then cover and refrigerate for at least 4 hours, or preferably overnight, to allow it to firm up and set.
Notes
- Sweetness Adjustment Taste the mixture as it cooks (carefully, it’s hot!). If you prefer it sweeter, you can add a tablespoon or two of granulated sugar, but typically the condensed milk provides enough sweetness.
- Consistency The cooking time can vary. The goal is a thick, spreadable jam. Don’t rush it; patience is a virtue here!
Tips & Variations
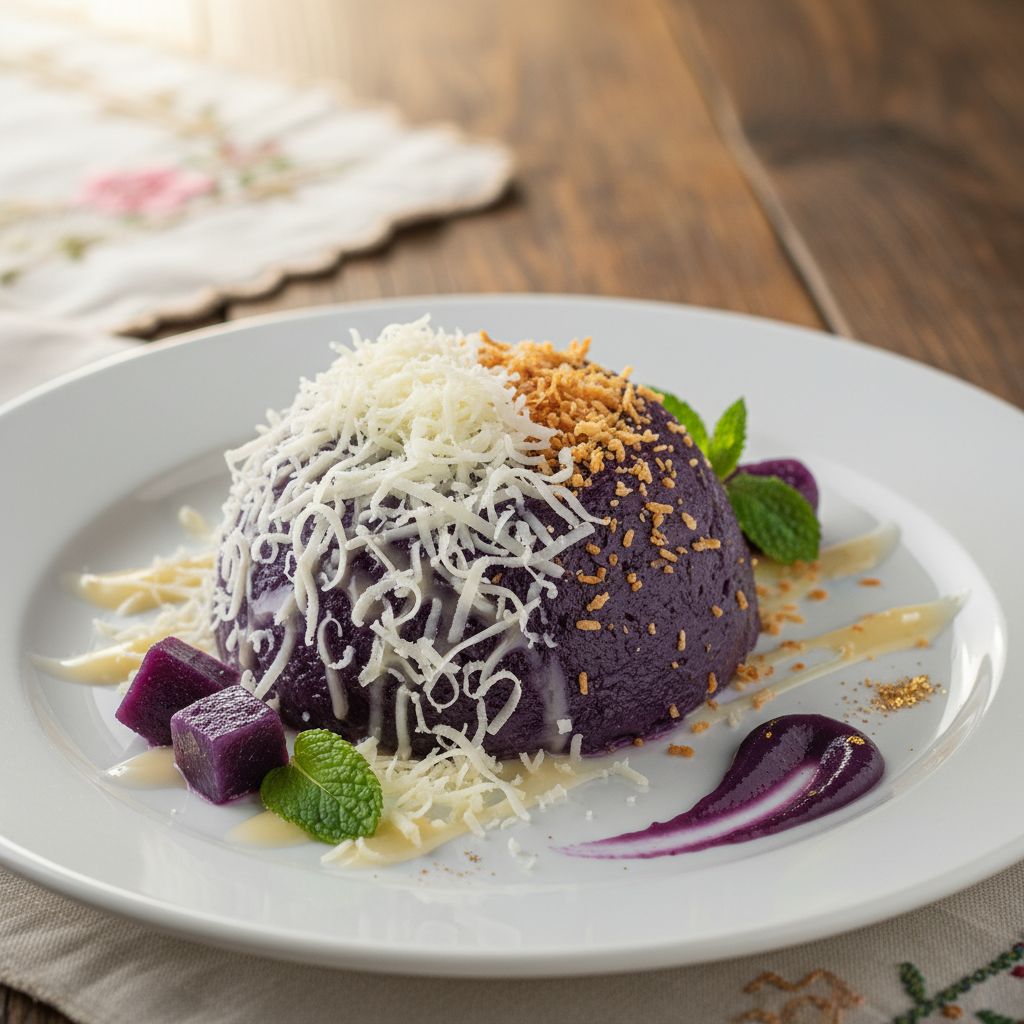
- Add Cheese For a classic Filipino twist, sprinkle grated cheddar cheese on top of your chilled ube halaya before serving. The salty cheese perfectly balances the sweetness.
- Toasted Coconut A sprinkle of toasted shredded coconut adds wonderful texture and a nutty aroma.
- Nutty Toppings Crushed nuts like cashews or almonds can provide a delightful crunch.
- Vanilla Extract A splash of vanilla extract can enhance the overall flavor profile.
- Creamier Texture If you prefer an even creamier, slightly softer halaya, you can reduce the cooking time by a few minutes, but ensure it’s still thick enough to set.
Pro Chef Tips
- Constant Stirring is Non-Negotiable Seriously, do not walk away from the pot! Ube halaya can burn easily, and constant stirring ensures an even cook and smooth texture.
- Low to Medium-Low Heat Patience is key. Cooking over too high heat will scorch the bottom and make your halaya lumpy.
- Use a Heavy-Bottomed Pot This helps distribute heat evenly and reduces the risk of burning.
- Taste as You Go Adjust sweetness if needed. Remember, flavors intensify slightly as it cools.
- Achieve the Right Consistency The halaya should be thick enough to hold its shape when scooped but still spreadable. It will firm up further in the fridge.
Common Mistakes to Avoid
- Not Stirring Enough This is the most common mistake, leading to burnt bits at the bottom of the pot.
- Cooking on High Heat High heat causes the ube to stick and burn quickly, resulting in an unpleasant taste and texture.
- Using the Wrong Type of Ube Ensure you’re using purple yam (ube), not purple sweet potato, which has a different flavor and texture.
- Under-cooking or Over-cooking Under-cooked halaya will be too runny, while over-cooked halaya can become too dry and crumbly. Pay attention to the consistency test.
- Skipping the Butter Butter adds essential richness and helps with the smooth texture.
Storage & Meal Prep
Ube halaya is a fantastic dessert for meal prepping! Once cooled and set, transfer it to an airtight container. It will keep beautifully in the refrigerator for up to 5-7 days. Its flavor often deepens slightly overnight, making it even more delicious the next day.
Make-Ahead & Freezer Notes
This dessert is perfect for making ahead! Prepare it a day or two before you plan to serve it. This allows it ample time to chill and firm up to the perfect consistency. For longer storage, ube halaya freezes surprisingly well. Transfer it to a freezer-safe, airtight container and freeze for up to 2-3 months. When ready to enjoy, thaw it in the refrigerator overnight. You might find its texture slightly softer after thawing, but the taste will still be delightful.
Serving Suggestions
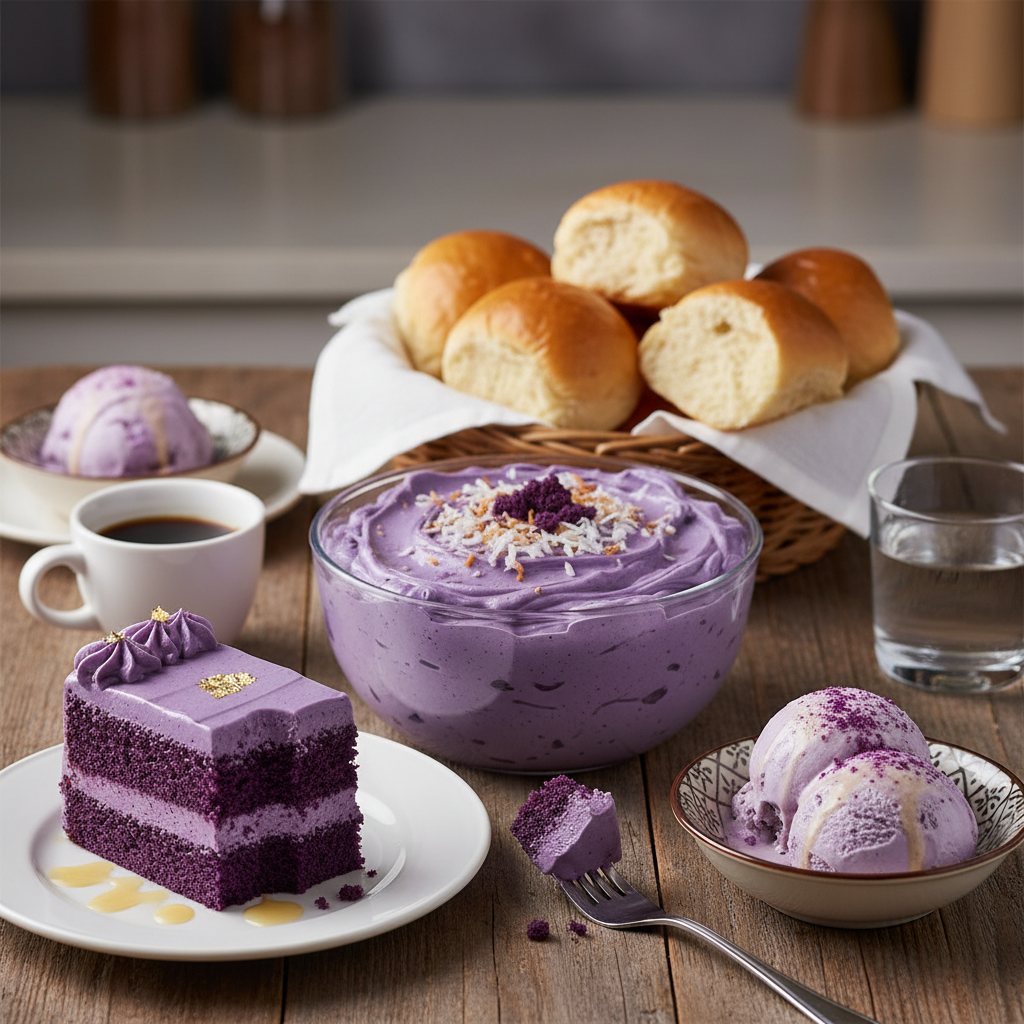
Ube halaya is incredibly versatile and can be enjoyed in many ways:
- On its Own A spoonful of chilled ube halaya is a perfect simple dessert.
- With Pandesal Spread it generously on warm Filipino pandesal (bread rolls) for a delightful breakfast or snack.
- As a Topping Drizzle it over vanilla ice cream, plain yogurt, or even pancakes and waffles.
- In Other Desserts Use it as a filling for cakes, pastries, or even as a layer in halo-halo (a popular Filipino shaved ice dessert).
- With Cheese A sprinkle of grated sharp cheddar cheese on top provides a wonderful sweet and savory contrast.