Introduction
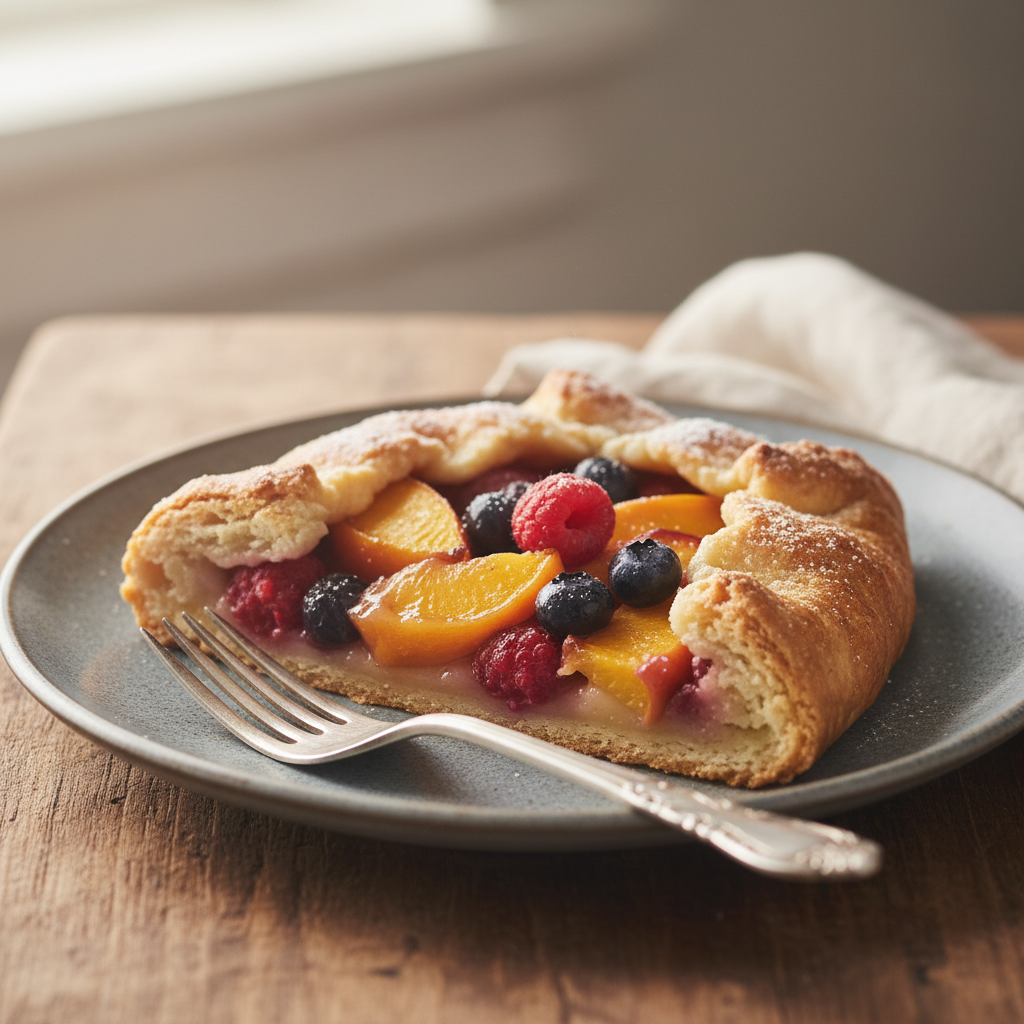
Welcome to your new favorite dessert. If you love the taste of homemade pie but find the process of crimping edges and weaving lattice tops a bit intimidating, the galette is your best friend. Often called a “lazy pie,” a galette is a free-form tart that celebrates imperfection. It is rustic, beautiful, and incredibly delicious.
This recipe focuses on achieving that elusive buttery, flaky crust that shatters when you bite into it, holding a center of bubbling, sweet fruit. Whether you are a seasoned baker or this is your first time touching flour, this guide will walk you through every step to ensure success.
History and Background

The term “galette” comes from the Norman word gale, meaning flat cake. It originated in France and has a long, delicious history. While the term can refer to various flat cakes (including savory buckwheat crepes in Brittany), the style we are making today represents the rustic, free-form fruit tart.
Historically, these were simple country desserts made with whatever seasonal fruit was on hand. There is no need for a pie dish or fancy equipment. The dough is simply rolled out, topped with fruit, and the edges are folded up to hold everything in. It is French baking at its most humble and accessible.
Why You Will Love This Recipe
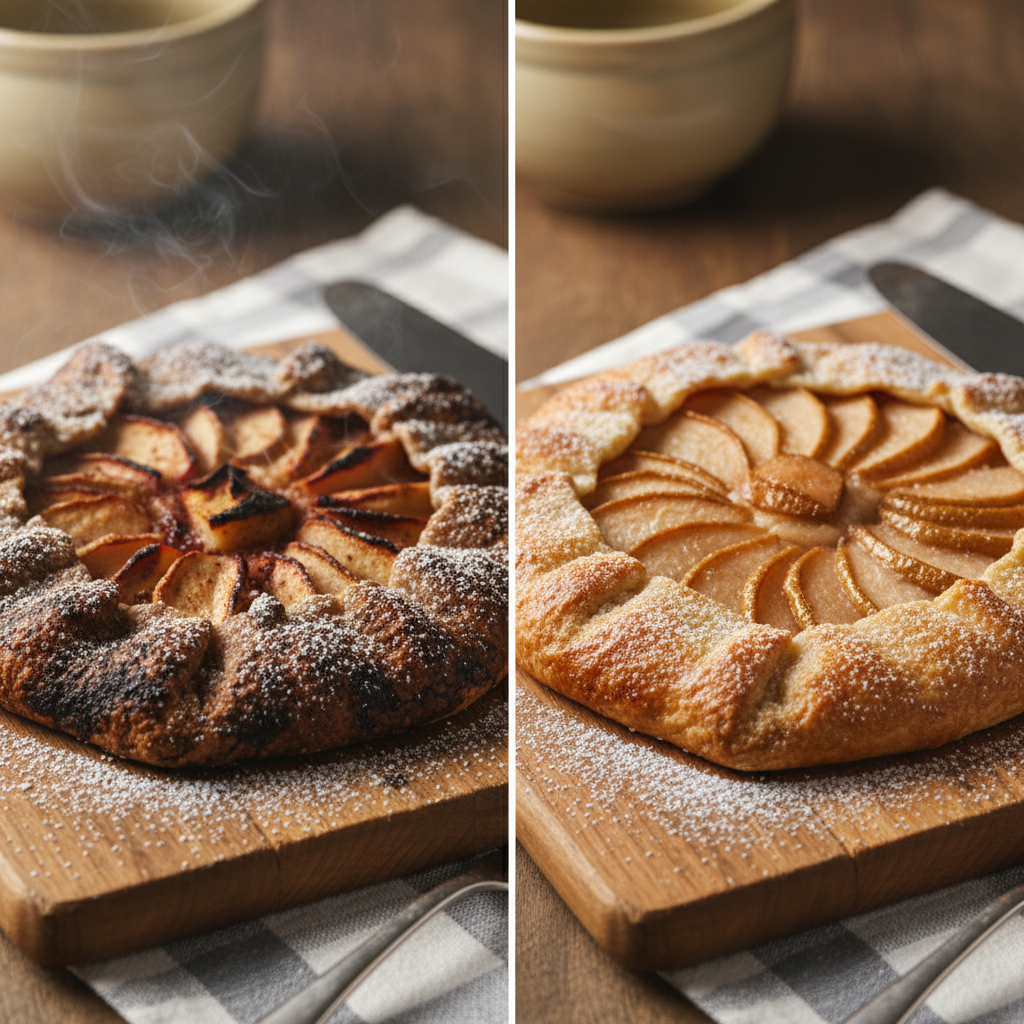
- Forgiving Structure There is no need for perfection here. The cracks and uneven folds add to its rustic charm.
- Incredible Texture The ratio of crust to filling is higher than a deep-dish pie, meaning every bite has a crunch.
- Versatile You can use apples, berries, peaches, or even savory fillings like tomatoes and cheese.
- Less Stress No blind baking or fear of a shrinking crust.
Ingredient Notes
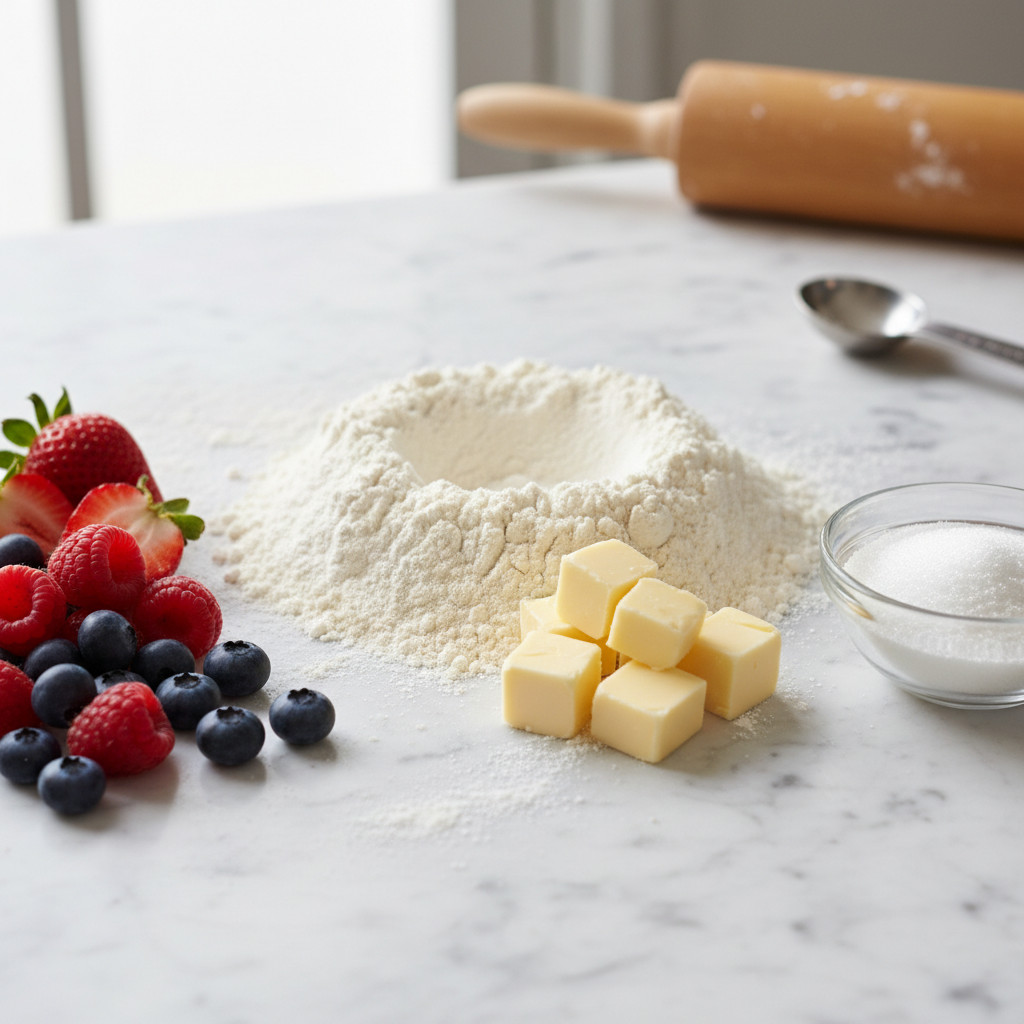
Great baking starts with understanding your ingredients. Here is what you need for the perfect galette.
- All-Purpose Flour This provides the right structure. You do not need fancy pastry flour for this recipe.
- Cold Unsalted Butter This is the most critical ingredient. The butter must be very cold to create steam pockets while baking, which leads to flakiness.
- Ice Water Water helps bind the dough, but it must be ice-cold to prevent the butter from melting before it hits the oven.
- Sugar and Salt A little sugar in the dough helps with browning, and salt is essential for flavor balance.
- Fruit Filling Use fresh, seasonal fruit. If using very juicy fruit like strawberries, you might need a bit more thickener.
- Cornstarch This thickens the fruit juices so you do not end up with a soggy bottom.
Equipment Needed
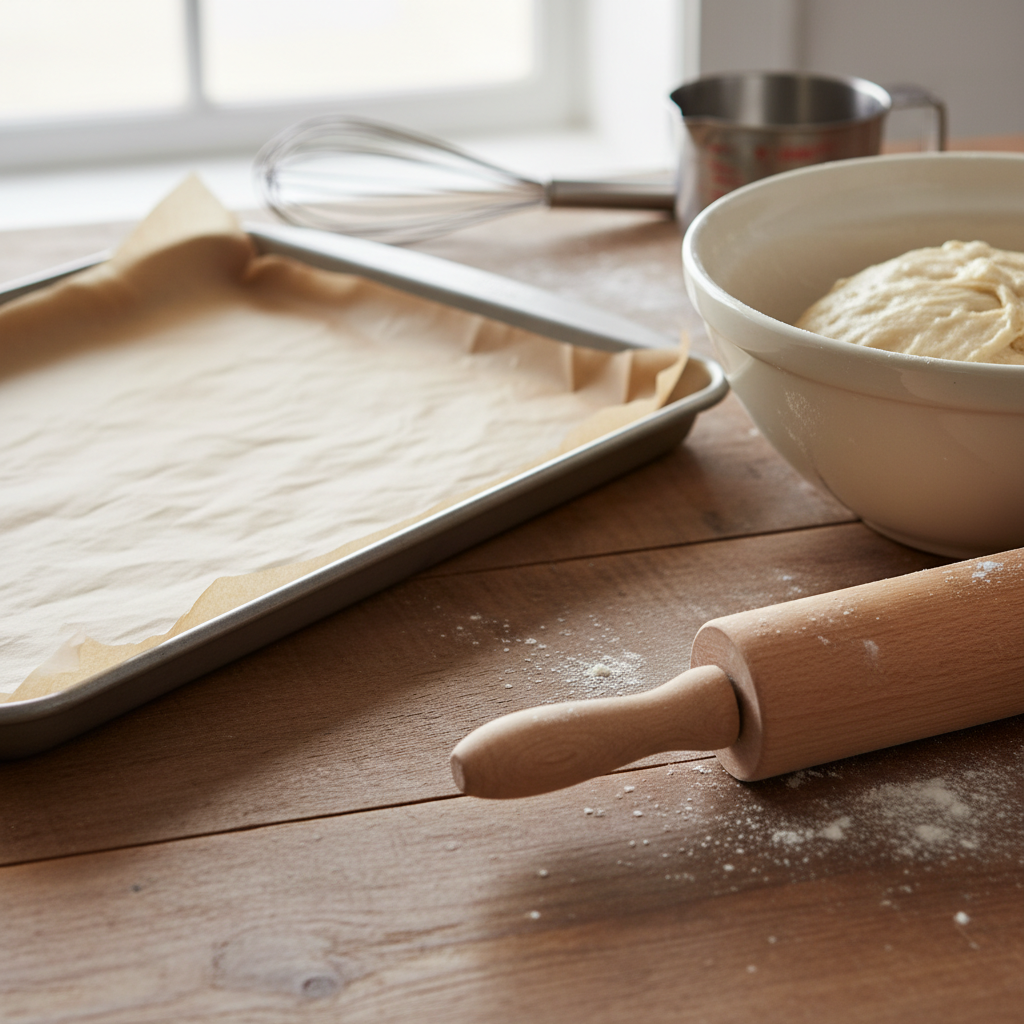
You likely have everything you need in your kitchen already.
- Large baking sheet
- Parchment paper (essential for easy cleanup)
- Large mixing bowl
- Rolling pin
- Pastry cutter or a fork
- Pastry brush (for the egg wash)
Full Recipe Card
Ingredients
For the Crust
- 1 1/2 cups All-Purpose Flour
- 1 tbsp Granulated Sugar
- 1/2 tsp Salt
- 1/2 cup (1 stick) Unsalted Butter, very cold and cubed
- 1/4 to 1/3 cup Ice Water
For the Filling
- 3 cups Fresh Fruit (sliced apples, berries, or stone fruit)
- 1/4 cup Granulated Sugar (adjust based on fruit sweetness)
- 1 tbsp Cornstarch
- 1 tsp Lemon Juice
- 1 tsp Vanilla Extract
For Assembly
- 1 Egg (beaten, for egg wash)
- Coarse Sugar (for sprinkling)
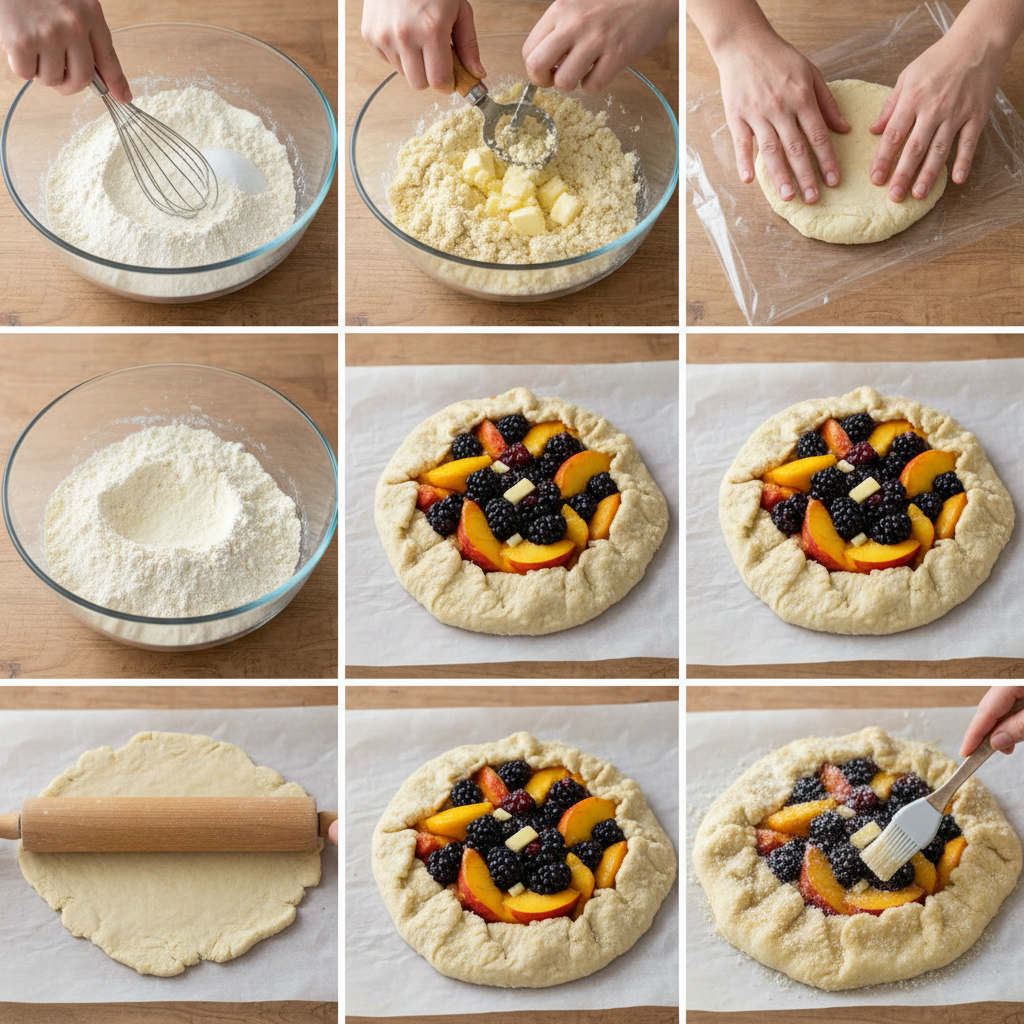
Instructions
- Prepare the Dough In a large bowl, whisk together the flour, sugar, and salt. Add the cold, cubed butter. Use a pastry cutter or your fingers to smash the butter into the flour until you have pea-sized chunks.
- Add Water Drizzle in the ice water, one tablespoon at a time, mixing gently. Stop when the dough just holds together when squeezed. Do not overmix.
- Chill Form the dough into a disk, wrap it in plastic wrap, and refrigerate for at least 1 hour.
- Preheat Preheat your oven to 400°F (200°C). Line a baking sheet with parchment paper.
- Prepare Filling While the dough chills, toss your fruit with the sugar, cornstarch, lemon juice, and vanilla in a bowl.
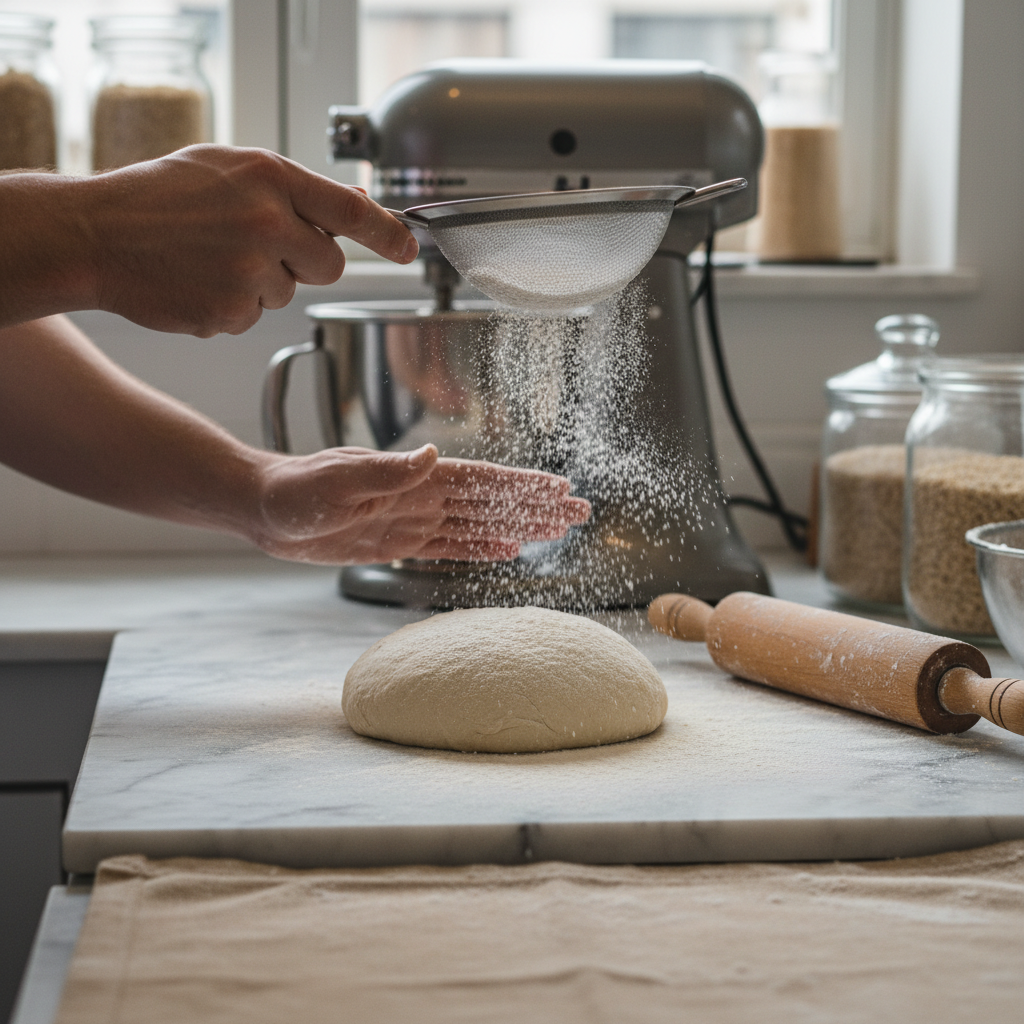
- Roll On a lightly floured surface, roll the dough out into a 12-inch circle. It does not have to be a perfect circle! Transfer it to the baking sheet.
- Assemble Arrange the fruit in the center of the dough, leaving a 2-inch border empty around the edges.
- Fold Gently fold the edges of the dough over the fruit, pleating as you go to make it fit. The center will remain open.
- Bake Brush the crust with the beaten egg and sprinkle with coarse sugar. Bake for 35-45 minutes, or until the crust is deep golden brown and the fruit filling is bubbling.
- Cool Let it cool on the baking sheet for at least 15 minutes before slicing.
Tips and Variations
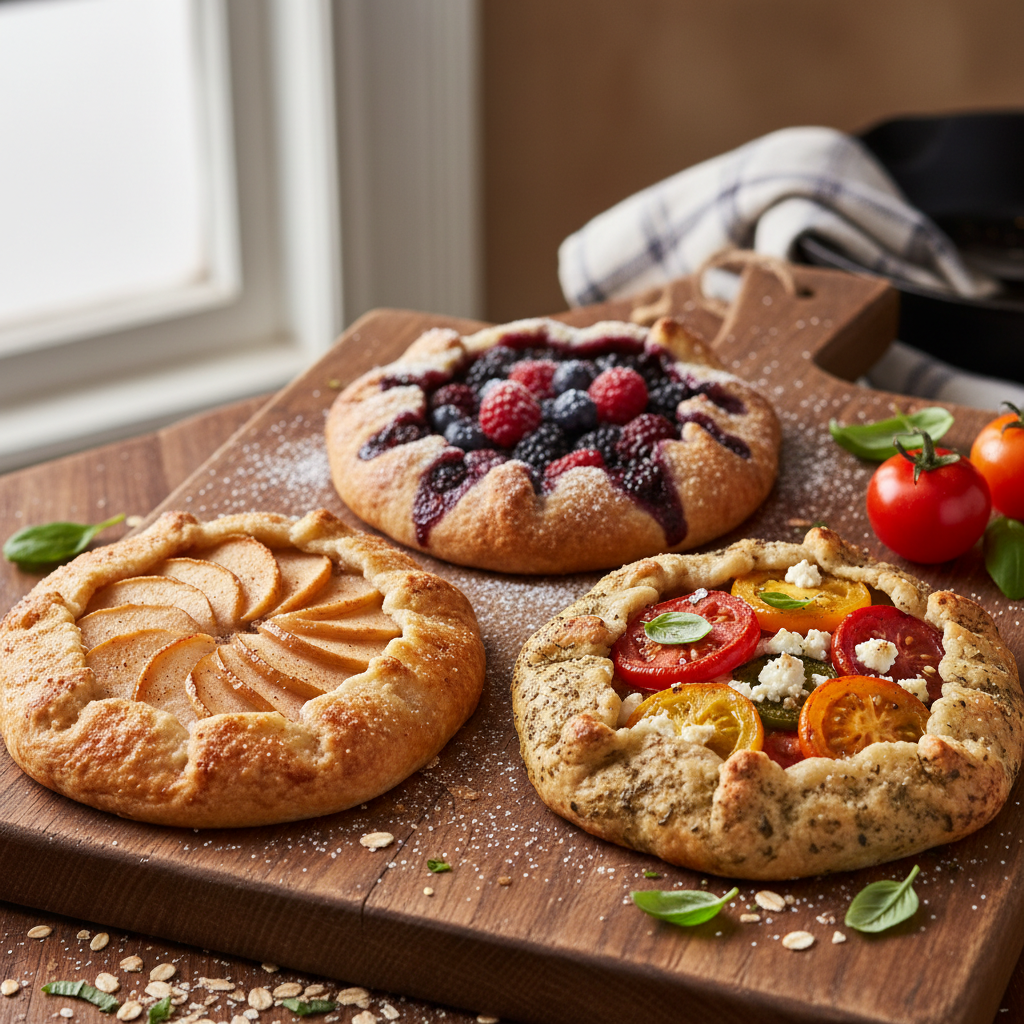
Once you master the dough, the possibilities are endless.
- Savory Galette Skip the sugar in the dough and fill with heirloom tomatoes, goat cheese, and fresh thyme.
- Nutty Crust Substitute 1/4 cup of the flour with almond flour for a nutty flavor profile.
- Gluten-Free Use a high-quality 1-to-1 gluten-free baking flour blend in place of all-purpose flour.
Pro Chef Tips
Want to take your galette to the next level? Follow these professional secrets.
- Keep it Cold If your kitchen is warm and the butter starts to melt while you are rolling, pop the dough back in the fridge for 10 minutes.
- Visible Butter You should see streaks of butter in your raw dough. This creates the flaky layers as the water in the butter evaporates during baking.
- Use a Pizza Stone If you have a pizza stone, place your baking sheet on top of it in the oven. This conducts extra heat to the bottom of the galette, ensuring a crisp bottom crust.
Common Mistakes to Avoid
- Overworking the Dough This develops gluten and makes the crust tough instead of flaky. Handle it as little as possible.
- Too Much Liquid If your fruit is very watery, add a little extra cornstarch or drain the excess liquid before filling the dough.
- Underbaking Do not be afraid of color! A pale crust will be doughy and soft. You want a deep golden brown.
Storage and Meal Prep
Galettes are best eaten the day they are made, but they can still be delicious later.
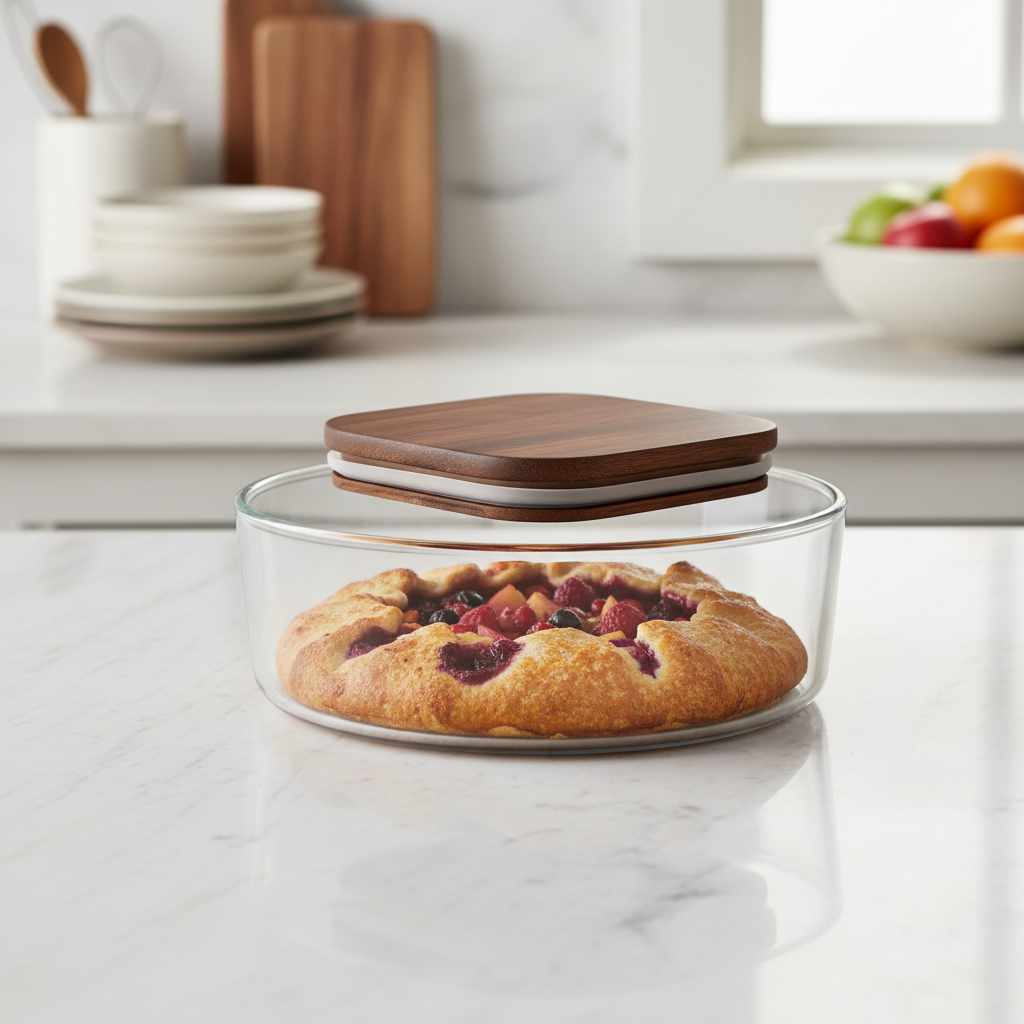
- Room Temperature Store loosely covered with foil or plastic wrap at room temperature for up to 2 days.
- Refrigerator If you live in a hot climate or have a custard filling, store it in the fridge for up to 3 days.
- Reheating To restore the crispness, reheat slices in a 350°F oven for 10 minutes. Microwaving will make the crust soggy.
Make-Ahead and Freezer Notes
You can easily prep this dessert in advance.
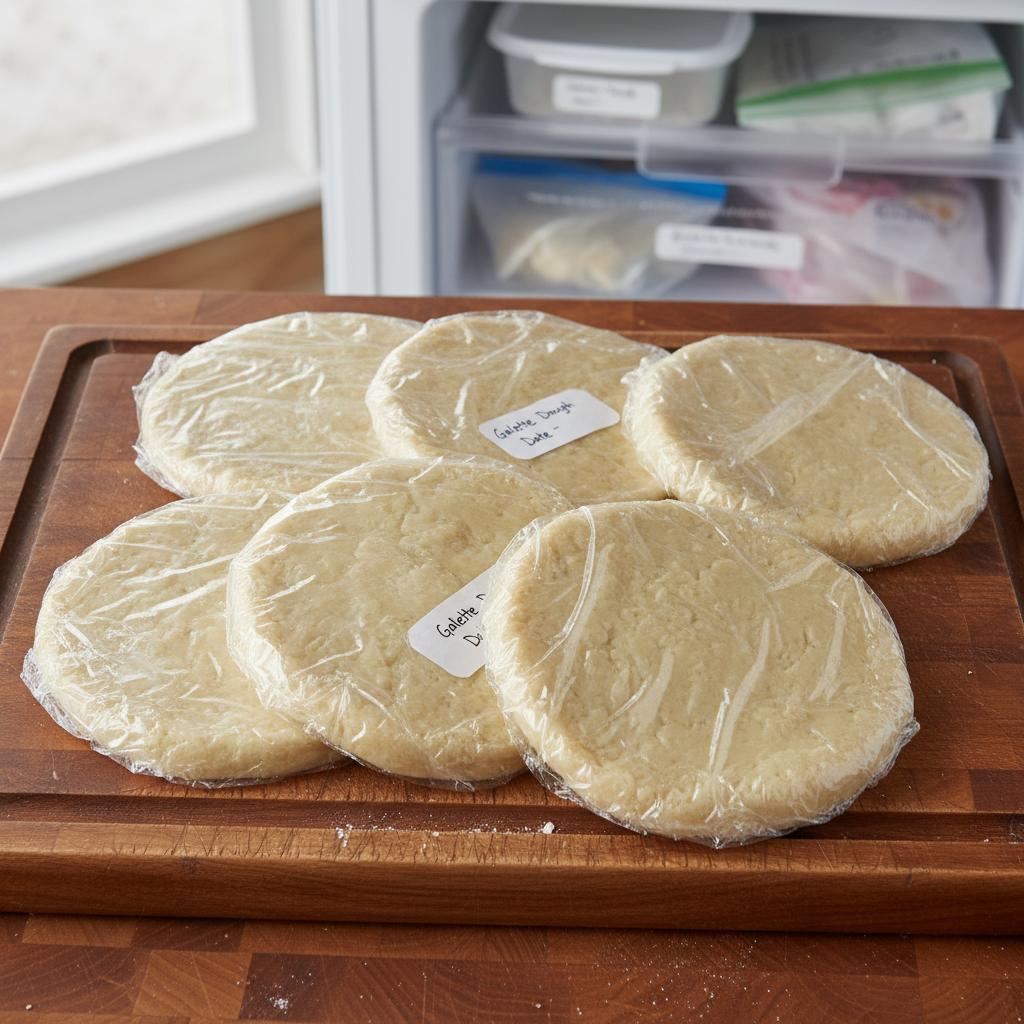
- Dough The dough disk can be made and refrigerated for up to 3 days or frozen for up to 3 months. Thaw overnight in the fridge before using.
- Unbaked Galette You can assemble the entire galette and freeze it on a baking sheet until solid. Wrap it tightly and freeze. You can bake it directly from frozen, just add a few extra minutes to the baking time.
Serving Suggestions
While delicious on its own, a galette pairs beautifully with toppings.
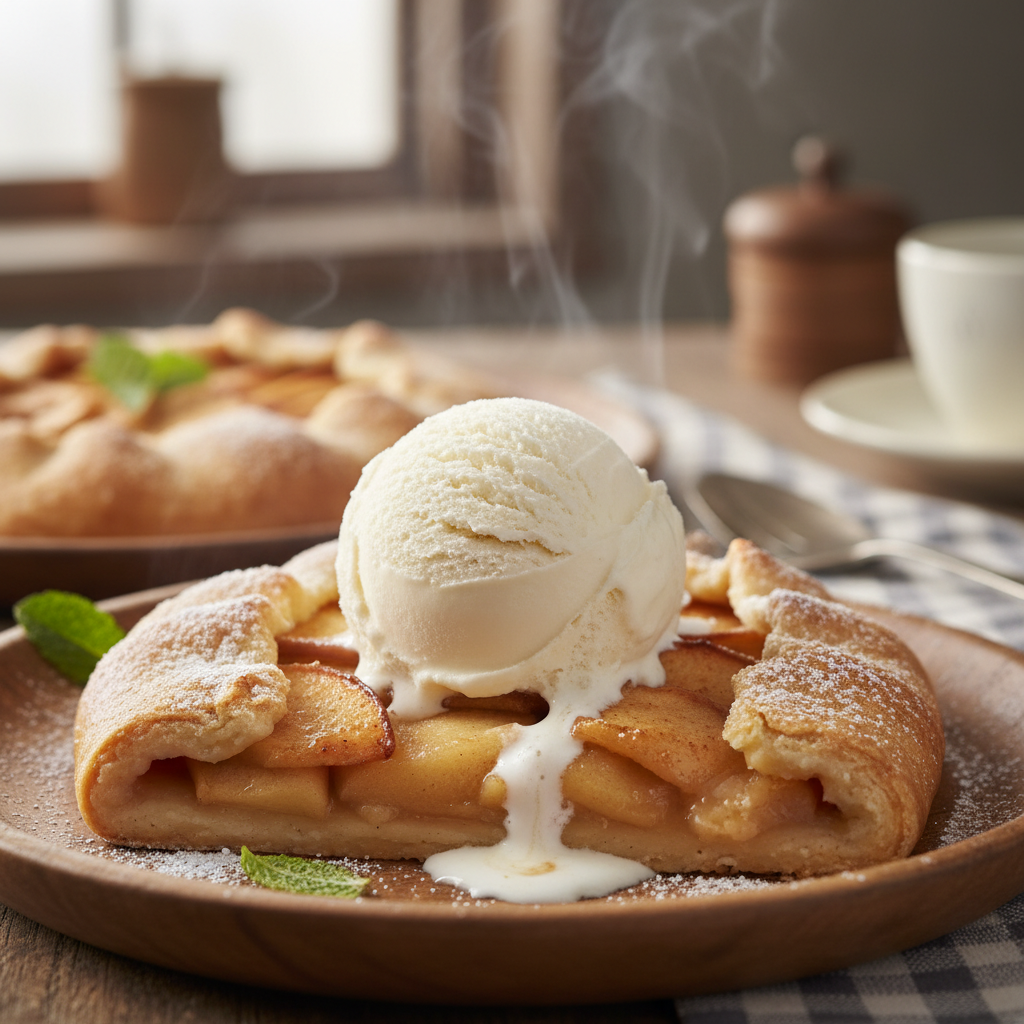
- Classic A scoop of high-quality vanilla bean ice cream.
- Light A dollop of lightly sweetened whipped cream or crème fraîche.
- Fancy A drizzle of salted caramel sauce or warm honey.