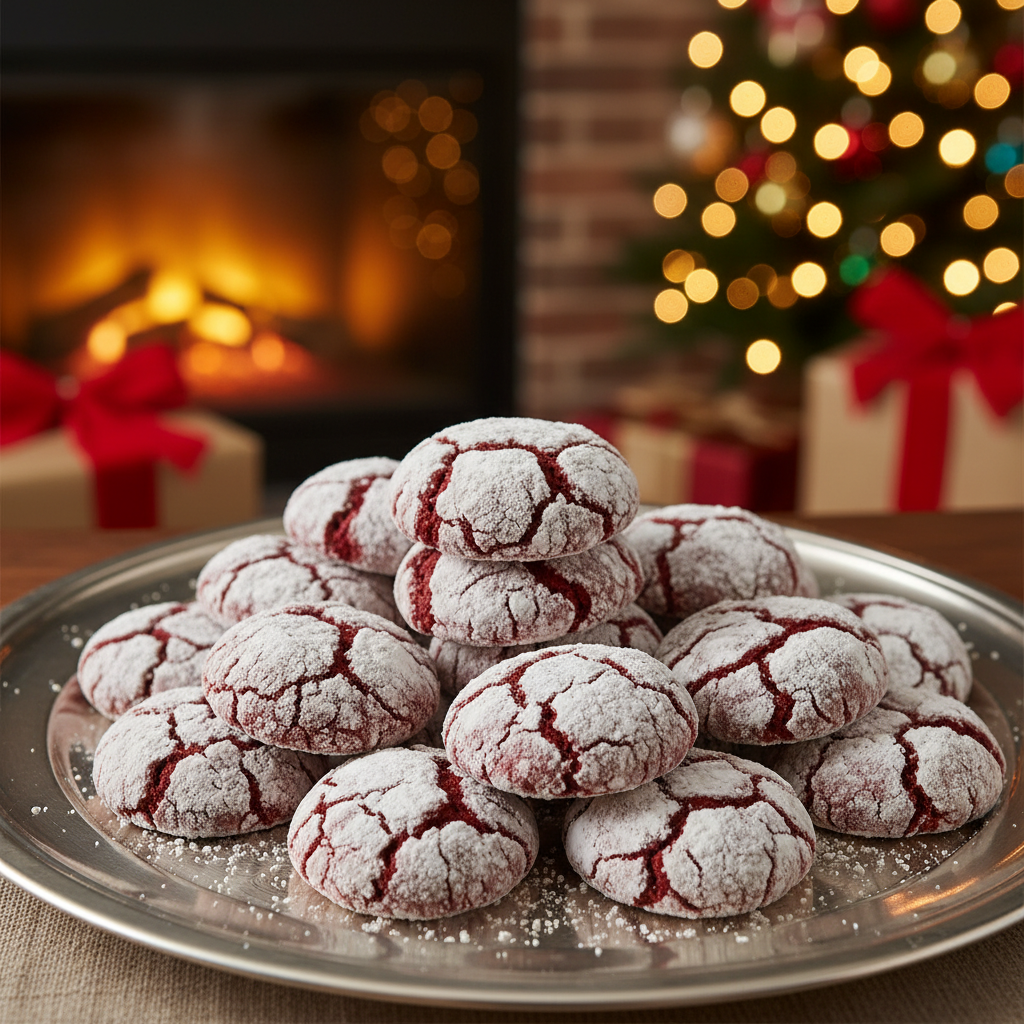
There’s something truly magical about homemade gifts, especially when they come in the form of a delicious, beautifully crafted cookie. And when it comes to spreading joy, few treats can rival the charm and flavor of Red Velvet Crinkle Cookies. Their vibrant red hue, soft, chewy texture, and delicate dusting of powdered sugar make them an instant showstopper, perfect for holiday platters, thoughtful hostess gifts, or just a sweet surprise for someone special.
If you’ve been searching for that ideal recipe to impress without the stress, you’ve found it! This guide will walk you through creating these stunning cookies, ensuring every batch is a success. Get ready to bake some love!
History – A Sweet Legacy
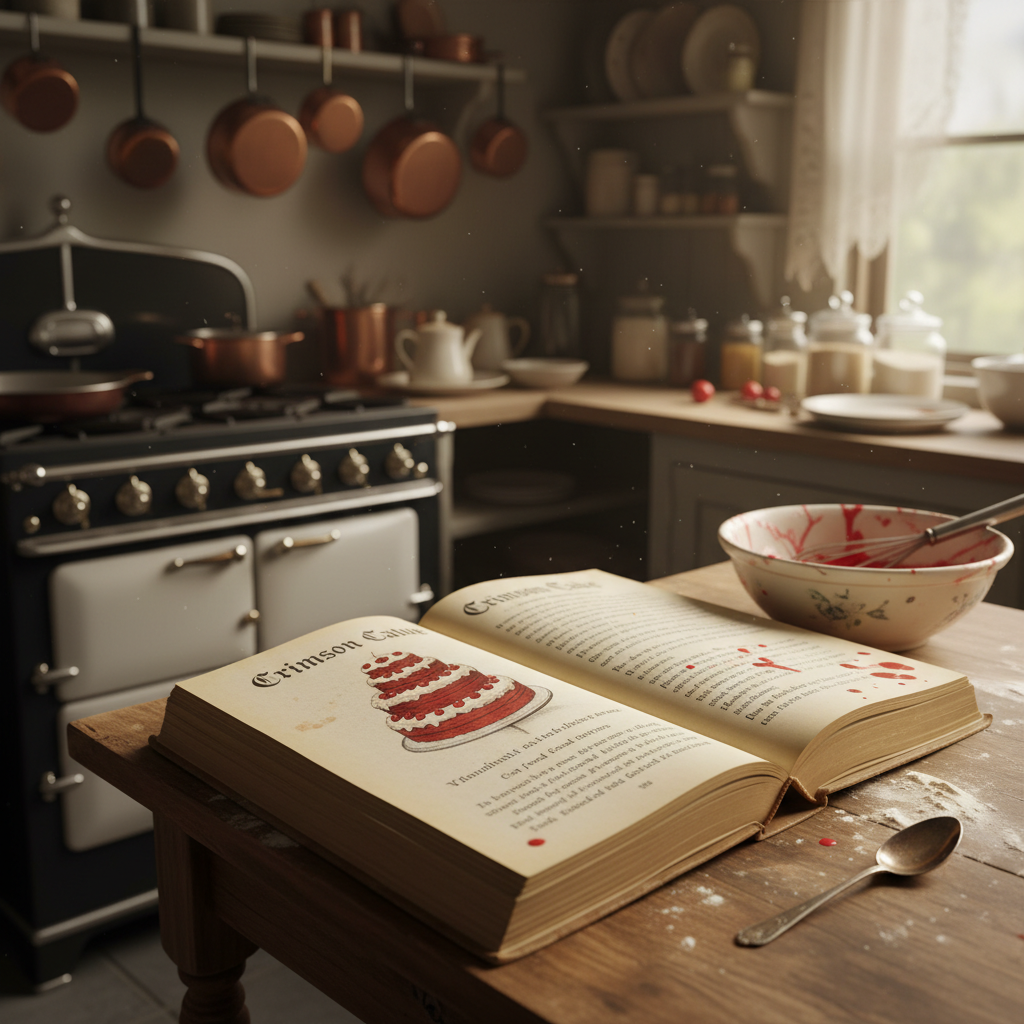
The story of red velvet is as rich and intriguing as the cake itself. While its exact origins are debated, many believe red velvet cake emerged in the Victorian era, where non-Dutch processed cocoa reacted with acidic ingredients like buttermilk and vinegar to create a subtle reddish-brown tint. During World War II, food rationing led bakers to use beet juice or boiled grated beets to enhance the color and retain moisture in their cakes, giving us the distinct red hue we recognize today.
Crinkle cookies, on the other hand, are a beloved classic that got their name from their unique, cracked appearance after baking. The contrast of the dark dough peeking through a snowy powdered sugar coating is simply irresistible. Combining these two concepts into a Red Velvet Crinkle Cookie creates a modern classic that’s both visually stunning and incredibly delicious.
Why You’ll Love This Recipe
- Easy to Follow This recipe is designed for bakers of all skill levels, especially beginners.
- Visually Stunning The vibrant red and snowy white make them perfect for any festive occasion.
- Irresistibly Delicious Soft, chewy, and rich with a hint of cocoa and vanilla.
- Perfect for Gifting They hold up well and look beautiful packaged.
- Crowd-Pleaser Everyone loves a red velvet treat!
Ingredient Notes
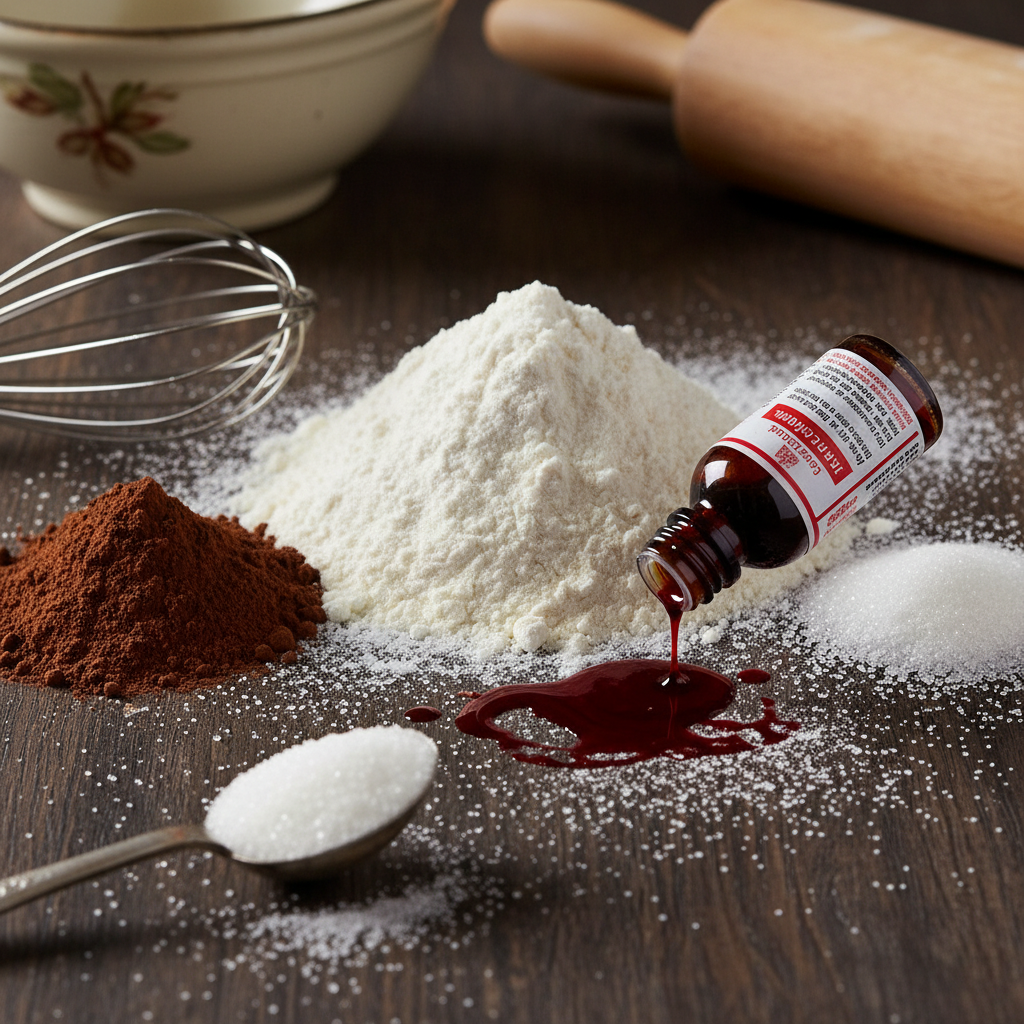
Let’s talk about what makes these cookies so special. Using high-quality ingredients makes a big difference in flavor and texture.
- All-Purpose Flour The base of our cookie. Measure it correctly by spooning it into your measuring cup and leveling it off.
- Unsweetened Cocoa Powder Just a touch gives that signature red velvet flavor without making them taste like chocolate cookies.
- Baking Soda Our leavening agent, helping the cookies rise and achieve that perfect crinkle.
- Salt Balances the sweetness and enhances all the flavors.
- Unsalted Butter Room temperature butter creams beautifully and adds richness.
- Granulated Sugar Sweetens and helps with the cookie’s structure.
- Large Egg Binds everything together. Make sure it’s at room temperature.
- Vanilla Extract Use good quality vanilla for the best flavor.
- Red Food Coloring This is key for that iconic red velvet color. Gel food coloring works best for a vibrant hue.
- Powdered Sugar Essential for rolling the dough balls, creating the beautiful crinkle effect.
Equipment Needed
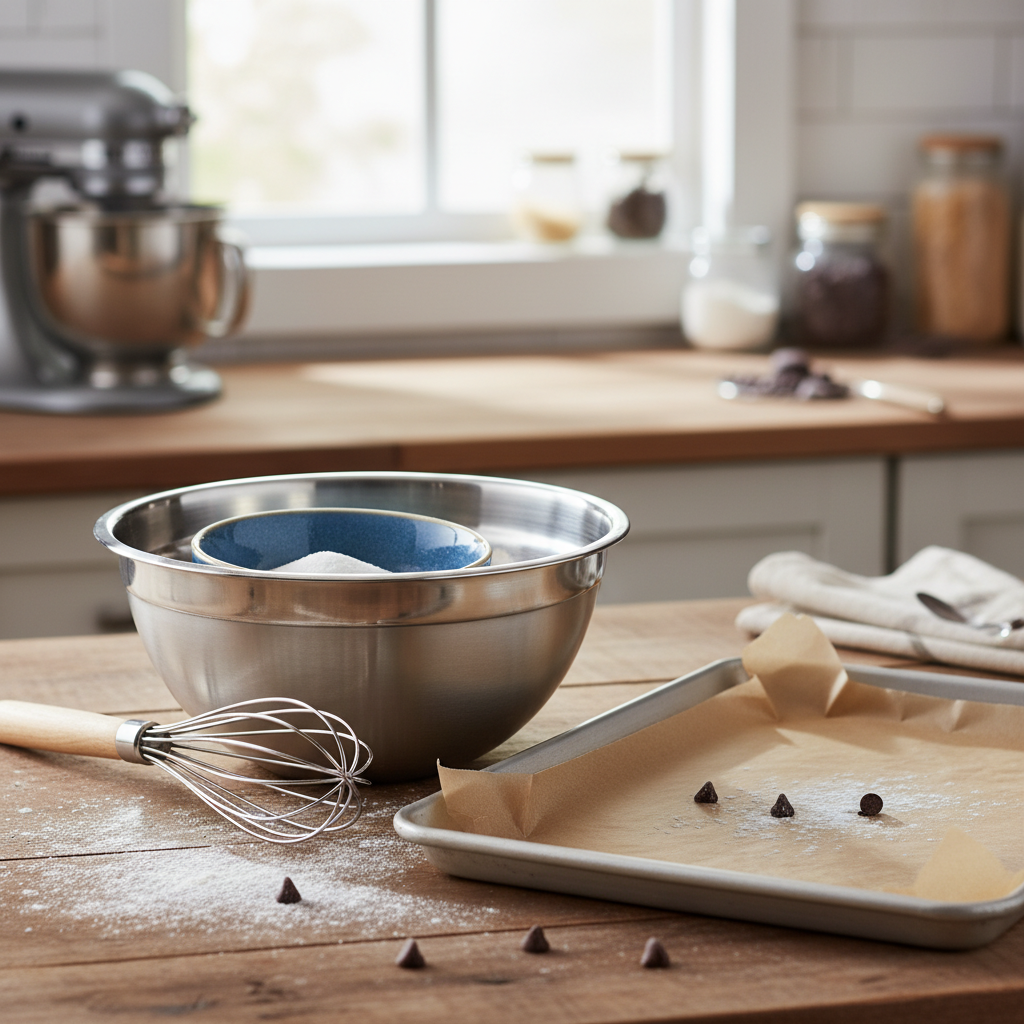
You won’t need anything fancy for these cookies. Here’s what will come in handy:
- Large Mixing Bowls
- Electric Mixer (stand or hand-held)
- Whisk
- Rubber Spatula
- Measuring Cups and Spoons
- Baking Sheets
- Parchment Paper or Silicone Baking Mats
- Small Cookie Scoop (1.5-2 tablespoon size)
- Wire Cooling Rack
Full Recipe Card
Ingredients
- 2 1/4 cups (270g) all-purpose flour
- 1/4 cup (22g) unsweetened cocoa powder
- 1 teaspoon baking soda
- 1/2 teaspoon salt
- 1/2 cup (113g) unsalted butter, softened
- 1 1/2 cups (300g) granulated sugar
- 1 large egg, room temperature
- 1 teaspoon vanilla extract
- 2 tablespoons (30ml) red food coloring (gel works best)
- 1/2 cup (60g) powdered sugar, for rolling
Instructions
- Whisk Dry Ingredients In a medium bowl, whisk together the flour, cocoa powder, baking soda, and salt. Set aside.
- Cream Butter and Sugar In a large bowl, using an electric mixer, cream together the softened butter and granulated sugar until light and fluffy, about 2-3 minutes.
- Add Wet Ingredients Beat in the egg and vanilla extract until well combined. Scrape down the sides of the bowl as needed. Add the red food coloring and mix until the batter is a uniform vibrant red.
- Combine Wet and Dry Gradually add the dry ingredients to the wet ingredients, mixing on low speed until just combined. Be careful not to overmix. The dough will be soft.
- Chill the Dough Cover the bowl with plastic wrap and chill the dough for at least 1 hour. This makes it easier to handle and prevents the cookies from spreading too much.
- Preheat Oven and Prep Baking Sheets Preheat your oven to 350°F (175°C). Line two baking sheets with parchment paper or silicone baking mats.
- Roll the Cookies Place the powdered sugar in a shallow bowl. Scoop out dough using a small cookie scoop (about 1.5-2 tablespoons per cookie). Roll each portion into a smooth ball between your palms.
- Coat in Powdered Sugar Roll each dough ball generously in the powdered sugar, ensuring it’s completely coated. A thick coating helps create prominent crinkles.
- Bake Place the coated dough balls about 2 inches apart on the prepared baking sheets.
- Bake Bake for 10-12 minutes, or until the edges are set and the centers are still slightly soft. Do not overbake.
- Cool Let the cookies cool on the baking sheets for 5 minutes before transferring them to a wire rack to cool completely.
Notes
- Prep Time 20 minutes
- Chill Time 1 hour
- Cook Time 10-12 minutes
- Yield Approximately 3 dozen cookies
Tips & Variations
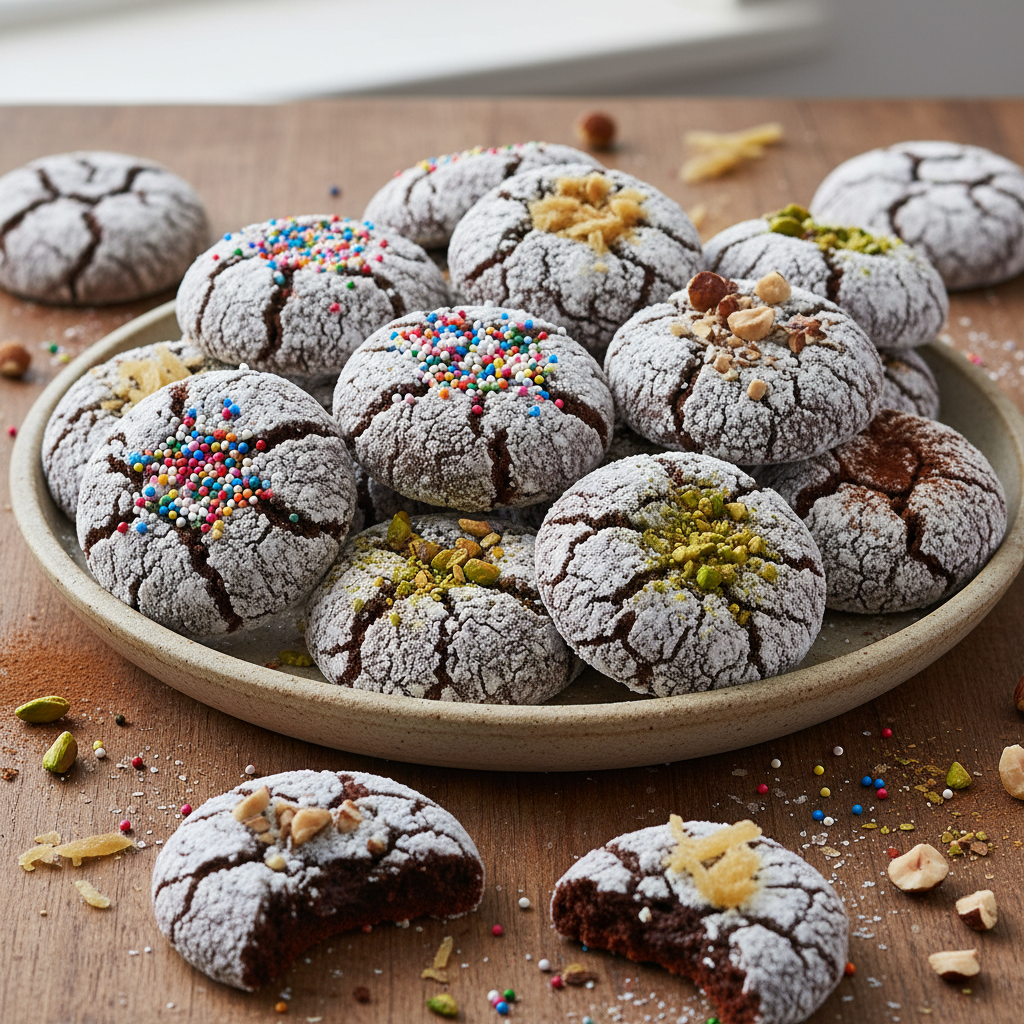
- Citrus Zest Add 1 teaspoon of orange or lemon zest to the dough for a bright, subtle flavor twist.
- Chocolate Chips Fold in 1/2 cup of white chocolate chips or dark chocolate chips for extra indulgence.
- Cream Cheese Glaze Drizzle cooled cookies with a simple cream cheese glaze for an added touch of classic red velvet flavor.
- Holiday Sprinkles Before baking, gently press a few festive sprinkles onto the tops of the powdered sugar-coated dough balls for extra holiday cheer.
Pro Chef Tips
- Don’t Skimp on Chilling Chilling the dough is crucial. It helps prevent the cookies from spreading too thin and ensures those beautiful crinkles form properly.
- Generous Powdered Sugar Coating Roll the dough balls very generously in powdered sugar. The thicker the coating, the more pronounced your crinkles will be. Don’t be shy!
- Room Temperature Ingredients Ensure your butter and egg are at room temperature. This allows them to emulsify better, creating a smoother, more uniform dough.
- Avoid Overmixing Once you add the flour, mix until just combined. Overmixing develops the gluten, leading to tougher cookies.
Common Mistakes to Avoid
- Not Chilling the Dough This is the number one reason cookies spread too much and lose their crinkle.
- Not Enough Powdered Sugar A thin coating will melt into the cookie, resulting in fewer or no crinkles.
- Overbaking Red velvet cookies are best when they are soft and chewy. Overbaking will make them dry and hard.
- Using Liquid Food Coloring Liquid food coloring can thin out the dough and isn’t as vibrant. Gel food coloring provides a much richer color.
Storage & Meal Prep
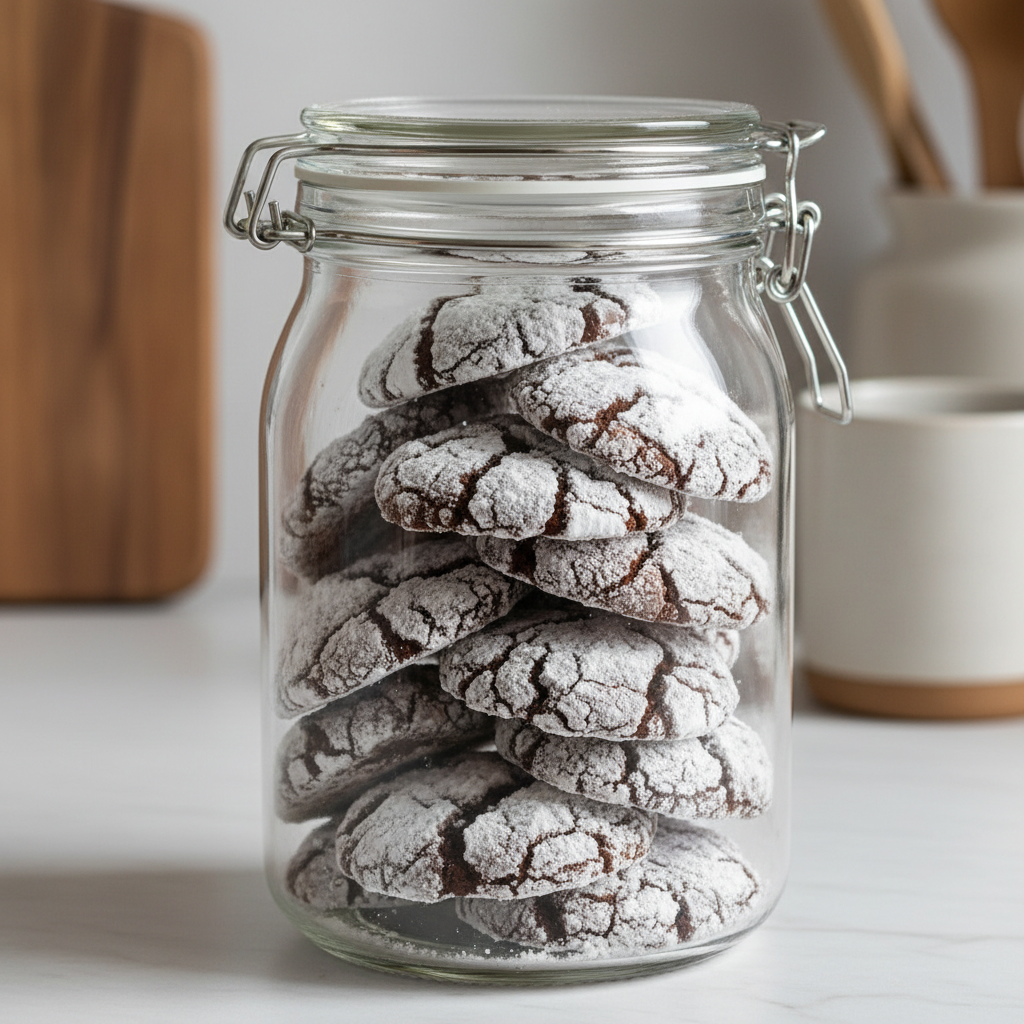
These cookies store beautifully, making them perfect for meal prep or gifting.
- Countertop Store cooled cookies in an airtight container at room temperature for up to 3-4 days.
- Refrigerator Not recommended, as it can dry out the cookies.
Make-Ahead & Freezer Notes
- Dough You can prepare the dough up to 2-3 days in advance and store it, covered, in the refrigerator. Let it sit at room temperature for about 15-20 minutes before rolling.
- Baked Cookies Baked and cooled cookies can be frozen in an airtight container for up to 2-3 months. Place parchment paper between layers to prevent sticking. Thaw at room temperature before serving.
- Unbaked Dough Balls Form the dough balls, coat them in powdered sugar, and freeze them on a baking sheet until solid. Transfer to a freezer-safe bag or container and freeze for up to 3 months. Bake from frozen, adding a minute or two to the baking time.
Serving Suggestions

Red Velvet Crinkle Cookies are wonderful on their own, but here are a few ideas to make them even more special:
- With Coffee or Tea A classic pairing for a cozy afternoon treat.
- Dessert Platter Arrange them alongside other festive cookies and treats for a stunning display.
- Milk and Cookies A timeless favorite that never disappoints.
- Ice Cream Topping Crumble a cookie over a scoop of vanilla ice cream for an instant dessert upgrade.