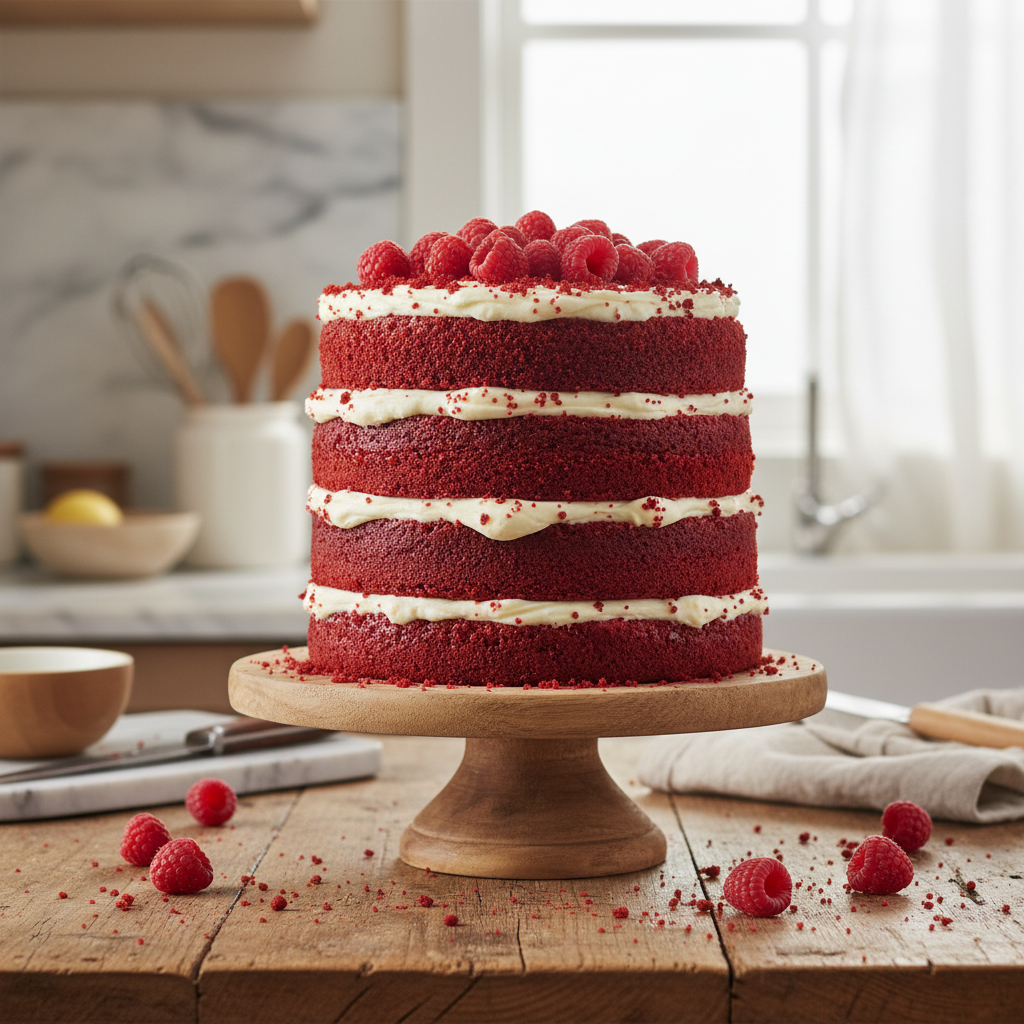
Welcome, fellow dessert lovers! Get ready to dive into the wonderful world of Red Velvet Cake. This iconic dessert, with its striking red hue and luscious cream cheese frosting, is more than just a cake—it’s an experience. If you’ve ever felt intimidated by baking, fear not! This recipe is crafted to be simple, straightforward, and incredibly rewarding. We’re going to create a cake that’s not just beautiful to look at, but also melt-in-your-mouth soft and exquisitely fluffy. Get your aprons ready; baking joy awaits!
History / Background of Red Velvet Cake
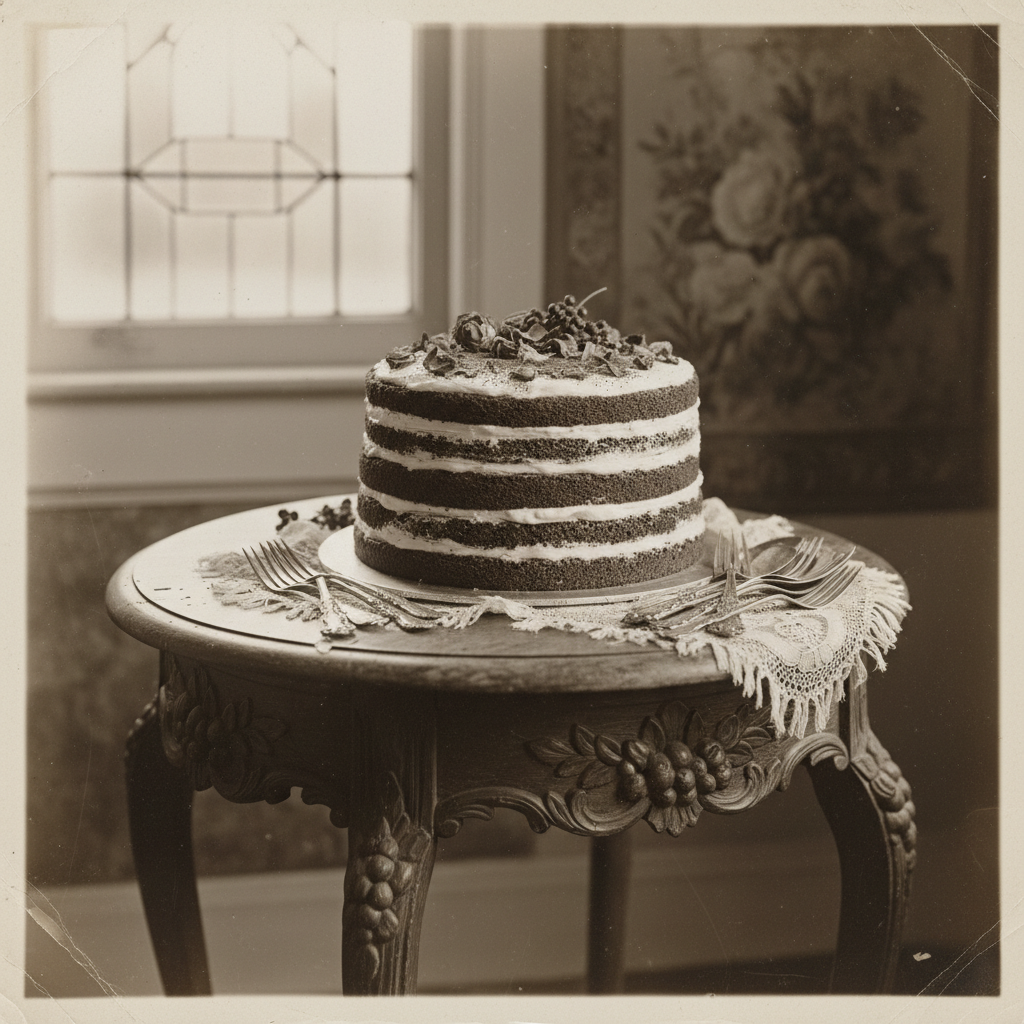
The story of Red Velvet Cake is as rich and intriguing as its flavor. While its exact origins are a bit debated, many believe it emerged in the Southern United States. During the Great Depression, bakers sometimes used beet juice or cocoa powder to enhance the color of their cakes, giving them a reddish tint. The reaction between acidic ingredients like buttermilk and vinegar with cocoa powder also contributes to the distinctive reddish-brown color, which was more pronounced with older, non-Dutched cocoa. The cake gained significant popularity in the 20th century, especially after being featured at the Waldorf-Astoria Hotel in New York. Today, it’s a beloved classic, cherished for its unique flavor profile—a delicate balance of vanilla, a hint of cocoa, and that signature tang from buttermilk, all perfectly complemented by a rich cream cheese frosting.
Why You’ll Love This Recipe
- Beginner-Friendly This recipe breaks down every step, making it perfect for new bakers.
- Incredibly Moist and Fluffy We’ve perfected the balance for a tender crumb every time.
- Classic Flavor Profile Enjoy the authentic taste of cocoa and vanilla with a subtle tang.
- Stunning Presentation Its vibrant red color and creamy white frosting make it a showstopper.
- Crowd-Pleaser Always a hit at parties, family gatherings, or just a sweet treat for yourself.
Ingredient Notes
Let’s talk about the stars of our show—the ingredients! Using good quality ingredients makes all the difference. Here are a few notes on what you’ll need:
- All-Purpose Flour Stick to unbleached all-purpose flour for the best texture.
- Unsweetened Cocoa Powder Regular unsweetened cocoa powder is key here, not Dutch-processed. The acidity reacts with the baking soda to create that signature lift and color.
- Baking Soda and Baking Powder Both are crucial for leavening and creating a soft, fluffy texture.
- Buttermilk This acidic ingredient is essential for moisture, tenderness, and reacting with the cocoa and baking soda. If you don’t have it, you can make your own by adding 1 tablespoon of white vinegar or lemon juice to a measuring cup, then filling the rest with milk to 1 cup. Let it sit for 5-10 minutes.
- Distilled White Vinegar Another acidic component that aids in the red color development and tender crumb.
- Red Food Coloring For that iconic vibrant red. Gel food coloring is often more potent than liquid.
- Cream Cheese For the frosting, use full-fat block cream cheese, chilled. This ensures a thick, stable frosting.
- Unsalted Butter Make sure it’s softened for both the cake and the frosting.
Equipment Needed
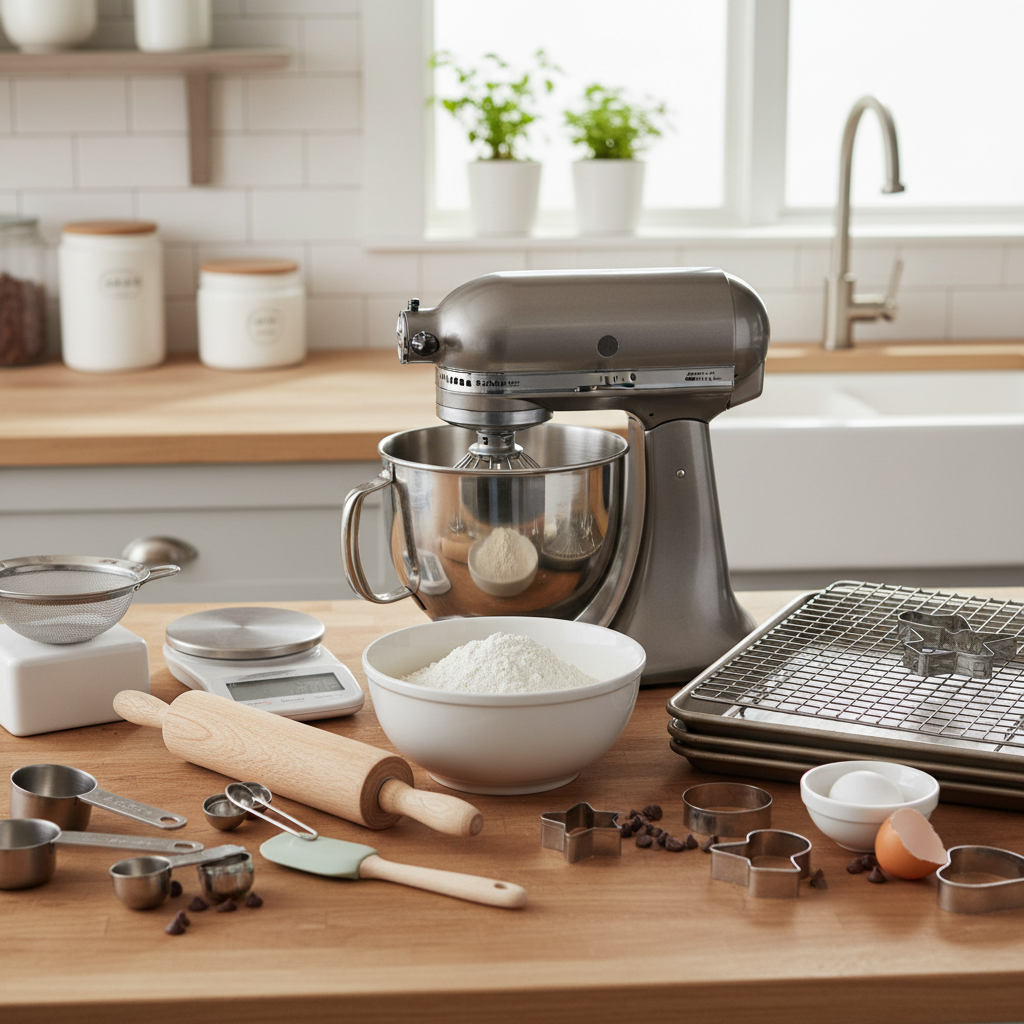
- Two or three 8 or 9-inch round cake pans
- Mixing bowls (large and medium)
- Electric mixer (stand mixer or hand mixer)
- Whisk
- Rubber spatula
- Measuring cups and spoons
- Parchment paper
- Wire cooling rack
- Offset spatula or butter knife for frosting
Full Recipe Card
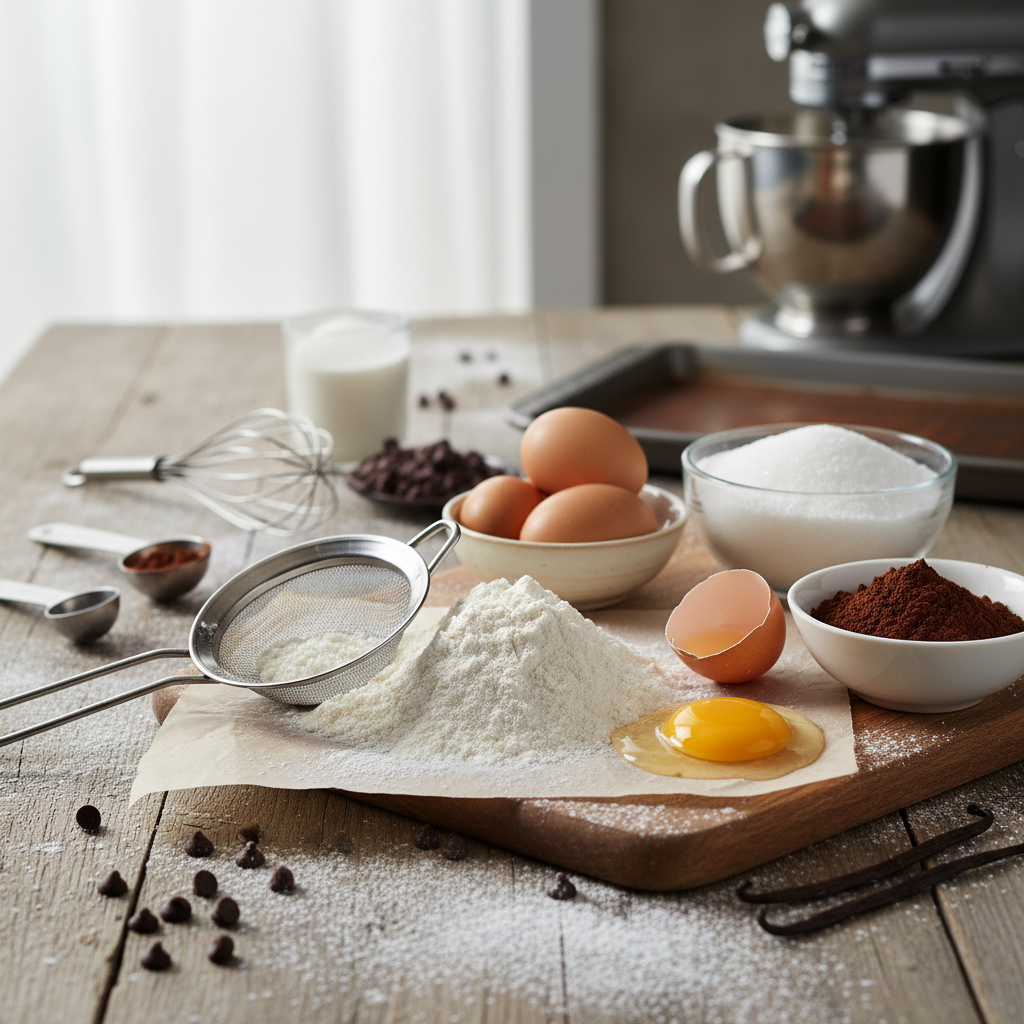
Ingredients for the Cake
- 2 1/2 cups (300g) all-purpose flour
- 1 1/2 cups (300g) granulated sugar
- 1 teaspoon baking soda
- 1 teaspoon salt
- 1 tablespoon unsweetened cocoa powder
- 1 cup (226g) unsalted butter, softened
- 2 large eggs, room temperature
- 1 teaspoon vanilla extract
- 1 cup (240ml) buttermilk, room temperature
- 1 tablespoon distilled white vinegar
- 2 ounces (approx. 4-5 tablespoons) red liquid food coloring, or gel food coloring to desired shade
Ingredients for the Cream Cheese Frosting
- 1 (8-ounce) package full-fat cream cheese, chilled
- 1/2 cup (113g) unsalted butter, softened
- 4 cups (480g) powdered sugar, sifted
- 1 teaspoon vanilla extract
- 1-2 tablespoons milk or heavy cream (optional, for consistency)
Instructions
- Preheat and Prep Preheat your oven to 350°F (175°C). Grease and flour two or three 8 or 9-inch round cake pans. Line the bottoms with parchment paper.
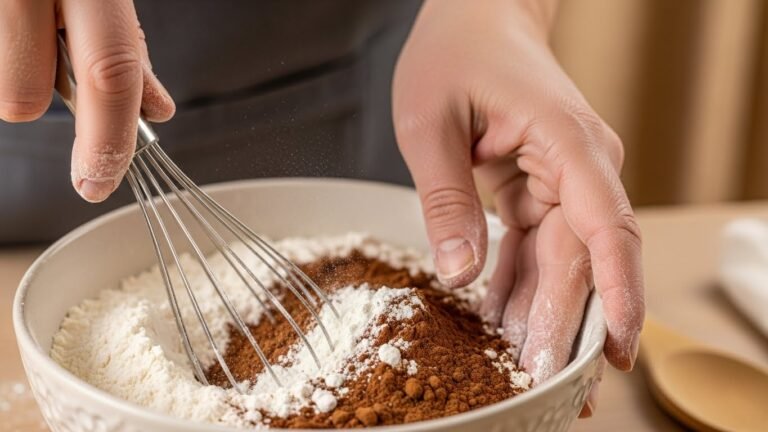
- Combine Dry Ingredients In a large bowl, whisk together the flour, sugar, baking soda, salt, and cocoa powder.
- Cream Butter and Sugar In a separate large bowl, using an electric mixer, cream the softened butter until light and fluffy. Gradually add the granulated sugar and beat until well combined and pale.
- Add Eggs and Vanilla Beat in the eggs one at a time, mixing well after each addition. Stir in the vanilla extract.
- Combine Wet Ingredients In a medium bowl, whisk together the buttermilk, vinegar, and red food coloring.
- Alternate Wet and Dry Gradually add the dry ingredients to the wet ingredients in three additions, alternating with the buttermilk mixture in two additions. Begin and end with the dry ingredients. Mix on low speed until just combined. Do not overmix.
- Bake the Cakes Divide the batter evenly among the prepared cake pans. Bake for 25-30 minutes, or until a wooden skewer inserted into the center comes out clean.
- Cool Let the cakes cool in the pans for 10-15 minutes before inverting them onto a wire rack to cool completely.
- Make the Frosting In a large bowl, beat the chilled cream cheese and softened butter with an electric mixer until smooth and creamy. Gradually add the sifted powdered sugar, one cup at a time, beating until light and fluffy. Stir in the vanilla extract. If the frosting is too thick, add milk or cream one tablespoon at a time until desired consistency is reached.
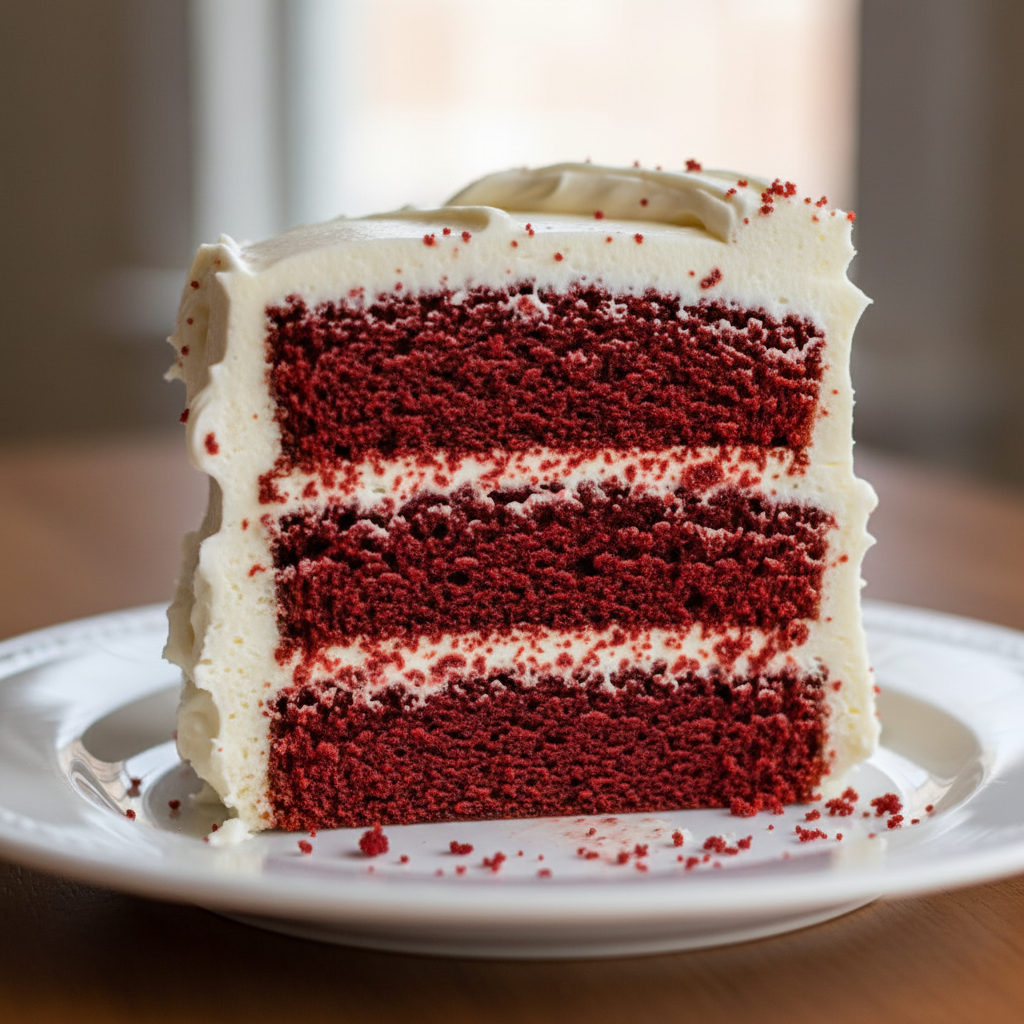
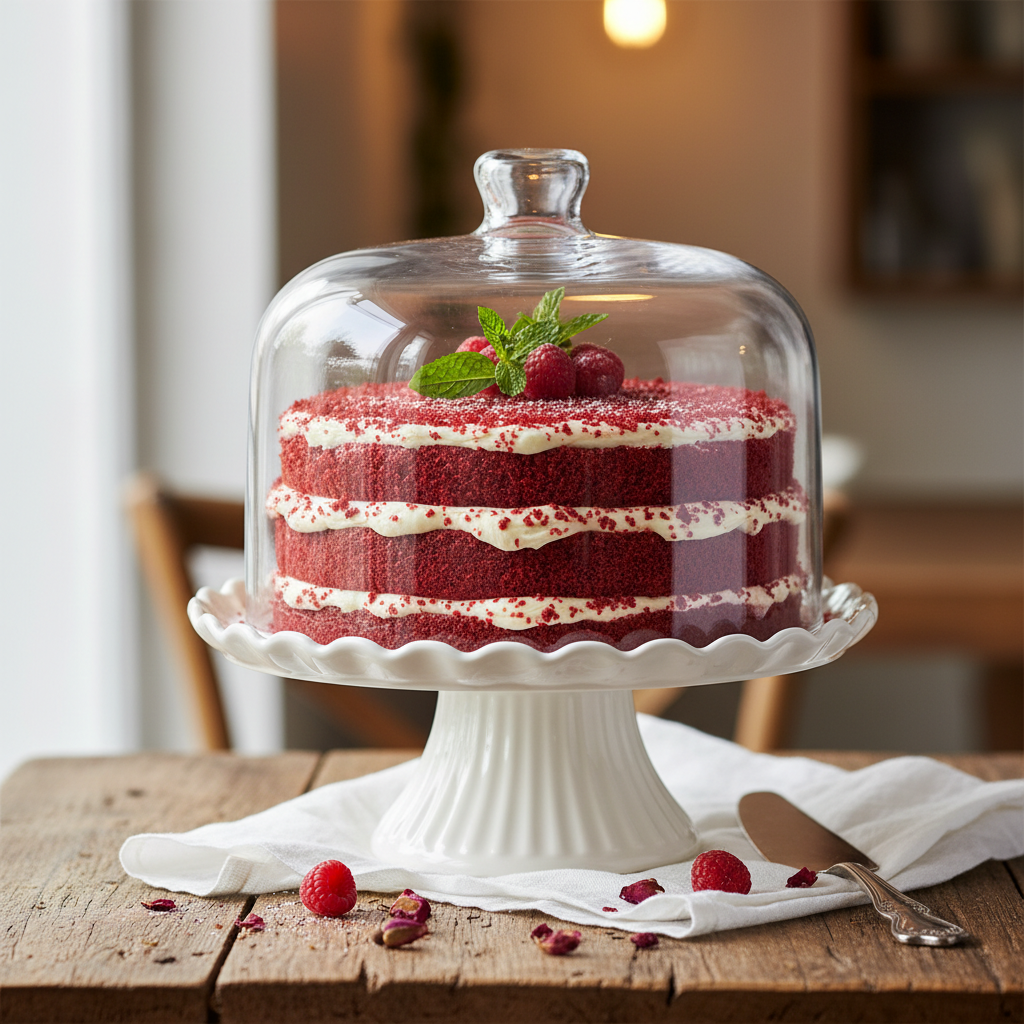
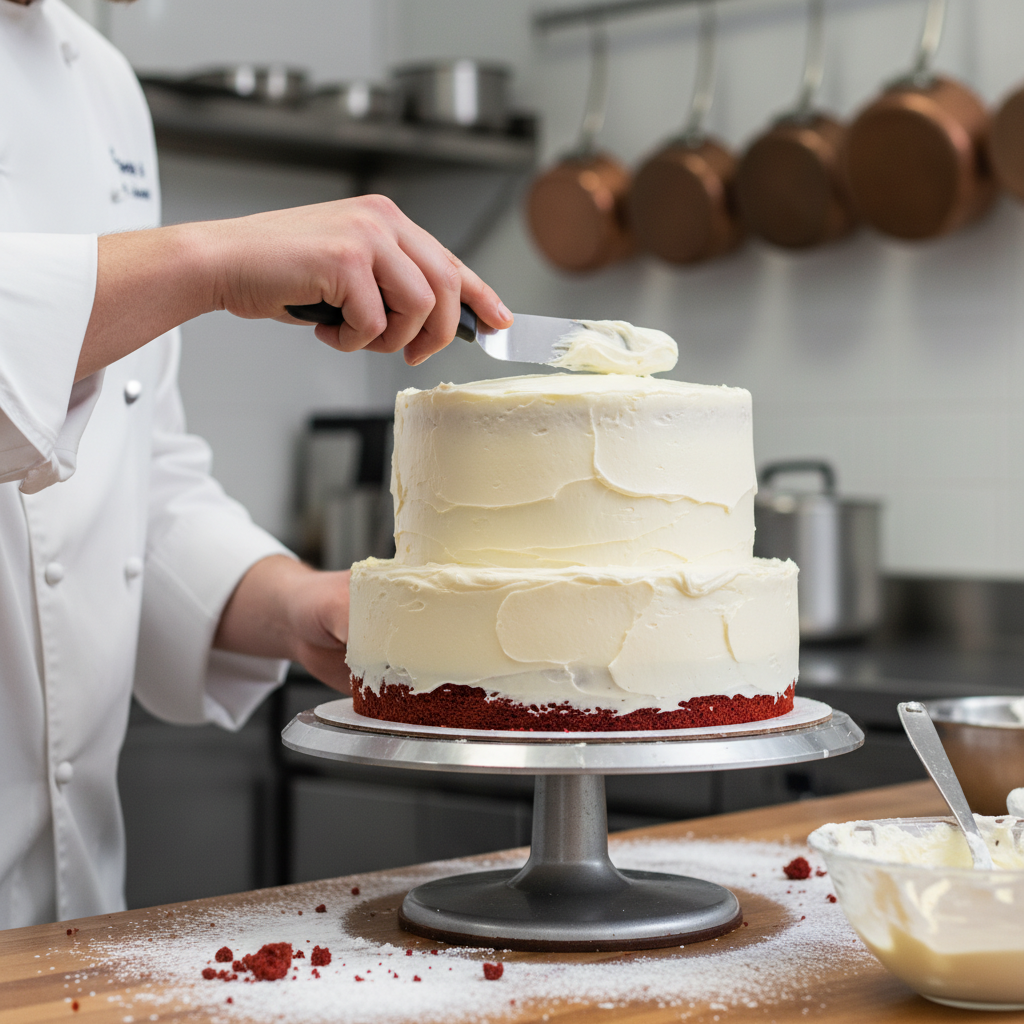
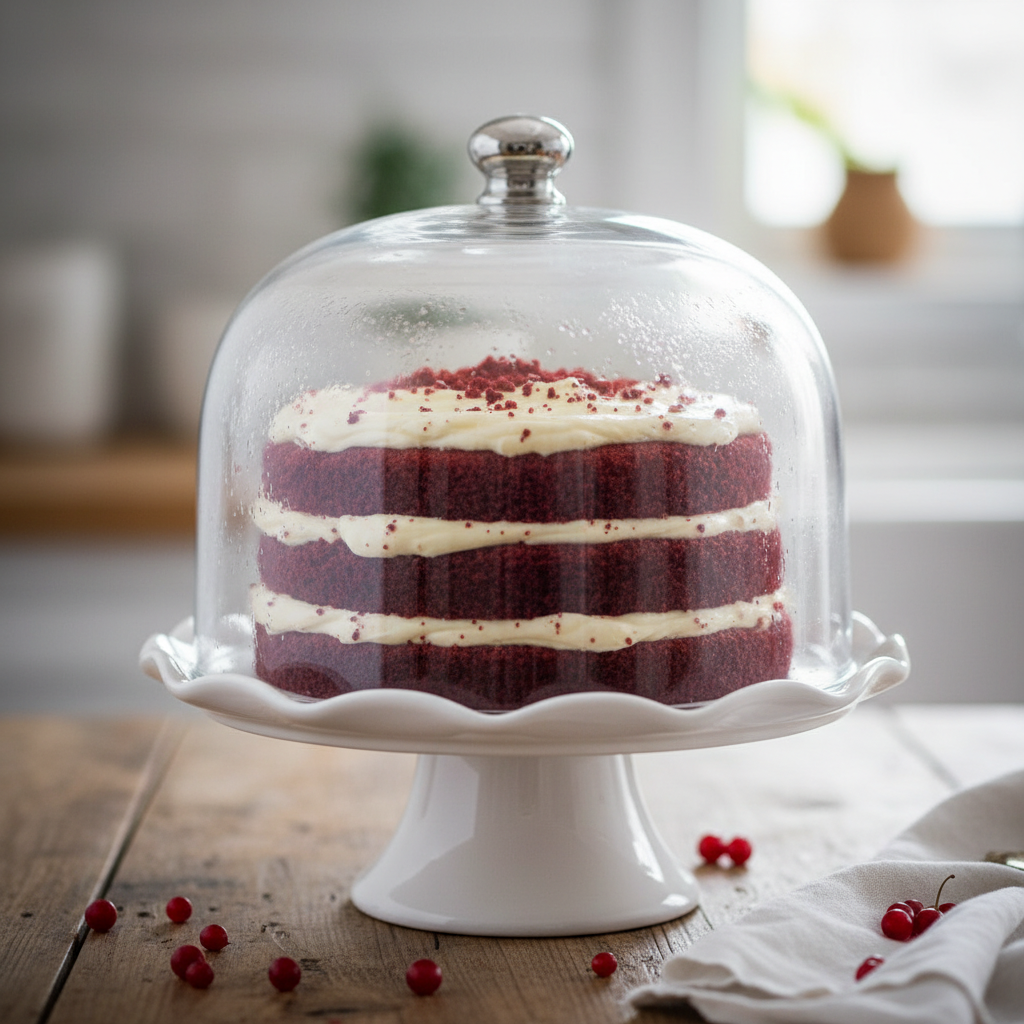
- Assemble the Cake Once the cakes are completely cool, level them if necessary. Place one cake layer on a serving plate. Spread a generous layer of cream cheese frosting over the top. Repeat with the remaining layers. Frost the top and sides of the entire cake. Decorate with leftover cake crumbs or fresh berries if desired.
Notes
- Ensure all cold ingredients for the cake are at room temperature for a smooth batter.
- Do not open the oven door during the first 20 minutes of baking to prevent the cakes from sinking.
- For a deeper red, use gel food coloring. Start with a smaller amount and add more until you reach your desired shade.
Tips & Variations
- Cupcakes This recipe can easily be adapted for cupcakes. Bake for 18-22 minutes.
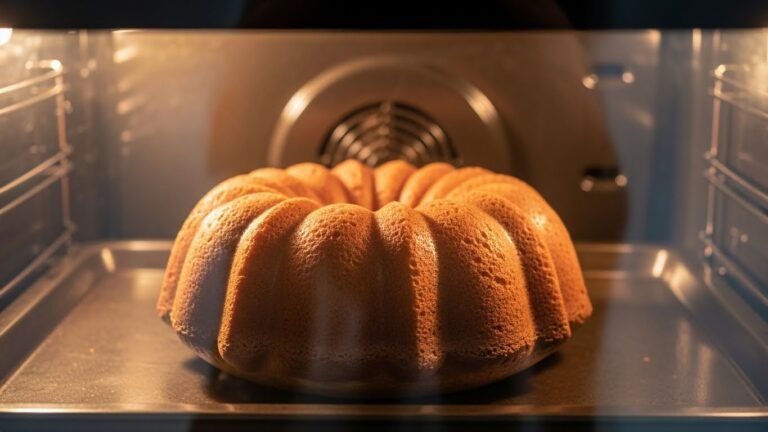
- Bundt Cake Pour the batter into a greased and floured Bundt pan and bake for 50-60 minutes.
- Add Zest A little orange or lemon zest in the batter can add a subtle brightness.
- Chocolate Chips Fold in a handful of mini chocolate chips for an extra chocolatey surprise.
Pro Chef Tips
- Measure Precisely Baking is a science! Use a kitchen scale for flour and sugar for the most accurate results.
- Don’t Overmix Overmixing develops gluten, leading to a tough cake. Mix until just combined.
- Room Temperature Ingredients Especially for butter, eggs, and buttermilk. This helps them emulsify better, creating a smoother batter and a finer crumb.
- Chill Frosting if Needed If your cream cheese frosting becomes too soft while working with it, pop it in the fridge for 15-20 minutes to firm up.
- Level Your Cakes For a professional-looking cake, use a serrated knife or a cake leveler to trim the domed tops of your cake layers.
Common Mistakes to Avoid
- Overbaking This is the quickest way to dry out your cake. Start checking for doneness at the lower end of the baking time.
- Under-cooling Cakes Trying to frost warm cakes will lead to melted frosting and a messy situation. Be patient and let them cool completely.
- Using Cold Cream Cheese for Frosting Cold cream cheese will result in lumpy frosting. Make sure it’s chilled but still pliable.
- Substituting Ingredients Casually Baking relies on specific chemical reactions. Stick to the recipe for best results, especially with leavening agents and acidic ingredients.
Storage & Meal Prep
This cake stores beautifully! Keep it covered tightly in the refrigerator for up to 3-4 days. The flavors actually meld and deepen over time, making it even more delicious the next day. For best serving, bring individual slices to room temperature for about 15-20 minutes before enjoying.
Make-Ahead & Freezer Notes
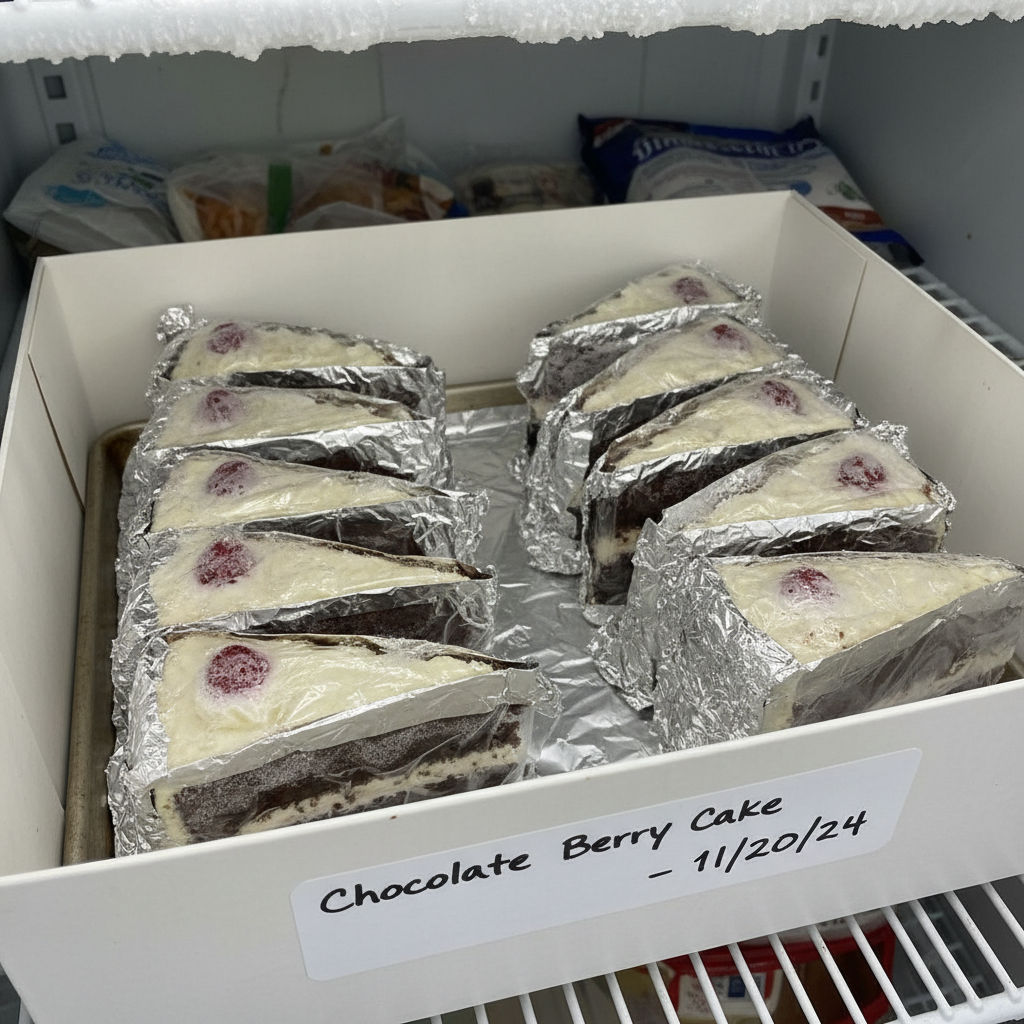
You can definitely make components of this cake ahead of time:
- Cake Layers Baked and cooled cake layers can be wrapped tightly in plastic wrap and stored at room temperature for up to 2 days, or frozen for up to 2 months. Thaw frozen layers overnight in the refrigerator before frosting.
- Frosting The cream cheese frosting can be made a day or two in advance and stored in an airtight container in the refrigerator. Before using, let it sit at room temperature for about 30 minutes, then beat it again until smooth and fluffy.
- Whole Cake A fully frosted cake can be frozen. Place it uncovered in the freezer until the frosting is firm (about 1-2 hours). Then, wrap it tightly in several layers of plastic wrap and then foil. It can be stored for up to 1 month. Thaw in the refrigerator overnight before serving.
Serving Suggestions
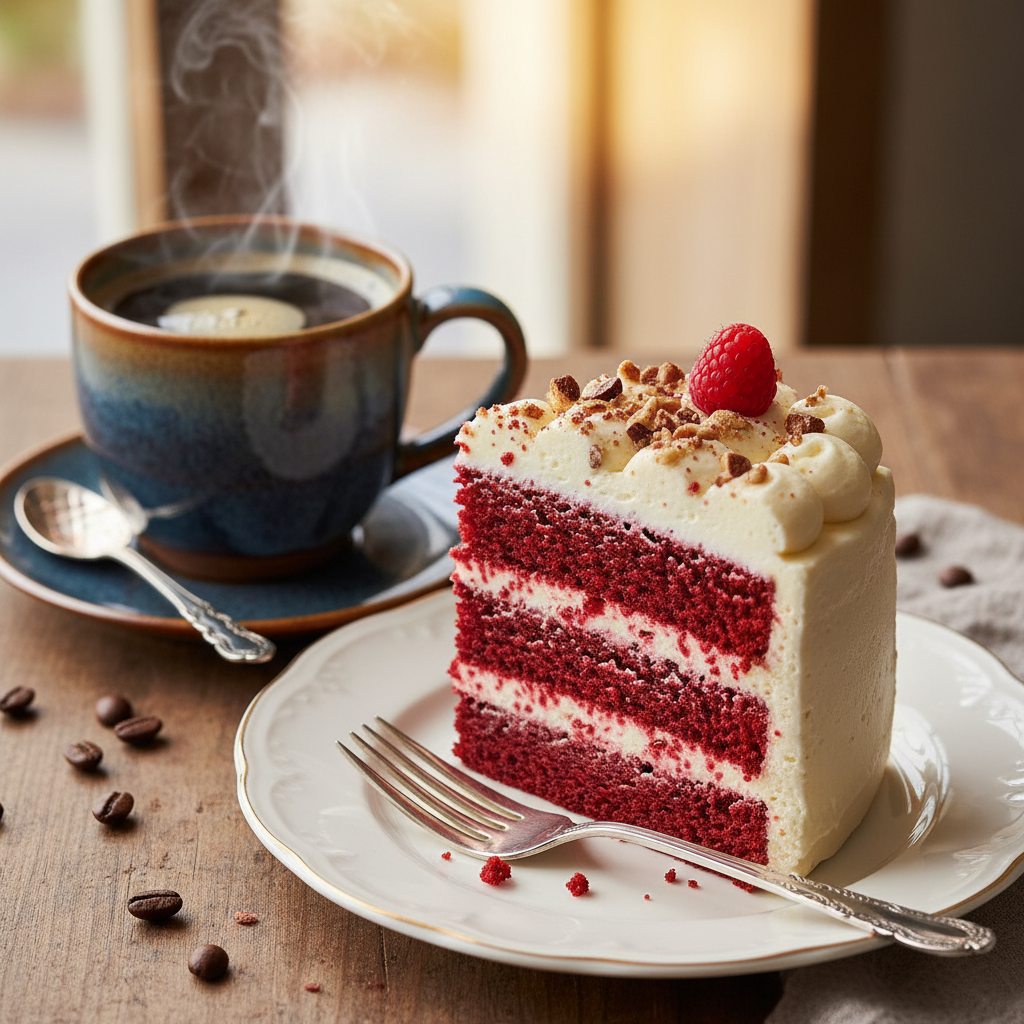
Red Velvet Cake is perfect on its own, but here are a few ideas to elevate your serving experience:
- With a Hot Beverage A slice pairs wonderfully with a cup of coffee, tea, or hot cocoa.
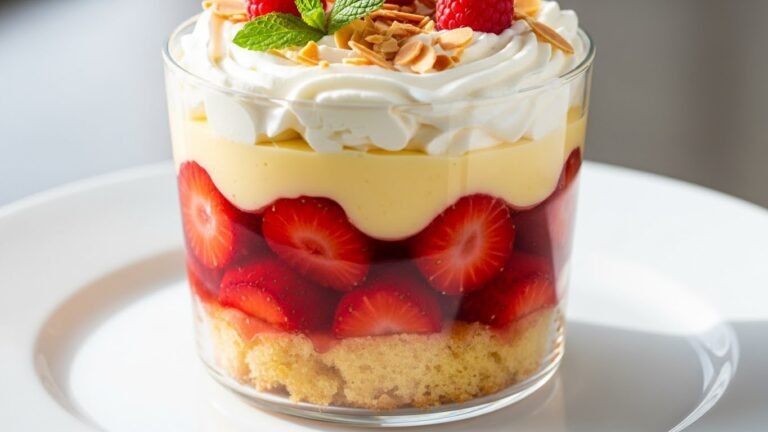
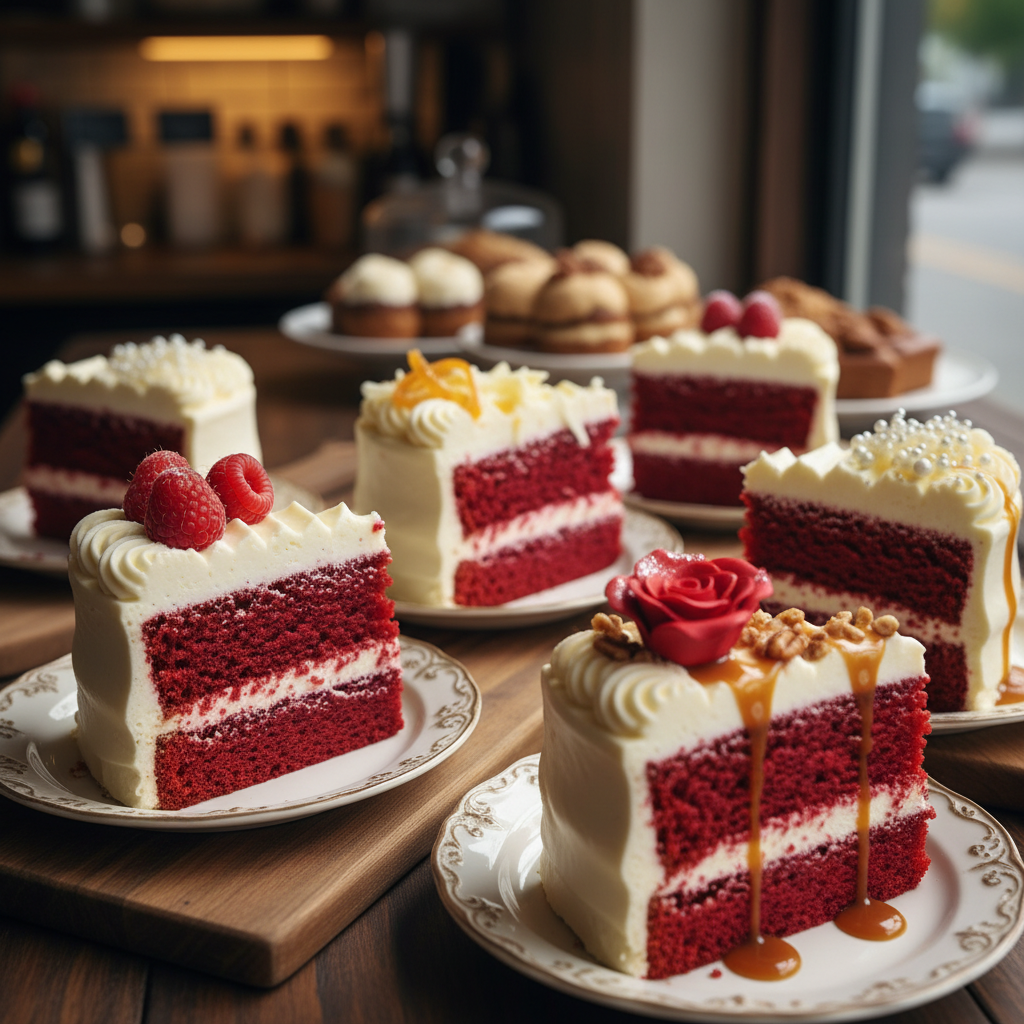
- Fresh Berries A side of fresh raspberries or strawberries adds a lovely contrast in flavor and color.
- Whipped Cream A dollop of freshly whipped cream can lighten the richness of the cake.
- Ice Cream Vanilla bean or even a coffee-flavored ice cream makes a delightful accompaniment.