Quick Brownies Recipe Ready in 30 Minutes
Ever had a sudden, intense craving for rich, fudgy brownies but felt daunted by a long, complicated recipe? We’ve all been there! That desire for a warm, chocolatey square can strike at any moment, and waiting an hour or more just isn’t an option when that sweet tooth calls. What if we told you that you could whip up a batch of decadent, perfect brownies in just 30 minutes? Yes, it’s absolutely possible!
This recipe is designed for those moments when speed and simplicity are key, without compromising on flavor or that beloved fudgy texture. Whether you’re a seasoned baker or just starting your culinary journey, this guide will walk you through every step to achieve brownie bliss in no time. Get ready to impress yourself and anyone lucky enough to share these delightful treats!
History and Background of Brownies

The brownie, a beloved chocolate baked good, has a delightfully sweet history rooted in American culinary tradition. While its exact origins are a bit fuzzy, the most popular tale traces its beginnings to the Palmer House Hotel in Chicago around 1893. Bertha Palmer, a prominent socialite, reportedly asked a pastry chef to create a dessert suitable for ladies attending the World’s Columbian Exposition—something cake-like but smaller than a piece of cake, that could be easily eaten from a boxed lunch.
The result was a rich, chocolatey bar with walnuts and an apricot glaze, a treat that quickly gained popularity. From these elegant beginnings, the brownie evolved, with various recipes appearing in cookbooks throughout the early 20th century. Over time, bakers experimented with different textures—some preferring a cakey brownie, others a dense, fudgy one. Today, the brownie remains a staple, constantly adapted and loved for its comforting chocolate goodness, and now, its incredible speed!
Why You’ll Love This Recipe
There are countless reasons why this 30-minute brownie recipe will become your new go-to. Here are just a few:
- Lightning Fast This recipe truly lives up to its name, getting you from zero to brownie hero in about half an hour.
- Incredibly Simple With straightforward steps and common ingredients, even beginner bakers can achieve perfect results.
- Fudgy Perfection Say goodbye to dry, crumbly brownies. This recipe delivers that coveted moist, dense, and intensely chocolatey texture.
- Minimal Cleanup Fewer dishes mean more time enjoying your delicious creation!
- Crowd-Pleaser Who doesn’t love a warm, homemade brownie? It’s perfect for impromptu guests, family treats, or a personal indulgence.
Ingredient Notes for Perfect Brownies
Quality ingredients are the cornerstone of any great recipe, even a quick one. Here’s a breakdown of what you’ll need and why:
- Unsalted Butter Using unsalted butter gives you control over the salt content. It also contributes to the rich, moist texture.
- Granulated Sugar Sweetens the brownies and helps create that lovely crackly top.
- Large Eggs Eggs bind the ingredients together, add richness, and contribute to the fudgy texture. Make sure they are at room temperature for better emulsion.
- Vanilla Extract A splash of vanilla enhances the chocolate flavor, making it deeper and more complex. Don’t skip it!
- All-Purpose Flour Just enough to provide structure without making the brownies cakey.
- Unsweetened Cocoa Powder This is where the intense chocolate flavor comes from. Use a good quality cocoa powder for the best results. Dutch-processed cocoa will give a darker color and milder flavor, while natural cocoa is more acidic and yields a lighter, tangier brownie.
- Salt A pinch of salt is crucial for balancing the sweetness and bringing out the chocolate flavor.
- Optional Chocolate Chips For an extra dose of chocolate goodness, feel free to fold in your favorite chocolate chips (milk, semi-sweet, or dark).
Equipment Needed for Baking
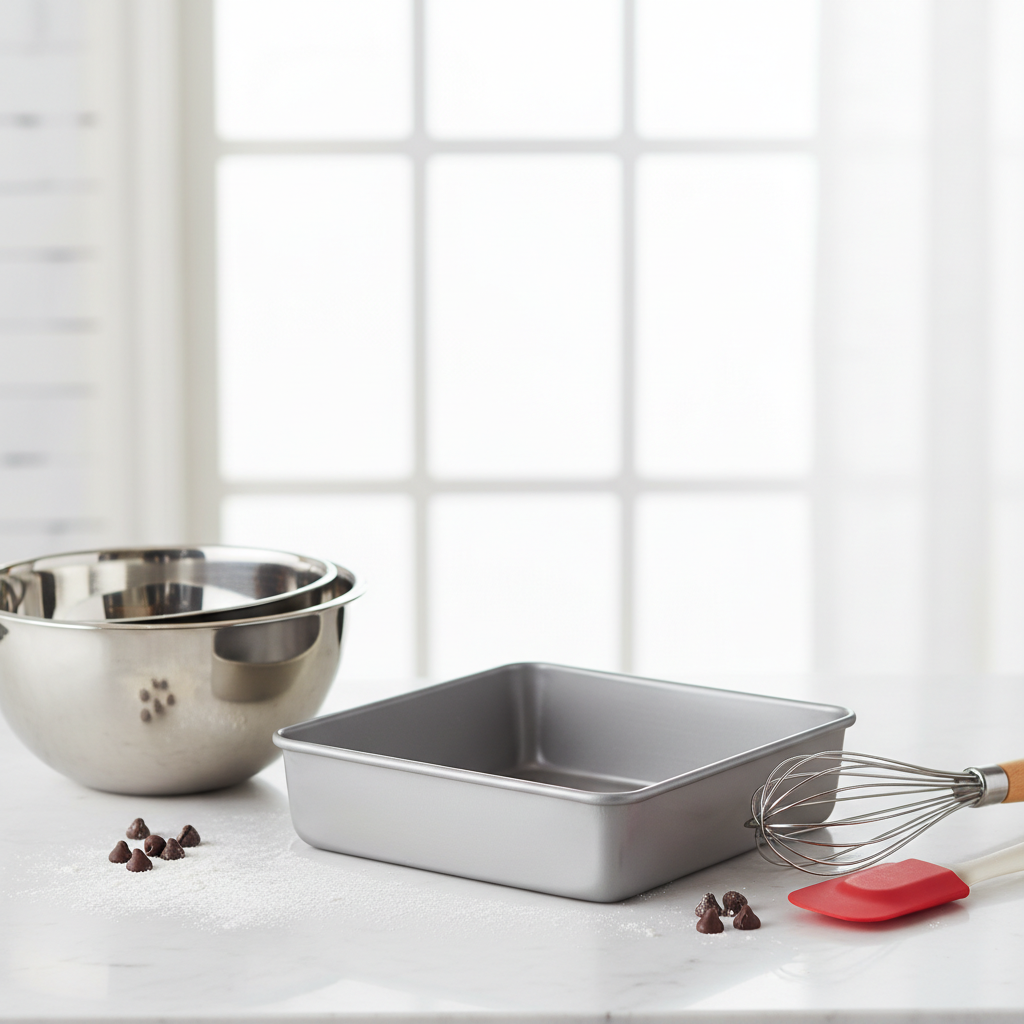
You don’t need a fancy kitchen to make amazing brownies. Here’s a list of the basic tools that will make your baking experience smooth and enjoyable:
- 8×8 Inch Baking Pan This size is perfect for achieving the ideal thickness and fudginess. Line it with parchment paper for easy removal.
- Large Mixing Bowl For combining your wet and dry ingredients.
- Medium Mixing Bowl For whisking dry ingredients.
- Whisk Essential for combining ingredients smoothly.
- Rubber Spatula For scraping down the sides of the bowl and folding in dry ingredients without overmixing.
- Measuring Cups and Spoons Accuracy is key in baking, even in a quick recipe!
- Microwave-Safe Bowl or Small Saucepan For melting butter.
Full Recipe Card – Quick Brownies
Get ready to bake! Here’s the straightforward recipe to create your perfect 30-minute brownies.
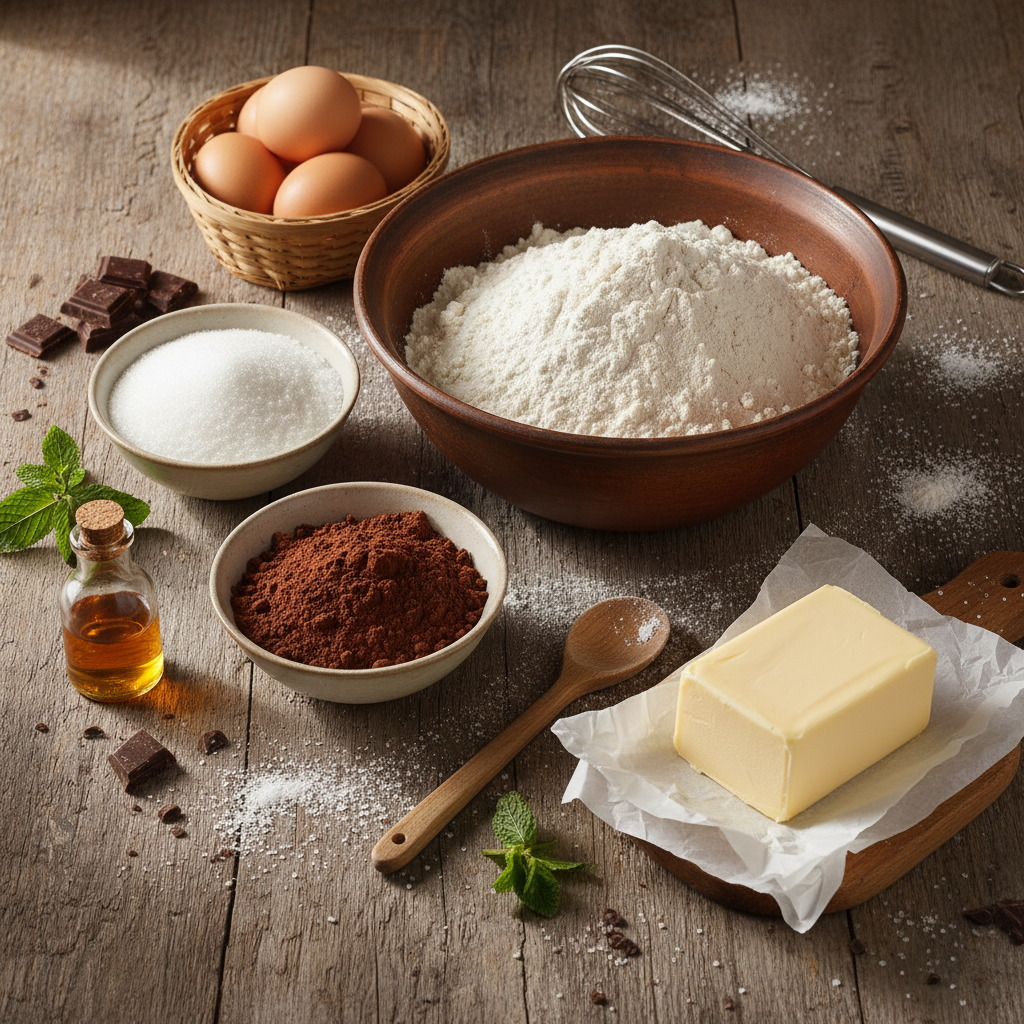
Ingredients
- 1/2 cup (113g) unsalted butter, melted
- 1 cup (200g) granulated sugar
- 2 large eggs, room temperature
- 1 teaspoon vanilla extract
- 1/2 cup (60g) all-purpose flour
- 1/2 cup (45g) unsweetened cocoa powder
- 1/4 teaspoon salt
- 1/2 cup chocolate chips (optional)
Instructions
- Preheat Oven and Prep Pan Preheat your oven to 350°F (175°C). Line an 8×8 inch baking pan with parchment paper, leaving an overhang on the sides to easily lift the brownies out later.
- Melt Butter In a large, microwave-safe bowl, melt the unsalted butter. This should only take about 30-60 seconds.
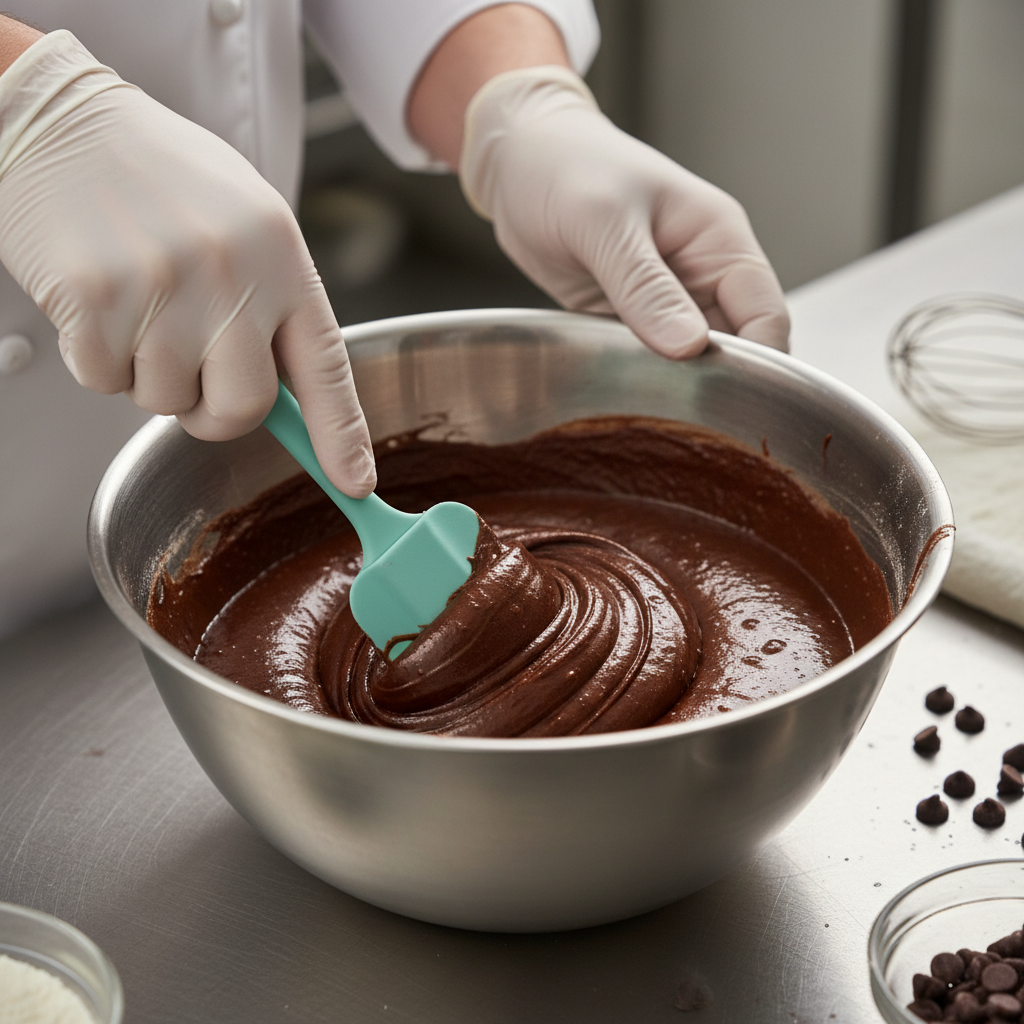
- Combine Wet Ingredients Add the granulated sugar to the melted butter and whisk well for about 1 minute until fully combined and slightly cooled.
- Add Eggs and Vanilla Whisk in the eggs one at a time, ensuring each is fully incorporated before adding the next. Stir in the vanilla extract. Whisk vigorously for another minute; this helps create that shiny, crackly top.
- Combine Dry Ingredients In a separate medium bowl, whisk together the flour, cocoa powder, and salt.
- Combine Wet and Dry Add the dry ingredients to the wet ingredients. Using a rubber spatula, gently fold until just combined. Be careful not to overmix! A few streaks of flour are okay. If using, fold in the chocolate chips now.
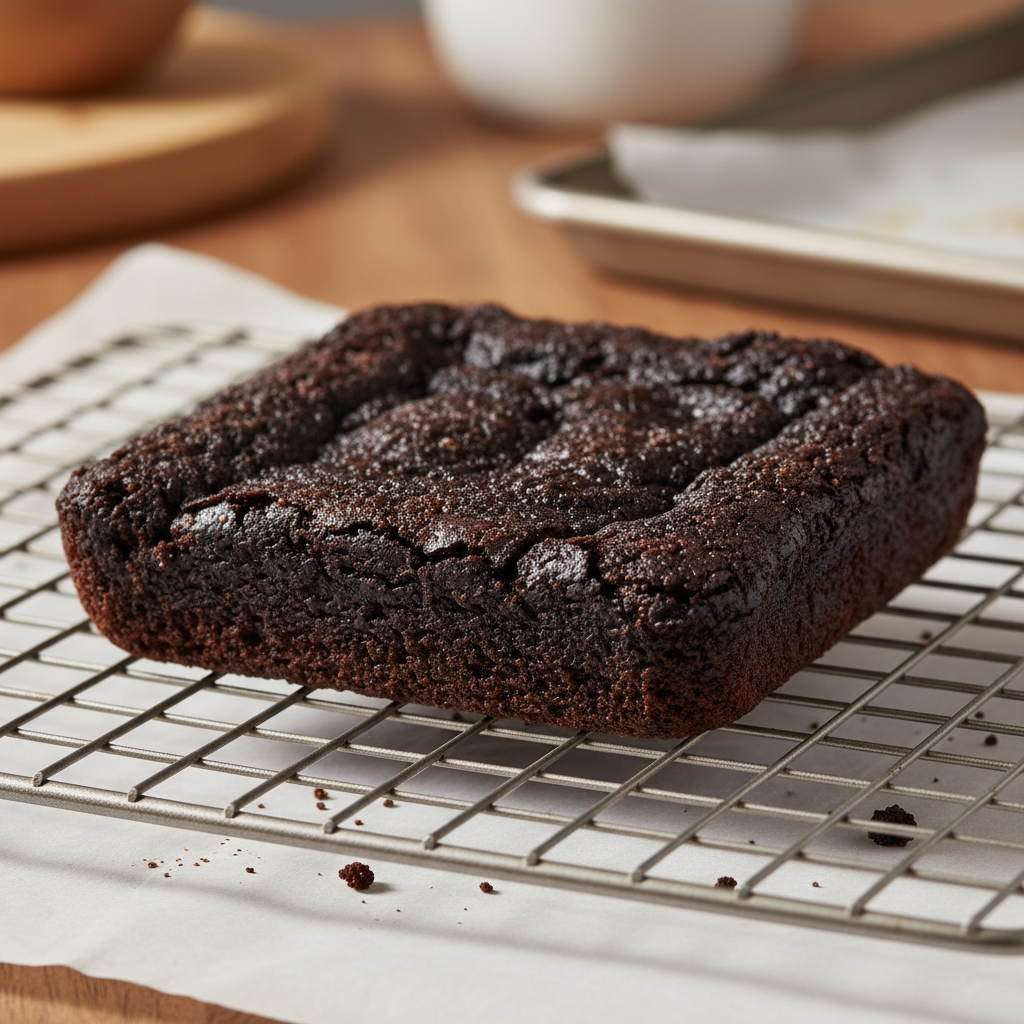
- Bake Pour the batter into your prepared 8×8 inch baking pan and spread evenly. Bake for 20-25 minutes, or until a toothpick inserted into the center comes out with moist crumbs, but not wet batter.
- Cool and Serve Let the brownies cool completely in the pan on a wire rack before lifting out and cutting into squares. This allows them to set properly and become fudgier.
Recipe Notes
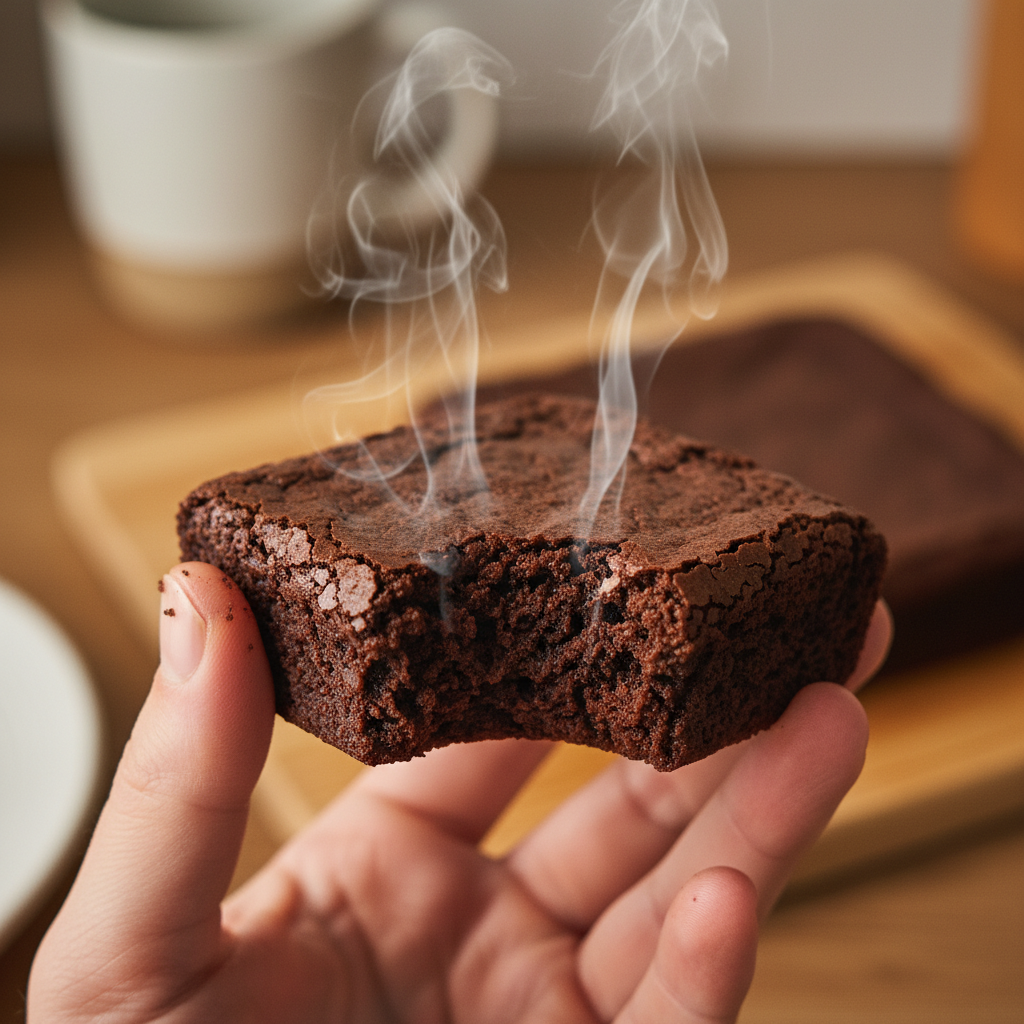
- Don’t Overbake This is the secret to fudgy brownies. They might look slightly underdone in the center, but they will continue to cook as they cool.
- Room Temperature Eggs Using room temperature eggs helps them combine better with the butter and sugar, leading to a smoother batter and better texture.
- Parchment Paper is Your Friend It makes removing and cutting the brownies incredibly easy!
Tips and Variations for Your Brownies
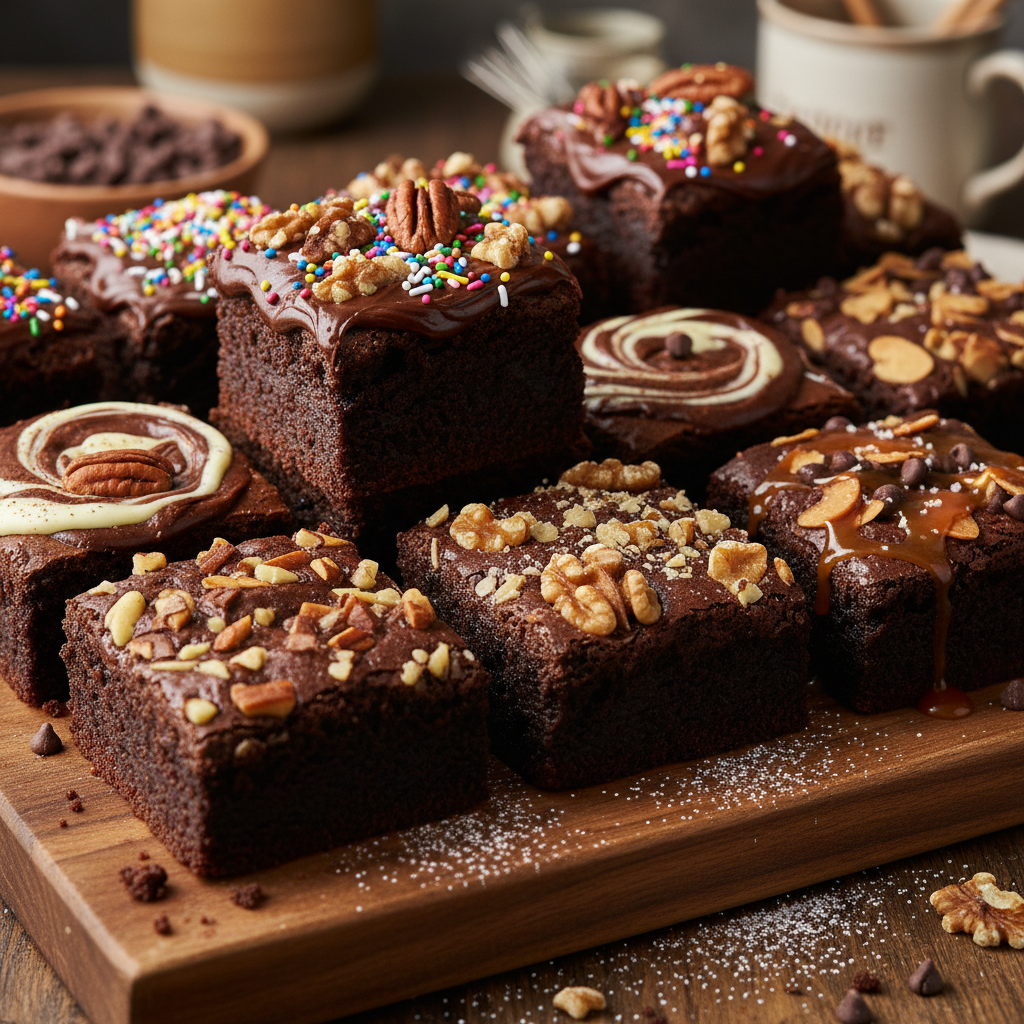
While this recipe is perfect as is, there’s always room for a little customization!
- Nutty Goodness Fold in 1/2 cup of chopped walnuts or pecans with the chocolate chips for added crunch and flavor.
- Espresso Boost Add 1 teaspoon of instant espresso powder to the dry ingredients to deepen the chocolate flavor without making it taste like coffee.
- Mint Chocolate Swirl in some crushed peppermint candies or add a few drops of mint extract for a festive twist.
- Cream Cheese Swirl For a more decadent treat, dollop spoonfuls of a simple cream cheese mixture (softened cream cheese, sugar, egg yolk) over the brownie batter and swirl with a knife before baking.
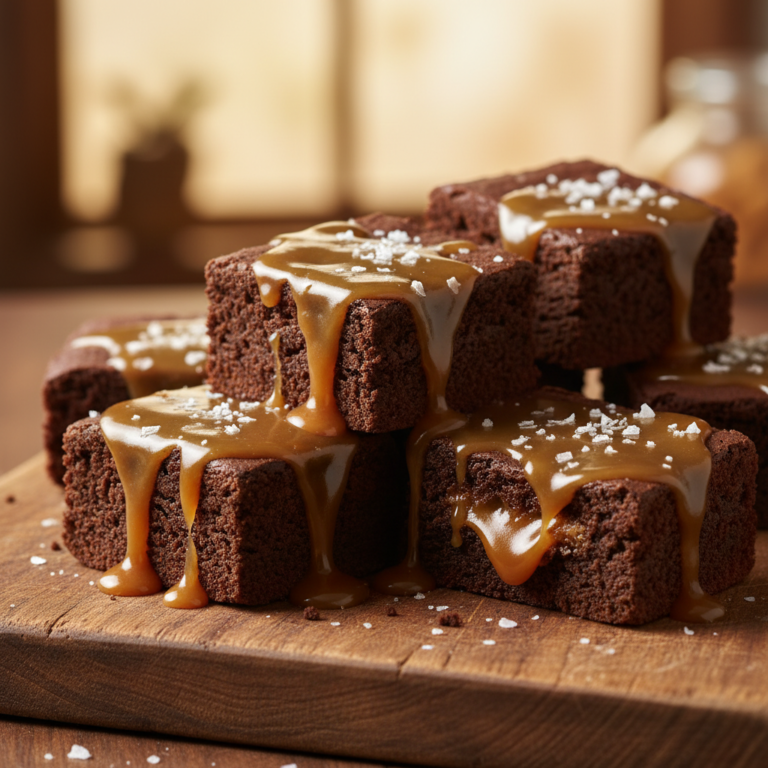
- Frosting Fun Once cooled, top your brownies with a simple chocolate ganache, a dusting of powdered sugar, or your favorite buttercream frosting.
Pro Chef Tips for Amazing Brownies
Even for a quick recipe, a few professional tricks can elevate your brownies from great to extraordinary.
- Don’t Overmix the Batter Once you add the dry ingredients, mix only until just combined. Overmixing develops the gluten in the flour, leading to tough, cakey brownies instead of fudgy ones.
- Invest in Good Cocoa The quality of your cocoa powder makes a significant difference in the final chocolate flavor. Opt for a reputable brand for a richer taste.
- Cool Completely We know it’s hard to wait, but allowing the brownies to cool completely in the pan is crucial. This allows them to set, firm up, and become wonderfully fudgy. Cutting them warm often results in crumbly, messy squares.
- Salt is Essential Don’t underestimate the power of salt! It balances the sweetness and intensifies the chocolate notes.
Common Mistakes to Avoid While Baking
Baking can sometimes feel like a science, and even small errors can change the outcome. Here are some pitfalls to steer clear of:
- Overbaking This is the number one enemy of fudgy brownies. Always err on the side of underbaking slightly. A toothpick should come out with moist crumbs, not liquid batter, but also not completely clean.
- Using Cold Ingredients Especially eggs. Room temperature eggs emulsify better with the fat and sugar, resulting in a smoother, more uniform batter and a better texture.
- Incorrect Pan Size Using a pan that’s too large will result in thin, dry brownies, while one too small will make them too thick and potentially undercooked in the middle. Stick to the 8×8 inch pan for this recipe.
- Not Lining the Pan Skipping parchment paper can lead to stuck brownies and a frustrating cleanup. It’s a small step that makes a huge difference!
Storage and Meal Prep for Brownies
Once your delicious brownies are baked and cooled, proper storage ensures they stay fresh and fudgy for as long as possible.
- Room Temperature Store cooled brownies in an airtight container at room temperature for up to 3-4 days. Placing a slice of white bread in the container can help keep them moist.
- Refrigeration While not strictly necessary, if you prefer a firmer, chewier brownie, you can store them in the refrigerator. Just be aware they might dry out slightly faster. Bring them back to room temperature or warm slightly before serving for the best texture.
Make-Ahead and Freezer Notes
Brownies are fantastic for making ahead, especially if you’re planning for a party or just want to have a sweet treat on standby.
- Make-Ahead You can bake these brownies a day or two in advance. Store them as described above, and they’ll still be wonderfully fresh for your event.
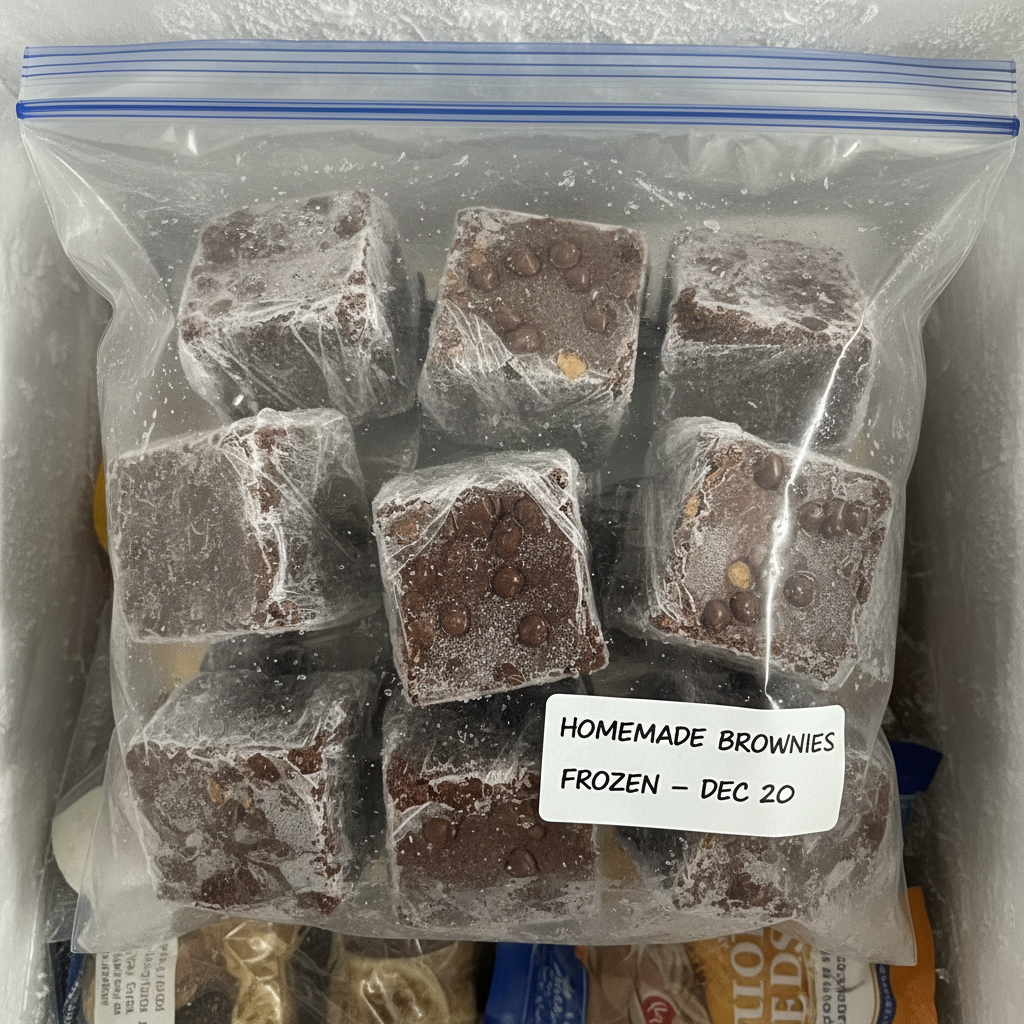
- Freezing Brownies freeze beautifully! Once completely cooled, cut them into individual squares. Wrap each square tightly in plastic wrap, then place them in a freezer-safe airtight container or heavy-duty freezer bag. They can be frozen for up to 2-3 months.
- Thawing To thaw, simply take out the desired number of brownies and let them come to room temperature on the counter for about an hour, or warm them briefly in the microwave for a “freshly baked” experience.
Serving Suggestions for Delightful Brownies

These quick brownies are delicious on their own, but they can also be elevated with a few simple serving ideas:
- A la Mode Serve warm brownies with a scoop of your favorite vanilla bean ice cream. The contrast of warm and cold, fudgy and creamy, is heavenly.
- With a Drink Pair them with a tall glass of cold milk, a hot cup of coffee, or a cozy mug of hot cocoa.
- Fresh Berries A handful of fresh raspberries or sliced strawberries can add a lovely tartness that cuts through the richness of the chocolate.
- Whipped Cream A dollop of freshly whipped cream can add a touch of elegance and lightness.
- Chocolate Sauce Drizzle For the ultimate chocolate lover, a drizzle of warm chocolate fudge sauce takes these brownies over the top.