Welcome, fellow baking enthusiasts! Are you ready to dive into the wonderful world of classic French patisserie? Today, we’re embarking on a delightful journey to create petit fours – those exquisite, bite-sized cakes that are as beautiful to behold as they are delicious to eat. Often seen as intimidating, I promise you, with a little patience and our step-by-step guide, you’ll be crafting these elegant treats like a pro. Get ready to impress your friends and family with a touch of French sophistication!
History / Background of Petit Fours

The term “petit four” literally translates from French to “small oven.” This name originates from the 18th and 19th centuries when large brick ovens were used for baking. After the main baking was done and the oven was cooling, confectioners would use the residual heat (the “petit four” or small heat) to bake smaller, more delicate pastries that required lower temperatures. This clever use of energy gave birth to these charming miniature cakes. They quickly became a staple in French high society, gracing elegant tea parties and lavish dessert tables. Today, petit fours are celebrated worldwide for their intricate beauty and delightful flavors.
Why You’ll Love This Recipe
- Elegance on a Plate: These tiny cakes instantly elevate any occasion, making them perfect for celebrations.
- Customizable Flavors: Easily adapt the cake, filling, and glaze to suit your taste preferences.
- Impressive Presentation: The classic French style is guaranteed to wow your guests.
- Fun Baking Project: While detailed, the process is incredibly rewarding and enjoyable.
- Perfect Portion Control: Their small size makes them ideal for sampling a variety of flavors without overindulging.
Ingredient Notes
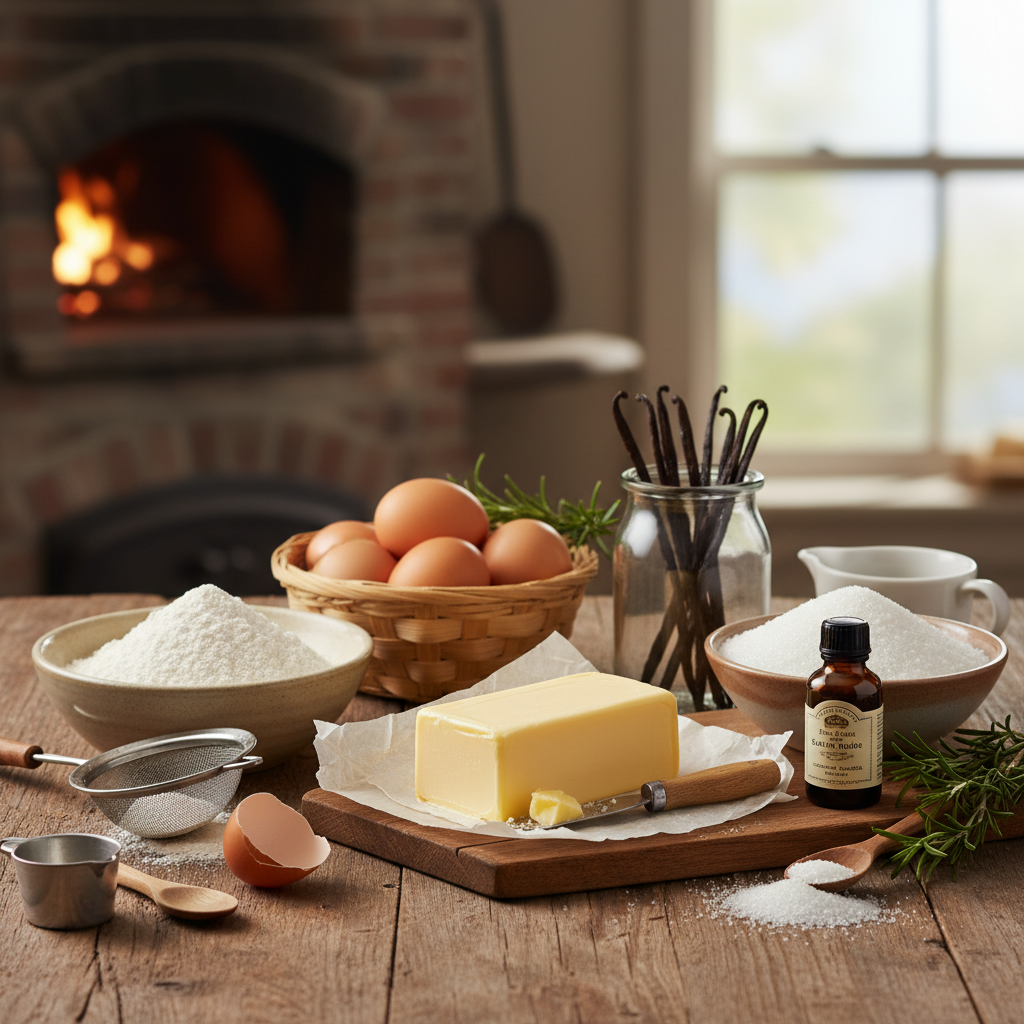
Great petit fours start with great ingredients. Here’s what you’ll need and why each component matters:
- Cake Flour: Essential for a tender, fine-crumbed cake, typical of petit fours.
- Unsalted Butter: Provides richness and helps create a delicate texture. Ensure it’s at room temperature for proper creaming.
- Granulated Sugar: Sweetens the cake and contributes to its structure.
- Eggs: Act as a binder and add richness. Room temperature eggs emulsify better.
- Vanilla Extract: A classic flavor enhancer. Use good quality for the best taste.
- Confectioners’ Sugar (Icing Sugar): Forms the base for the glaze, ensuring a smooth finish.
- Corn Syrup: Crucial for a glossy, professional-looking glaze that sets beautifully.
- Food Coloring: Gel food coloring works best for vibrant, consistent colors in the glaze.
- Apricot Jam (or other fruit jam): Used as a thin layer between cake and glaze, adding flavor and helping the glaze adhere.
Equipment Needed
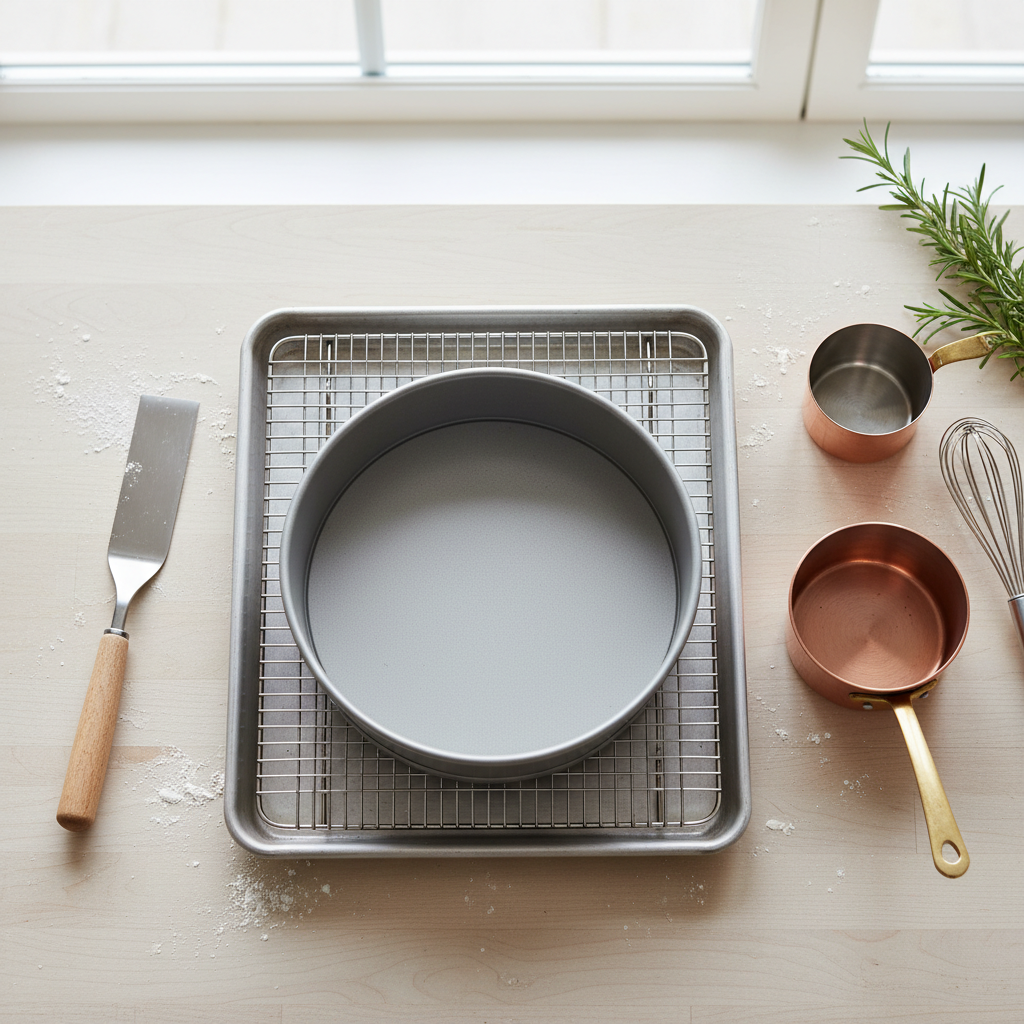
Having the right tools makes all the difference for this precise baking project:
- 9×13 inch Baking Pan: For baking the sheet cake base.
- Parchment Paper: To line the pan, ensuring easy removal.
- Electric Mixer (stand or hand-held): For creaming butter and sugar, and whipping eggs.
- Saucepans: For making the glaze and warming the jam.
- Wire Rack: For cooling the cake and glazing the petit fours.
- Small Offset Spatula or Pastry Brush: For applying jam and glaze.
- Sharp Knife or Serrated Knife: For trimming and cutting the cake.
- Ruler: For precise cutting of uniform petit fours.
- Small Bowls: For mixing different colored glazes.
Full Recipe Card – Petit Four Cake with Classic French Style
Yields: Approximately 36-48 petit fours
Prep time: 1 hour
Bake time: 25-30 minutes
Chill time: 2-4 hours (or overnight)
Ingredients
For the Vanilla Cake
- 1 ½ cups (3 sticks) unsalted butter, softened
- 3 cups granulated sugar
- 6 large eggs, room temperature
- 1 tablespoon vanilla extract
- 3 ½ cups cake flour, sifted
- 1 tablespoon baking powder
- ½ teaspoon salt
- 1 ½ cups whole milk, room temperature
For the Apricot Glaze Layer
- ½ cup apricot jam, warmed and strained
For the Classic Glaze
- 4 cups confectioners’ sugar, sifted
- ½ cup hot water
- 2 tablespoons light corn syrup
- 1 teaspoon vanilla extract (optional)
- Gel food coloring (various colors)
Instructions
- Prepare the Cake: Preheat oven to 350°F (175°C). Grease and flour a 9×13 inch baking pan, then line the bottom with parchment paper.
- Cream Butter and Sugar: In a large bowl, cream softened butter and granulated sugar with an electric mixer until light and fluffy.
- Add Eggs and Vanilla: Beat in eggs one at a time, mixing well after each addition. Stir in vanilla extract.
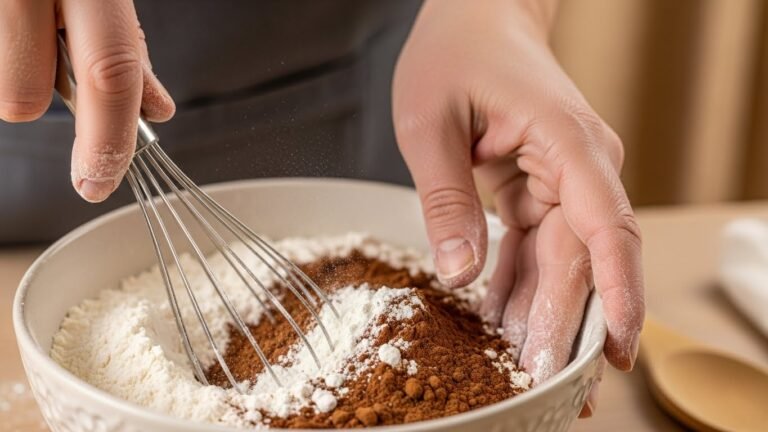
- Combine Dry Ingredients: In a separate bowl, whisk together sifted cake flour, baking powder, and salt.
- Alternate Wet and Dry: Gradually add the dry ingredients to the wet ingredients, alternating with milk, beginning and ending with dry ingredients. Mix until just combined, being careful not to overmix.
- Bake the Cake: Pour batter into the prepared pan and spread evenly. Bake for 25-30 minutes, or until a wooden skewer inserted into the center comes out clean.
- Cool and Chill: Let the cake cool in the pan for 10 minutes, then invert onto a wire rack to cool completely. Once cool, wrap tightly in plastic wrap and chill in the refrigerator for at least 2 hours, or overnight. This makes it easier to cut.
- Trim and Cut the Cake: Once chilled, unwrap the cake. Using a sharp, long serrated knife and a ruler, carefully trim all four edges of the cake to create clean, straight sides. Cut the cake into even squares or rectangles (e.g., 1×1 inch or 1×1.5 inch). For best results, use a ruler for precision.
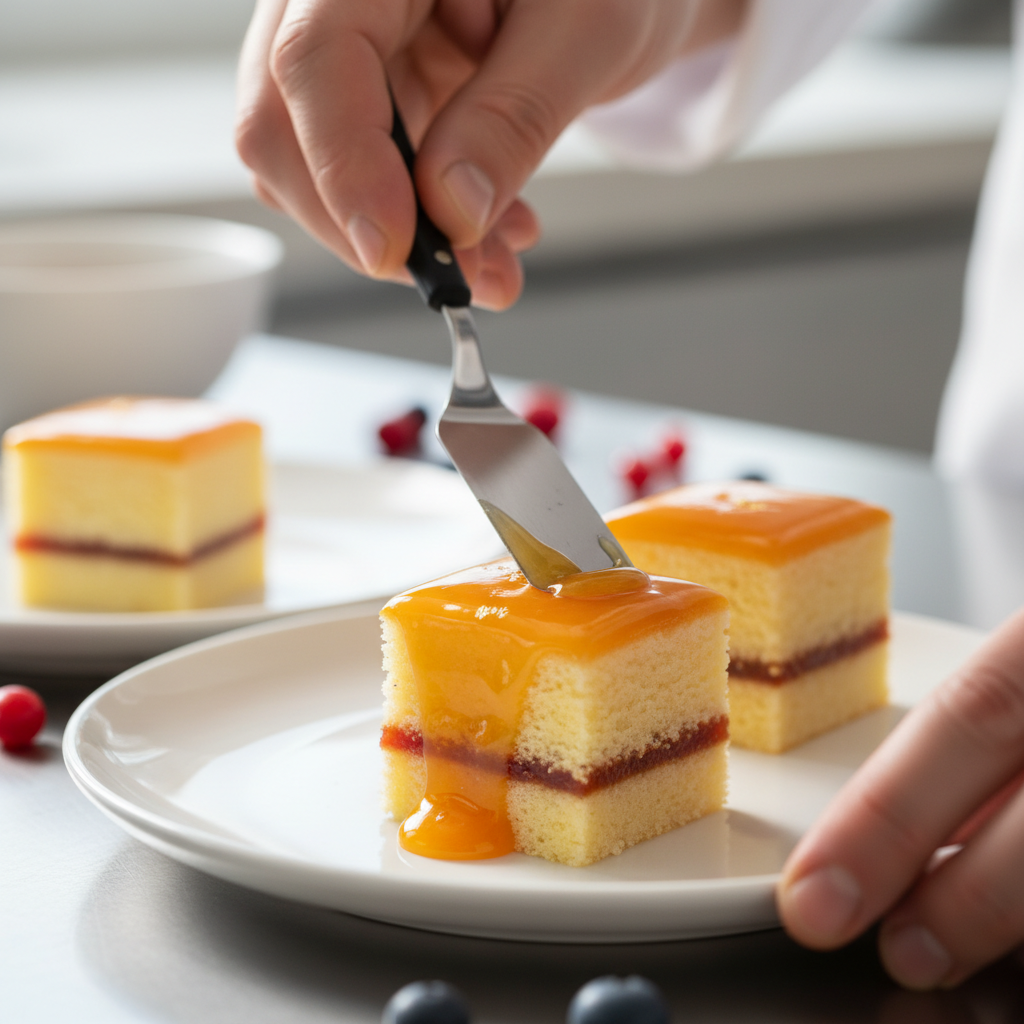
- Apply Apricot Glaze: Gently warm and strain the apricot jam to remove any lumps. Using a pastry brush or small offset spatula, lightly brush a thin, even layer of jam over the top and sides of each petit four piece. This acts as a sealant and helps the final glaze adhere. Place the jam-coated petit fours on a wire rack set over a baking sheet. Chill again for 30 minutes.
- Prepare the Classic Glaze: In a medium saucepan, combine sifted confectioners’ sugar, hot water, and corn syrup. Heat over low heat, stirring constantly, until smooth and warm (not hot). The consistency should be thick enough to coat the back of a spoon but still pourable. If too thick, add a tiny bit more hot water; if too thin, add more sifted confectioners’ sugar. Divide the glaze into separate bowls if you plan to use different colors. Stir in gel food coloring as desired.
- Glaze the Petit Fours: Place the chilled, jam-coated petit fours on a wire rack over a baking sheet (to catch excess glaze). Pour the warm glaze over each petit four, ensuring it coats all sides evenly. Use an offset spatula to gently smooth the top if needed. Let excess glaze drip off.
- Decorate (Optional): While the glaze is still wet, you can add sprinkles, edible glitter, or small sugar decorations. Once the glaze sets slightly, you can pipe intricate designs with royal icing.
- Set and Serve: Allow the glazed petit fours to set completely at room temperature (about 1-2 hours) or in the refrigerator. Once set, carefully transfer them to a serving platter using a small spatula.
Notes
- For perfectly square petit fours, consider investing in a multi-blade pastry cutter.
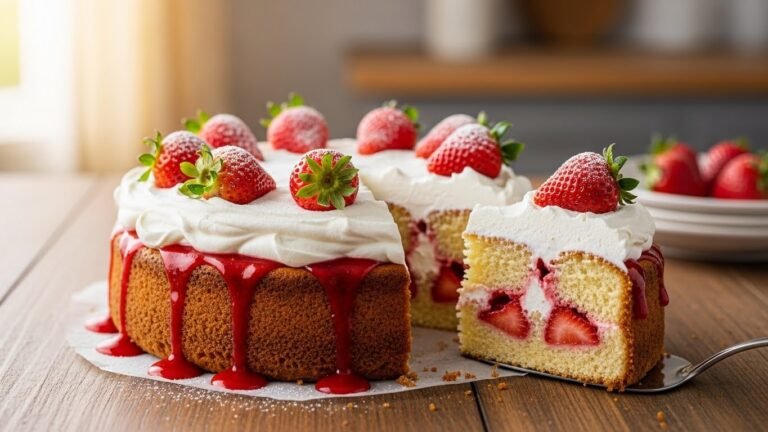
- Experiment with different jam flavors like raspberry or strawberry.
- Ensure your kitchen isn’t too humid when glazing, as this can affect setting time.
Tips & Variations

Once you’ve mastered the classic, feel free to get creative!
- Flavor the Cake: Add citrus zest (lemon, orange) to the cake batter for a brighter flavor.
- Alternative Fillings: Instead of jam, use a thin layer of ganache, lemon curd, or even a very thin buttercream between two layers of cake before cutting.
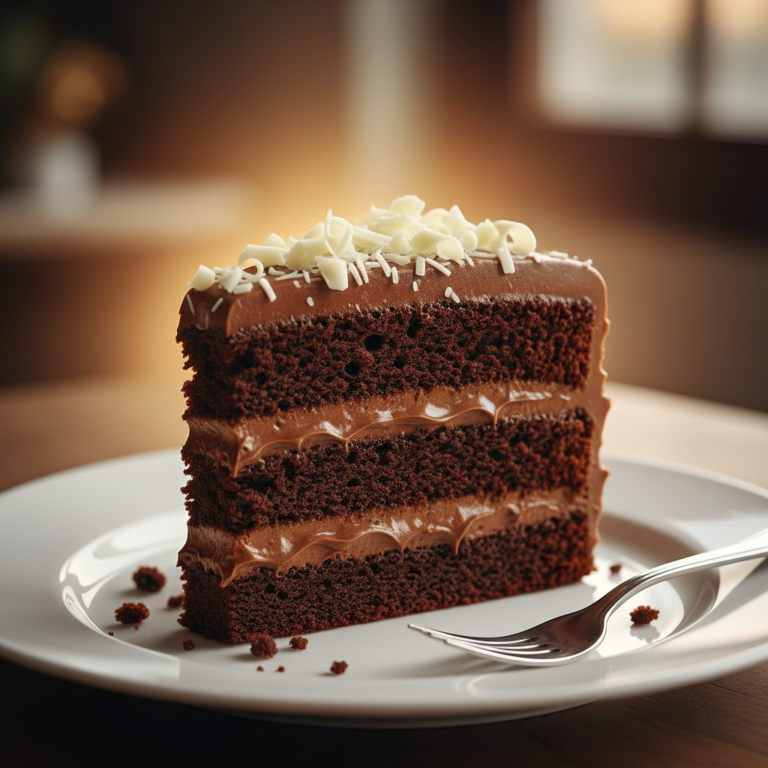
- Chocolate Petit Fours: Replace some flour with cocoa powder for a chocolate cake, and use a chocolate ganache glaze.
- Marzipan Topping: Roll out a thin layer of marzipan, cut it to the size of your petit fours, and place it on top before glazing for an extra layer of flavor and texture.
- Decorations: Get creative with edible pearls, silver or gold leaf, piped royal icing designs, or candied violets for a truly elegant touch.
Pro Chef Tips
Achieve professional results with these expert insights:
- Precision is Key: Use a ruler and a very sharp knife to ensure all your petit fours are uniformly sized. This makes them look professional and aids in even glazing.
- Chill, Chill, Chill: Chilling the cake thoroughly before cutting and after applying the jam layer is crucial. Cold cake is firmer and easier to handle, preventing crumbling.
- Warm Glaze, Cold Cake: The contrast in temperature helps the glaze set quickly and smoothly. Ensure your glaze is warm and fluid, and your petit fours are cold.
- Work Quickly with Glaze: Once the glaze is mixed and colored, work efficiently. It starts to set as it cools, so pour it over the cakes without delay.
- Clean Edges: Use a small, thin knife or the tip of an offset spatula to carefully remove any glaze drips from the bottom edge of the petit fours once they’ve set slightly.
Common Mistakes to Avoid

Even experienced bakers can stumble, but knowing common pitfalls helps you avoid them:
- Overmixing the Batter: This develops too much gluten, resulting in a tough, dense cake. Mix until just combined.
- Not Chilling the Cake Enough: Trying to cut a warm or room-temperature cake will lead to crumbs and uneven shapes. Patience is a virtue here!
- Glaze Too Thick or Too Thin: A glaze that’s too thick will be clumpy, while one that’s too thin won’t coat properly. Adjust consistency carefully with a tiny bit of water or confectioners’ sugar.
- Glazing a Warm Cake: The glaze will melt and run off, creating a messy finish. Always glaze cold petit fours.
- Using Liquid Food Coloring: Liquid food coloring can thin out your glaze too much. Opt for gel food coloring for vibrant colors without affecting consistency.
Storage & Meal Prep
Proper storage ensures your petit fours remain fresh and delicious:
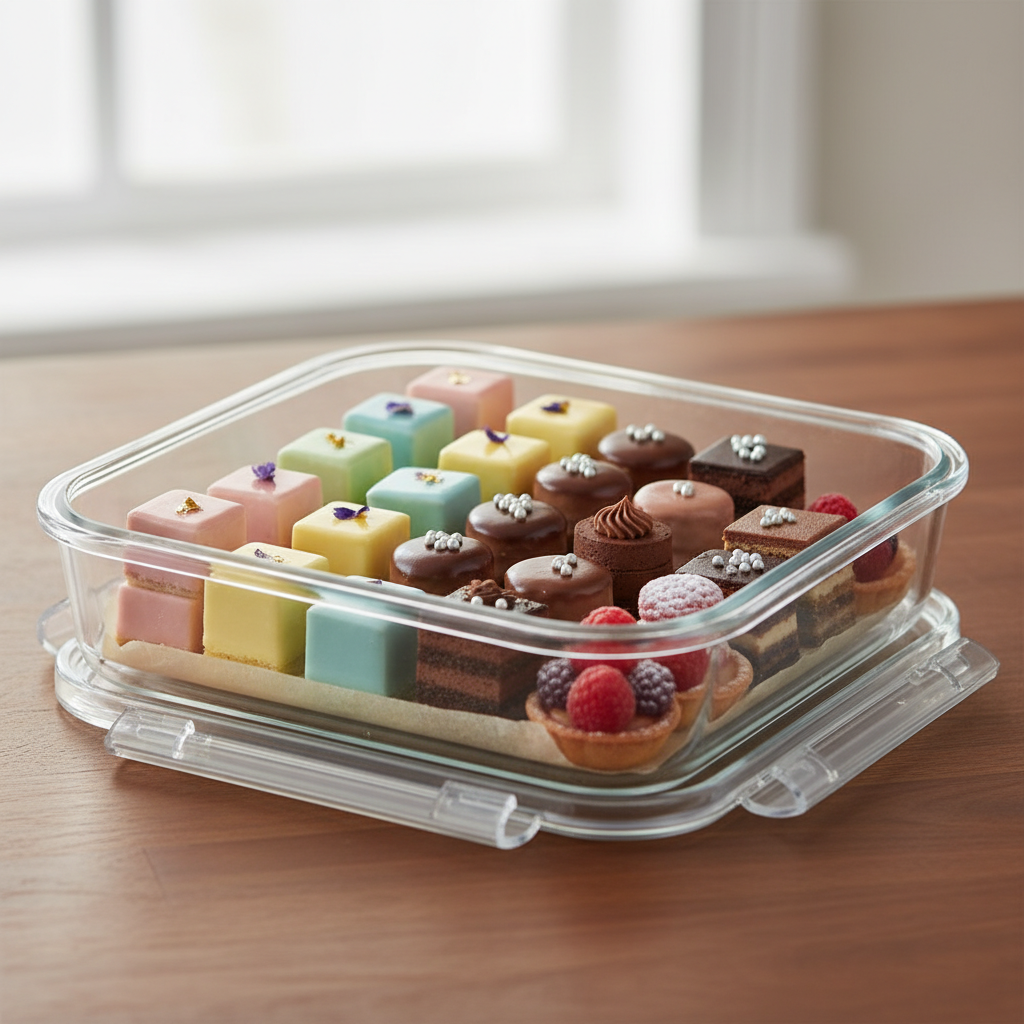
- Room Temperature: Store glazed petit fours in an airtight container at room temperature for up to 2-3 days. If they have delicate decorations that might melt, keep them in a cool, dry place.
- Refrigerator: For longer storage, or if your kitchen is warm, refrigerate in an airtight container for up to 5 days. Allow them to come to room temperature for about 15-20 minutes before serving for the best flavor and texture.
Make-Ahead & Freezer Notes
Petit fours are fantastic for making ahead, which is great for entertaining!
- Un-glazed Cake: The baked and cooled sheet cake can be wrapped tightly and refrigerated for up to 3 days, or frozen for up to 1 month. Thaw in the refrigerator before cutting.
- Glazed Petit Fours: Once fully glazed and set, petit fours can be frozen. Arrange them in a single layer on a baking sheet and freeze until solid. Then transfer them to an airtight freezer-safe container, separating layers with parchment paper. They can be frozen for up to 2-3 weeks. Thaw in the refrigerator overnight, then bring to room temperature before serving.
Serving Suggestions

These delightful treats are perfect for a variety of occasions:
- Afternoon Tea: The quintessential setting for petit fours. Serve alongside a selection of teas, finger sandwiches, and scones.
- Dessert Platter: Include them on a festive dessert spread with other small pastries, chocolates, and fresh fruit.
- Special Occasions: Birthdays, anniversaries, baby showers, or any celebration calls for these elegant bites.
- Coffee Break: A small petit four is a perfect accompaniment to a cup of freshly brewed coffee.
- Gift Giving: Arrange a small box of homemade petit fours as a thoughtful and impressive gift.