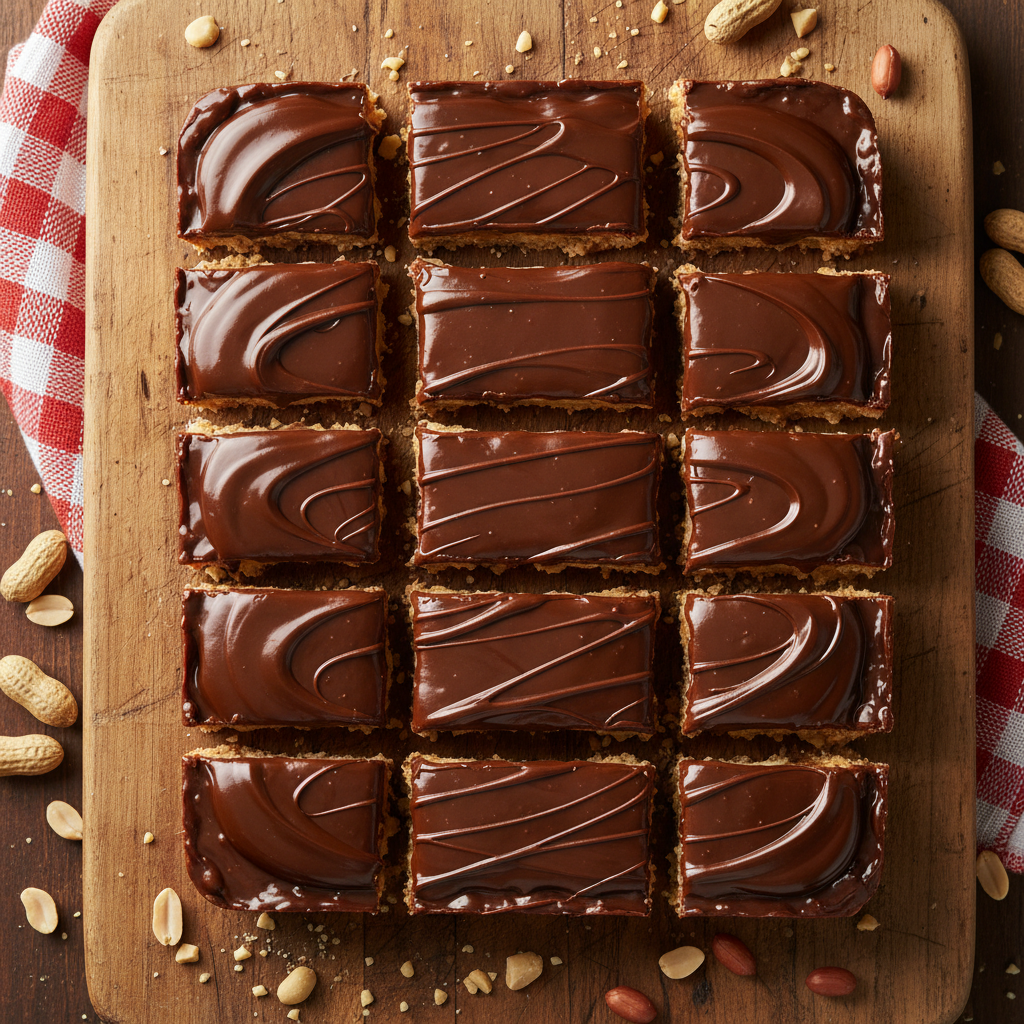
Welcome, fellow dessert lovers! Are you ready to dive into a world of creamy, dreamy, chocolate-peanut butter bliss without even turning on your oven? Today, we’re making the absolute best No Bake Peanut Butter Bars – a classic treat that’s ridiculously easy to make, incredibly satisfying, and always a crowd-pleaser. If you’ve been searching for a simple, yet utterly delicious, dessert recipe that requires minimal effort but delivers maximum flavor, your quest ends here!
These bars are more than just a dessert; they’re a nostalgic trip back to childhood, a perfect potluck contribution, or simply a sweet reward after a long day. Forget complicated baking techniques and endless cleanup. With just a few common pantry staples, you’ll have a batch of these irresistible bars chilling in your fridge in no time. Let’s get started!
History and Background
The concept of no-bake desserts has been around for a long time, gaining significant popularity during times when ovens were less common or during hot summer months when turning on the oven was simply out of the question. Peanut butter, a beloved American staple since the late 19th century, found its way into countless sweet and savory dishes. It wasn’t long before the ingenious combination of peanut butter and chocolate became a dessert sensation.
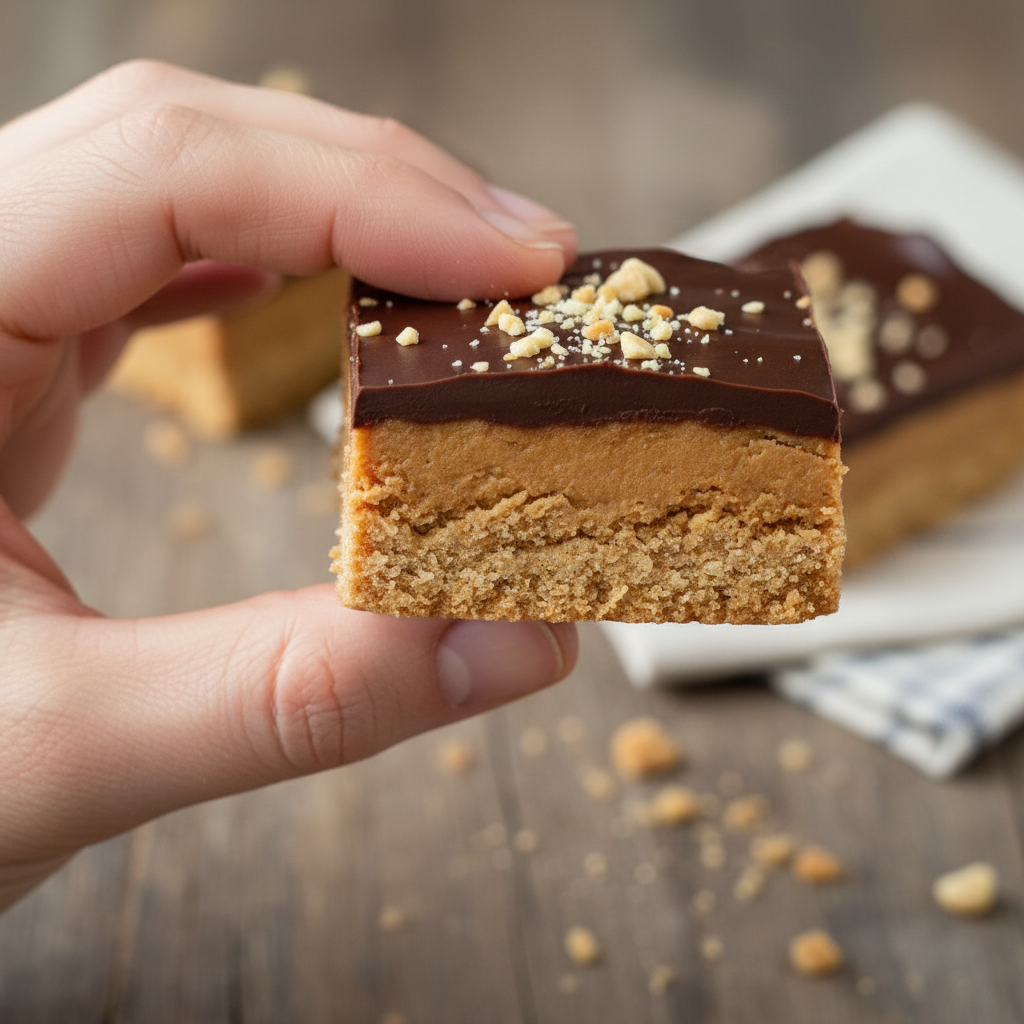
No-bake peanut butter bars, often referred to as ‘peanut butter fudge bars’ or ‘buckeye bars’ (especially when dipped in chocolate), emerged as a simple, economical, and delicious way to enjoy this iconic flavor pairing. Their ease of preparation made them a go-to for home cooks, school bake sales, and family gatherings. The recipe has evolved slightly over the years, but the core appeal – a rich, chewy peanut butter base topped with a smooth chocolate layer – remains timeless. They represent comfort, simplicity, and pure indulgence, all in one delightful square.
Why You’ll Love This Recipe
- Effortlessly Easy – No baking required, just mix, press, and chill!
- Simple Ingredients – Uses common pantry staples you likely already have.
- Irresistible Flavor – The perfect balance of sweet, salty, peanut butter, and chocolate.
- Quick to Prepare – Active prep time is minimal, making it ideal for last-minute treats.
- Crowd-Pleaser – Loved by kids and adults alike, perfect for any occasion.
- Customizable – Easy to adapt with different toppings or mix-ins.
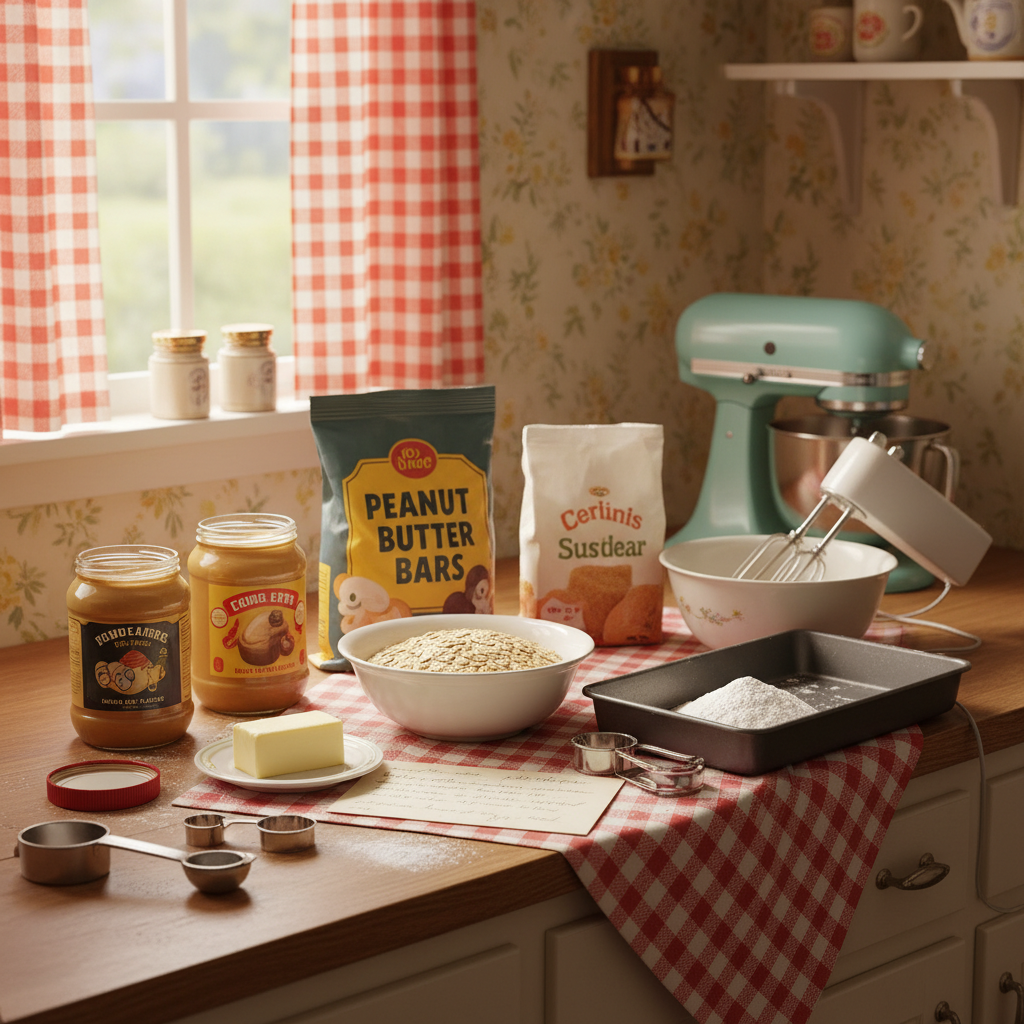
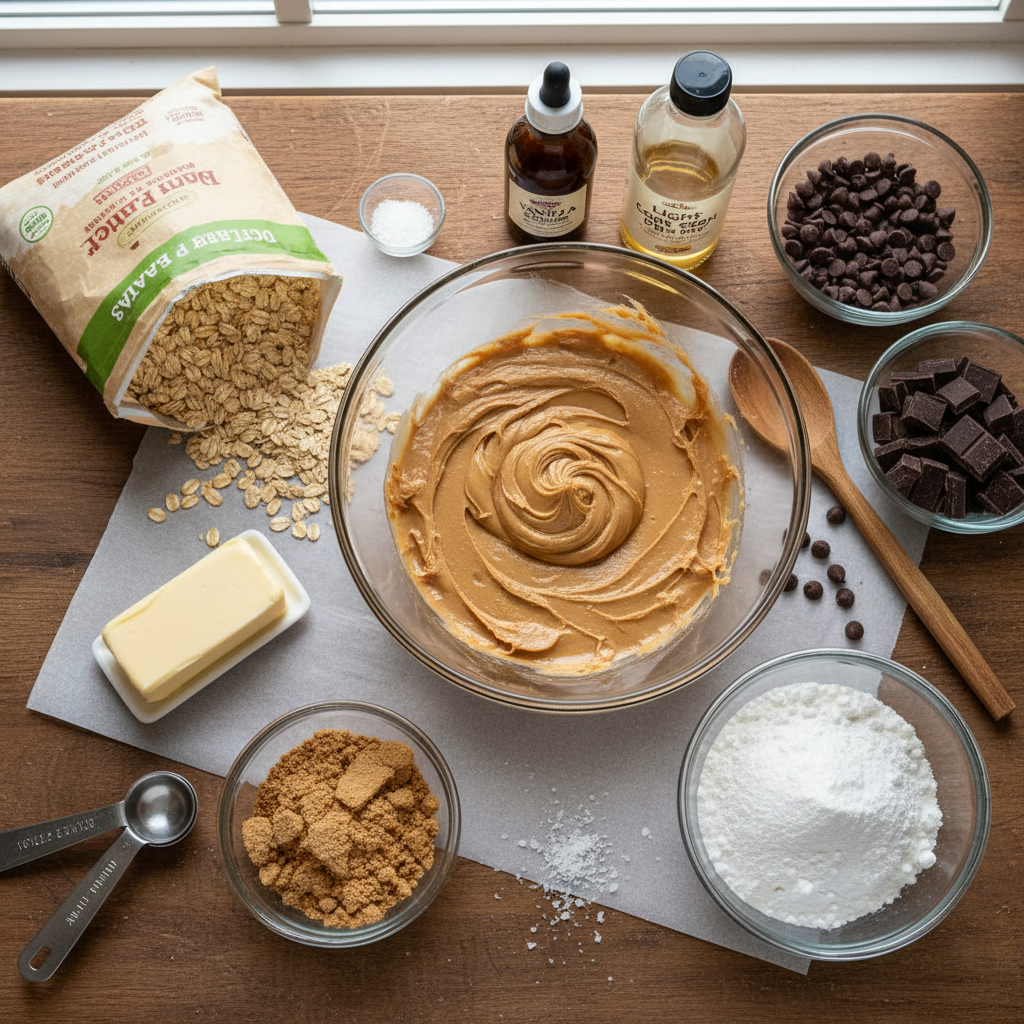
Ingredient Notes
While the ingredients are simple, a few notes can ensure your bars are perfect:
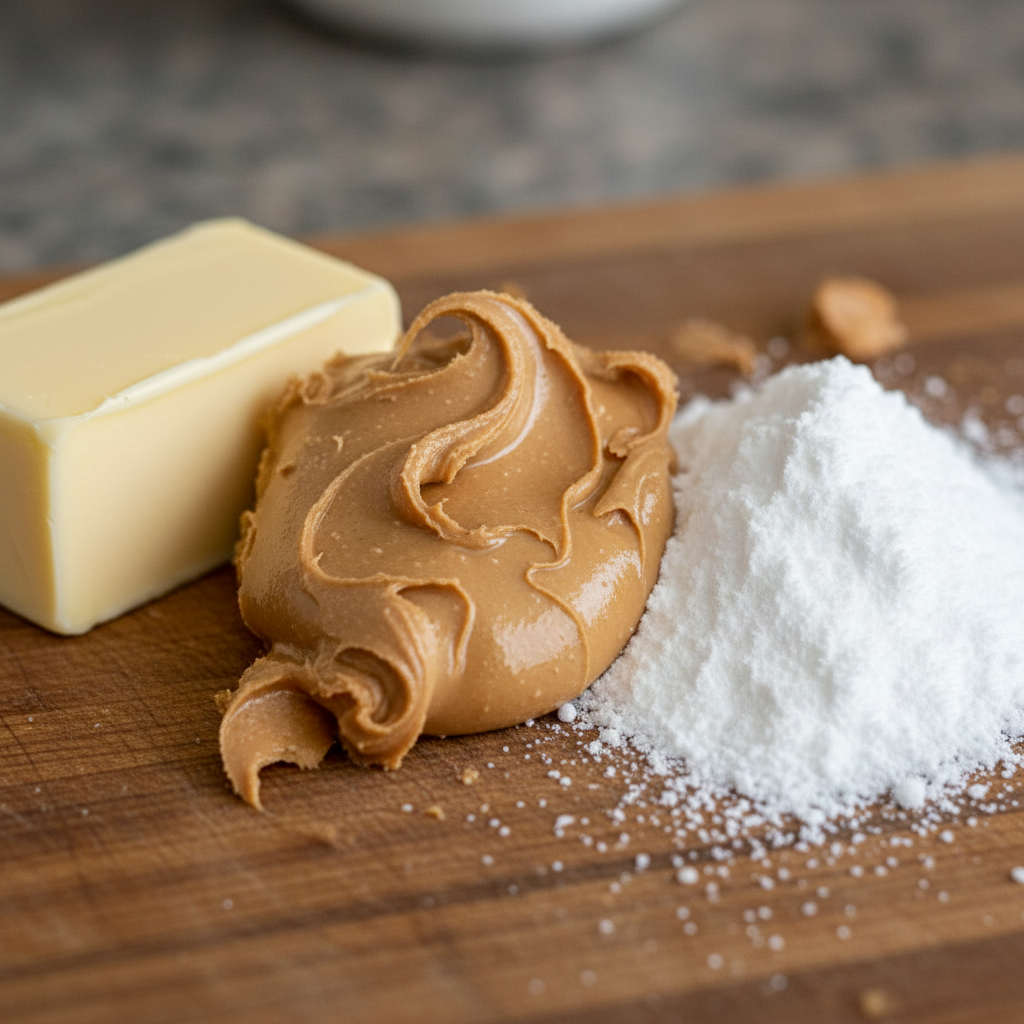
- Peanut Butter – We recommend using creamy, processed peanut butter (like Jif or Skippy) for the best texture and consistency. Natural peanut butter tends to separate and can make the bars oily or crumbly.
- Powdered Sugar – Also known as confectioners’ sugar, this is crucial for the smooth texture and sweetness of the peanut butter base. Don’t substitute with granulated sugar.
- Unsalted Butter – Melted butter binds the peanut butter layer together. Using unsalted allows you to control the saltiness. If using salted butter, reduce the added salt slightly.
- Graham Cracker Crumbs – These add a lovely texture and structure to the base. You can buy pre-crushed crumbs or crush whole graham crackers in a food processor.
- Chocolate Chips – Semi-sweet chocolate chips are a classic choice, but you can use milk chocolate or dark chocolate depending on your preference. High-quality chocolate will yield a smoother, richer topping.
- Salt – A pinch of salt enhances the peanut butter flavor and balances the sweetness.
Equipment Needed
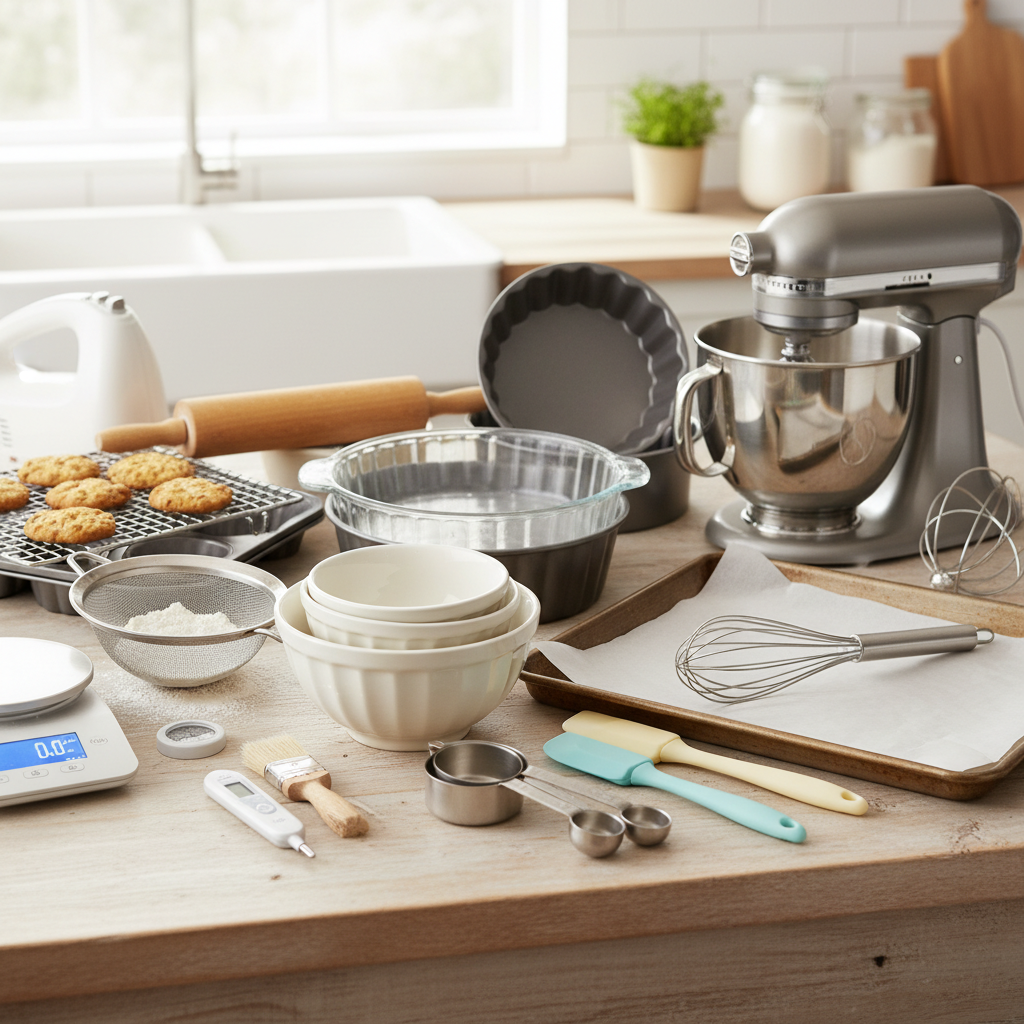
- 9×13 inch baking pan
- Parchment paper or aluminum foil
- Large mixing bowls
- Measuring cups and spoons
- Rubber spatula or offset spatula
- Microwave-safe bowl or small saucepan (for melting chocolate)
Full Recipe Card
Get ready to create some magic!
Ingredients
For the Peanut Butter Base
- 1 cup (2 sticks) unsalted butter, melted
- 2 cups creamy peanut butter
- 3 cups powdered sugar
- 2 cups graham cracker crumbs
- 1/2 teaspoon salt
For the Chocolate Topping
- 1 1/2 cups semi-sweet chocolate chips
- 1/2 cup creamy peanut butter
Instructions
- Prepare Your Pan – Line a 9×13 inch baking pan with parchment paper or aluminum foil, leaving an overhang on the sides to easily lift the bars out later. Lightly grease the paper/foil if desired.
- Mix the Peanut Butter Base – In a large mixing bowl, combine the melted butter, 2 cups creamy peanut butter, powdered sugar, graham cracker crumbs, and salt. Mix thoroughly until all ingredients are well combined and a thick, uniform dough forms.
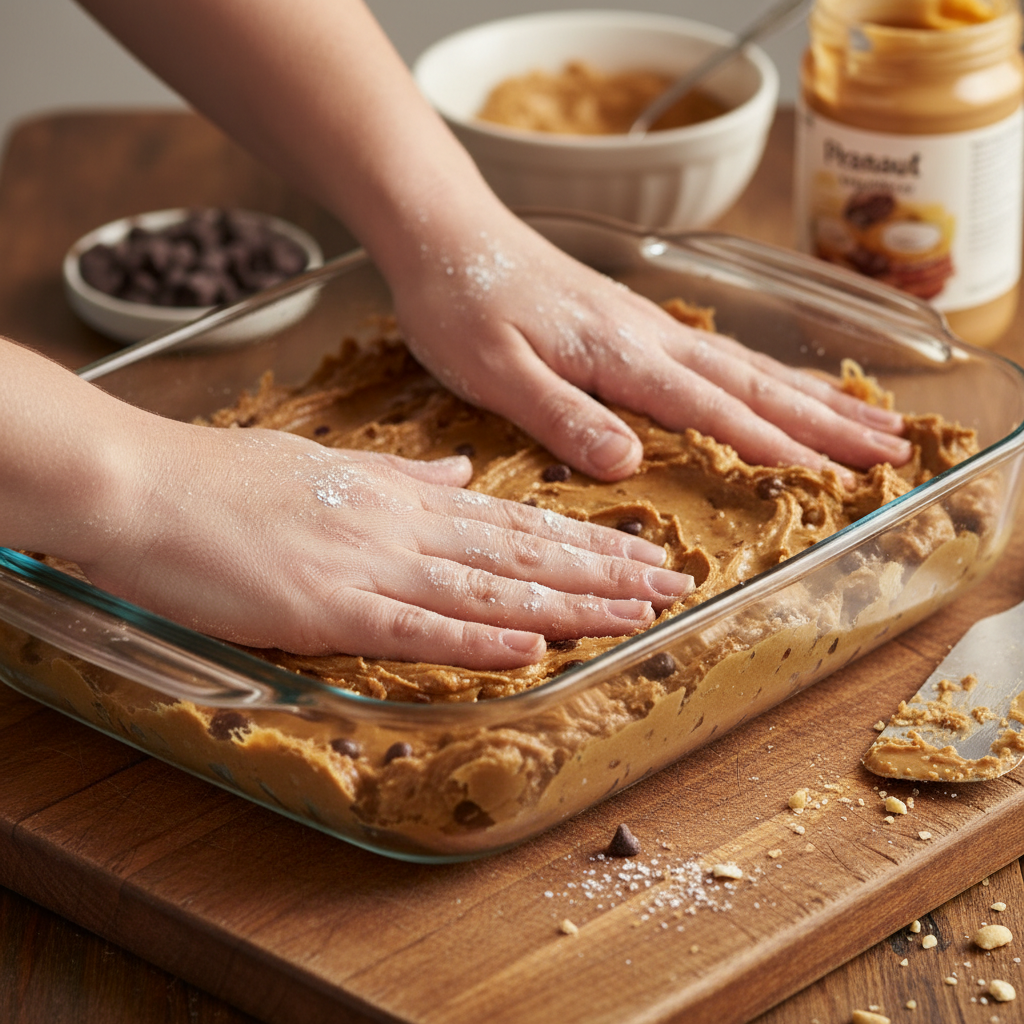
- Press into Pan – Transfer the peanut butter mixture to the prepared baking pan. Using a spatula or your hands, press the mixture evenly and firmly into the bottom of the pan. Make sure it’s packed down well.
- Prepare the Chocolate Topping – In a microwave-safe bowl, combine the chocolate chips and 1/2 cup creamy peanut butter. Microwave on high for 30-second intervals, stirring well after each, until the chocolate is melted and smooth. Alternatively, melt in a double boiler over simmering water.
- Pour and Spread Topping – Pour the melted chocolate mixture evenly over the peanut butter base in the pan. Use an offset spatula or the back of a spoon to gently spread it into an even layer.
- Chill – Place the pan in the refrigerator for at least 2-3 hours, or until the chocolate topping is completely set and firm.
- Slice and Serve – Once chilled, use the parchment paper overhang to lift the entire slab of bars out of the pan. Place it on a cutting board. Using a sharp knife, cut into squares or rectangles. Clean the knife between cuts for cleaner edges.
- Enjoy! – Serve immediately or store them for later.
Notes
- For extra richness, a tablespoon of heavy cream can be added to the chocolate topping while melting.
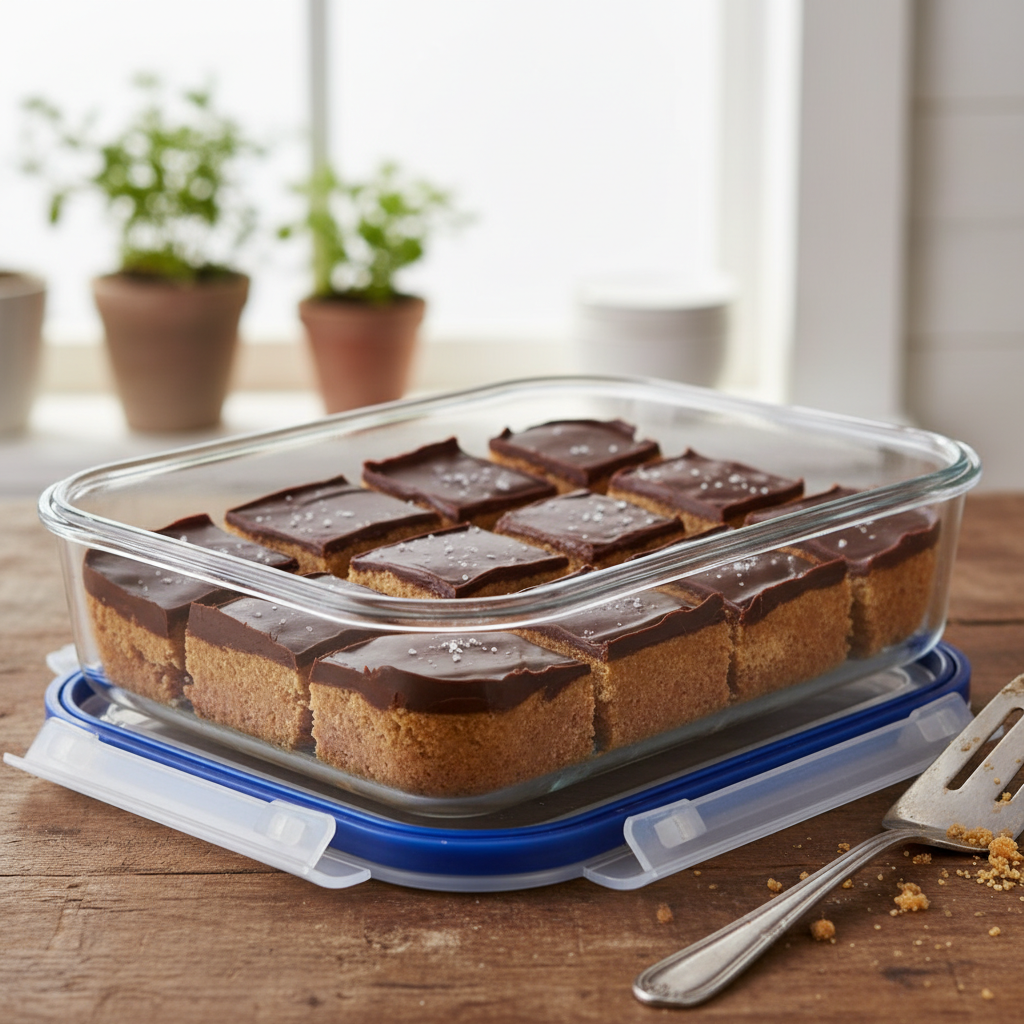
- A sprinkle of flaky sea salt on top of the chocolate layer before chilling adds a gourmet touch and enhances the flavors.
- For easier cutting, run your knife under hot water and wipe it dry between slices.
Tips and Variations
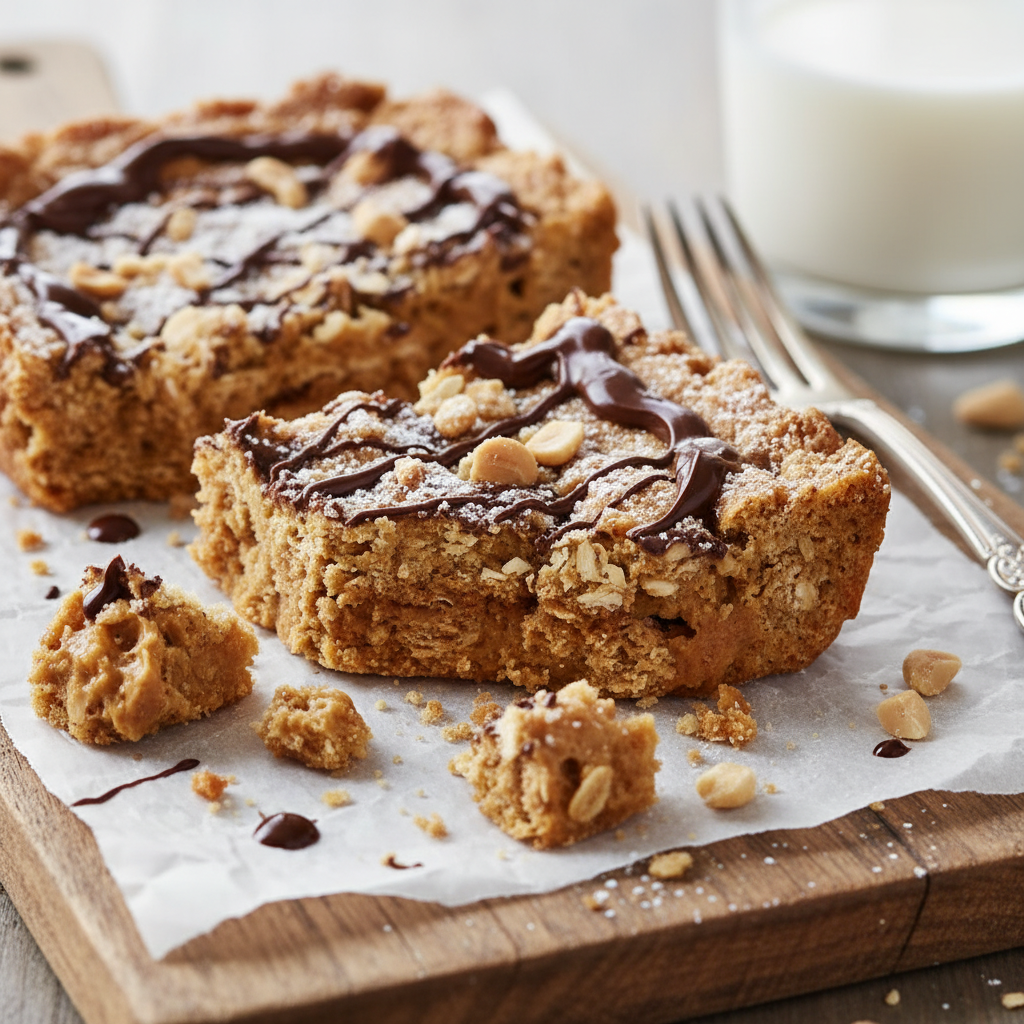
- Nutty Crunch – Add 1/2 cup of chopped roasted peanuts or other nuts to the peanut butter base for extra texture.
- White Chocolate Swirl – Melt 1/4 cup white chocolate chips and drizzle them over the dark chocolate topping before it sets, then swirl with a toothpick.
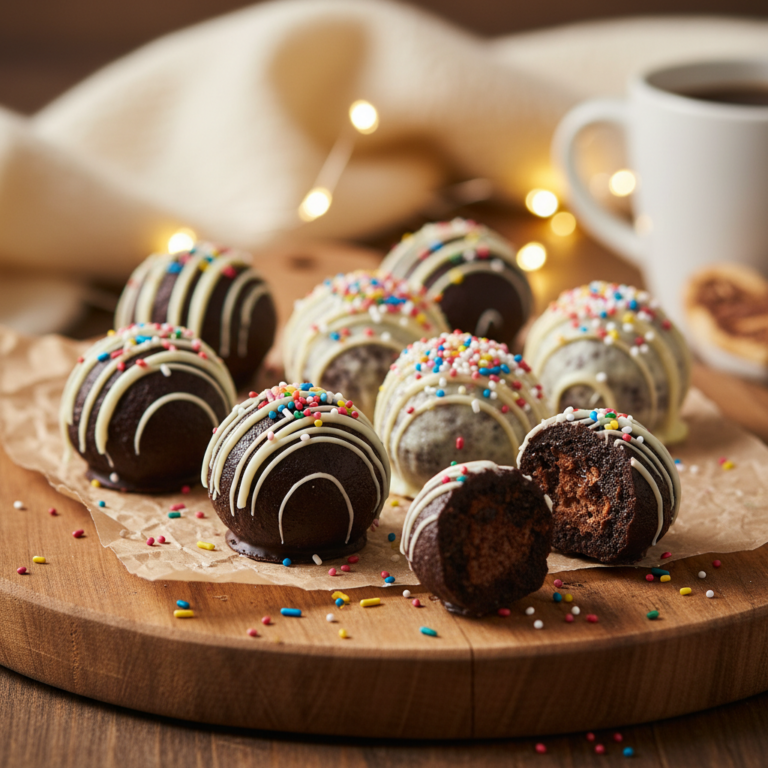
- Different Toppings – Experiment with sprinkles, mini M&Ms, or crushed pretzels on top of the chocolate for a fun twist.
- Gluten-Free Option – Use gluten-free graham crackers or a similar gluten-free crumb base.
- Vegan Version – Use vegan butter, vegan chocolate chips, and ensure your peanut butter is vegan.
Pro Chef Tips
Even for a simple recipe, a few professional insights can elevate your no-bake bars:
- Temperature Matters – Ensure your melted butter for the base isn’t too hot, as it can affect the texture of the peanut butter and powdered sugar. It should be just melted.
- Firm Pressing – When pressing the base into the pan, really lean into it. A firmly packed base prevents crumbling when cutting and gives a nice, dense texture.
- Smooth Chocolate Melt – When melting chocolate, do it slowly and gently. Overheating chocolate can cause it to seize or become grainy. Microwave in short bursts, or use a double boiler for more control.
- Even Spreading – For a perfectly smooth chocolate layer, use an offset spatula. It allows for gentle, even spreading without disturbing the peanut butter base.
- Patience with Chilling – Don’t rush the chilling process. The bars need to be thoroughly chilled and firm before cutting to achieve clean, crisp edges.
Common Mistakes to Avoid
- Using Natural Peanut Butter – As mentioned, natural peanut butter can make the bars too oily or cause separation. Stick to creamy, processed varieties.
- Not Chilling Long Enough – Cutting warm or semi-chilled bars will result in a messy, crumbly disaster. Patience is key!
- Overheating Chocolate – This can lead to a thick, unspreadable, or burnt chocolate topping. Melt gently and stir frequently.
- Too Much or Too Little Liquid – Sticking to the exact measurements for butter and peanut butter ensures the right consistency for the base.
- Skipping Salt – Salt is a flavor enhancer, especially with sweet dishes. Don’t omit it, as it balances the sweetness and brings out the peanut butter flavor.
Storage and Meal Prep
These no-bake peanut butter bars are fantastic for making ahead and storing:
- Refrigerator – Store cut bars in an airtight container in the refrigerator for up to 1 week. Separate layers with parchment paper to prevent sticking.
- Room Temperature – While delicious, they can become quite soft at room temperature, especially if it’s warm. For best results and texture, keep them chilled. They can sit out for an hour or two for serving without issue.
Make-Ahead and Freezer Notes

These bars are perfect for meal prep and freezing:
- Make-Ahead – You can easily make these a day or two in advance of when you plan to serve them. Store them covered in the refrigerator.
- Freezing – For longer storage, freeze the cut bars. Place them in a single layer on a baking sheet and freeze until solid. Once frozen, transfer them to a freezer-safe airtight container or freezer bag, separating layers with parchment paper. They will keep well for up to 2-3 months. Thaw in the refrigerator for a few hours or at room temperature for about 30 minutes before serving.
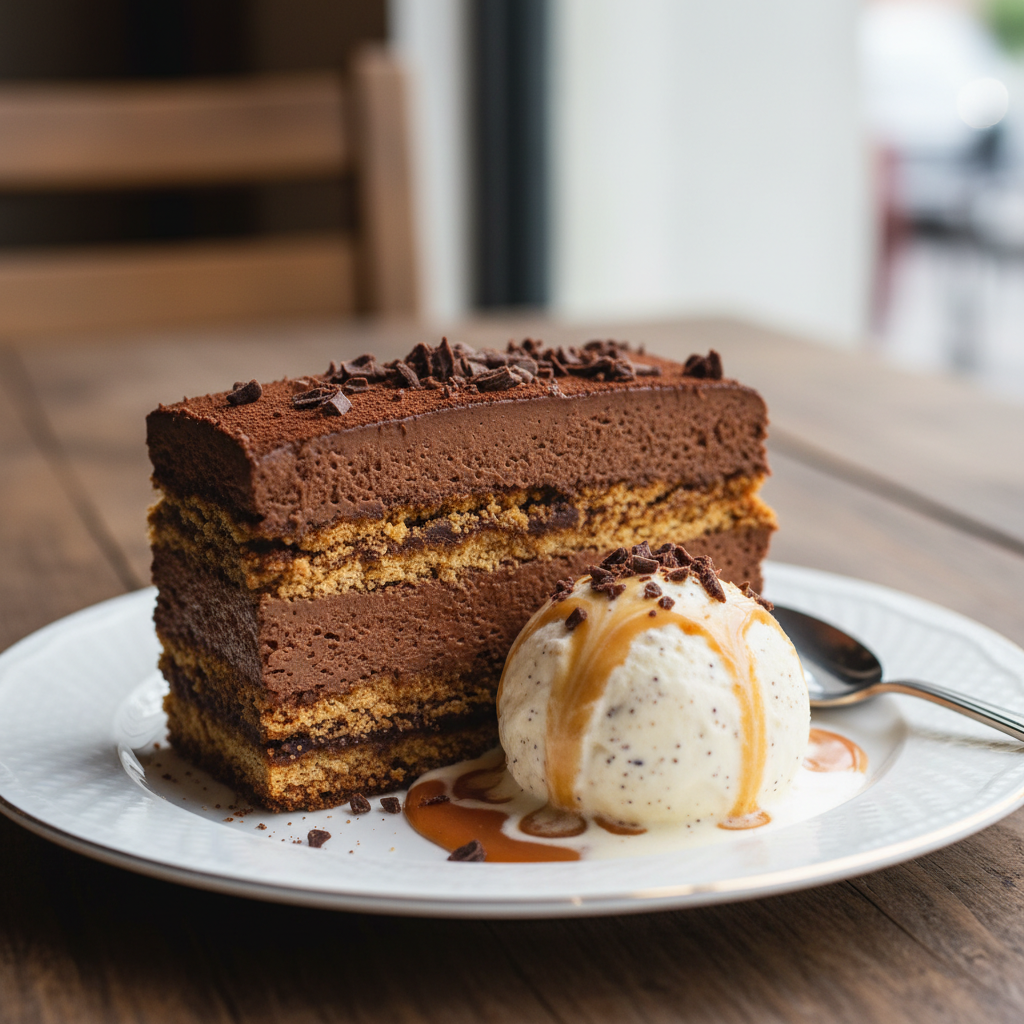
Serving Suggestions
These versatile bars can be enjoyed in many ways:
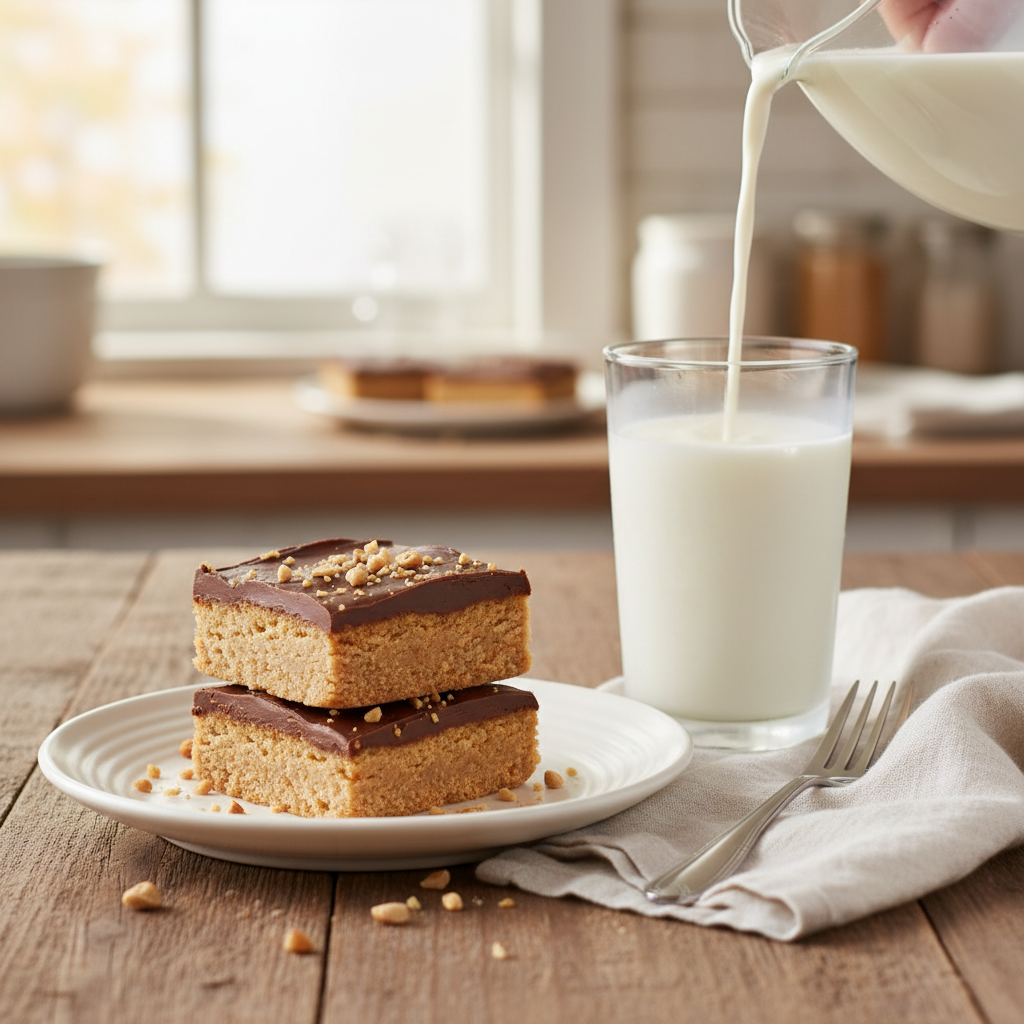
- Classic Snack – Perfect on their own with a glass of cold milk or a cup of coffee.
- Dessert Platter – A great addition to any dessert spread, especially alongside brownies or cookies.
- Ice Cream Topping – Crumble a few pieces over a scoop of vanilla or chocolate ice cream for an extra indulgent treat.
- Party Treat – Cut into smaller squares for easy grab-and-go party snacks.