
Welcome, fellow sweet tooth enthusiasts! If you’re looking for a dessert that’s ridiculously easy, requires no baking, and tastes absolutely divine, you’ve come to the right place. Today, we’re diving into the wonderful world of Oreo balls. Imagine a rich, creamy, chocolatey bite-sized treat that practically melts in your mouth – that’s exactly what these are. Perfect for parties, potlucks, or just a cozy night in, this recipe is so simple, even the most novice baker (or non-baker!) will feel like a pro. Get ready to impress everyone with minimal effort and maximum deliciousness!
History and Background of Oreo Balls
While the exact origin of the Oreo ball is a bit fuzzy, its roots are firmly planted in the love for America’s favorite cookie- the Oreo. Introduced by Nabisco in 1912, the Oreo cookie quickly became a household staple. It wasn’t long before creative home cooks started experimenting with ways to transform this beloved sandwich cookie into new and exciting desserts. The concept of crushing cookies and mixing them with cream cheese to form a truffle-like treat gained popularity, especially in the era of easy, no-bake desserts. The addition of a chocolate coating elevated these simple cookie crumbs into what we now affectionately know as Oreo balls or Oreo truffles. They’ve become a go-to for holiday platters and quick treats, cherished for their simplicity and irresistible flavor.
Why You Will Love This Recipe

- Super Easy You only need three ingredients and no baking!
- Quick to Make From start to finish, you can have these ready in under an hour, plus chilling time.
- Crowd-Pleaser Everyone loves Oreo balls, making them perfect for any gathering.
- Customizable Easily adapt them with different toppings and coatings.
- No-Bake Delight Ideal for hot days or when you don’t want to turn on the oven.
- Kid-Friendly A fun recipe to make with little helpers in the kitchen.
Ingredient Notes

This recipe truly shines because of its minimal ingredient list. But a few pointers on choosing the right ones can make all the difference.
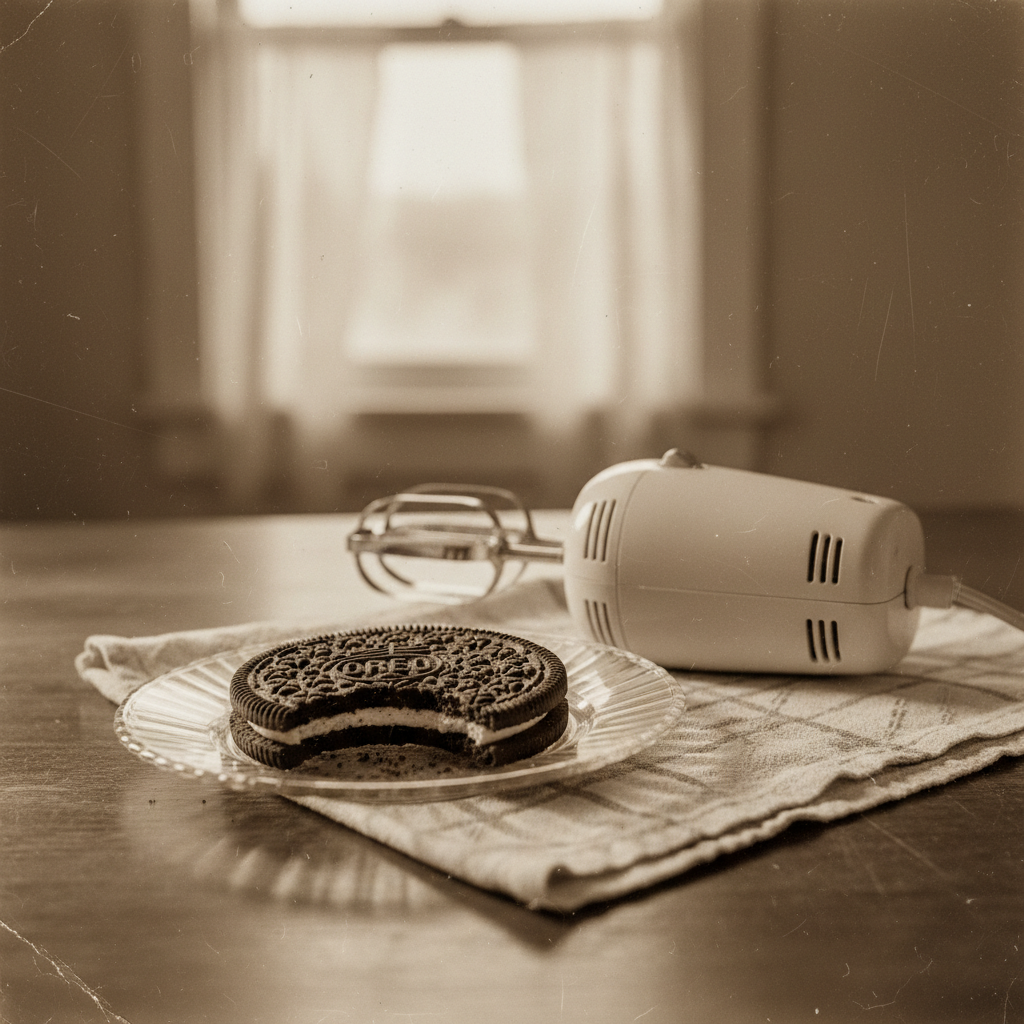
- Oreo Cookies You’ll need one standard package (about 14.3 ounces or 400g) of original Oreo cookies. While you can experiment with different flavors like mint or peanut butter Oreos, the classic is always a winner. No need to remove the cream filling- it all goes in!
- Cream Cheese Opt for full-fat block cream cheese, softened at room temperature. This is crucial for achieving that smooth, creamy texture that binds everything together. Low-fat or whipped cream cheese might not give you the same consistency.
- Melting Chocolate For coating, chocolate melting wafers, candy melts, or good quality chocolate chips work best. Candy melts come in various colors, perfect for festive occasions. If using chocolate chips, you might want to add a teaspoon of coconut oil or shortening to help it melt smoothly and create a thinner, more manageable coating.
Equipment Needed
Good news! You don’t need a fancy kitchen full of gadgets for this recipe. Here’s what will make your life easier:
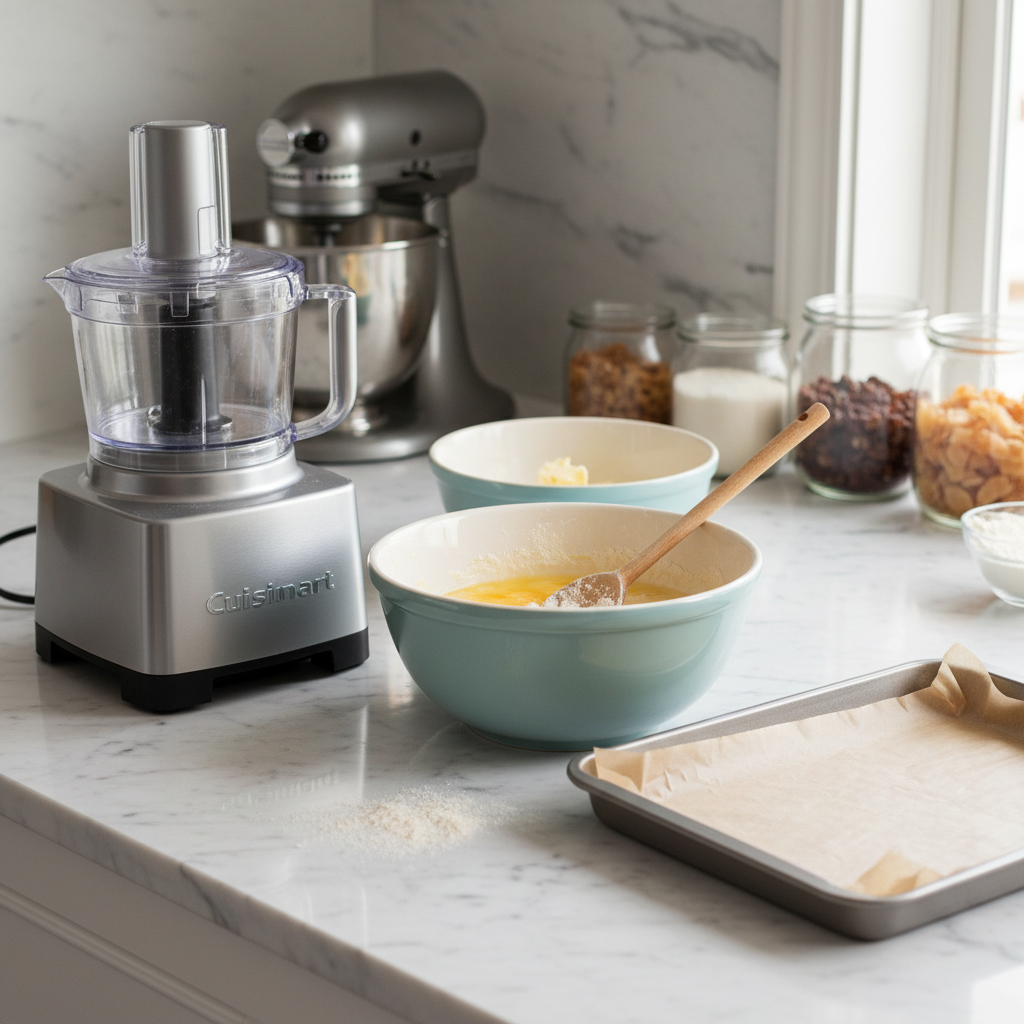
- Food Processor This is the star of the show for crushing the Oreos into fine crumbs quickly and efficiently. If you don’t have one, a sturdy Ziploc bag and a rolling pin will work just fine – just be prepared for a bit of an arm workout!
- Mixing Bowl A medium-sized bowl for combining the crushed Oreos and cream cheese.
- Rubber Spatula or Spoon For mixing and scraping.
- Baking Sheet Lined with parchment paper or wax paper, this is where your Oreo balls will chill.
- Small Microwave-Safe Bowl or Double Boiler For melting your chocolate coating.
- Fork or Dipping Tools To easily coat the Oreo balls in chocolate.
Full Recipe Card
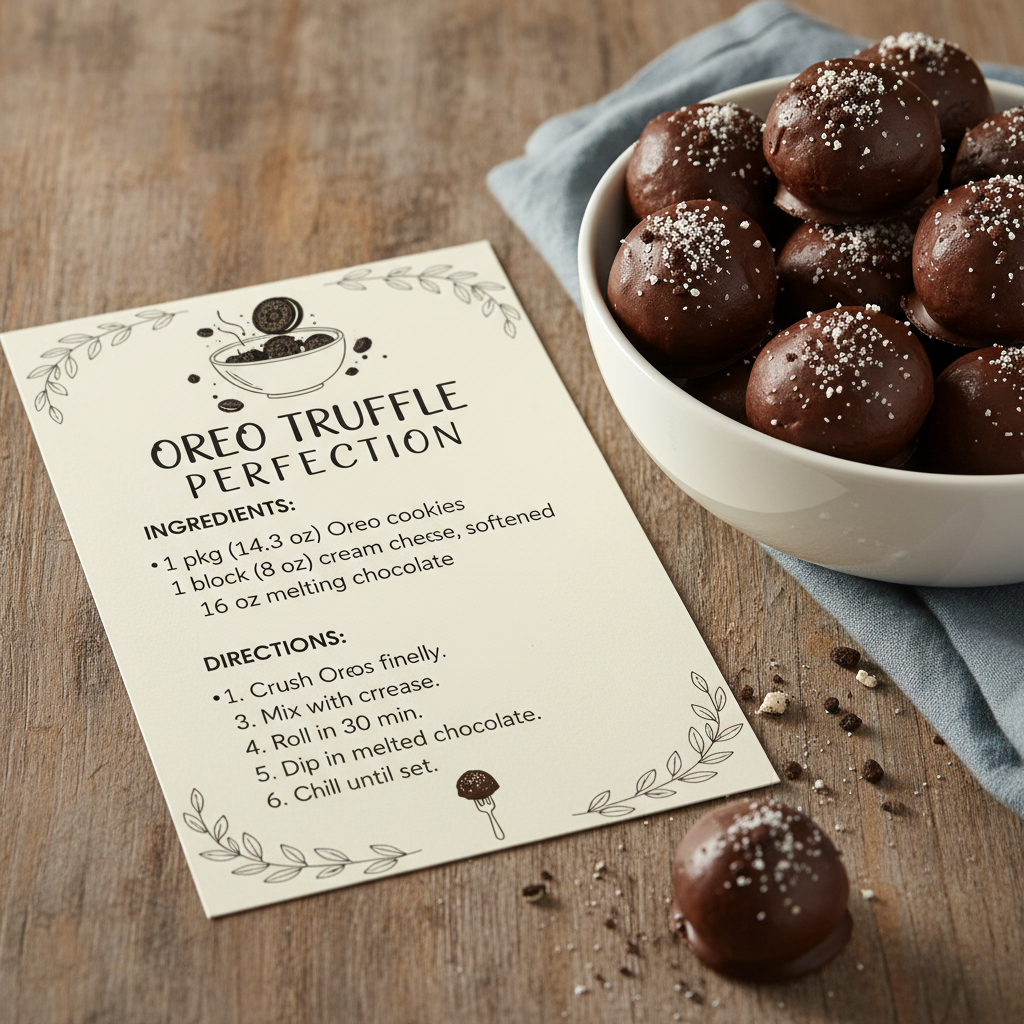
Ingredients
- 1 (14.3 ounce) package Oreo cookies (original flavor)
- 1 (8 ounce) package cream cheese, softened
- 12 ounces melting chocolate (white, milk, or dark chocolate melting wafers/candy melts)
Instructions
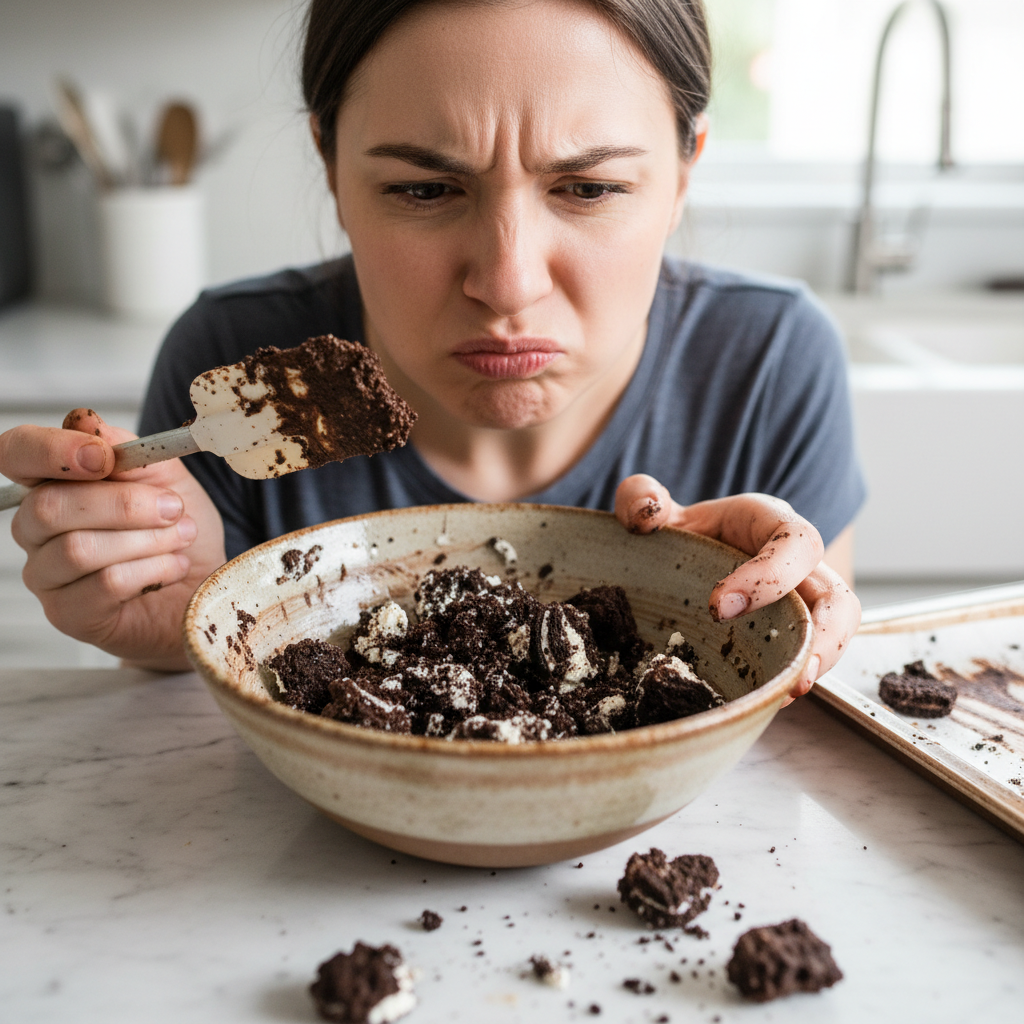
- Crush the Oreos Place the entire package of Oreo cookies (cream filling and all!) into a food processor. Pulse until they are finely ground into crumbs. Alternatively, place them in a large Ziploc bag and crush them with a rolling pin until fine.
- Combine with Cream Cheese Transfer the Oreo crumbs to a medium mixing bowl. Add the softened cream cheese. Using a sturdy spoon or your hands, mix until well combined and a dough-like consistency forms. It might seem crumbly at first, but keep mixing until it comes together.
- Roll into Balls Roll the mixture into 1-inch to 1.5-inch balls. Place them on a baking sheet lined with parchment paper or wax paper.
- Chill the Balls Place the baking sheet with the Oreo balls into the refrigerator for at least 30 minutes. This step is crucial as it helps them firm up, making them easier to coat in chocolate and preventing them from falling apart.
- Melt the Chocolate While the Oreo balls are chilling, melt your chocolate coating. You can do this in a microwave-safe bowl in 30-second intervals, stirring after each, until smooth. Or, use a double boiler on the stovetop for a more controlled melt.
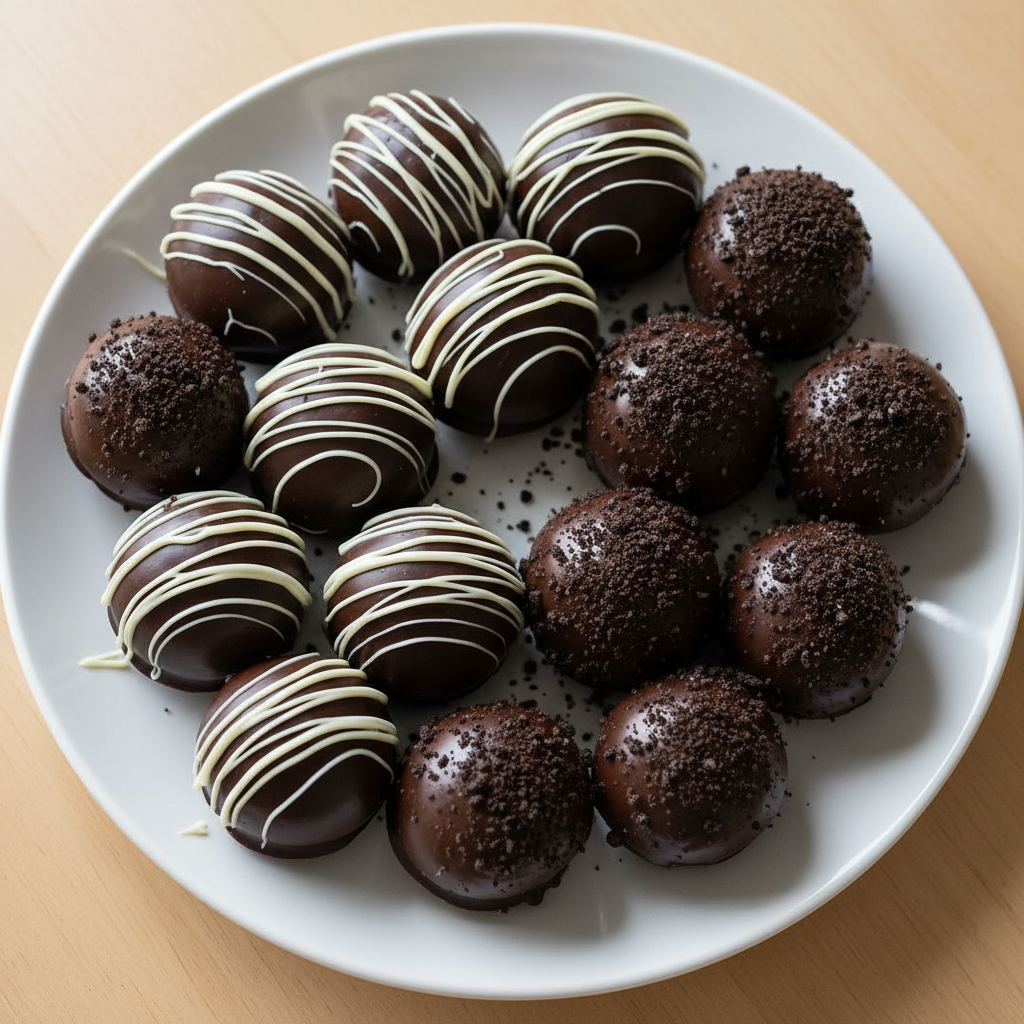
- Coat the Oreo Balls Remove the chilled Oreo balls from the refrigerator. Using a fork or a dipping tool, dip each ball into the melted chocolate, allowing any excess to drip off.
- Return to Baking Sheet Place the coated Oreo balls back onto the lined baking sheet. If desired, sprinkle with extra crushed Oreos, sprinkles, or a drizzle of contrasting chocolate before the coating sets.
- Chill Again Return the coated Oreo balls to the refrigerator for another 15-30 minutes, or until the chocolate coating is completely set.
- Serve and Enjoy Once set, transfer the Oreo balls to an airtight container and store them in the refrigerator until ready to serve. Enjoy your delicious, homemade treats!
Recipe Notes
- For extra flavor, add a teaspoon of vanilla extract or a pinch of salt to the cream cheese and Oreo mixture.
- If your chocolate gets too thick while dipping, add a tiny bit of coconut oil (1/2 teaspoon at a time) and stir well to thin it out.
- Store Oreo balls in an airtight container in the refrigerator for up to 1-2 weeks.
Tips and Variations
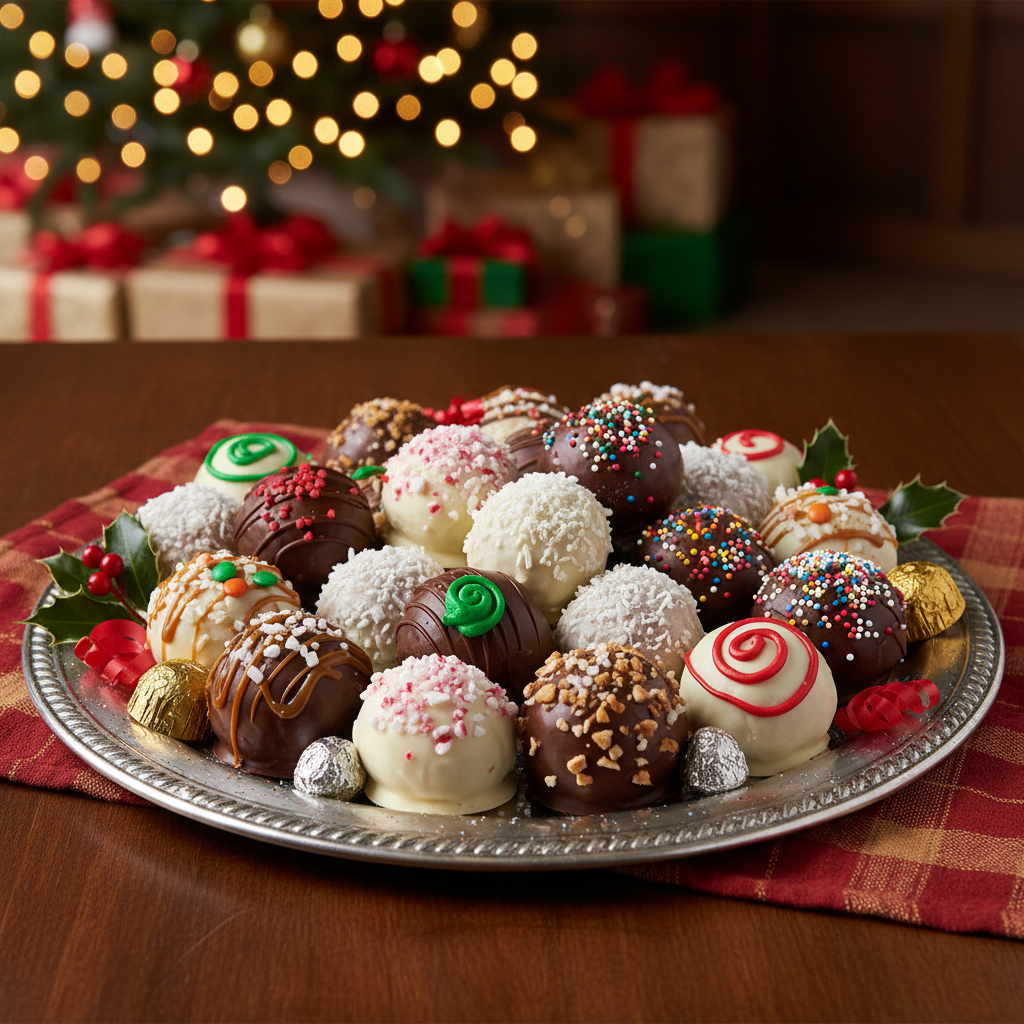
This basic recipe is a fantastic canvas for creativity! Here are some ideas to get you started:
- Flavor Boost Add a teaspoon of peppermint extract to the mixture for a festive twist, or a dash of orange zest for a bright flavor.
- Different Coatings Experiment with white chocolate, dark chocolate, or even colored candy melts for holidays.
- Fun Toppings Before the chocolate sets, sprinkle with crushed nuts, shredded coconut, mini chocolate chips, sprinkles, or even a contrasting chocolate drizzle.
- Cookie Variations Try different Oreo flavors like Golden Oreos, Mint Oreos, or Peanut Butter Oreos for unique twists.
- Alcoholic Kick For adult parties, a tablespoon of Kahlua, Bailey’s, or rum can be added to the cream cheese mixture.
Pro Chef Tips for Perfect Oreo Balls

- Softened Cream Cheese is Key This cannot be stressed enough! Cold cream cheese will result in a lumpy, hard-to-mix dough. Let it sit out for at least an hour.
- Fine Crumbs Equal Smooth Balls Ensure your Oreo crumbs are as fine as possible. Larger chunks can make the balls harder to roll and prone to crumbling.
- Thorough Chilling for Dipping Success Don’t rush the chilling step before dipping. Firm balls are much easier to handle and won’t melt the chocolate as quickly.
- Optimal Chocolate Consistency When melting chocolate, avoid overheating it, as this can make it seize or become too thick. Melt slowly and stir often. If it’s too thick, a tiny bit of coconut oil or shortening can save it.
- Use a Fork for Dipping A simple dinner fork is often better than fancy dipping tools. Let the excess chocolate drip through the tines for a cleaner coating.
- Work in Batches If making a large batch, keep some Oreo balls in the fridge while you dip others to maintain their firmness.
Common Mistakes to Avoid
Even though this recipe is simple, a few common pitfalls can trip you up. Here’s how to avoid them:
- Using Cold Cream Cheese As mentioned, this leads to a lumpy, difficult-to-mix dough. Always use softened cream cheese.
- Not Chilling Enough If your Oreo balls are too warm, they’ll be soft and messy to dip, and the chocolate might not adhere properly.
- Overheating Chocolate This can cause the chocolate to seize, becoming thick and unusable, or even burn. Melt slowly and gently.
- Too Much Liquid in Chocolate Avoid getting any water into your melting chocolate, as this will also cause it to seize.
- Rolling Balls Too Large Larger balls are harder to coat evenly and can be overly rich. Stick to the recommended 1 to 1.5-inch size.
- Rushing the Process Patience is a virtue, especially with chilling times. Don’t skip or shorten these steps.
Storage and Meal Prep
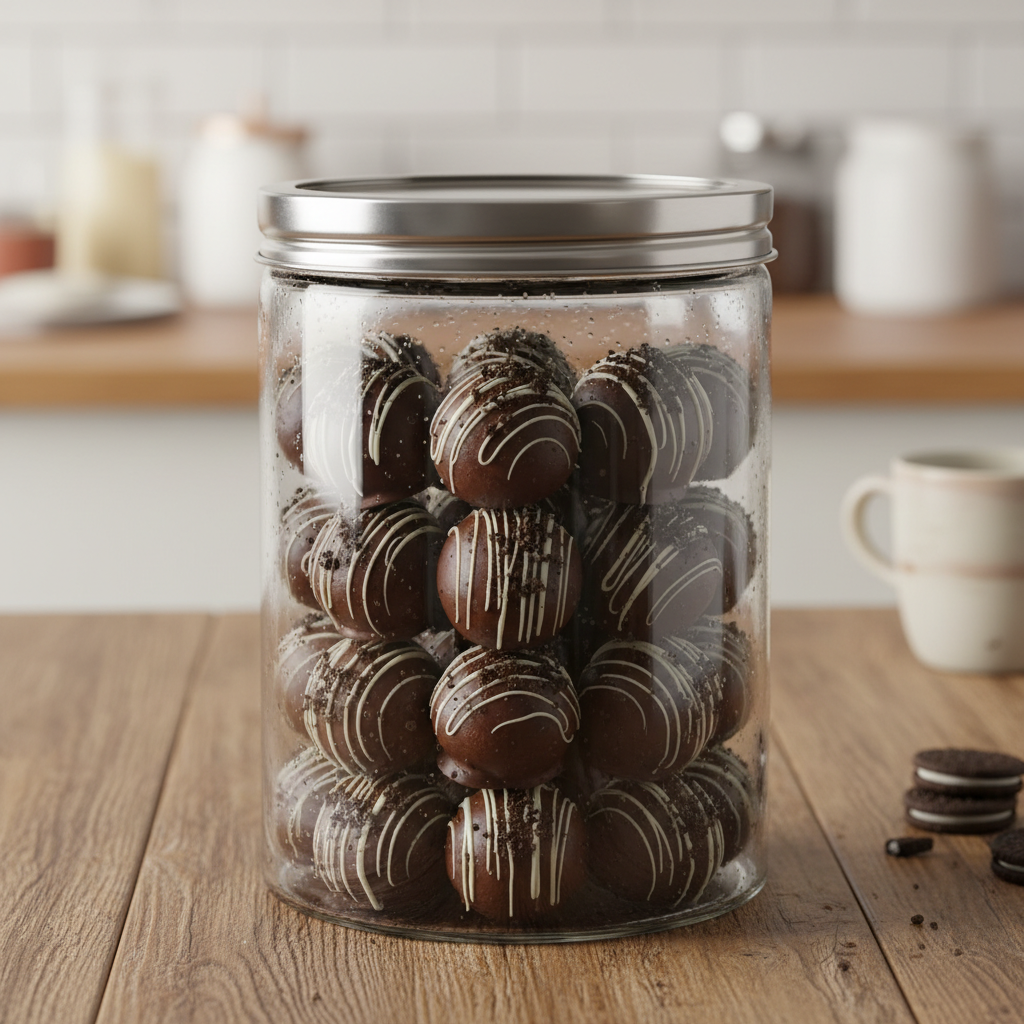
One of the best things about Oreo balls is how well they store! Once the chocolate coating has set completely, transfer them to an airtight container. They will keep beautifully in the refrigerator for up to 1 to 2 weeks. For best flavor and texture, let them sit at room temperature for about 10-15 minutes before serving, just to take the chill off.
Make-Ahead and Freezer Notes
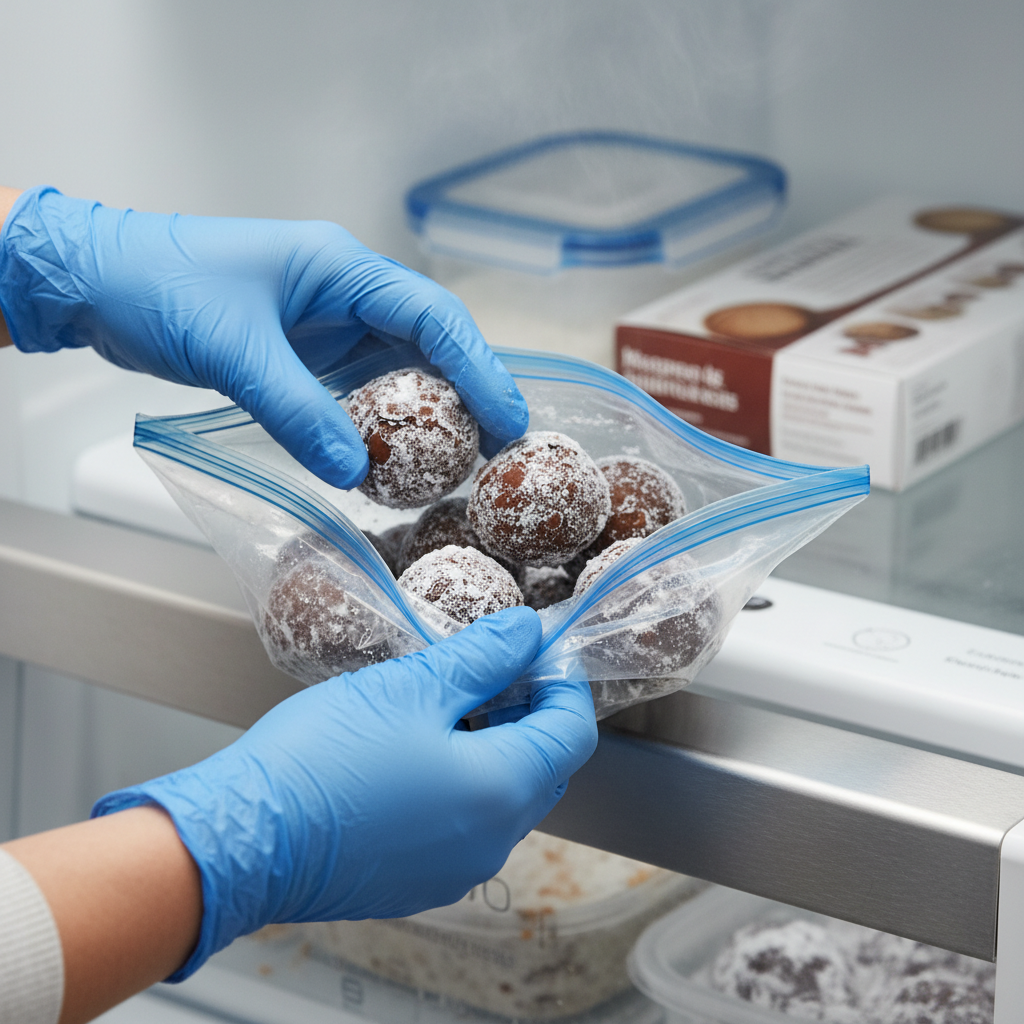
These are fantastic for making ahead! You can prepare the Oreo balls up to a week in advance and store them in the fridge. If you want to go even further, Oreo balls freeze exceptionally well. Once they are fully coated and the chocolate is set, place them in a single layer on a baking sheet and freeze until solid. Then, transfer them to a freezer-safe airtight container or bag. They will keep in the freezer for up to 1 month. Thaw them in the refrigerator overnight or at room temperature for an hour before serving.
Serving Suggestions

Oreo balls are a treat on their own, but they also make a wonderful addition to various dessert spreads:
- Dessert Platter Arrange them alongside other small treats like cookies, brownies, or fruit for a beautiful display.
- Coffee or Tea Time They pair wonderfully with a hot cup of coffee, tea, or even a glass of cold milk.
- Party Favorite Serve them at birthdays, holidays, or any celebration. They’re easy to pick up and enjoy.
- Ice Cream Topping Crumble a few over a scoop of vanilla ice cream for an extra decadent dessert.
- Gift Idea Package them in a decorative box or bag for a homemade gift that everyone will appreciate.