Welcome, fellow sweet tooths and kitchen adventurers! There’s something truly magical about a classic brittle candy. That irresistible snap, the rich caramel flavor, and the delightful crunch of toasted nuts—it’s pure bliss in every bite. If you’ve ever dreamt of crafting your own perfect batch of Crunchy Nutty Brittle Candy, you’ve come to the right place. This guide is designed to make you a brittle-making master, even if you’re a complete beginner. Get ready to fill your home with the most incredible aroma and your treat jar with a truly addictive confection!
A Sweet Glimpse into Brittle’s Past – History / Background
Brittle candy has a long and storied history, with variations appearing across cultures for centuries. While its exact origins are a bit hazy, the concept of cooking sugar to a hard crack stage and incorporating nuts is ancient. Many food historians believe that brittle, as we know it today, gained popularity in America during the 19th century. Early recipes often called for simple ingredients like sugar, water, and peanuts, making it an accessible and affordable treat for many. It was a popular homemade confection, often made for holidays and special occasions, and its enduring appeal lies in its straightforward ingredients and satisfying texture. From simple kitchen experiments to beloved family traditions, brittle has certainly stood the test of time, evolving into countless delicious forms, but always retaining its irresistible crunch.
Why You’ll Love This Recipe

- Beginner-Friendly This recipe breaks down the process into easy-to-follow steps, perfect for first-time candy makers.
- Irresistibly Crunchy Achieve that perfect, satisfying snap every single time.
- Customizable Easily swap out nuts or add extra flavors to make it your own.
- Perfect for Gifting Homemade brittle makes a wonderful, thoughtful gift for friends and family.
- Budget-Friendly Uses simple, inexpensive pantry staples.
- Impressive Results You’ll be amazed at the professional-quality candy you can create!
Ingredient Notes
Great brittle starts with great ingredients. Here’s a quick rundown of what you’ll need and why each one matters:
- Granulated Sugar This is the backbone of our brittle, providing the essential sweetness and structure.
- Light Corn Syrup Crucial for preventing crystallization, ensuring a smooth, clear caramel that’s less prone to becoming grainy.
- Water Helps dissolve the sugar evenly at the start of the cooking process.
- Unsalted Butter Adds richness, flavor, and helps to create that signature buttery taste.
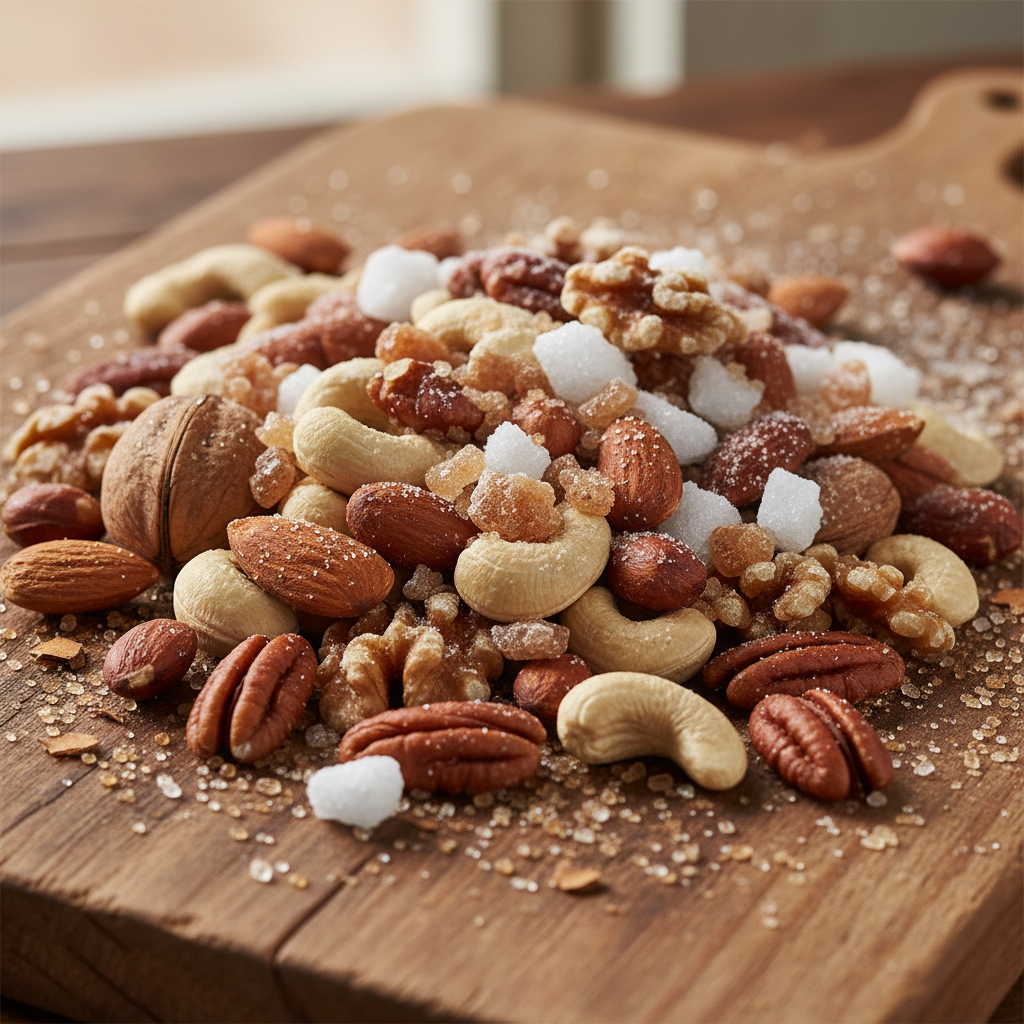
- Roasted Nuts Peanuts, almonds, pecans, or a mix! Roasting them beforehand enhances their flavor and crunch. Make sure they’re unsalted.
- Baking Soda This is the magic ingredient! It reacts with the hot sugar to create tiny air bubbles, giving the brittle its characteristic light, airy, and crunchy texture. Don’t skip it!
- Vanilla Extract A touch of vanilla rounds out the flavors beautifully.
- Salt A pinch of salt balances the sweetness and brings out the nutty flavors.
Equipment Needed
Having the right tools makes all the difference for candy making:
- Heavy-Bottomed Saucepan Essential for even heat distribution, preventing hot spots that can burn the sugar. A 3-4 quart size is ideal.
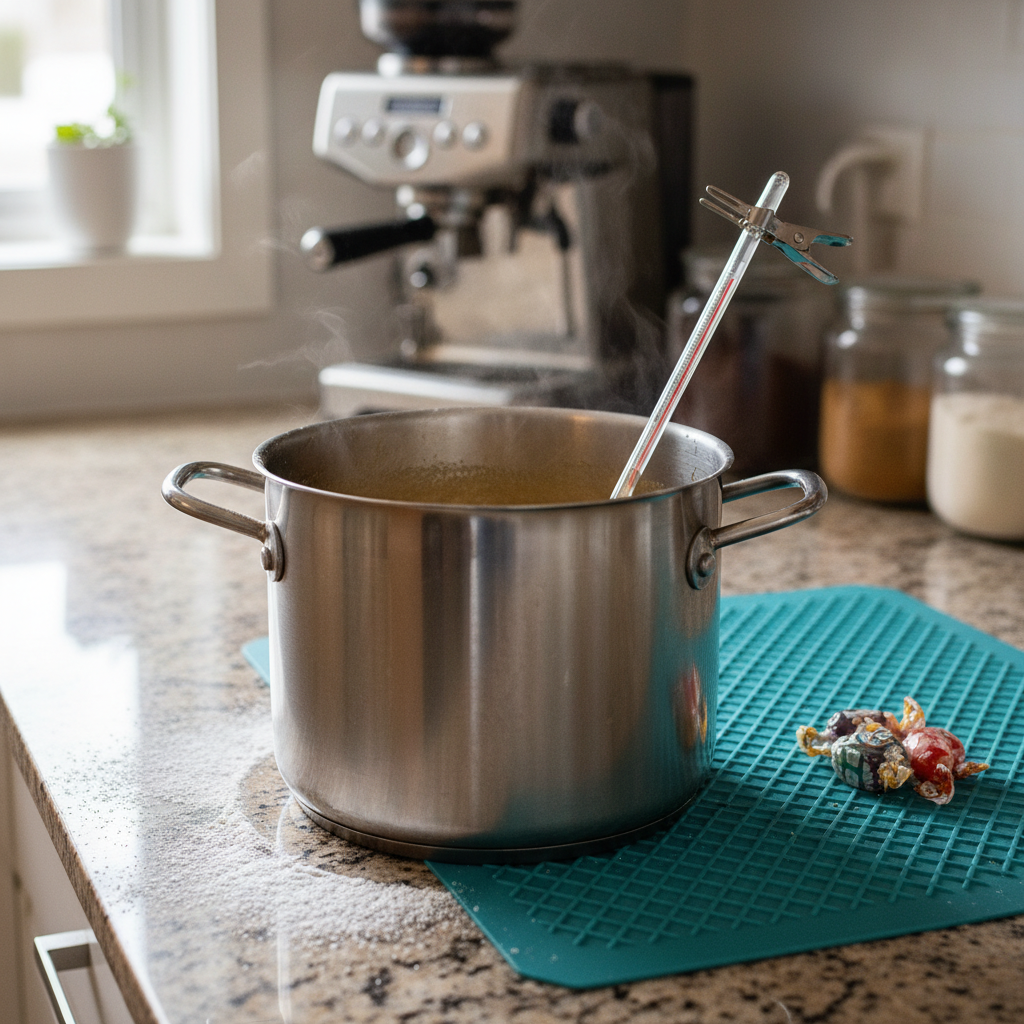
- Candy Thermometer Non-negotiable! This is your best friend for achieving the precise temperatures needed for perfect brittle.
- Silicone Baking Mat or Parchment Paper For lining your baking sheet. This prevents sticking and makes removal super easy. Do NOT use wax paper.
- Large Baking Sheet A standard 13×18 inch sheet works well for spreading the brittle thinly.
- Wooden Spoon or Heat-Proof Spatula For stirring.
- Oven Mitts Safety first! The sugar mixture gets extremely hot.
- Measuring Cups and Spoons For accurate ingredient measurements.
Full Recipe Card
Let’s get cooking! Follow these steps carefully for brittle perfection.
Ingredients
- 2 cups granulated sugar
- 1/2 cup light corn syrup
- 1/2 cup water
- 1/2 cup unsalted butter, cut into pieces
- 2 cups roasted nuts (peanuts, almonds, pecans, or mixed), unsalted
- 1 teaspoon baking soda
- 1 teaspoon vanilla extract
- 1/2 teaspoon salt
Instructions
- Prepare Your Workspace Line a large baking sheet (13×18 inches) with a silicone baking mat or parchment paper. Have your butter, nuts, baking soda, vanilla, and salt measured out and ready to go. Speed is key once the sugar mixture is hot!
- Combine Sugar Mixture In a heavy-bottomed 3-4 quart saucepan, combine the granulated sugar, corn syrup, and water. Stir gently over medium heat until the sugar is dissolved.
- Cook to Soft Ball Stage Insert your candy thermometer. Increase heat to medium-high and bring the mixture to a boil without stirring. Cook until the thermometer reaches 250°F (121°C) (soft ball stage). This usually takes about 10-15 minutes.
- Add Butter and Nuts Carefully add the butter pieces and roasted nuts to the sugar mixture. Stir constantly with a wooden spoon or heat-proof spatula.
- Cook to Hard Crack Stage Continue cooking and stirring constantly. The mixture will turn a beautiful amber color. Keep a close eye on your thermometer and cook until it reaches 300-310°F (149-154°C) (hard crack stage). This can happen quickly!
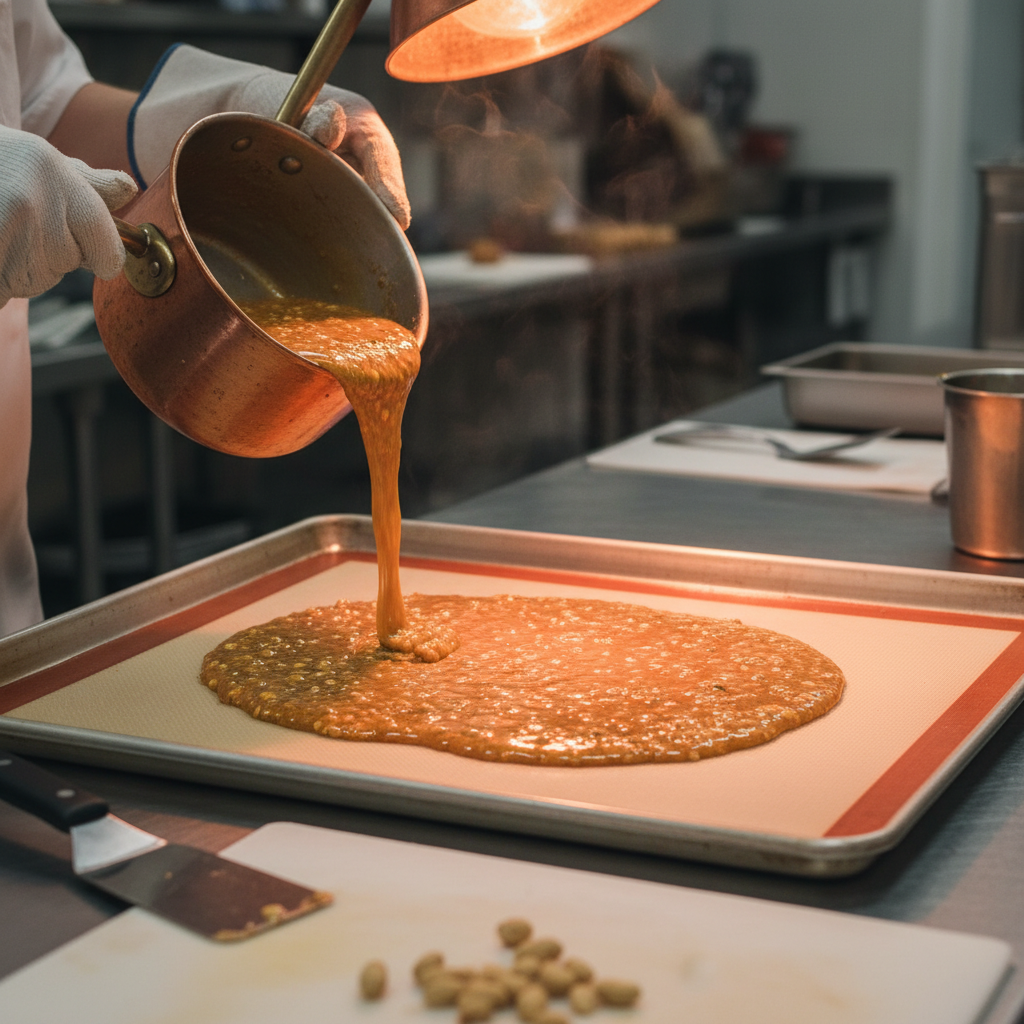
- Remove from Heat and Finish Immediately remove the saucepan from the heat. Quickly stir in the baking soda, vanilla extract, and salt. The mixture will foam up and lighten in color—this is exactly what you want!
- Pour and Spread Working quickly, pour the hot brittle mixture onto your prepared baking sheet. Use the back of your spoon or spatula to spread it thinly and evenly. If you have another silicone mat, you can place it on top and gently roll it with a rolling pin for an even thinner layer.
- Cool Completely Let the brittle cool completely at room temperature, undisturbed, for at least 1-2 hours, or until it is firm and brittle.
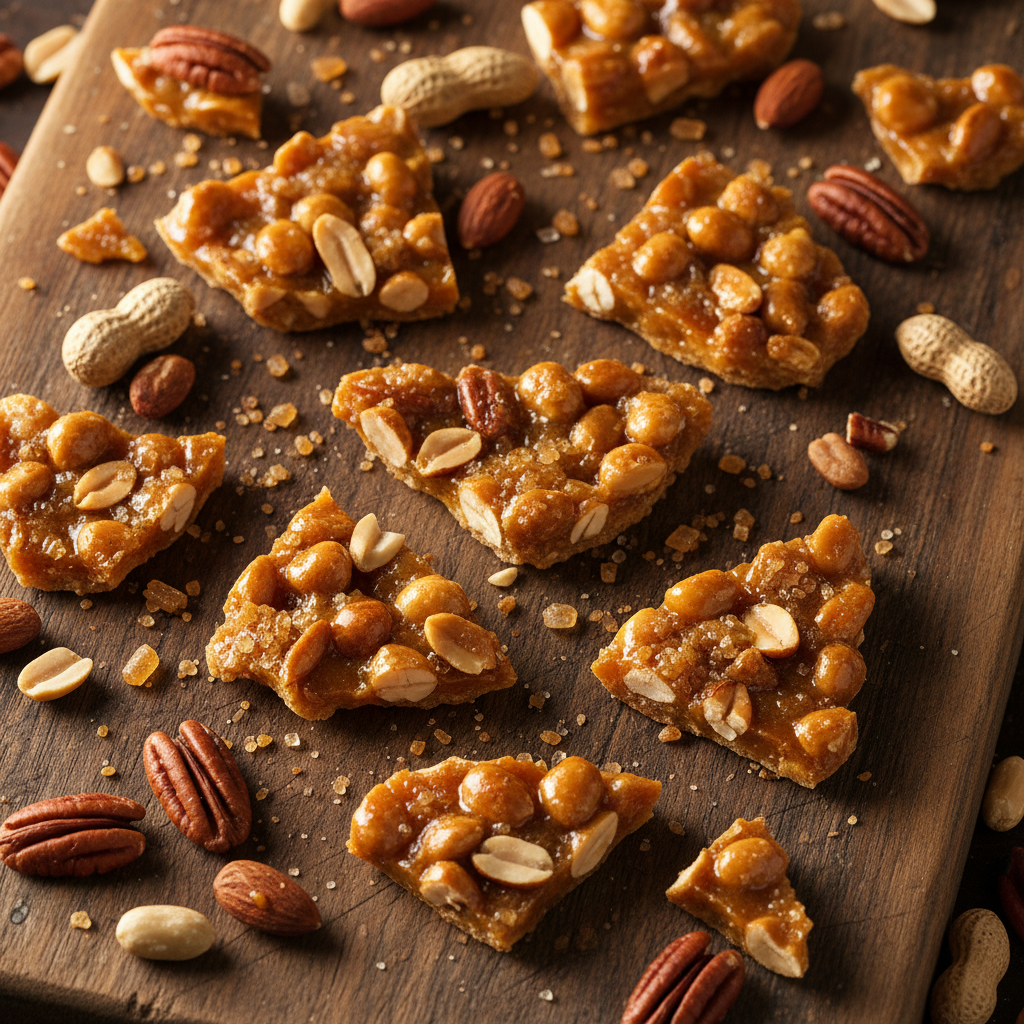
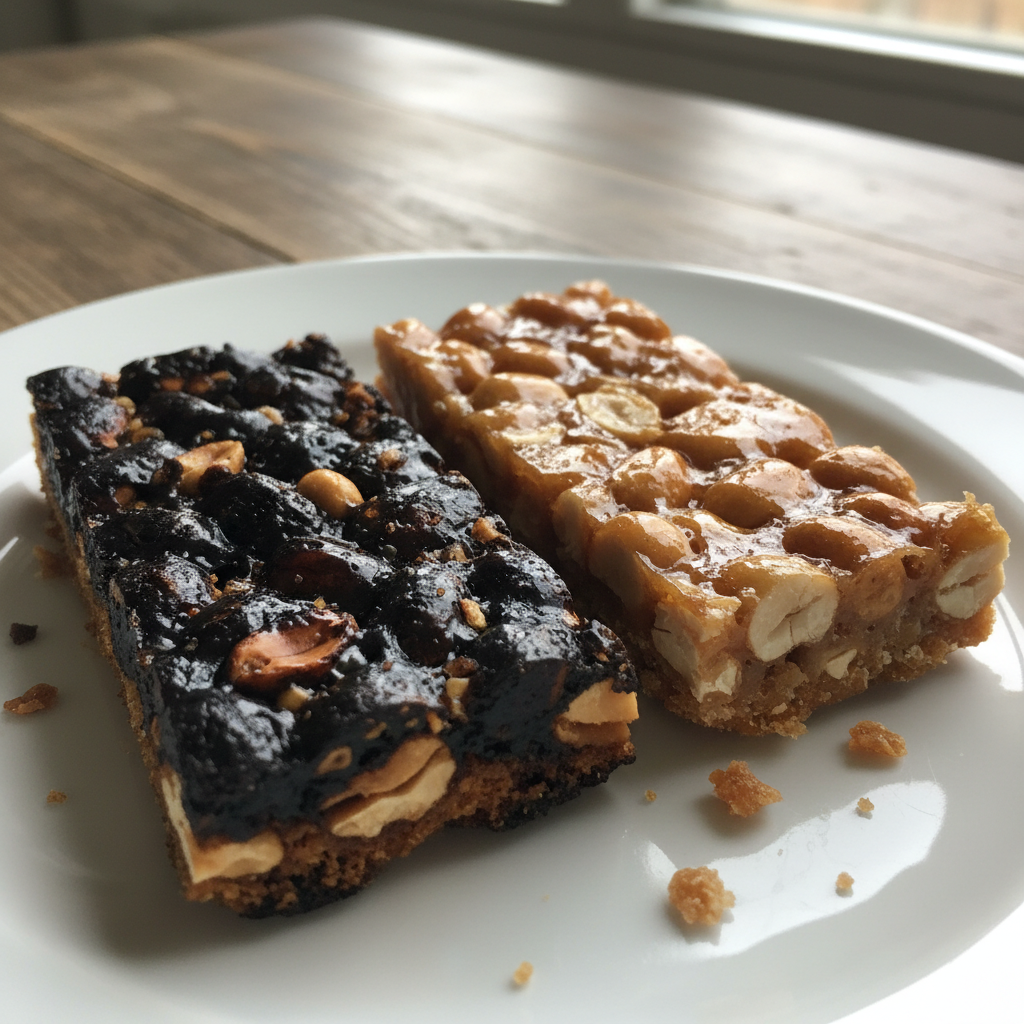
- Break and Enjoy Once fully cooled, lift the brittle off the mat or parchment paper. Break it into irregular pieces with your hands. Store in an airtight container at room temperature.
Notes
- Safety First Hot sugar is extremely dangerous. Always use oven mitts and exercise extreme caution. Do not touch the hot sugar mixture directly.
- Do Not Stir Initially Avoid stirring the sugar, corn syrup, and water mixture once it starts boiling until you add the butter and nuts. This helps prevent crystallization.
- Speed is Key Once the brittle reaches the hard crack stage and you add the baking soda, work very quickly to pour and spread it.
- Clean Up To clean your pot, fill it with hot water and let it sit. The hardened sugar will dissolve, making it easy to clean.
Tips & Variations
Once you’ve mastered the basic recipe, feel free to get creative!
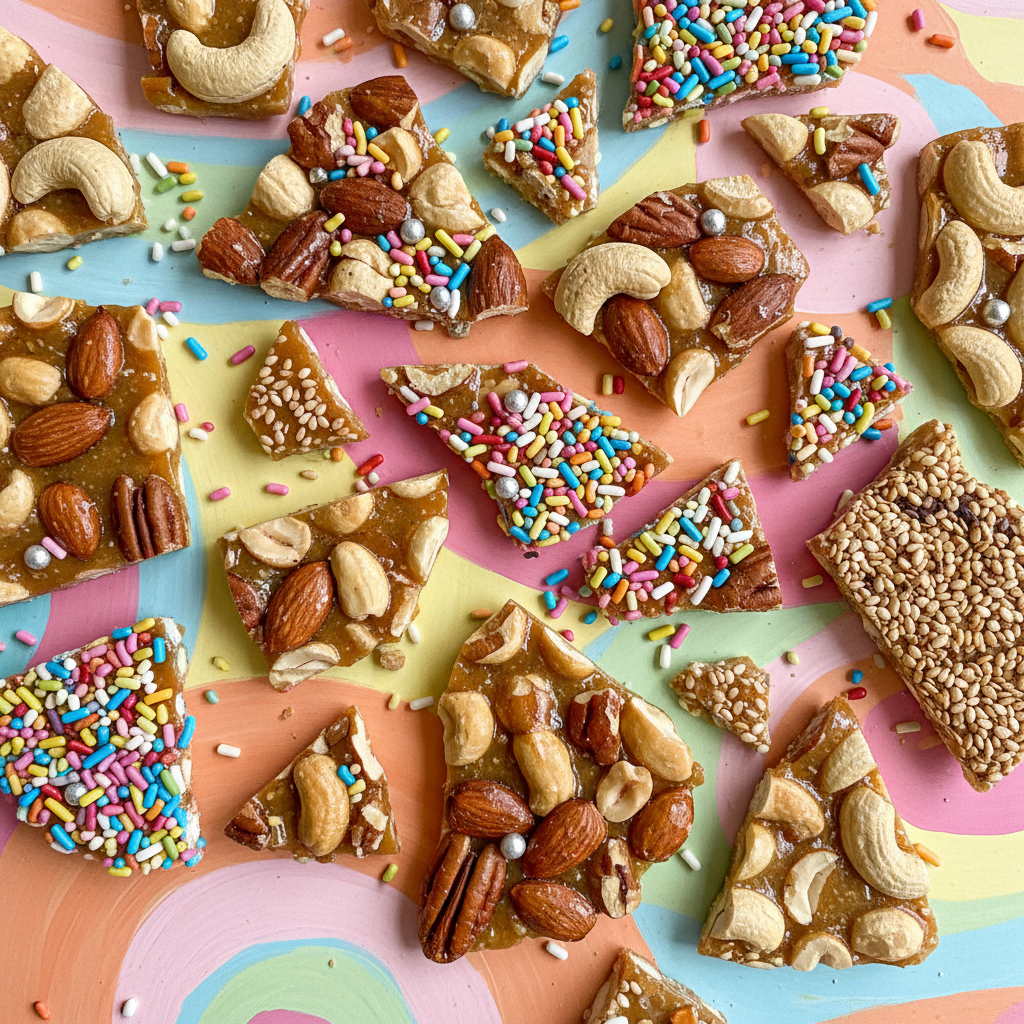
- Nut Combinations Try a mix of pecans, walnuts, and almonds for a gourmet blend. Pistachios or cashews also work wonderfully.
- Chocolate Drizzle After the brittle has cooled, melt some dark or milk chocolate and drizzle it over the broken pieces for an extra layer of decadence.
- Spicy Kick Add a pinch of cayenne pepper with the baking soda for a sweet and spicy brittle.
- Sesame Brittle For a unique twist, use toasted sesame seeds instead of or in addition to nuts.
- Citrus Zest Stir in a teaspoon of orange or lemon zest with the vanilla for a bright, aromatic flavor.
- Sea Salt Finish Sprinkle a tiny bit of flaky sea salt over the brittle immediately after pouring it onto the baking sheet for a gourmet touch.
Pro Chef Tips
- Mise en Place This French culinary term means “everything in its place.” For candy making, it’s non-negotiable. Have all your ingredients measured and ready before you even turn on the stove. This prevents frantic scrambling when the sugar is at critical temperatures.
- Calibrate Your Thermometer Before starting, check your candy thermometer’s accuracy. Place it in boiling water; it should read 212°F (100°C). If it’s off, adjust your target temperatures accordingly.
- Don’t Rush the Heat While you want to reach high temperatures, don’t blast the heat. Medium-high is usually sufficient. Too high, and the sugar on the bottom can burn before the rest of the mixture catches up.
- Watch the Color In addition to the thermometer, pay attention to the color. A rich, golden amber is what you’re aiming for at the hard crack stage. Too dark, and it will taste burnt.
- Work on a Heat-Safe Surface Always pour hot brittle onto a heat-safe surface like a granite countertop or a sturdy wooden board protected by your silicone mat.
Common Mistakes to Avoid
Even seasoned bakers make mistakes, but knowing what to look out for can save your brittle!
- Not Using a Thermometer Guessing temperature is a recipe for disaster in candy making. A few degrees off can mean chewy instead of crunchy, or grainy instead of smooth.
- Stirring Too Much Stirring the sugar mixture after it boils can introduce sugar crystals back into the syrup, leading to a grainy texture. Only stir once the butter and nuts are added.
- Overcooking or Undercooking Undercooked brittle will be sticky and chewy. Overcooked brittle will be dark, bitter, and burnt. Stick to the 300-310°F (149-154°C) range.
- Not Preparing Ahead As mentioned, speed is crucial. If your ingredients aren’t ready, the brittle can cool and harden in the pot before you’ve spread it.
- Ignoring Safety Hot sugar burns are severe. Always use proper protection and keep children and pets away from the cooking area.
- Using Old Baking Soda Baking soda loses its potency over time. If yours is old, it won’t create enough air bubbles, and your brittle will be dense.
Storage & Meal Prep
Proper storage is key to keeping your brittle fresh and crunchy.
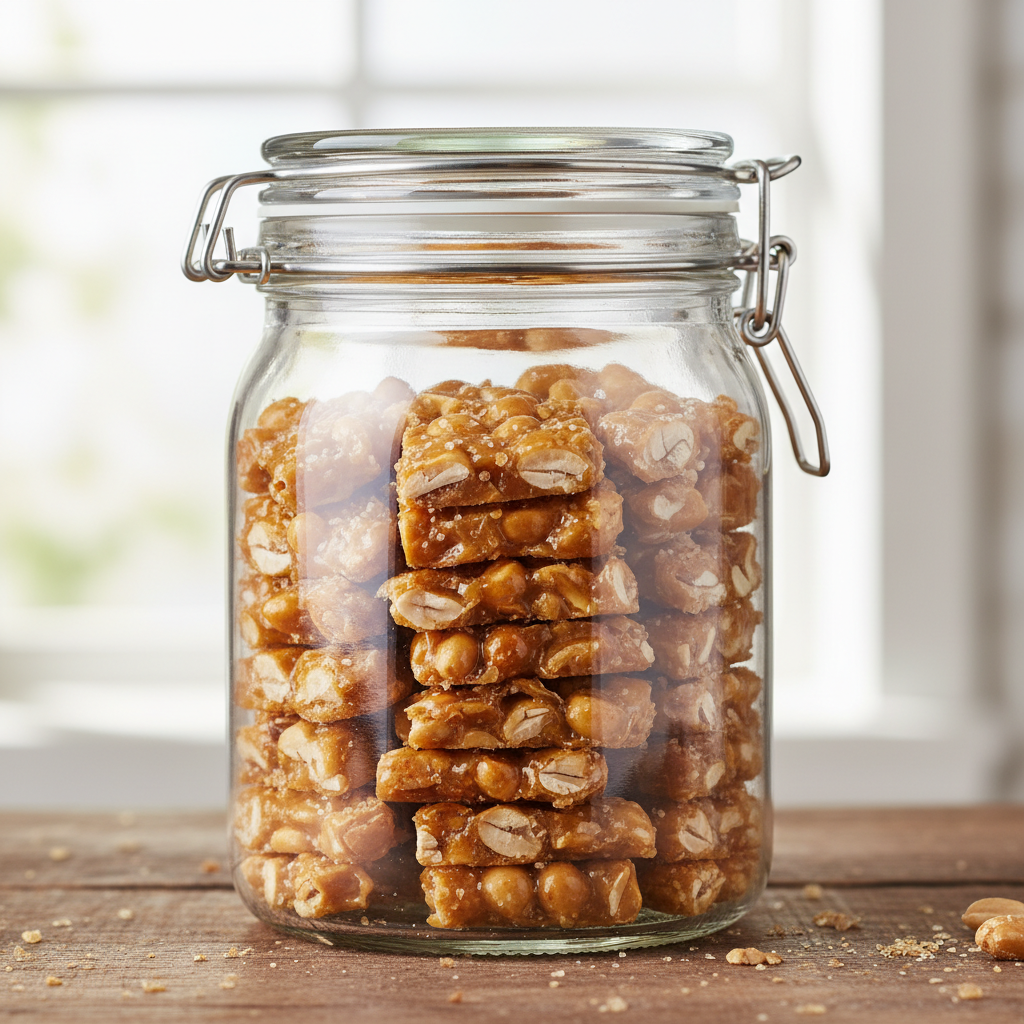
- Airtight Container Once completely cooled and broken, store your brittle in an airtight container at room temperature. Moisture is the enemy of brittle, so sealing it away is crucial.
- Avoid Humidity Try to store brittle in a cool, dry place. Humidity can make it sticky.
- Layering If stacking pieces, you can place small squares of parchment paper between layers to prevent them from sticking together, though well-cooled brittle usually doesn’t have this problem.
Make-Ahead & Freezer Notes

Brittle is an excellent make-ahead treat, perfect for holiday gifting or party prep!
- Make-Ahead You can easily make brittle several days or even up to 2 weeks in advance. Just ensure it’s stored correctly in an airtight container at room temperature.
- Freezing While technically possible, freezing brittle is generally not recommended. The thawing process can introduce moisture, making it sticky and losing its characteristic crunch. It’s best enjoyed fresh or within a couple of weeks of making.
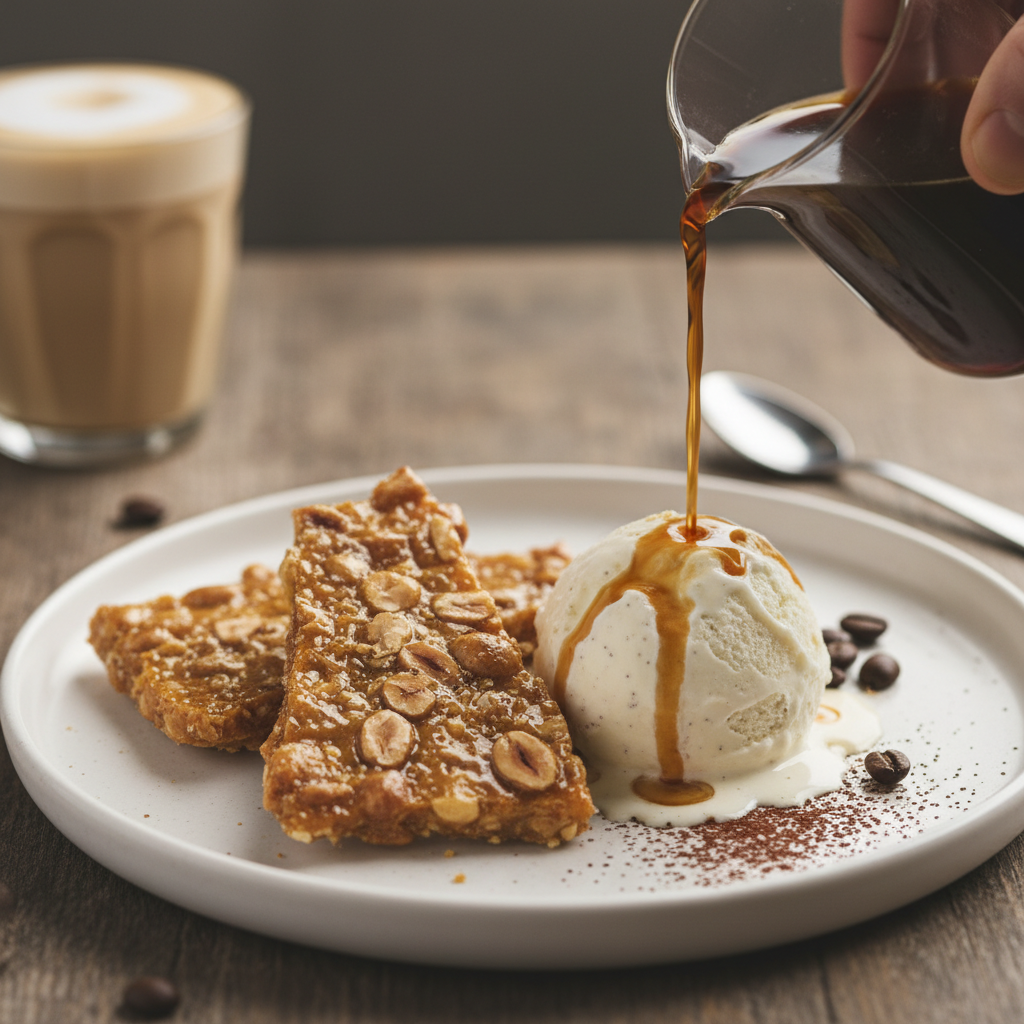
Serving Suggestions
Beyond simply snacking, there are many delightful ways to enjoy your homemade brittle:
- With Coffee or Tea A classic pairing! The sweetness and crunch are perfect with a hot beverage.
- Ice Cream Topping Crumble brittle over a scoop of vanilla, chocolate, or caramel ice cream for an incredible textural contrast.
- Dessert Garnish Use crushed brittle as a garnish for cakes, cupcakes, or puddings.
- In Yogurt or Oatmeal Add some crunch to your breakfast or snack.
- As a Gift Package pieces in pretty bags or boxes for a thoughtful homemade present.
- Cheese Board Addition A surprising but delicious addition to a cheese board, especially with aged cheeses.