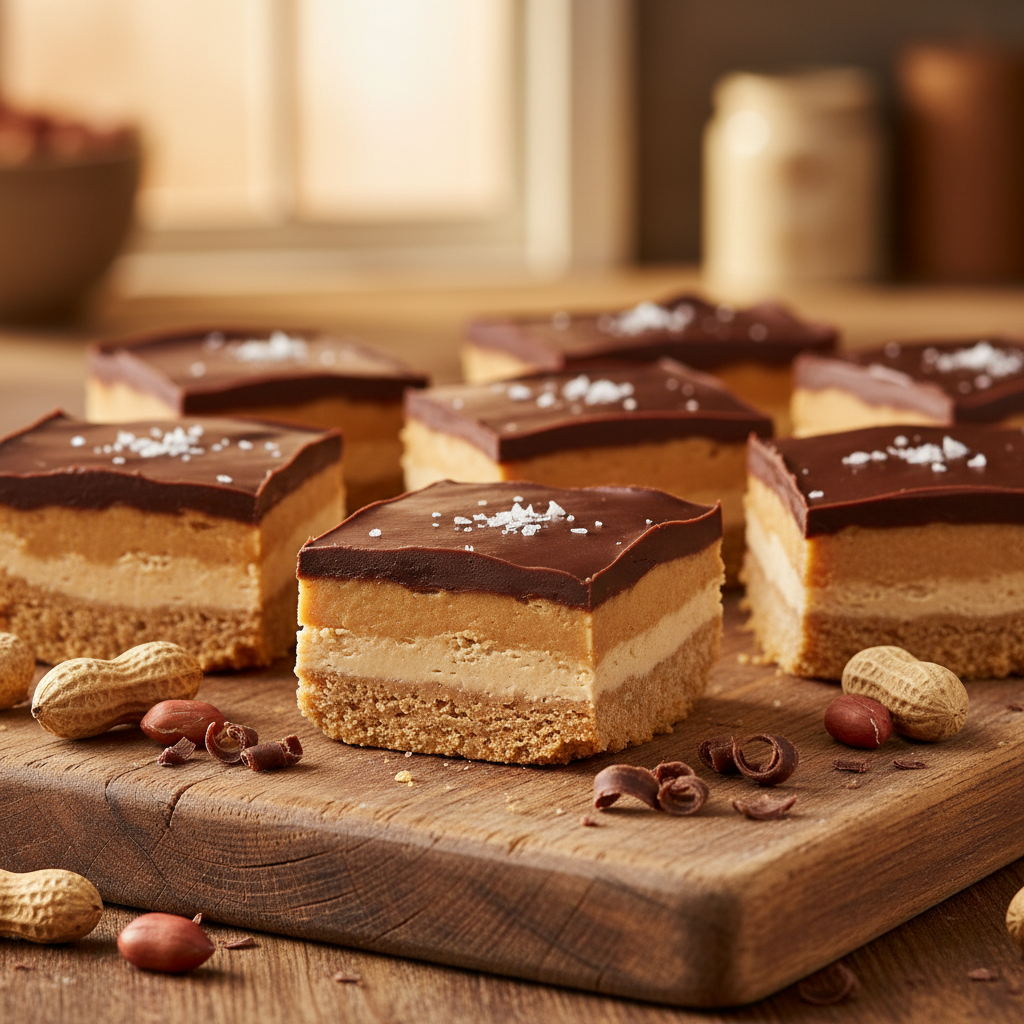
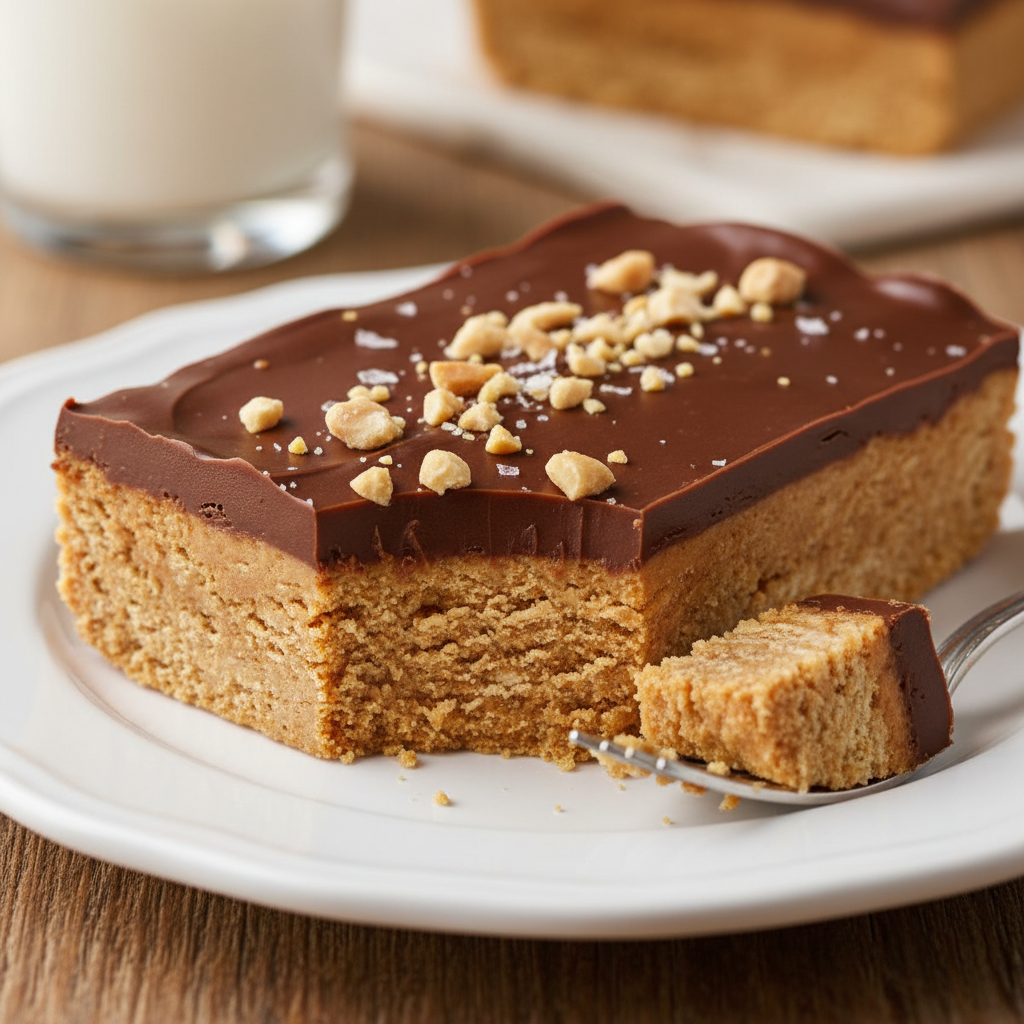
Welcome, fellow dessert lovers! Are you ready for a treat that’s unbelievably simple, incredibly delicious, and requires absolutely no oven time? If you’re nodding your head enthusiastically, then you’re in the right place. Today, we’re diving into the wonderful world of No Bake Peanut Butter Bars. These bars are a dream come true for anyone craving a rich, satisfying dessert without the fuss of baking. Imagine a creamy, sweet peanut butter base topped with a smooth, decadent layer of chocolate – pure bliss in every bite!
Whether you’re a seasoned baker looking for a quick fix or a complete beginner eager to impress, this recipe is designed for you. It’s a classic for a reason, bringing smiles and satisfying sweet cravings with minimal effort. Let’s get started on creating these irresistible squares!
A Sweet History of No Bake Treats
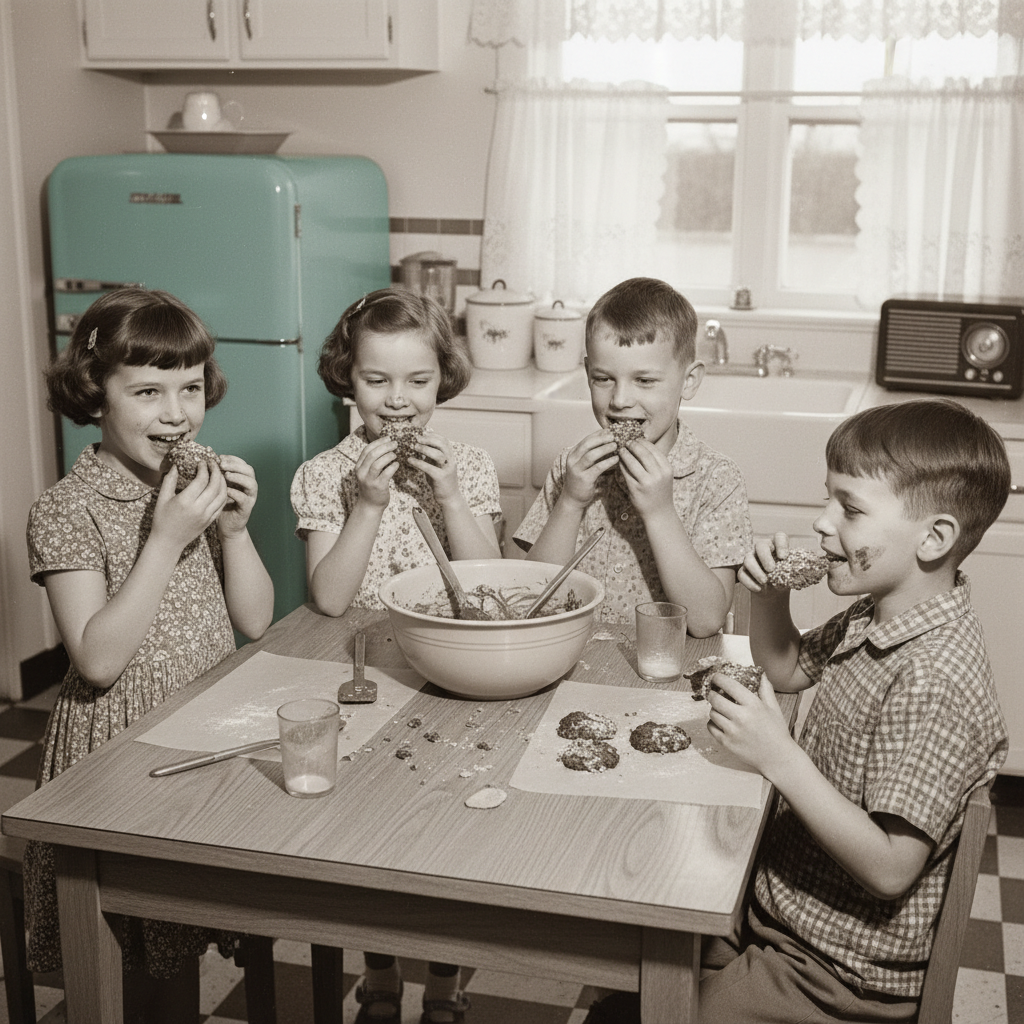
No-bake desserts have a charming history rooted in convenience and practicality. While the exact origin of peanut butter bars is a bit fuzzy, no-bake treats gained significant popularity, especially during warmer months when people wanted to avoid heating their kitchens. They also became a staple during times when ingredients were scarce, or ovens were not readily available. The combination of peanut butter and chocolate, a match made in culinary heaven, has been a beloved pairing in American desserts for decades, leading to countless variations, with no-bake bars standing out for their sheer simplicity and delightful texture. This recipe taps into that tradition, offering a modern twist on a timeless favorite.
Why You’ll Love This Recipe So Much
- Effortlessly Easy This recipe is incredibly straightforward, perfect for beginners.
- No Oven Required Keep your kitchen cool; no baking means no hot oven!
- Quick to Prepare Most of the time is chilling, active prep is minimal.
- Crowd-Pleaser Everyone adores the classic peanut butter and chocolate combo.
- Customizable Easily adapt with your favorite add-ins and toppings.
- Rich and Satisfying A truly decadent treat that hits all the right sweet notes.
Ingredient Notes for Perfection
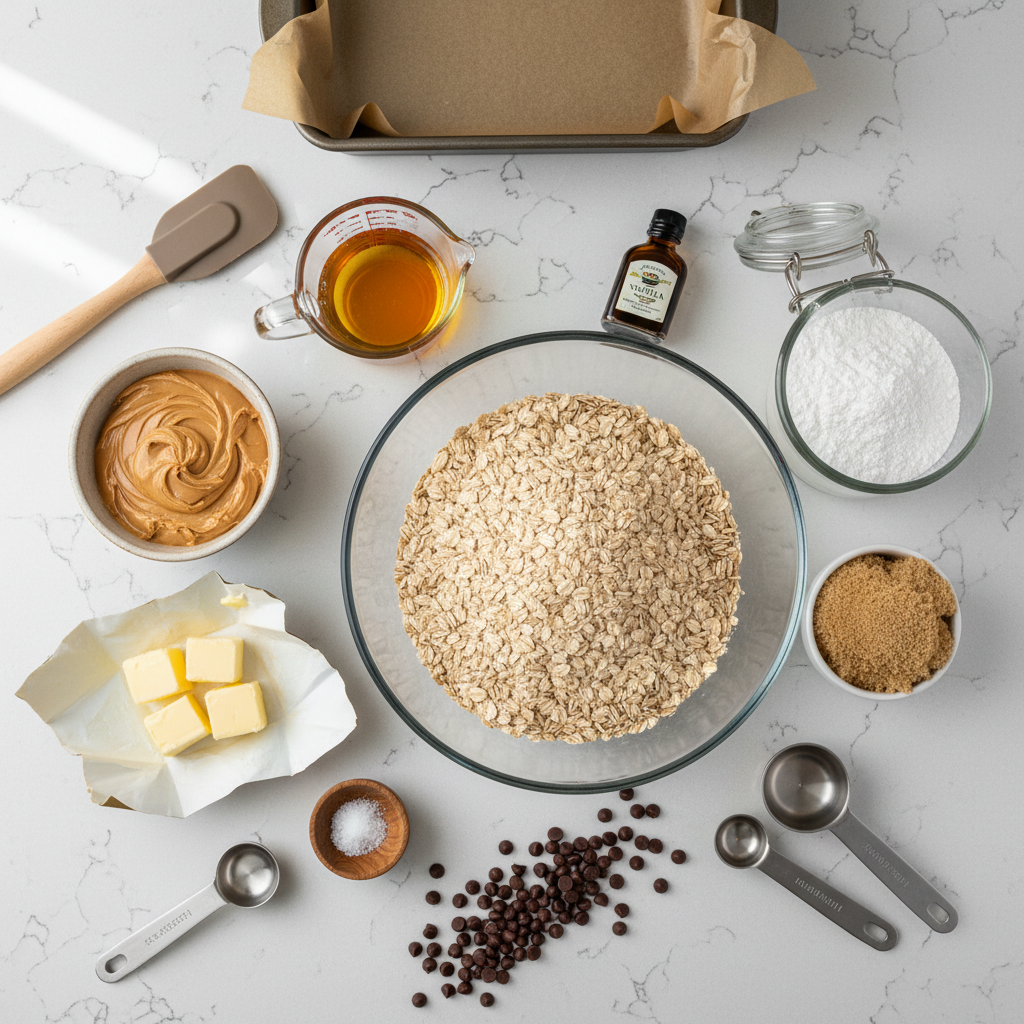
Getting the right ingredients is key to success with these bars. Here’s what you’ll need and why each component matters:
- Creamy Peanut Butter Use a smooth, processed peanut butter like Jif or Skippy. Natural peanut butter tends to separate and can make the bars oily and less firm.
- Unsalted Butter This provides richness and helps bind the base. Make sure it’s softened to room temperature for easier mixing.
- Powdered Sugar (Confectioners’ Sugar) This is crucial for the smooth, melt-in-your-mouth texture of the peanut butter layer. Granulated sugar would make it gritty.
- Graham Cracker Crumbs The foundation of our delicious base. You can buy them pre-crushed or crush your own graham crackers in a food processor.
- Semi-Sweet Chocolate Chips A classic choice for the topping. They melt beautifully and provide a balanced sweetness.
- Milk or Cream Just a touch helps create a smooth, pourable chocolate ganache.
- Vanilla Extract Enhances the flavors in both layers.
- Optional Sea Salt A sprinkle on top of the chocolate layer elevates the flavors beautifully.
Essential Equipment Needed
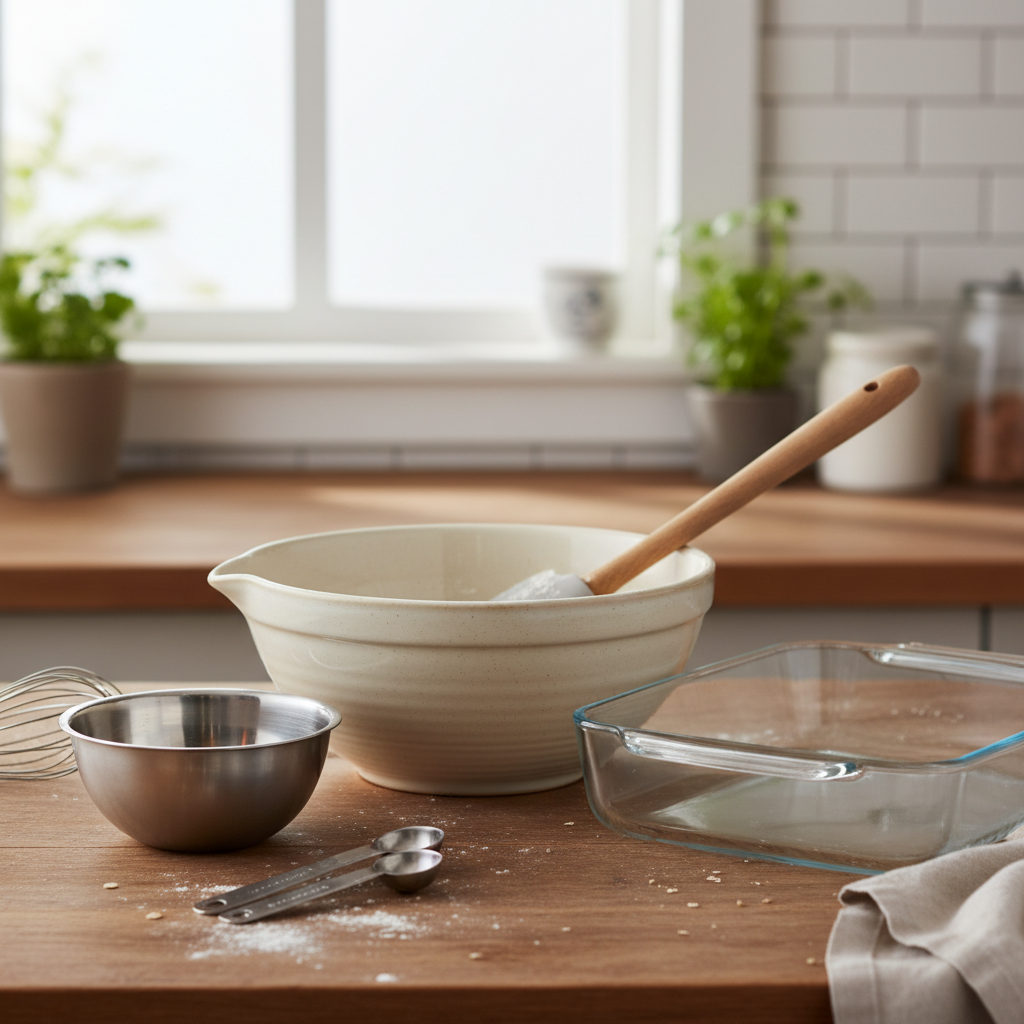
You won’t need much to whip up these delightful bars. Gather these basic kitchen tools:
- 8×8 inch or 9×9 inch baking pan A square pan is ideal for neat bars.
- Parchment paper Highly recommended for easy lifting and clean-up.
- Large mixing bowl For the peanut butter base.
- Medium mixing bowl For melting the chocolate.
- Rubber spatula or wooden spoon For mixing.
- Measuring cups and spoons For accurate ingredient amounts.
Full Recipe Card – No Bake Peanut Butter Bars
Yields 16 bars Prep time 20 minutes Chill time 2 hours
Here’s the step-by-step guide to making these irresistible treats.
Ingredients
- 1 ½ cups graham cracker crumbs (about 10-12 full sheets)
- ½ cup (1 stick) unsalted butter, melted
- 1 cup creamy peanut butter (processed, not natural)
- 1 ½ cups powdered sugar
- 1 teaspoon vanilla extract
- 1 ½ cups semi-sweet chocolate chips
- 2 tablespoons milk or cream
- Pinch of sea salt (optional, for topping)
Instructions
- Prepare Your Pan Line an 8×8 or 9×9 inch baking pan with parchment paper, leaving an overhang on the sides for easy lifting. This is a game-changer for clean removal!
- Make the Crust In a large mixing bowl, combine the graham cracker crumbs and melted butter. Mix until well combined and the crumbs are moistened.
- Press the Base Firmly press the graham cracker mixture evenly into the bottom of the prepared pan. Use the back of a spoon or your hands to create a compact, even layer. Place the pan in the refrigerator while you prepare the peanut butter layer.
- Mix Peanut Butter Layer In the same large mixing bowl (no need to wash!), combine the creamy peanut butter, powdered sugar, and vanilla extract. Mix with a spatula or electric mixer on low speed until smooth and well combined. It will be thick.
- Layer the Peanut Butter Remove the pan from the refrigerator. Evenly spread the peanut butter mixture over the graham cracker crust. Press it down gently but firmly to create an even layer. Return the pan to the refrigerator.
- Prepare Chocolate Topping In a medium microwave-safe bowl, combine the semi-sweet chocolate chips and milk (or cream). Microwave on high for 30-second intervals, stirring well after each, until the chocolate is smooth and melted. Be careful not to overheat. Alternatively, melt in a double boiler over simmering water.
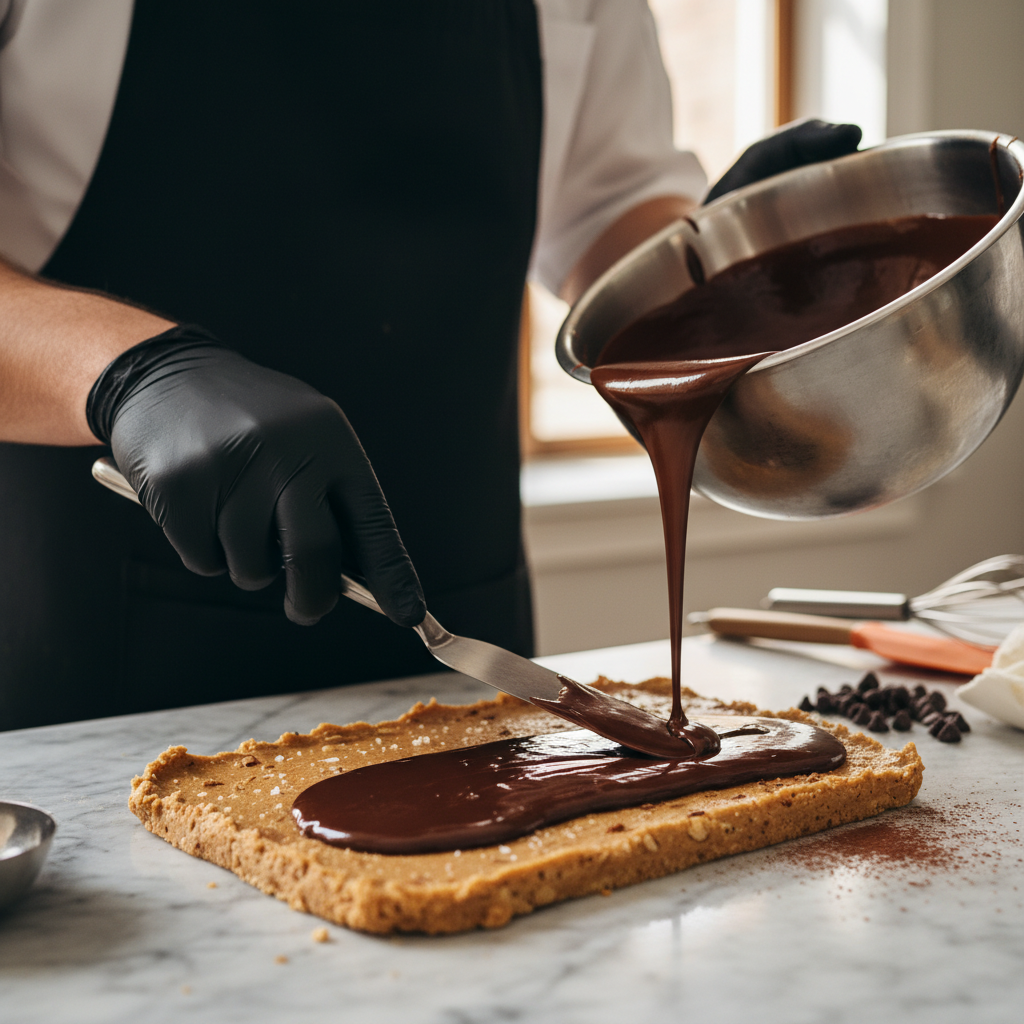
- Pour Chocolate Carefully pour the melted chocolate over the peanut butter layer, spreading it evenly with a spatula. If desired, sprinkle a pinch of sea salt over the wet chocolate for an extra flavor boost.
- Chill and Set Return the pan to the refrigerator and chill for at least 2 hours, or until the chocolate is completely set and firm.
- Cut and Serve Once fully chilled, use the parchment paper overhang to lift the entire slab out of the pan. Place it on a cutting board and cut into 16 squares. Enjoy!
Recipe Notes
- For easier cutting, run your knife under hot water and wipe it clean between cuts.
- If the peanut butter layer feels too stiff to spread, you can microwave it for 10-15 seconds to soften slightly, but be careful not to melt it.
- Store any leftover bars in an airtight container in the refrigerator for up to a week.
Tips and Delicious Variations
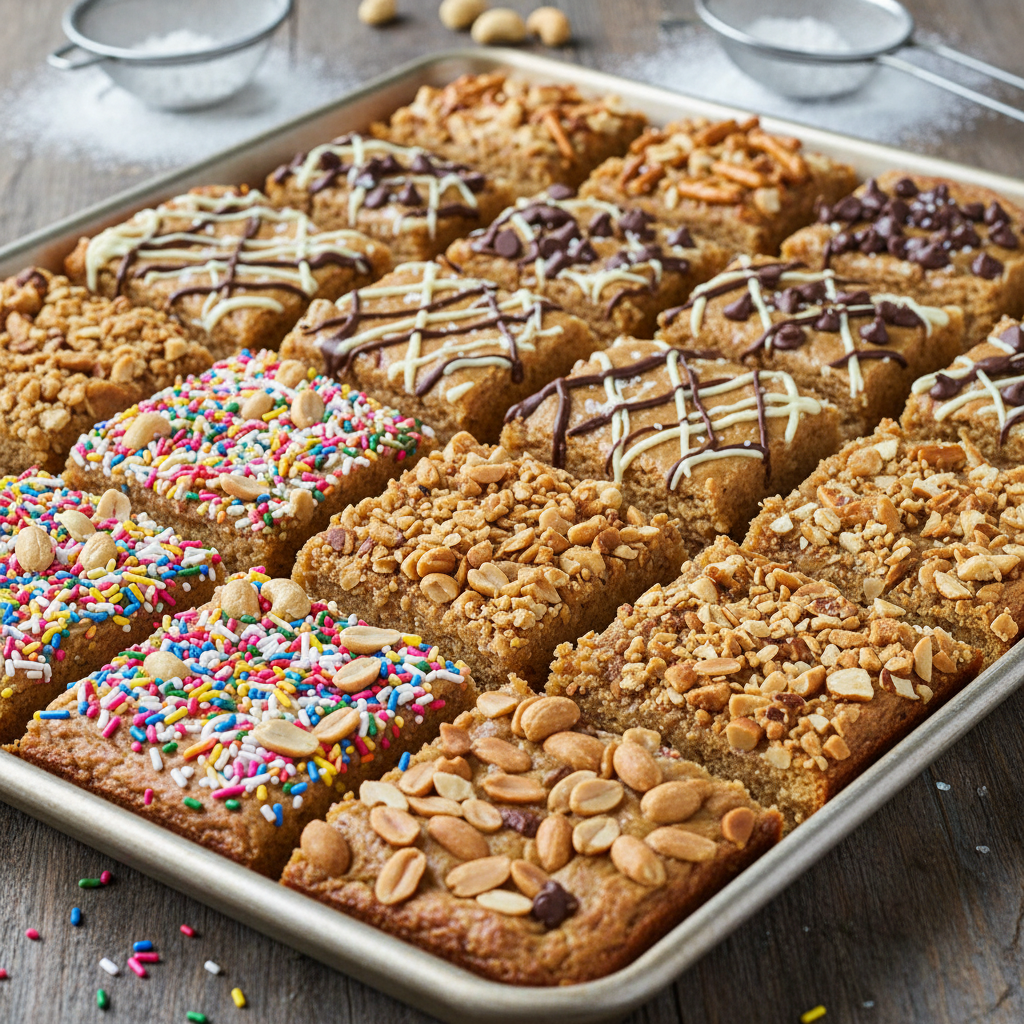
While these bars are perfect as-is, there are many ways to make them your own!
- Add Nuts Fold in chopped peanuts or other nuts like pecans or walnuts into the peanut butter layer for extra crunch.
- Sprinkles Fun Add colorful sprinkles to the chocolate topping before it sets for a festive look.
- Different Chocolate Experiment with milk chocolate or dark chocolate chips for the topping, depending on your preference.
- White Chocolate Swirl Drizzle melted white chocolate over the dark chocolate topping and swirl with a toothpick for an elegant marble effect.
- Coconut Twist Add a couple of tablespoons of shredded coconut to the graham cracker crust for a tropical hint.
- Nut-Free Option For those with peanut allergies, you can substitute the peanut butter with an equal amount of sunflower seed butter (SunButter) for a similar texture and taste.
Pro Chef Tips for Success
- Patience with Chilling The most important