Are you dreaming of a dessert that’s wonderfully creamy, delightfully sweet, and requires absolutely no oven time? If so, you’ve landed in the perfect spot! This no-bake ice box pie recipe is a true summer savior, a creamy dream come true, and so simple even a novice baker can master it. Forget heating up your kitchen; this pie chills its way to perfection, offering a velvety texture that melts in your mouth with every single bite.
History / Background of Ice Box Pies

The concept of the ‘ice box pie’ is a delightful throwback to a simpler time, specifically the early to mid-20th century. Before every home had a freezer, the ‘ice box’ was the coolest spot in the kitchen, kept cold by blocks of ice. These pies became popular because they didn’t require baking, making them perfect for hot summers and economical for households without ovens or those wanting to conserve fuel. They were often made with simple, accessible ingredients like condensed milk, whipped cream, and crushed cookies, evolving into countless delicious variations we still enjoy today. Our creamy no-bake ice box pie carries on this beloved tradition, offering modern ease with classic comfort.
Why You’ll Love This Recipe

- No Baking Required Forget turning on the oven, perfect for hot days!
- Incredibly Creamy Texture Achieves a wonderfully smooth, melt-in-your-mouth consistency.
- Beginner Friendly Simple steps and common ingredients make it foolproof.
- Customizable and Versatile Easily adapt flavors and toppings to your liking.
- Make-Ahead Dessert Ideal for parties and gatherings as it needs chilling time.
- Crowd-Pleaser Always a hit with both kids and adults!
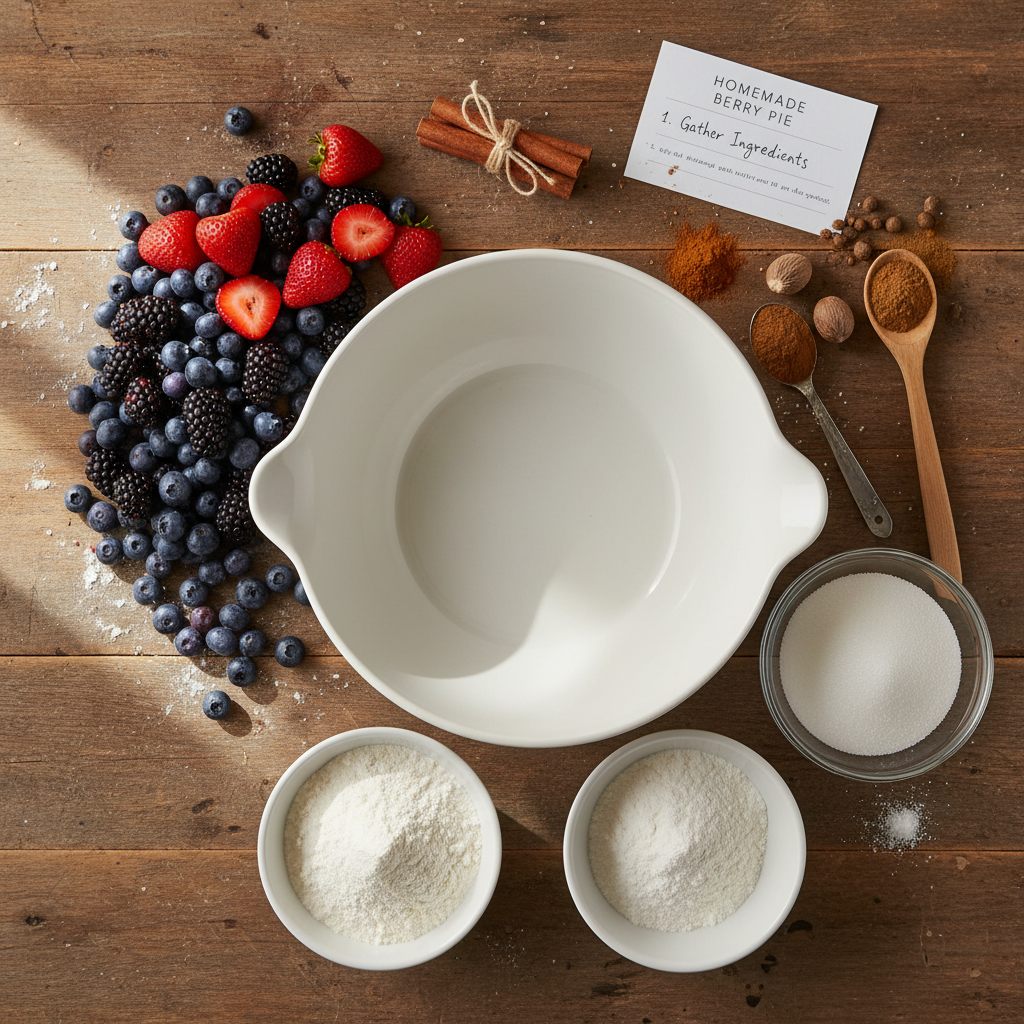
Ingredient Notes

Using quality ingredients makes all the difference in this simple recipe. Here’s a quick guide to what you’ll need:
- Graham Cracker Crust You can buy a pre-made one or easily whip up your own with crushed graham crackers, melted butter, and a touch of sugar.
- Cream Cheese Make sure it’s full-fat and softened to room temperature. This is key for that incredibly creamy, smooth texture.
- Sweetened Condensed Milk This provides the primary sweetness and contributes significantly to the pie’s luxurious texture. Don’t confuse it with evaporated milk!
- Heavy Cream Whipped to stiff peaks, it adds lightness and airiness, balancing the richness of the cream cheese.
- Powdered Sugar Just a little extra sweetness for the whipped cream, ensuring it’s perfectly balanced.
- Vanilla Extract A splash of pure vanilla extract enhances all the other flavors.
- Lemon Juice (Optional) A tiny bit can brighten the flavor profile, especially if you’re going for a fruitier variation.
Equipment Needed
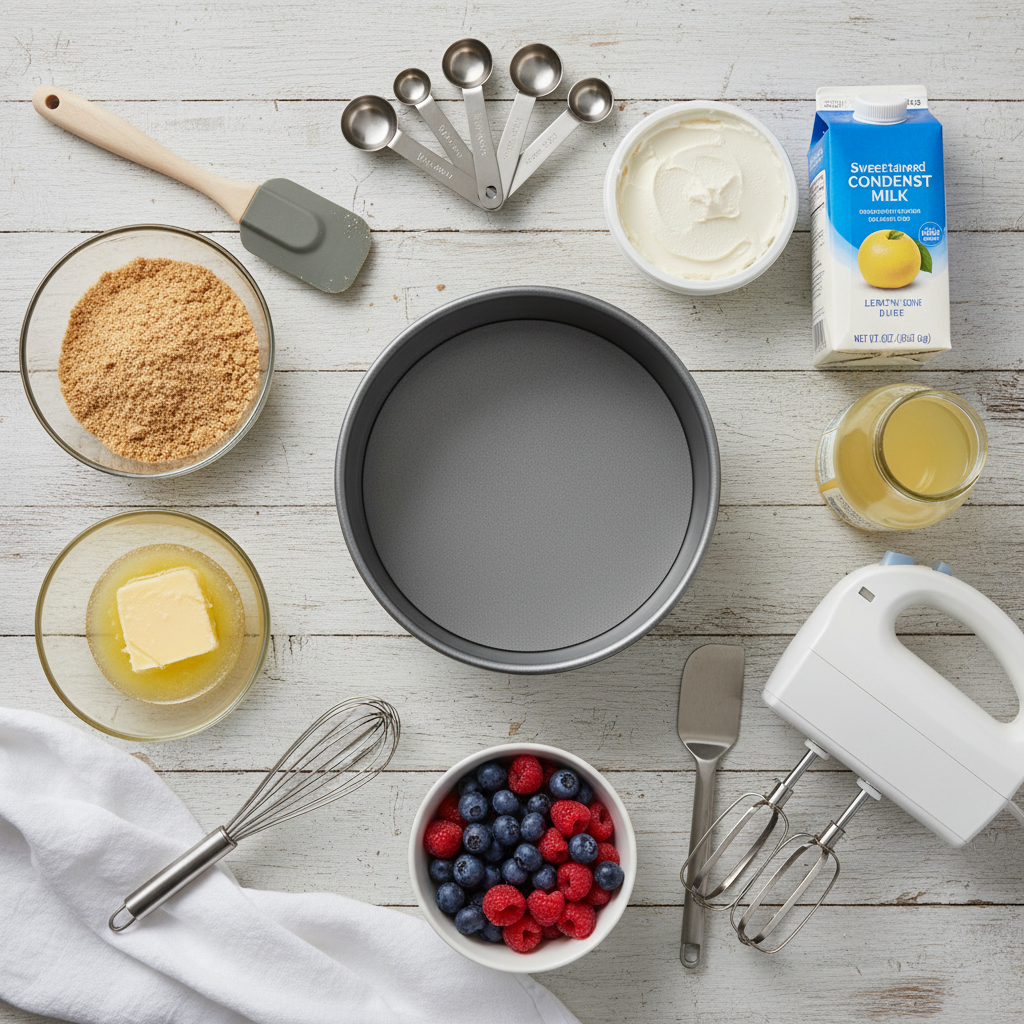
- 9-inch pie plate
- Electric mixer (handheld or stand mixer)
- Large mixing bowls
- Rubber spatula
- Measuring cups and spoons
- Whisk (optional, for manual whipping)
Full Recipe Card
Ingredients
- 1 (9-inch) graham cracker crust
- 1 (8 ounce) package full-fat cream cheese, softened
- 1 (14 ounce) can sweetened condensed milk
- 1 teaspoon pure vanilla extract
- 1/4 cup fresh lemon juice (optional, for a brighter flavor)
- 1 1/2 cups cold heavy cream
- 1/4 cup powdered sugar
Instructions
- Prepare the Cream Cheese Mixture In a large mixing bowl, using an electric mixer, beat the softened cream cheese on medium speed until smooth and creamy, about 2-3 minutes. Make sure there are no lumps.
- Add Condensed Milk and Vanilla Gradually beat in the sweetened condensed milk and vanilla extract until fully combined and smooth. If using, beat in the lemon juice now. Scrape down the sides of the bowl as needed.
- Whip the Heavy Cream In a separate, clean large mixing bowl, whip the cold heavy cream and powdered sugar on high speed until stiff peaks form. Be careful not to over-whip, or it will become grainy.
- Fold Together Gently fold about one-third of the whipped cream into the cream cheese mixture to lighten it. Then, carefully fold in the remaining whipped cream until just combined. Be gentle to maintain the airiness.
- Fill the Crust Pour the creamy filling into the prepared graham cracker crust. Spread it evenly with a spatula.
- Chill Thoroughly Cover the pie loosely with plastic wrap and refrigerate for at least 4-6 hours, or preferably overnight, until firm and well-chilled.
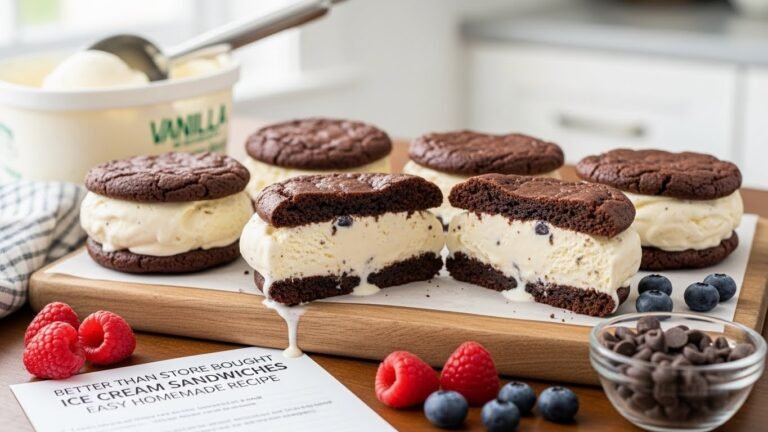
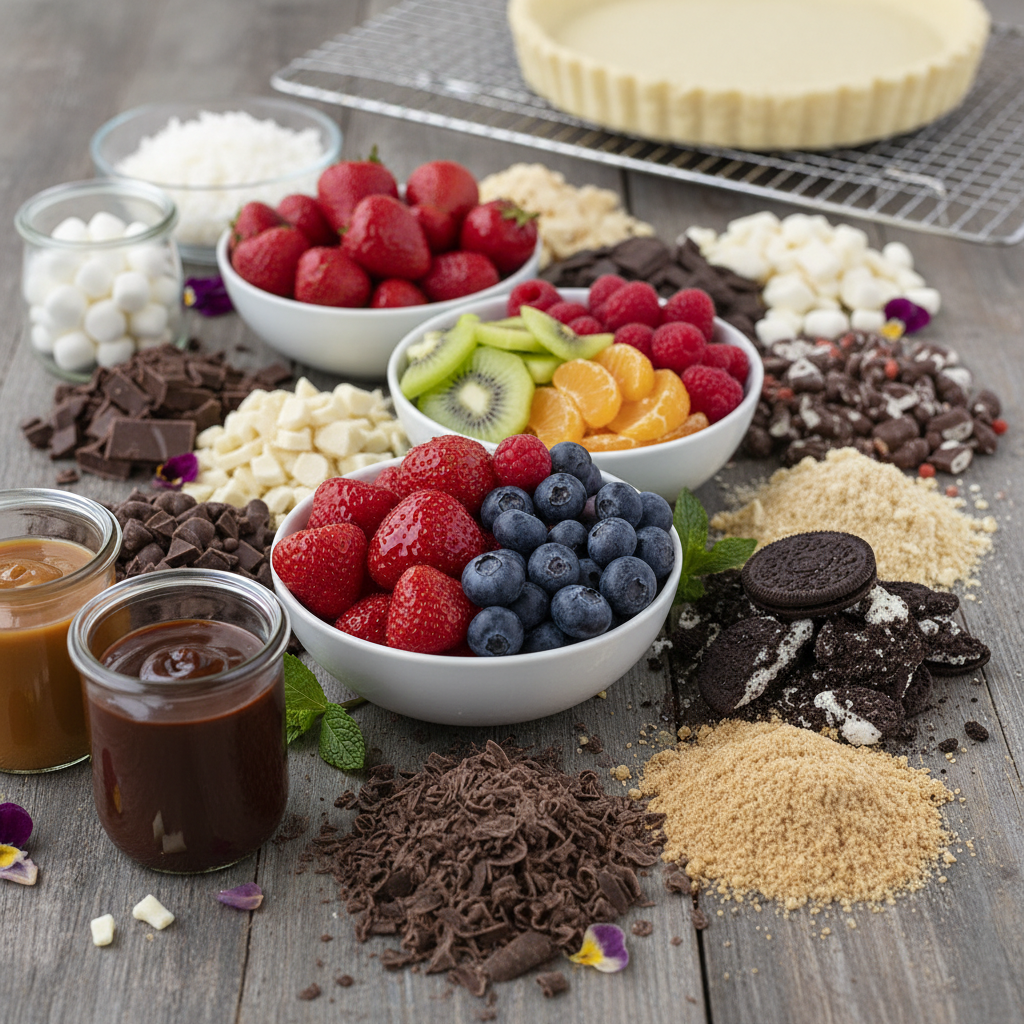
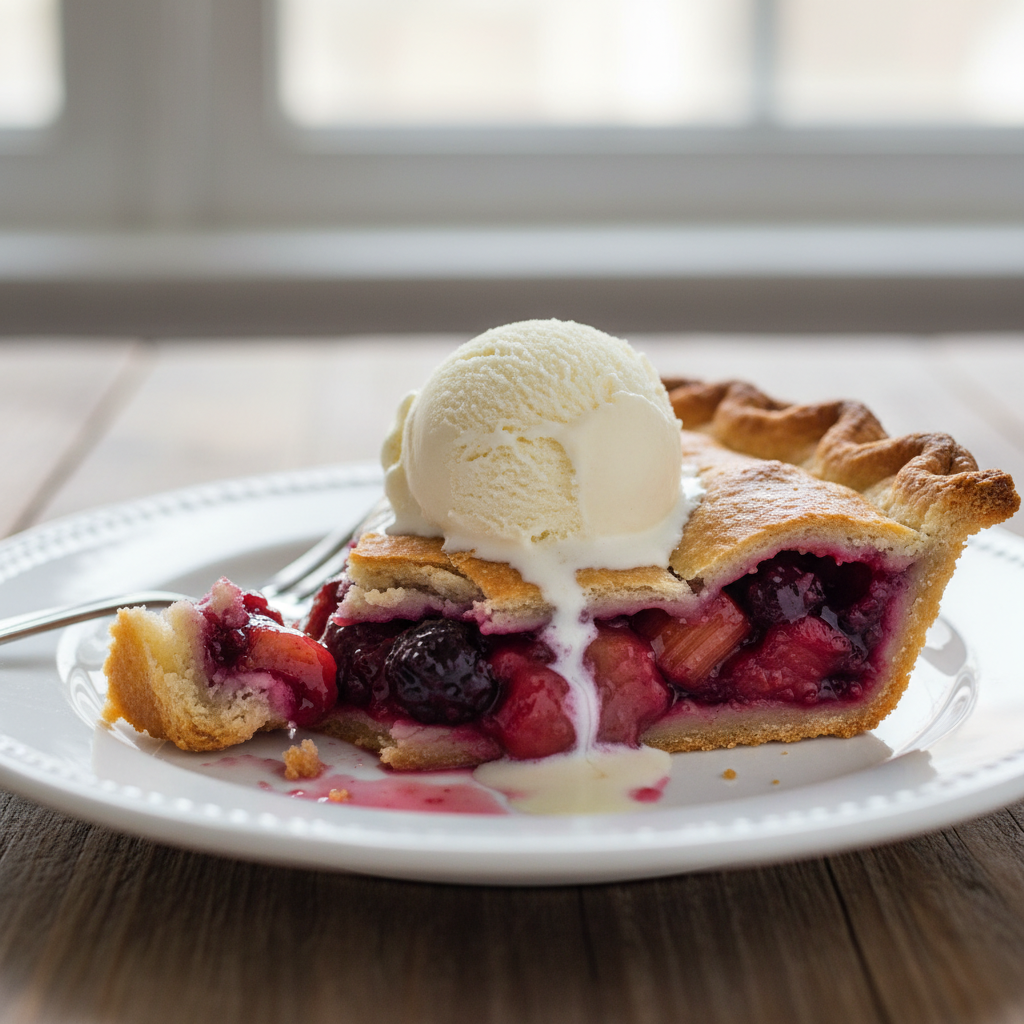
- Serve and Enjoy Once firm, slice and serve. Garnish with your favorite toppings like fresh berries, chocolate shavings, or a dollop of extra whipped cream.
Notes
- For best results, ensure your cream cheese is at room temperature for a lump-free filling.
- Do not substitute heavy cream with milk or half-and-half; it won’t whip properly.
- Chilling time is crucial for the pie to set and achieve its creamy texture. Don’t rush it!
Tips & Variations
This recipe is a fantastic base for creativity! Here are some ideas to make it your own:
- Fruity Twist Fold in 1 cup of puréed or finely chopped fresh berries (strawberries, raspberries, blueberries) into the cream cheese mixture.
- Chocolate Lover’s Dream Add 1/4 cup of cocoa powder to the cream cheese mixture, or fold in mini chocolate chips. A chocolate cookie crust would be amazing here too!
- Key Lime Pie Style Increase the lemon juice to 1/2 cup and add a teaspoon of lime zest for a tangy Key Lime Pie flavor.
- Peanut Butter Bliss Beat in 1/2 cup of creamy peanut butter with the cream cheese.
- Tropical Delight Fold in shredded coconut or crushed pineapple (drained very well) for a taste of the tropics.
- Different Crusts Experiment with an Oreo cookie crust, shortbread crust, or even a gingersnap crust for unique flavor profiles.
Pro Chef Tips

Even simple recipes benefit from a few expert insights:
- Room Temperature Cream Cheese is Non-Negotiable Seriously, this is the secret to a silky-smooth, lump-free filling. Plan ahead and take it out of the fridge at least an hour before you start.
- Cold Cream for Whipping Always use very cold heavy cream for whipping. Chilling your mixing bowl and whisk attachment for 10-15 minutes beforehand can also help achieve stiffer peaks faster.
- Gentle Folding When combining the whipped cream with the cream cheese mixture, use a gentle folding motion with a spatula. This preserves the airiness of the whipped cream, which contributes to the pie’s light, creamy texture.
- Don’t Overmix Overmixing the cream cheese mixture can incorporate too much air, which might lead to a less dense texture. Over-whipping heavy cream will turn it into butter! Stop as soon as stiff peaks form.
- Patience with Chilling The long chilling time isn’t just for setting; it allows the flavors to meld and the pie to firm up properly, preventing a runny slice.
Common Mistakes to Avoid
Even in a no-bake recipe, a few common pitfalls can affect your pie’s perfection. Steer clear of these:
- Using Cold Cream Cheese This is the number one culprit for lumpy fillings. Always soften it!
- Not Chilling Long Enough An under-chilled pie will be too soft and won’t hold its shape when sliced. Patience is a virtue here.
- Over-Whipping the Cream Whipped cream can quickly turn from perfectly stiff to grainy and separated if over-whipped. Keep an eye on it!
- Substituting Ingredients Don’t swap heavy cream for milk or half-and-half, or sweetened condensed milk for evaporated milk. These are not interchangeable and will affect the texture and sweetness.
- Not Scraping the Bowl Ensure you scrape down the sides of the bowl when mixing the cream cheese and condensed milk to ensure everything is evenly incorporated.
Storage & Meal Prep
This pie is fantastic for making ahead and storing:
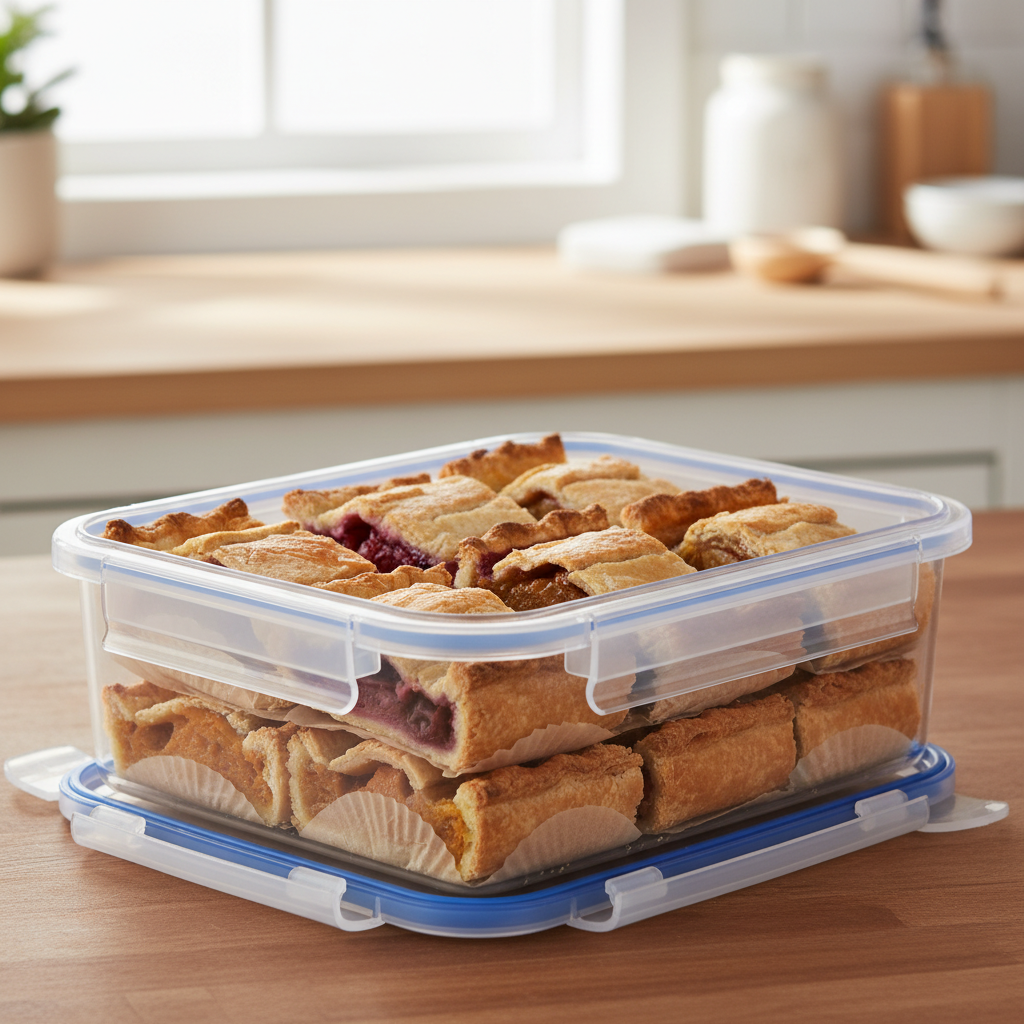
- Refrigeration Store any leftover pie slices or the whole pie covered loosely with plastic wrap in the refrigerator for up to 3-4 days. The crust might soften slightly over time, but the filling will remain delicious.
- Meal Prep This pie is an ideal meal prep dessert! Make it the day before your event, and it will be perfectly set and ready to serve.
Make-Ahead & Freezer Notes

Want to get a head start? This pie is freezer-friendly!
- Make-Ahead You can easily make this pie up to 2 days in advance. Just keep it well-covered in the refrigerator.
- Freezing For longer storage, you can freeze the entire pie (or individual slices) for up to 1 month. Wrap the pie tightly in several layers of plastic wrap, then a layer of aluminum foil. To serve, thaw in the refrigerator overnight or for a few hours at room temperature until it reaches your desired consistency. Some people even enjoy it partially frozen for a delightful ice cream-like treat!
Serving Suggestions

While this no-bake ice box pie is absolutely delicious on its own, a few additions can elevate your dessert experience:
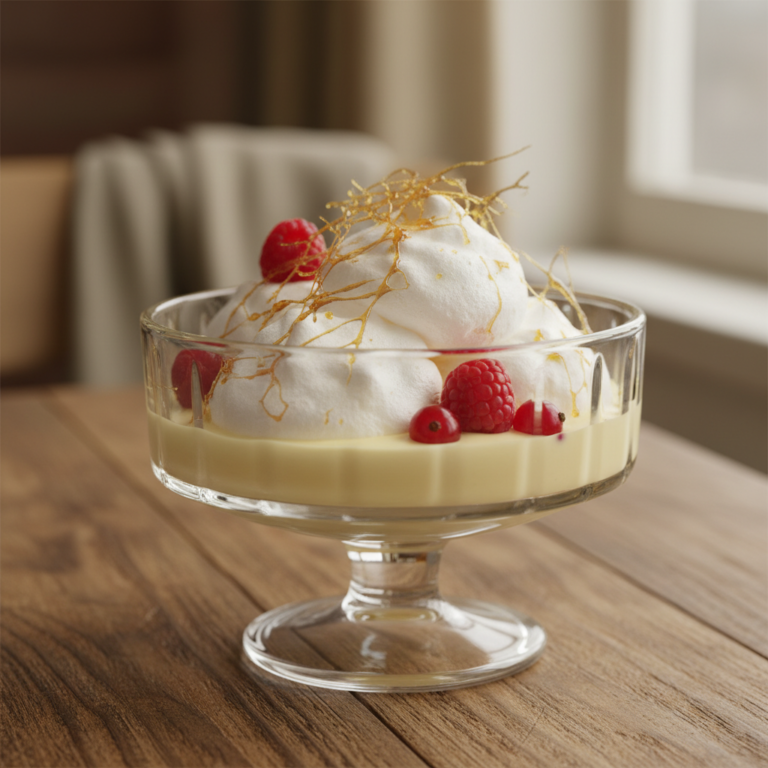
- Fresh Berries A medley of fresh strawberries, blueberries, raspberries, or blackberries adds a burst of freshness and color.
- Chocolate Shavings A sprinkle of dark or milk chocolate shavings creates an elegant touch.
- Whipped Cream Dollop A extra dollop of freshly whipped cream never hurts!
- Fruit Coulis Drizzle with a simple fruit coulis (puréed and strained fruit sauce) for extra flavor and a gourmet look.
- Mint Leaves A few fresh mint leaves can add a lovely aromatic garnish.