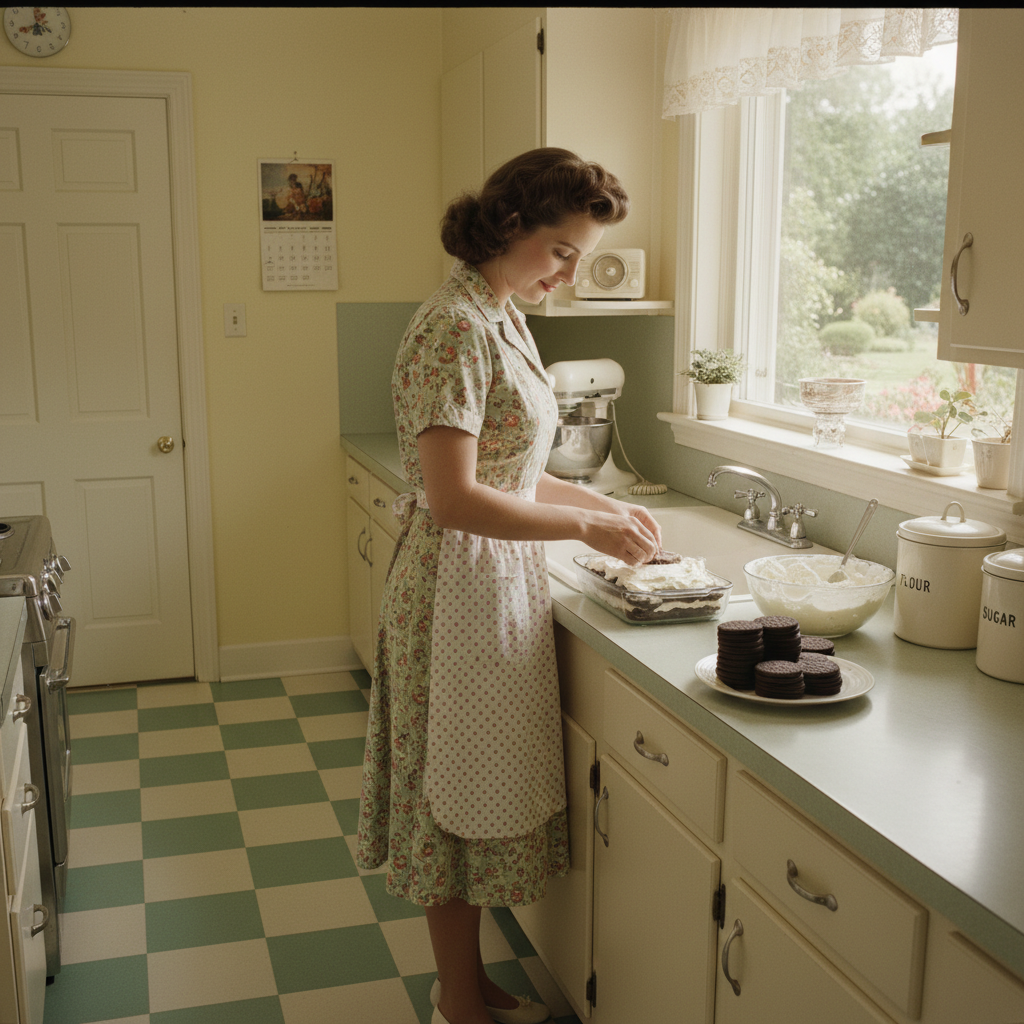
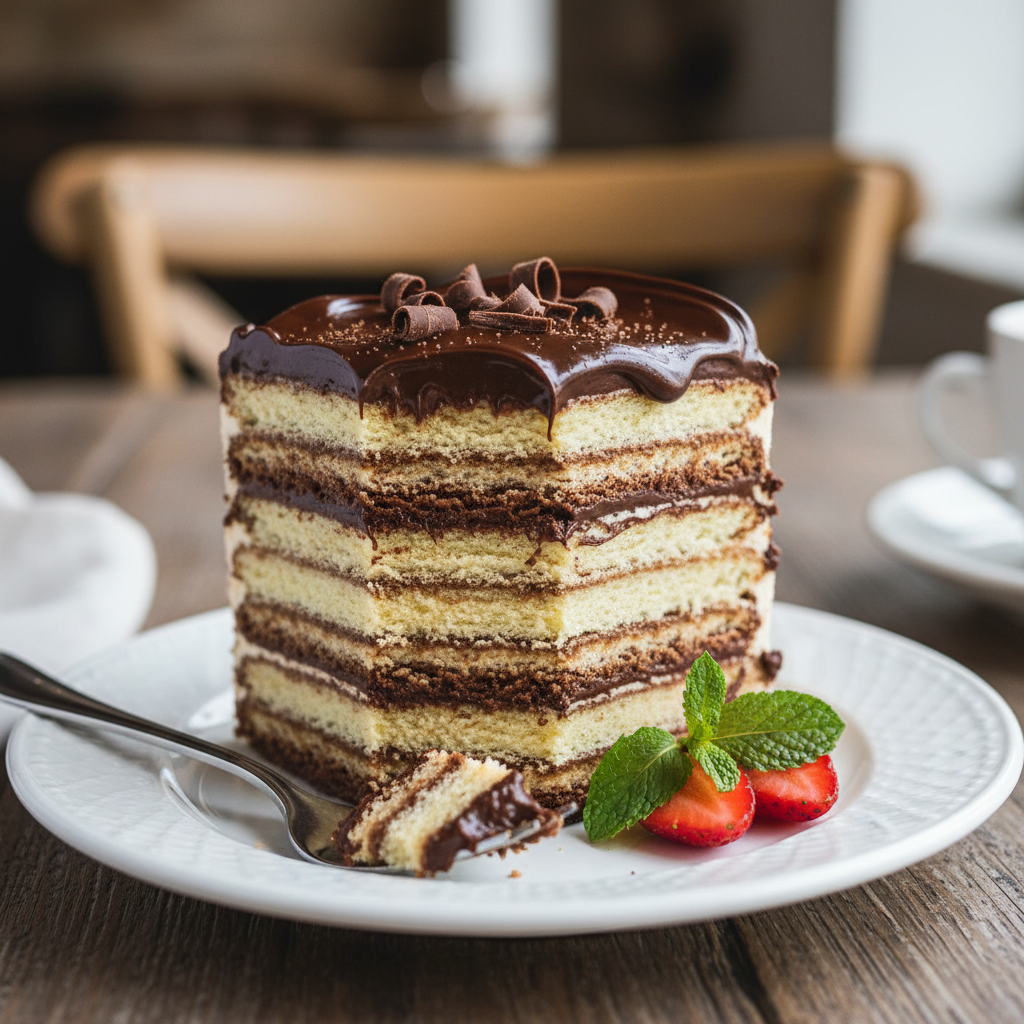
Are you searching for that perfect dessert that tastes incredibly decadent but requires absolutely no baking? Look no further! Our No Bake Icebox Cake is a dream come true for anyone who loves a sweet treat without the fuss of turning on the oven. This classic dessert is not only simple to assemble but also delivers a delightful combination of creamy texture and rich flavor that will impress everyone.
Whether you’re a seasoned baker or just starting your culinary journey, this recipe is designed for success. Imagine layers of crisp chocolate wafers softening into a cake-like texture, generously spread with fluffy, sweet whipped cream. It’s pure bliss in every bite, and the best part? It practically makes itself while chilling in the refrigerator. Get ready to create a show-stopping dessert with minimal effort!
A Sweet History of Icebox Cakes
The concept of “icebox cakes” dates back to the early 20th century, a time when refrigerators (then called iceboxes) became more common in American homes. Before modern ovens were ubiquitous, home cooks relied on their iceboxes to create chilled desserts. These cakes were revolutionary because they didn’t require any baking. Instead, ingredients like store-bought cookies or wafers would soften over time when layered with custards or whipped cream, transforming into a tender, cake-like consistency.
Popularized by companies like Nabisco, which often printed recipes on their cookie boxes, the icebox cake quickly became a beloved household staple. It offered a simple, refreshing alternative to traditional baked goods, especially appealing during warmer months. Today, this delightful dessert continues to be cherished for its ease, versatility, and nostalgic charm.
Reasons You Will Adore This Icebox Cake
- Effortless Preparation No baking required, making it perfect for beginners and busy schedules.
- Simple Ingredients You only need a few common items to create this masterpiece.
- Make-Ahead Friendly Assemble it the day before, and let the fridge do all the work.
- Crowd-Pleaser A universally loved dessert that’s perfect for potlucks, parties, or family dinners.
- Customizable Easily adapt the flavors and toppings to suit your taste.
- Refreshing A wonderfully cool and light dessert, especially great for warm weather.
Essential Ingredient Notes
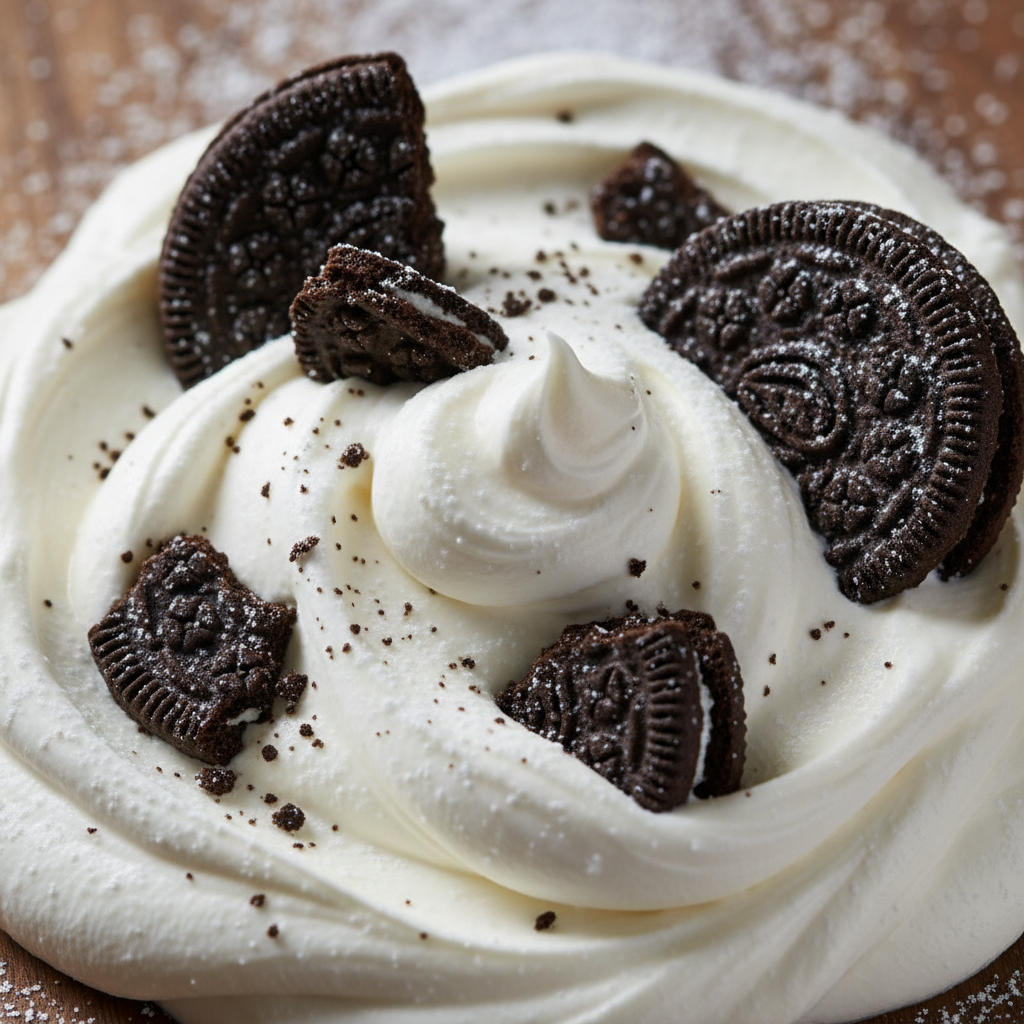
- Heavy Cream This is the star! Ensure it’s very cold for optimal whipping. Do not use whipping cream, which has a lower fat content.
- Powdered Sugar Also known as confectioners’ sugar. It dissolves easily and provides a smooth sweetness without grittiness.
- Vanilla Extract Use good quality pure vanilla extract for the best flavor.
- Chocolate Wafers Classic Nabisco Famous Chocolate Wafers are traditional, but any thin, crisp chocolate cookie will work. Graham crackers or shortbread cookies can also be used for variations.
- Optional Flavorings A touch of cocoa powder, instant espresso powder, or a liqueur can elevate the whipped cream flavor.
Tools You Will Need
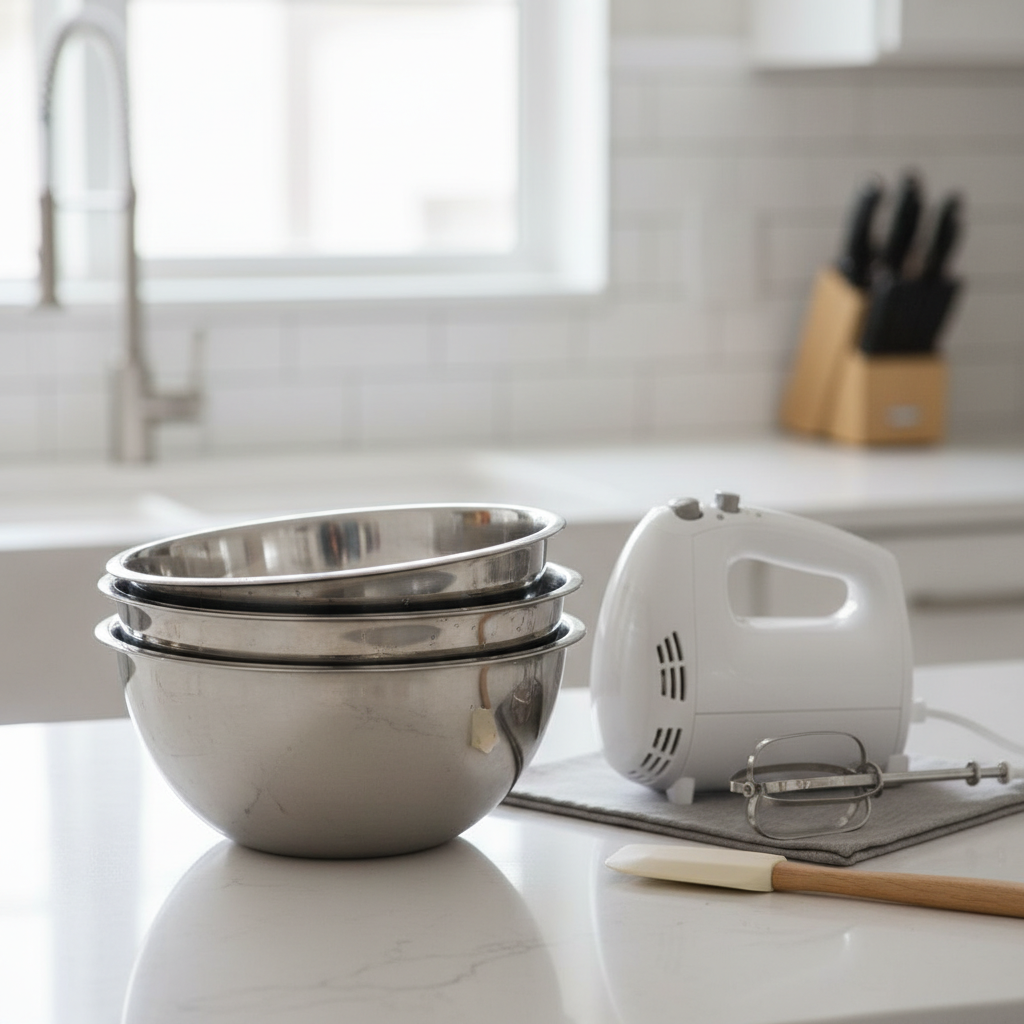
- Electric Mixer Stand mixer with whisk attachment or a hand mixer for whipping the cream.
- Large Mixing Bowl For whipping cream.
- Spatula For spreading the cream.
- 9×13 Inch Baking Dish or Loaf Pan Depending on your desired cake size and shape. A glass dish works well to see the layers.
- Measuring Cups and Spoons For accurate ingredient measurements.
No Bake Icebox Cake Recipe
This recipe is for a standard 9×13 inch pan, yielding approximately 8-12 servings.
Ingredients
- 3 cups (720ml) very cold heavy cream
- 1/2 cup (60g) powdered sugar
- 1 teaspoon pure vanilla extract
- 1 (9-ounce/255g) package chocolate wafers (about 40-45 wafers)
- Optional garnishes fresh berries, chocolate shavings, cocoa powder
Instructions
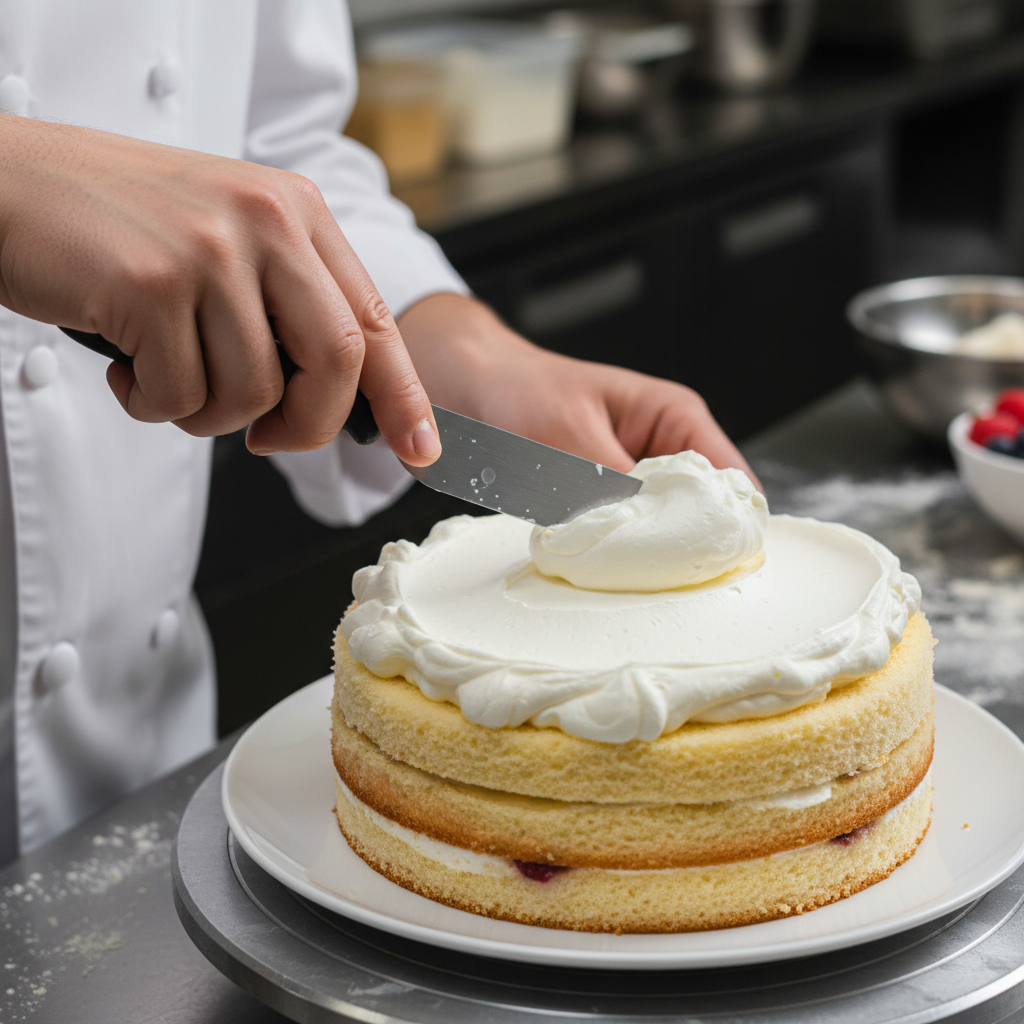
- Prepare the Whipped Cream In a large mixing bowl, combine the very cold heavy cream, powdered sugar, and vanilla extract. Using an electric mixer, beat on medium-high speed until stiff peaks form. Be careful not to overbeat, or it will become grainy.
- Assemble the First Layer Spread a thin layer (about 1/4 inch) of whipped cream on the bottom of your 9×13 inch baking dish. This helps prevent the first layer of wafers from sliding.
- Arrange Wafers Place a single layer of chocolate wafers over the cream, arranging them snugly side-by-side. You may need to break some wafers to fit and fill gaps.
- Layer Cream and Wafers Spread about 1/3 of the remaining whipped cream evenly over the wafers. Repeat with another layer of wafers, followed by another 1/3 of the whipped cream.
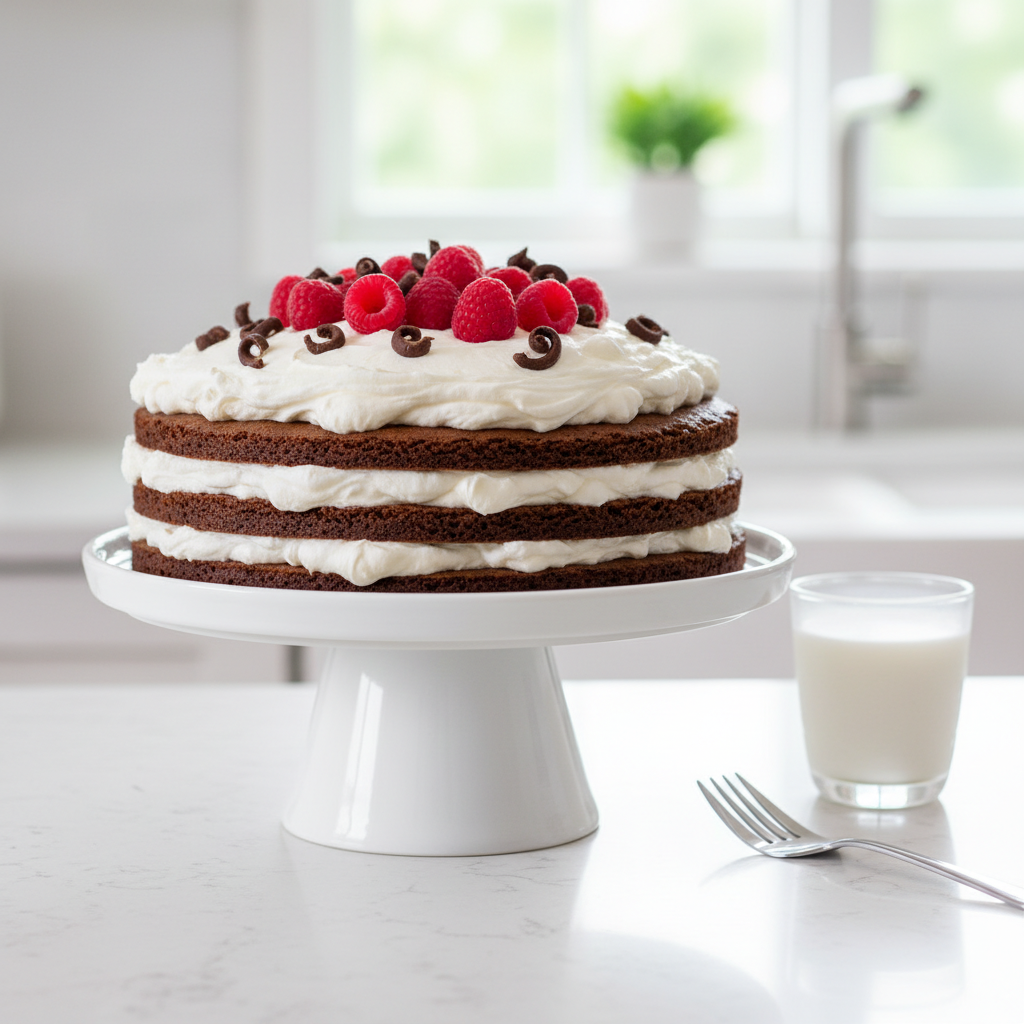
- Final Layer Place the last layer of wafers, then spread the remaining whipped cream evenly over the top and sides of the cake, creating a smooth, inviting finish.
- Chill Cover the dish tightly with plastic wrap and refrigerate for at least 4 hours, or preferably overnight. This chilling time is crucial for the wafers to soften and for the flavors to meld, transforming them into a cake-like consistency.
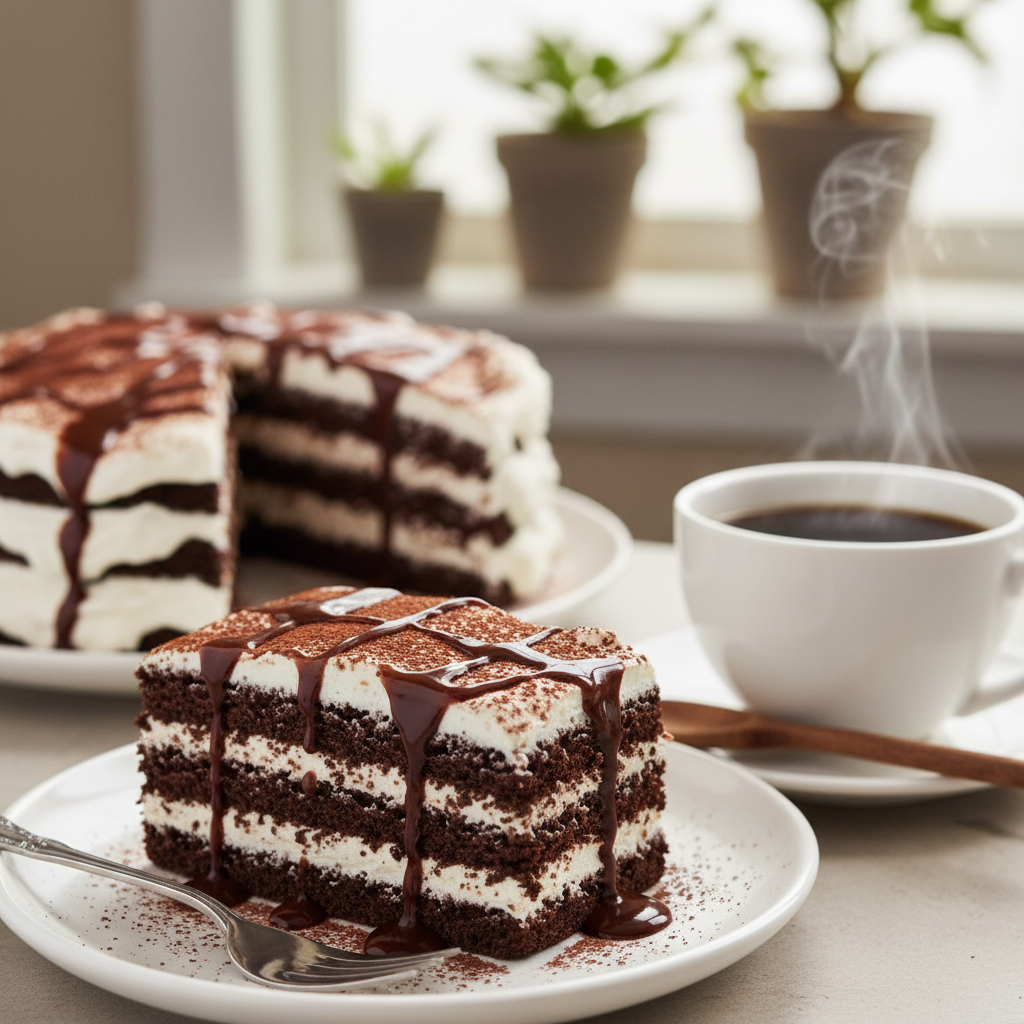
- Garnish and Serve Before serving, garnish with fresh berries, chocolate shavings, or a dusting of cocoa powder, if desired. Slice and enjoy your effortless, delicious dessert!
Recipe Notes
- For best results, chill your mixing bowl and whisk attachment in the freezer for 10-15 minutes before whipping cream.
- Ensure your heavy cream is extremely cold; this makes it whip up faster and hold its shape better.
- If using a smaller loaf pan, you might need fewer wafers and cream, adjusting layers accordingly.
Tips and Delicious Variations
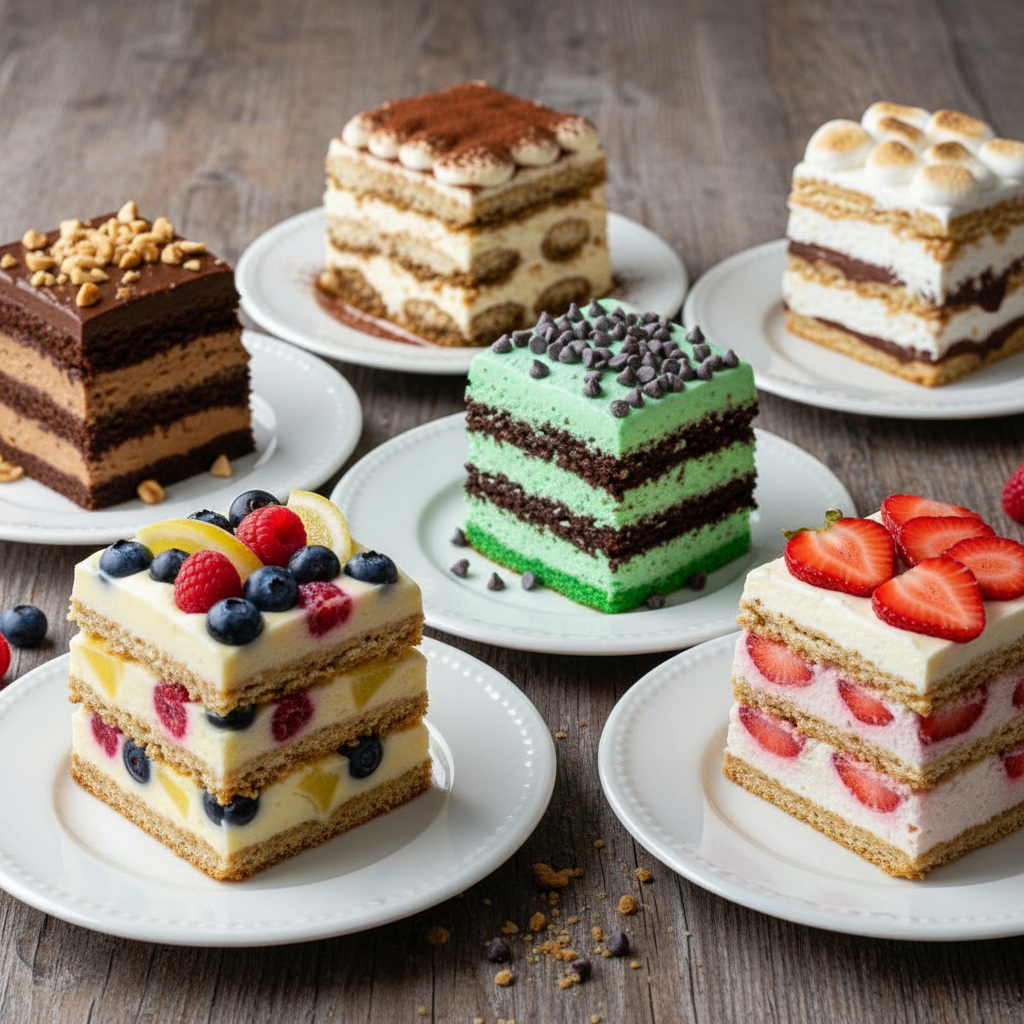
- Mint Chocolate Add 1/2 teaspoon of peppermint extract to the whipped cream and garnish with crushed peppermints.
- Espresso Dream Mix 1 tablespoon of instant espresso powder (dissolved in a tiny bit of hot water and cooled) into the whipped cream.
- Berry Bliss Alternate layers of wafers and whipped cream with fresh sliced strawberries or raspberries.
- Peanut Butter Swirl Fold 1/2 cup of creamy peanut butter into the whipped cream.
- Lemon Zest Add the zest of one lemon to the whipped cream for a bright, tangy flavor.
- Cookie Alternatives Try using graham crackers, Biscoff cookies, or vanilla wafers for a different base.
Pro Chef Secrets for the Best Icebox Cake
- Super Cold Cream is Key Always use heavy cream straight from the coldest part of your fridge. Chilling your bowl and whisk helps too.
- Don’t Overbeat the Cream Whip until stiff peaks form, but stop there. Overbeating can result in grainy, butter-like cream.
- Patience with Chilling The long chilling time is not optional. It’s essential for the wafers to absorb moisture and become cake-like. Resist the urge to cut corners!
- Even Layers Aim for consistent layers of cream and wafers for a visually appealing and texturally balanced cake.
- Pre-soften Wafers Slightly If you’re in a hurry, you can briefly dip wafers in milk before layering, but be careful not to make them soggy.
Steer Clear of These Icebox Cake Errors

- Not Chilling Long Enough The biggest mistake! Insufficient chilling results in crunchy wafers instead of a soft, cake-like texture.
- Using Warm Cream Warm cream won’t whip properly and will result in a runny, unstable whipped cream.
- Overbeating Whipped Cream This turns your fluffy cream into a grainy, unappetizing mess. Stop once stiff peaks are achieved.
- Too Few Layers Skimping on layers means less of that delightful texture transformation. Aim for at least 3-4 layers of wafers.
- Uneven Spreading Lumpy cream layers can make the cake look less appealing and distribute flavor inconsistently.
Storing Your Delicious Icebox Cake
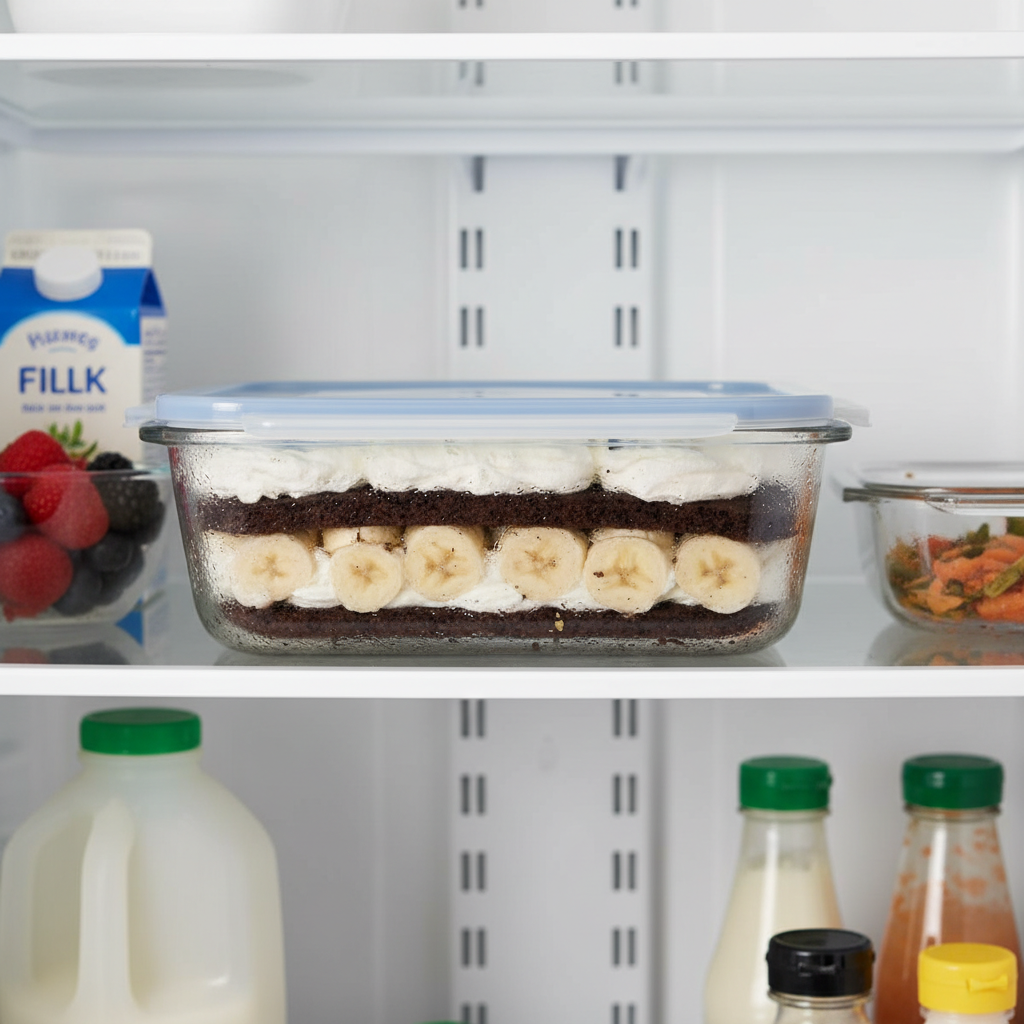
Once assembled, the icebox cake should be stored tightly covered in the refrigerator. It will keep well for 3-4 days. The wafers will continue to soften slightly over time, achieving an even more tender, cake-like consistency. For best texture, consume within 2-3 days.
Plan Ahead with Make-Ahead and Freezer Tips
This dessert is a fantastic make-ahead option! You can assemble the entire cake up to 24 hours in advance. In fact, an overnight chill is often recommended for the best results. Simply cover it tightly and refrigerate.
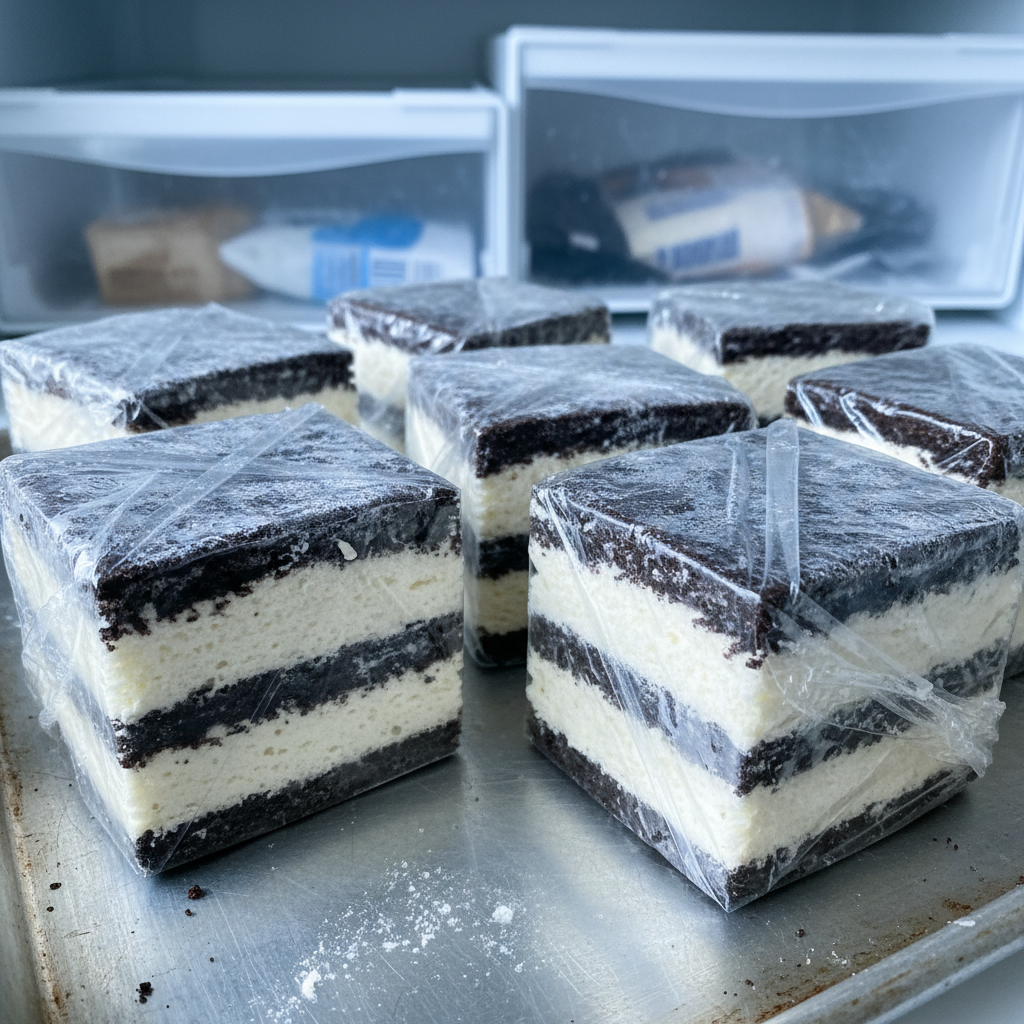
For longer storage, an icebox cake can be frozen. Once fully chilled and set, you can wrap individual slices or the entire cake (if well-protected) in plastic wrap, then aluminum foil. It will keep in the freezer for up to 1 month. Thaw in the refrigerator for several hours before serving. Note that freezing might slightly alter the texture of the whipped cream, making it a bit icier.
Perfect Pairings and Serving Ideas
This No Bake Icebox Cake is wonderful on its own, but a few simple additions can elevate the experience even further:
- Fresh Berries A handful of raspberries, strawberries, or blueberries adds a burst of freshness and color.
- Chocolate Sauce Drizzle A light drizzle of warm chocolate fudge or ganache can enhance the chocolate flavor.
- Coffee or Tea Serve alongside a hot cup of coffee, espresso, or your favorite tea for a delightful afternoon treat.
- A Scoop of Ice Cream For ultimate indulgence, pair a slice with a scoop of vanilla bean or coffee ice cream.
- Whipped Cream Dollop A little extra dollop of fresh whipped cream never hurt anyone!