Welcome, fellow dessert lovers! If you’ve ever dreamt of creating show-stopping pies, cheesecakes, or tarts without even turning on your oven, you’re in for a treat. Today, we’re diving into the wonderful world of the no-bake graham cracker crust. It’s truly a game-changer for anyone who loves quick, delicious desserts. This recipe is so simple, so versatile, and so incredibly delicious, it’s bound to become a staple in your kitchen. Get ready to impress everyone with your no-bake masterpieces!
History / Background
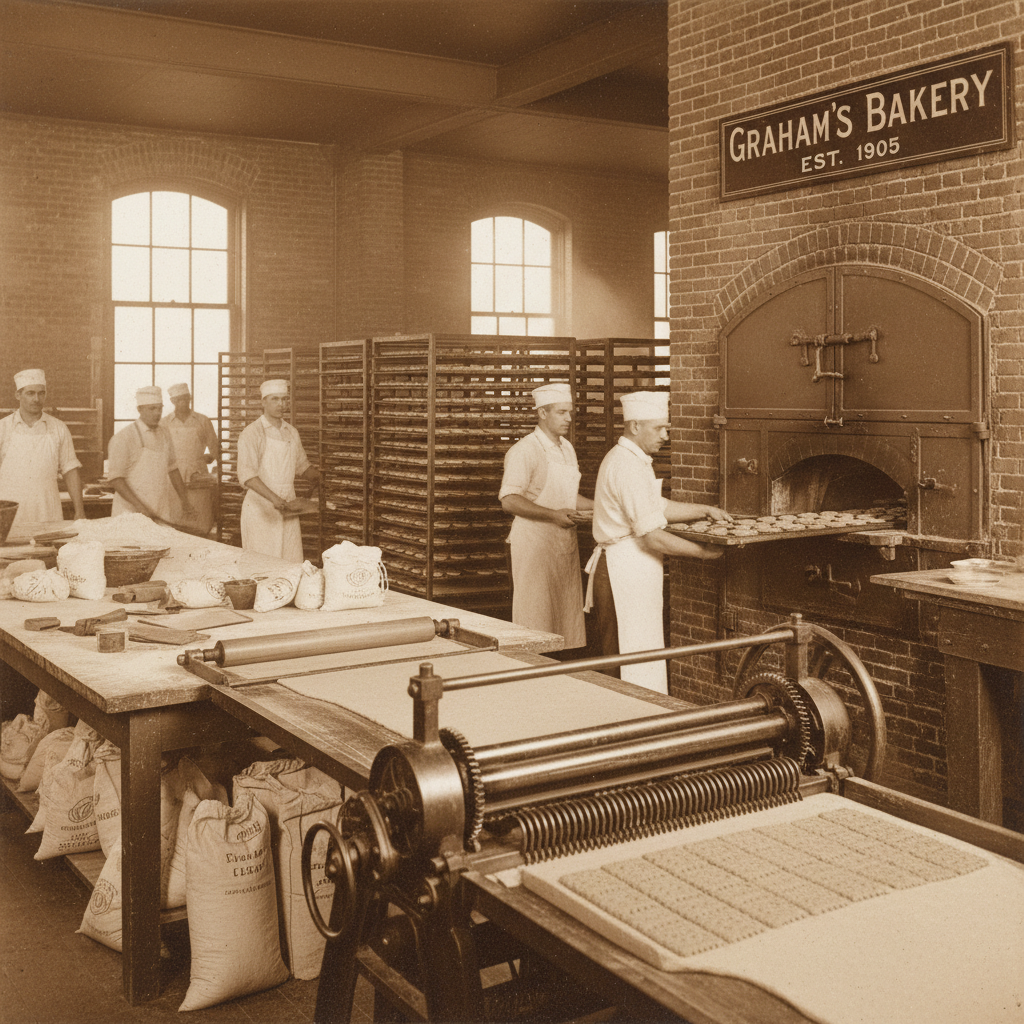
The humble graham cracker has a fascinating history, dating back to the 19th century. Sylvester Graham, a Presbyterian minister, developed these crackers as part of a vegetarian diet he promoted, believing plain, whole-grain foods were essential for good health and moral purity. Fast forward to the mid-20th century, and these wholesome crackers found a new purpose beyond snacking. As refrigeration became more common and no-bake desserts gained popularity, the graham cracker was discovered to be the perfect foundation for creamy fillings. Its slightly sweet, crumbly texture and ability to hold shape made it an ideal base, especially for beloved recipes like key lime pie and no-bake cheesecakes. The no-bake graham cracker crust quickly became a household favorite, simplifying dessert preparation and adding a delightful texture contrast.
Why You’ll Love This Recipe

- Effortless Preparation– No oven needed! This recipe comes together in minutes.
- Versatile Base– Perfect for a huge variety of pies, cheesecakes, and tarts.
- Delicious Flavor– Adds a sweet, buttery, and slightly spiced note to any dessert.
- Beginner-Friendly– Super easy for even the most novice bakers.
- Quick to Set– Chills quickly, meaning less waiting time for your dessert.
- Customizable– Easily adaptable with different spices or cracker types.
Ingredient Notes
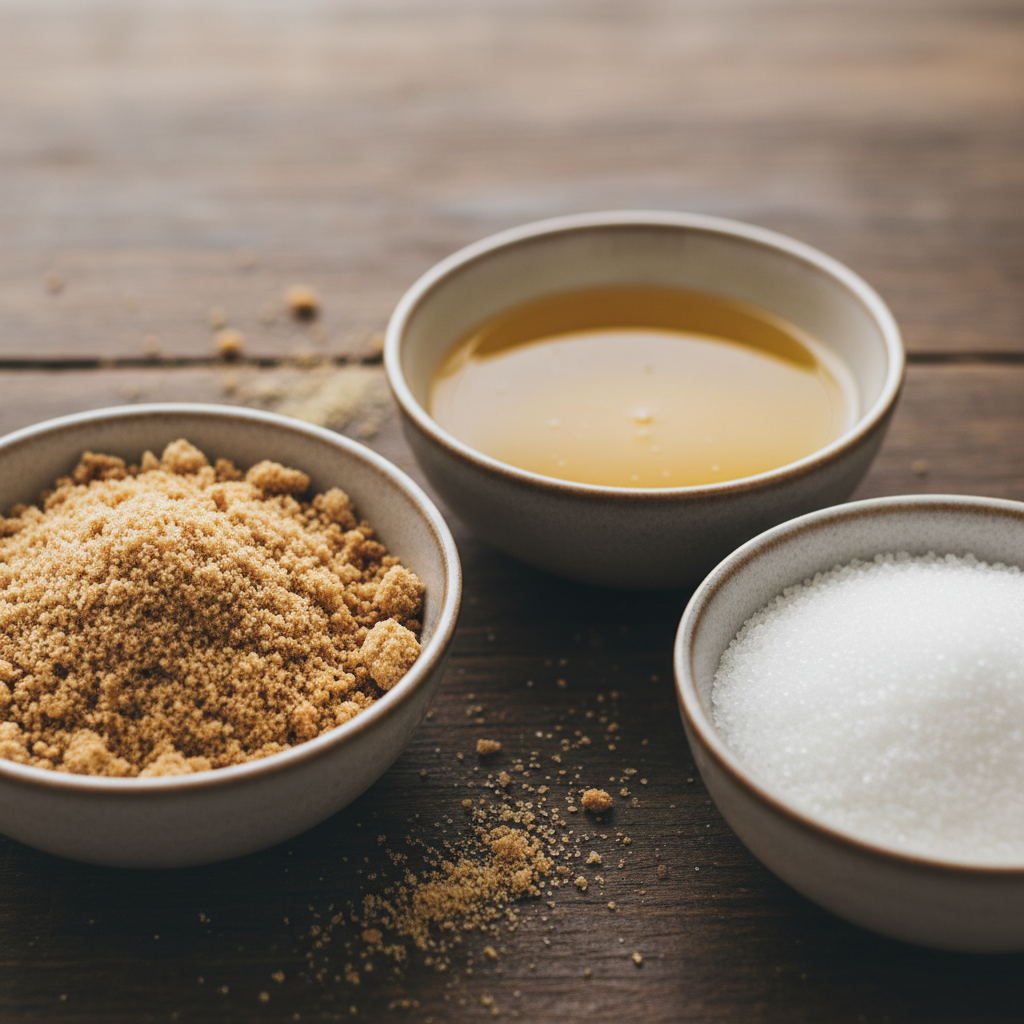
You only need three simple ingredients for this magical crust, and chances are, you already have them in your pantry!
- Graham Crackers– The star of our show! You’ll need about 10-12 full sheets, which usually translates to 1 ½ cups of finely crushed crumbs. You can use classic honey graham crackers or even cinnamon-flavored ones for an extra twist.
- Granulated Sugar– Just a touch to enhance the sweetness and help the crust bind together. You can adjust this to your liking, especially if your filling is very sweet.
- Unsalted Butter– Melted butter is the glue that holds everything together. It adds richness and helps the crust set firmly when chilled. Make sure it’s unsalted so you can control the overall saltiness of your dessert.
Equipment Needed
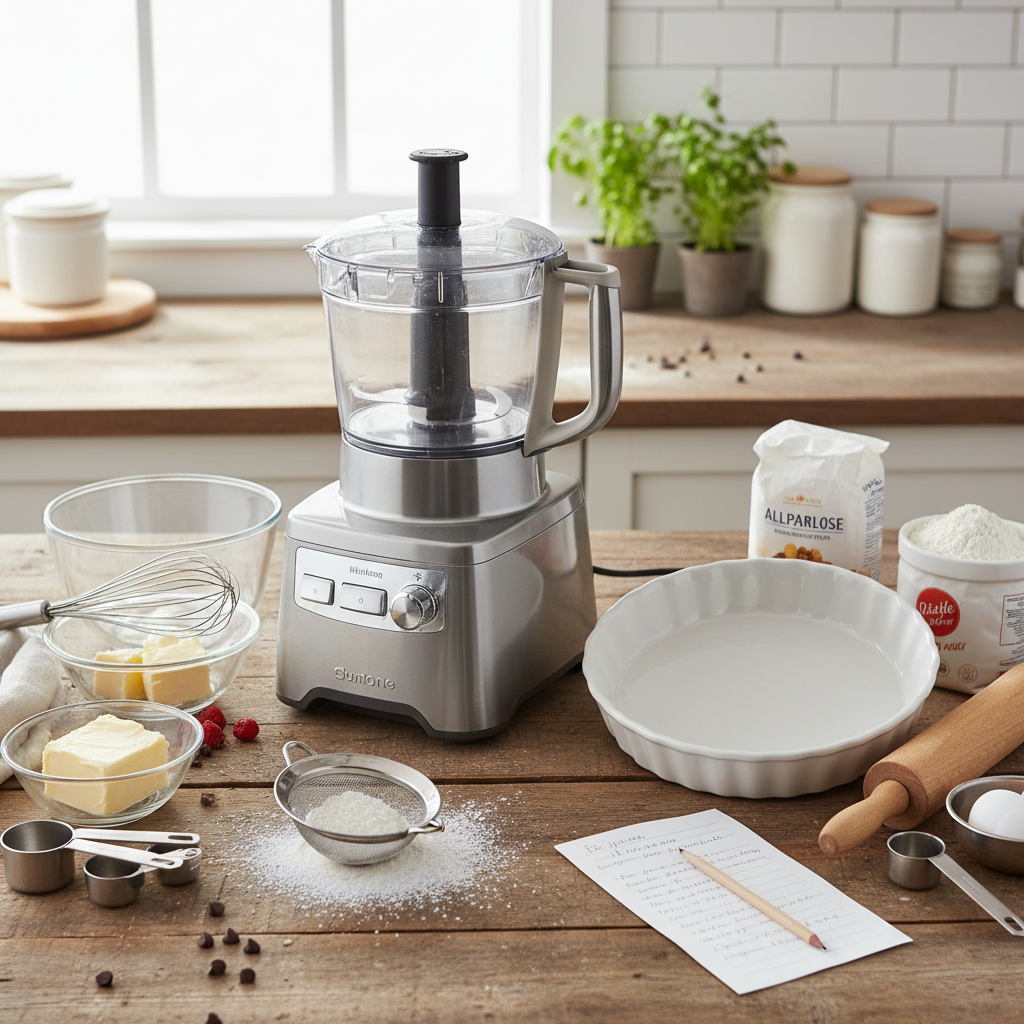
Good news- you don’t need a lot of fancy gadgets for this recipe!
- Food Processor or Ziploc Bag and Rolling Pin– For crushing the graham crackers. A food processor is fastest, but a bag and rolling pin work perfectly too.
- Medium Mixing Bowl– To combine your ingredients.
- Measuring Cups and Spoons– For accurate measurements.
- 9-inch Pie Plate or Springform Pan– The perfect vessel for your crust.
- Rubber Spatula or Spoon– For mixing.
- Flat-Bottomed Glass or Measuring Cup– Essential for pressing the crumbs firmly into the pan.
Full Recipe Card
Ingredients
- 1 ½ cups (about 10-12 full sheets) finely crushed graham cracker crumbs
- ¼ cup granulated sugar
- ½ cup (1 stick) unsalted butter, melted
Instructions
- Prepare the Crumbs– If using whole graham crackers, place them in a food processor and pulse until very fine crumbs form. Alternatively, place them in a large Ziploc bag and crush them with a rolling pin until fine.
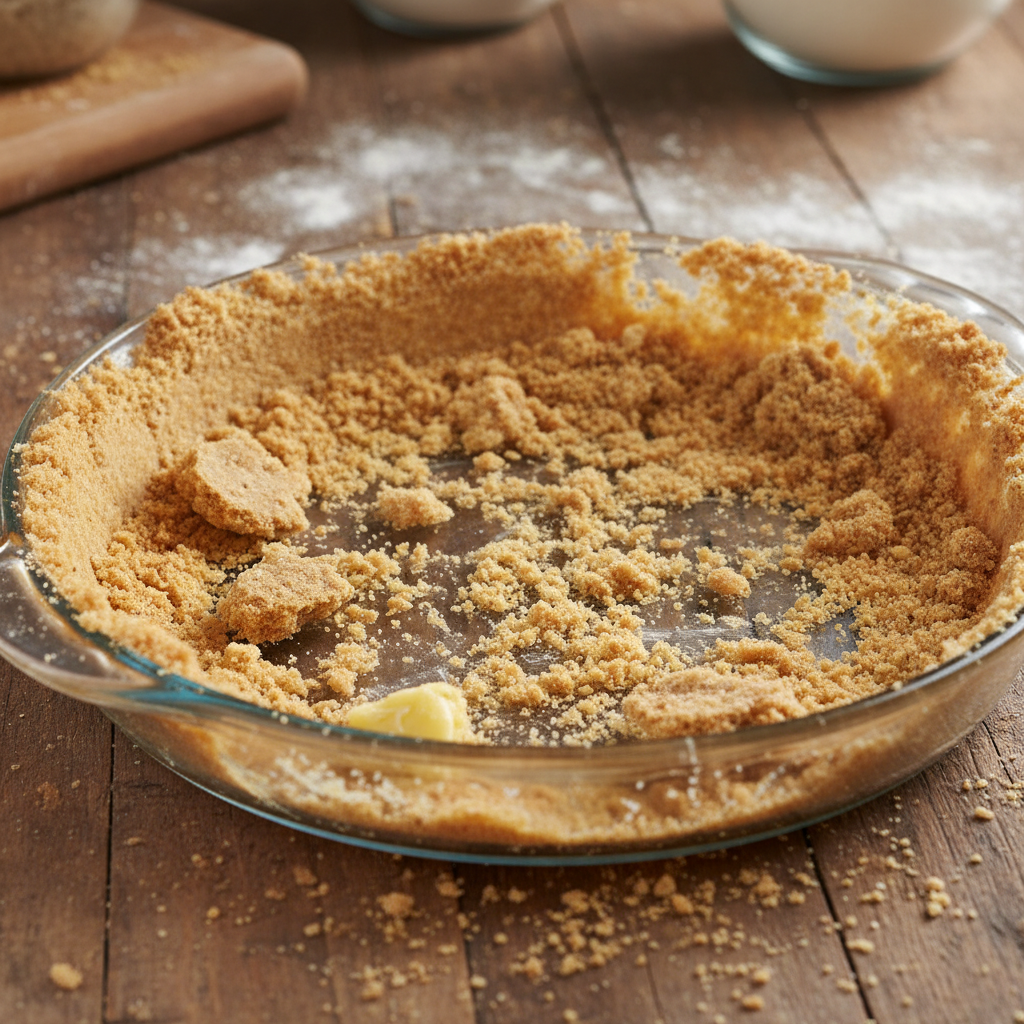
- Combine Ingredients– In a medium mixing bowl, combine the graham cracker crumbs and granulated sugar. Pour in the melted butter and stir with a rubber spatula or spoon until all the crumbs are evenly moistened and resemble wet sand.
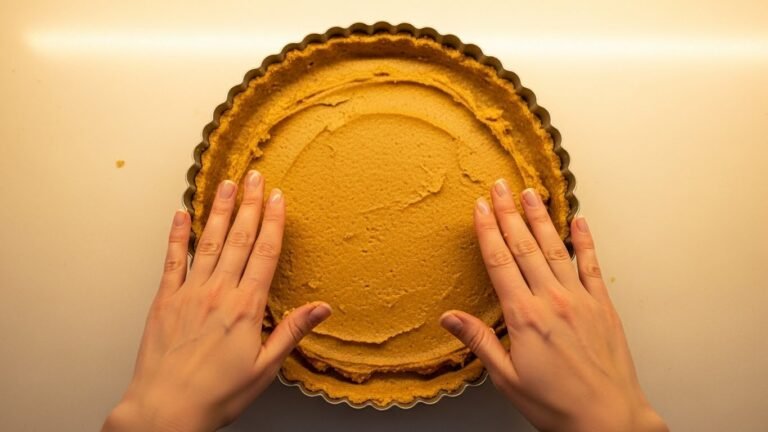
- Press into Pan– Pour the crumb mixture into a 9-inch pie plate or a 9-inch springform pan. Using the bottom of a flat-bottomed glass or measuring cup, firmly press the mixture evenly over the bottom and up the sides of the pan. Ensure it’s packed tightly for a sturdy crust.
- Chill– Place the crust in the refrigerator for at least 30 minutes to firm up before adding your desired filling. For an even firmer crust, you can chill it for 1-2 hours or freeze for 15 minutes.
Notes
- For a slightly salty-sweet crust, add ¼ teaspoon of fine sea salt to the dry ingredients.
- If you prefer a thicker crust, increase all ingredients by about 25%.
- You can use other types of plain cookies like vanilla wafers or digestive biscuits for a different flavor profile.
Tips & Variations
This recipe is a fantastic starting point, but don’t be afraid to make it your own!
- Spice it Up– Add ½ teaspoon of cinnamon, nutmeg, or pumpkin pie spice to the dry ingredients for a warmer, more aromatic crust, especially great for fall desserts.
- Chocolate Lover’s Dream– Replace some of the graham crackers with chocolate wafers or add 2 tablespoons of unsweetened cocoa powder to the crumbs for a rich chocolate crust.
- Nutty Twist– For extra flavor and texture, add ¼ cup of finely ground nuts like pecans or walnuts to the crumb mixture.
- Citrus Zest– A teaspoon of finely grated lemon or orange zest can add a bright, fresh note, particularly good for fruit-based fillings.
Pro Chef Tips

- Fine Crumbs are Key– Ensure your graham cracker crumbs are very fine. Larger pieces can make the crust crumbly and harder to slice.
- Don’t Skimp on Butter– The butter is crucial for binding. Too little, and your crust will fall apart. Too much, and it will be greasy. The ½ cup ratio is perfect.
- Press Firmly– This is the most important step for a sturdy crust. Use a flat-bottomed glass or the back of a measuring cup to really pack those crumbs down, especially along the sides.
- Chill Thoroughly– Don’t rush the chilling process. A well-chilled crust is a firm crust, preventing crumbling when you cut into your dessert.
Common Mistakes to Avoid
- Not Crushing Enough– Leaving large pieces of graham cracker will result in a crumbly, uneven crust that won’t hold together.
- Not Pressing Firmly Enough– This is the number one reason for a crust that falls apart. You need to apply good pressure!
- Insufficient Chilling Time– A warm or insufficiently chilled crust will be soft and difficult to slice cleanly.
- Over-buttering– While butter is good, too much can make the crust greasy and heavy. Stick to the recommended amount.
Storage & Meal Prep
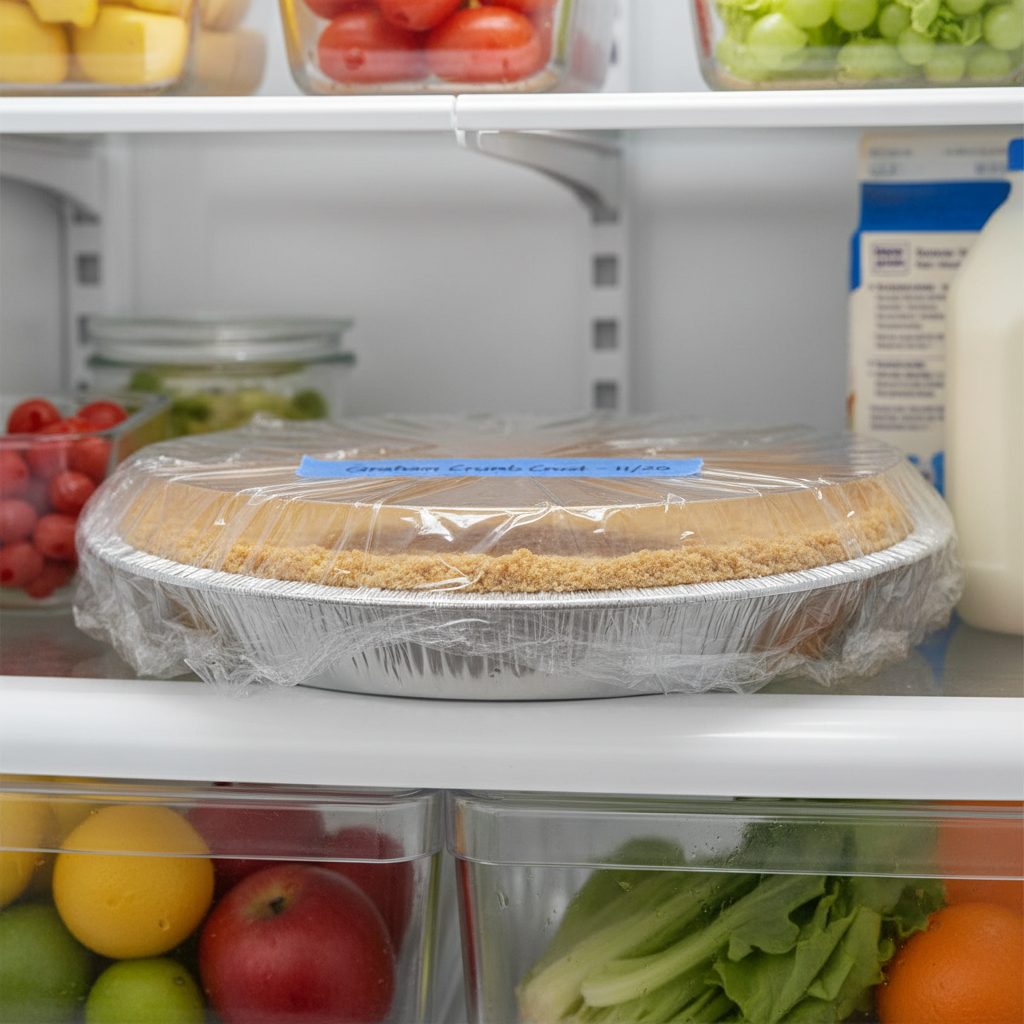
This no-bake graham cracker crust is fantastic for meal prep! Once chilled and firm, you can cover the crust tightly with plastic wrap and store it in the refrigerator for up to 3-4 days before filling. This makes it a perfect make-ahead component for busy weeks or last-minute dessert needs.
Make-Ahead & Freezer Notes

You can definitely make this crust well in advance! Once pressed and chilled, you can wrap the entire pie plate (or just the crust if using a springform pan) tightly with plastic wrap, then foil, and freeze it for up to 1 month. When you’re ready to use it, simply thaw it in the refrigerator for a few hours before filling. This is a brilliant trick for holiday baking or when you just want a quick dessert solution on hand.
Serving Suggestions
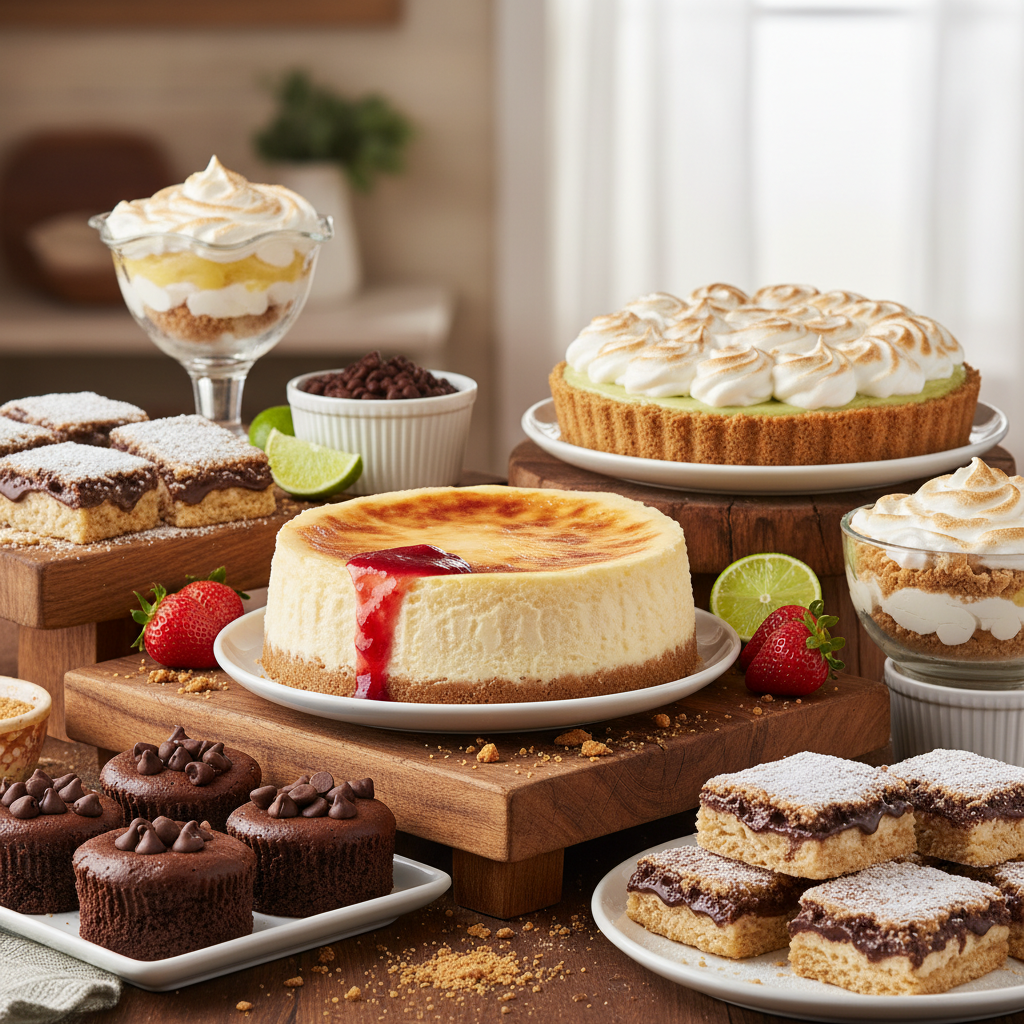
The beauty of this no-bake graham cracker crust lies in its versatility! Here are just a few ideas for what to fill it with:
- No-Bake Cheesecakes– The classic pairing! From vanilla to chocolate to fruit-swirled, a no-bake cheesecake is always a hit.
- Key Lime Pie– The tangy lime filling perfectly complements the sweet, buttery crust.
- Chocolate Pudding Pie– A rich, creamy chocolate filling is heavenly in this crust.
- Peanut Butter Pie– Creamy peanut butter filling makes for an irresistible dessert.
- Fresh Fruit Tarts– A layer of pastry cream or whipped cream topped with an abundance of fresh berries and fruits.
- Ice Cream Pie– Soften your favorite ice cream, spread it into the crust, and refreeze for an easy, delightful treat.