Welcome, fellow dessert lovers! Today, we’re diving into the delightful world of Nanaimo Bars. If you’ve never had the pleasure of tasting these Canadian treasures, prepare for a life-changing experience. These aren’t just any bars; they’re a symphony of textures and flavors, all without ever needing to turn on your oven. That’s right, a completely no-bake dessert that’s rich, creamy, and utterly irresistible. Perfect for potlucks, holidays, or just a sweet treat for yourself, this recipe is designed to be simple, straightforward, and absolutely delicious for beginners and seasoned bakers alike.
History and Background
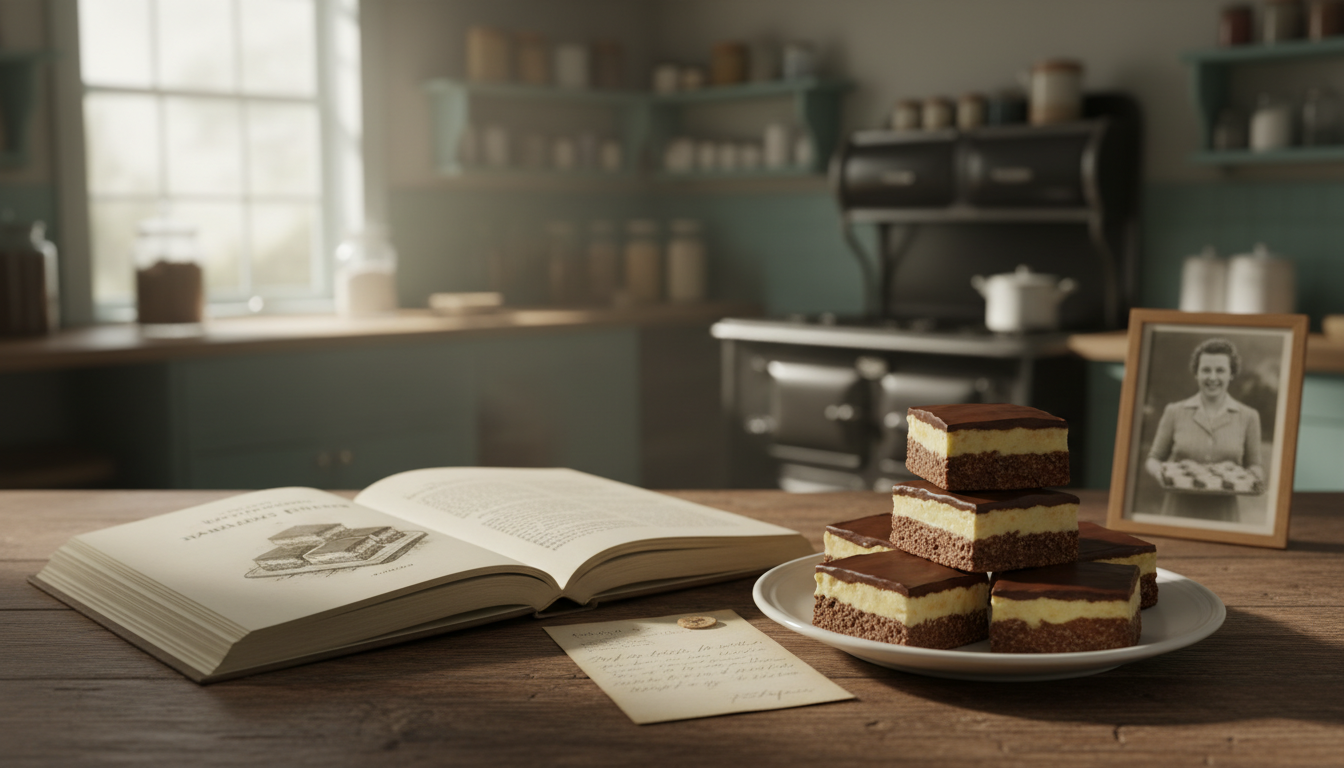
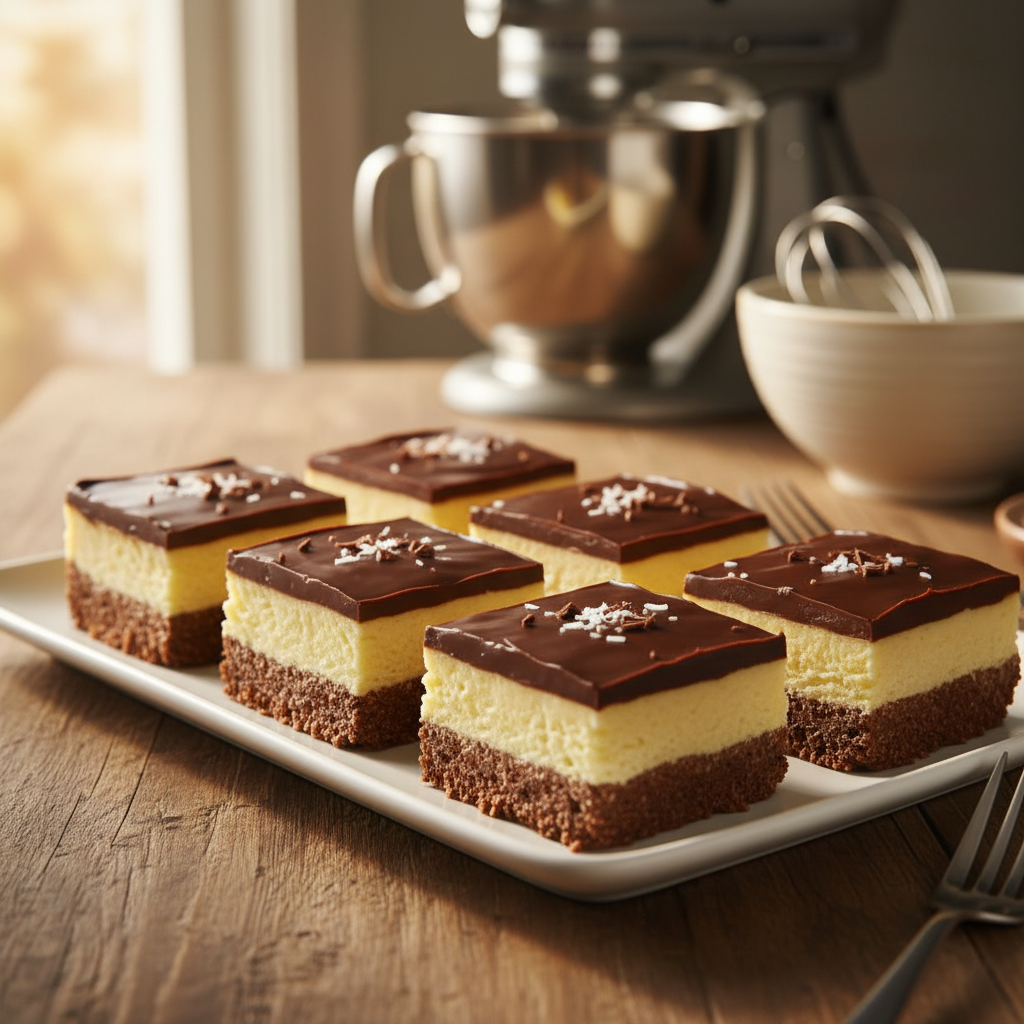
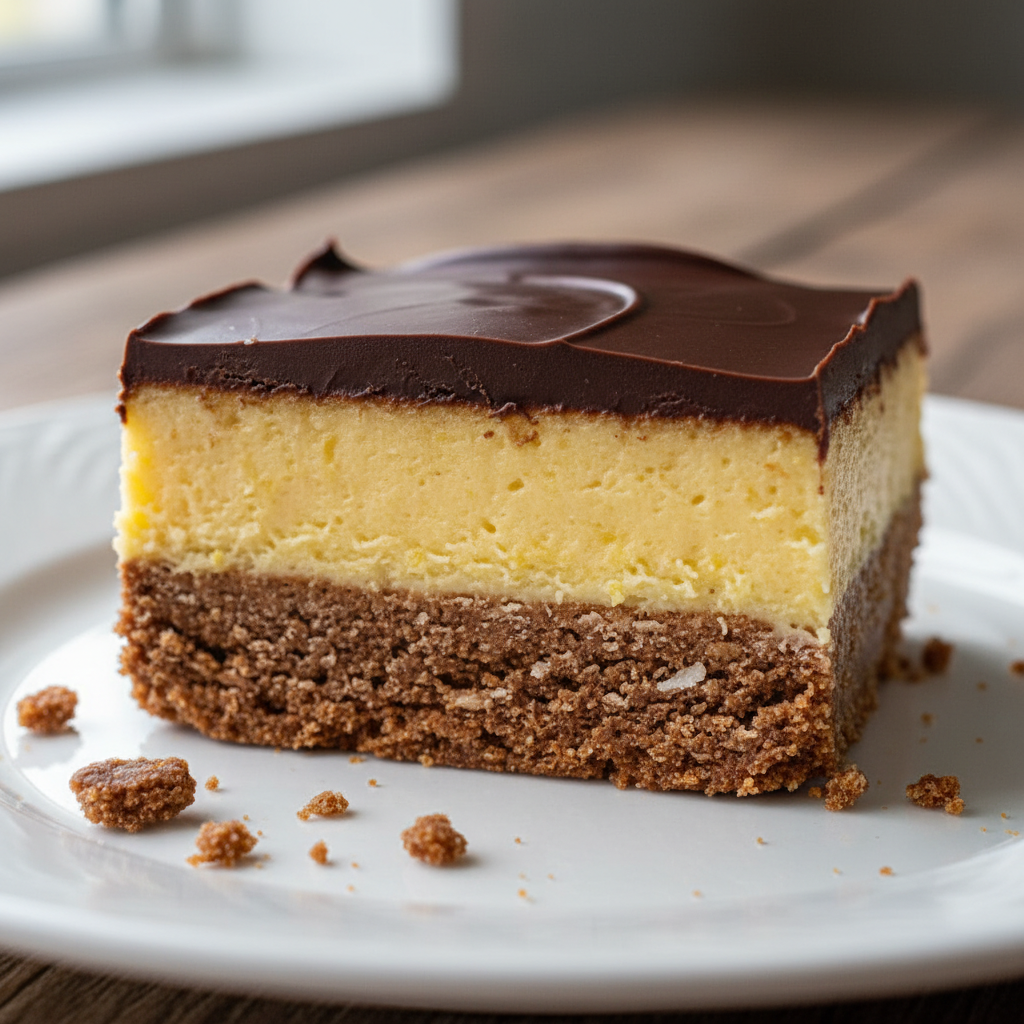
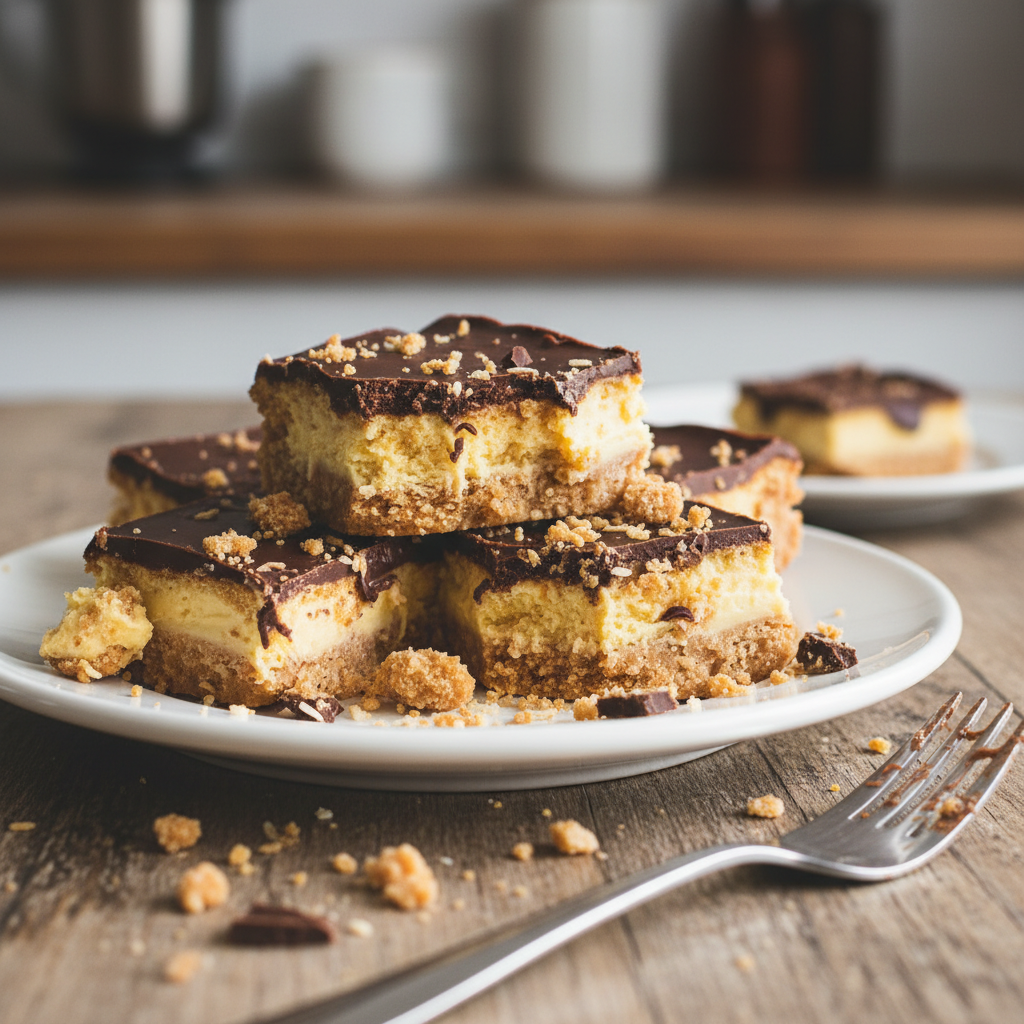
The Nanaimo Bar is a true Canadian icon, named after the city of Nanaimo on Vancouver Island, British Columbia. While its exact origins are a bit fuzzy, variations of this no-bake confection have been appearing in Canadian cookbooks since the 1950s. It gained widespread popularity and became a staple in homes and bakeries across the country. There was even a contest in 1986 to find the ‘ultimate Nanaimo Bar recipe,’ solidifying its place in Canadian culinary history. This dessert is celebrated for its three distinct layers- a dense, buttery crumb base, a creamy, sweet custard filling, and a smooth, rich chocolate ganache topping. It’s a testament to simple ingredients coming together to create something truly magical.
Why You Will Love This Recipe
- No Baking Required Forget heating up your kitchen! This recipe is entirely no-bake, making it perfect for hot days or when you just don’t feel like turning on the oven.
- Simple Ingredients You’ll likely have most of these common pantry staples on hand already.
- Beginner Friendly Detailed instructions ensure success even if you’re new to making desserts.
- Crowd Pleaser Nanaimo Bars are always a hit at gatherings, parties, and family events.
- Make-Ahead Marvel They store beautifully, making them ideal for preparing in advance.
- Rich and Satisfying Each bite offers a perfect balance of chocolate, coconut, and creamy sweetness.
Ingredient Notes for Perfect Nanaimo Bars
Let’s talk about what goes into these delectable bars. Using quality ingredients makes all the difference.
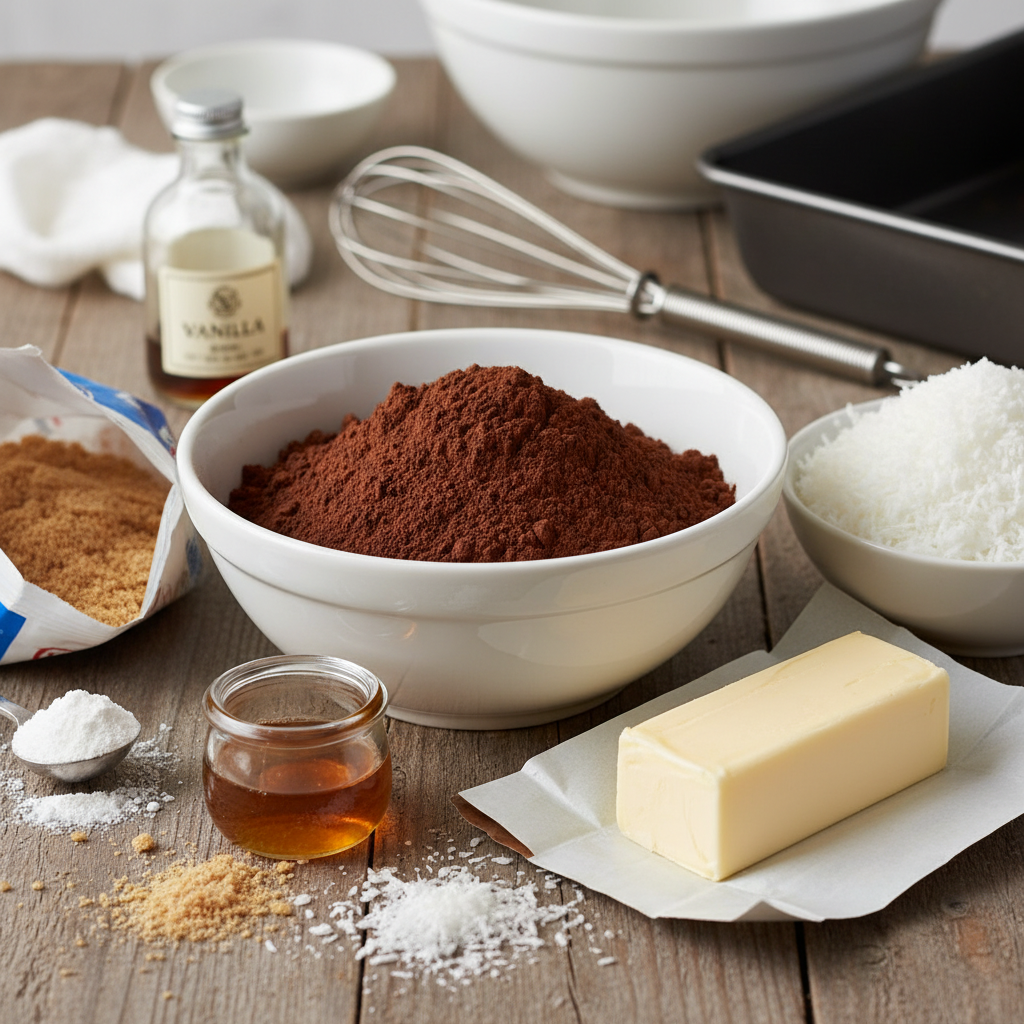
- Unsalted Butter This is key for the richness in both the base and the filling. Using unsalted allows you to control the salt content.
- Granulated Sugar Provides sweetness to the base and helps create that classic texture.
- Unsweetened Cocoa Powder Choose a good quality cocoa for a deep chocolate flavor in the base.
- Egg Just one egg helps bind the base ingredients together when gently cooked. Don’t worry, it’s briefly cooked to make it safe.
- Graham Cracker Crumbs The foundation of our base. You can buy them pre-crushed or crush your own.
- Shredded Coconut Adds texture and a delightful tropical hint to the base.
- Chopped Nuts Walnuts or pecans are traditional and add a lovely crunch.
- Powdered Sugar Icing Sugar Essential for the creamy custard filling, giving it a smooth, melt-in-your-mouth consistency.
- Custard Powder This is the secret to the authentic yellow custard layer. Brands like Bird’s Custard Powder are widely available.
- Milk or Cream For the custard filling, adding to its richness.
- Semi-Sweet Chocolate Chips For the luscious ganache topping.
- Vegetable Shortening or Coconut Oil A small amount in the ganache helps achieve a glossy, crack-free finish.
Equipment Needed

You won’t need anything fancy for this recipe, just a few kitchen essentials:
- 8×8 inch (20×20 cm) baking pan
- Parchment paper or aluminum foil
- Saucepan
- Mixing bowls
- Whisk
- Rubber spatula
- Measuring cups and spoons
Full Recipe Card
Ingredients
For the Base Layer
- 1/2 cup (113g) unsalted butter
- 1/4 cup (50g) granulated sugar
- 1/4 cup (25g) unsweetened cocoa powder
- 1 large egg, lightly beaten
- 1 teaspoon vanilla extract
- 2 cups (200g) graham cracker crumbs
- 1 cup (85g) shredded coconut
- 1/2 cup (50g) chopped walnuts or pecans (optional)
For the Custard Layer
- 1/2 cup (113g) unsalted butter, softened
- 2 tablespoons milk or cream
- 2 tablespoons custard powder (e.g., Bird’s)
- 2 cups (240g) powdered sugar (icing sugar)
For the Chocolate Ganache Topping
- 4 ounces (113g) semi-sweet chocolate chips
- 2 tablespoons unsalted butter
- 1 teaspoon vegetable shortening or coconut oil (optional, for gloss)
Instructions
- Prepare Your Pan Line an 8×8 inch (20×20 cm) baking pan with parchment paper or aluminum foil, leaving an overhang on the sides to easily lift the bars out later.
- Make the Base In a medium saucepan over low heat, melt the 1/2 cup butter, granulated sugar, and cocoa powder, stirring until smooth. Remove from heat.
- Temper the Egg Slowly whisk a small amount of the warm chocolate mixture into the beaten egg, then gradually whisk the egg mixture back into the saucepan. This prevents the egg from scrambling.
- Cook the Base Mixture Return the saucepan to low heat and cook, stirring constantly, for about 2-3 minutes until the mixture thickens slightly. Do not boil. Remove from heat and stir in the vanilla extract.
- Combine Base Ingredients Add the graham cracker crumbs, shredded coconut, and chopped nuts (if using) to the chocolate mixture. Stir until well combined and all crumbs are moistened.
- Press the Base Press the mixture firmly and evenly into the prepared baking pan. Use the back of a spoon or your hands. Chill in the refrigerator for at least 30 minutes while you prepare the custard layer.
- Prepare the Custard Layer In a medium bowl, cream together the softened 1/2 cup butter, milk, and custard powder until smooth. Gradually beat in the powdered sugar until light and fluffy.
- Spread the Custard Spread the custard mixture evenly over the chilled chocolate base. Return to the refrigerator for another 30 minutes to firm up.
- Make the Ganache In a microwave-safe bowl or a double boiler, melt the chocolate chips, 2 tablespoons butter, and shortening (if using). Stir until smooth and glossy. Let it cool for a few minutes, but ensure it’s still pourable.
- Pour the Ganache Pour the slightly cooled chocolate ganache over the chilled custard layer. Gently tilt the pan to ensure an even coating.
- Chill Thoroughly Return the pan to the refrigerator and chill for at least 2-3 hours, or preferably overnight, until the ganache is completely set.
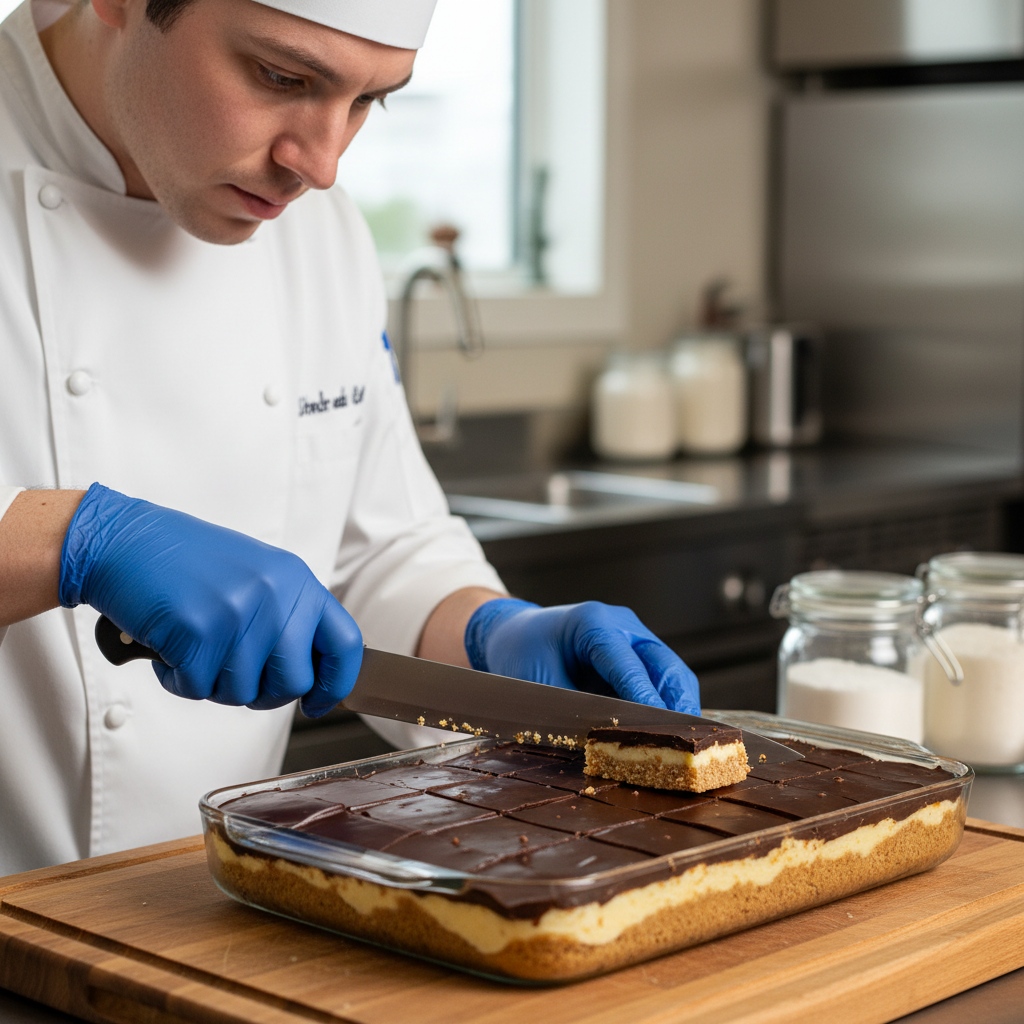
- Cut and Serve Once firm, lift the bars out of the pan using the parchment paper overhang. Place on a cutting board and cut into squares or rectangles using a sharp, warm knife. Enjoy!
Notes
- For easier cutting, warm your knife under hot water and wipe it clean between each cut.
- Ensure your butter for the custard layer is truly softened, not melted, for the best consistency.
- If your chocolate ganache seems too thick, add a tiny bit more shortening or a teaspoon of milk.
Tips and Variations

- Nut-Free Version Simply omit the nuts from the base layer.
- Gluten-Free Use gluten-free graham cracker crumbs.
- Espresso Kick Add 1 teaspoon of instant espresso powder to the chocolate base for a deeper flavor.
- Citrus Zest A little orange or lemon zest in the custard layer can add a bright, unexpected twist.
- Mini Bars Cut them into smaller, bite-sized pieces for easy serving at parties.
Pro Chef Tips
- Proper Chilling is Key Don’t rush the chilling process between layers. This ensures clean, distinct layers and prevents the bars from falling apart.
- Temper Your Egg Wisely When adding the egg to the warm chocolate base mixture, always temper it by slowly introducing a small amount of warm mixture to the egg first. This prevents scrambling and ensures a smooth consistency.
- Use a Warm Knife For perfectly clean cuts, dip your knife in hot water and wipe it dry before each slice. This will prevent the chocolate from cracking and dragging.
- Quality Ingredients Matter Especially for the chocolate and cocoa powder, using good quality ingredients will elevate the flavor significantly.
Common Mistakes to Avoid
- Not Chilling Enough Impatience is the enemy of a good Nanaimo Bar! Insufficient chilling leads to messy layers and bars that crumble.
- Overcooking the Base Mixture Cooking the base for too long can make it dry and crumbly. Just a few minutes until slightly thickened is enough.
- Too Hot Ganache Pouring hot ganache over the chilled custard can melt the custard layer, resulting in a muddy mess. Let the ganache cool slightly.
- Uneven Layers Take your time pressing the base and spreading the custard evenly. This makes for a more appealing and balanced bar.
Storage and Meal Prep
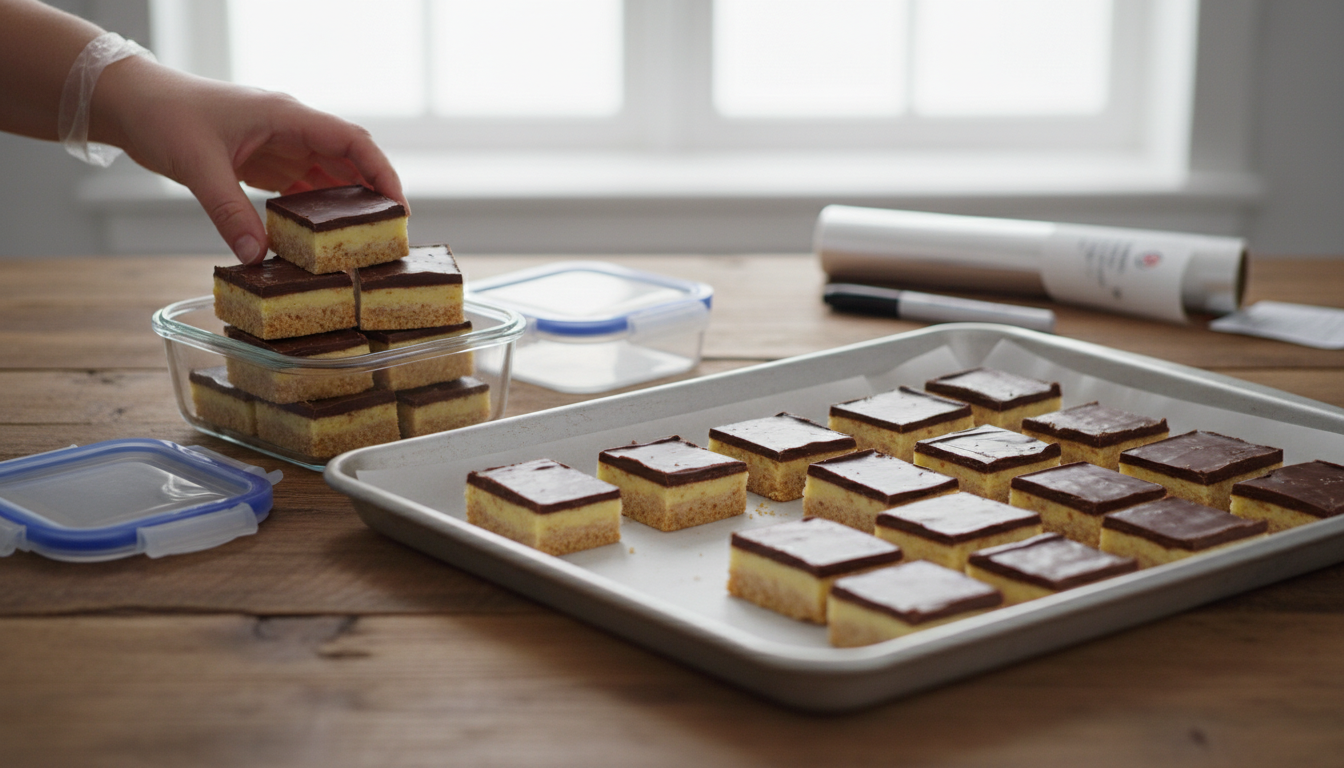
Nanaimo Bars are fantastic for meal prep because they keep so well. Store them in an airtight container in the refrigerator for up to 1 week. If you need to stack them, place a piece of parchment paper between layers to prevent sticking.
Make-Ahead and Freezer Notes
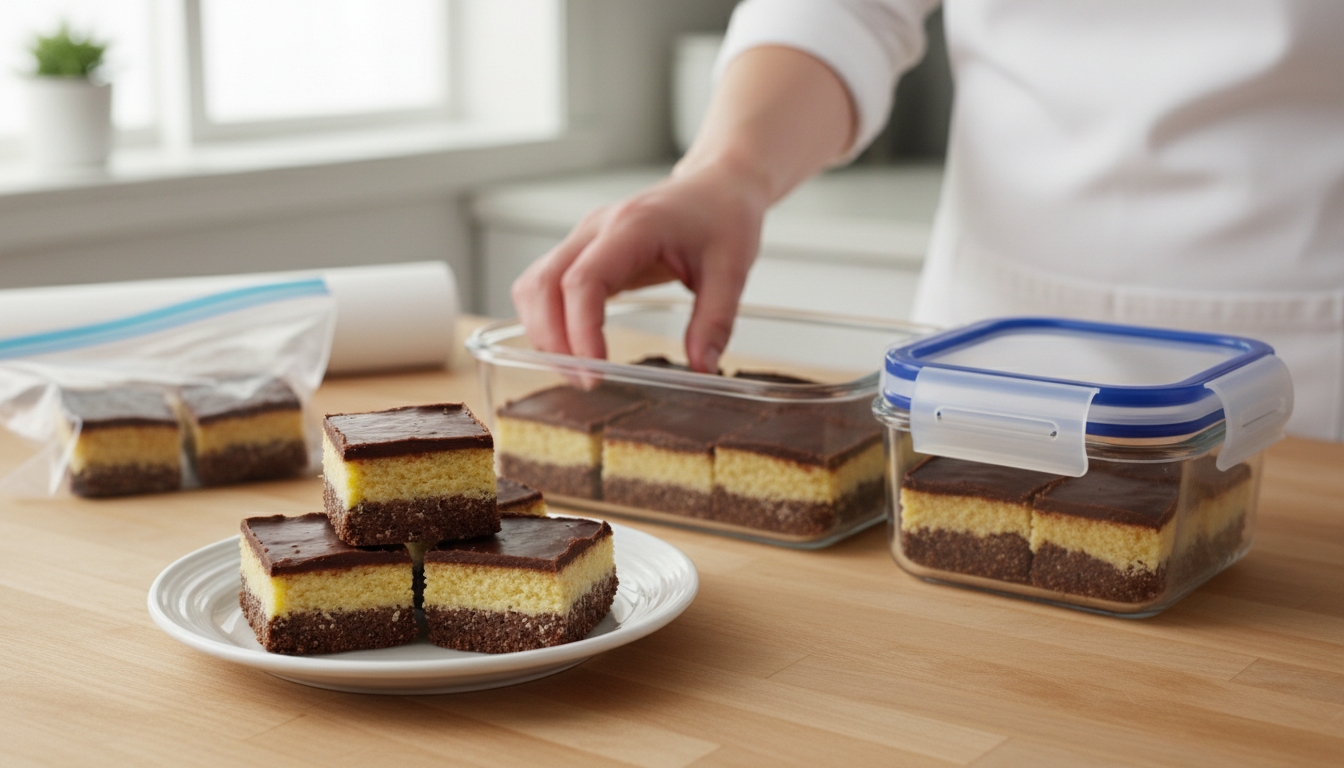
These bars are a dream for making ahead! You can prepare them a day or two in advance of when you plan to serve them. For longer storage, Nanaimo Bars freeze beautifully. Wrap individual bars or the entire slab tightly in plastic wrap, then again in aluminum foil. They can be frozen for up to 3 months. Thaw them in the refrigerator overnight before serving.