Welcome, fellow dessert lovers! If there’s one thing that brings pure joy, it’s a perfectly baked chocolate cake. Not just any chocolate cake, but one that’s incredibly moist, deeply flavorful, and crowned with a luxurious, rich ganache. This isn’t just a recipe; it’s an invitation to create a showstopper that will have everyone asking for seconds. Forget dry, crumbly cakes; we’re diving into the secrets of a truly unforgettable chocolate experience, perfect for beginners and seasoned bakers alike.
A Sweet History of Chocolate Cake
Chocolate cake has a fascinating journey through culinary history, evolving from simple chocolate-flavored breads in the 17th century to the decadent masterpieces we know today. The real turning point came in the mid-19th century when cocoa powder became more readily available and baking soda/powder allowed cakes to rise beautifully. Early American cookbooks began featuring chocolate cake recipes, often as a special treat. The idea of a ‘devils food cake’ emerged, signifying its rich, dark, and sinful nature. Ganache, a French invention, was initially used as a filling or coating for pastries. Its silky texture and intense chocolate flavor made it the perfect partner for a moist chocolate cake, elevating it to an art form. Over the decades, countless variations have emerged, but the combination of a tender crumb and glossy ganache remains a timeless classic.
Why You’ll Love This Recipe

- Beginner-Friendly: Clear, step-by-step instructions make this recipe approachable for all skill levels.
- Incredibly Moist: Special ingredients ensure a tender, melt-in-your-mouth crumb every time.
- Rich Chocolate Flavor: Uses both cocoa powder and chocolate for a deep, satisfying taste.
- Luxurious Ganache: The simple yet elegant ganache adds a professional touch and incredible richness.
- Perfect for Any Occasion: From birthdays to casual gatherings, this cake is always a hit.
- Impressive Results: You’ll be amazed at the beautiful, delicious cake you can create.
Ingredient Notes
Every great cake starts with great ingredients. Here’s a quick guide to what you’ll need and why it matters:
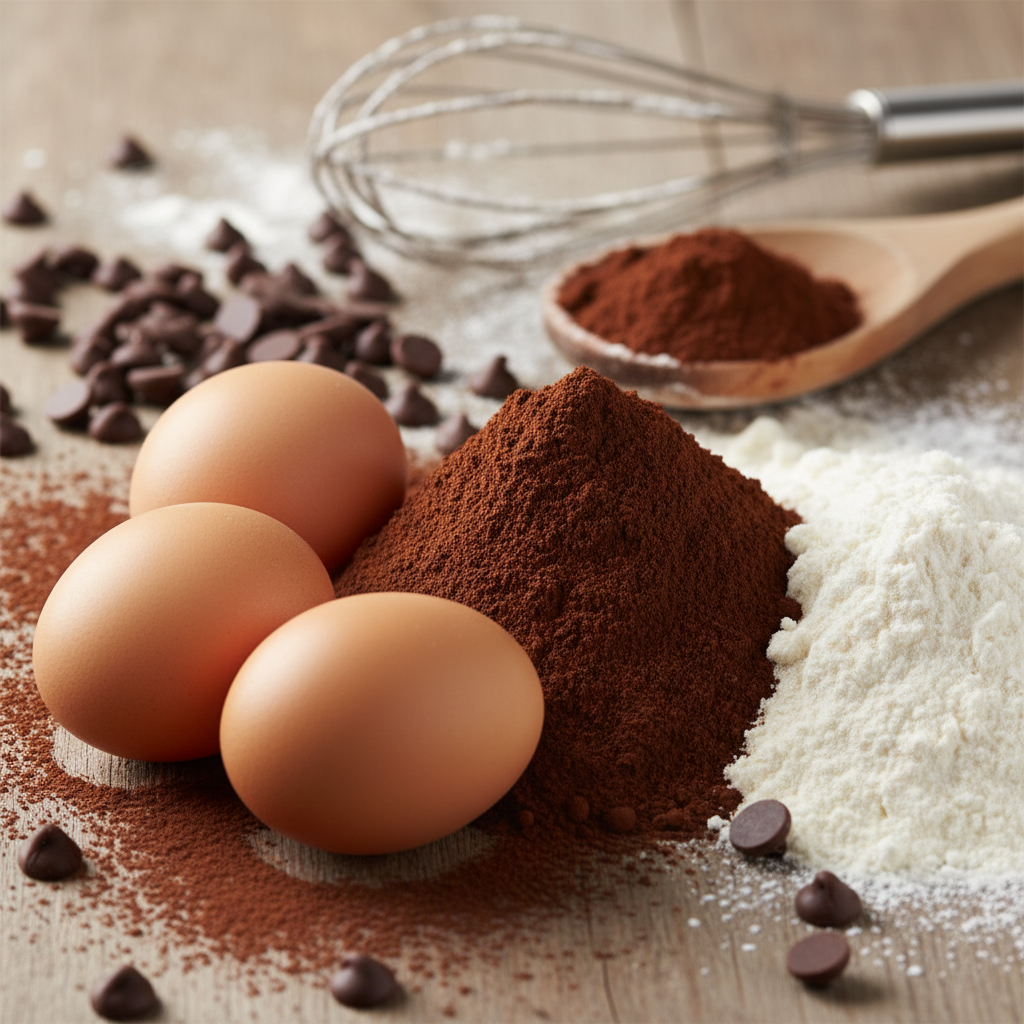
- All-Purpose Flour: The backbone of our cake, providing structure. Sifting it helps prevent lumps.
- Granulated Sugar: Adds sweetness and helps keep the cake moist.
- Unsweetened Cocoa Powder: Choose a good quality unsweetened cocoa for the best chocolate flavor. Dutch-processed cocoa gives a darker color and milder flavor.
- Baking Soda and Baking Powder: Our leavening agents, working together to give the cake its beautiful rise and tender texture.
- Salt: Enhances all the other flavors, especially the chocolate. Don’t skip it!
- Eggs: Act as a binder and add richness and moisture. Ensure they are at room temperature.
- Buttermilk: The secret to an incredibly moist and tender cake! Its acidity reacts with baking soda to create a light crumb. If you don’t have it, you can make your own by adding a tablespoon of white vinegar or lemon juice to regular milk and letting it sit for 5 minutes.
- Vegetable Oil: Contributes to the cake’s moistness and tenderness, keeping it soft even when chilled.
- Vanilla Extract: A flavor enhancer that complements the chocolate beautifully. Use pure vanilla for the best results.
- Hot Coffee (or Water): This might sound unusual, but hot coffee deepens the chocolate flavor without making the cake taste like coffee. It also helps to bloom the cocoa.
- Heavy Cream: Essential for our rich ganache. Don’t use anything with a lower fat content.
- Semi-Sweet Chocolate Chips or Bar: For the ganache, choose good quality chocolate. Chips are convenient, but chopped chocolate bars melt more smoothly.
Equipment Needed
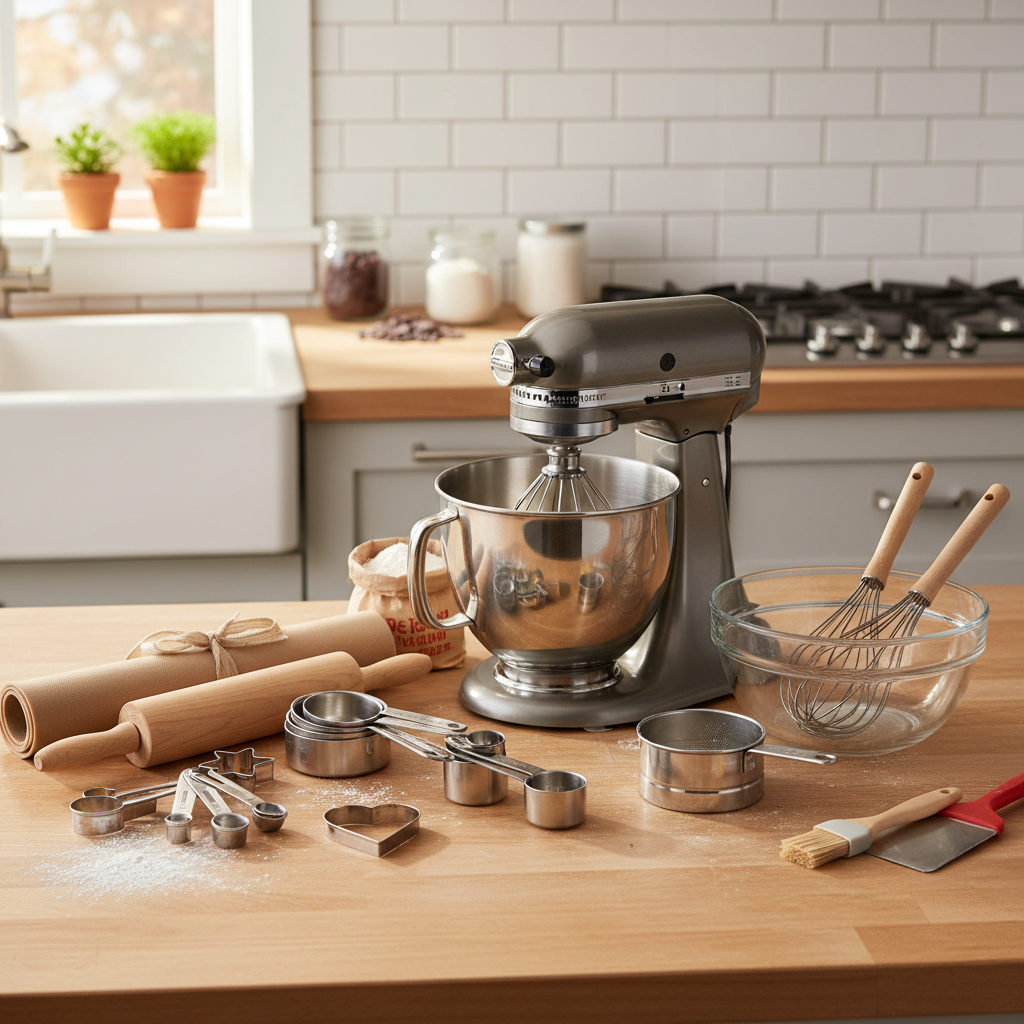
Having the right tools makes baking a breeze:
- Two 8-inch or 9-inch Round Cake Pans: Greased and floured, or lined with parchment paper.
- Large Mixing Bowls: For dry and wet ingredients.
- Whisk and Spatula: For mixing.
- Electric Mixer (Stand or Handheld): Optional, but makes creaming butter and sugar much easier.
- Measuring Cups and Spoons: Accuracy is key in baking!
- Wire Rack: For cooling the cakes completely.
- Small Saucepan: For heating cream for the ganache.
Full Recipe Card
Ingredients
For the Moist Chocolate Cake
- 1 ¾ cups (220g) all-purpose flour
- 1 ¾ cups (350g) granulated sugar
- ¾ cup (65g) unsweetened cocoa powder
- 1 ½ teaspoons baking soda
- 1 teaspoon baking powder
- 1 teaspoon salt
- 2 large eggs, room temperature
- 1 cup (240ml) buttermilk, room temperature
- ½ cup (120ml) vegetable oil
- 2 teaspoons pure vanilla extract
- 1 cup (240ml) hot coffee (or hot water)
For the Rich Chocolate Ganache
- 1 ½ cups (255g) semi-sweet chocolate chips or chopped chocolate
- 1 cup (240ml) heavy cream
- 1 tablespoon unsalted butter (optional, for extra shine)
Instructions
- Preheat Oven & Prep Pans: Preheat your oven to 350°F (175°C). Grease and flour two 8-inch or 9-inch round cake pans, or line the bottoms with parchment paper.
- Combine Dry Ingredients: In a large bowl, whisk together the flour, sugar, cocoa powder, baking soda, baking powder, and salt. Make sure there are no lumps.
- Combine Wet Ingredients: In a separate medium bowl, whisk together the eggs, buttermilk, vegetable oil, and vanilla extract until well combined.
- Combine Wet and Dry: Pour the wet ingredients into the dry ingredients. Mix on low speed with an electric mixer, or by hand with a whisk, until just combined. Do not overmix.
- Add Hot Coffee: Carefully pour in the hot coffee (or water) and mix until the batter is smooth. The batter will be thin, this is normal!
- Divide and Bake: Divide the batter evenly between the prepared cake pans. Bake for 30-35 minutes, or until a wooden skewer inserted into the center comes out with moist crumbs, not wet batter.
- Cool Cakes: Let the cakes cool in the pans for 10-15 minutes before inverting them onto a wire rack to cool completely. This is crucial before frosting!
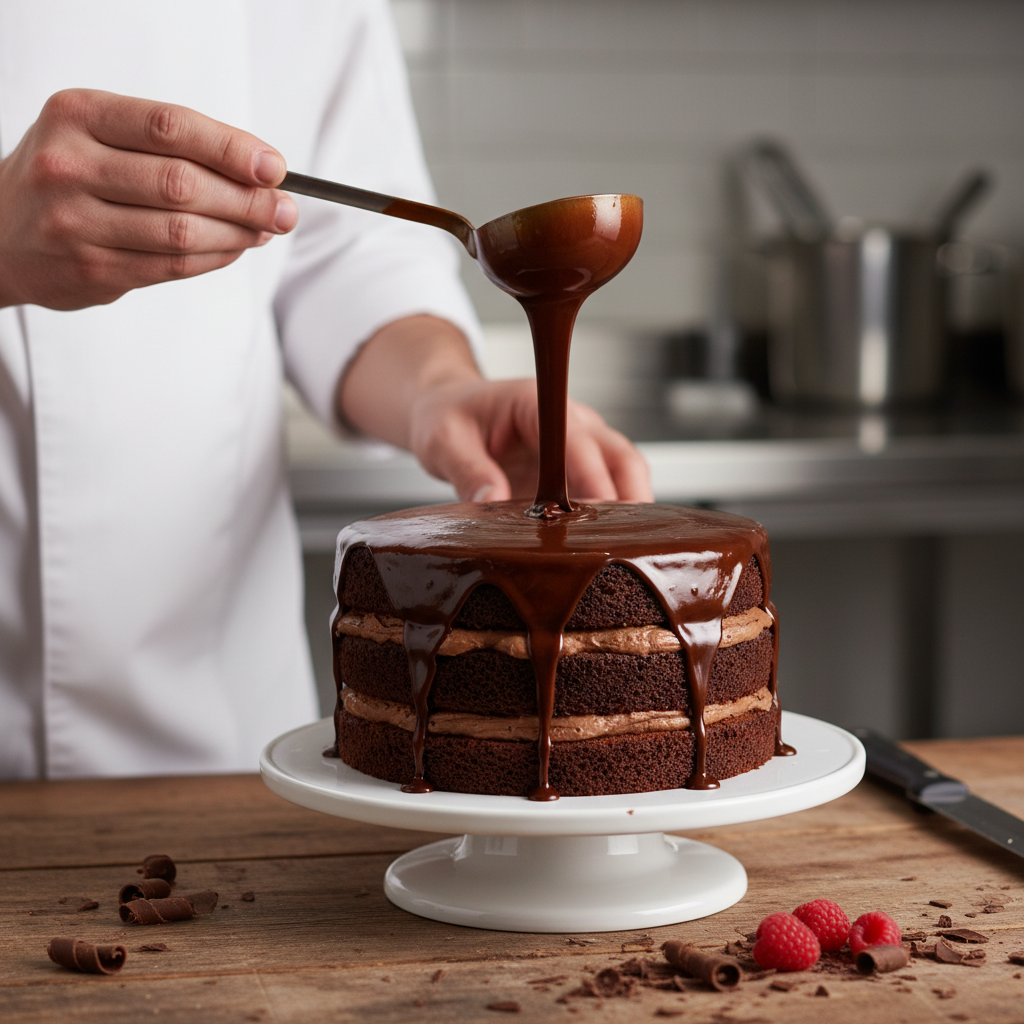
- Make the Ganache: While the cakes cool, place the chocolate chips (or chopped chocolate) in a heatproof bowl. In a small saucepan, heat the heavy cream over medium heat until it just begins to simmer around the edges (do not boil).
- Pour Cream over Chocolate: Pour the hot cream over the chocolate. Let it sit for 5 minutes without stirring.
- Stir Ganache: After 5 minutes, gently whisk the mixture from the center outwards until smooth and glossy. If using, stir in the butter until melted. Let the ganache cool for 15-30 minutes, stirring occasionally, until it thickens to a pourable but spreadable consistency.
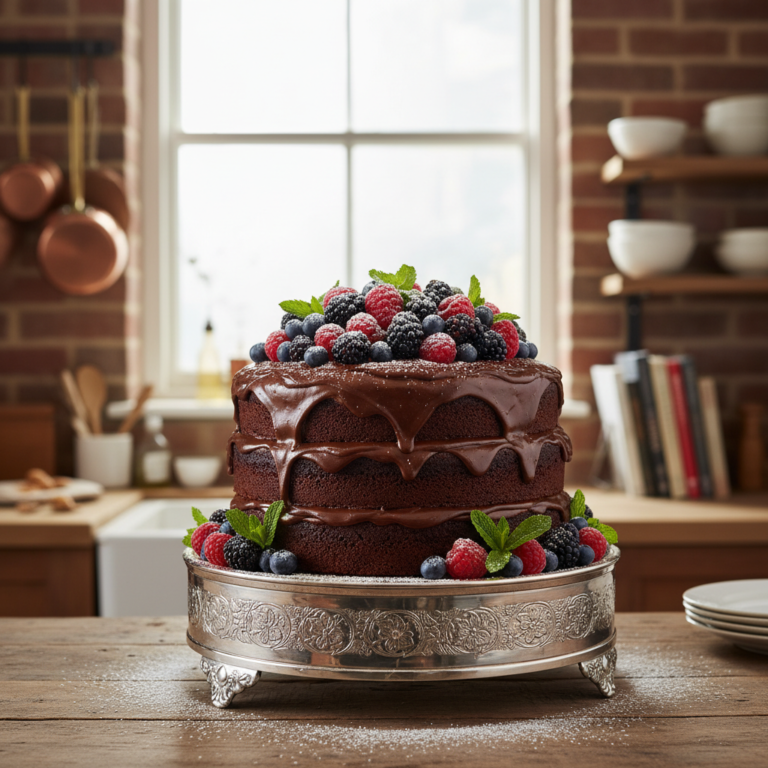
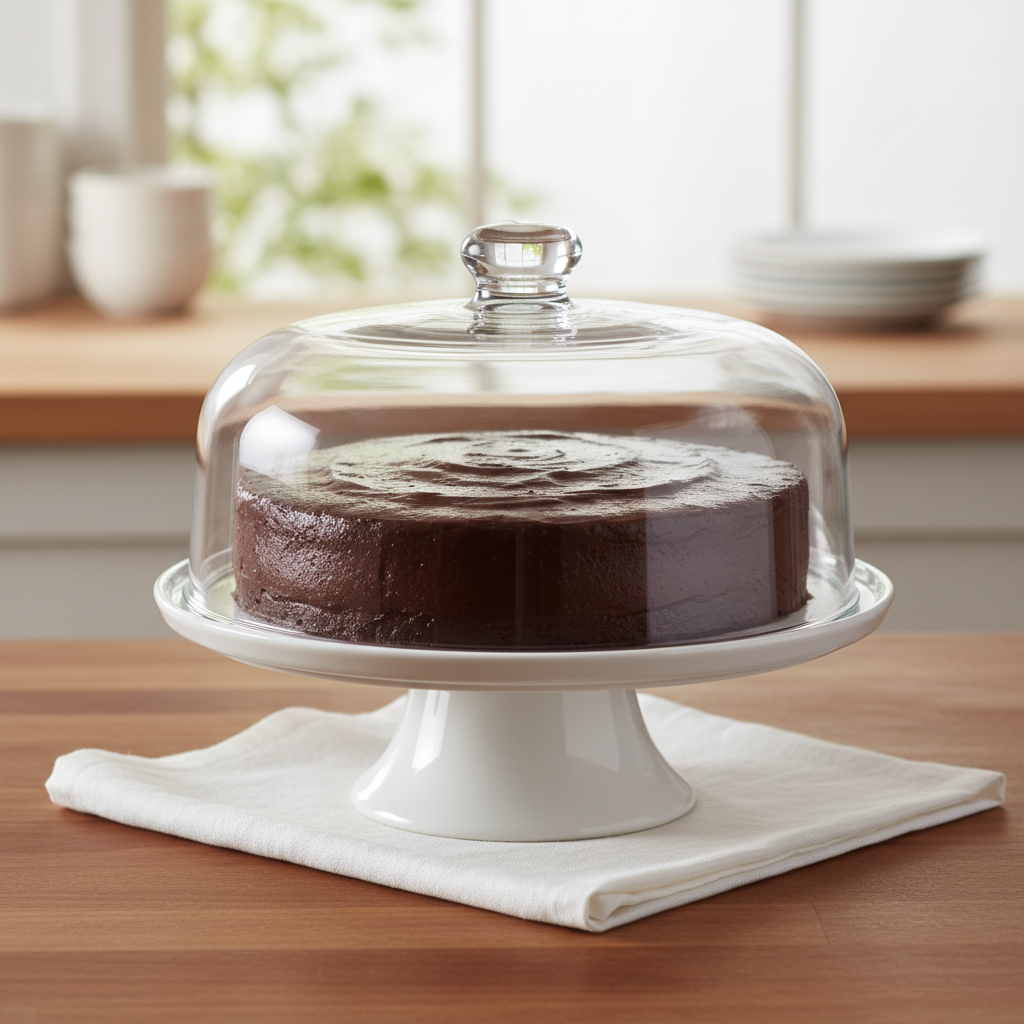
- Assemble & Frost: Once the cakes are completely cool, place one cake layer on your serving plate or cake stand. Spread about half of the ganache over the top. Place the second cake layer on top and pour the remaining ganache over the cake, allowing it to drip down the sides. Smooth the top and sides with an offset spatula if desired.
- Chill & Serve: Allow the ganache to set slightly at room temperature or in the refrigerator for 15-30 minutes before serving. Enjoy!
Notes
- For best results, ensure all cold ingredients (eggs, buttermilk) are at room temperature.
- Do not overmix the batter; overmixing can lead to a tough cake.
- Hot coffee truly enhances the chocolate flavor; don’t skip it!
- The ganache will thicken as it cools. If it becomes too thick, gently warm it over a double boiler or in the microwave in short bursts, stirring frequently.
Tips & Variations
Baking is all about personalizing! Here are some ideas to make this cake uniquely yours:
- Espresso Powder Boost: Add 1-2 teaspoons of instant espresso powder to the dry ingredients for an even deeper chocolate flavor without tasting like coffee.
- Spice It Up: A pinch of cayenne pepper or cinnamon can add a subtle warmth and complexity to the chocolate.
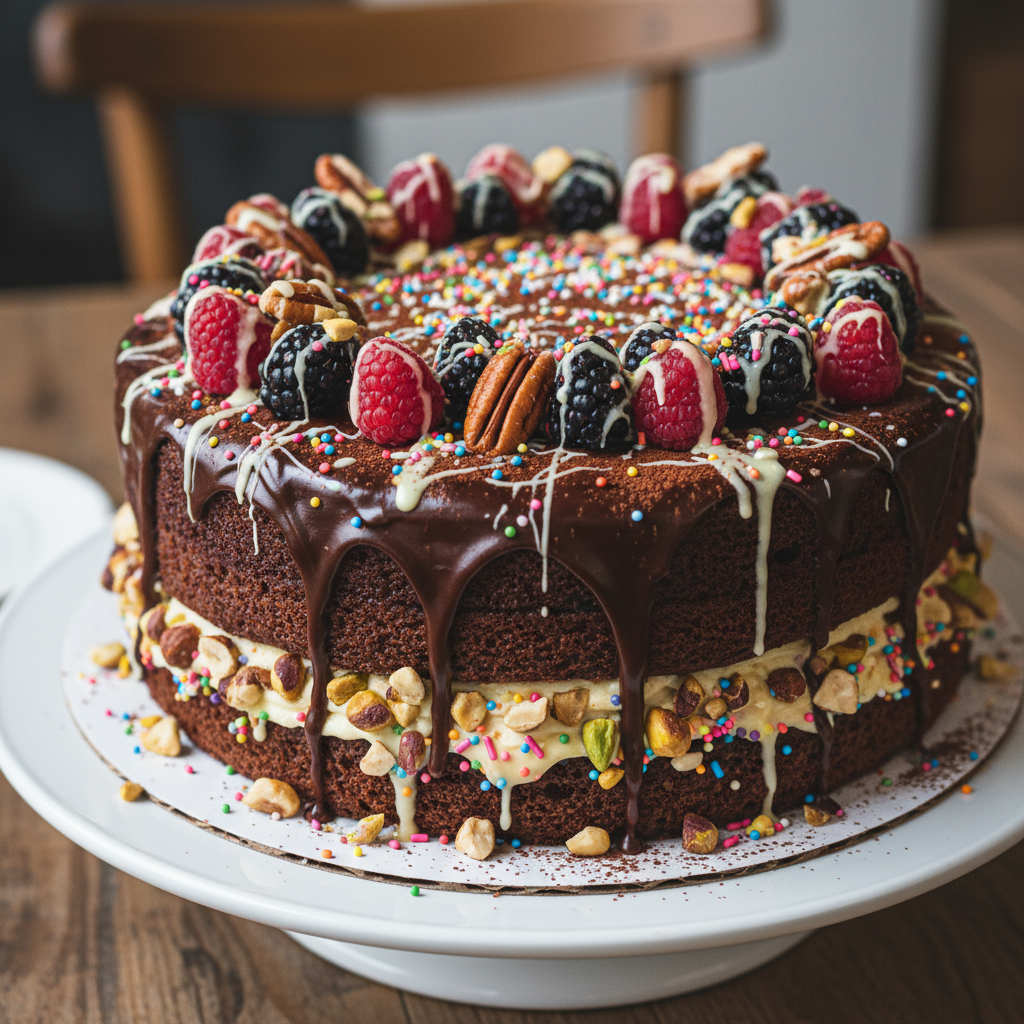
- Nutty Crunch: Sprinkle chopped toasted nuts (like pecans or walnuts) between the layers or on top of the ganache for added texture.
- Berry Freshness: Fresh raspberries, strawberries, or cherries make a beautiful and delicious garnish.
- Boozy Bliss: A splash of Kahlua, rum, or Grand Marnier in the ganache can add an adult twist.
- Mini Cakes: Bake in cupcake liners for delicious chocolate cupcakes, adjusting baking time.
Pro Chef Tips
Elevate your baking with these expert insights:
- Ingredient Temperature Matters: Room temperature eggs and buttermilk emulsify better, leading to a smoother batter and a finer crumb.
- Don’t Overmix: Once the wet and dry ingredients are just combined, stop mixing. Overmixing develops gluten, resulting in a tough cake.
- Quality Chocolate for Ganache: The better the chocolate, the better your ganache will taste. Use a good quality semi-sweet or dark chocolate.
- Patience with Cooling: Resist the urge to frost a warm cake. Ganache will melt and slide off. Ensure your cakes are completely cool.
- Perfect Ganache Consistency: If your ganache is too thin, let it cool longer. If it’s too thick, gently rewarm it. It should be pourable but thick enough to coat a spoon.
- Leveling Cakes: For a professional look, use a serrated knife or a cake leveler to trim any domes off your cooled cake layers for flat, even tiers.
Common Mistakes to Avoid
Even the best bakers make mistakes. Here’s what to watch out for:
- Overmixing the Batter: As mentioned, this is a common culprit for dry, tough cakes. Mix until just combined.
- Underbaking or Overbaking: An underbaked cake will sink, while an overbaked one will be dry. Use the skewer test for perfect doneness.
- Not Cooling Cakes Completely: Frosting a warm cake is a recipe for disaster. Be patient!
- Boiling the Cream for Ganache: Simmer, don’t boil. Boiling can scorch the cream and affect the ganache’s texture.
- Using Cold Ingredients: Cold eggs and buttermilk don’t emulsify as well, leading to a less uniform batter.
- Opening the Oven Door Too Early: This can cause the cake to collapse, especially in the first 20 minutes of baking.
Storage & Meal Prep
Want to enjoy your delicious cake for longer? Here’s how to store it:
- Room Temperature: A frosted chocolate cake can be stored at room temperature, loosely covered, for up to 2-3 days. The ganache acts as a protective layer, keeping the cake moist.
- Refrigerator: For longer storage, or if your kitchen is warm, store the cake in an airtight container in the refrigerator for up to 5-7 days. Bring to room temperature before serving for the best texture and flavor.
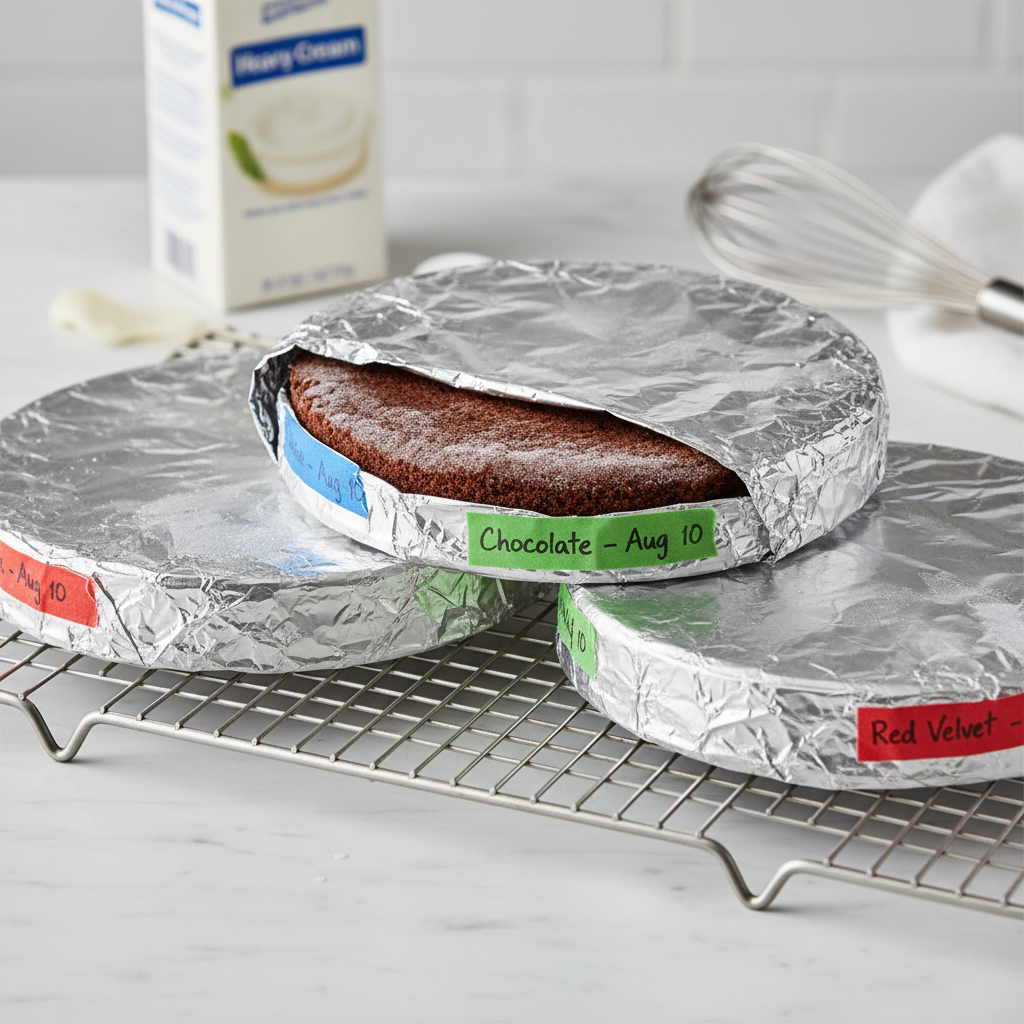
- Freezing Cake Layers (Unfrosted): Wrap cooled cake layers tightly in plastic wrap, then in aluminum foil. Freeze for up to 2 months. Thaw overnight in the refrigerator before frosting.
Make-Ahead & Freezer Notes
Planning ahead makes entertaining so much easier!
- Cake Layers: You can bake the cake layers up to 2-3 days in advance. Once completely cooled, wrap them tightly in plastic wrap and store at room temperature.
- Ganache: The ganache can be made a day or two in advance. Store it covered in the refrigerator. When ready to use, gently rewarm it over a double boiler or in the microwave in short bursts, stirring until it reaches a pourable, spreadable consistency.
- Freezing Whole Cake (Frosted): For best results, freeze individual slices or the whole cake (if small) after the ganache has set. Wrap tightly in plastic wrap, then foil, and freeze for up to 1 month. Thaw in the refrigerator overnight.
Serving Suggestions
While this cake is absolutely divine on its own, a few additions can take it to the next level:
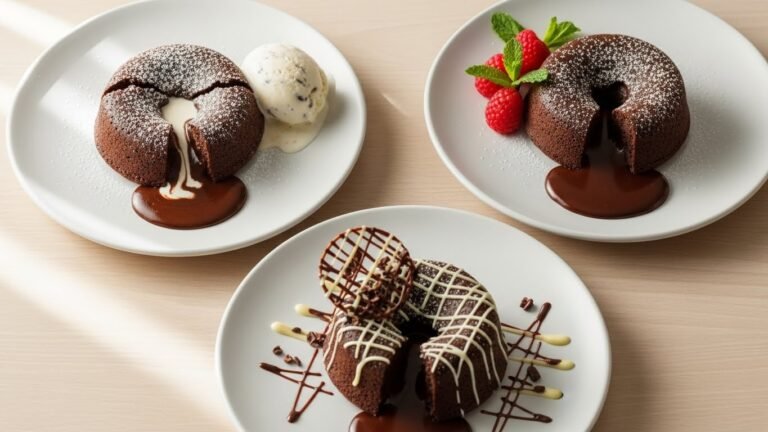
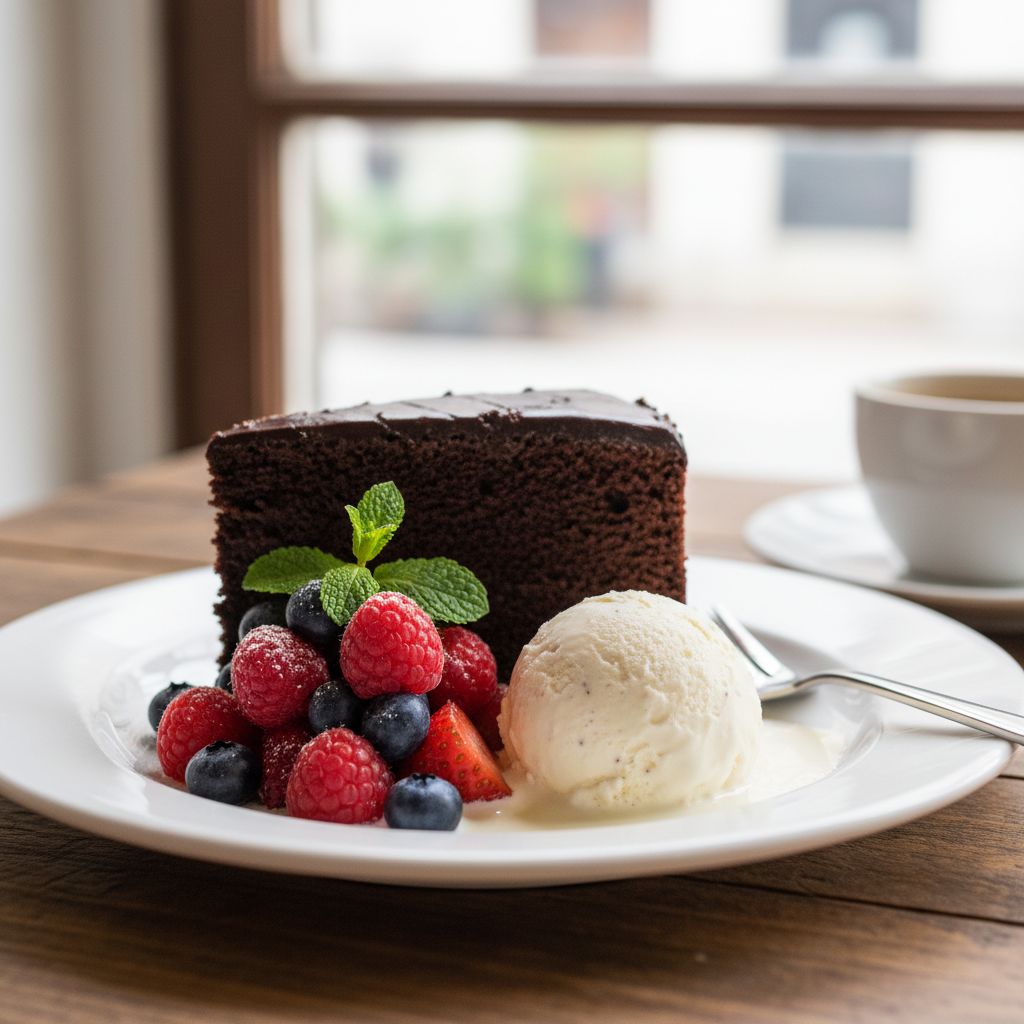
- A Scoop of Ice Cream: Vanilla bean, coffee, or even a rich chocolate ice cream makes a perfect pairing.
- Fresh Berries: Raspberries, strawberries, or a mix of berries add a touch of freshness and a beautiful pop of color.
- Whipped Cream: A dollop of freshly whipped cream provides a light, airy contrast to the rich cake.
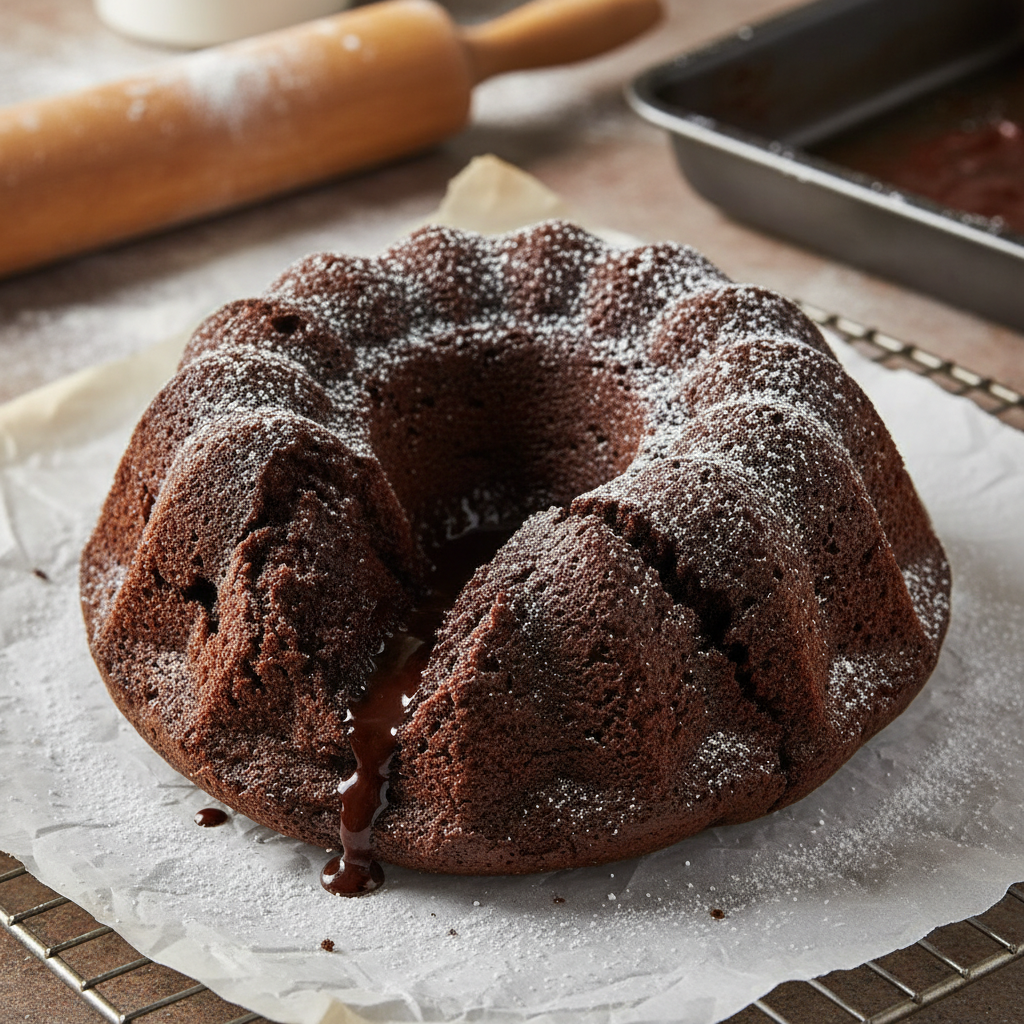
- Dusting of Cocoa Powder: A simple, elegant finish.
- A Glass of Milk or Coffee: The classic companions for a slice of chocolate cake.