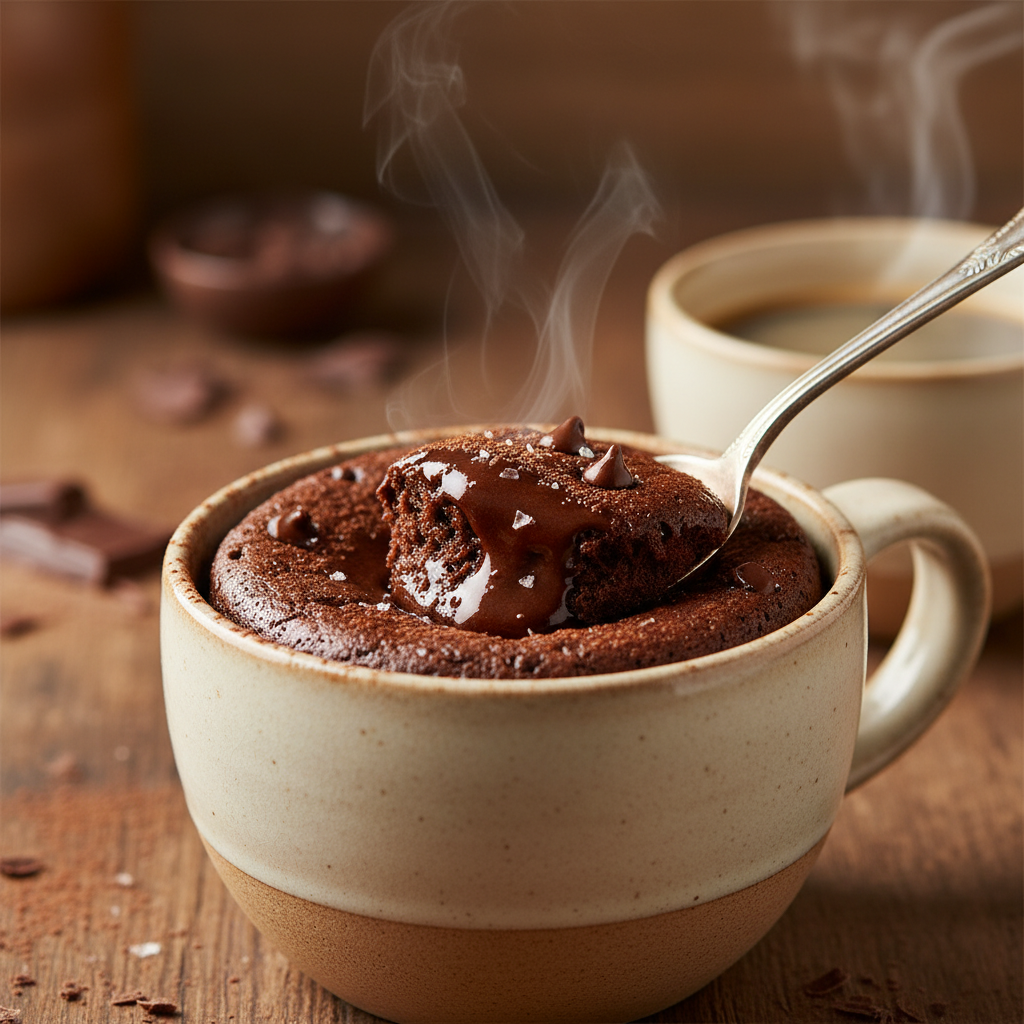
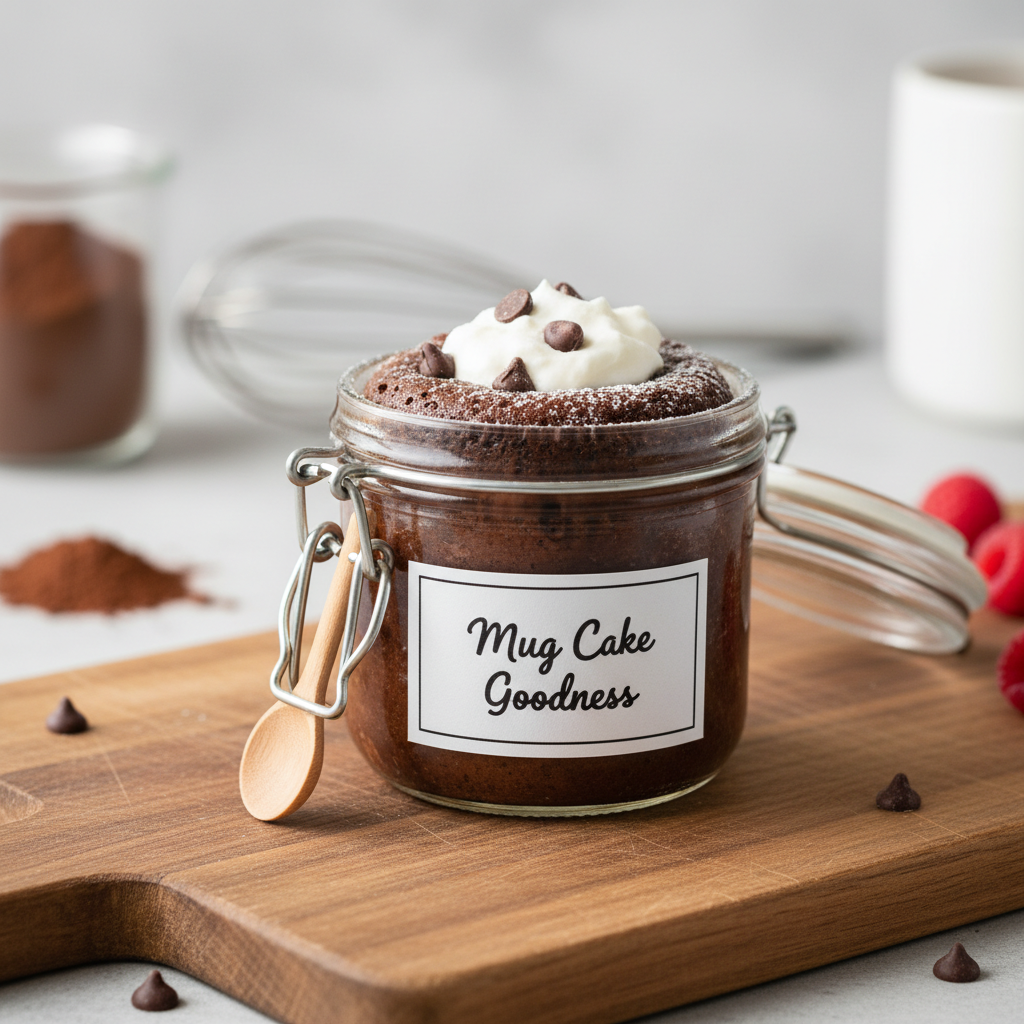
Welcome, fellow dessert lovers! Are you ready for a little magic in your kitchen today? We’re talking about that moment when a serious sweet craving hits, and you need something warm, gooey, and utterly delicious, like, right now. Forget waiting for the oven to preheat or dealing with a pile of dishes. Today, we’re diving into the wonderful world of the 2 Minute Mug Cake Microwave – your new best friend for instant gratification!
This isn’t just any mug cake; it’s a perfectly balanced, incredibly simple recipe that delivers a warm, tender cake in mere minutes. It’s perfect for a late-night treat, a quick dessert after dinner, or even a spontaneous baking adventure with the kids. So grab your favorite mug, and let’s get baking!
History / Background

While the concept of baking in a mug might seem like a modern marvel, quick, single-serving cakes have roots in wartime rationing and resourceful home cooking. However, the microwave mug cake as we know it truly exploded in popularity with the rise of microwave ovens in home kitchens. In the early 2000s, as internet forums and blogs became popular, people started sharing ingenious ways to create instant desserts. The mug cake quickly became a sensation, celebrated for its convenience and ability to satisfy a sweet tooth without much fuss.
It’s a testament to culinary innovation – taking traditional baking principles and adapting them for speed and simplicity. The microwave provides a rapid, even heat, cooking small portions in a fraction of the time a conventional oven would take. This humble dessert has evolved from basic chocolate versions to an endless array of flavors and variations, proving that sometimes, the simplest ideas are the most brilliant.
Why You’ll Love This Recipe

- Lightning Fast Ready in just 2 minutes from start to finish.
- Minimal Cleanup Only one mug and a few utensils needed.
- Perfect Portion Control Ideal for single servings, no leftovers to tempt you.
- Customizable Easily adapt with your favorite mix-ins and toppings.
- Beginner-Friendly Simple steps, perfect for new bakers or busy cooks.
- Satisfies Cravings Instantly The ultimate solution for a sudden sweet tooth.
Ingredient Notes
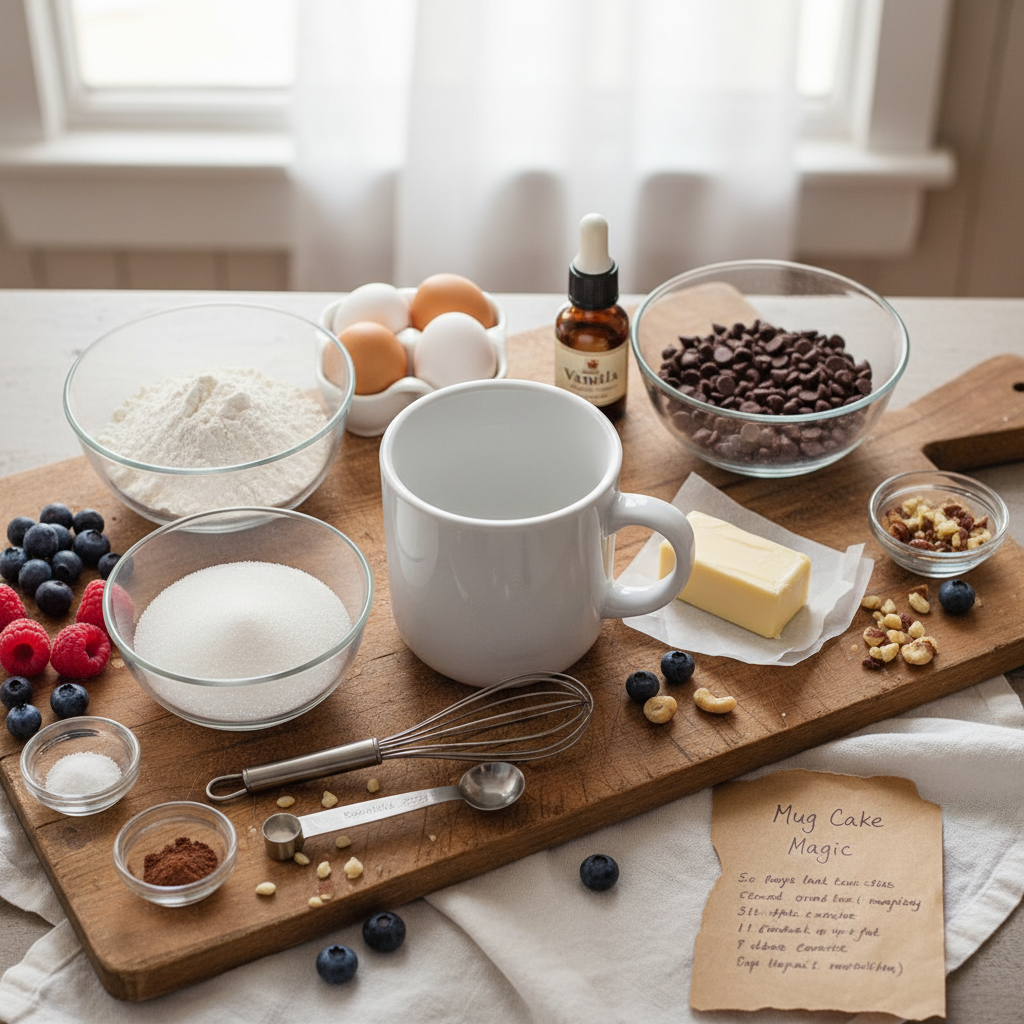
You’ll be surprised how few ingredients you need for this magical treat!
- All-Purpose Flour The base of our cake. Make sure it’s fresh for the best texture.
- Granulated Sugar Sweetens our cake. You can adjust the amount slightly to your preference.
- Unsweetened Cocoa Powder Essential for a rich chocolate flavor. Use good quality cocoa for a deeper taste.
- Baking Powder Our leavening agent, helping the cake rise and become fluffy.
- Salt Just a pinch enhances all the other flavors. Don’t skip it!
- Milk Any milk works – dairy, almond, oat. It adds moisture.
- Vegetable Oil Or any neutral oil like canola. This keeps the cake incredibly moist. Melted butter can also be used for a richer flavor.
- Vanilla Extract A touch of vanilla elevates the chocolate.
- Chocolate Chips (Optional) For extra gooey pockets of chocolate goodness!
Equipment Needed
- Microwave-Safe Mug A standard 8-12 ounce mug is perfect.
- Small Whisk or Fork For mixing your ingredients.
- Measuring Spoons and Cups Accuracy is key, even for a simple recipe!
Full Recipe Card
Ingredients
- 4 tablespoons all-purpose flour
- 4 tablespoons granulated sugar
- 2 tablespoons unsweetened cocoa powder
- 1/4 teaspoon baking powder
- Pinch of salt
- 3 tablespoons milk (any kind)
- 1 tablespoon vegetable oil
- 1/4 teaspoon vanilla extract
- 2 tablespoons chocolate chips (optional)
Instructions
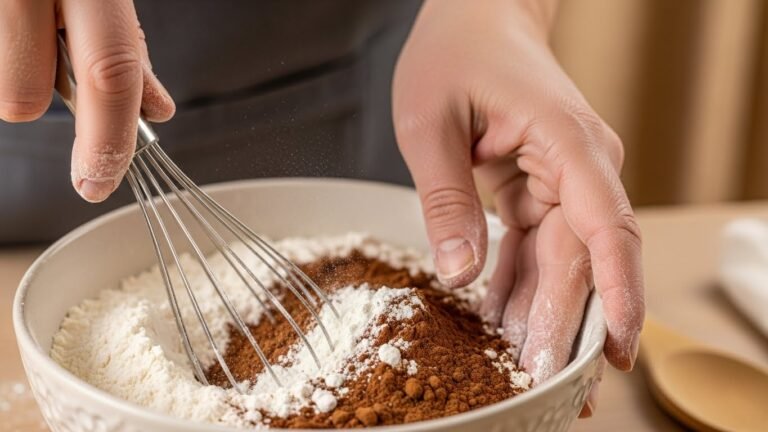
- Combine Dry Ingredients In your microwave-safe mug, whisk together the flour, sugar, cocoa powder, baking powder, and salt until well combined and there are no lumps.
- Add Wet Ingredients Pour in the milk, vegetable oil, and vanilla extract.
- Mix Until Smooth Stir with a fork or small whisk until the batter is smooth and all the dry ingredients are incorporated. Be careful not to overmix; a few small lumps are okay. If using, fold in the chocolate chips now.
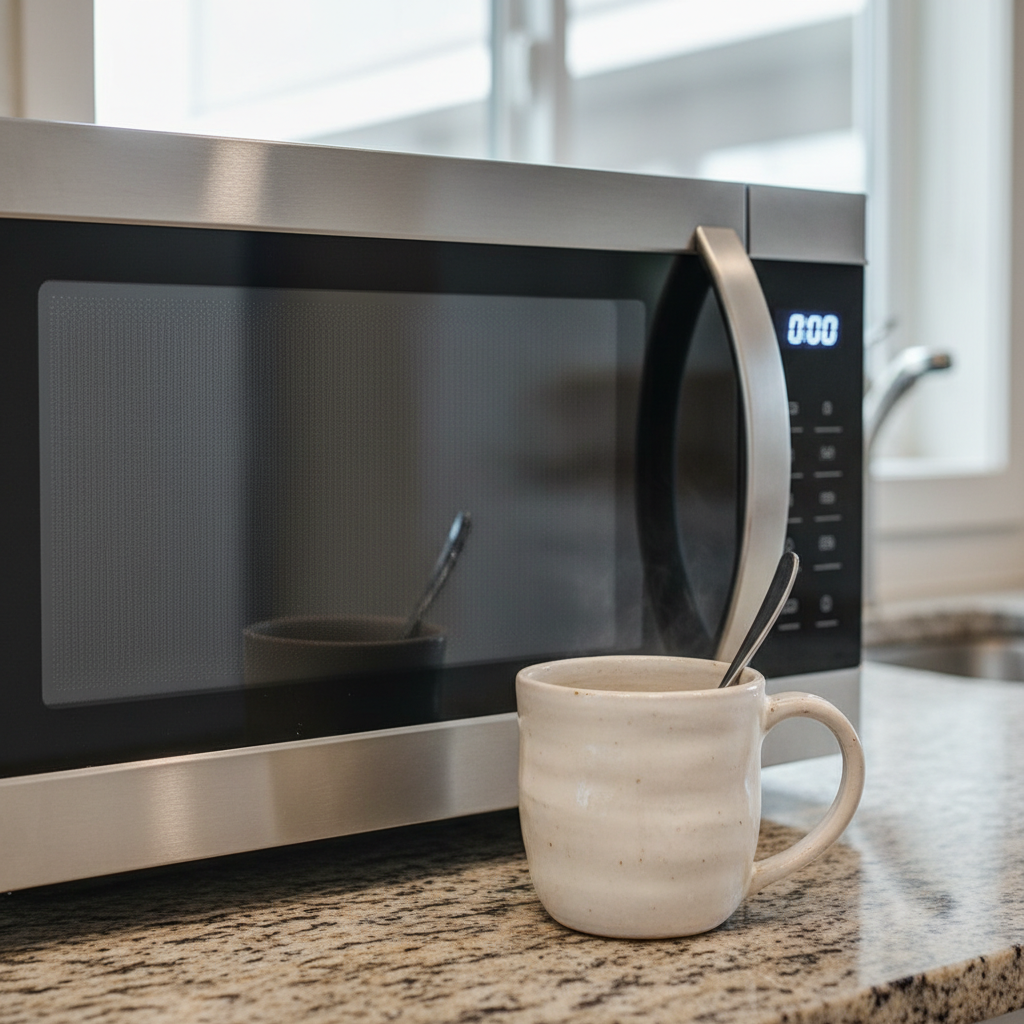
- Microwave Place the mug in the microwave and cook on high for 60-90 seconds. Cooking times can vary based on your microwave’s wattage. Start with 60 seconds and add 10-15 second increments until the cake is set but still looks slightly moist on top (this keeps it fudgy!).
- Cool and Serve Carefully remove the hot mug from the microwave. Let it cool for a minute or two before digging in. Enjoy immediately!
Notes
For a richer flavor, you can substitute melted butter for vegetable oil. If your cake is dry, your microwave might be too powerful, or you cooked it too long. Next time, reduce the cooking time by 10-15 seconds. For an even more intense chocolate flavor, use dark cocoa powder.
Tips & Variations

- Nutella Swirl Add a dollop of Nutella to the center of the batter before microwaving.
- Peanut Butter Bliss Mix in a tablespoon of peanut butter for a nutty twist.
- Coffee Kick Replace 1 tablespoon of milk with strong brewed coffee for a mocha flavor.
- Spice It Up A tiny pinch of cinnamon or chili powder can add an interesting warmth to the chocolate.
- Fruity Fun Stir in a few fresh raspberries or blueberries before cooking.
- White Chocolate Dreams Substitute regular chocolate chips with white chocolate chips.
Pro Chef Tips
- Don’t Overmix Overmixing develops gluten, which can lead to a tough cake. Mix just until combined.
- Know Your Microwave Every microwave is different. Start with the lower end of the cooking time and adjust. A perfectly cooked mug cake will be moist and fudgy, not dry or rubbery.
- Use a Large Enough Mug The cake will rise, so ensure your mug is at least 8 ounces to prevent overflow.
- Quality Ingredients Matter Even for a simple recipe, good quality cocoa powder and vanilla extract make a noticeable difference in flavor.
- Serve Immediately Mug cakes are best enjoyed fresh out of the microwave. The texture can change as they cool.
Common Mistakes to Avoid
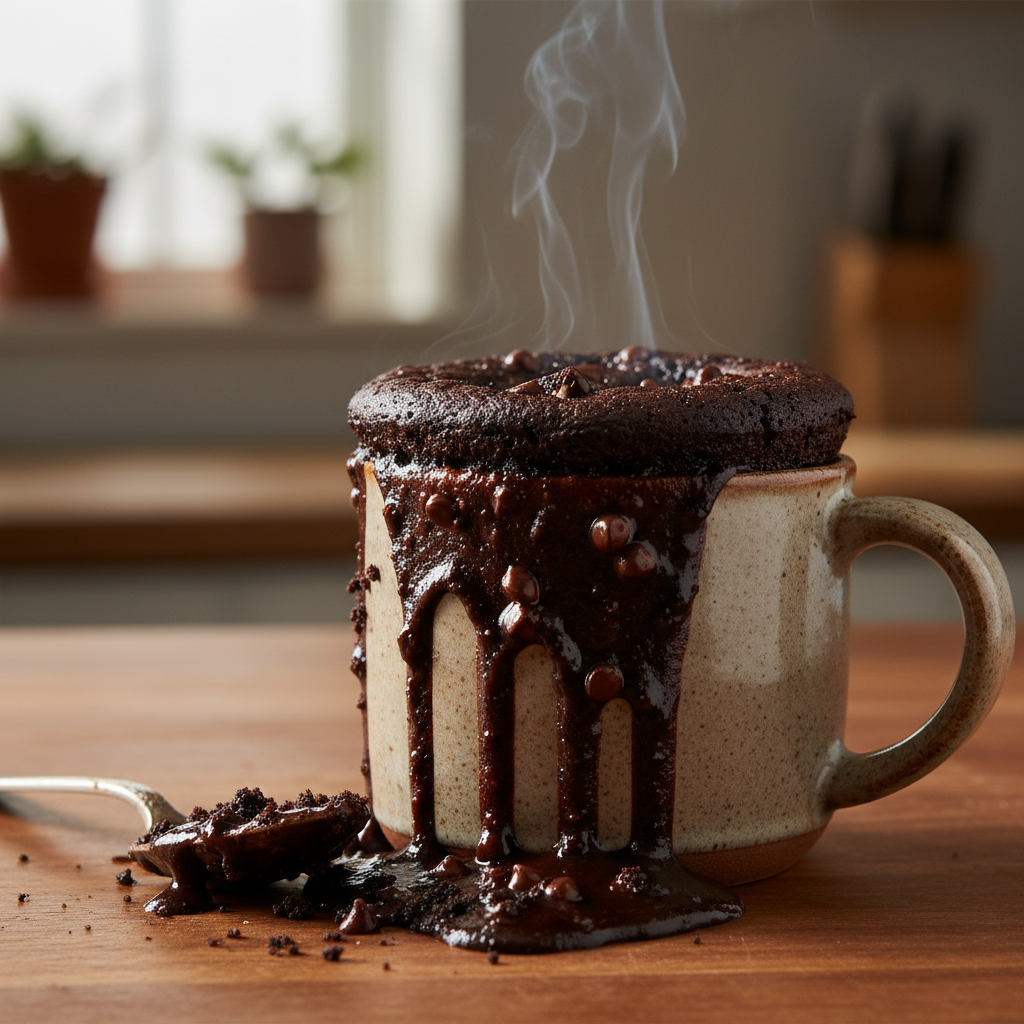
- Overcooking The most common mistake! This leads to a dry, rubbery cake. Err on the side of slightly undercooked for a fudgier result.
- Under-mixing Dry Ingredients Lumps of flour or baking powder won’t dissolve properly, leading to an uneven texture or taste.
- Using a Small Mug An overflowing mug is a messy disaster. Always choose a mug with enough headspace.
- Not Using a Microwave-Safe Mug This is crucial for safety!
- Ignoring Salt Even a pinch of salt is vital for balancing sweetness and enhancing chocolate flavor.
Storage & Meal Prep
Mug cakes are truly best enjoyed fresh, warm, and right out of the microwave. They don’t store particularly well as their texture can change significantly upon cooling and reheating. The beauty of this recipe is how quickly it comes together, making meal prep largely unnecessary for the cake itself.
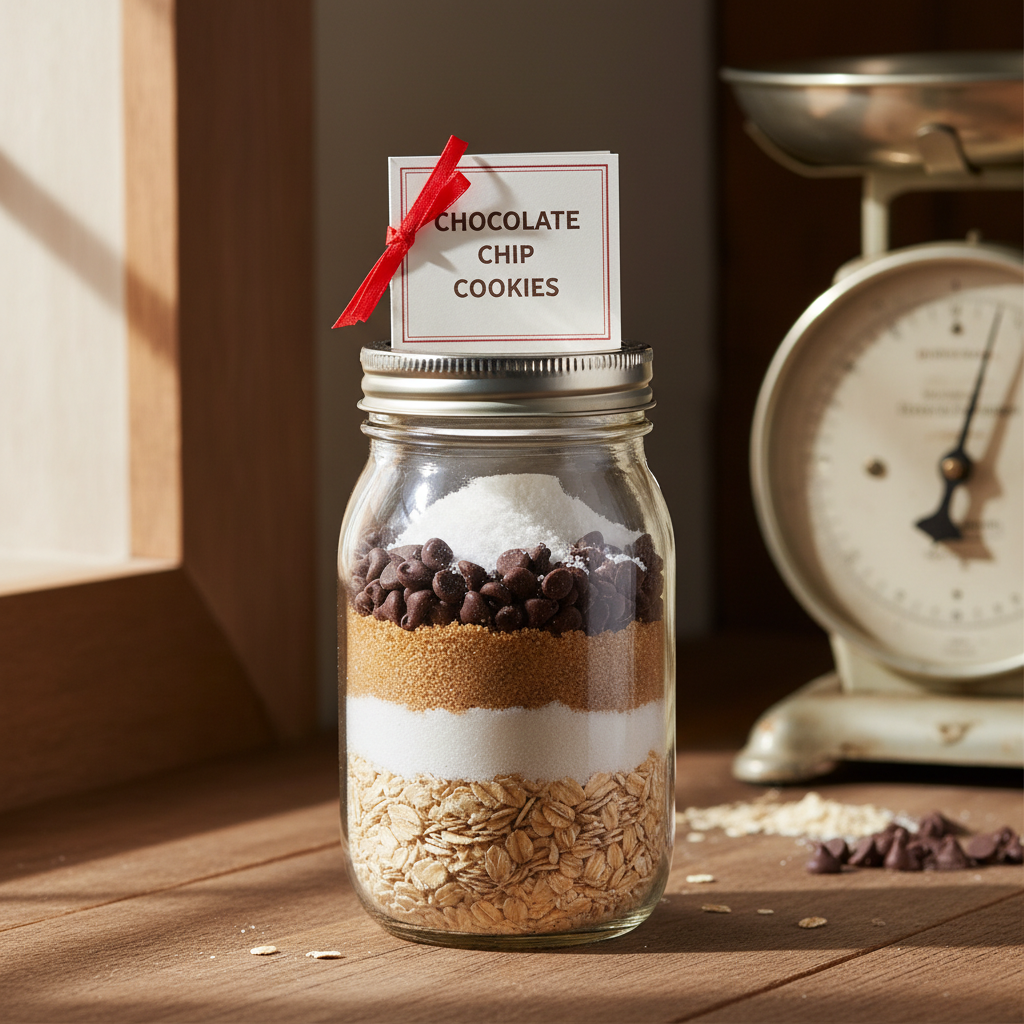
However, you can portion out the dry ingredients into small bags or jars ahead of time. Label them clearly. When a craving strikes, just add the wet ingredients, mix, and microwave! This makes for even faster assembly.
Make-Ahead & Freezer Notes
As mentioned, mug cakes are best fresh. Freezing a cooked mug cake is not recommended as it will lose its desirable texture. The ‘make-ahead’ aspect focuses on preparing the dry mix.
Dry Mix Jars Combine the flour, sugar, cocoa powder, baking powder, and salt in a small, airtight jar or bag. When ready to enjoy, simply pour the dry mix into a mug, add the milk, oil, and vanilla, stir, and microwave. This is a fantastic way to have ingredients on hand for spontaneous treats!
Serving Suggestions
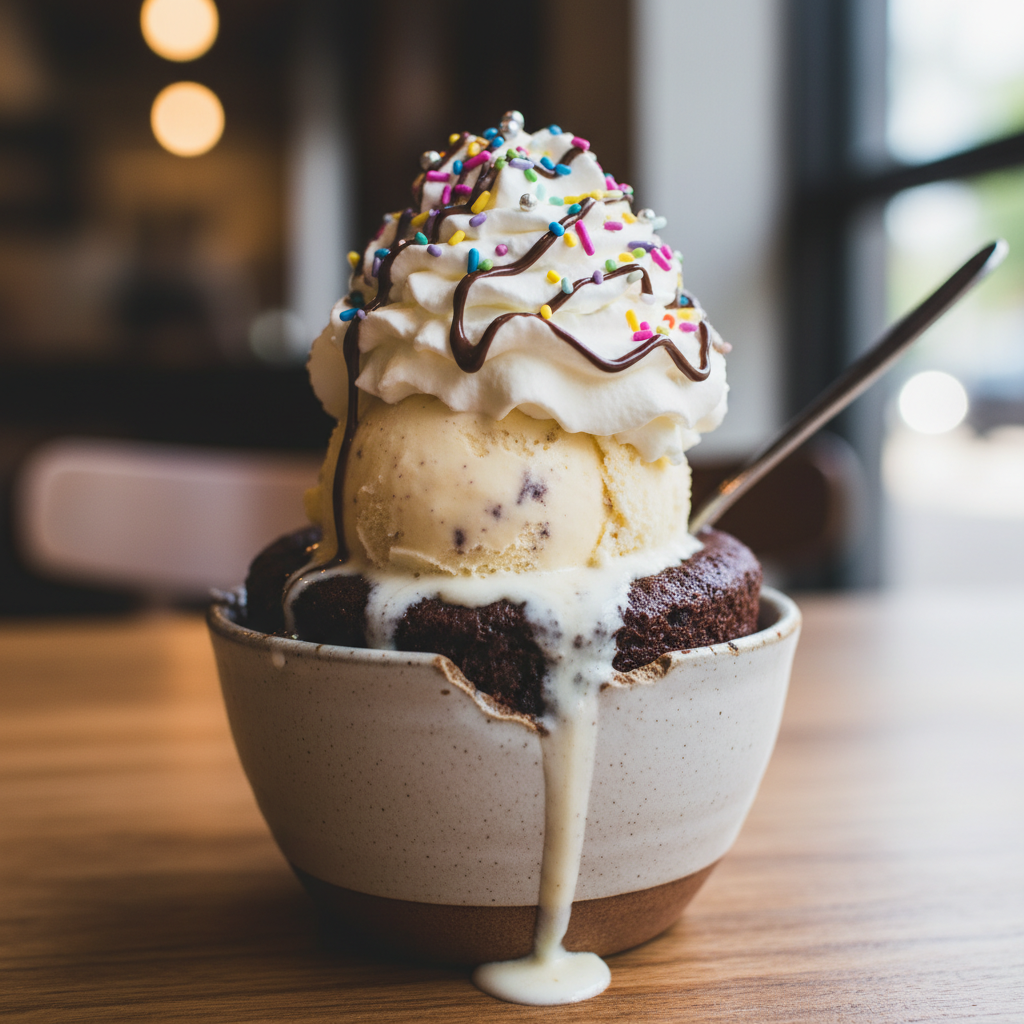
While delicious on its own, a mug cake truly shines with a few simple additions:
- A Scoop of Ice Cream Vanilla bean or chocolate ice cream is a classic pairing that melts into the warm cake.
- Whipped Cream Light, airy, and utterly delightful.
- Fresh Berries Raspberries, strawberries, or blueberries add a burst of freshness and a beautiful pop of color.