Who says going keto means saying goodbye to your favorite treats? Certainly not us! If you’ve been dreaming of a rich, creamy, and utterly satisfying ice cream that won’t kick you out of ketosis, your dreams are about to come true. This sugar-free keto ice cream recipe is a game-changer, proving that healthy eating can be incredibly delicious and indulgent. Get ready to churn up some magic!
History / Background

Ice cream has a long and storied past, dating back thousands of years to ancient civilizations that enjoyed flavored ice. Fast forward to today, and ice cream has evolved into countless varieties. The concept of ‘sugar-free’ and ‘keto’ ice cream is a much more recent innovation, born from the growing understanding of nutrition and the desire for healthier alternatives. As low-carb and ketogenic diets gained popularity, food innovators began to adapt classic desserts, replacing traditional sugars with erythritol, stevia, or monk fruit, and swapping high-carb ingredients for keto-friendly fats and proteins. This evolution allows us to enjoy the nostalgic comfort of ice cream without the sugar crash or carb overload.
Why You’ll Love This Recipe

- Seriously Creamy You won’t believe it’s sugar-free!
- Beginner-Friendly Simple steps for delicious results.
- Customizable Easy to adapt with your favorite flavors.
- Low-Carb & Keto-Friendly Perfect for your dietary needs.
- No Special Skills Needed Just a little patience and an ice cream maker.
Ingredient Notes
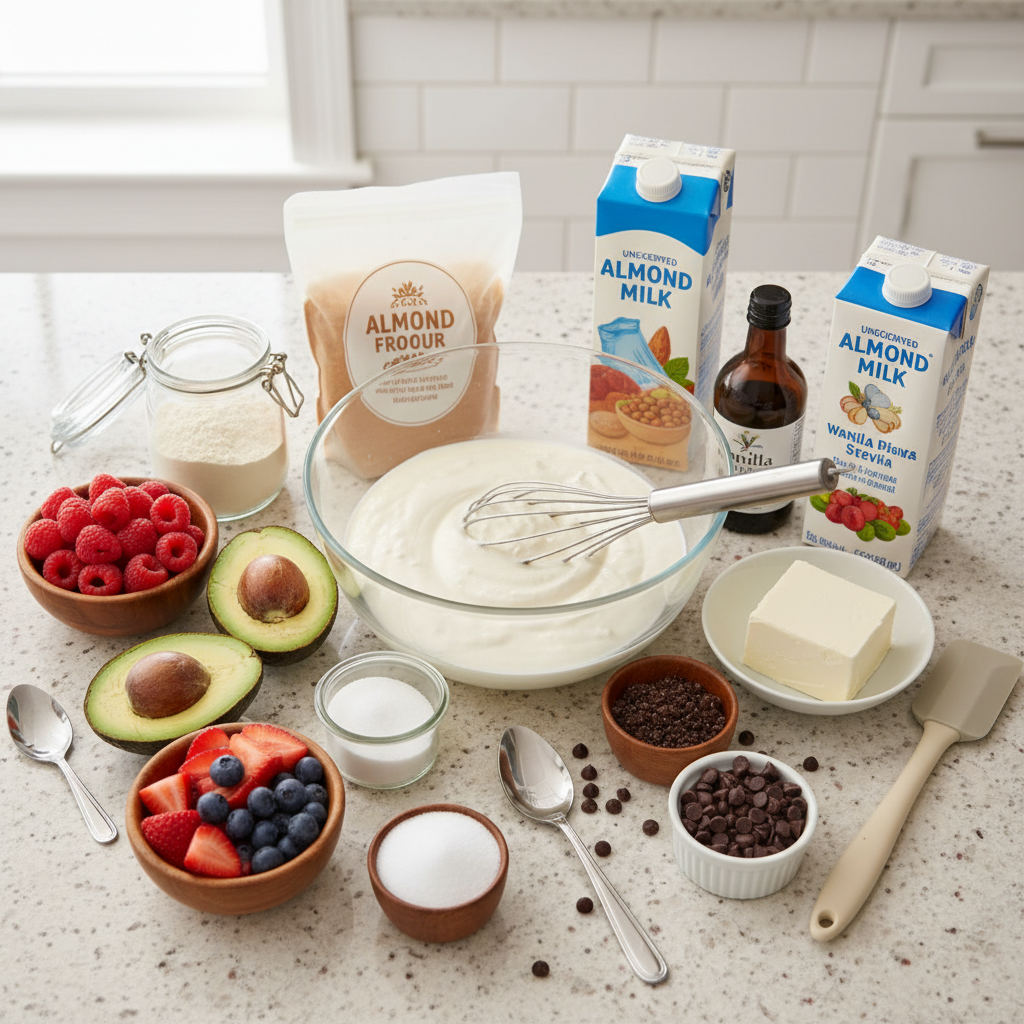
Crafting the perfect keto ice cream starts with understanding your ingredients. Each one plays a crucial role in achieving that creamy texture and delightful flavor.
- Heavy Cream This is your base, providing richness and fat. Don’t skimp on it; full-fat is key for keto.
- Unsweetened Almond Milk Thins the mixture slightly without adding carbs. Ensure it’s unsweetened!
- Erythritol or Monk Fruit Sweetener Our sugar substitutes. These provide sweetness without affecting blood sugar. Use a powdered version for best results to avoid graininess.
- Vanilla Extract Essential for that classic ice cream flavor. Use good quality extract.
- Xanthan Gum (Optional but Recommended) A tiny pinch helps prevent ice crystals and keeps your ice cream smooth and scoopable.
- Salt A pinch of salt enhances all the flavors.
Equipment Needed
You don’t need a professional kitchen, but a few key pieces of equipment will make your ice cream journey smooth and enjoyable.
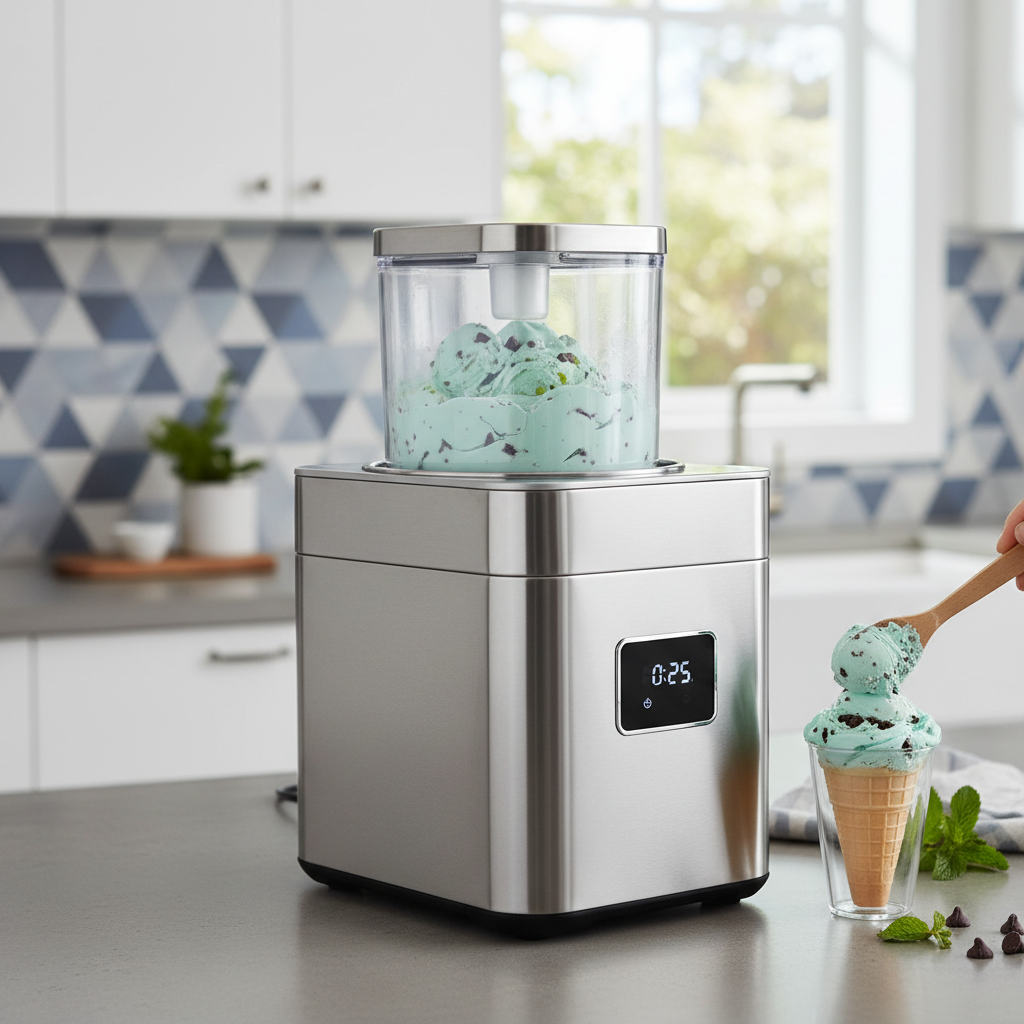
- Ice Cream Maker This is essential for churning the mixture into a creamy consistency. Make sure your bowl is frozen solid (usually 12-24 hours) before you start.
- Large Mixing Bowl For whisking your ingredients together.
- Whisk or Electric Mixer To ensure everything is well combined and dissolved.
- Airtight Freezer Container For storing your delicious creation.
Full Recipe Card

Ingredients
- 2 cups heavy cream
- 1 cup unsweetened almond milk
- 3/4 cup powdered erythritol or monk fruit sweetener (adjust to taste)
- 1 tablespoon vanilla extract
- 1/4 teaspoon xanthan gum (optional, for texture)
- Pinch of salt
Instructions
- Prepare Your Ice Cream Maker Ensure your ice cream maker bowl has been frozen for at least 12-24 hours, or according to manufacturer instructions. This step is crucial for proper churning.
- Combine Wet Ingredients In a large mixing bowl, whisk together the heavy cream, unsweetened almond milk, and vanilla extract until well combined.
- Add Dry Ingredients Gradually whisk in the powdered erythritol (or monk fruit sweetener), xanthan gum (if using), and salt. Whisk vigorously until the sweetener is completely dissolved. Taste and adjust sweetness if desired.
- Chill the Mixture Cover the bowl and refrigerate the mixture for at least 2 hours, or preferably overnight. Chilling ensures the mixture is very cold, which helps the ice cream churn faster and become creamier.
- Churn the Ice Cream Pour the chilled mixture into your pre-frozen ice cream maker bowl. Churn according to your ice cream maker’s instructions, usually for 20-30 minutes, until it reaches a soft-serve consistency.
- Freeze to Firm Up Transfer the soft ice cream to an airtight freezer-safe container. Press a piece of parchment paper or plastic wrap directly onto the surface of the ice cream to prevent ice crystals from forming. Freeze for at least 4-6 hours, or until firm enough to scoop.
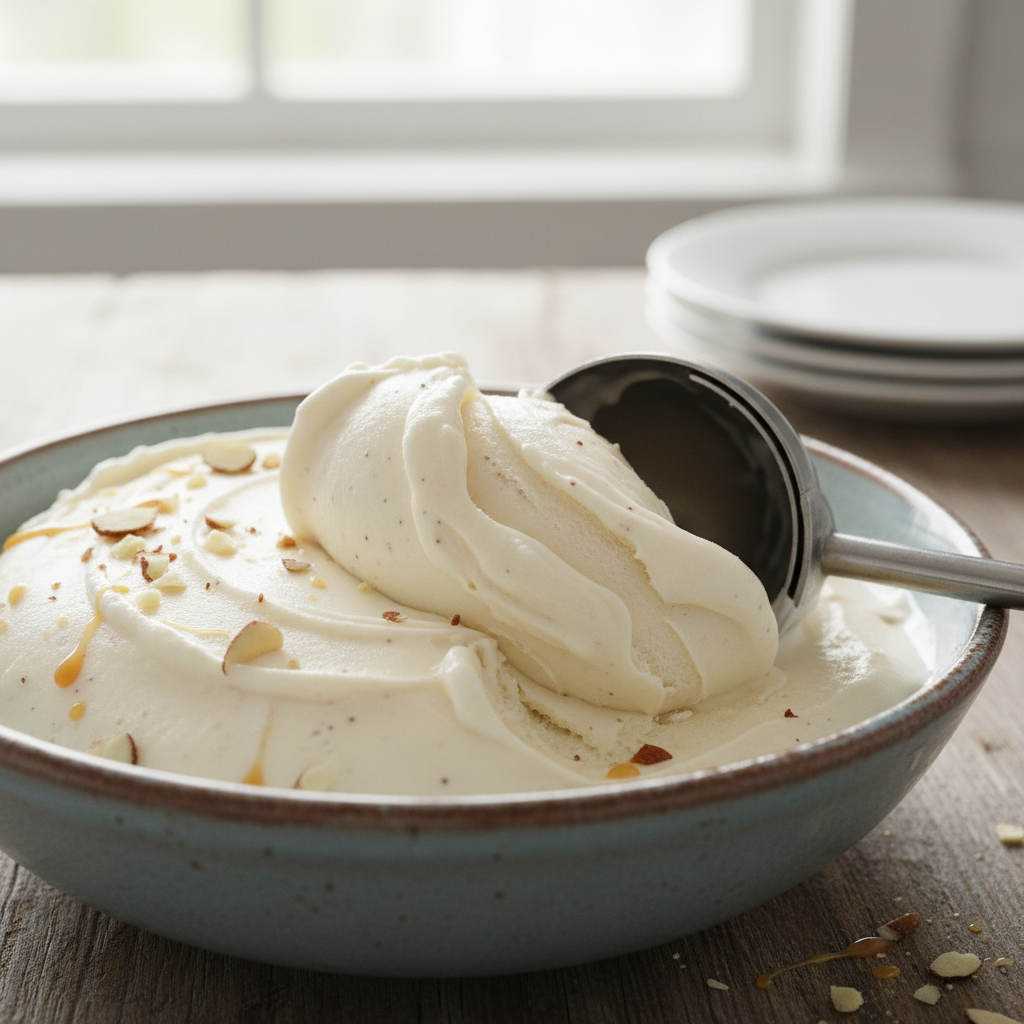
- Serve and Enjoy When ready to serve, let the ice cream sit at room temperature for 10-15 minutes to soften slightly for easier scooping.
Notes
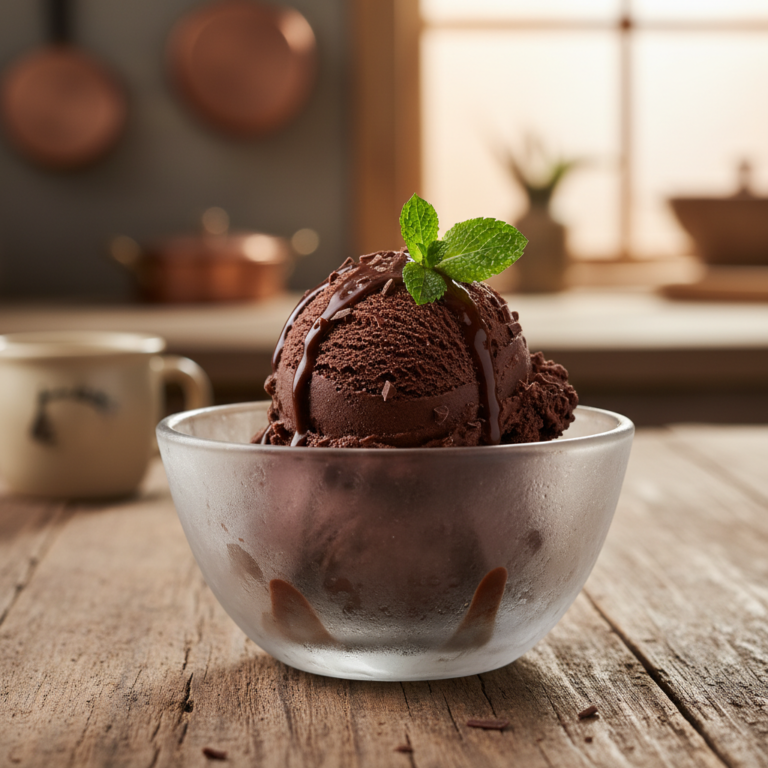
- For chocolate keto ice cream, add 2-3 tablespoons unsweetened cocoa powder to the mixture before chilling.
- Adjust sweetener to your personal preference. Different brands of sweeteners can vary in intensity.
- Xanthan gum is highly recommended for a smoother texture and less ice crystal formation.
Tips & Variations
This basic recipe is a fantastic canvas for creativity! Here are some ideas to get you started:
- Chocolate Lover Stir in 1/4 cup sugar-free chocolate chips or add 2-3 tablespoons of unsweetened cocoa powder to the base mixture.
- Nutty Crunch Fold in chopped pecans, walnuts, or almonds after churning.
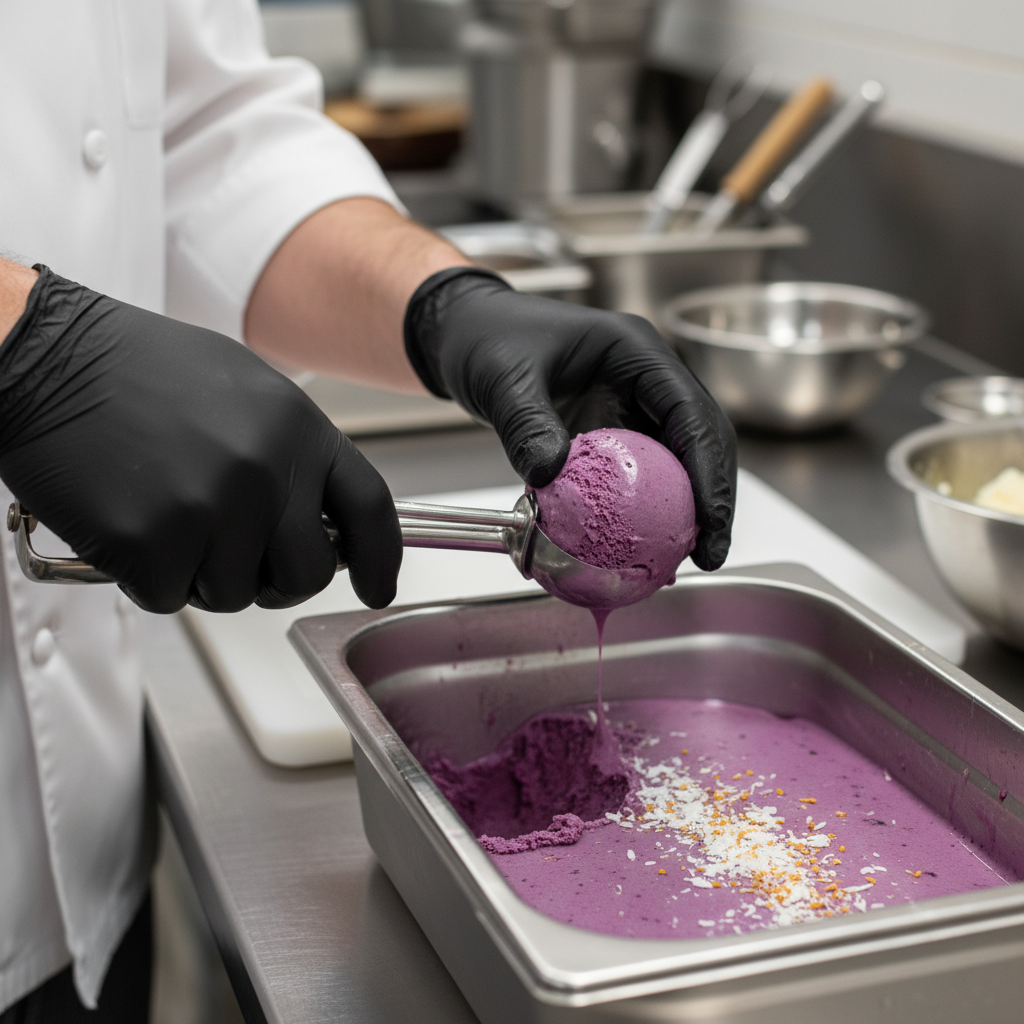
- Fruity Twist Swirl in a small amount of pureed, low-carb berries (like raspberries or strawberries) during the last few minutes of churning.
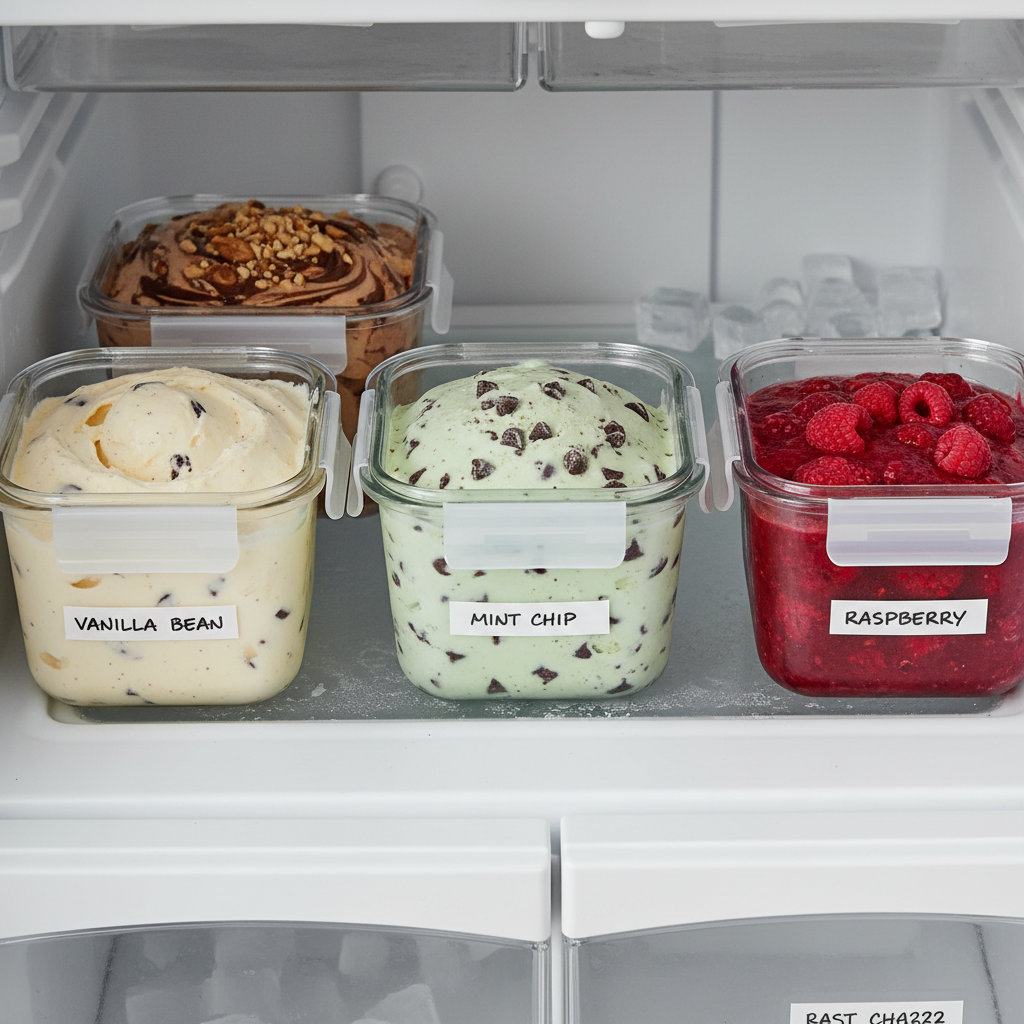
- Mint Chip Add 1/2 teaspoon peppermint extract and sugar-free chocolate chips.
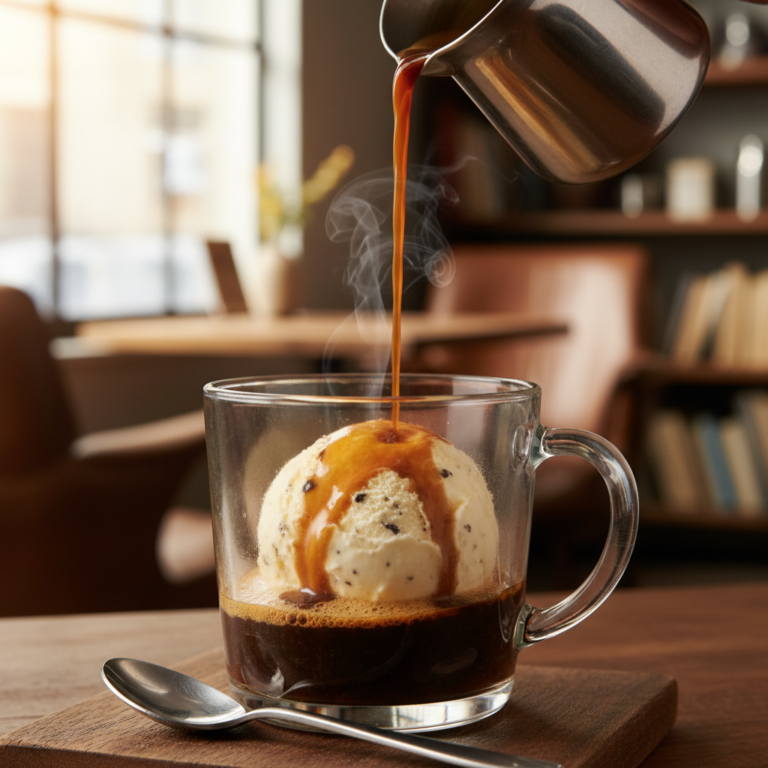
- Coffee Kick Add 1-2 tablespoons of instant espresso powder dissolved in a tiny bit of hot water to the base.
Pro Chef Tips
- Super Chill Your Base The colder your base mixture is before churning, the faster and creamier your ice cream will be. Don’t skip the chilling step!
- Powdered Sweetener is Best Granulated sweeteners can sometimes leave a gritty texture. Powdered erythritol or monk fruit dissolves more smoothly.
- Don’t Overfill Your Machine Leave room for the ice cream to expand as it churns.
- Stabilizers are Your Friend Xanthan gum or a tiny bit of guar gum can make a huge difference in preventing ice crystals and maintaining a smooth texture.
Common Mistakes to Avoid
- Not Chilling the Base Enough This leads to longer churning times and a less creamy result.
- Using Granulated Sweetener Can result in a gritty texture. Always opt for powdered.
- Not Freezing the Bowl Properly A partially frozen bowl won’t churn the ice cream effectively.
- Over-churning This can sometimes lead to a buttery texture. Stop when it reaches a soft-serve consistency.
- Skipping the Stabilizer Without xanthan gum, keto ice cream can become very hard and icy in the freezer.
Storage & Meal Prep
Store your keto ice cream in an airtight, freezer-safe container. Press a piece of parchment paper or plastic wrap directly onto the surface of the ice cream before sealing the container. This helps prevent ice crystals from forming and protects it from freezer burn. It will keep well for up to 2-3 weeks in the freezer.
Make-Ahead & Freezer Notes
This recipe is perfect for making ahead! You can prepare the ice cream base mixture and store it in the refrigerator for up to 2-3 days before churning. Once churned and frozen, the ice cream will be ready to enjoy whenever a craving strikes. Just remember to let it sit out for 10-15 minutes before scooping to achieve the perfect texture.
Serving Suggestions
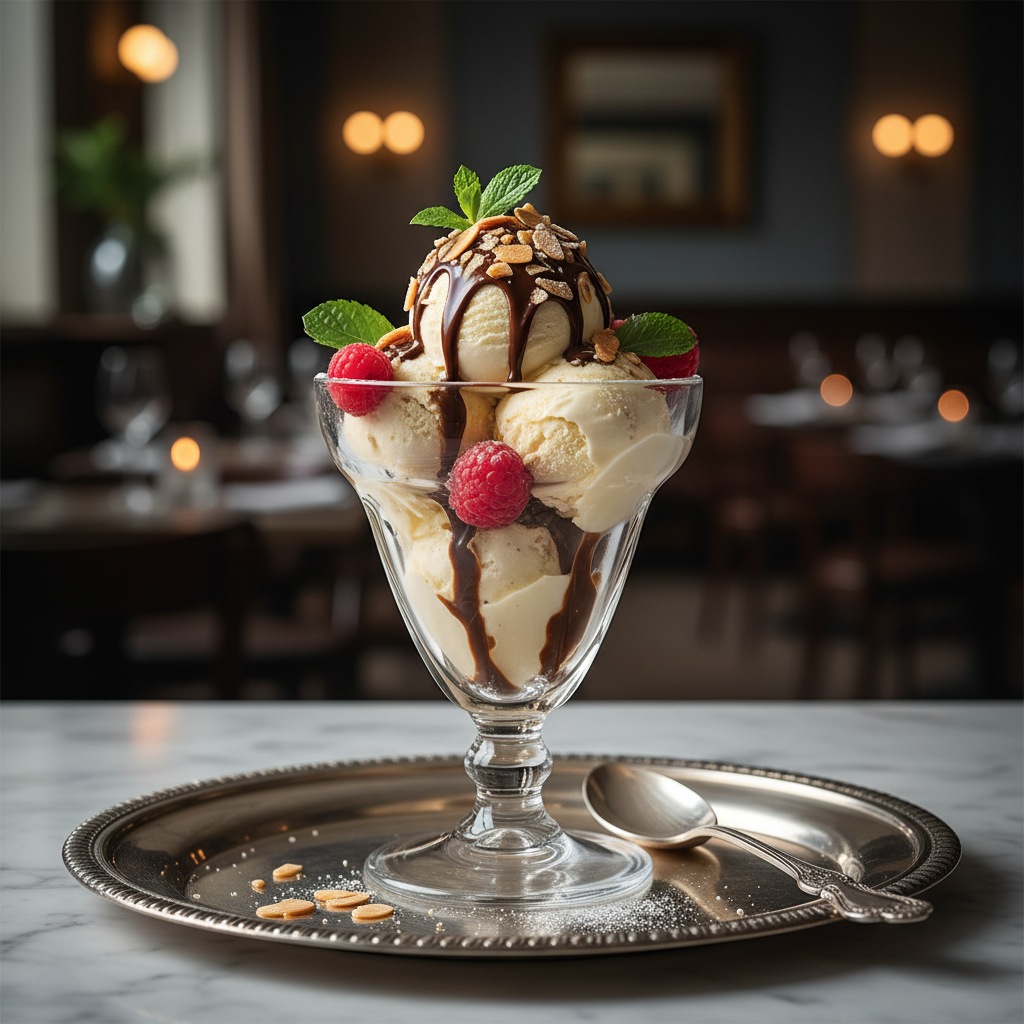
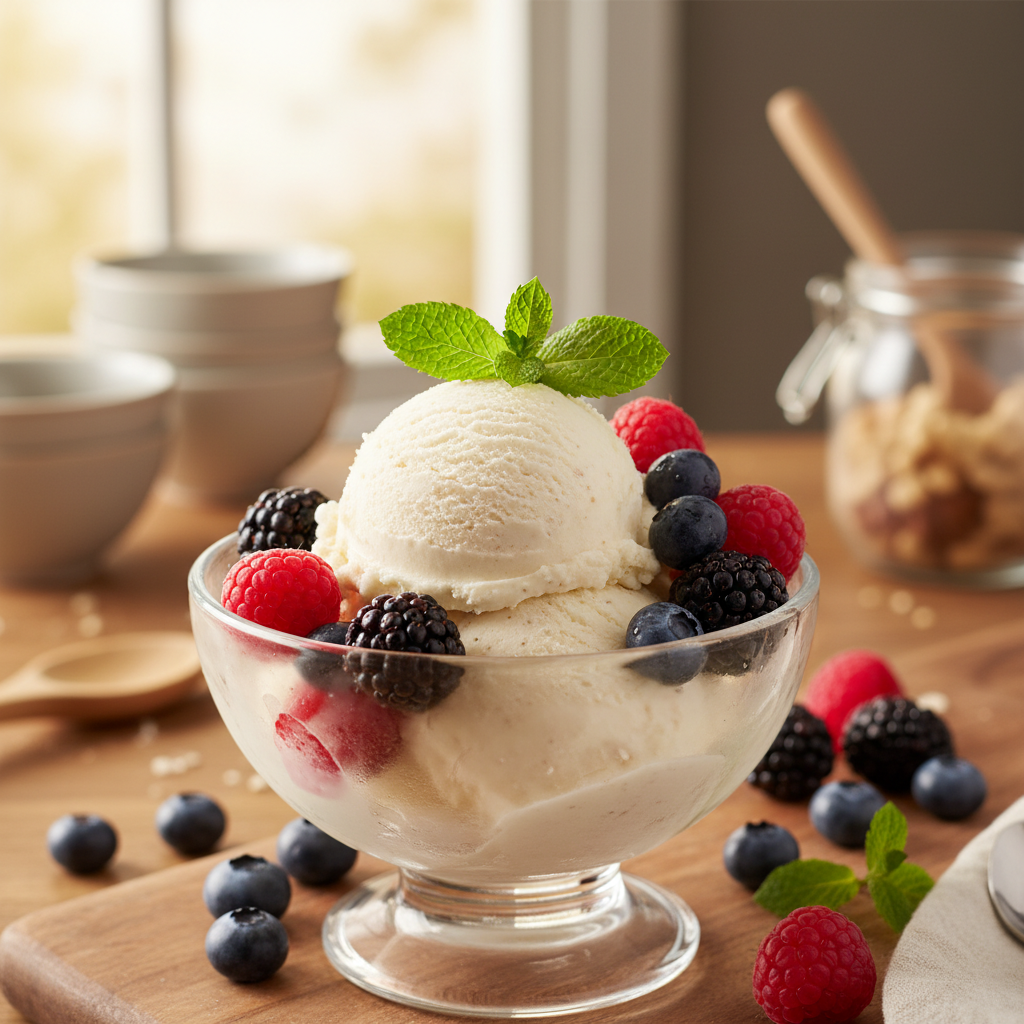
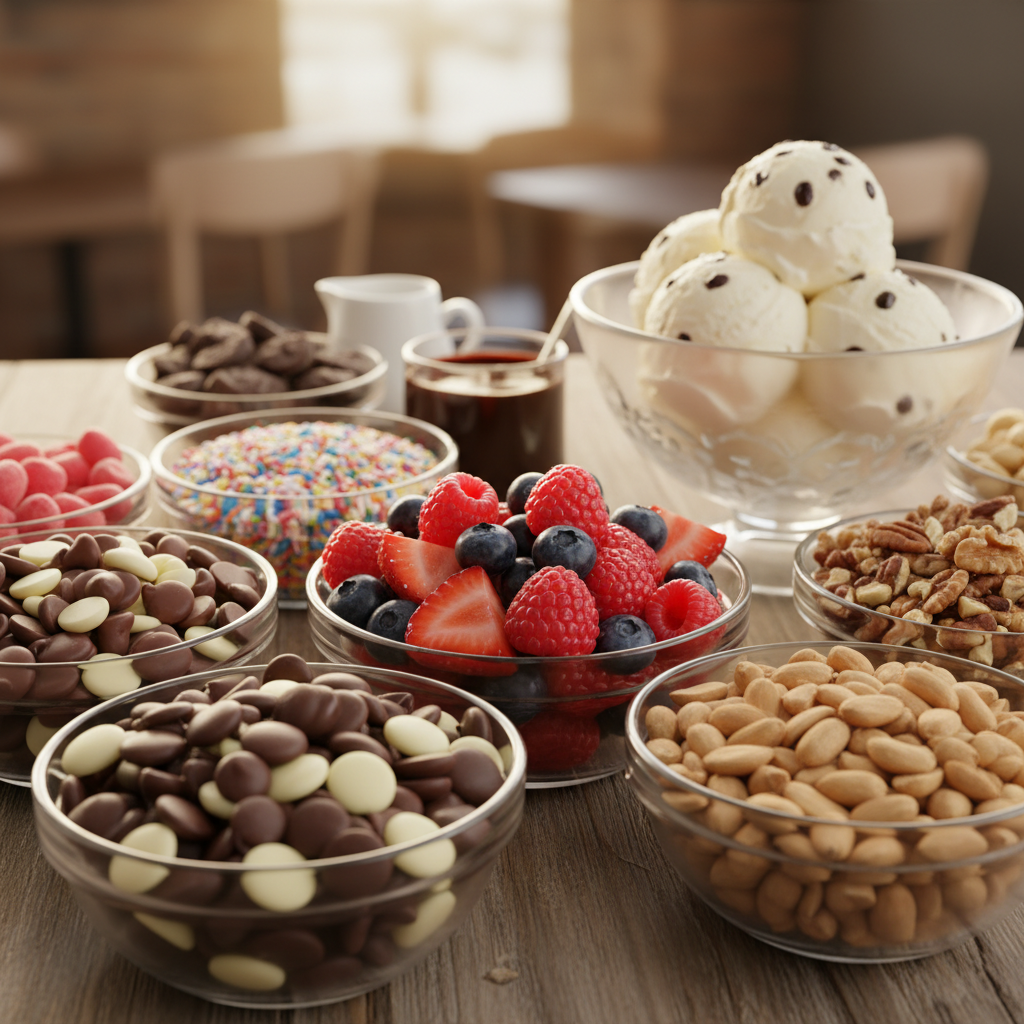
Enjoy your sugar-free keto ice cream plain, or elevate it with some delicious low-carb toppings!
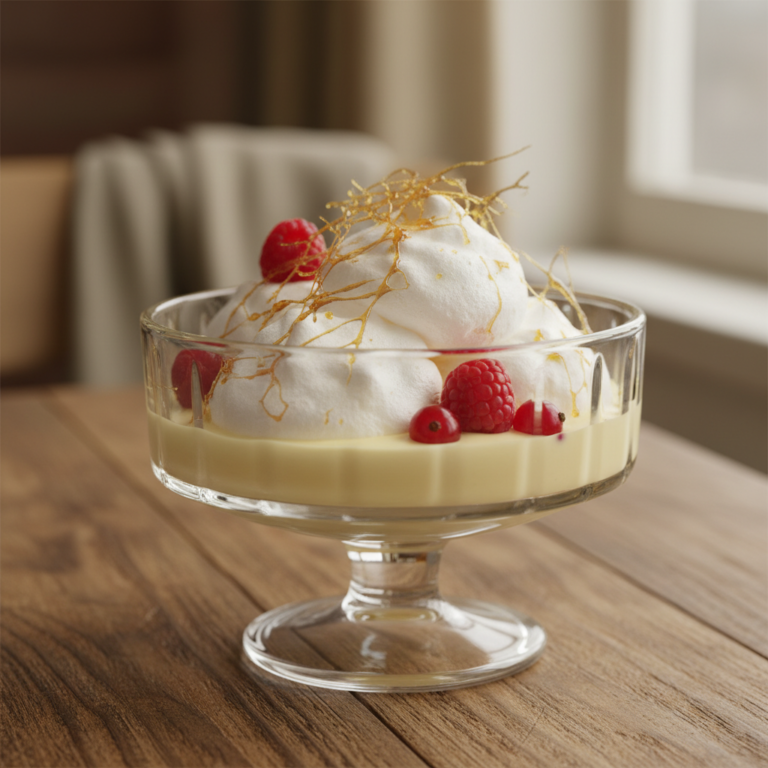
- Fresh Berries A handful of raspberries, blueberries, or sliced strawberries.
- Sugar-Free Chocolate Syrup Drizzle with a keto-friendly chocolate sauce.
- Whipped Cream Top with a dollop of fresh, unsweetened whipped cream.
- Toasted Nuts A sprinkle of toasted almonds or pecans adds a lovely crunch.
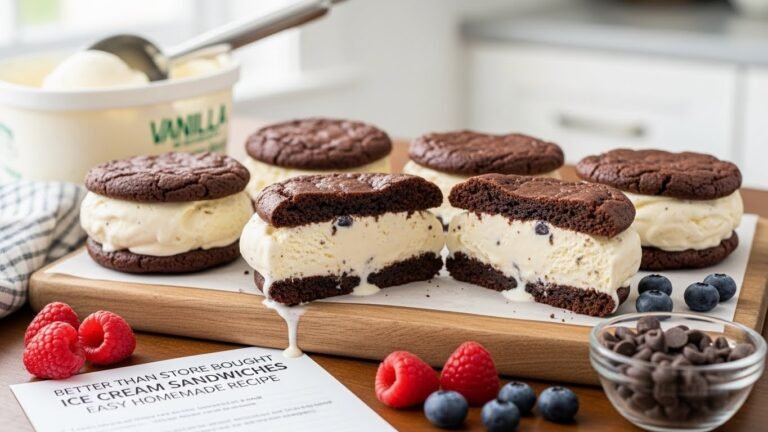
- Keto Brownie Bites Serve alongside a warm, sugar-free brownie.
Conclusion
There you have it—a simple, delicious, and absolutely satisfying keto ice cream recipe that proves you don’t have to compromise on taste when following a low-carb lifestyle. This homemade treat is perfect for cooling down on a warm day, celebrating a special occasion, or simply enjoying a guilt-free indulgence. So go ahead, dust off that ice cream maker, gather your ingredients, and churn your way to keto dessert heaven. We promise, your taste buds (and your waistline) will thank you!