Hot Chocolate Bombs Recipe Winter Treat
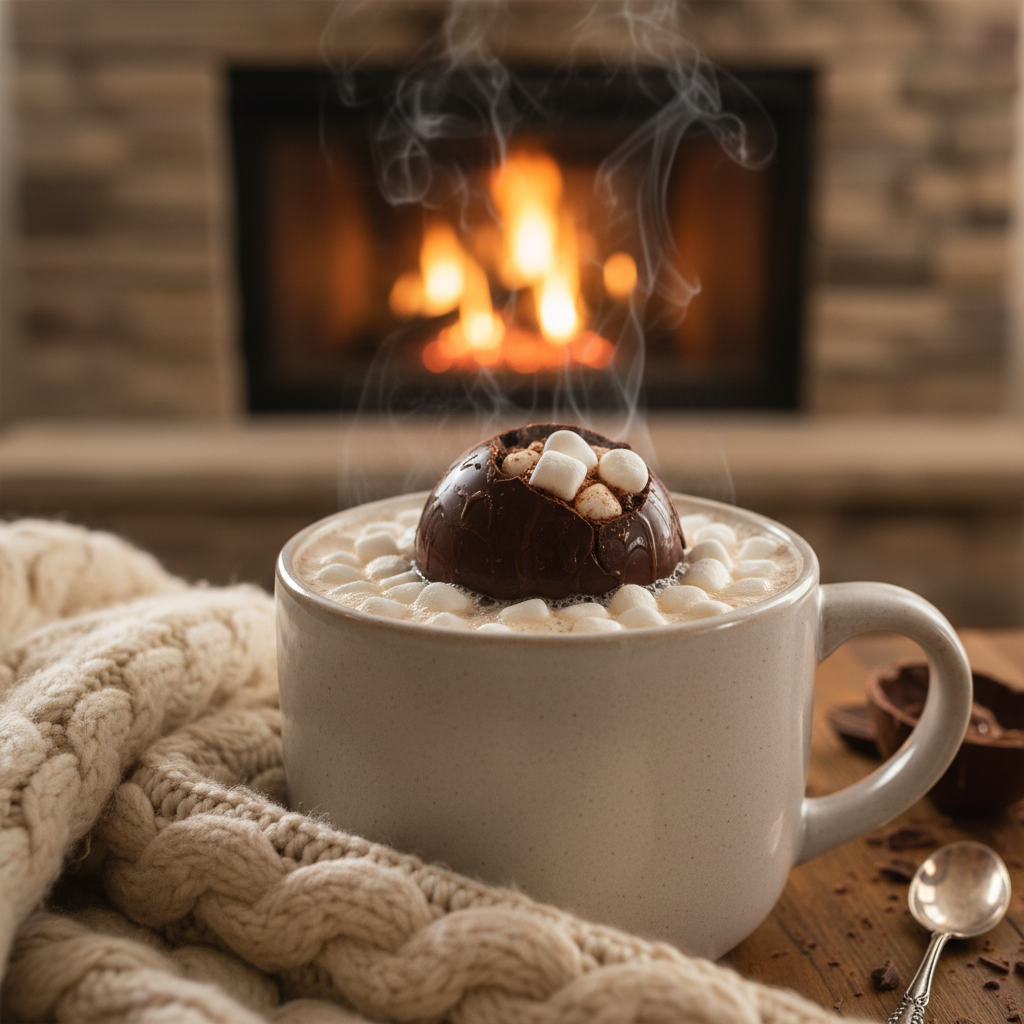
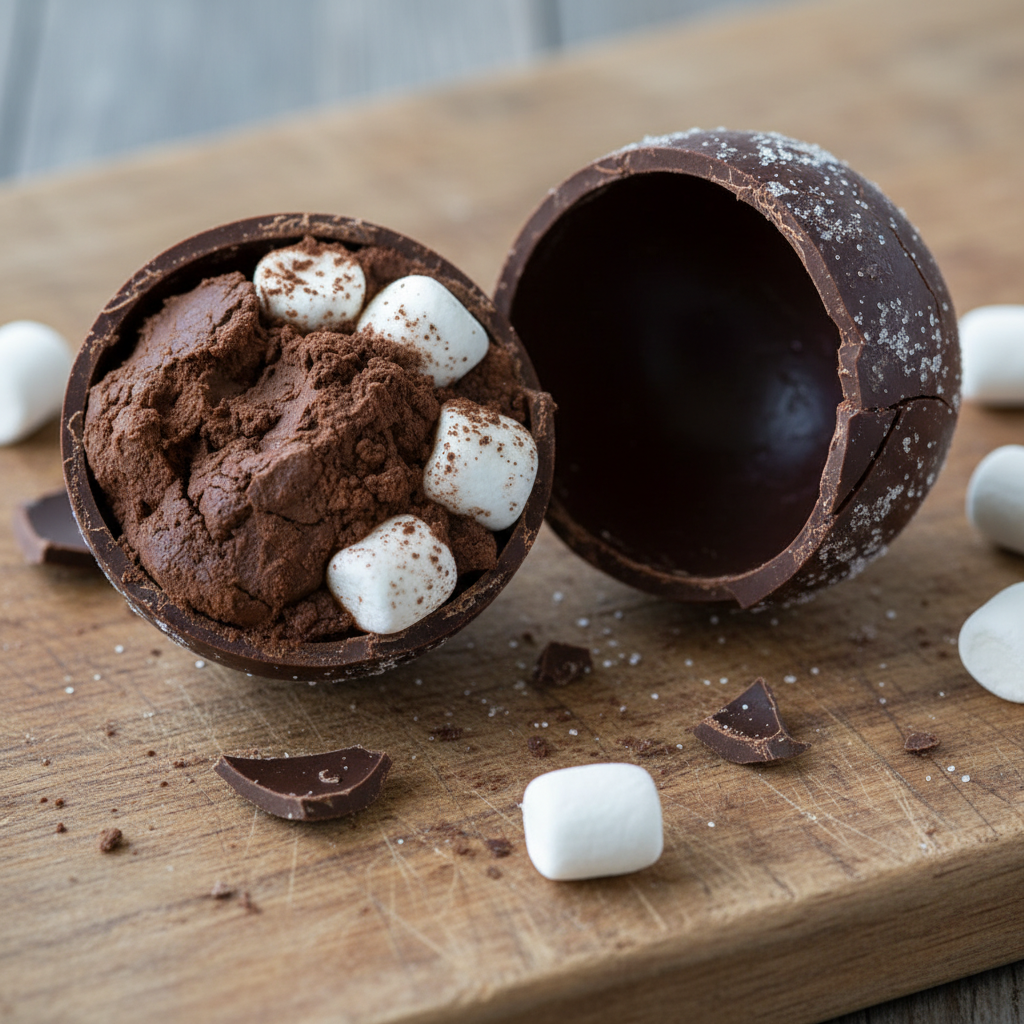
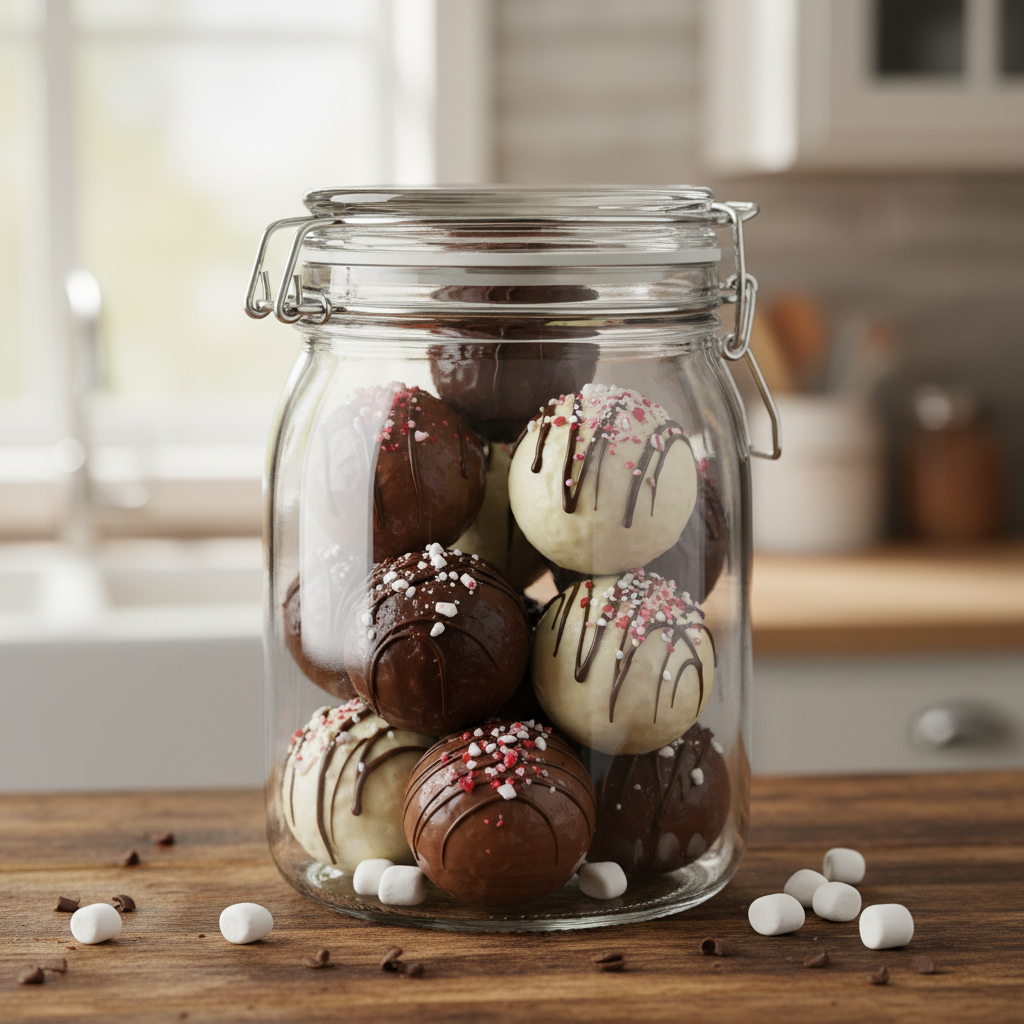
There’s something truly magical about a steaming mug of hot chocolate on a chilly winter day. It’s a hug in a mug, a sweet escape, and a comforting classic. But what if we told you that classic could be even more enchanting? Enter the hot chocolate bomb! These delightful spheres of chocolate goodness, filled with cocoa powder, marshmallows, and often sprinkles, are a viral sensation for a reason. They transform a simple drink into an interactive, delicious experience. Just drop one into hot milk, watch it melt and burst open, revealing its sweet treasures, and stir for an instant, luxurious hot chocolate. Get ready to add a sprinkle of joy to your winter with this easy-to-follow, beginner-friendly guide!
History / Background
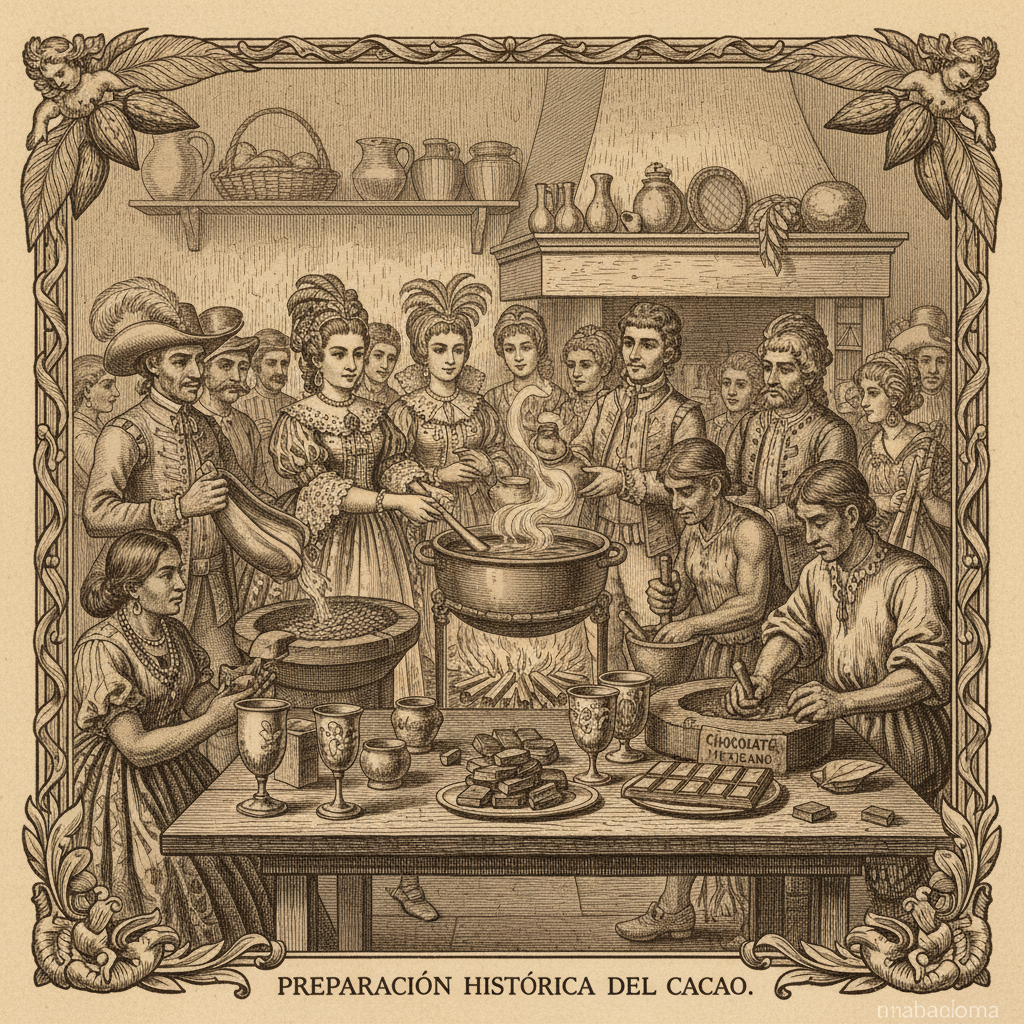
While hot chocolate itself boasts a rich history dating back thousands of years to ancient Mayan and Aztec civilizations, the hot chocolate bomb is a much more recent phenomenon. These ingenious treats exploded in popularity during the late 2020 holiday season, largely thanks to social media platforms like TikTok and Instagram. People were captivated by the simple joy of watching a solid chocolate sphere dissolve into a comforting beverage, releasing a cascade of mini marshmallows and cocoa. They quickly became a beloved DIY project and a popular gift item, offering a fun, interactive twist on a timeless winter drink. Their rise coincided perfectly with a global need for simple pleasures and engaging home activities, making them an instant classic in modern kitchen culture.
Why You’ll Love This Recipe

- Pure Magic Watching them melt is an experience in itself!
- Customizable Fun Fill them with your favorite treats and flavors.
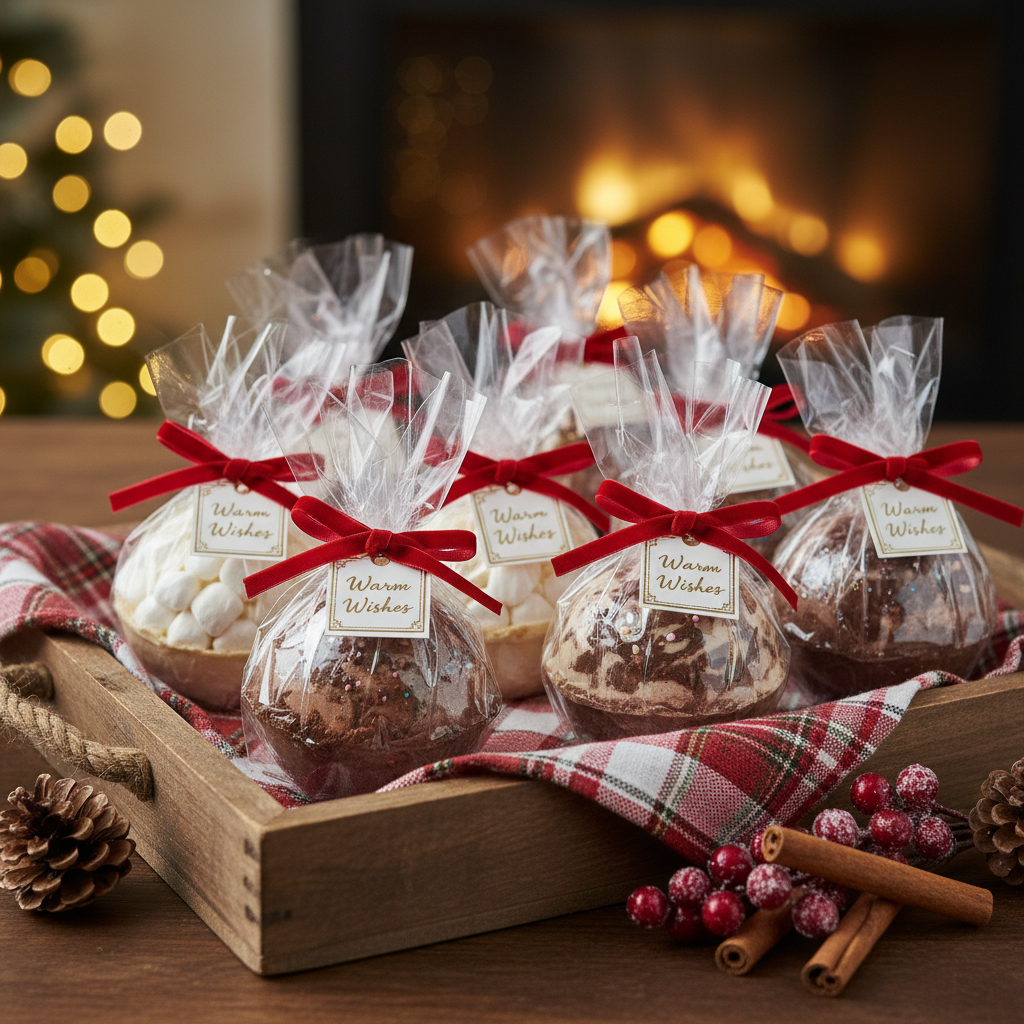
- Perfect Gifts Handmade hot chocolate bombs make thoughtful presents.
- Beginner-Friendly Simple steps, even for novice bakers.
- Instant Comfort A quick and easy way to enjoy a gourmet hot chocolate.
- Kid-Friendly Activity A fun project for the whole family.
Ingredient Notes
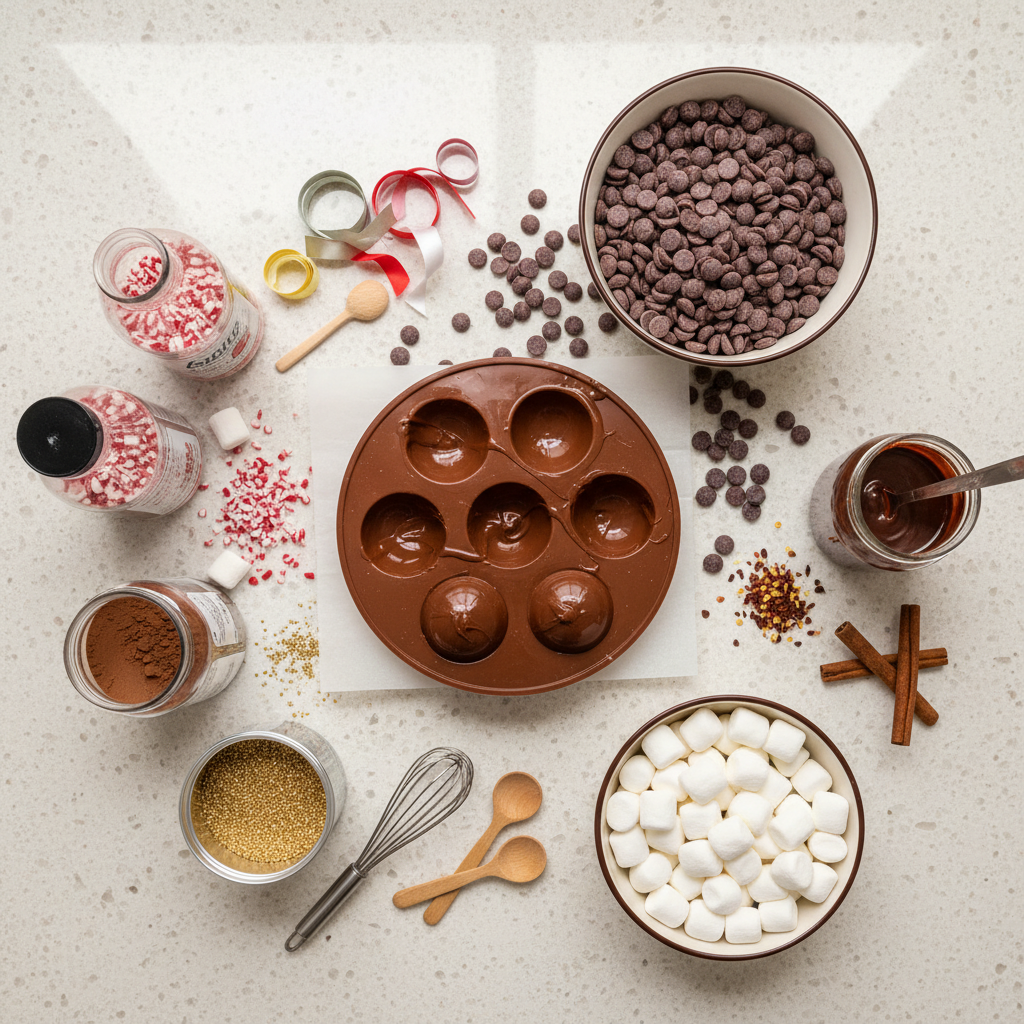
Creating perfect hot chocolate bombs starts with quality ingredients. Here’s what you’ll need and some tips for choosing the best:
- Chocolate The star of the show! Use good quality melting chocolate, chocolate chips, or candy melts. Compound chocolate (candy melts) is often easier to work with as it tempers more consistently. Dark, milk, or white chocolate all work beautifully.
- Hot Cocoa Mix Choose your favorite brand. A rich, high-quality cocoa mix will make a significant difference in the final taste of your drink.
- Mini Marshmallows A classic filling! Make sure they are fresh and soft.
- Optional Fillings Sprinkles, crushed peppermints, caramel bits, mini chocolate chips, or even a dash of instant coffee can elevate your bombs.
- Milk While not an ingredient in the bomb itself, the quality of the milk you use for serving will enhance the experience. Whole milk or a creamy plant-based milk work best.
Equipment Needed

You don’t need a professional kitchen setup for these, just a few key items:
- Silicone Sphere Molds These are essential! Look for molds that create hemispheres (half-spheres) about 2-2.5 inches in diameter.
- Microwave-Safe Bowl or Double Boiler For melting your chocolate gently.
- Spoon or Pastry Brush To spread the melted chocolate evenly in the molds.
- Small Saucepan or Warm Plate For sealing the bomb halves.
- Piping Bag or Ziploc Bag (optional) For drizzling decorative chocolate.
- Gloves (optional) To keep fingerprints off your finished bombs.
Full Recipe Card

Ready to make some magic? Follow these simple steps to create your own delightful hot chocolate bombs.
Ingredients
- 10 oz (about 1.5 cups) good quality melting chocolate, chocolate chips, or candy melts
- 1/2 cup hot cocoa mix
- 1 cup mini marshmallows
- Optional additions: sprinkles, crushed candy, extra chocolate chips
Instructions
- Melt the Chocolate Place your chocolate in a microwave-safe bowl. Microwave in 30-second intervals, stirring well after each, until smooth and fully melted. Alternatively, use a double boiler.
- Fill the Molds Spoon about 1-2 tablespoons of melted chocolate into each cavity of your silicone sphere mold. Use the back of the spoon or a small pastry brush to spread the chocolate evenly up the sides of the mold, ensuring the edges are thick enough. Make sure there are no thin spots or holes.
- Chill Place the molds in the refrigerator for 10-15 minutes, or until the chocolate is completely set and hard.
- Remove Halves Carefully peel the silicone mold away from the chocolate halves. Be gentle to avoid cracking them.
- Fill Halves In half of your chocolate spheres, add 1-2 tablespoons of hot cocoa mix and a generous handful of mini marshmallows. Add any other desired fillings like sprinkles.
- Seal the Bombs Heat a small, clean plate or the bottom of a saucepan over low heat. Take an empty chocolate half and gently place its rim on the warm surface for a few seconds to slightly melt the edge. Immediately press this melted edge onto a filled half, gently twisting to seal the two halves together. Ensure a tight seal to prevent leakage.
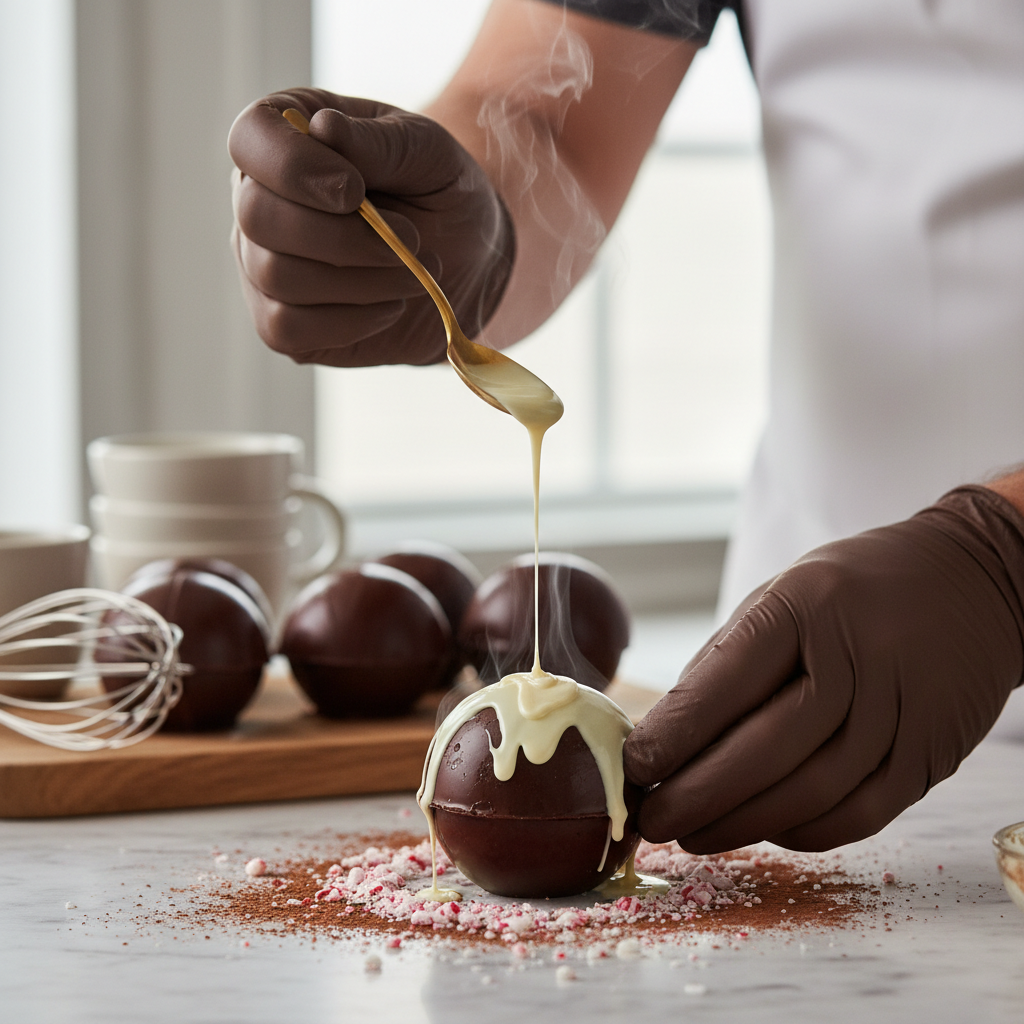
- Decorate (Optional) If desired, melt a small amount of extra chocolate. Drizzle it over the sealed bombs with a spoon or a piping bag. Add sprinkles before the drizzle sets.
- Set Allow the bombs to fully set at room temperature or in the refrigerator for a few minutes.
Notes
- Work quickly when sealing the bombs, as the chocolate sets fast.
- If your chocolate is too thick to spread, it might be too cool. Gently re-warm it.
- Store in an airtight container at room temperature away from direct sunlight.
Tips & Variations

- Peppermint Bliss Add crushed peppermint candies to the filling and sprinkle on top.
- Salted Caramel Dream Drizzle caramel sauce inside the bomb before sealing and add a pinch of sea salt.
- Mocha Kick Include a teaspoon of instant coffee powder with your cocoa mix.
- White Chocolate Wonder Use white chocolate for the shells and fill with white cocoa mix or matcha powder for a unique twist.
- Spice It Up A tiny pinch of cinnamon or chili powder can add a delightful warmth.
- Colorful Creations Use colored candy melts for vibrant, festive bombs.
Pro Chef Tips
- Tempering Chocolate For a truly professional finish and to prevent blooming (white streaks), consider tempering your chocolate. This ensures a glossy, stable shell that snaps beautifully. If using candy melts, tempering isn’t necessary.
- Even Shells Ensure your chocolate shells are evenly thick. Too thin, and they’ll break easily; too thick, and they might take longer to melt.
- Clean Edges A clean, sharp edge on your chocolate halves makes sealing much easier and creates a more professional-looking bomb.
- Fingerprint Free Wear food-safe gloves when handling the finished chocolate bombs to avoid leaving fingerprints.
- Humidity Control Chocolate can be sensitive to humidity. Try to make your bombs on a dry day to prevent stickiness or dullness.
Common Mistakes to Avoid
- Overheating Chocolate This can cause the chocolate to seize or become grainy. Melt slowly and stir often.
- Thin Shells If your shells are too thin, they will break when you try to remove them from the mold or when handling. Ensure an even, medium thickness.
- Not Chilling Enough If the chocolate isn’t fully set, it will be difficult to remove from the molds without breaking.
- Too Much Filling Overfilling can make sealing difficult and may cause the bomb to burst prematurely.
- Improper Sealing A weak seal will lead to your bomb falling apart before it’s dropped into milk. Ensure the edges are properly fused.
Storage & Meal Prep
Hot chocolate bombs are fantastic for meal prep and make-ahead gifts!
- Storage Store finished hot chocolate bombs in an airtight container at room temperature, away from direct sunlight or heat. They can last for several weeks, though it’s best to enjoy them within 2-3 weeks for optimal freshness of the cocoa mix and marshmallows.
- Keep Dry Ensure they are stored in a cool, dry place. Humidity can cause the chocolate to bloom or become sticky.
- Layering If stacking, place parchment paper between layers to prevent them from sticking or damaging each other.
Make-Ahead & Freezer Notes
These treats are perfect for making in advance!
- Make-Ahead You can easily prepare a large batch of hot chocolate bombs weeks before you plan to use them or give them as gifts. Just follow the storage guidelines.
- Freezing While not typically necessary, you can freeze hot chocolate bombs for longer storage. Wrap each bomb individually in plastic wrap, then place them in an airtight freezer-safe container or bag. Thaw at room temperature for an hour or two before use. This can extend their shelf life for up to 2-3 months.
Serving Suggestions

The best part about hot chocolate bombs is the grand reveal! Here’s how to serve them for maximum enjoyment:
- The Classic Way Place one hot chocolate bomb in a mug. Heat 8-10 ounces of milk (dairy or non-dairy) until hot but not boiling. Pour the hot milk over the bomb and watch the magic unfold! Stir well to combine all the ingredients.
- Extra Toppings Serve with whipped cream, extra marshmallows, a drizzle of chocolate syrup, or a sprinkle of cinnamon for an even more decadent treat.
- Gifting Package them in pretty boxes or cellophane bags with ribbons for delightful homemade gifts. Include a tag with simple instructions on how to use them.
- Party Fun Set up a hot chocolate bomb bar at your next gathering, offering different flavored bombs and an array of toppings for guests to customize their drinks.