Who doesn’t love a scoop (or three!) of rich, creamy vanilla ice cream? That classic, comforting flavor is a universal favorite. But often, the thought of making it at home seems daunting, requiring special equipment like an ice cream maker. Well, I’m here to tell you that you absolutely do not need one! Get ready to churn out (pun intended!) the most delightful, velvety smooth vanilla ice cream right from your own kitchen, using just a few simple ingredients and no fancy gadgets.
A Sweet History of Ice Cream
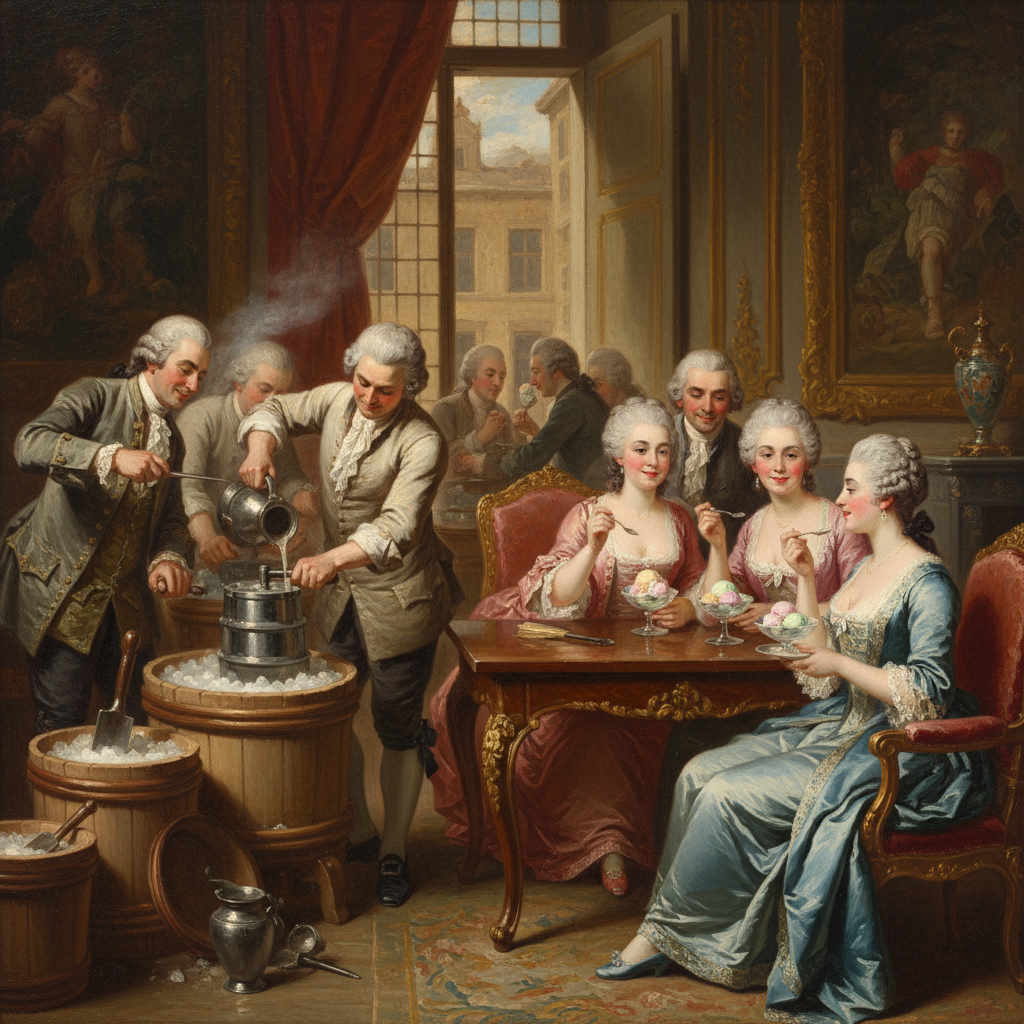
The journey of ice cream is as rich and fascinating as its flavor. Ancient civilizations, including the Persians and Romans, enjoyed iced desserts flavored with fruits and honey. Marco Polo is often credited with bringing sorbet-like recipes from China to Italy in the 13th century. Over centuries, these frozen treats evolved, becoming more refined and creamy. By the 17th century, ice cream made its way to France and then England, often reserved for royalty and the elite. It wasn’t until the 19th century, with advancements in refrigeration and the invention of the hand-cranked ice cream maker, that this delightful dessert became accessible to the general public. While machines made it easier, the spirit of homemade, simple ice cream has always been there, and our no-machine method brings that back to life!
Why You’ll Love This Recipe

- No Special Equipment Needed You won’t need an ice cream maker, rock salt, or any other specialized gadget. Just a mixer and a freezer-safe container!
- Incredibly Creamy Texture Prepare to be amazed by how smooth and luxurious this ice cream is. It truly rivals store-bought varieties.
- Rich, Authentic Vanilla Flavor Using good quality vanilla extract or a vanilla bean paste makes all the difference for a truly gourmet taste.
- Fun and Rewarding to Make There’s immense satisfaction in creating such a delicious treat from scratch with minimal effort.
- Customizable and Versatile This vanilla base is perfect for adding your favorite mix-ins or serving with various toppings.
Ingredient Notes
- Heavy Cream This is the star of the show! You need heavy cream (or heavy whipping cream) with at least 36% milk fat. It must be very cold to whip properly and create that airy, stable base.
- Sweetened Condensed Milk This magical ingredient provides both sweetness and that essential creamy texture without needing to cook a custard. Make sure it’s sweetened, not evaporated milk. Chilling it can help with mixing.
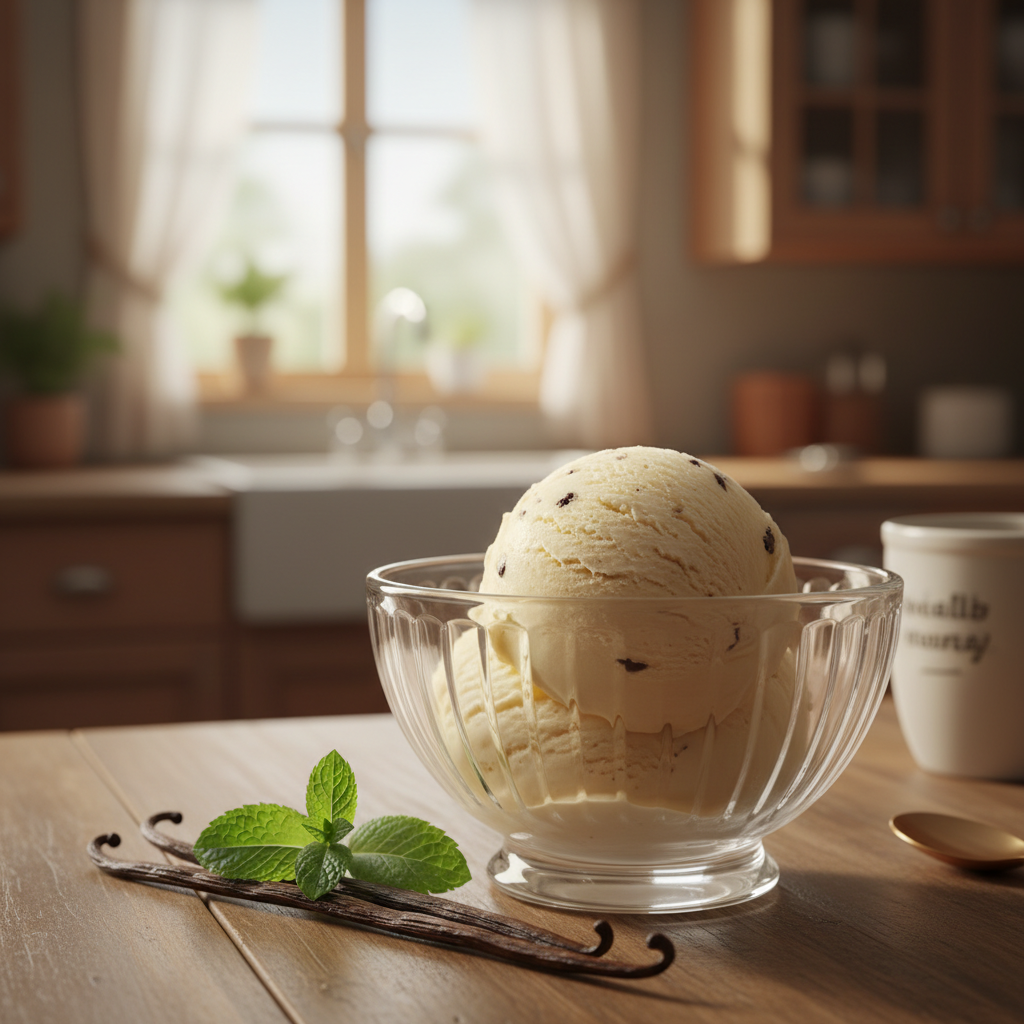
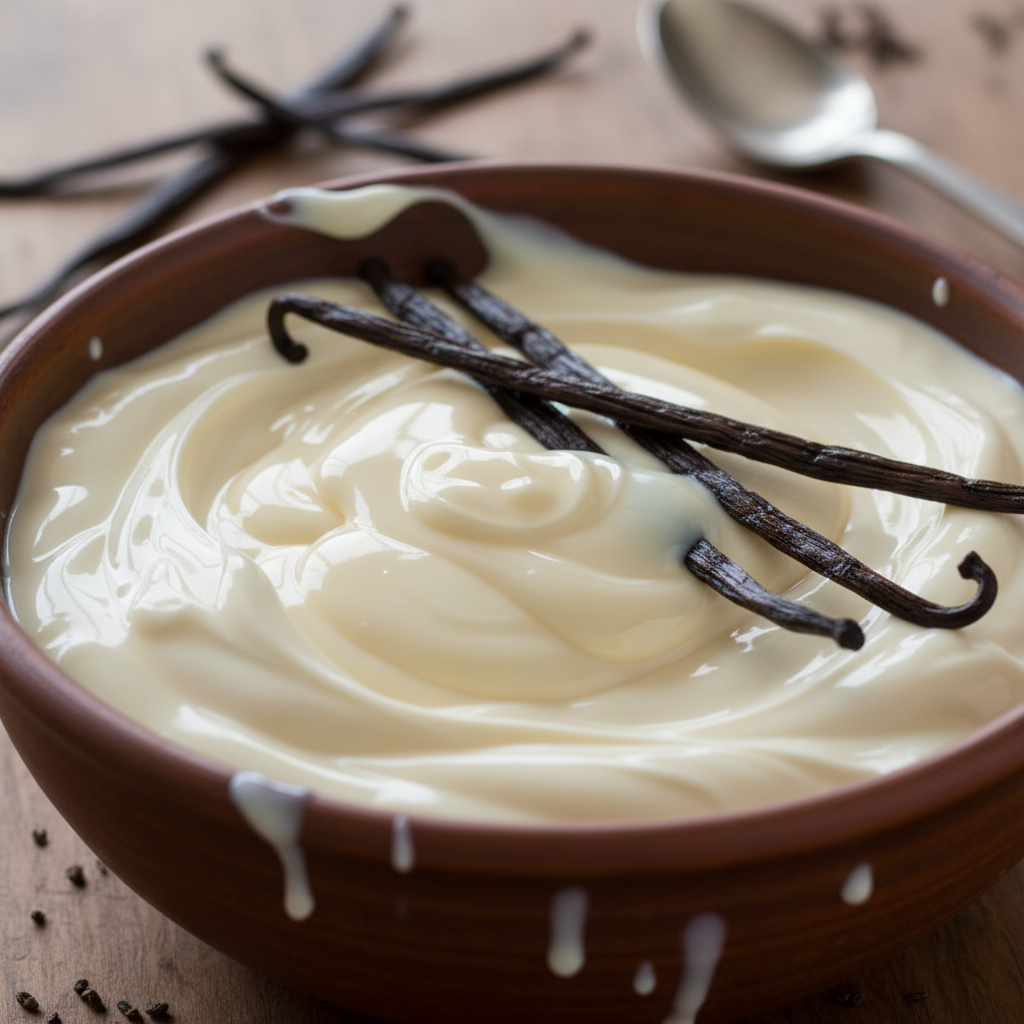
- Pure Vanilla Extract Don’t skimp on quality here! A good pure vanilla extract makes all the difference. For an even more intense flavor, consider using vanilla bean paste or scraping seeds from a fresh vanilla bean.
- Pinch of Salt (Optional) A tiny pinch of fine sea salt can actually enhance the sweetness and balance the flavors, making the vanilla pop even more.
Equipment Needed
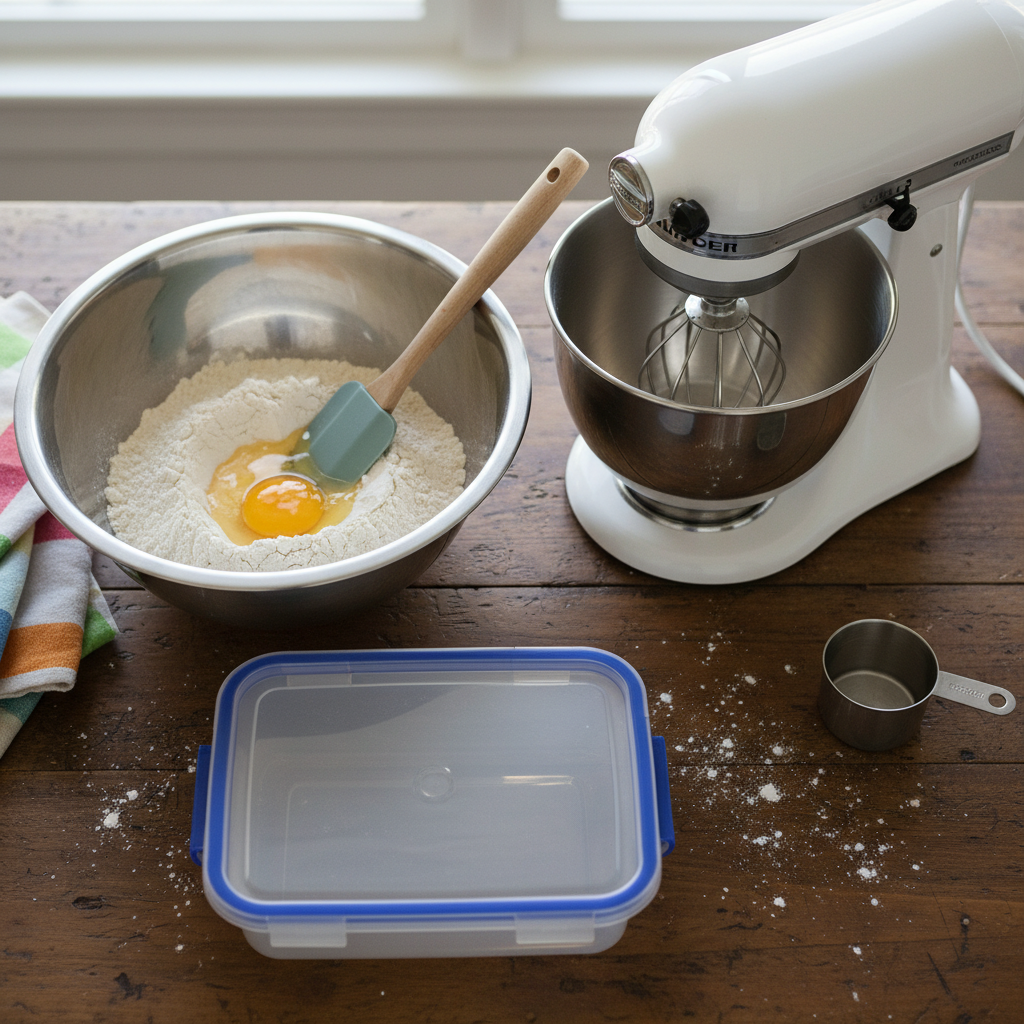
- Large Mixing Bowl Essential for whipping the cream without spills.
- Electric Mixer A handheld electric mixer or a stand mixer with a whisk attachment will make whipping the cream quick and easy. You can do it by hand, but be prepared for an arm workout!
- Rubber Spatula For gently folding ingredients together.
- Freezer-Safe Container An airtight container, about 1.5 to 2 quarts (1.5-2 liters) in capacity, is perfect for freezing your ice cream. A loaf pan covered tightly with plastic wrap also works well.
Full Recipe Card
Yields: Approximately 1.5 quarts (1.5 liters)Prep time: 15 minutesFreeze time: 6 hours to overnight
Ingredients
- 2 cups (480ml) heavy cream, very cold
- 1 can (14 oz / 397g) sweetened condensed milk, chilled
- 1-2 teaspoons pure vanilla extract (adjust to taste)
- Pinch of fine sea salt (optional)
Instructions
- Chill Your Tools For best results, place your large mixing bowl and whisk attachment from your electric mixer in the freezer for 10-15 minutes before you begin. This helps the cream whip up faster and more effectively.
- Whip the Cream Pour the very cold heavy cream into the chilled mixing bowl. Using your electric mixer, start on low speed and gradually increase to high. Whip the cream until it forms stiff peaks. This means when you lift the whisk, the peaks of cream stand up firmly and hold their shape. Be careful not to over-whip, or it will become grainy.
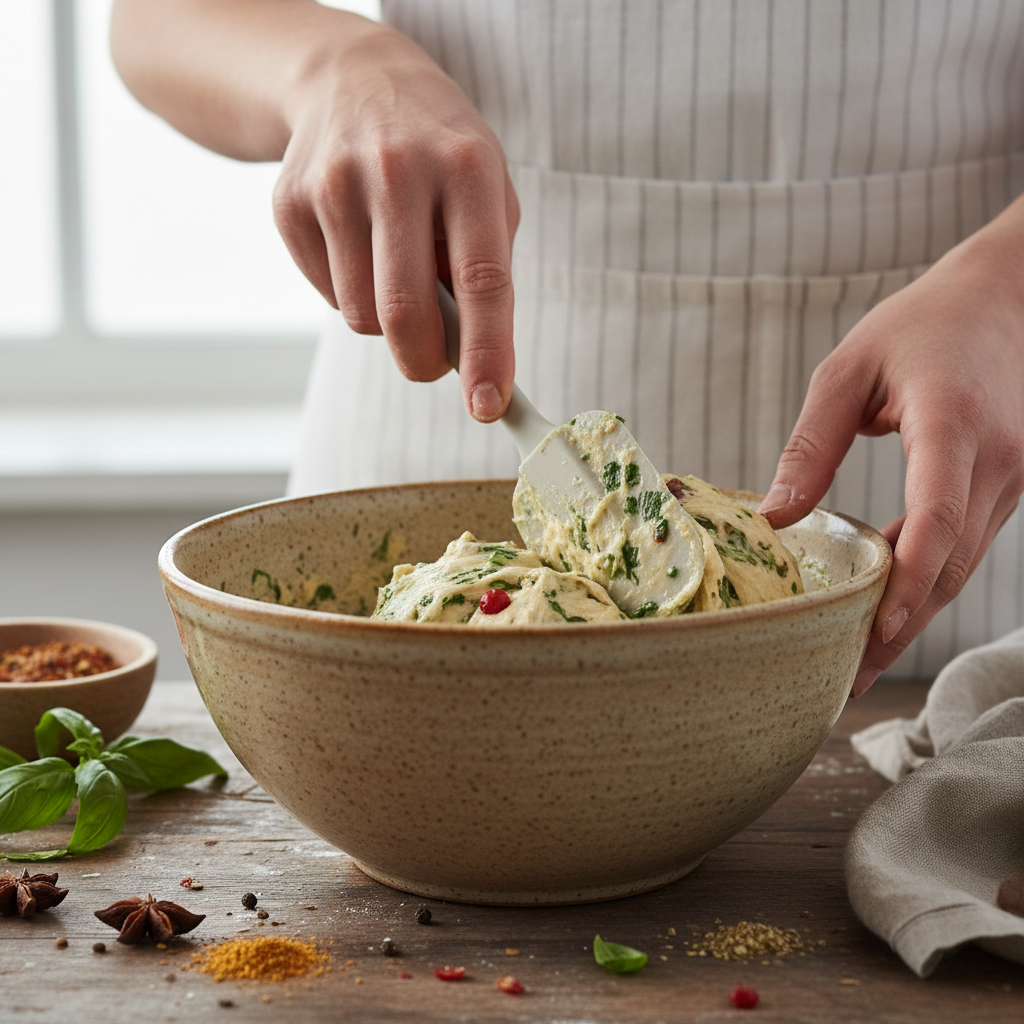
- Combine Flavors In a separate bowl (or directly into the whipped cream if your bowl is large enough), gently fold the chilled sweetened condensed milk, vanilla extract, and optional pinch of salt into the whipped cream. Use a rubber spatula and a gentle hand, folding from the bottom up, until just combined. You want to maintain as much of the air in the whipped cream as possible.
- Transfer to Container Pour the mixture into your freezer-safe container. Smooth the top with your spatula.
- Freeze Cover the container tightly with a lid or plastic wrap, pressing the plastic wrap directly onto the surface of the ice cream to prevent ice crystals from forming. Freeze for at least 6 hours, or preferably overnight, until firm.
- Serve and Enjoy When ready to serve, let the ice cream sit at room temperature for 5-10 minutes to soften slightly, making it easier to scoop. Scoop into bowls or cones and savor your homemade creation!
Tips & Variations
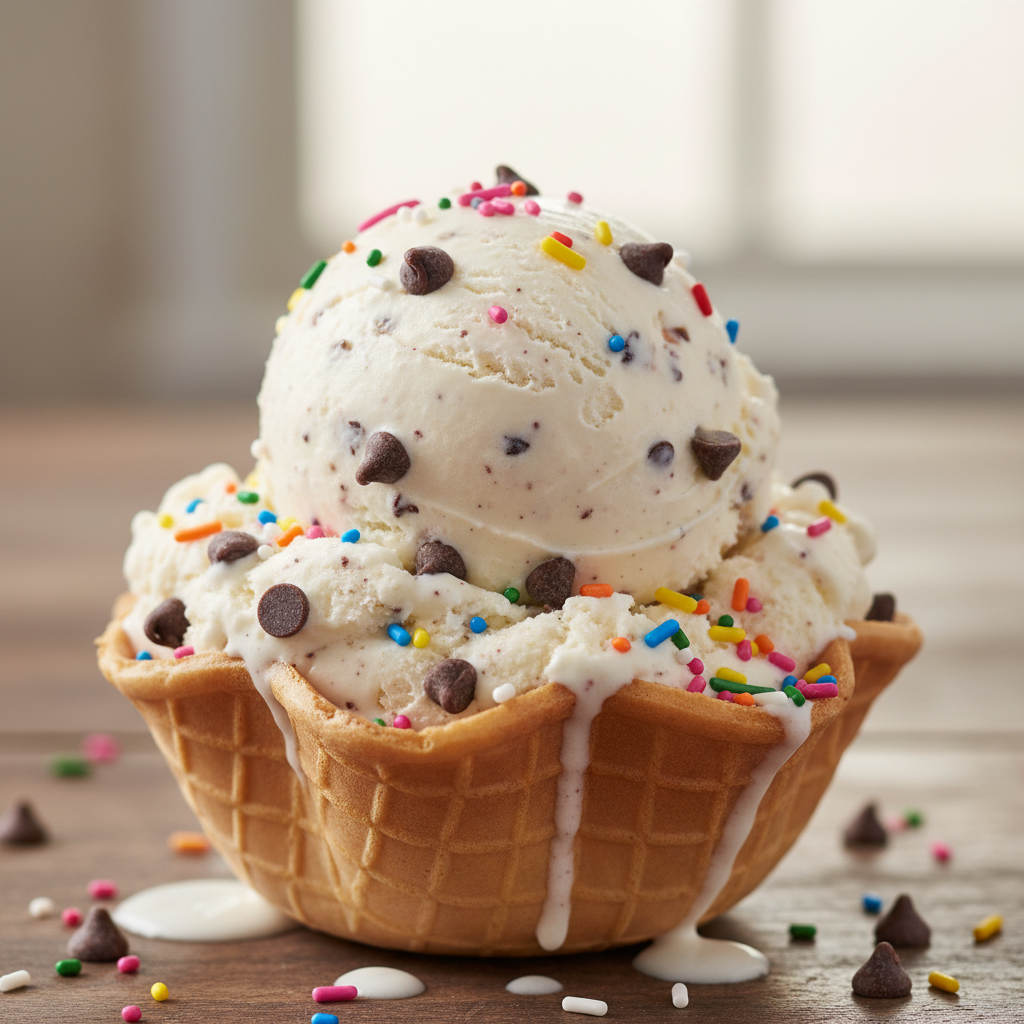
- Chocolate Chip Delight Fold in 1/2 cup of your favorite chocolate chips (mini or regular) during step 3.
- Nutty Crunch Add 1/2 cup of chopped toasted pecans, walnuts, or almonds.
- Fruit Swirl Swirl in 1/4 cup of fruit compote, berry puree, or lemon curd after transferring to the freezer container.
- Coffee Kick Add 1-2 tablespoons of instant espresso powder (dissolved in a tiny bit of hot water and cooled) for a coffee-flavored ice cream.
- Different Extracts Experiment with almond extract, peppermint extract, or even a touch of rum extract for a boozy twist.
Pro Chef Tips
- Temperature is Key Ensure your heavy cream is as cold as possible (straight from the fridge) and your mixing bowl and whisk are chilled. This dramatically improves whipping success.
- Don’t Over-Whip the Cream While stiff peaks are good, over-whipping can lead to a slightly grainy texture. Stop as soon as the peaks hold their shape.
- Gentle Folding The air incorporated into the heavy cream is what gives this ice cream its light and creamy texture. Fold the condensed milk and vanilla gently to avoid deflating the cream.
- Airtight Storage Pressing plastic wrap directly onto the surface of the ice cream before lidding the container prevents ice crystals from forming, keeping your ice cream smooth.
Common Mistakes to Avoid

- Using Warm Cream If your heavy cream isn’t very cold, it won’t whip properly, leading to a runny base and icy ice cream.
- Over-Mixing After Adding Condensed Milk Once the condensed milk is in, mix just until combined. Aggressive mixing will deflate the whipped cream.
- Not Freezing Long Enough Patience is a virtue here! A minimum of 6 hours is needed, but overnight ensures it’s perfectly firm and scoopable.
- Not Covering Properly Leaving your ice cream uncovered or loosely covered in the freezer invites ice crystals, which will make your ice cream less smooth.
Storage & Meal Prep
Store your homemade vanilla ice cream in an airtight, freezer-safe container for up to 2 weeks. For the best texture and to prevent freezer burn, always press a layer of plastic wrap directly onto the surface of the ice cream before securing the lid. This creates a barrier against air and moisture. While it can last longer, the texture is best enjoyed within the first week or two.
Make-Ahead & Freezer Notes

This recipe is a dream for making ahead! You can prepare it a day or two before you plan to serve it. Just make sure it has ample time to freeze solid. If you’re planning a party or dinner, whipping up a batch the night before means you’ll have a delightful, ready-to-serve dessert without any last-minute fuss. It freezes beautifully and maintains its creamy texture for a good period.
Serving Suggestions
The beauty of classic vanilla ice cream is its versatility! Here are some ideas:
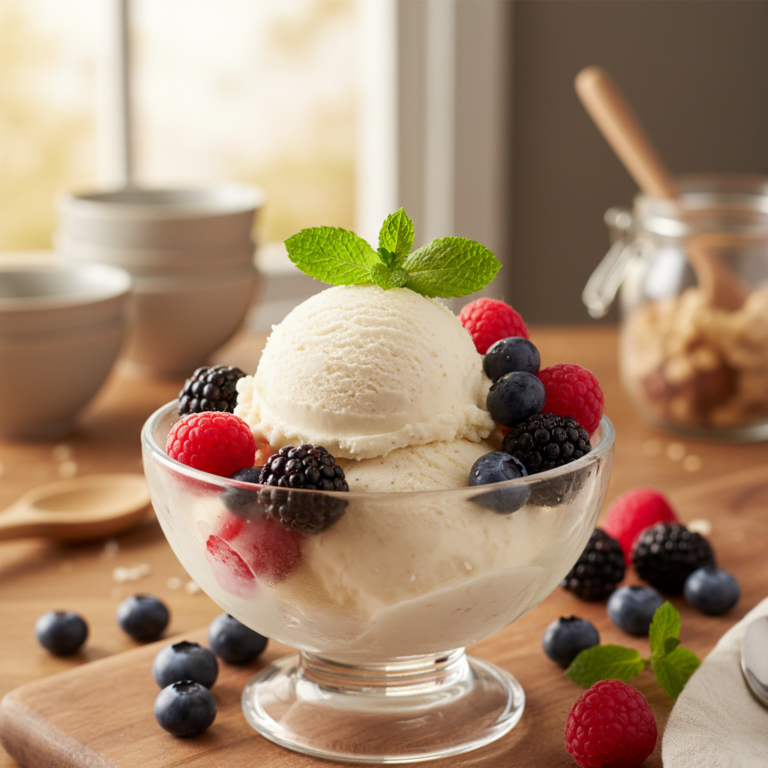
- Classic Scoop Enjoy it simply in a bowl or a cone.
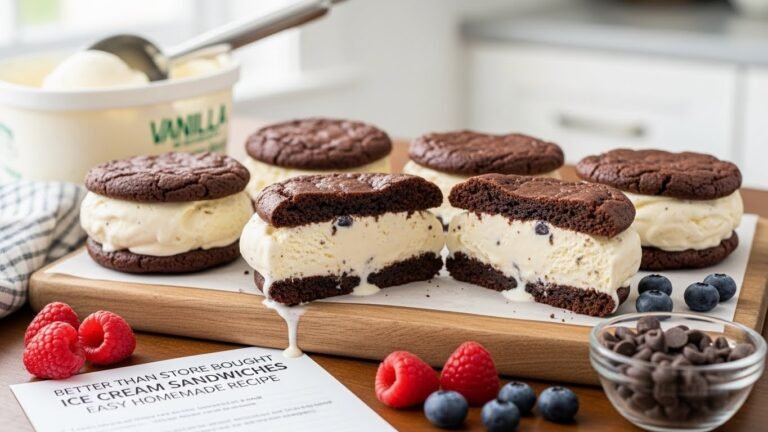
- Dessert Companion Serve alongside warm apple pie, brownies, fruit crumbles, or a molten chocolate lava cake.
- Sundae Bar Set up a fun sundae bar with chocolate sauce, caramel, sprinkles, whipped cream, cherries, and nuts.
- Affogato Style Pour a shot of hot espresso over a scoop for a sophisticated Italian treat.
- Milkshakes Blend with milk and your favorite syrups for a decadent milkshake.
- With Fresh Fruit A scoop of vanilla ice cream pairs wonderfully with fresh berries, sliced peaches, or grilled pineapple.