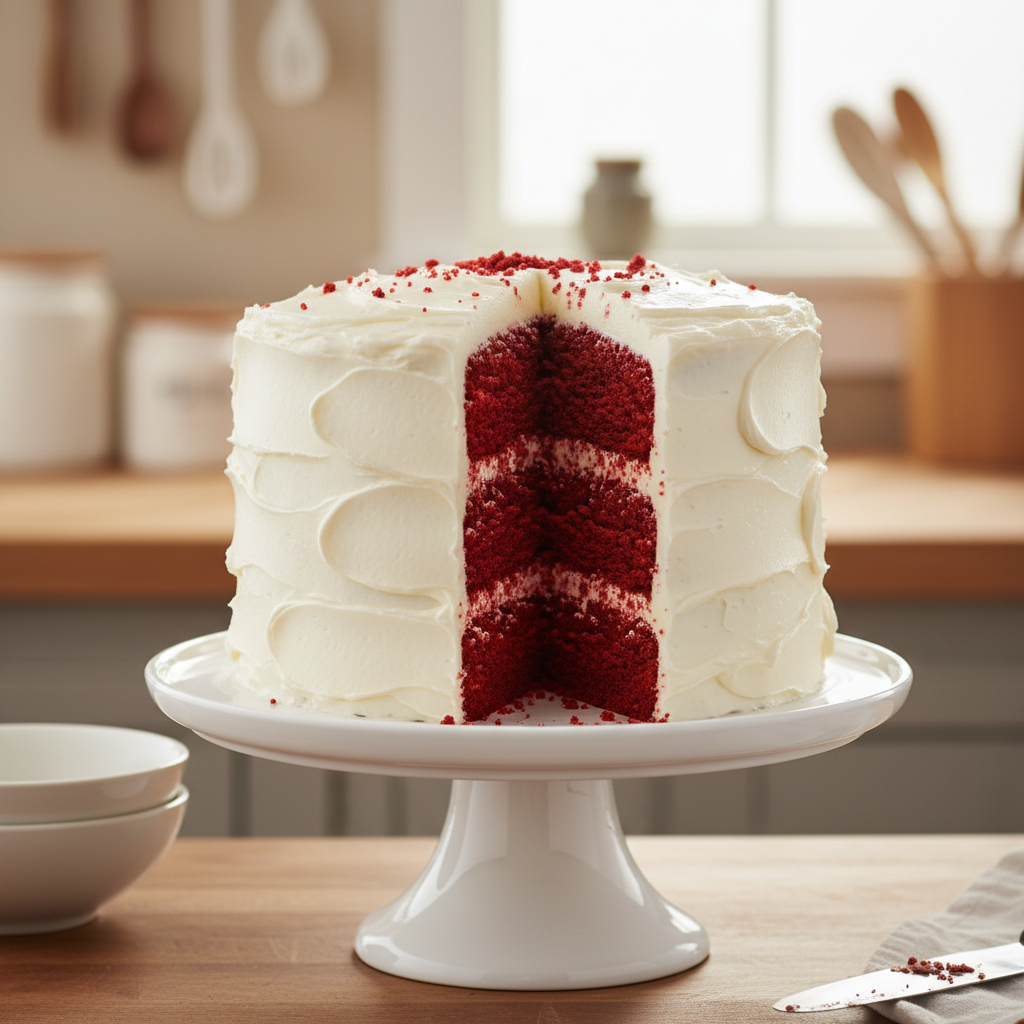
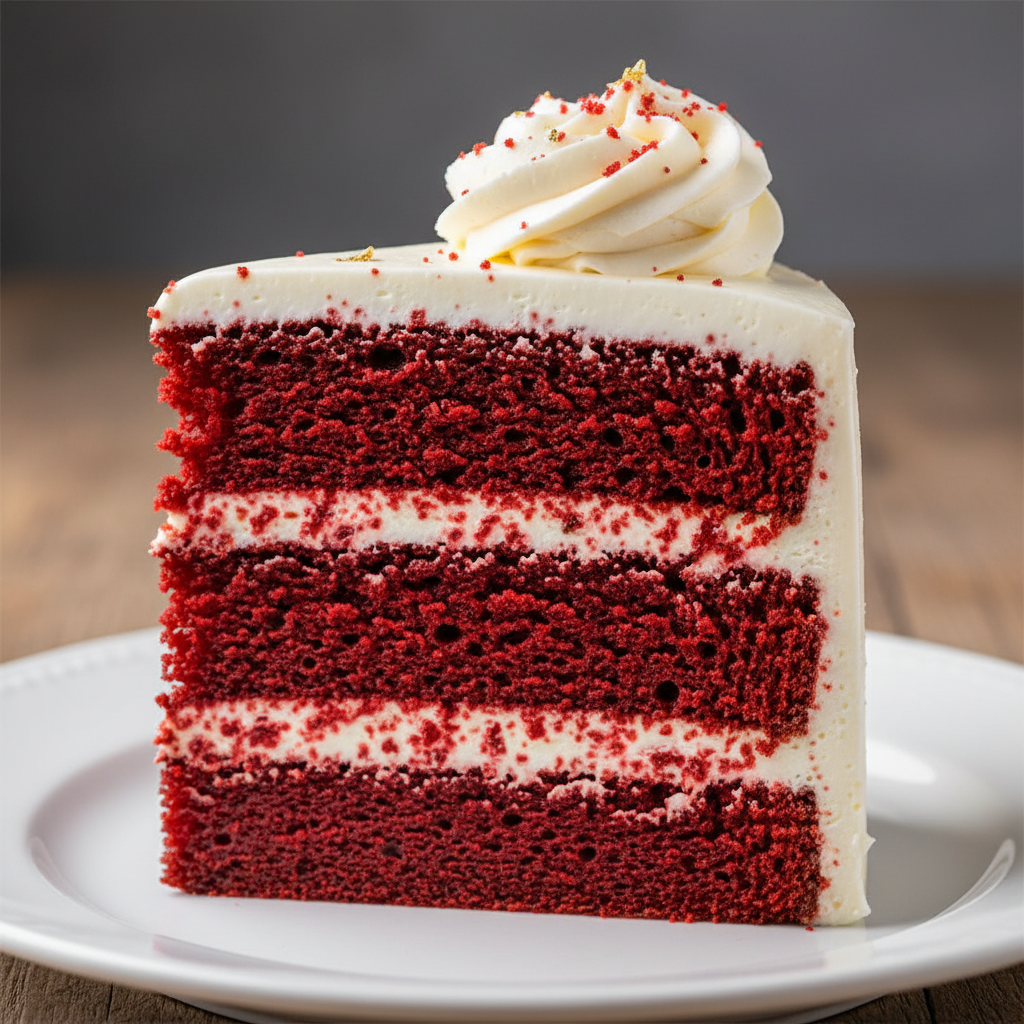
Welcome, fellow baking enthusiasts! There’s something undeniably magical about a slice of red velvet cake. Its striking crimson layers, often hinting at a touch of cocoa, paired with a cloud of tangy, sweet cream cheese frosting, make it a dessert that’s as beautiful to behold as it is delicious to eat. If you’ve ever dreamt of baking this iconic cake from scratch but felt a little intimidated, you’ve come to the right place. Today, we’re going to dive into making a truly show-stopping homemade red velvet cake that’s surprisingly simple to master. Get ready to impress your friends and family with a dessert that’s pure joy on a plate!
History and Background of Red Velvet Cake
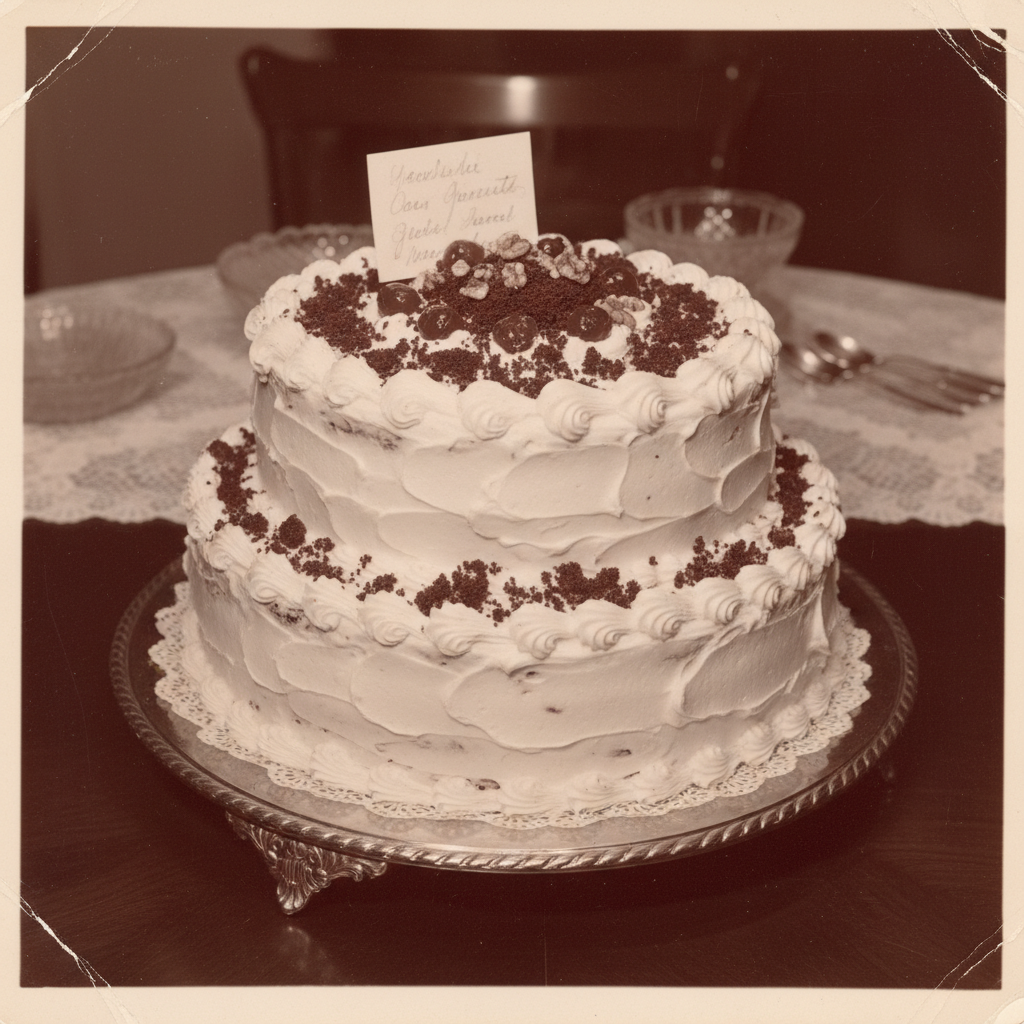
The story of red velvet cake is as rich and intriguing as its flavor. While its exact origins are debated, many food historians trace its rise in popularity back to the Waldorf-Astoria Hotel in New York City in the 1920s and 30s. Originally, the ‘red’ hue was a natural reaction between cocoa powder and acidic ingredients like buttermilk and vinegar, which enhanced the reddish-brown anthocyanin pigments in the cocoa. During World War II, when food dyes became more common, bakers began adding beet juice or red food coloring to intensify the color, making it the vibrant cake we know today. It was often called ‘red wonder cake’ or ‘Waldorf-Astoria cake’ and became a staple in Southern American cuisine, celebrated for its unique flavor and dramatic appearance.
Why You’ll Love This Recipe
- Beginner-Friendly This recipe breaks down each step, making it easy for even novice bakers.
- Moist and Tender We use specific ingredients and techniques to ensure a perfectly soft crumb every time.
- Classic Flavor Profile Enjoy the subtle cocoa, slight tang, and rich vanilla notes that define red velvet.
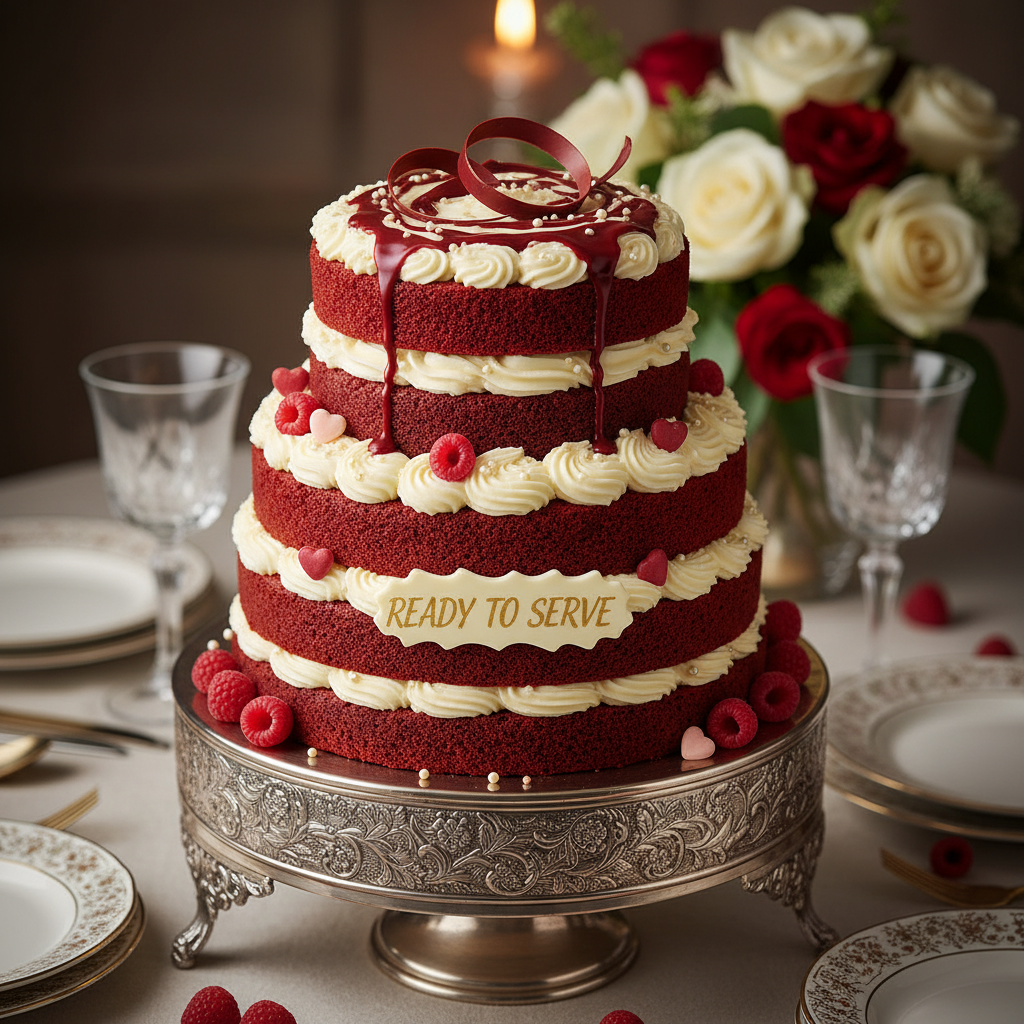
- Stunning Presentation The vibrant red layers and creamy white frosting are a feast for the eyes.
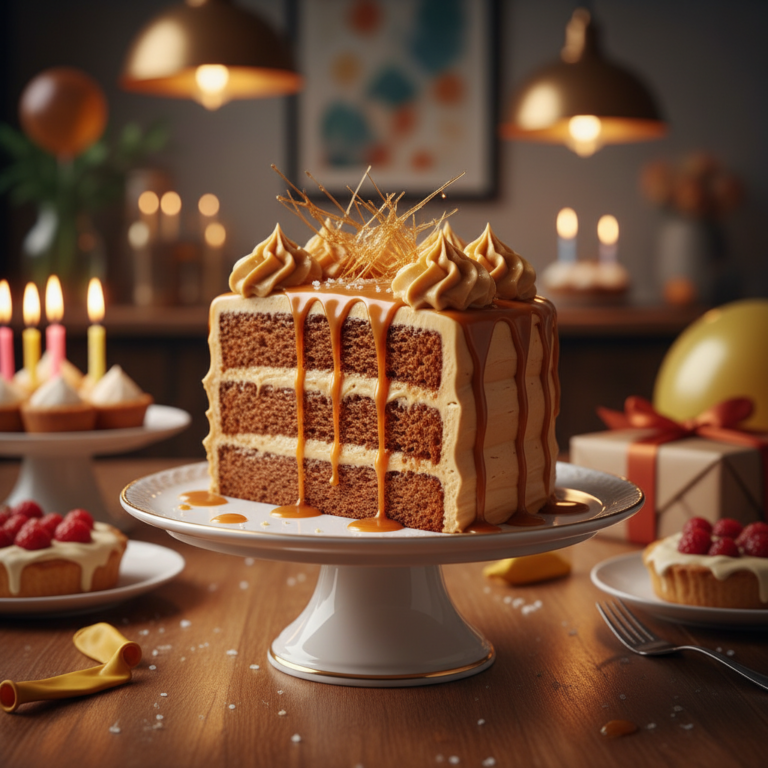
- Perfect for Any Occasion From birthdays to holidays, it’s always a crowd-pleaser.
Ingredient Notes
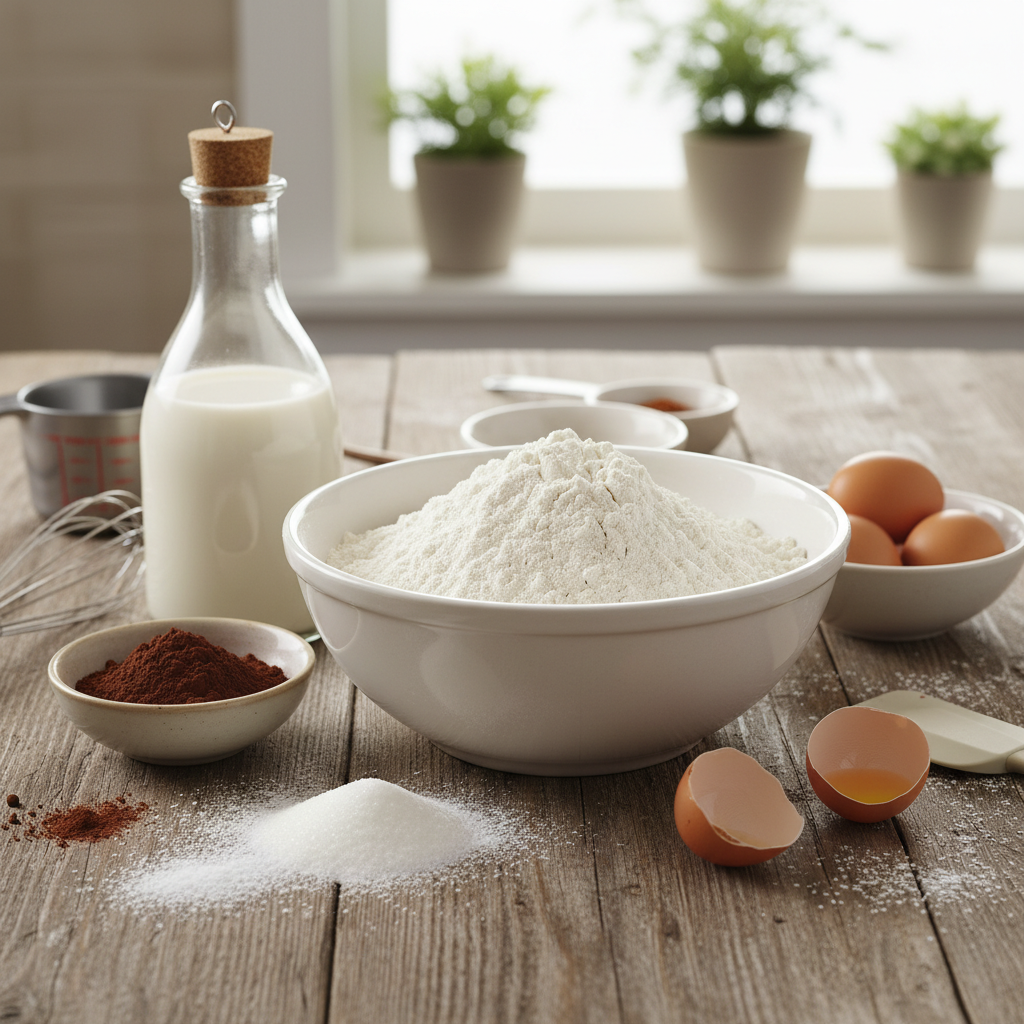
Each ingredient plays a crucial role in achieving that signature red velvet taste and texture. Don’t skimp on quality, and make sure everything is at room temperature for the best results!
- All-Purpose Flour The foundation of our cake. Sift it for a lighter texture.
- Unsweetened Cocoa Powder Just a little bit gives the cake its classic subtle chocolate flavor and helps deepen the red color.
- Baking Soda and Vinegar This dynamic duo creates the perfect lift and reacts with the cocoa for that reddish hue.
- Buttermilk The key to a moist, tender crumb and a slight tang. Don’t substitute with regular milk if you can help it!
- Red Food Coloring For that iconic, vibrant red. Gel food coloring works best for a deep color without adding too much liquid.
- Unsalted Butter Provides richness and flavor. Make sure it’s softened.
- Granulated Sugar Sweetens the cake and helps with moisture.
- Eggs Bind everything together and add richness.
- Vanilla Extract Enhances all the flavors. Use good quality pure vanilla.
- Cream Cheese For the frosting! Use full-fat block cream cheese, chilled.
- Powdered Sugar Sweetens and thickens the frosting. Sift it to avoid lumps.
Equipment Needed
- Three 8-inch round cake pans
- Mixing bowls (large and medium)
- Electric mixer (stand mixer or hand mixer)
- Whisk
- Rubber spatula
- Measuring cups and spoons
- Sifter or fine-mesh sieve
- Parchment paper
- Wire cooling rack
- Offset spatula or butter knife for frosting
Full Recipe Card
Ingredients for the Cake
- 2 ½ cups all-purpose flour, sifted
- 1 teaspoon baking soda
- 1 teaspoon salt
- 2 tablespoons unsweetened cocoa powder
- 1 cup unsalted butter, softened
- 2 cups granulated sugar
- 2 large eggs, at room temperature
- 1 teaspoon pure vanilla extract
- 1 cup buttermilk, at room temperature
- 2 tablespoons red food coloring (gel works best)
- 1 teaspoon white vinegar
Ingredients for the Cream Cheese Frosting
- 16 ounces (2 blocks) full-fat cream cheese, chilled
- 1 cup (2 sticks) unsalted butter, softened
- 4 cups powdered sugar, sifted
- 1 teaspoon pure vanilla extract
- Pinch of salt
Instructions
- Prepare Your Pans Preheat your oven to 350°F (175°C). Grease and flour three 8-inch round cake pans. Line the bottoms with parchment paper.
- Combine Dry Ingredients In a medium bowl, whisk together the sifted flour, baking soda, salt, and cocoa powder. Set aside.
- Cream Butter and Sugar In a large bowl with an electric mixer, cream together the softened butter and granulated sugar until light and fluffy (about 3-5 minutes).
- Add Eggs and Vanilla Beat in the eggs one at a time, mixing well after each addition. Stir in the vanilla extract.
- Mix Wet Ingredients In a separate small bowl, combine the buttermilk, red food coloring, and vinegar.
- Alternate Dry and Wet Gradually add the dry ingredient mixture to the wet mixture in three additions, alternating with the buttermilk mixture in two additions. Begin and end with the dry ingredients. Mix on low speed until just combined, being careful not to overmix.
- Bake the Cake Divide the batter evenly among the three prepared cake pans. Bake for 25-30 minutes, or until a wooden skewer inserted into the center comes out clean.
- Cool Completely Let the cakes cool in the pans for 10-15 minutes before inverting them onto a wire rack to cool completely. This is crucial before frosting!
- Make the Frosting In a large bowl with an electric mixer, beat the chilled cream cheese until smooth. Add the softened butter and beat until combined. Gradually add the sifted powdered sugar, vanilla extract, and a pinch of salt. Beat on medium-high speed until light, fluffy, and smooth (about 3-5 minutes). Do not overbeat, as it can make the frosting runny.
- Assemble and Frost Once the cakes are completely cool, level them if necessary. Place one cake layer on your serving plate or cake stand. Spread a generous amount of frosting over the top. Repeat with the second and third layers. Frost the top and sides of the entire cake.
- Chill and Serve Chill the cake for at least 30 minutes to allow the frosting to set before slicing and serving. Enjoy!
Recipe Notes
- For an even deeper red, use a high-quality gel food coloring.
- Ensure all cold ingredients for the cake are at room temperature for a smooth, emulsified batter.
- Do not overmix the cake batter, as this can lead to a tough cake.
- For the frosting, make sure your cream cheese is cold and your butter is softened. Overbeating cream cheese can make the frosting too thin.
Tips and Variations
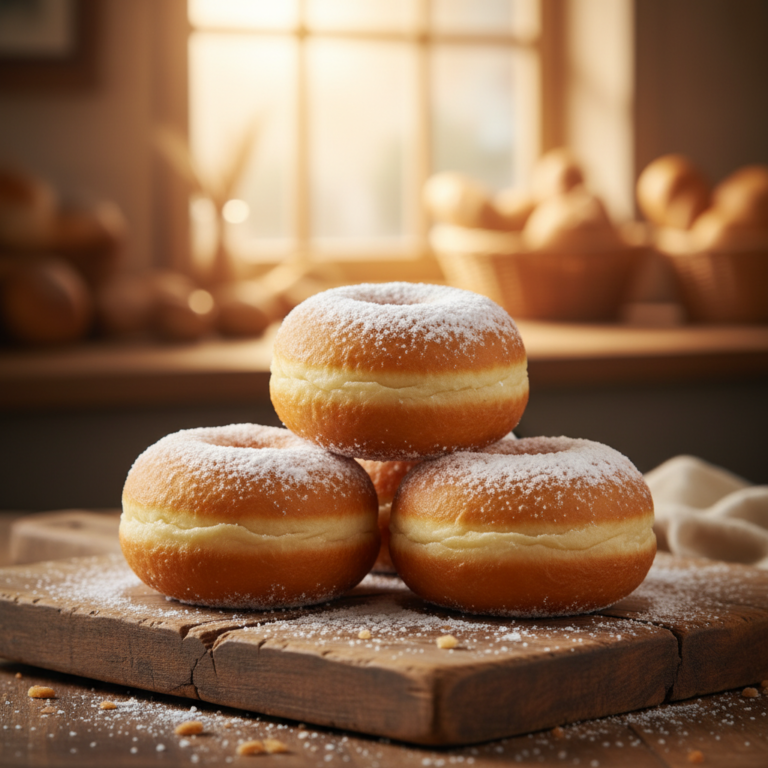
- Mini Red Velvet Cupcakes Bake in cupcake liners for 18-22 minutes. Adjust yield accordingly.
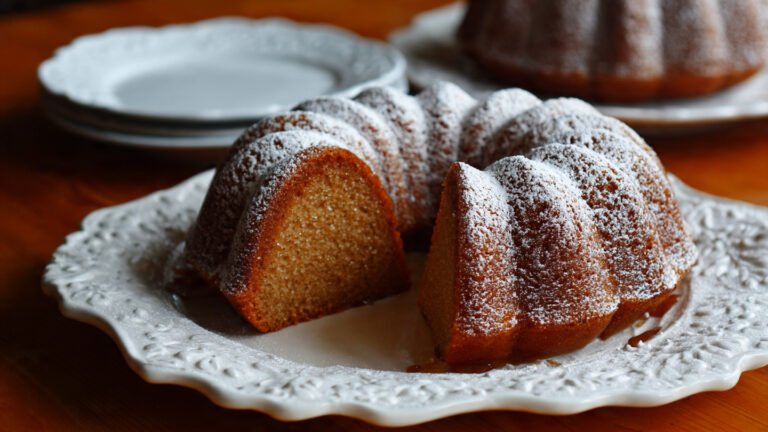
- Bundt Cake Version Pour batter into a greased and floured Bundt pan and bake for 45-55 minutes.
- Chocolate Drizzle Melt some dark chocolate and drizzle over the frosted cake for an extra touch of decadence.
- Garnish Ideas Decorate with fresh berries, chocolate shavings, or a sprinkle of cocoa powder.
- Nutty Twist Add a ½ cup of chopped pecans or walnuts to the batter for a textural contrast.
Pro Chef Tips
- Measure Precisely Baking is a science. Use a kitchen scale for flour and sugar for the most accurate results.
- Don’t Overbake Overbaking is the enemy of a moist cake. Start checking for doneness at the lower end of the baking time.
- Room Temperature Matters For the cake, room temperature ingredients emulsify better, creating a smoother batter and a more even crumb. For the frosting, cold cream cheese and softened butter are key for stability.
- Sift Your Dry Ingredients This prevents lumps and ensures a lighter cake texture.
- Chill Your Cake Layers If your cake layers are slightly warm or very soft, chilling them for 15-20 minutes before frosting makes them much easier to handle and reduces crumbling.
Common Mistakes to Avoid
- Overmixing the Batter This develops too much gluten, resulting in a tough, dry cake. Mix until just combined.
- Overbaking the Cake Leads to a dry, crumbly texture. Keep an eye on the oven!
- Not Cooling Cakes Completely Frosting a warm cake will cause the frosting to melt and slide off. Patience is a virtue here.
- Using Low-Fat Cream Cheese Low-fat cream cheese has more water and less fat, making the frosting runny and less stable. Stick to full-fat block cream cheese.
- Skipping Room Temperature Ingredients This can lead to a lumpy batter and an uneven bake.
Storage and Meal Prep
Proper storage is essential to keep your red velvet cake fresh and delicious.
- Countertop An unfrosted cake can be stored tightly wrapped at room temperature for up to 2 days.
- Refrigerator Once frosted, red velvet cake should be stored in an airtight container in the refrigerator for up to 5 days due to the cream cheese frosting.
- Freezer See ‘Make-Ahead & Freezer Notes’ below.
Make-Ahead and Freezer Notes
This cake is excellent for making ahead!
- Cake Layers Bake the cake layers, let them cool completely, then wrap each layer tightly in plastic wrap and then in foil. They can be stored at room temperature for up to 2 days, in the refrigerator for up to 5 days, or frozen for up to 2 months. Thaw frozen layers in the refrigerator overnight before frosting.
- Frosting The cream cheese frosting can be made up to 2 days in advance and stored in an airtight container in the refrigerator. Before using, let it come to room temperature for about 30 minutes, then re-whip it briefly with an electric mixer until smooth and fluffy again.
- Frosted Cake A fully frosted cake can be frozen. Place the cake (uncovered) in the freezer for about an hour until the frosting is firm. Then, wrap it tightly in plastic wrap and then in foil. It can be frozen for up to 1 month. Thaw in the refrigerator overnight, then let it come to room temperature for about an hour before serving.
Serving Suggestions
Red velvet cake is a star on its own, but here are a few ideas to make it even more special:
- Coffee or Tea A classic pairing, the slight bitterness of coffee or tea complements the cake’s sweetness.
- Fresh Berries Raspberries or strawberries add a lovely fresh, tart counterpoint.
- A Scoop of Vanilla Ice Cream For an extra decadent dessert experience.
- Chocolate Shavings A sprinkle of dark chocolate curls on top enhances the cocoa notes.
- A Glass of Milk A simple, comforting choice, especially for kids and the young at heart.
Conclusion
There you have it—your very own homemade red velvet cake with creamy frosting! Baking this classic dessert from scratch is a rewarding experience, and with a little patience and these detailed instructions, you’ll be whipping up stunning cakes like a pro. Whether you’re celebrating a special occasion or simply treating yourself, this recipe is sure to bring smiles and sweet memories. Don’t be afraid to get creative with your decorations and, most importantly, have fun in the kitchen! Happy baking!