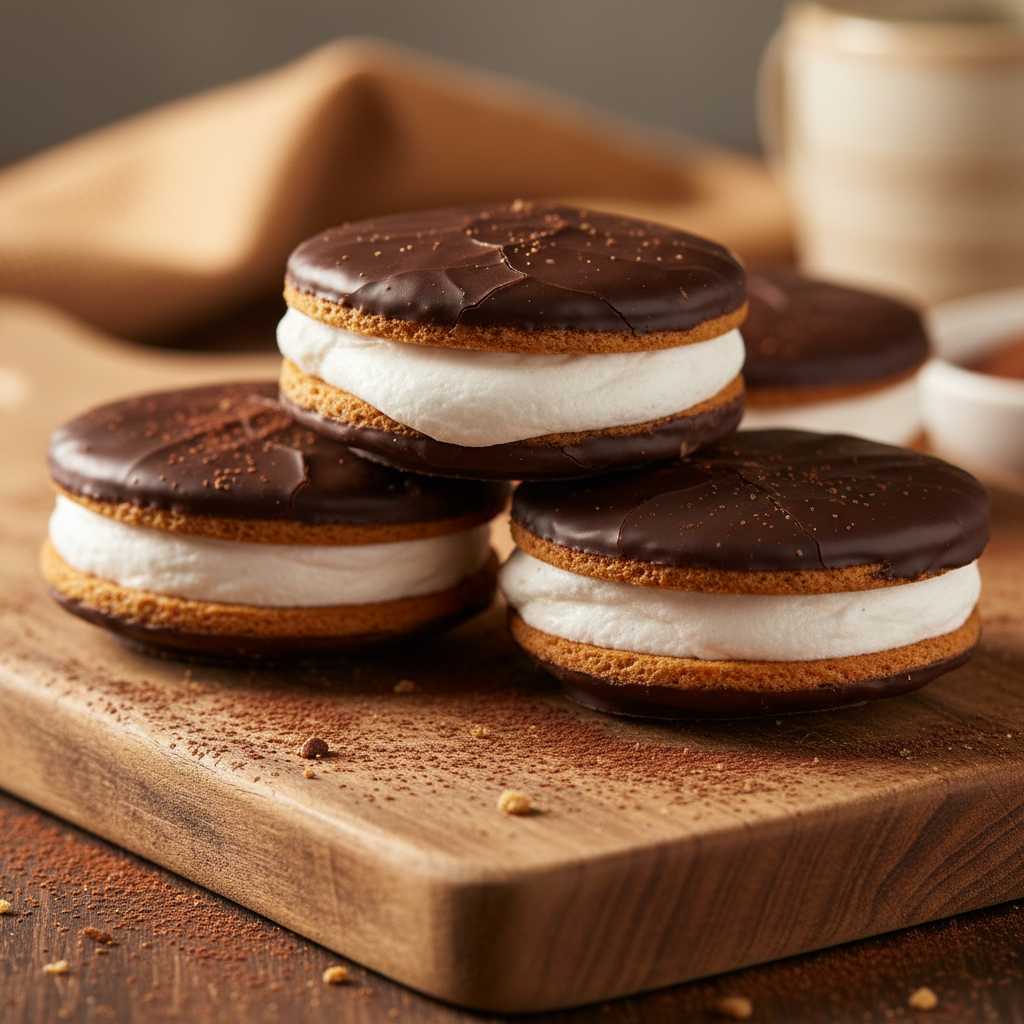
Welcome, fellow dessert lovers! Today, we’re taking a delightful trip down memory lane to recreate a true Southern classic that has charmed generations: the Moon Pie. Forget those store-bought versions for a moment, because nothing compares to the joy of biting into a freshly made, homemade Moon Pie. Imagine soft, slightly crumbly graham cracker cookies, generously filled with pillowy, sweet marshmallow, all encased in a dreamy shell of rich chocolate. Pure bliss, right?
This recipe is designed to be your ultimate guide to crafting these iconic treats from scratch. Whether you’re a seasoned baker or just starting your culinary adventure, I promise you’ll find this process rewarding and surprisingly straightforward. Get ready to impress your friends and family with a taste of nostalgia that’s even better than you remember!
A Sweet History and Background

The Moon Pie holds a special place in American snack history. Originating in Chattanooga, Tennessee, in 1917, it was created by the Chattanooga Bakery. Legend has it that a traveling salesman asked a baker for a snack that was ‘as big as the moon’ and contained graham crackers and marshmallow. The result was the original Moon Pie—a hearty, satisfying treat that quickly became a favorite, especially among coal miners looking for a substantial, affordable snack.
Over the decades, the Moon Pie evolved, adapting to changing tastes and production methods. It became a staple in lunchboxes, a companion to RC Cola, and a symbol of simple, comforting pleasures. Our homemade version pays homage to this beloved classic, bringing its nostalgic charm and delicious flavors right into your kitchen with a fresh, artisanal touch.
Why You’ll Love This Recipe

- Unbeatable Freshness The taste of homemade graham crackers and marshmallow is simply superior.
- Customizable Fun Adjust the marshmallow thickness or chocolate type to your liking.
- Baking Adventure A rewarding project for bakers of all skill levels.
- Nostalgic Delight Recreate a classic treat that brings back sweet memories.
- Perfect for Sharing Great for parties, potlucks, or a special family dessert.
Ingredient Notes for Success
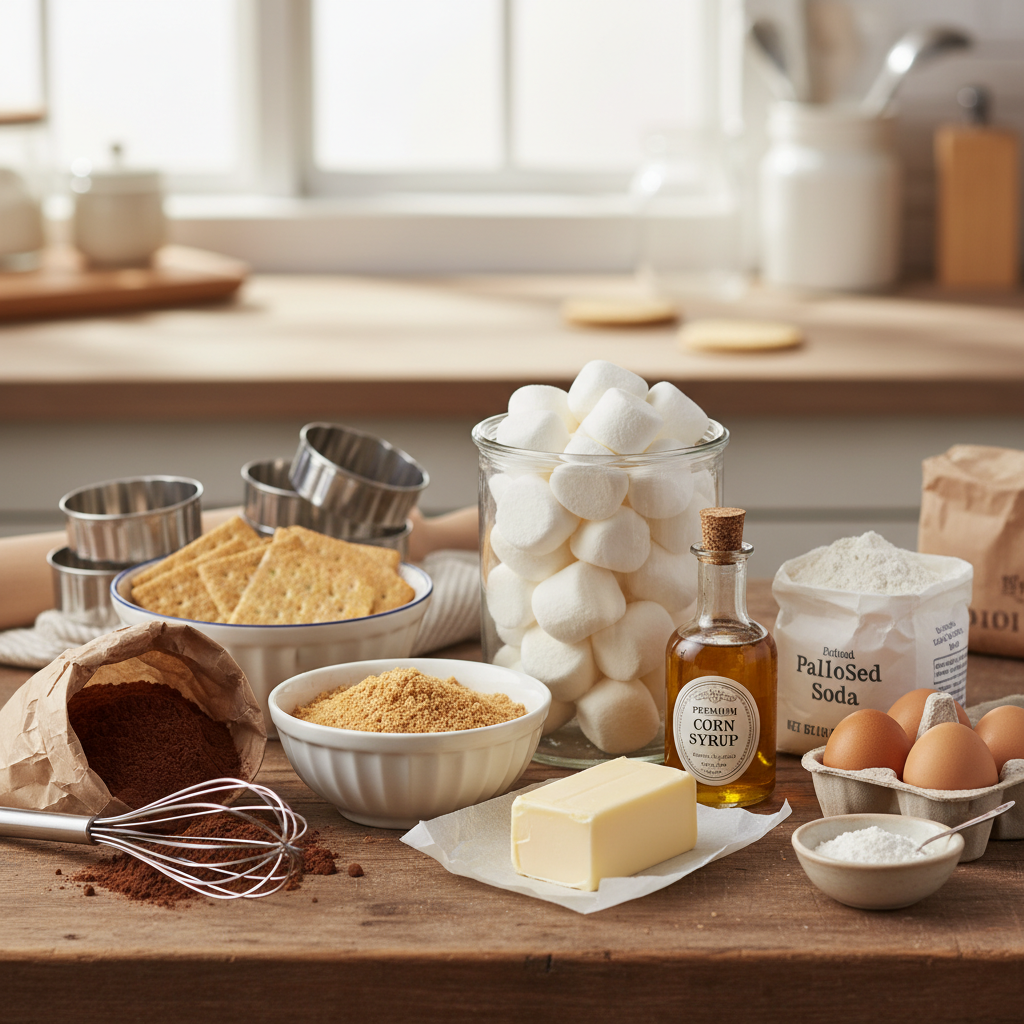
Every great recipe starts with great ingredients. Here’s a quick rundown of what you’ll need and why each component is important for our homemade Moon Pies:
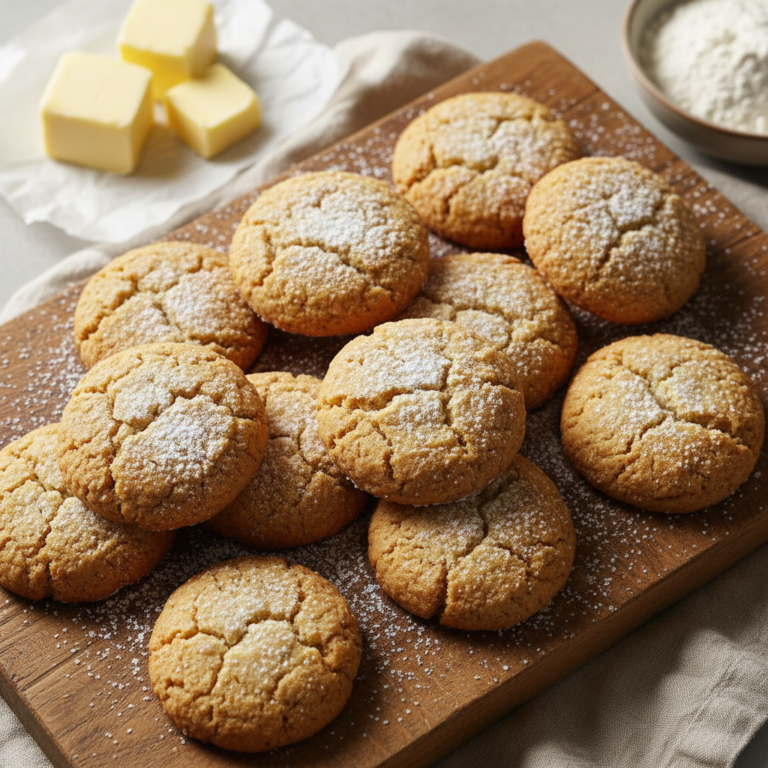
- Graham Crackers We’ll be making our own! This is key for that authentic, slightly crisp, and honey-kissed flavor. Don’t worry, it’s easier than it sounds.
- Marshmallow Fluff The heart of the Moon Pie! We’ll whip up a homemade marshmallow cream that’s light, airy, and perfectly sweet.
- Chocolate Coating A good quality melting chocolate or chocolate chips will make all the difference. Dark, milk, or semi-sweet—choose your favorite!
- Unsalted Butter For richness in the graham crackers.
- Honey Essential for the signature graham cracker flavor.
- Powdered Sugar and Corn Syrup Crucial for the marshmallow’s texture and stability.
Equipment Needed for Homemade Moon Pies
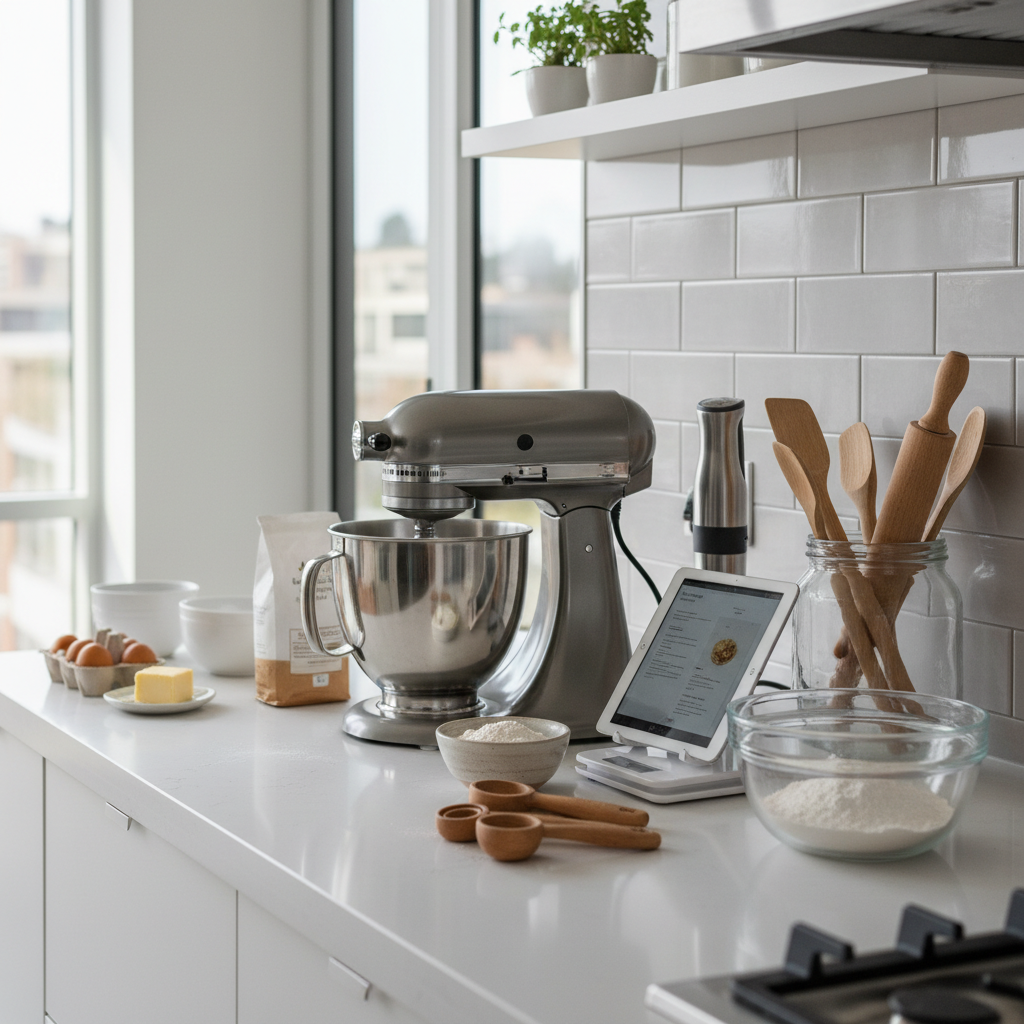
Having the right tools makes the baking process much smoother. Here’s what you’ll want to have on hand:
- Stand Mixer or Hand Mixer Absolutely essential for whipping up the marshmallow fluff.
- Baking Sheets For baking the graham crackers.
- Parchment Paper or Silicone Mats Prevents sticking and makes cleanup a breeze.
- Rolling Pin For rolling out the graham cracker dough.
- Round Cookie Cutter About 2-2.5 inches in diameter, to shape your crackers.
- Double Boiler or Microwave-Safe Bowl For melting the chocolate.
- Wire Rack For cooling the dipped Moon Pies.
Full Recipe Card – Homemade Moon Pies
Ingredients
For the Graham Crackers:
- 1 ½ cups (180g) all-purpose flour
- ½ cup (60g) whole wheat flour
- ½ cup (100g) packed light brown sugar
- 1 teaspoon baking soda
- ½ teaspoon salt
- ½ cup (113g) unsalted butter, cold and cut into cubes
- ¼ cup (60ml) honey
- ¼ cup (60ml) milk
- 1 teaspoon vanilla extract
For the Marshmallow Fluff:
- 3 large egg whites, at room temperature
- ¼ teaspoon cream of tartar
- ½ cup (100g) granulated sugar
- ¼ cup (60ml) light corn syrup
- ¼ cup (60ml) water
- 1 teaspoon vanilla extract
For the Chocolate Coating:
- 12 ounces (340g) good quality melting chocolate or chocolate chips
- 2 tablespoons (28g) coconut oil or vegetable shortening (optional, for smoother coating)
Instructions
- Make the Graham Crackers In a large bowl, whisk together all-purpose flour, whole wheat flour, brown sugar, baking soda, and salt. Cut in the cold butter using a pastry blender or your fingertips until the mixture resembles coarse crumbs. In a separate bowl, whisk together honey, milk, and vanilla. Add the wet ingredients to the dry ingredients and mix until just combined, forming a dough. Do not overmix. Divide the dough in half, flatten into discs, wrap in plastic, and chill for at least 30 minutes.
- Bake the Graham Crackers Preheat oven to 350°F (175°C). Line two baking sheets with parchment paper. On a lightly floured surface, roll out one disc of dough to about 1/8-inch thickness. Cut out circles using a 2-2.5 inch round cookie cutter. Place on prepared baking sheets. Prick each cracker several times with a fork. Repeat with the second dough disc. Bake for 10-12 minutes, or until lightly golden brown at the edges. Let cool completely on a wire rack.
- Prepare the Marshmallow Fluff In the bowl of a stand mixer fitted with the whisk attachment, beat egg whites and cream of tartar on medium-high speed until soft peaks form. In a small saucepan, combine granulated sugar, corn syrup, and water. Cook over medium heat, stirring until sugar dissolves. Increase heat and boil without stirring until the syrup reaches 240°F (115°C) on a candy thermometer.
- Whip the Marshmallow With the mixer running on low speed, slowly and carefully pour the hot syrup into the egg whites. Increase speed to high and beat until the marshmallow fluff is thick, glossy, and holds stiff peaks, about 7-10 minutes. Beat in the vanilla extract.
- Assemble the Moon Pies Once the graham crackers are completely cool, spread a generous dollop of marshmallow fluff onto the flat side of one cracker. Top with another cracker, pressing gently to create a sandwich. Repeat with remaining crackers and fluff. Let the assembled pies set for at least 30 minutes to an hour, or chill briefly to firm up the marshmallow.
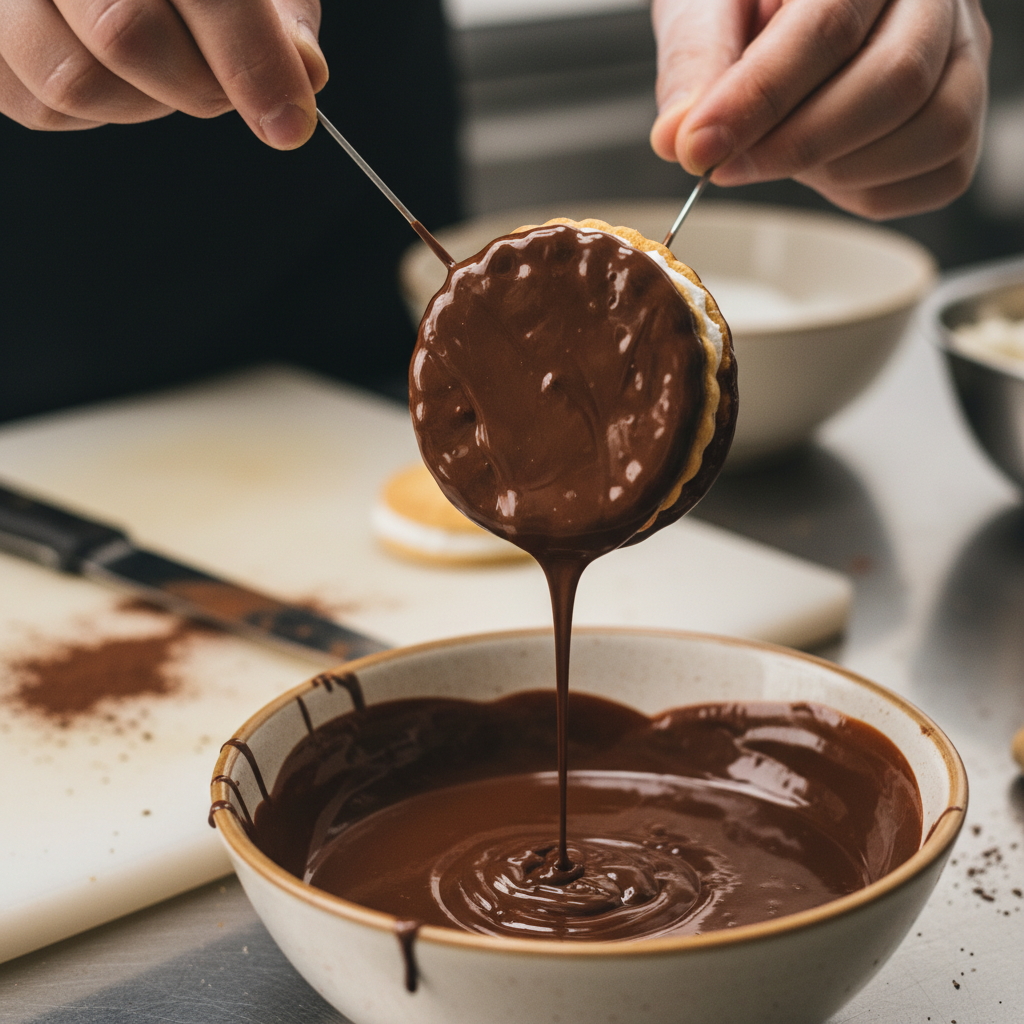
- Coat with Chocolate In a double boiler or microwave-safe bowl, melt the chocolate coating with coconut oil (if using), stirring until smooth. Dip each Moon Pie into the melted chocolate, ensuring it’s fully coated. Lift with a fork, letting excess chocolate drip off.
- Chill to Set Place the chocolate-dipped Moon Pies on a wire rack lined with parchment paper. Chill in the refrigerator for 15-30 minutes, or until the chocolate is fully set.
Notes
- For perfectly round crackers, you can re-roll dough scraps.
- Ensure your marshmallow fluff is firm enough to hold its shape but still spreadable.
- If the chocolate coating starts to thicken, gently reheat it.
Tips and Variations for Your Homemade Moon Pies

Making Moon Pies is fun, and there are many ways to customize them!
- Flavor Boost Add a pinch of cinnamon or nutmeg to your graham cracker dough for extra warmth.
- Chocolate Choices Experiment with dark chocolate, milk chocolate, or even white chocolate for the coating. You can also drizzle contrasting chocolate on top for a decorative touch.
- Mini Moon Pies Use a smaller cookie cutter for bite-sized treats. Adjust baking time accordingly.
- Peanut Butter Swirl Mix a tablespoon of peanut butter into a portion of your marshmallow fluff for a nutty variation.
- Sprinkle Fun Before the chocolate sets, sprinkle with colorful sprinkles, chopped nuts, or flaky sea salt for added texture and visual appeal.
Pro Chef Tips for Perfect Pies
- Chill Your Dough Don’t skip chilling the graham cracker dough. It makes it much easier to roll out and prevents it from becoming too sticky.
- Even Thickness Roll your graham cracker dough to an even thickness for uniform baking and a consistent bite.
- Candy Thermometer is Key For the marshmallow fluff, a candy thermometer is crucial for reaching the correct syrup temperature. This ensures your marshmallow sets properly and has the right consistency.
- Patience with Chocolate When melting chocolate, do so gently and slowly to prevent it from seizing. If using a microwave, heat in short bursts, stirring frequently.
- Work Cleanly Keep your workspace tidy, especially when dipping in chocolate, to avoid a sticky mess.
Common Mistakes to Avoid
Even experienced bakers make mistakes! Here are a few common pitfalls to steer clear of:
- Overmixing Graham Cracker Dough This can lead to tough crackers. Mix just until combined.
- Not Chilling Dough Enough Warm dough is sticky and hard to work with, resulting in misshapen crackers.
- Under-whipping Marshmallow Fluff If the marshmallow isn’t whipped long enough, it won’t be firm enough to hold its shape between the crackers.
- Overheating Chocolate This can cause the chocolate to seize and become thick and grainy. Melt it slowly and gently.
- Assembling Warm Crackers Ensure your graham crackers are completely cool before adding the marshmallow, otherwise, the marshmallow will melt.
Storage and Meal Prep
These homemade Moon Pies are best enjoyed fresh, but they store well too!
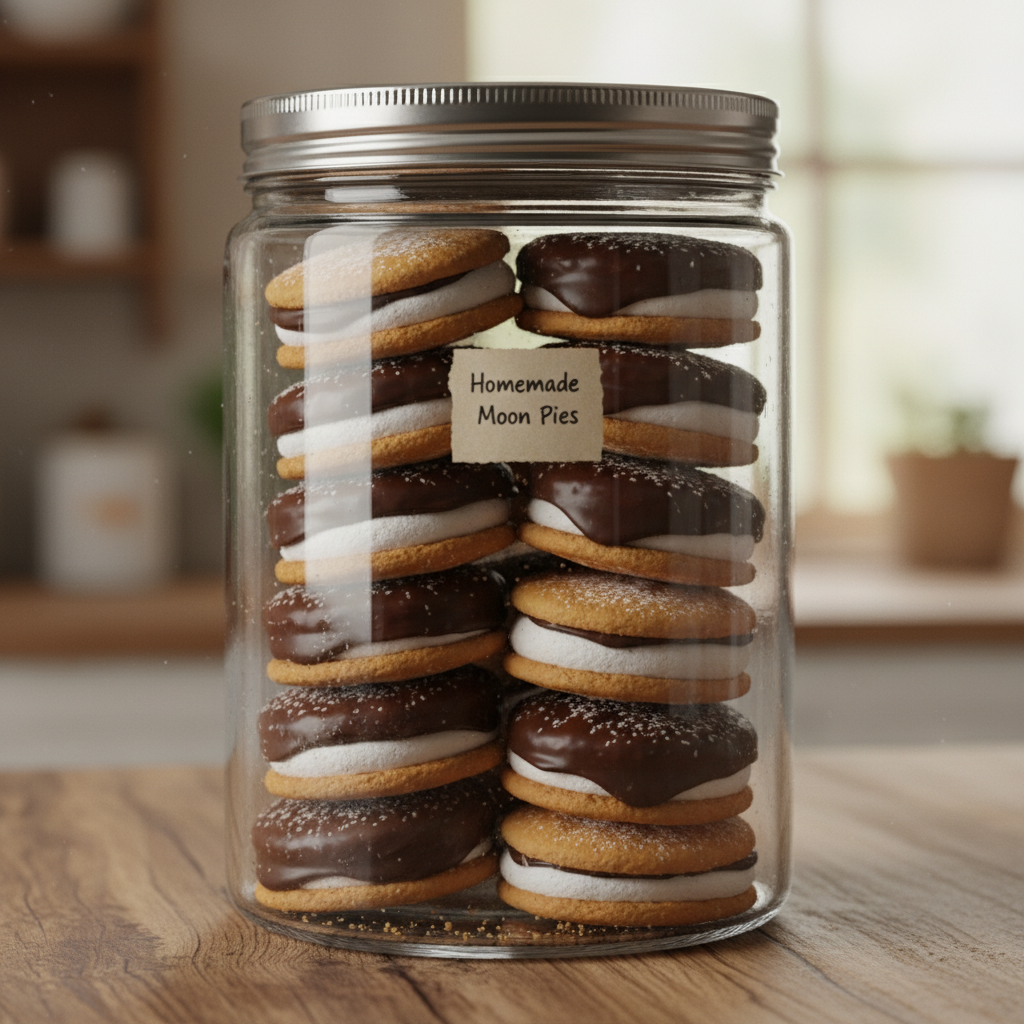
- Countertop Storage Store in an airtight container at room temperature for up to 3-4 days.
- Refrigeration If your kitchen is warm, or for longer storage, keep them in an airtight container in the refrigerator for up to a week. Bring to room temperature before serving for the best texture.
- Layering If stacking, place parchment paper between layers to prevent sticking.
Make-Ahead and Freezer Notes
You can definitely get a head start on these delicious treats!
- Graham Crackers The baked graham crackers can be made several days in advance and stored in an airtight container at room temperature.
- Marshmallow Fluff While best made fresh, the marshmallow fluff can be prepared a day in advance and stored in an airtight container in the refrigerator. Let it come to room temperature and give it a quick whisk before using if it stiffens too much.
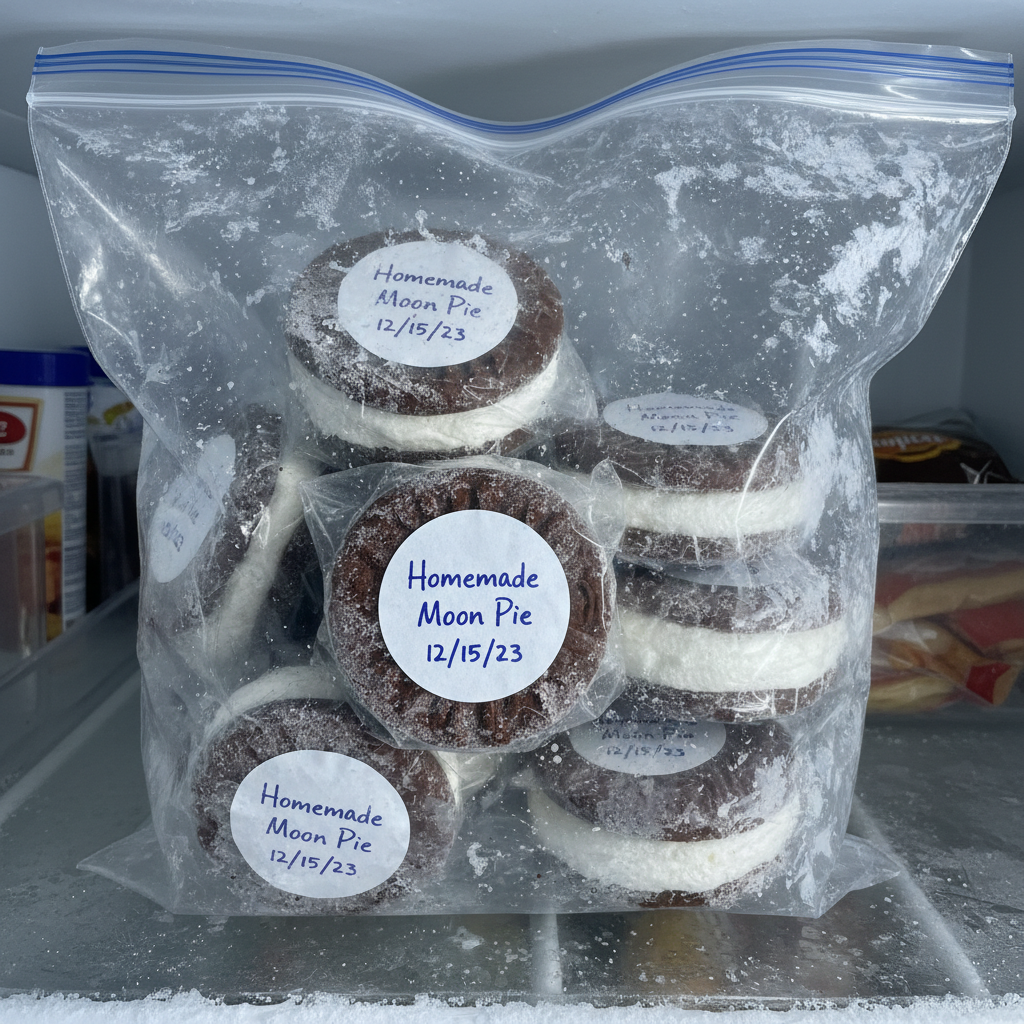
- Freezing Assembled Pies For longer storage, individually wrap assembled (but not chocolate-coated) Moon Pies in plastic wrap, then place in a freezer-safe bag or container for up to 1 month. Thaw in the refrigerator before coating with chocolate.
- Freezing Coated Pies You can also freeze fully coated Moon Pies! Wrap each individually and store in an airtight container for up to 2-3 weeks. Thaw in the refrigerator, then let come to room temperature before enjoying.
Serving Suggestions
While a homemade Moon Pie is perfect on its own, here are some fun ways to serve them:
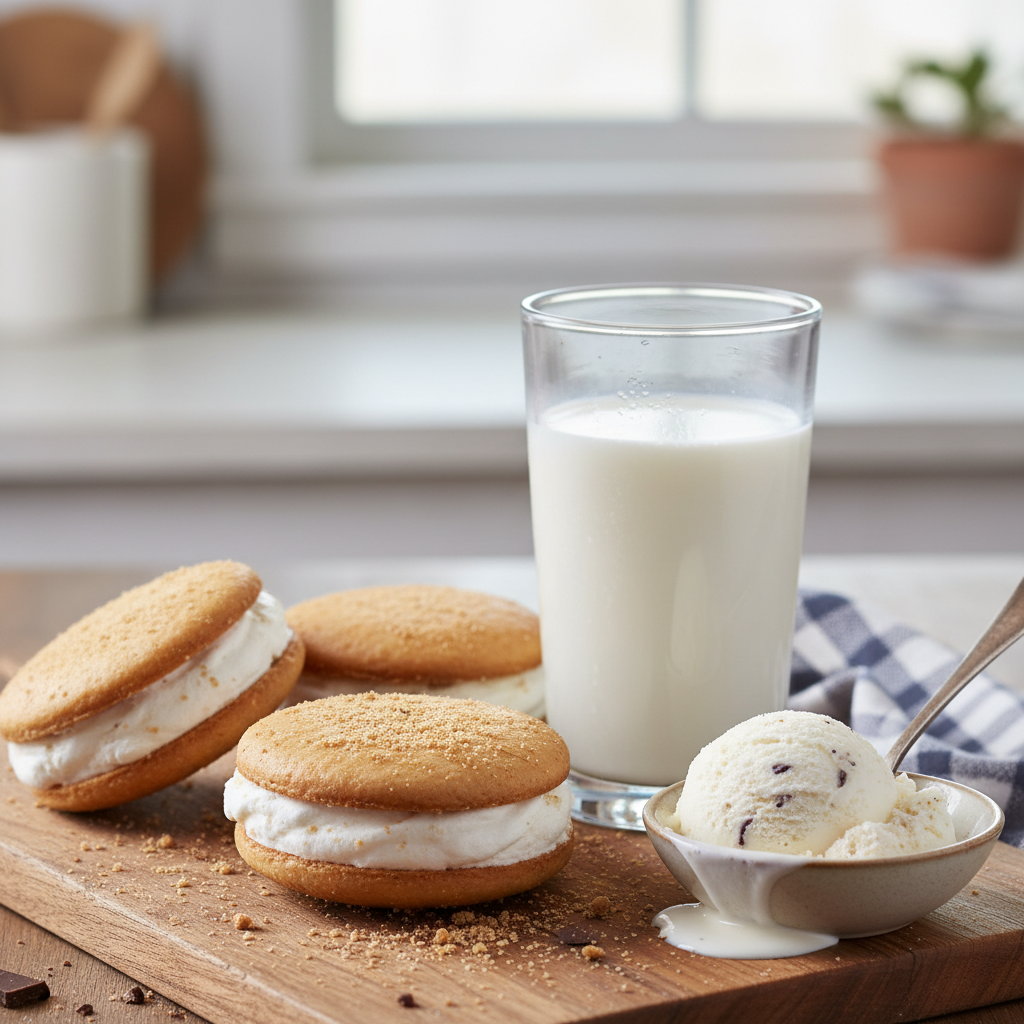
- Classic Combo Pair with a cold glass of milk or an RC Cola for the ultimate nostalgic experience.
- Dessert Platter Arrange them on a platter with other cookies and treats for a party.
- S’mores Twist Briefly warm a Moon Pie in the microwave for a few seconds to get that gooey marshmallow s’mores effect.
- Ice Cream Sandwich Slice a Moon Pie in half horizontally and fill with a scoop of your favorite ice cream for an epic dessert sandwich.
- Coffee or Tea Enjoy with a warm cup of coffee or tea for a delightful afternoon treat.