There’s just something magical about homemade ice cream, isn’t there? The creamy texture, the burst of fresh flavor, and the pure joy of knowing exactly what went into every delicious spoonful. Forget those store-bought tubs; making your own ice cream at home is a fun adventure that yields incredibly satisfying results. You’re in for a real treat today!
Whether you’re a complete beginner or a seasoned home chef, this guide is packed with easy-to-follow recipes and helpful tips to get you churning like a pro. Get ready to impress your friends and family with the most delightful frozen desserts they’ve ever tasted. Let’s dive in and transform simple ingredients into pure frozen bliss!
History / Background of Ice Cream
The story of ice cream is a long and fascinating one, stretching back thousands of years. Early forms of frozen desserts can be traced to ancient civilizations, where people enjoyed snow and ice flavored with honey, fruits, and nuts. Emperor Nero of Rome reportedly sent runners to collect snow from mountains to mix with fruit and honey.
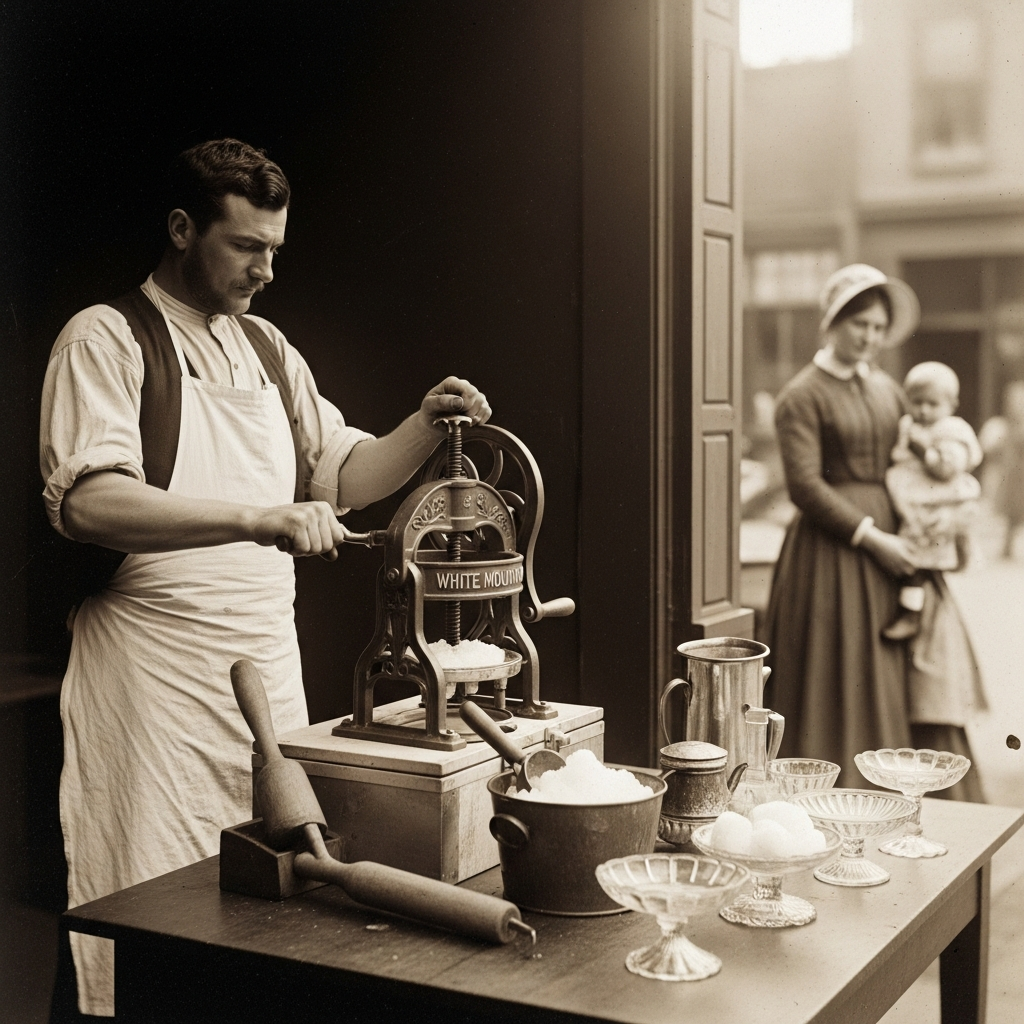
It wasn’t until the 16th century that ice cream, as we know it, started to take shape in Italy, spreading throughout Europe. By the 18th century, it was a dessert enjoyed by royalty and the elite. The invention of the hand-cranked ice cream machine in the mid-19th century made it accessible to the masses, and the rest, as they say, is delicious history!
Why You’ll Love Making Homemade Ice Cream
Unbeatable Freshness: You control the ingredients, ensuring the freshest, most natural flavors.
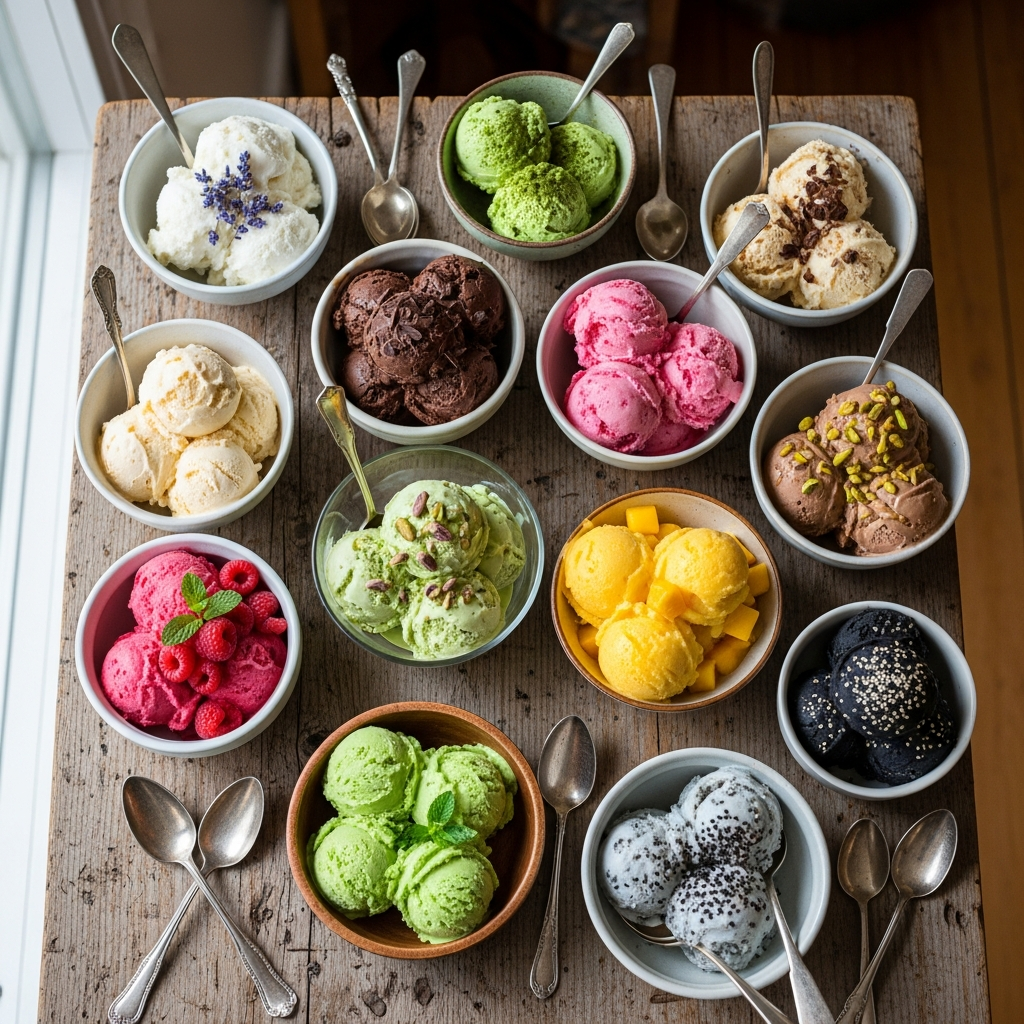
- Customizable Flavors: The possibilities are endless! Create unique combinations you won’t find in stores.
- Healthier Options: Reduce sugar, use organic ingredients, or cater to dietary needs.
- No Artificial Additives: Say goodbye to preservatives, artificial colors, and unnecessary stabilizers.
- Fun for Everyone: It’s a fantastic activity to do with family and friends, creating lasting memories.
- Impressive Dessert: Homemade ice cream always earns rave reviews and happy smiles.
Ingredient Notes for Perfect Ice Cream
While specific ingredients will vary for each flavor, a few staples form the foundation of most creamy homemade ice creams. Using high-quality ingredients truly makes a difference in the final taste and texture. Don’t skimp!
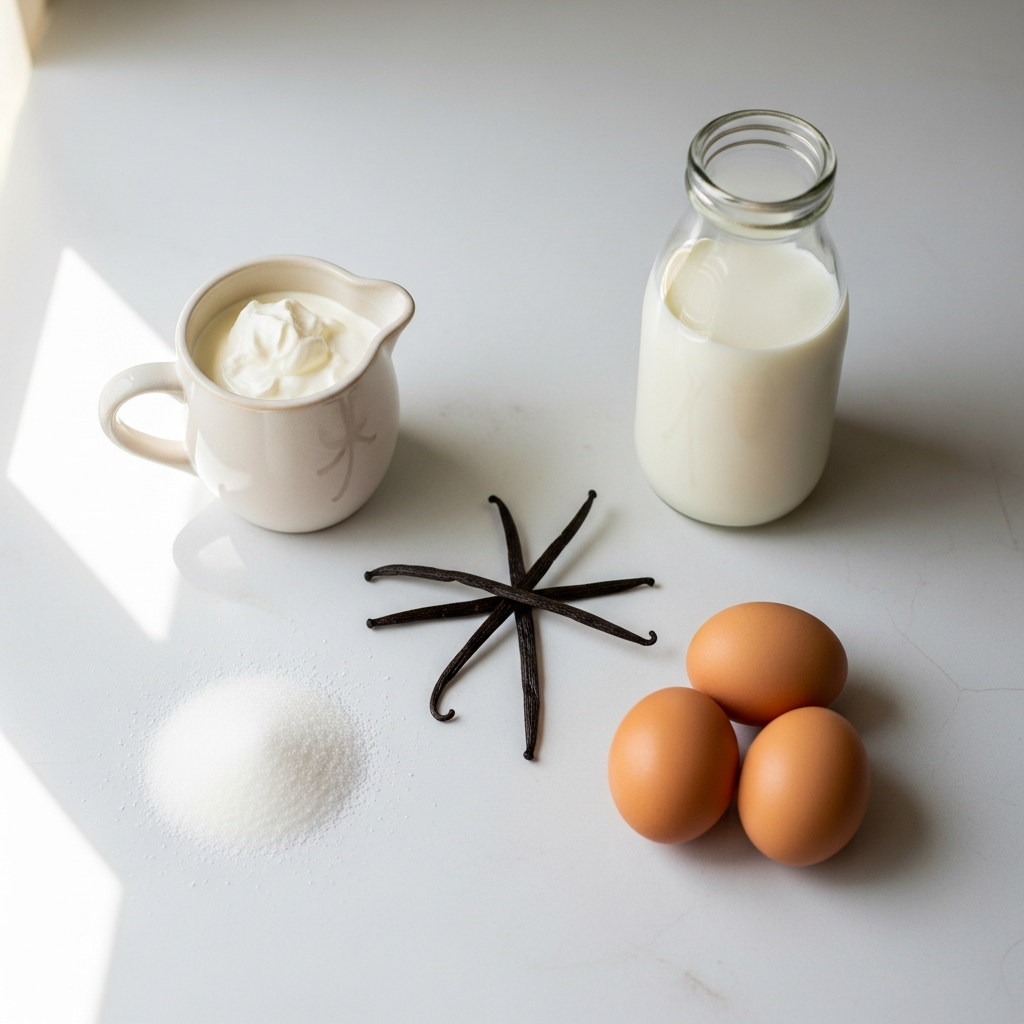
- Heavy Cream: This is where the magic happens! Look for heavy cream or whipping cream with at least 36% milk fat for the creamiest result.
- Whole Milk: Whole milk balances the richness of the cream. Avoid skim or low-fat milk, as they can lead to an icy texture.
- Sugar: Granulated sugar is standard. It not only sweetens but also helps prevent large ice crystal formation, keeping your ice cream smooth.
- Egg Yolks (for custard base): Used in ‘French-style’ ice creams, egg yolks create a rich, dense, and incredibly smooth custard. Ensure they are pasteurized if you are concerned.
- Flavorings: Pure vanilla extract is a must for classic flavors. Fresh fruits, chocolate, coffee, nuts, and spices open up a world of possibilities.
Equipment Needed for Homemade Ice Cream
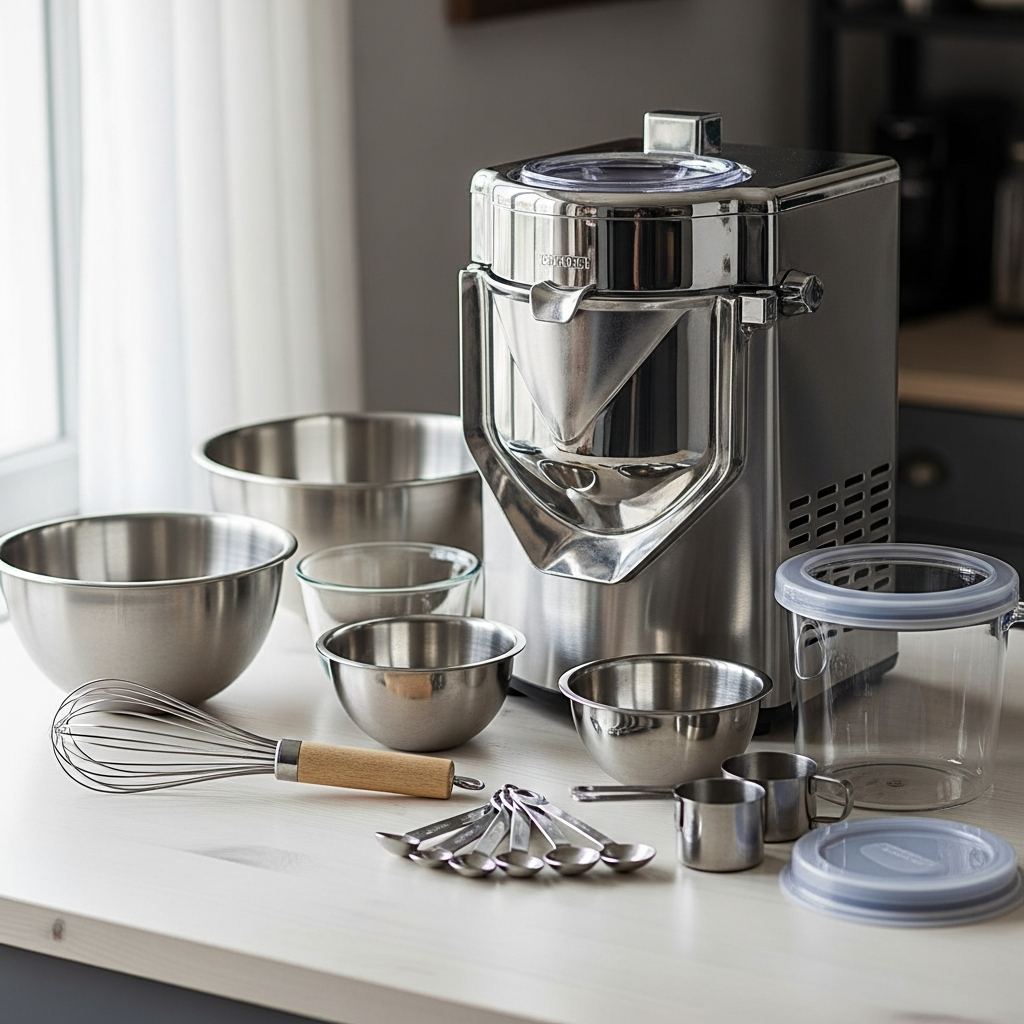
You don’t need a professional kitchen to make amazing ice cream. A few key tools will make the process smooth and enjoyable. If you don’t have an ice cream maker, there are ‘no-churn’ options available too!
- Ice Cream Maker: Essential for most recipes. There are compressor models (no pre-freezing needed), freezer bowl models (bowl needs pre-freezing), and rock salt/ice models.
- Large Mixing Bowls: For preparing your ice cream base.
- Whisk or Immersion Blender: To combine ingredients smoothly.
- Measuring Cups and Spoons: Accuracy is key in baking and frozen desserts.
- Fine-Mesh Sieve: Helpful for straining custard bases to ensure a silky texture.
- Airtight Container: For storing your finished ice cream in the freezer. A shallow, wide container is often best for quicker freezing.
Full Recipe Card: Classic Vanilla Bean Ice Cream

Let’s start with the undisputed champion: classic vanilla bean. This recipe uses a rich custard base (French-style) for unparalleled creaminess. It’s the perfect foundation for countless other flavors!
Ingredients:
- 2 cups heavy cream
- 1 cup whole milk
- 3/4 cup granulated sugar
- Pinch of salt
- 1 vanilla bean, split lengthwise and scraped (or 2 teaspoons pure vanilla extract)
- 5 large egg yolks
Instructions:
- Combine cream, milk, half of the sugar (1/2 cup), salt, and vanilla bean (pod and scraped seeds) in a medium saucepan. Heat over medium heat until small bubbles form around the edges, but do not boil. Remove from heat, cover, and let steep for 30 minutes to infuse vanilla flavor. Remove the vanilla bean pod.
- In a separate bowl, whisk the egg yolks with the remaining 1/4 cup sugar until pale and slightly thickened.
- Slowly temper the egg yolks: gradually whisk about 1 cup of the warm cream mixture into the egg yolks. This prevents the eggs from scrambling. Then, slowly pour the egg yolk mixture back into the saucepan with the remaining cream mixture, whisking constantly.
- Return the saucepan to low heat. Cook, stirring constantly with a wooden spoon, until the mixture thickens slightly and coats the back of the spoon (about 175-180°F or 80-82°C). Do not boil.
- Immediately strain the custard through a fine-mesh sieve into a clean bowl to remove any cooked egg bits and ensure a smooth texture.
- Place the bowl over an ice bath (a larger bowl filled with ice and water) and stir occasionally until the mixture is completely chilled. Alternatively, cover and refrigerate for at least 4 hours, or preferably overnight.
- Once thoroughly chilled, pour the base into your ice cream maker and churn according to the manufacturer’s instructions. This usually takes 20-30 minutes.
- Transfer the freshly churned ice cream to an airtight container and freeze for at least 4 hours (for best results, overnight) to allow it to firm up to a scoopable consistency. Enjoy!
Recipe Notes:
Chilling the base completely before churning is absolutely crucial for a smooth, creamy texture. Don’t skip or rush this step! For an even richer vanilla flavor, you can add a splash of good quality vanilla extract after the base has chilled and before churning.
Tips & Variations: Expand Your Ice Cream Horizons
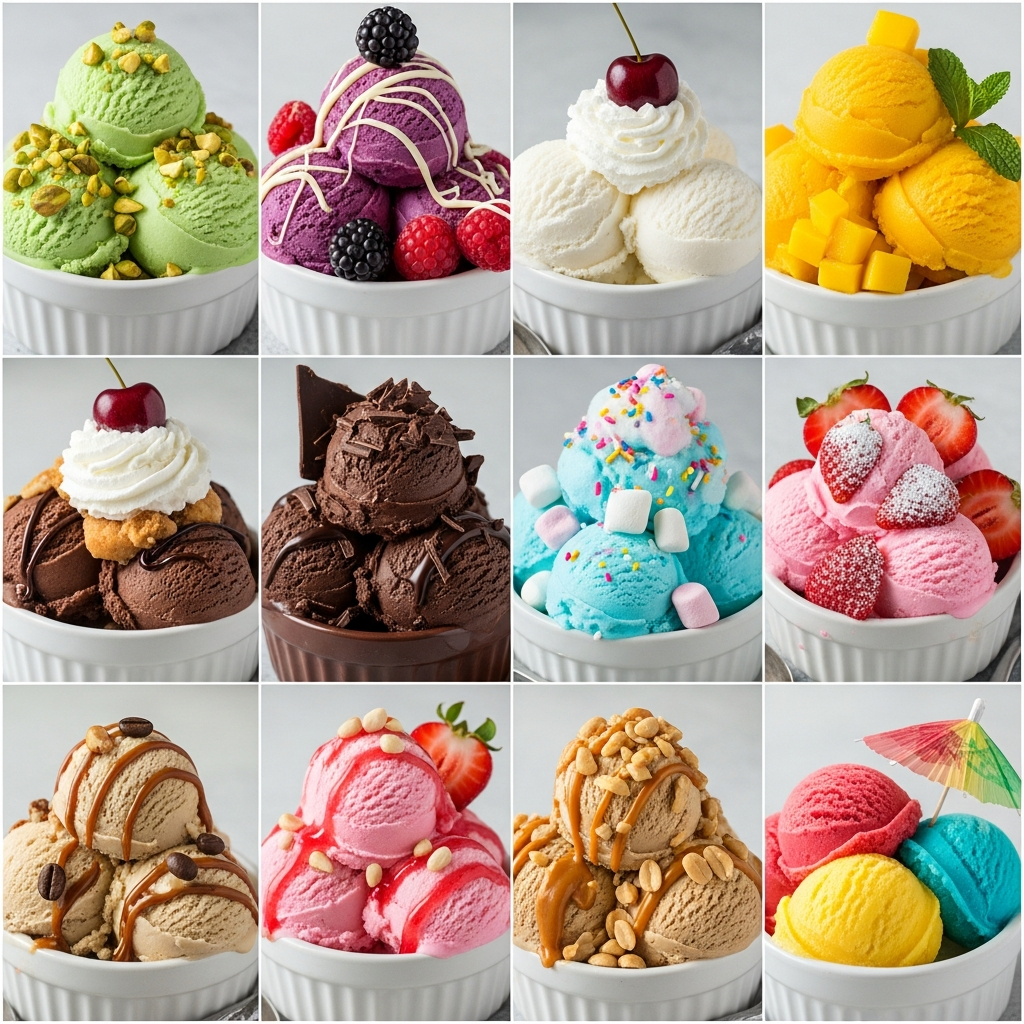
The vanilla base is wonderful on its own, but it’s also a blank canvas for endless creativity! Here are 9 more delicious homemade ice cream recipes you can create, building on the techniques we’ve discussed. Get ready to experiment!
- 2. Rich Chocolate Ice Cream: Add 3/4 cup unsweetened cocoa powder and 4 oz melted dark chocolate to the cream mixture in step 1. Reduce sugar slightly if using sweetened chocolate.
- 3. Fresh Strawberry Swirl Ice Cream: Purée 1.5 cups fresh strawberries with 1/4 cup sugar. Fold into the churned vanilla ice cream during the last few minutes, or swirl in layers when transferring to the freezer container.
- 4. Mint Chocolate Chip Ice Cream: Add 1-1.5 teaspoons peppermint extract to the chilled vanilla base. Fold in 3/4 cup finely chopped chocolate (or mini chocolate chips) during the last few minutes of churning.
- 5. Espresso Coffee Ice Cream: Dissolve 2-3 tablespoons instant espresso powder (or strong cold-brew concentrate) into the warm cream mixture in step 1. Adjust to your preferred coffee strength.
- 6. Salted Caramel Crunch Ice Cream: Prepare a batch of homemade salted caramel sauce. Drizzle generous amounts into the churned vanilla ice cream as you transfer it to the freezer container. Add some chopped pecans or pretzels for crunch.
- 7. Peanut Butter Cup Ice Cream: Add 1/2 cup creamy peanut butter to the warm cream mixture in step 1, whisking until smooth. Fold in chopped peanut butter cups during the last few minutes of churning.
- 8. Lemon Sorbet (No Dairy!): This is a dairy-free option. Combine 2 cups water, 1.5 cups sugar, and the zest of 1 lemon in a saucepan; simmer until sugar dissolves. Chill. Stir in 1 cup fresh lemon juice. Churn as directed for a refreshing sorbet.
- 9. Raspberry Cheesecake Swirl: Swirl raspberry preserves and crumbled graham cracker pieces into a vanilla ice cream base during the freezing process.
- 10. Cookies & Cream Ice Cream: Crush about 15-20 Oreo cookies into coarse pieces. Fold them into the vanilla ice cream during the last 5 minutes of churning.
Pro Chef Tips for the Best Homemade Ice Cream
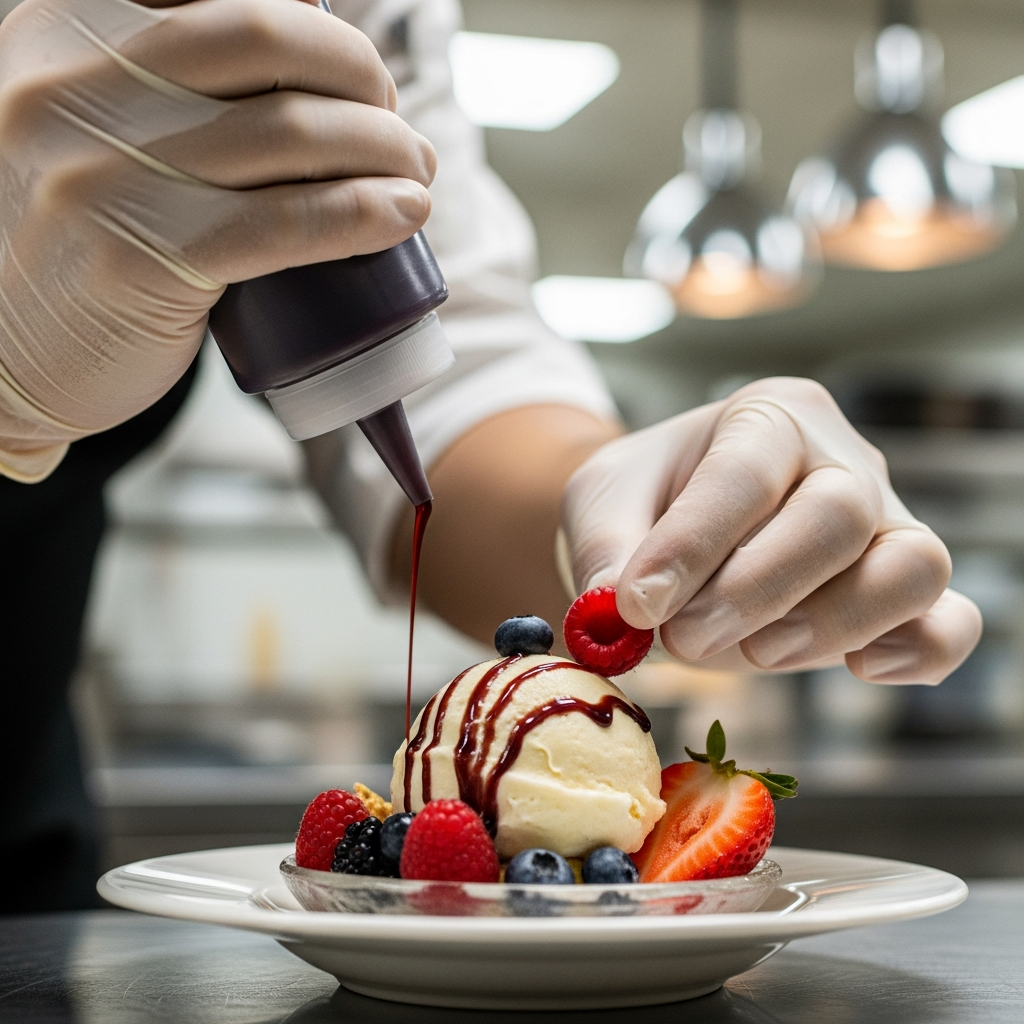
Want to elevate your ice cream game to a professional level? These little tricks make a big difference in flavor, texture, and overall quality.
- Pre-Chill Everything: Ensure your ice cream base is as cold as possible (ideally 35-40°F / 2-4°C) before churning. Also, chill your freezer bowl for at least 24 hours, or even longer for best results.
- High-Fat Dairy: Don’t compromise on full-fat heavy cream and whole milk. The fat content is crucial for preventing ice crystals and achieving that desirable smooth, rich texture.
- Balance Your Sugar: Sugar not only sweetens but also lowers the freezing point, which helps keep ice cream scoopable and less icy. Don’t reduce it too much.
- Add a Touch of Alcohol: A tablespoon or two of a neutral spirit like vodka (or a flavored liqueur) can also help prevent ice crystals and make your ice cream softer and smoother.
- Use a Ripening Step: After churning, the ice cream is still relatively soft. The ‘ripening’ stage in the freezer (4-8 hours) allows the flavors to meld and the texture to firm up properly.