Oh, dulce de leche! Just the name itself conjures up images of rich, creamy, caramel-like bliss. If you’ve ever tasted this golden delight, you know it’s pure magic. And if you haven’t, prepare to have your world (and your taste buds) transformed! While you can certainly buy it in a jar, there’s absolutely nothing quite like the homemade version. It’s an experience, a labor of love, and a reward that’s truly worth every moment.
Forget those store-bought versions that often fall short in flavor and texture. Today, we’re diving into the wonderful world of making your own dulce de leche right in your kitchen. It’s simpler than you might think, incredibly rewarding, and the aroma alone will make your home smell like the most delightful candy shop. Get ready to stir your way to a velvety, sweet treat that will become a staple in your dessert repertoire!
History / Background of Dulce de Leche
Dulce de leche, which literally translates to “sweet of milk” or “candy of milk,” has a rich and storied past deeply rooted in Latin American culture. While its exact origins are often debated, with claims from Argentina, Uruguay, Chile, Peru, and even Indonesia (as ‘dodol’), it’s widely accepted as a culinary cornerstone of South America, particularly Argentina. Legend has it that dulce de leche was accidentally discovered in Argentina in the early 19th century when a maid left milk and sugar heating on a stove. Returning later, she found a thick, brown, creamy substance—and thus, a delicious tradition was born!
This sweet concoction quickly became a beloved staple, enjoyed in countless ways across the continent. From spreading it on toast for breakfast to using it as a filling for alfajores (sandwich cookies) or simply eating it by the spoonful, dulce de leche is more than just a dessert; it’s a taste of history, comfort, and tradition.
Why You’ll Love This Recipe

- Incredibly Creamy and Smooth This recipe yields a texture that’s absolutely divine, perfect for spreading or drizzling.
- Rich, Deep Caramel Flavor The slow cooking process develops an unparalleled depth of flavor that store-bought versions can’t match.
- Simple Ingredients You only need a few basic items, likely already in your pantry.
- Beginner-Friendly With clear steps, even first-time makers will achieve success.
- Versatile Treat Enjoy it on its own, with fruit, in desserts, or as a coffee sweetener.
- Wonderful Homemade Gift Jarred dulce de leche makes a thoughtful and delicious present.
Ingredient Notes

Making dulce de leche doesn’t require a long list of fancy ingredients, which is part of its charm! Here’s what you’ll need and why each plays a role:
- Whole Milk This is the star of the show. Using whole milk is crucial for achieving that rich, creamy texture and deep flavor. Skim or low-fat milk won’t yield the same luscious results.
- Granulated Sugar The sweetener that caramelizes and gives dulce de leche its signature sweetness and color.
- Baking Soda Just a tiny pinch! This might seem unusual, but baking soda helps prevent the milk from curdling, and more importantly, it speeds up the browning process by raising the pH, contributing to that beautiful golden-brown hue.
- Vanilla Extract (Optional) A touch of vanilla at the end enhances the overall flavor, adding a warm, aromatic note. Use good quality extract for the best taste.
- A Pinch of Salt (Optional) A tiny bit of salt can balance the sweetness and deepen the caramel flavor, making it even more irresistible.
Equipment Needed

- Heavy-Bottomed Pot A large, heavy-bottomed pot (at least 3-4 quart capacity) is essential. The heavy bottom helps distribute heat evenly and prevents scorching. Make sure it’s tall enough to accommodate the milk as it boils and expands.
- Whisk For constant stirring, especially towards the end, a good whisk will be your best friend to prevent lumps and ensure smoothness.
- Heatproof Spatula or Wooden Spoon Useful for scraping down the sides of the pot.
- Measuring Cups and Spoons For accurate ingredient measurements.
- Heatproof Jars with Lids For storing your delicious homemade dulce de leche.
Full Recipe Card
Yields: Approximately 2 cupsPrep time: 5 minutesCook time: 1.5-2.5 hours
Ingredients
- 4 cups (1 liter) whole milk
- 1.5 cups (300g) granulated sugar
- 1/2 teaspoon baking soda
- 1 teaspoon vanilla extract (optional)
- Pinch of salt (optional)
Instructions
- Combine Ingredients In your large, heavy-bottomed pot, combine the whole milk, granulated sugar, and baking soda. Stir well with a whisk to dissolve the sugar.
- Bring to a Gentle Boil Place the pot over medium-high heat. Bring the mixture to a gentle boil, stirring occasionally to prevent the milk from scorching on the bottom.
- Reduce Heat and Simmer Once it reaches a boil, immediately reduce the heat to low. The mixture should be at a very gentle simmer, just barely bubbling.
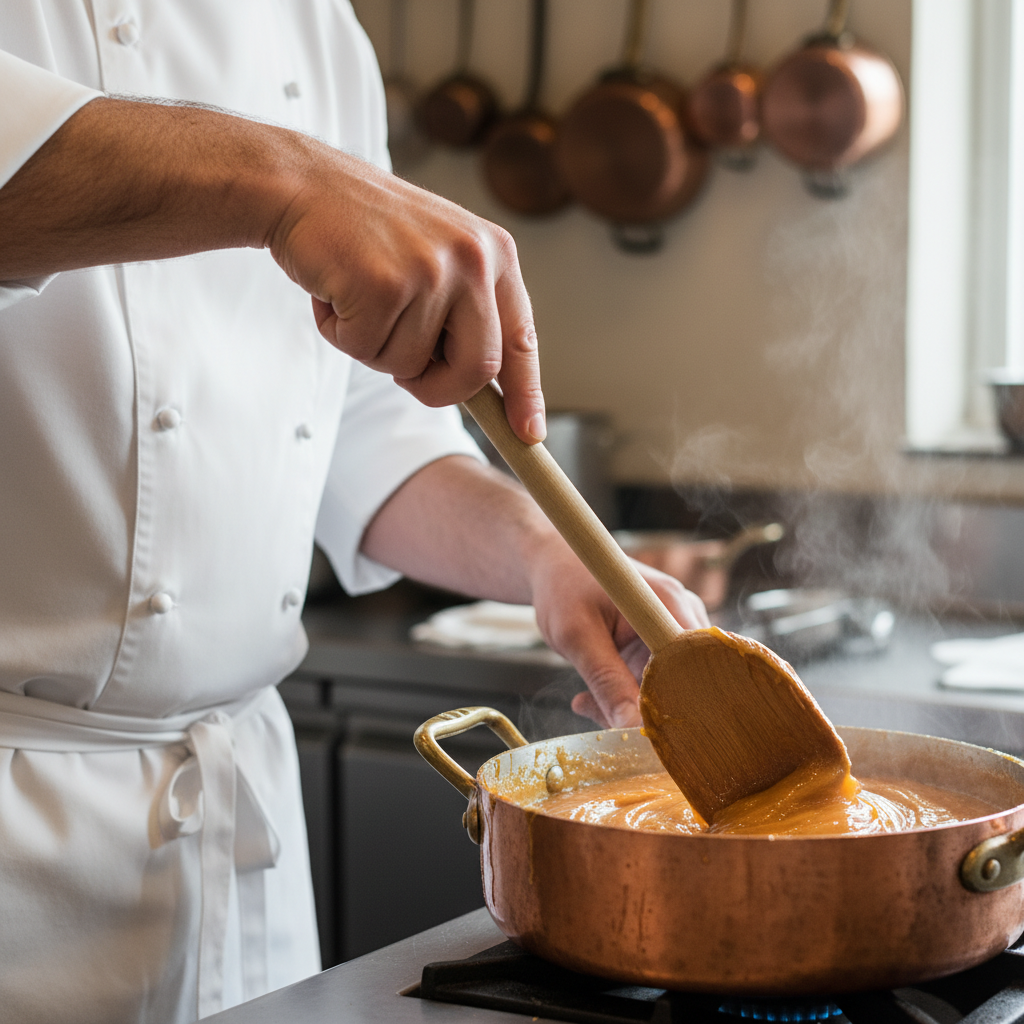
- Stir Frequently This is the most important step! Simmer uncovered, stirring frequently (every 5-10 minutes at first, then more often as it thickens) for 1.5 to 2.5 hours. As the milk evaporates, the mixture will thicken and turn a beautiful golden-brown color.
- Watch for Thickness Towards the end of the cooking time (usually after 1.5 hours), you’ll notice it thickening considerably. At this point, you’ll need to stir almost continuously to prevent it from sticking and burning.
- Check for Doneness The dulce de leche is ready when it coats the back of a spoon and you can draw a line through it with your finger that doesn’t immediately fill in. It will continue to thicken as it cools. The color should be a rich caramel brown.
- Finish and Cool Remove the pot from the heat. Stir in the vanilla extract and a pinch of salt (if using). If there are any small lumps, you can pass the dulce de leche through a fine-mesh sieve or use an immersion blender for a super smooth consistency.
- Store Pour the warm dulce de leche into clean, heatproof jars. Let it cool completely to room temperature before covering tightly and storing in the refrigerator.
Notes
- The cooking time can vary significantly depending on your pot, stove, and even humidity. Be patient!
- Resist the urge to turn up the heat too high; slow and steady wins the race for perfect dulce de leche.
- If it gets too thick upon cooling, you can gently reheat it with a splash of milk or water to reach your desired consistency.
Tips & Variations
Once you master the basic recipe, the world of dulce de leche variations opens up! Here are some ideas to get your creative juices flowing:
- Spiced Dulce de Leche Add a cinnamon stick, a few cardamom pods, or a star anise to the milk mixture at the beginning of cooking. Remove them before storing.
- Coffee Dulce de Leche Stir in a teaspoon of instant espresso powder or strong brewed coffee along with the vanilla for a delightful coffee-caramel flavor.
- Salted Dulce de Leche A sprinkle of flaky sea salt on top of your finished dulce de leche or a slightly larger pinch stirred in at the end can elevate the flavor beautifully.
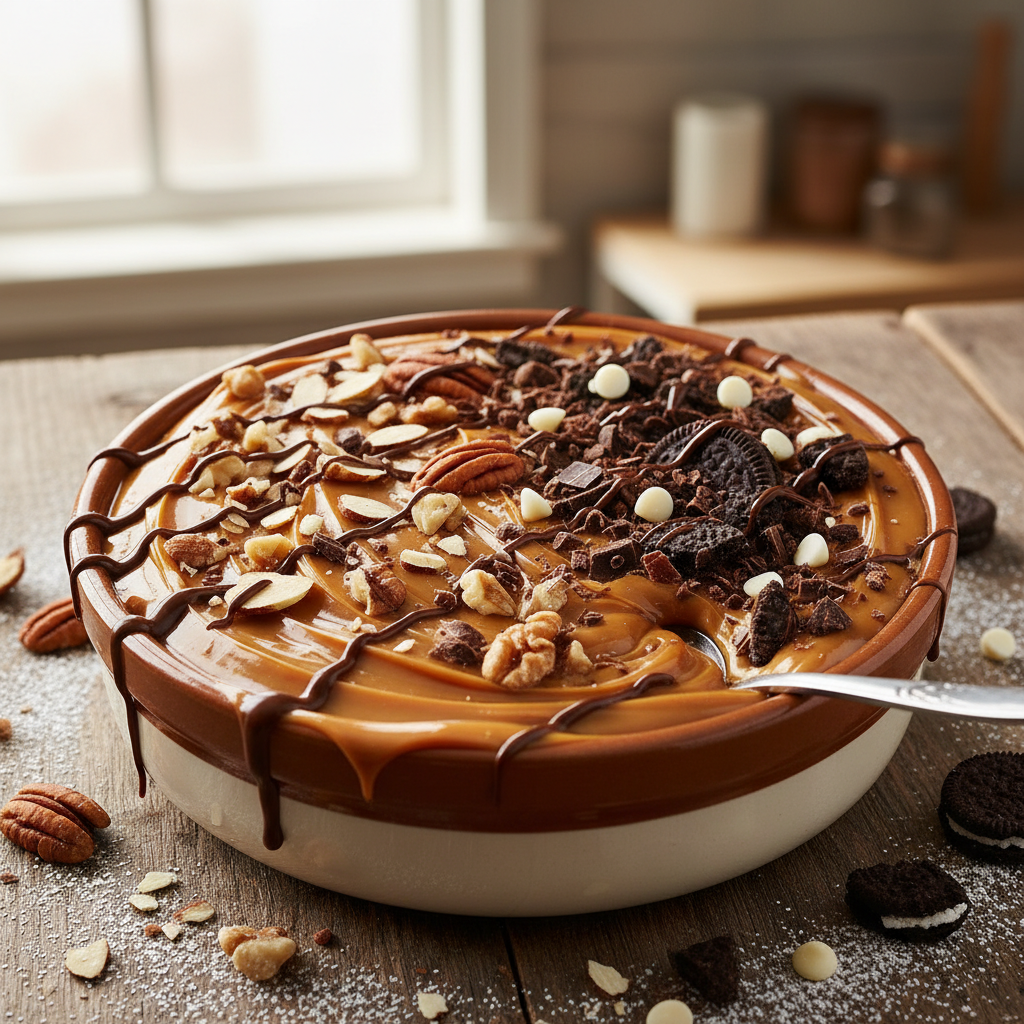
- Chocolate Dulce de Leche Melt in a few ounces of good quality dark chocolate at the very end, after removing from heat, for a rich, decadent treat.
Pro Chef Tips
To achieve truly professional-level dulce de leche, keep these insights in mind:
- Use a Wide, Shallow Pot While a tall pot helps prevent boil-overs, a wider, shallower pot increases the surface area, allowing for faster evaporation and potentially a quicker cooking time. Just be extra vigilant with stirring!
- The “Cold Plate” Test To check for doneness more accurately, place a small spoon of hot dulce de leche onto a chilled plate. Let it cool for a minute, then push it with your finger. If it wrinkles and holds its shape, it’s ready.
- Immersion Blender for Silky Smoothness If you desire an absolutely lump-free, silky-smooth dulce de leche, use an immersion blender directly in the pot after cooking. This step is optional but highly recommended for a professional finish.
- Don’t Scrape Too Hard When stirring, try not to aggressively scrape the very bottom of the pot, especially if any milk solids have browned too much. This can introduce tiny, slightly burnt bits into your otherwise perfect dulce de leche.
Common Mistakes to Avoid

Even though this recipe is beginner-friendly, there are a few common pitfalls to watch out for:
- Not Stirring Enough This is the number one culprit for scorched bottoms and lumpy dulce de leche. Stirring prevents sticking and ensures even caramelization.
- Using Low-Fat Milk As mentioned, whole milk is essential for the right texture and richness. Low-fat alternatives will yield a thinner, less satisfying result.
- Cooking on Too High Heat Patience is key! High heat will cause the milk to scorch before it properly caramelizes, leading to a burnt taste and texture. Keep it at a gentle simmer.
- Under-cooking or Over-cooking If under-cooked, it will be too thin. If over-cooked, it can become too thick, grainy, or even burn. Pay attention to the visual cues and the cold plate test.
- Using a Thin-Bottomed Pot A thin pot is prone to hot spots and burning. Invest in a good quality, heavy-bottomed pot for best results.
Storage & Meal Prep
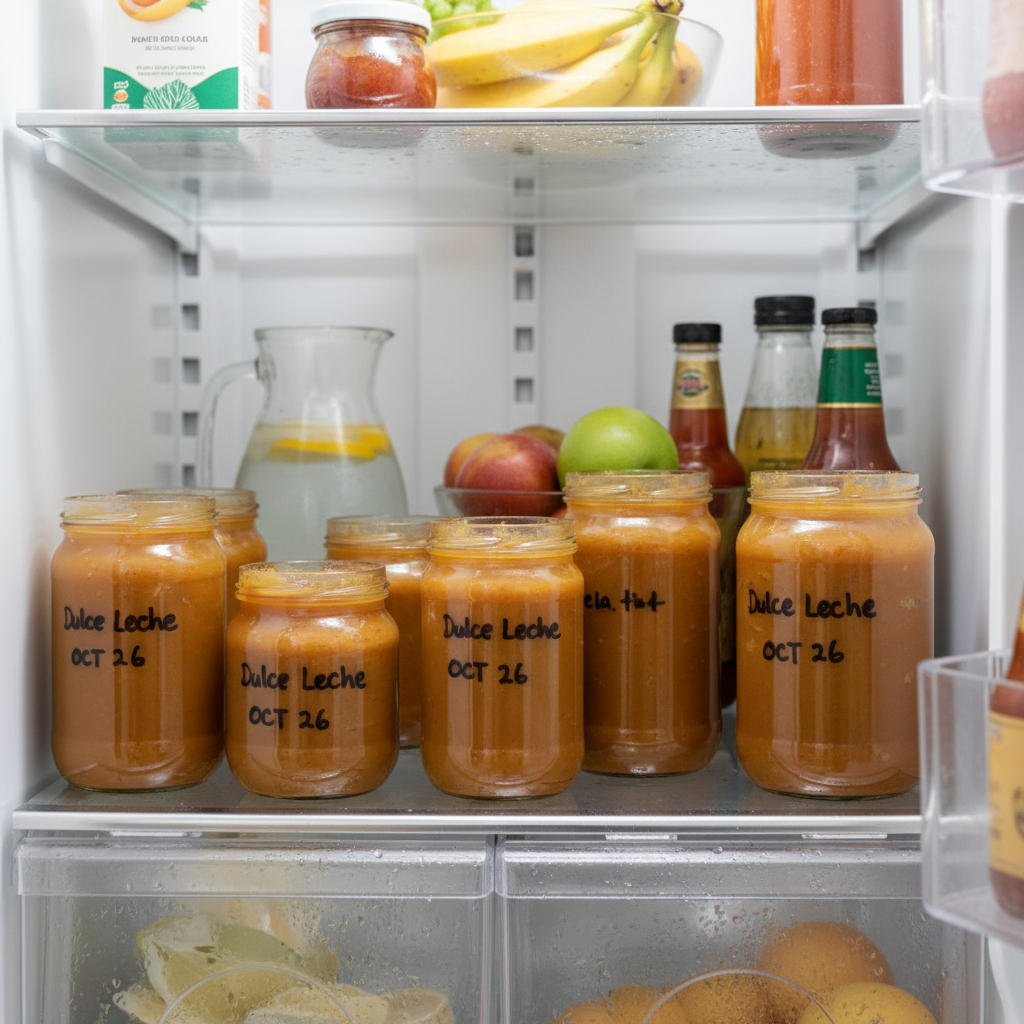
Once your glorious homemade dulce de leche has cooled, transfer it to clean, airtight jars. It will keep beautifully in the refrigerator for up to 3-4 weeks. The texture might firm up a bit when cold, but it will soften again at room temperature or with a gentle warming.
For meal prep, consider making a larger batch to have on hand for various uses throughout the week. It’s perfect for quick breakfasts or dessert additions.
Make-Ahead & Freezer Notes

Dulce de leche is an excellent make-ahead component! Its flavor deepens slightly after a day or two, making it even more delicious. You can prepare it a week or two in advance of when you plan to use it.
Yes, you can freeze dulce de leche! Pour it into freezer-safe containers, leaving a little headspace, or even into ice cube trays for individual portions. It will keep well in the freezer for up to 3 months. Thaw overnight in the refrigerator or gently warm on the stovetop or in the microwave until smooth.
Serving Suggestions

The possibilities for enjoying homemade dulce de leche are endless! Here are just a few delicious ideas:
- Classic Spoonful Honestly, sometimes the best way is straight from the spoon!
- Dessert Topping Drizzle it over ice cream, pancakes, waffles, crepes, or cheesecake.
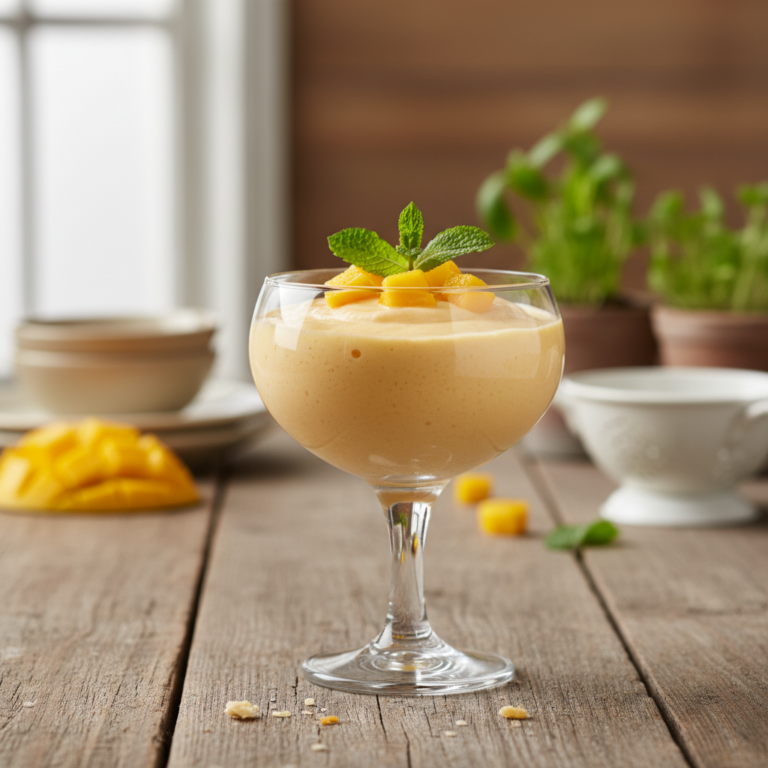
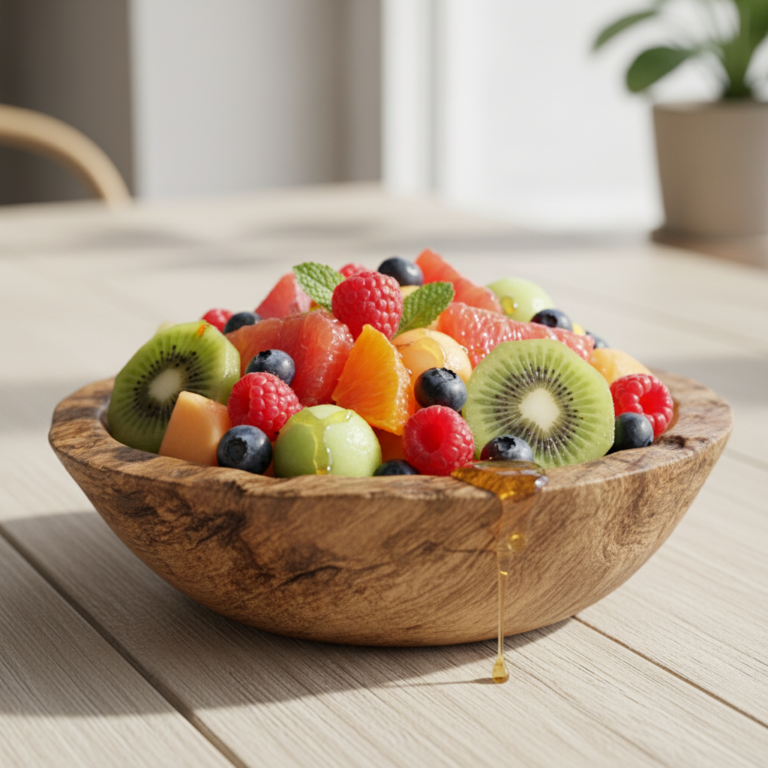
- Fruit Pairing Serve with sliced apples, bananas, or berries.
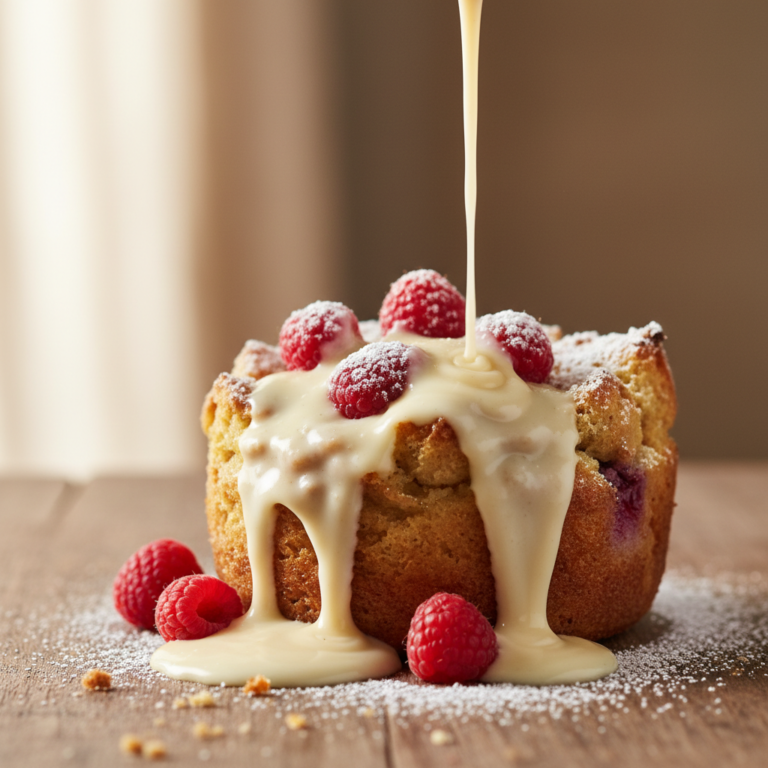
- Baked Goods Filling Use it to fill cakes, cupcakes, tarts, or the famous Argentine alfajores.
- Coffee Enhancer Stir a spoonful into your morning coffee or hot chocolate for a decadent treat.
- Toast or Pastry Spread A delightful alternative to jam or butter.
- Yogurt Parfait Layer with Greek yogurt and granola for a rich breakfast or snack.