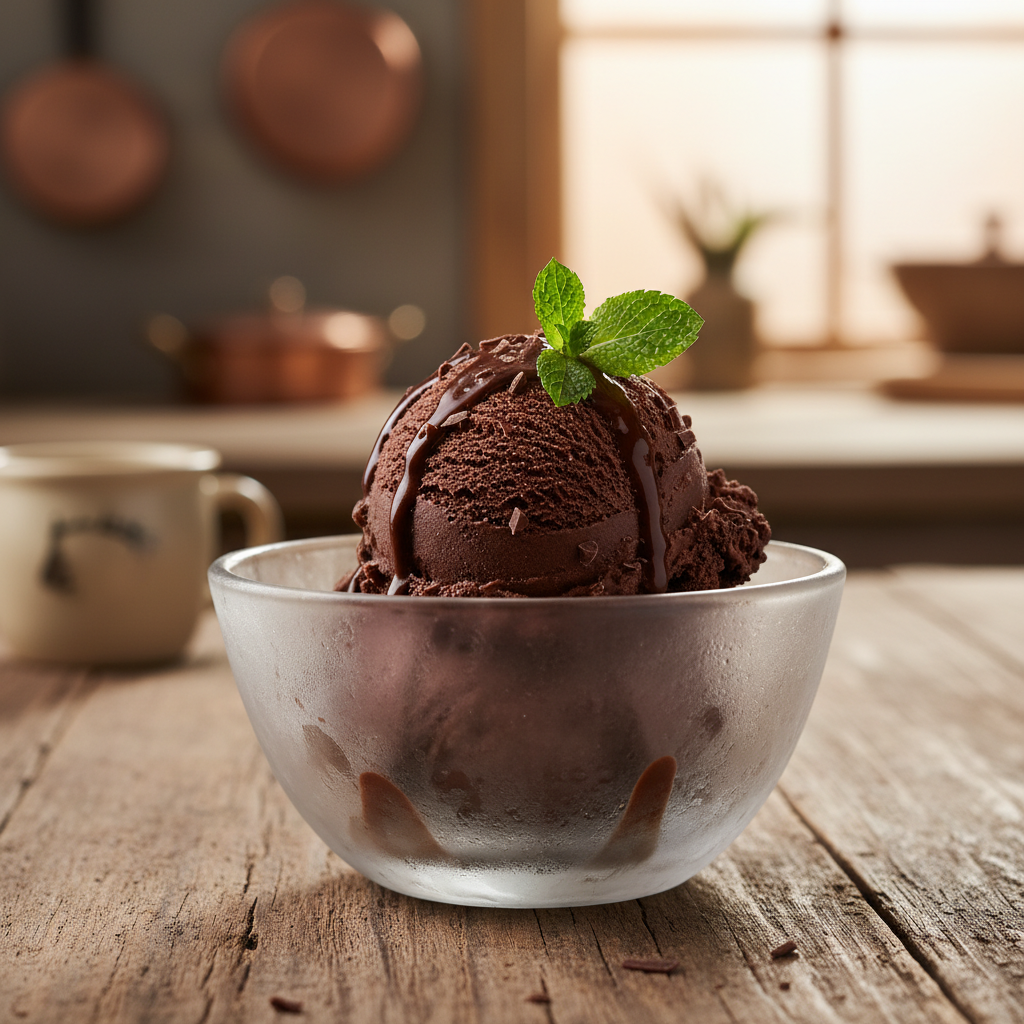
Who can resist the allure of perfectly creamy, intensely chocolatey ice cream? There’s something truly magical about a scoop of this frozen delight, especially when it’s made right in your own kitchen. Forget the store-bought tubs that often disappoint; today, we’re diving into the delightful world of homemade chocolate ice cream. This recipe is designed to be simple, straightforward, and utterly delicious, ensuring a rich, smooth dessert every single time. Get ready to churn up some pure joy!
History and Background of Ice Cream

The story of ice cream is as rich and fascinating as its flavor. Its origins can be traced back to ancient times, with records of flavored ices enjoyed by emperors and nobility. Think snow mixed with honey and fruit! Fast forward to the 16th century, and Italians were perfecting sorbettos, eventually leading to the creamy concoctions we know today. Chocolate, a beloved flavor, joined the ice cream scene much later, gaining popularity in the 18th and 19th centuries as chocolate became more accessible. Combining the smooth texture of ice cream with the deep, comforting taste of chocolate was a stroke of genius that has delighted taste buds ever since.
Why You’ll Love This Recipe

- Unbelievably Creamy Texture This recipe delivers a consistently smooth and luscious ice cream, free from ice crystals.
- Rich, Deep Chocolate Flavor We use quality cocoa powder to ensure an intense, satisfying chocolate experience.
- Simple Ingredients You’ll only need a handful of common pantry staples to create this masterpiece.
- Beginner-Friendly Steps Our instructions are clear and easy to follow, perfect for first-time ice cream makers.
- Customizable Fun Easily add your favorite mix-ins or toppings to make it uniquely yours.
- No Artificial Additives Enjoy pure, wholesome goodness without any hidden nasties.
Ingredient Notes for Perfect Ice Cream
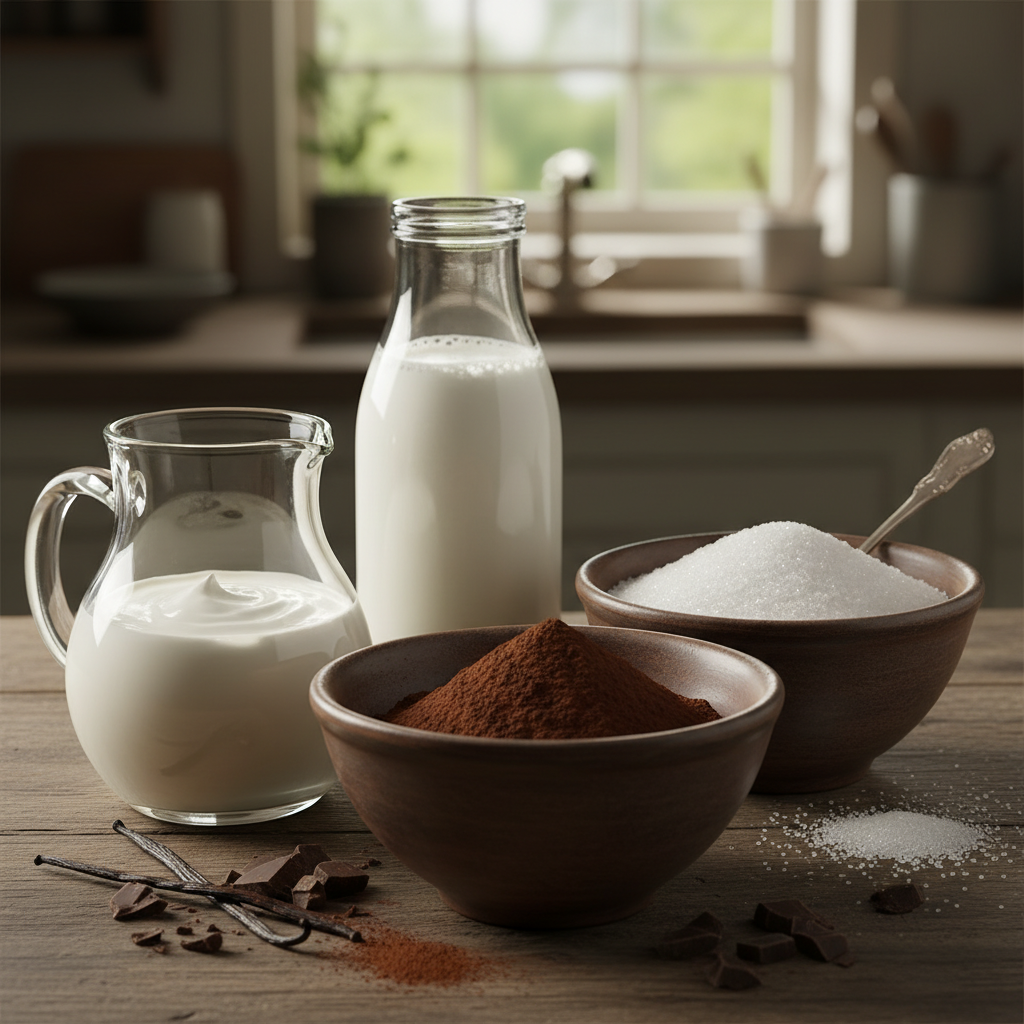
The secret to great ice cream lies in great ingredients. Here’s what you’ll need and why each component is crucial:
- Heavy Cream This is your primary source of richness and contributes significantly to the creamy texture. Don’t substitute with lighter creams.
- Whole Milk Balances the richness of the heavy cream and provides liquid for the base.
- Granulated Sugar Sweetens the ice cream and also helps prevent it from freezing too solid, contributing to its scoopability.
- Unsweetened Cocoa Powder The star of the show! Use a good quality cocoa powder for the best chocolate flavor. Dutch-processed cocoa tends to offer a darker color and mellower flavor.
- Vanilla Extract Enhances the chocolate flavor and adds a touch of warmth. A good quality pure vanilla extract makes a noticeable difference.
- Pinch of Salt A tiny bit of salt actually brightens and intensifies the chocolate flavor, don’t skip it!
Equipment Needed for Success
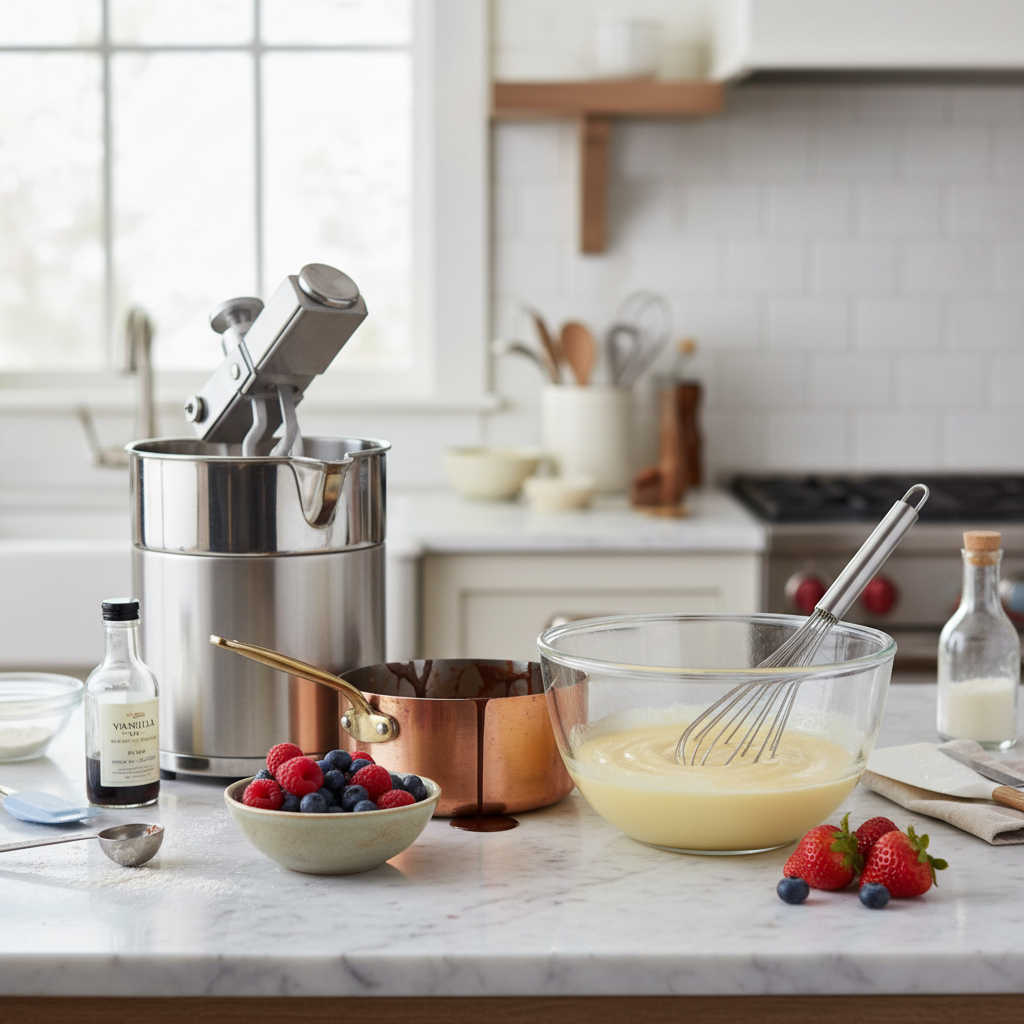
Having the right tools makes the process a breeze:
- Ice Cream Maker Essential for churning the mixture into smooth ice cream. Ensure its bowl is frozen solid for at least 24 hours prior.
- Medium Saucepan For heating the milk and dissolving the sugar and cocoa.
- Whisk To ensure all ingredients are well combined and smooth.
- Mixing Bowls For combining ingredients and chilling the base.
- Rubber Spatula For scraping down the sides of the pan and bowls, minimizing waste.
- Airtight Container For storing your finished ice cream in the freezer.
Full Recipe Card Homemade Chocolate Ice Cream
Ingredients
- 2 cups (480ml) heavy cream
- 1 cup (240ml) whole milk
- ¾ cup (150g) granulated sugar
- ½ cup (45g) unsweetened cocoa powder
- 1 teaspoon pure vanilla extract
- Pinch of salt
Instructions
- Combine Dry Ingredients In a medium saucepan, whisk together the granulated sugar, unsweetened cocoa powder, and a pinch of salt. This helps prevent lumps.
- Add Liquids and Heat Gradually whisk in the whole milk and heavy cream until smooth. Place the saucepan over medium heat, stirring constantly, until the sugar and cocoa powder are fully dissolved and the mixture is warm (do not boil). This usually takes about 5-7 minutes.
- Remove from Heat and Flavor Remove the saucepan from the heat. Stir in the vanilla extract.
- Chill Thoroughly Pour the chocolate mixture into a clean bowl. Cover it and refrigerate for at least 4 hours, or preferably overnight, until it is very cold. This step is crucial for creamy ice cream.
- Churn the Ice Cream Once the mixture is thoroughly chilled, pour it into your ice cream maker’s frozen bowl. Churn according to the manufacturer’s instructions, usually for 20-30 minutes, until the ice cream is thick and resembles soft-serve consistency.
- Transfer and Freeze Transfer the soft ice cream to an airtight freezer-safe container. Press a piece of parchment paper or plastic wrap directly onto the surface of the ice cream to prevent ice crystals from forming.
- Harden in Freezer Freeze for at least 2-4 hours, or until firm, before serving.
Recipe Notes
- For an even richer flavor, you can add 2 ounces of finely chopped dark chocolate to the warm base in step 3, stirring until melted.
- Ensure your ice cream maker bowl is frozen solid. A partially frozen bowl will result in an icy texture.
Tips and Variations for Your Ice Cream
Make this recipe your own with these fun ideas!
- Chocolate Chip Delight Fold in ½ cup of mini chocolate chips or chopped chocolate bars during the last 5 minutes of churning.
- Nutty Crunch Add ½ cup of toasted chopped pecans, walnuts, or almonds for a delightful texture.
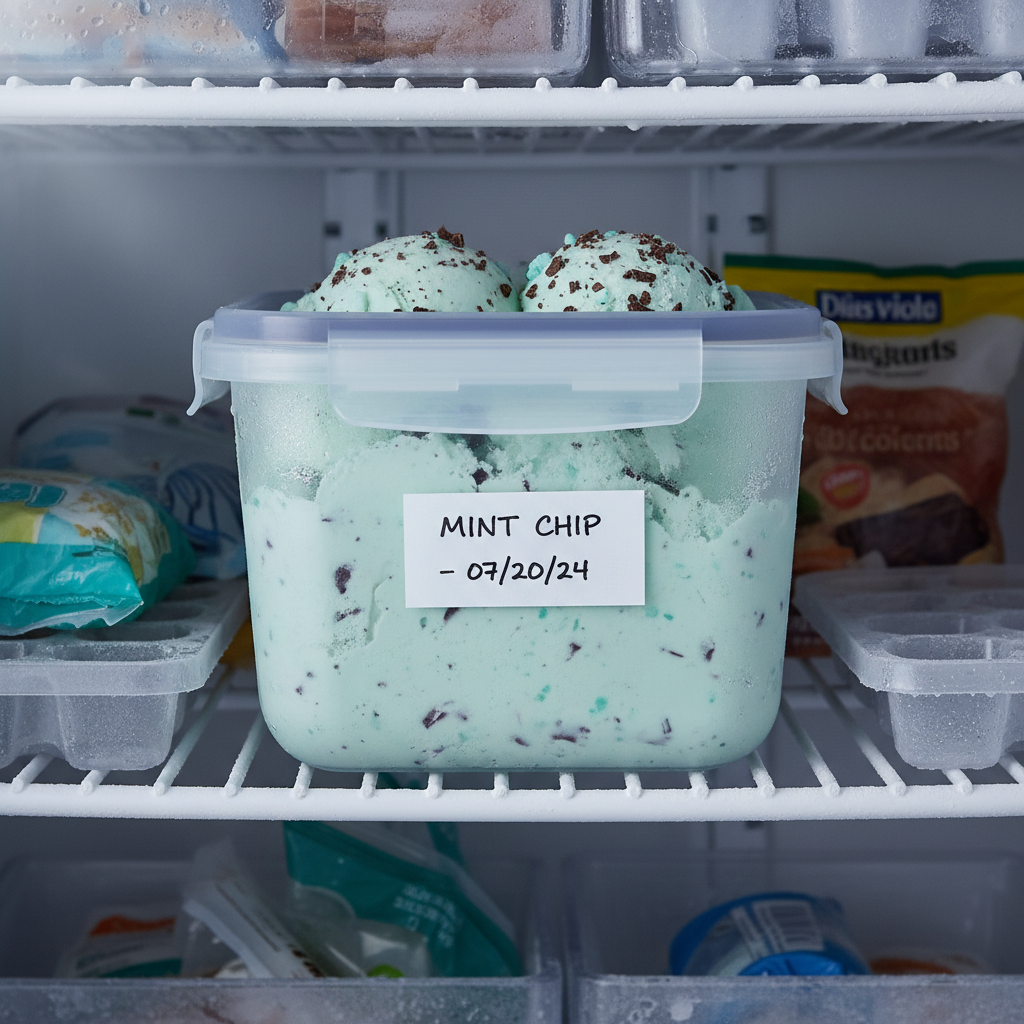
- Mint Chocolate Add ½ teaspoon of peppermint extract along with the vanilla for a refreshing twist.
- Coffee Kick Dissolve 1-2 teaspoons of instant espresso powder in the warm cream mixture for a mocha flavor.
- Swirls of Fun Drizzle in a ribbon of caramel sauce, fudge, or peanut butter during the last few minutes of churning.
Pro Chef Tips for Creamy Results
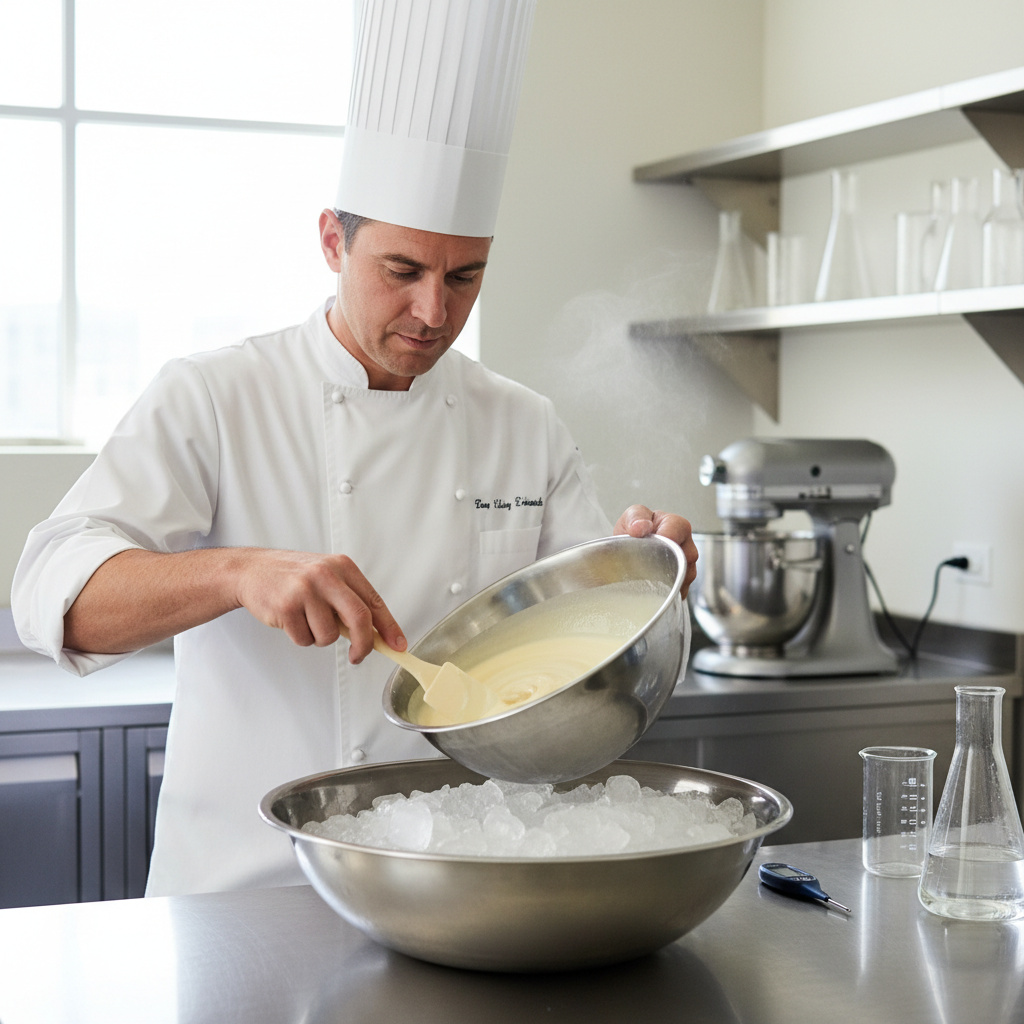
Achieve professional-level ice cream with these expert insights:
- Chill Your Base Thoroughly This is perhaps the most important tip. A super-cold base churns faster and produces smaller ice crystals, leading to a smoother, creamier texture.
- Don’t Overfill Your Machine Always leave some room for the ice cream to expand as it churns and incorporates air.
- Use Quality Ingredients Especially with cocoa powder and vanilla extract; their flavors really shine through.
- Pre-chill Your Storage Container Pop your freezer-safe container into the freezer for 30 minutes before transferring the soft ice cream. This helps prevent melting and re-freezing, which can cause iciness.
Common Mistakes to Avoid

Even seasoned home cooks can make mistakes. Here’s what to watch out for:
- Not Chilling the Base Enough As mentioned, a lukewarm base will lead to icy ice cream. Patience is key!
- Not Freezing the Ice Cream Maker Bowl Long Enough If the bowl isn’t completely frozen, the ice cream won’t churn properly.
- Using Low-Fat Dairy Products While tempting for health reasons, lower fat content will result in a less creamy, icier product. Stick to heavy cream and whole milk for true indulgence.
- Over-churning Churning for too long can sometimes lead to a slightly grainy texture. Follow your machine’s guidelines.
- Skipping the Salt A tiny pinch really does make a difference in enhancing the chocolate flavor.
Storage and Meal Prep
Proper storage ensures your homemade chocolate ice cream stays delicious for longer.
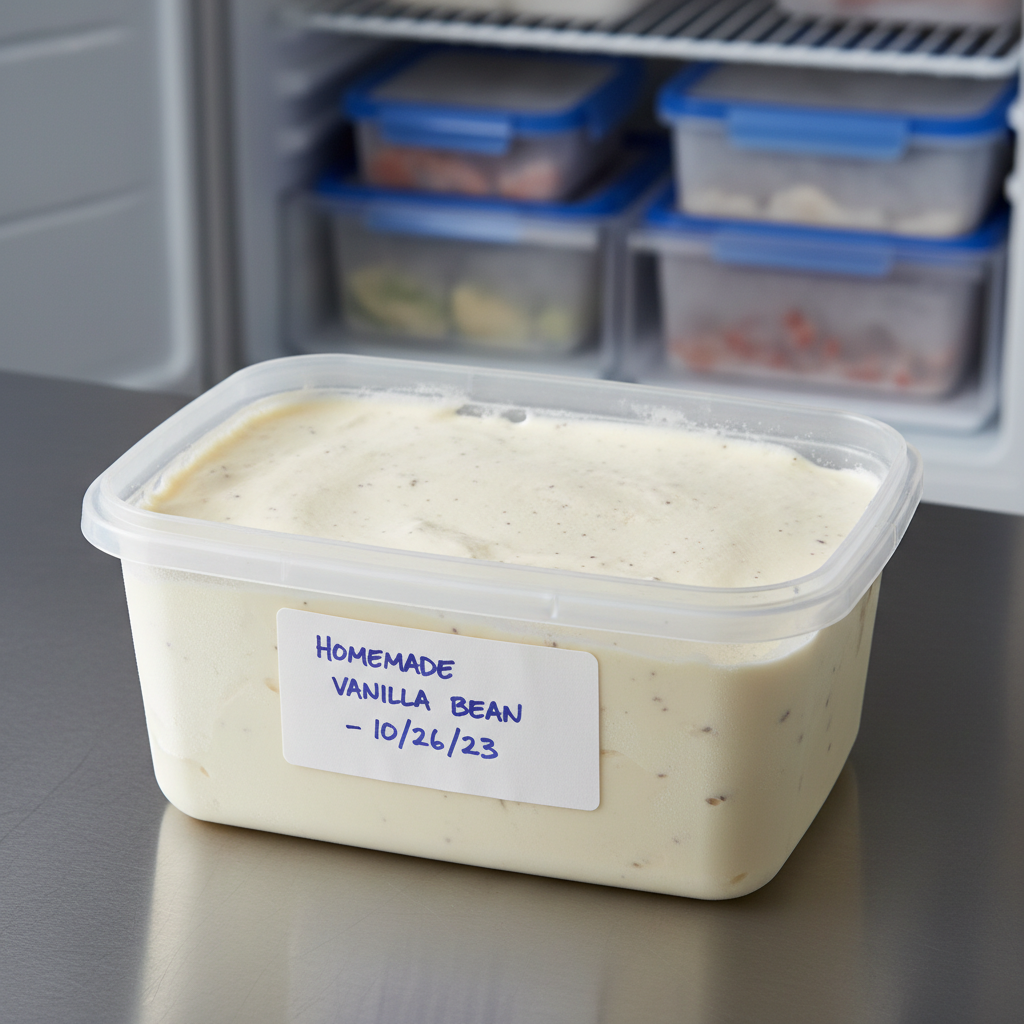
- Airtight Container Always store your ice cream in a freezer-safe, airtight container. This prevents freezer burn and keeps unwanted odors out.
- Surface Protection Press a piece of plastic wrap or parchment paper directly onto the surface of the ice cream before putting on the lid. This creates an extra barrier against air and ice crystal formation.
Make-Ahead and Freezer Notes
This recipe is perfect for making ahead!
- Make-Ahead You can prepare the ice cream base up to 2-3 days in advance and keep it chilled in the refrigerator. Churn it when you’re ready.
- Freezer Life Properly stored, homemade chocolate ice cream will last for about 2-3 weeks in the freezer. After that, its texture and flavor may start to degrade.
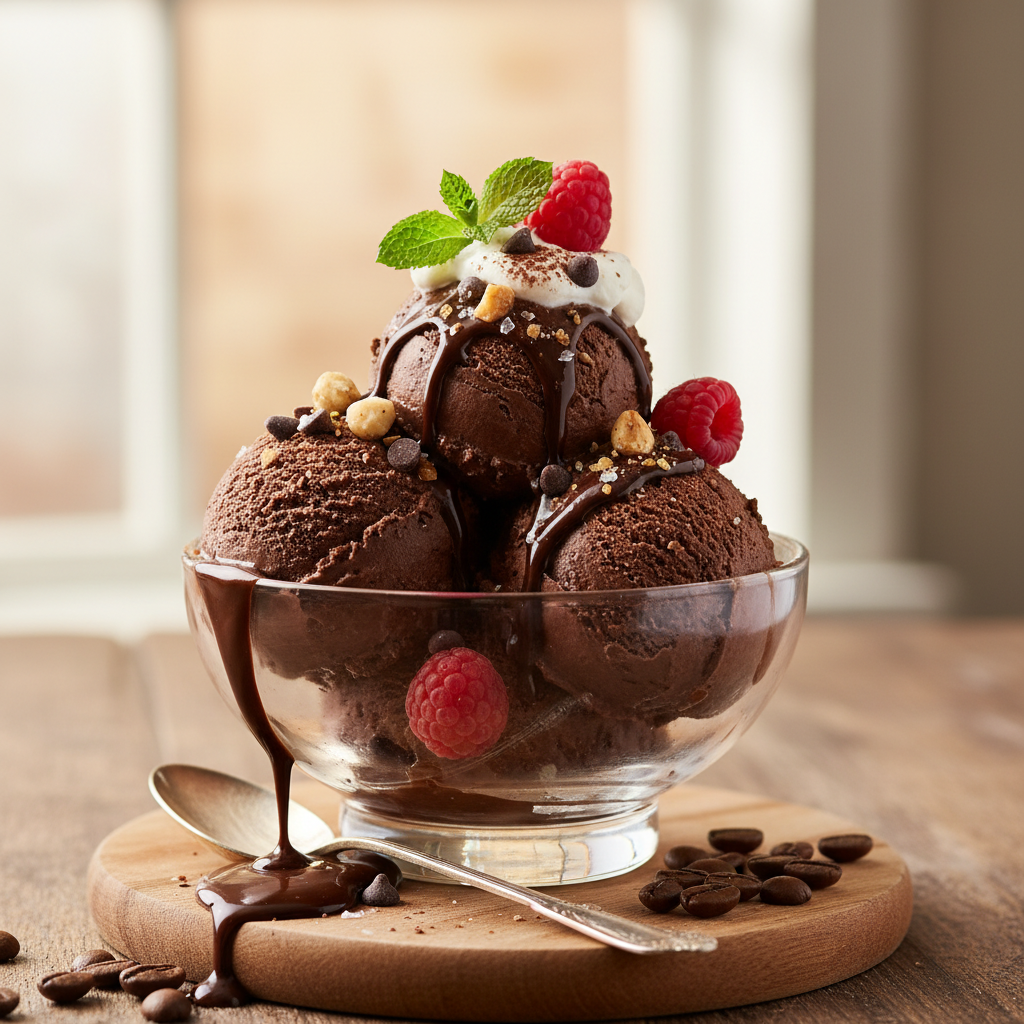
Serving Suggestions
Elevate your homemade chocolate ice cream experience with these serving ideas:
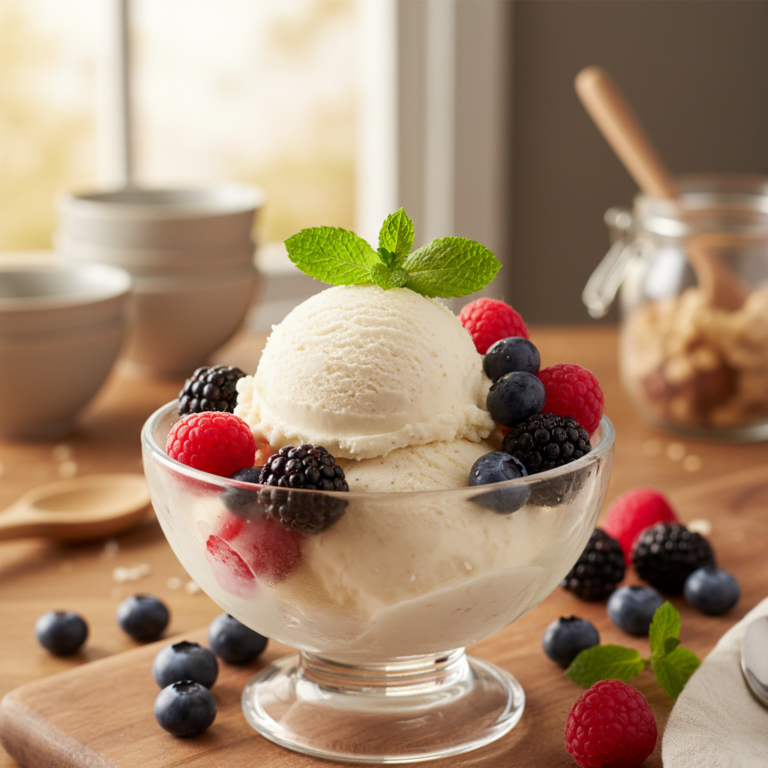
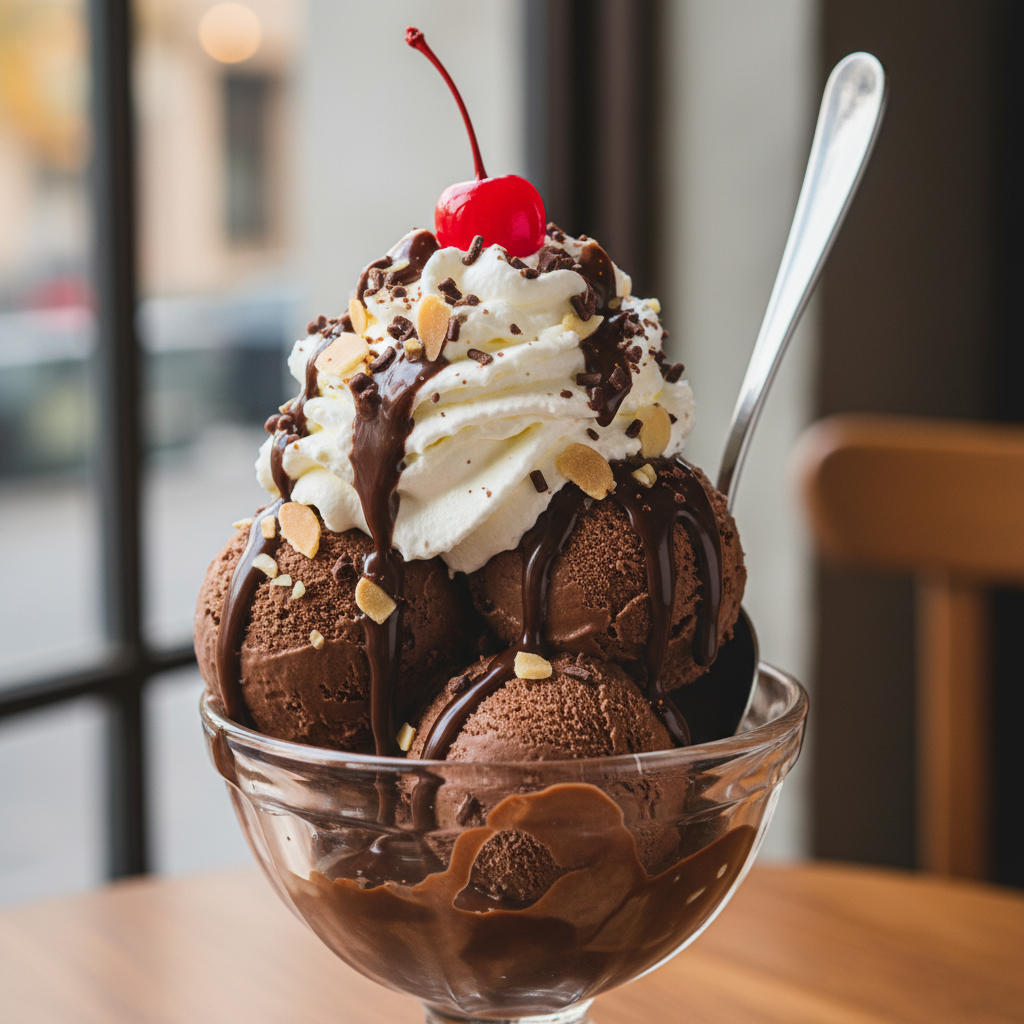
- Classic Cone or Bowl Sometimes, simple is best. Enjoy it plain in a waffle cone or a chilled bowl.
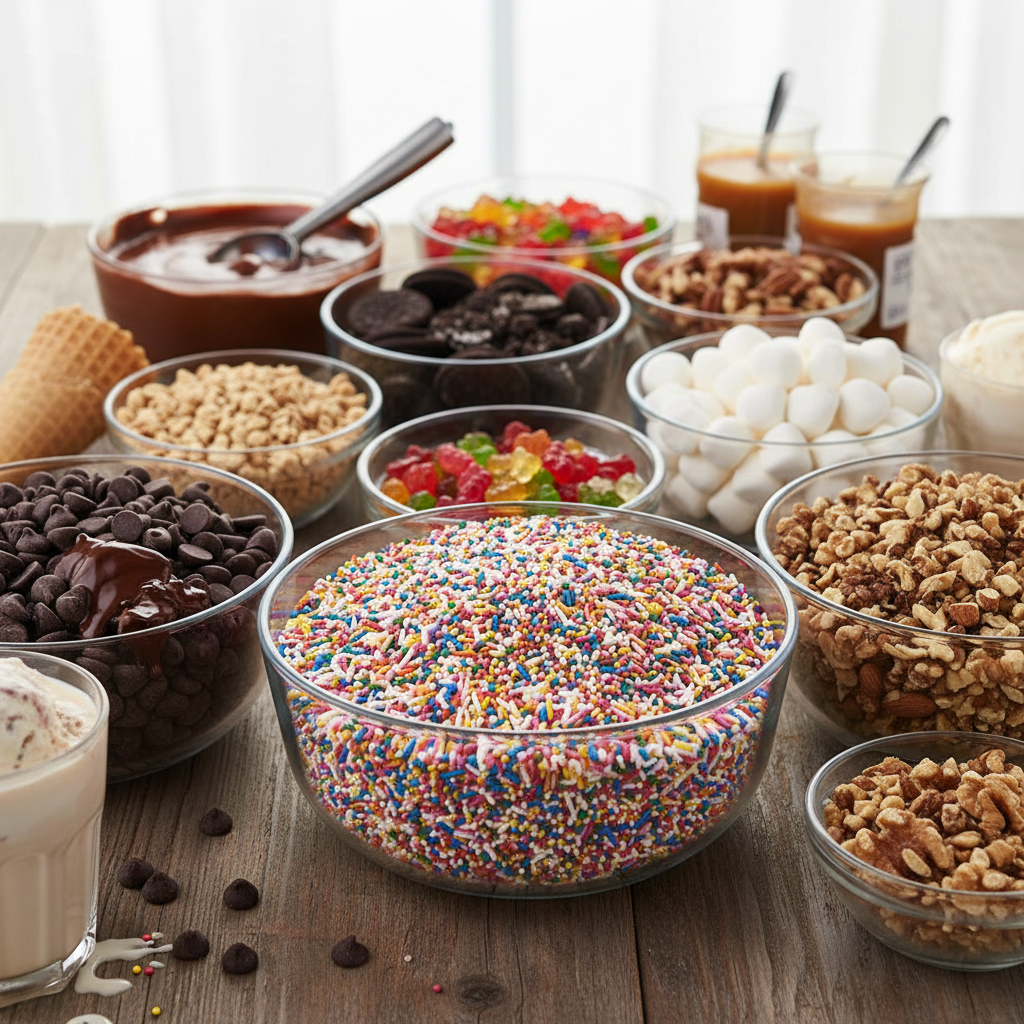
- Sundae Bar Set up a toppings bar with hot fudge, caramel sauce, whipped cream, sprinkles, chopped nuts, fresh berries, and even crushed cookies.
- Affogato Style Pour a shot of hot espresso over a scoop of chocolate ice cream for a delightful coffee-dessert hybrid.
- Milkshakes Blend a few scoops with milk and extra chocolate syrup for a decadent milkshake.
- Brownie à la Mode Serve a scoop alongside a warm fudgy brownie or a slice of apple pie.