Welcome, fellow dessert lovers and health enthusiasts! Are you constantly battling that sweet tooth while trying to stick to your fitness goals? What if I told you that you could have your brownie and eat it too, completely guilt-free? Yes, you heard that right! Today, we’re diving into the world of truly delicious, fudgy, and surprisingly healthy protein brownies. This isn’t just another dry, chalky protein bar disguised as a brownie. Oh no! This is the real deal—a rich, chocolatey treat that satisfies your cravings and fuels your body. Get ready to bake a batch that will become your new favorite go-to snack!
History / Background
The humble brownie has a fascinating origin story, often traced back to the late 19th century in the United States. Legend has it that the first brownie was created when a chef at Chicago’s Palmer House Hotel was asked to create a dessert for ladies attending the World’s Columbian Exposition in 1893—something smaller than a piece of cake but with cake-like qualities. Fast forward to today, and the brownie has evolved from a simple dessert to a versatile canvas for culinary innovation. The concept of ‘protein brownies’ is a much more recent development, born from the growing health and fitness movement. As people became more conscious of their macronutrient intake, especially protein, creative cooks began experimenting with ways to infuse this essential nutrient into beloved treats. The goal was to create a dessert that not only tasted amazing but also offered functional benefits, like muscle recovery or satiety. This recipe stands on the shoulders of those delicious traditions, bringing you the best of both worlds—indulgence and nutrition.
Why You’ll Love This Recipe
- Seriously Fudgy No dry, crumbly textures here! These brownies are incredibly moist and rich.
- Packed with Protein A fantastic way to boost your protein intake without feeling like you’re eating a supplement.
- Easy to Make Beginner-friendly steps and common ingredients mean anyone can bake these.
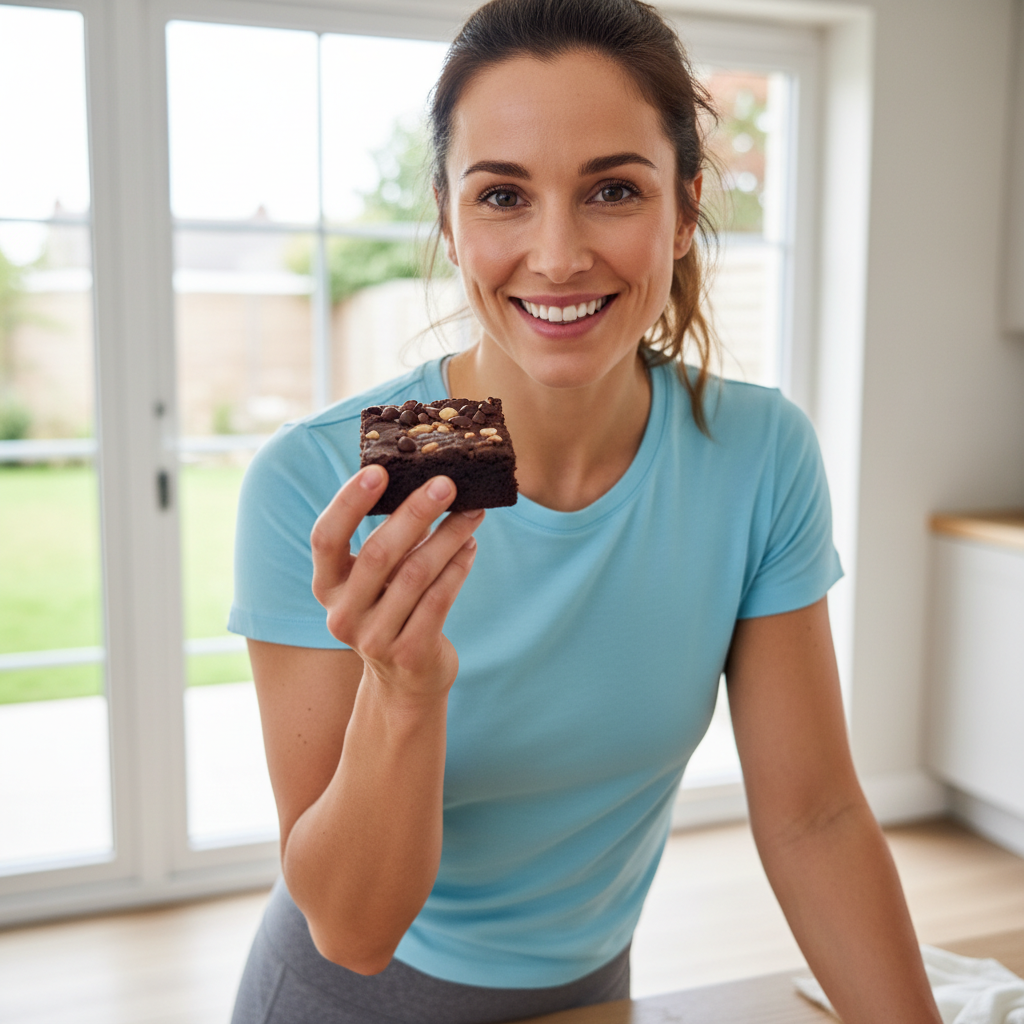
- Guilt-Free Indulgence Enjoy a decadent treat that aligns with your healthy lifestyle goals.
- Versatile Easily adaptable with various add-ins to suit your taste.
- Kid-Friendly A healthy treat that even the pickiest eaters will love.
Ingredient Notes
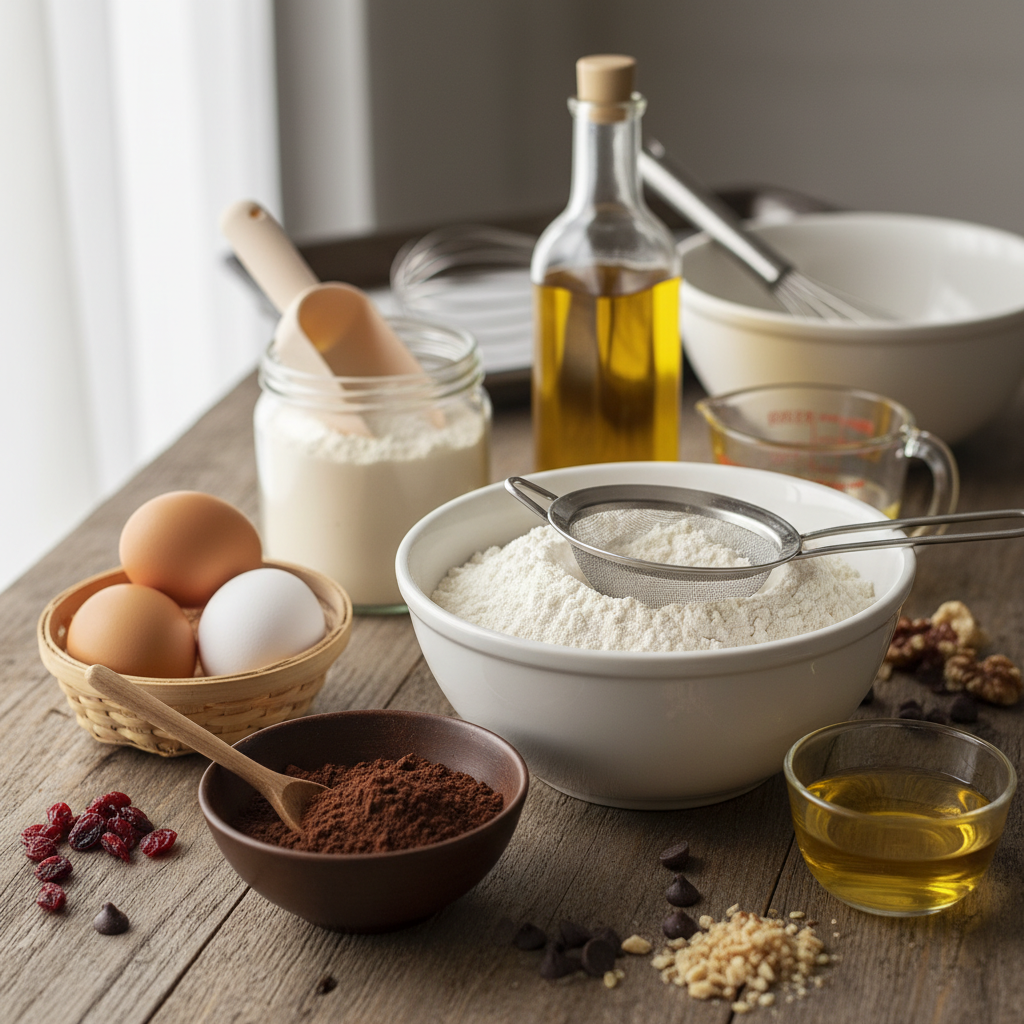
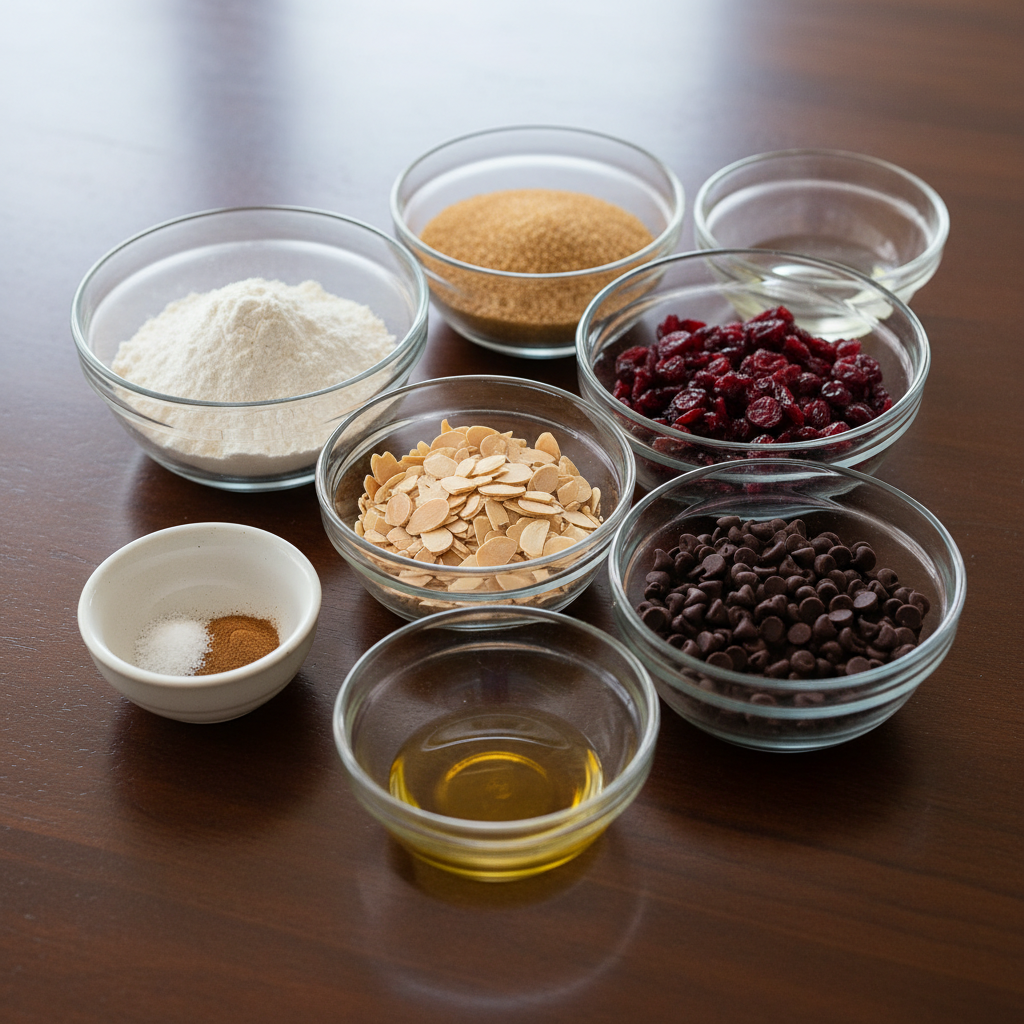
To make these amazing protein brownies, you’ll need a few key ingredients. Here’s a quick rundown of why each one is important and what to look for:
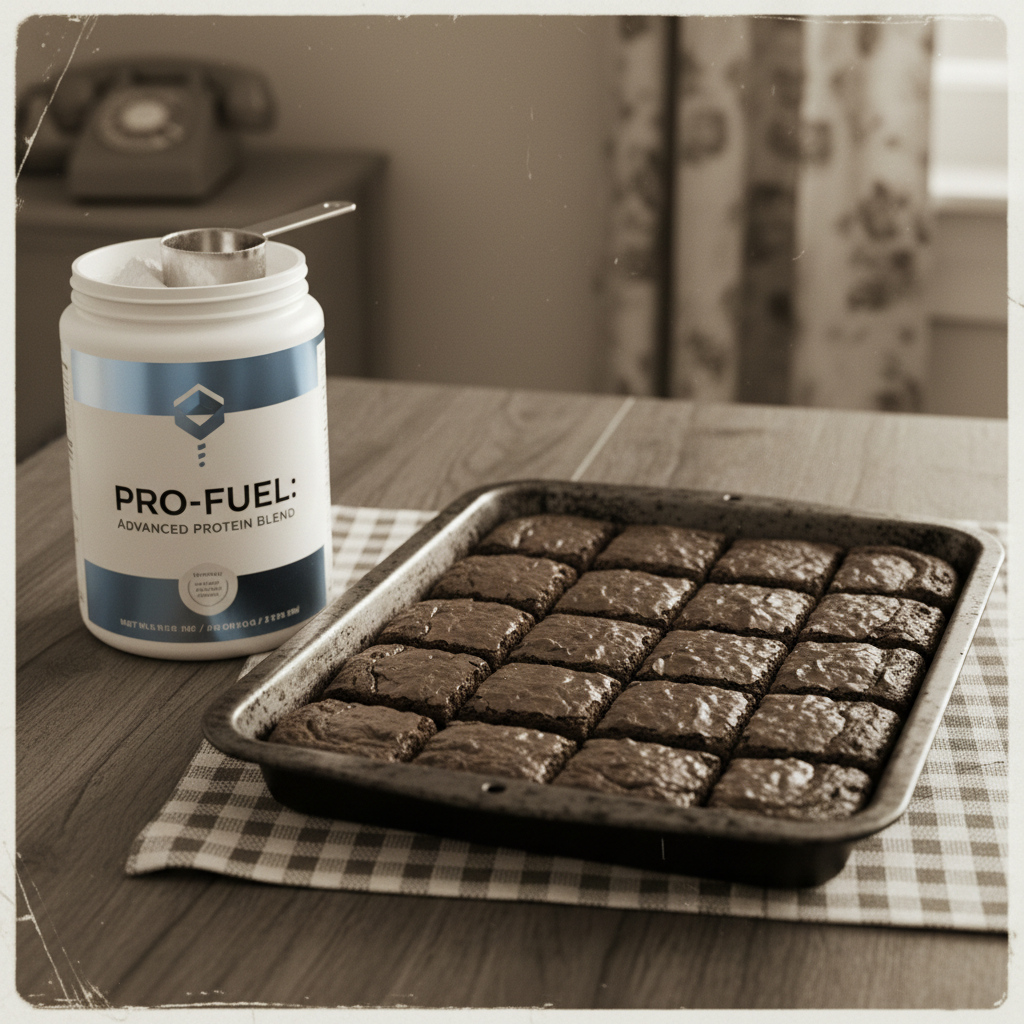
- Whey Protein Powder (chocolate or unflavored) This is our star ingredient for the protein boost. Chocolate protein powder enhances the flavor, but unflavored works too if you want to control the chocolate intensity. Opt for a good quality whey protein for best results.
- Unsweetened Cocoa Powder For that deep, rich chocolate flavor without added sugar. Dutch-processed cocoa powder often gives a darker color and milder flavor.
- All-Purpose Flour Just a little bit helps with structure. You can experiment with oat flour for a gluten-free option.
- Sweetener (Erythritol, Stevia blend, or Coconut Sugar) Choose your preferred low-calorie or natural sweetener. Adjust to your taste!
- Eggs Bind everything together and add moisture.
- Unsweetened Applesauce or Mashed Banana Replaces some of the fat and adds natural sweetness and moisture.
- Melted Coconut Oil or Light Olive Oil A small amount for fudginess and richness.
- Vanilla Extract Enhances all the other flavors.
- Baking Powder Helps with a slight lift.
- Pinch of Salt Balances the sweetness and deepens the chocolate flavor.
- Optional Chocolate Chips (sugar-free or dark chocolate) For extra chocolatey goodness!
Equipment Needed
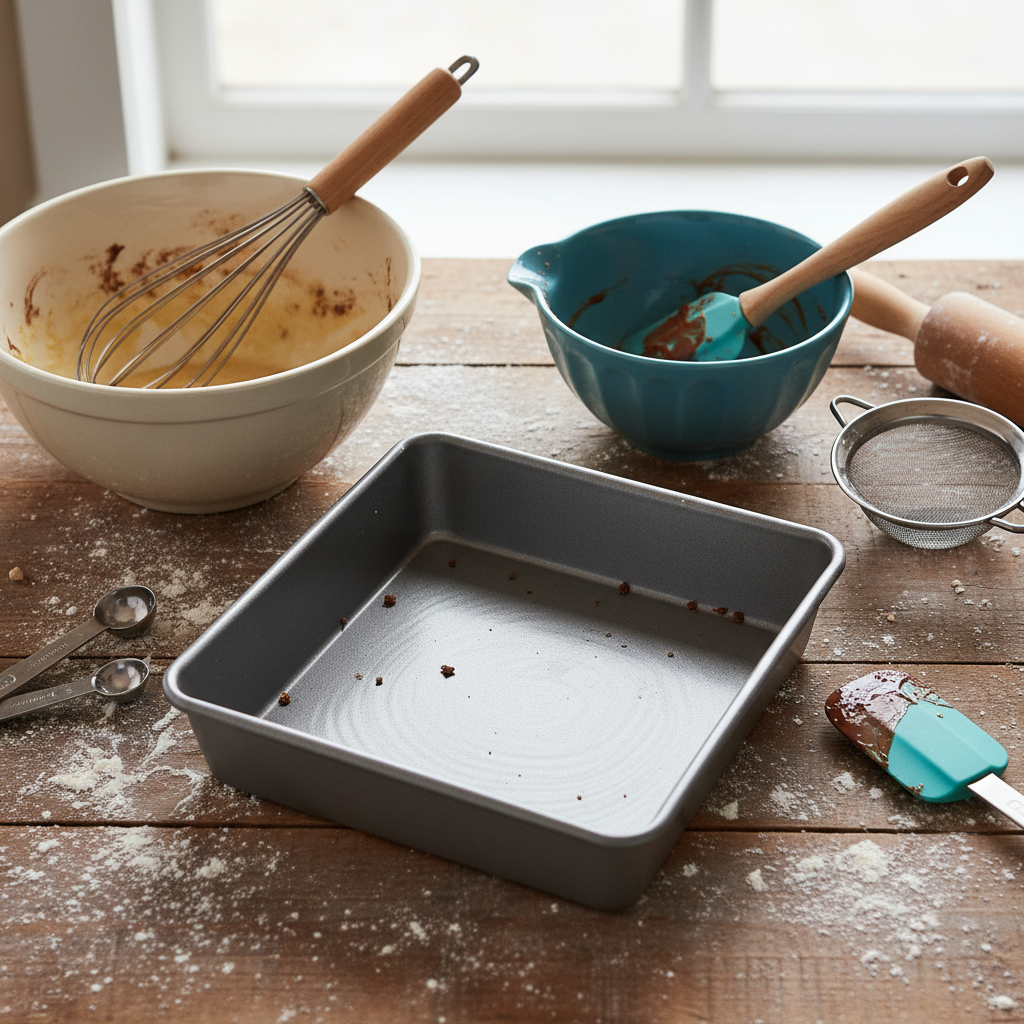
You won’t need anything fancy to whip up these brownies. Here’s what will make your baking experience smooth:
- 8×8 inch baking pan Lined with parchment paper for easy removal.
- Large mixing bowl For combining wet and dry ingredients.
- Whisk or electric mixer To ensure everything is well combined.
- Rubber spatula For scraping down the sides of the bowl and spreading the batter.
- Measuring cups and spoons For accurate ingredient amounts.
Full Recipe Card
Ingredients
- 1/2 cup (60g) chocolate or unflavored whey protein powder
- 1/2 cup (50g) unsweetened cocoa powder
- 1/4 cup (30g) all-purpose flour (or oat flour for gluten-free)
- 1/2 cup (100g) granulated sweetener of choice (erythritol, stevia blend, or coconut sugar)
- 1 teaspoon baking powder
- 1/4 teaspoon salt
- 2 large eggs
- 1/2 cup (120g) unsweetened applesauce or mashed ripe banana
- 1/4 cup (60ml) melted coconut oil or light olive oil
- 1 teaspoon vanilla extract
- 1/4 cup (40g) sugar-free or dark chocolate chips (optional)
Instructions
- Preheat Oven Preheat your oven to 350°F (175°C). Line an 8×8 inch baking pan with parchment paper, leaving an overhang on the sides for easy removal.
- Combine Dry Ingredients In a large mixing bowl, whisk together the protein powder, cocoa powder, flour, sweetener, baking powder, and salt. Make sure there are no lumps.
- Combine Wet Ingredients In a separate medium bowl, whisk together the eggs, applesauce (or mashed banana), melted coconut oil (or olive oil), and vanilla extract until well combined.
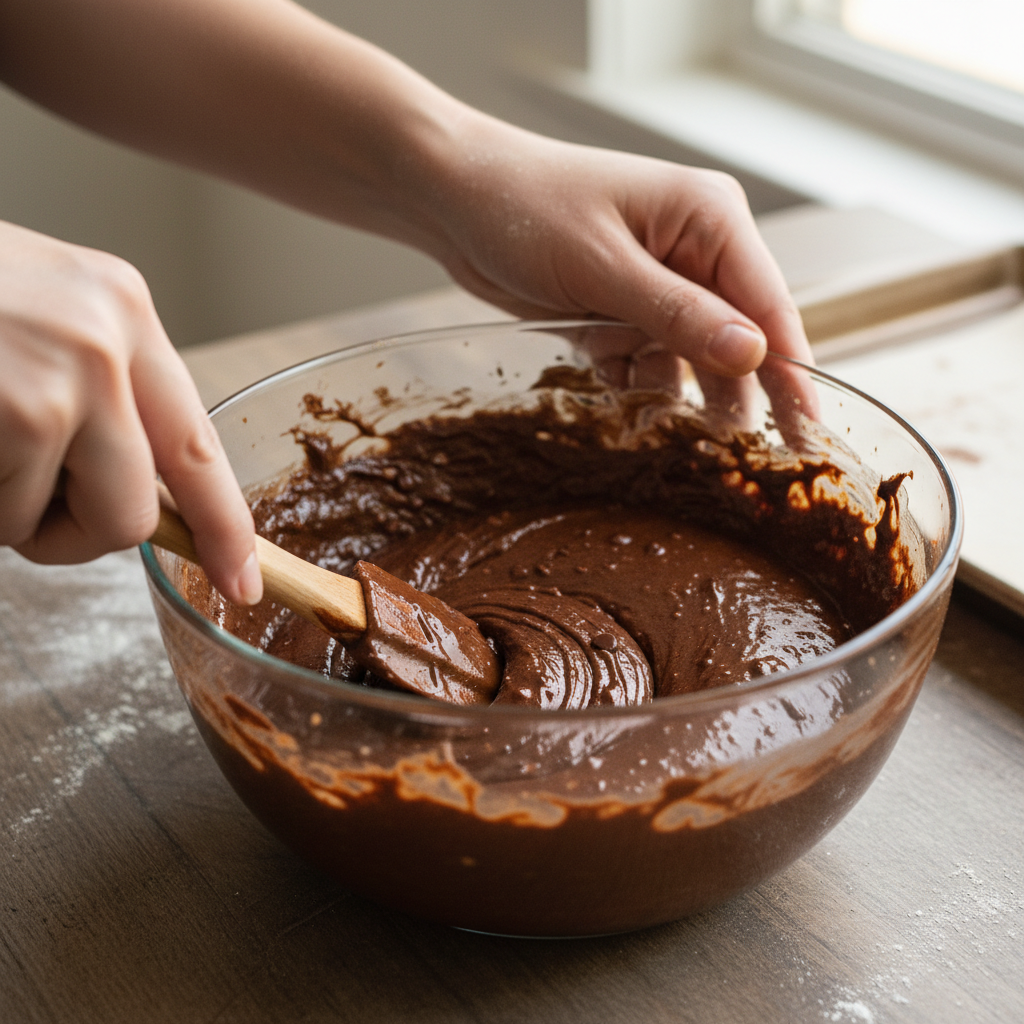
- Mix Wet and Dry Pour the wet ingredients into the dry ingredients. Mix with a spatula or whisk until just combined. Be careful not to overmix; overmixing can lead to tough brownies.
- Add Chocolate Chips (Optional) If using, gently fold in the chocolate chips.
- Pour into Pan Pour the batter into your prepared baking pan and spread evenly with the spatula.
- Bake Bake for 20-25 minutes, or until a toothpick inserted into the center comes out with moist crumbs, but not wet batter. Remember, brownies continue to cook slightly after being removed from the oven.
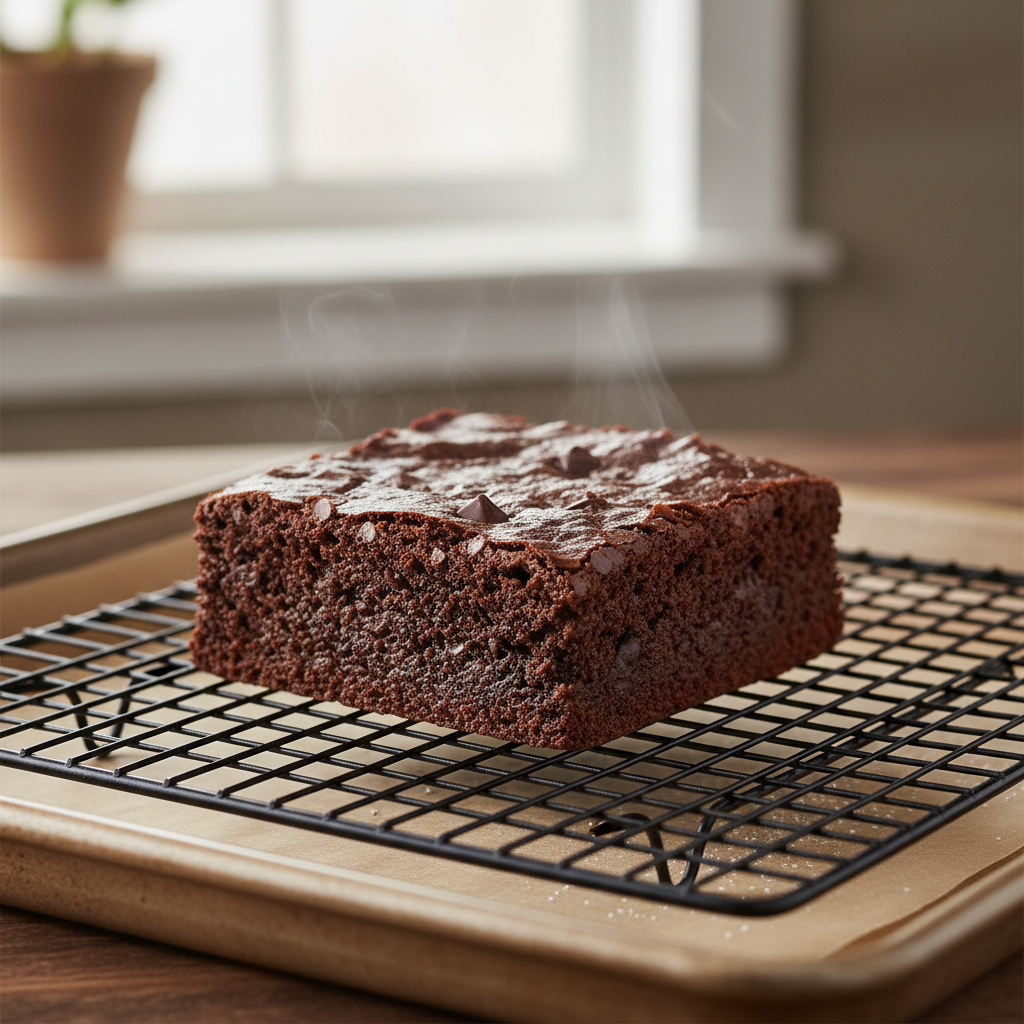
- Cool Let the brownies cool completely in the pan on a wire rack before lifting them out using the parchment paper overhang. This is crucial for fudginess!
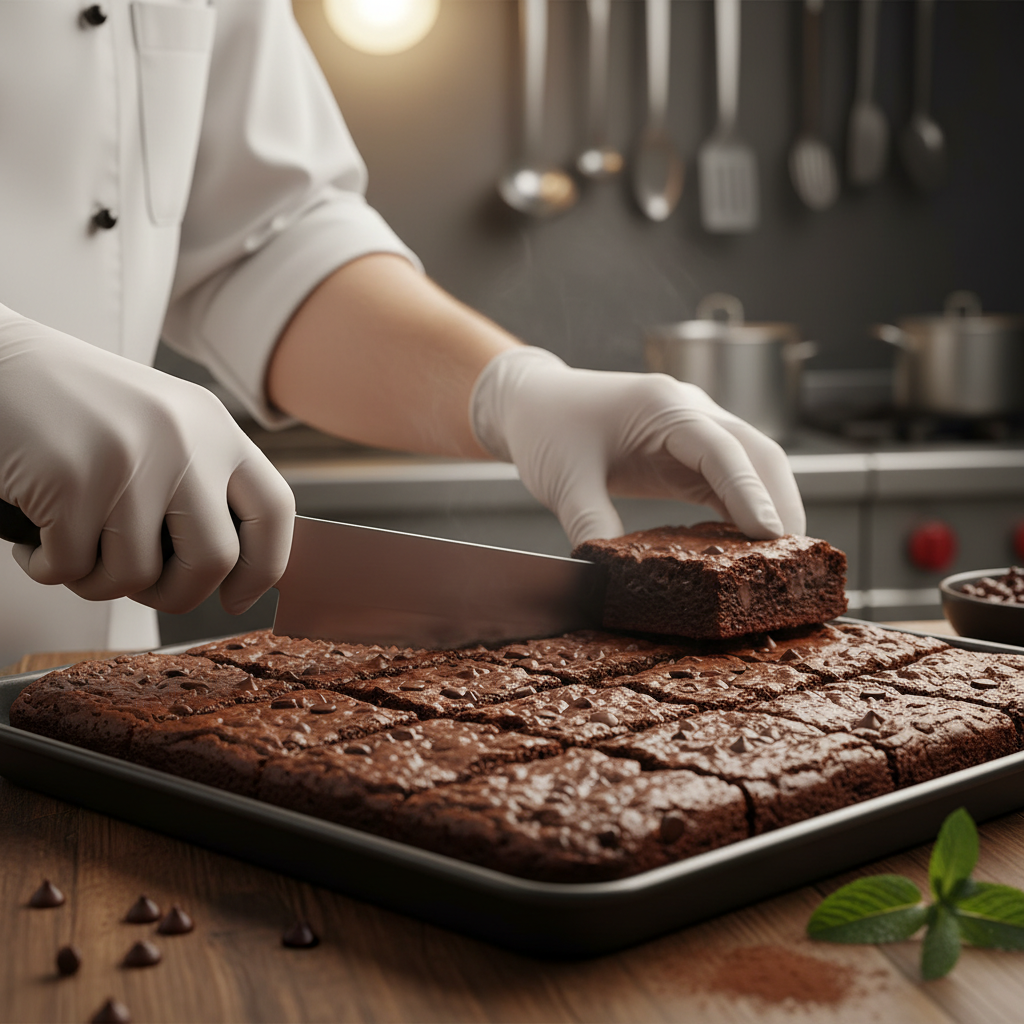
- Cut and Serve Once completely cooled, cut into 9 or 16 squares and enjoy!
Notes
- For extra fudginess, do not overbake!
- Adjust the amount of sweetener to your personal preference.
- Store in an airtight container at room temperature for up to 3 days, or in the refrigerator for up to a week.
Tips & Variations
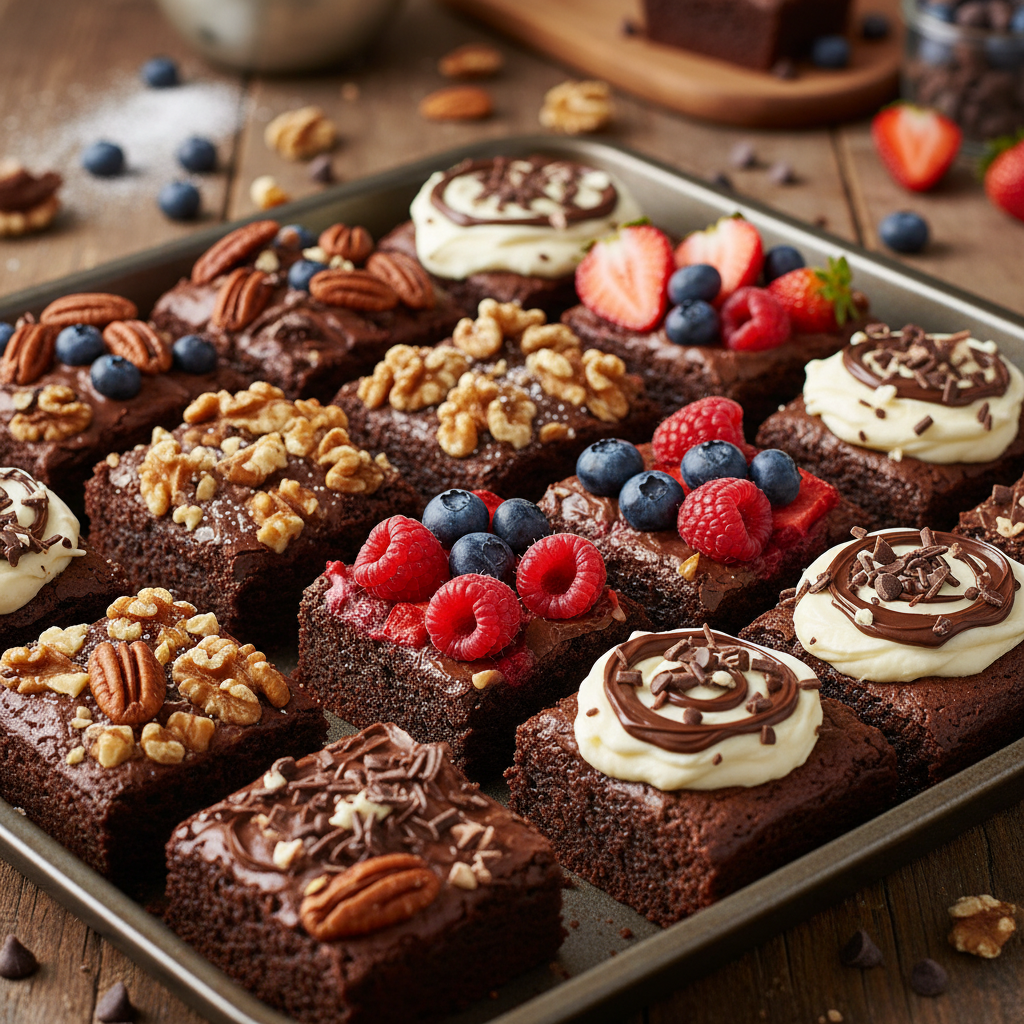
- Nutty Crunch Add 1/2 cup chopped walnuts or pecans to the batter for extra texture and healthy fats.
- Mint Chocolate Add 1/2 teaspoon of peppermint extract along with the vanilla for a refreshing twist.
- Coffee Kick Dissolve 1 teaspoon of instant espresso powder in the wet ingredients to deepen the chocolate flavor.
- Spice It Up A pinch of cayenne pepper can add a subtle, warming heat that complements chocolate beautifully.
- Fruity Fun Swirl in a tablespoon of raspberry jam before baking for a fruity burst.
Pro Chef Tips
Even though this recipe is simple, a few pro tips can elevate your protein brownies from good to absolutely amazing:
- Do Not Overmix the Batter Once the wet and dry ingredients are combined, mix only until no dry streaks remain. Overmixing develops the gluten in the flour, leading to a tougher, cake-like brownie instead of a fudgy one.
- Do Not Overbake This is the golden rule for fudgy brownies! Start checking at the 20-minute mark. A toothpick should come out with moist crumbs, not liquid batter. If it comes out completely clean, you’ve likely overbaked.
- Cool Completely Resist the urge to cut into warm brownies! Cooling allows them to set properly, intensify their fudgy texture, and makes them much easier to cut cleanly.
- Room Temperature Eggs Using room temperature eggs helps them incorporate more easily into the batter, leading to a smoother, more emulsified mixture.
- Sift Dry Ingredients For the smoothest batter and to prevent lumps, quickly sift your protein powder, cocoa, and flour.
Common Mistakes to Avoid

- Overbaking As stressed before, this is the number one culprit for dry brownies.
- Overmixing Leads to tough, cakey texture. Mix just until combined.
- Not Lining the Pan Makes removal incredibly difficult and risks breaking your beautiful brownies.
- Cutting While Warm Results in messy, crumbly brownies. Patience is key!
- Using Low-Quality Protein Powder Some protein powders can have a strong aftertaste or dry texture. Invest in a good quality one you enjoy drinking.
Storage & Meal Prep
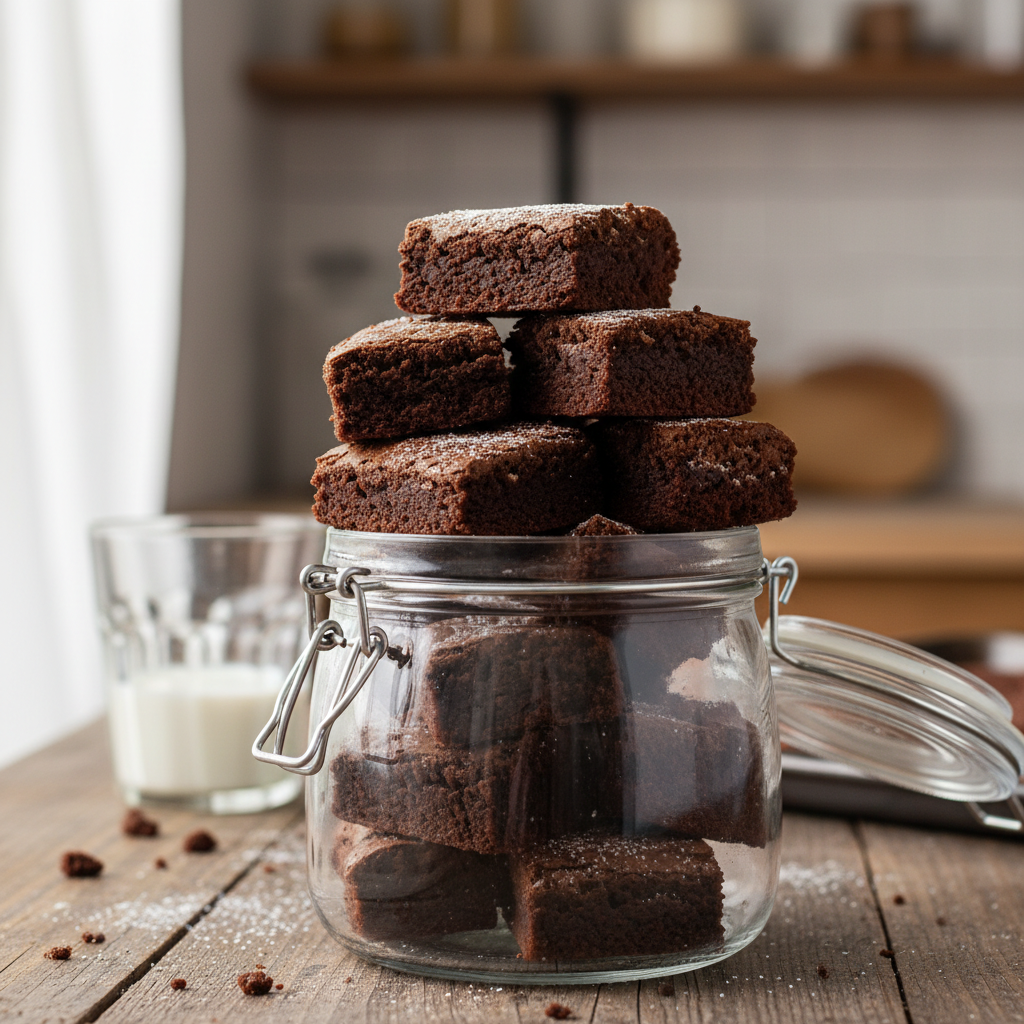
These protein brownies are fantastic for meal prep! Once completely cooled, store them in an airtight container at room temperature for up to 3 days. For longer storage, keep them in the refrigerator for up to a week. They taste great chilled, too!
Make-Ahead & Freezer Notes
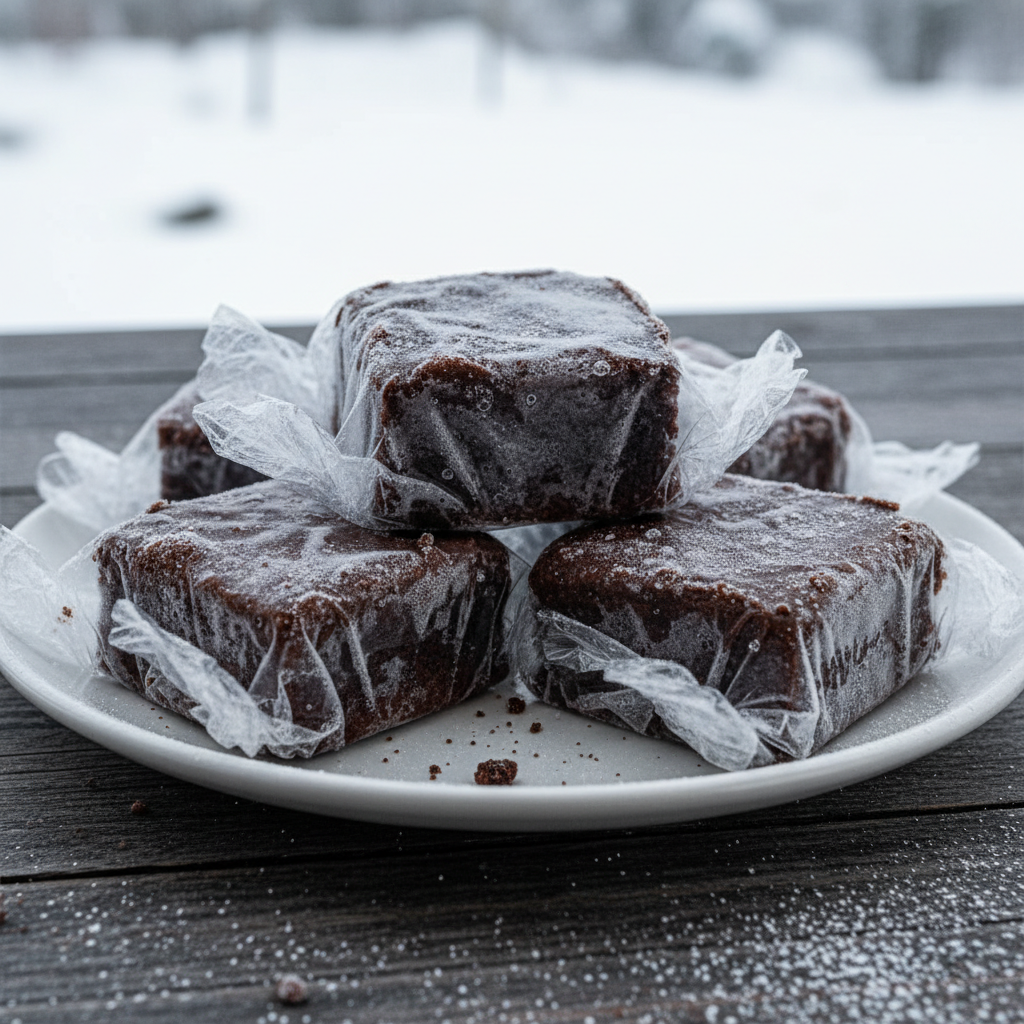
You can definitely make these brownies ahead of time. They are perfect for preparing on a Sunday for a week of healthy treats. For freezing, cut the cooled brownies into individual squares. Wrap each square tightly in plastic wrap, then place them in a freezer-safe bag or container. They will keep in the freezer for up to 2-3 months. Thaw at room temperature for a quick snack, or pop them in the microwave for a few seconds for a warm, fudgy treat.
Serving Suggestions
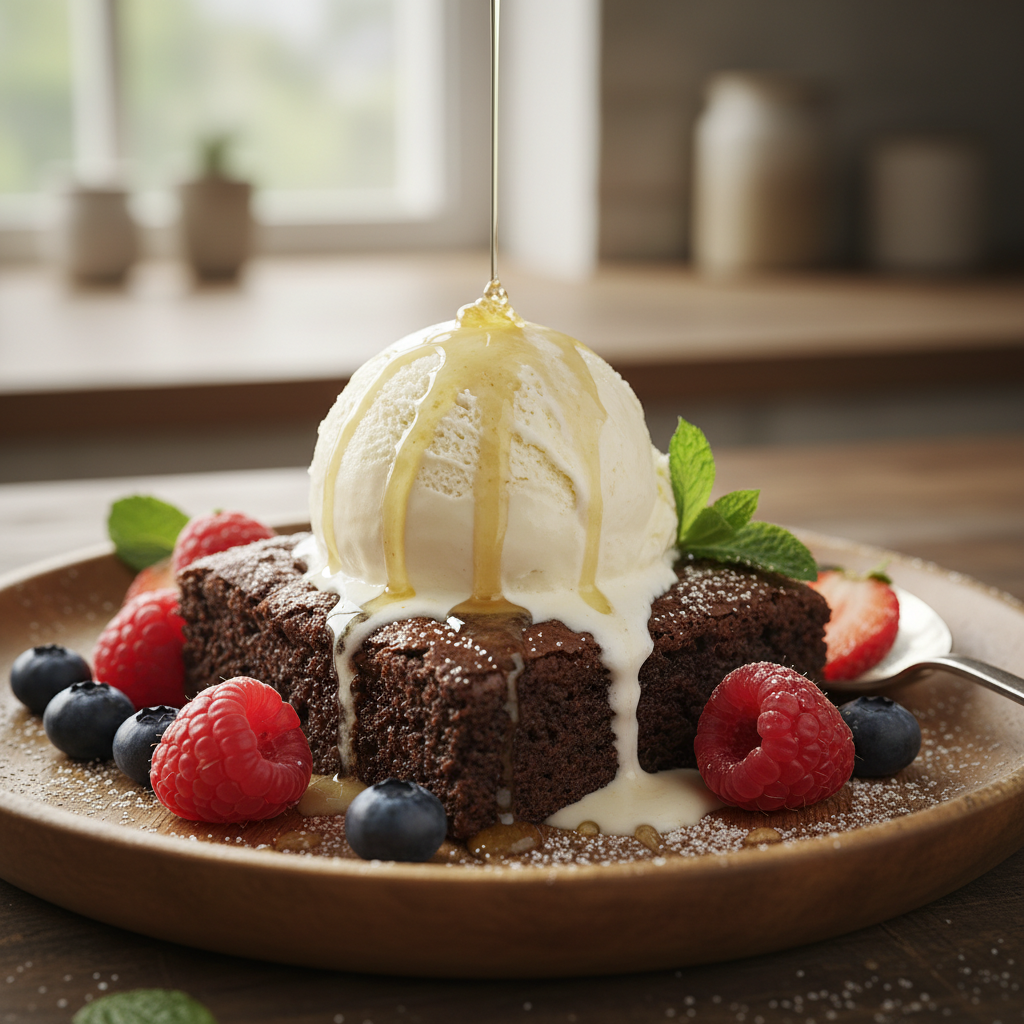
While these brownies are absolutely delightful on their own, here are a few ways to elevate your serving experience:
- With a Dollop of Yogurt A spoonful of Greek yogurt (plain or vanilla) adds a creamy tang and extra protein.
- Protein Ice Cream Pair a warm brownie with a scoop of your favorite protein ice cream for an ultimate guilt-free dessert.
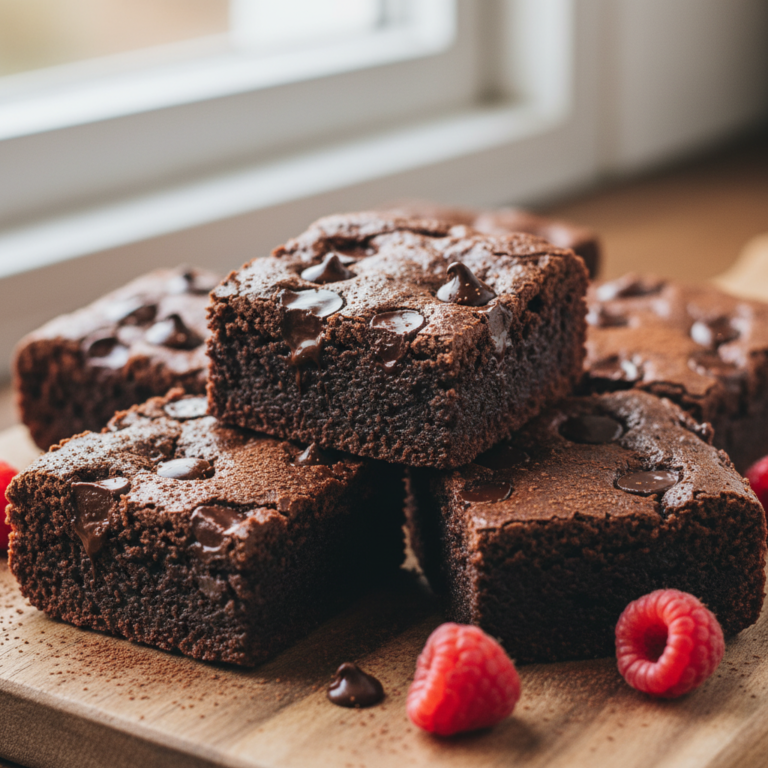
- Fresh Berries A handful of raspberries or strawberries adds a lovely freshness and antioxidant boost.
- Drizzle of Nut Butter A thin drizzle of almond or peanut butter can add healthy fats and a nutty flavor.
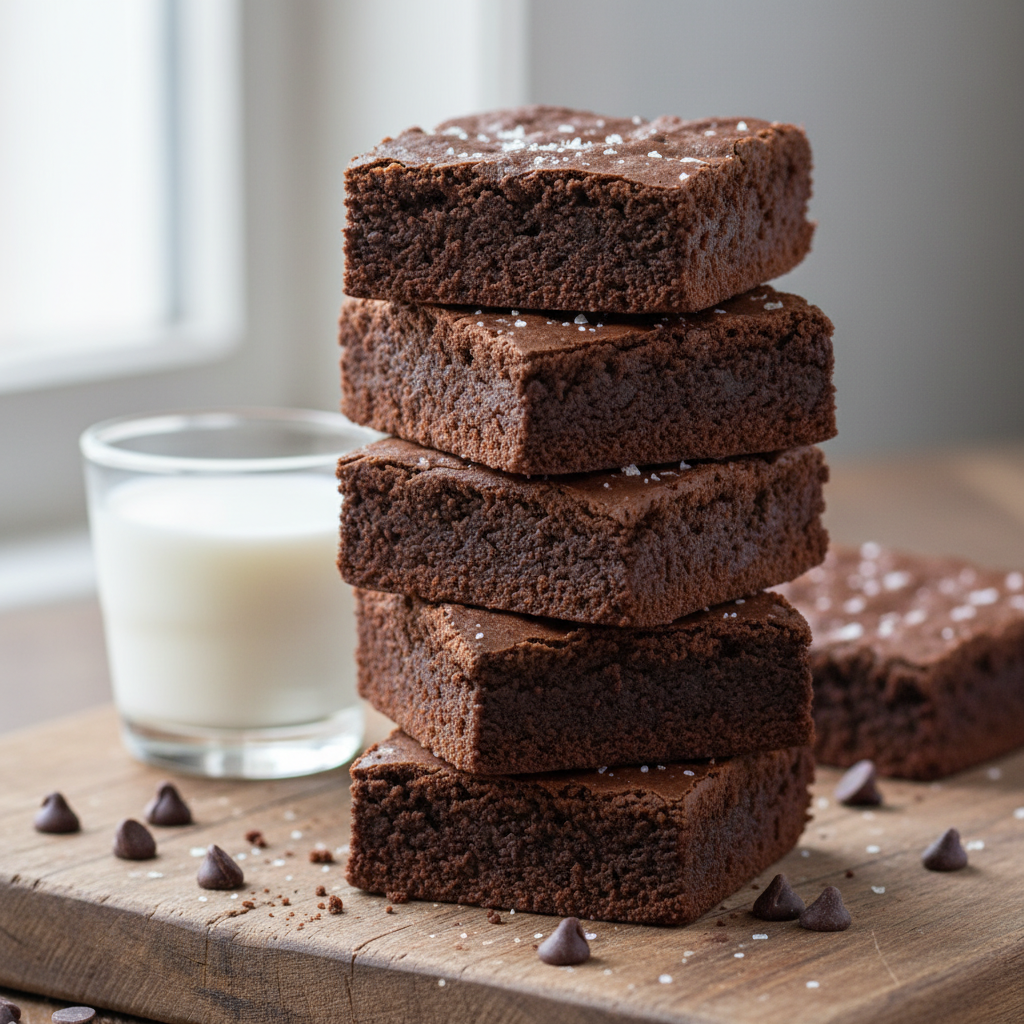
- Sprinkle of Sea Salt A tiny pinch of flaky sea salt on top enhances the chocolate flavor beautifully.