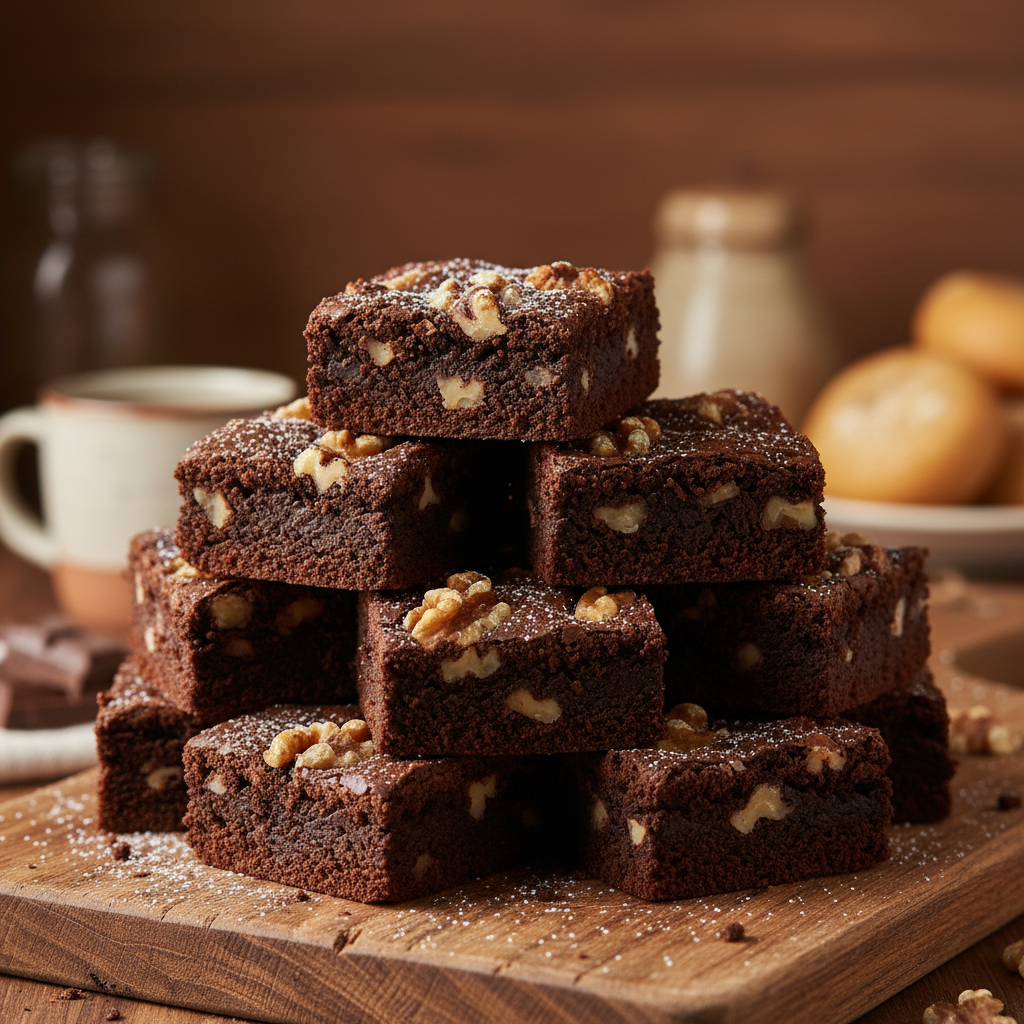
Who doesn’t love a good brownie? That perfect square of chocolatey goodness, whether it’s chewy, cakey, or gloriously fudgy. Today, we’re diving headfirst into the world of fudgy walnut brownies—a classic for a reason. Imagine a rich, dense chocolate base studded with crunchy walnuts, boasting that coveted crinkly top and an irresistible melt-in-your-mouth texture. This recipe is designed to be super simple, even if you’re a beginner baker. Get ready to impress yourself and everyone else with these ultimate fudgy treats!
History – Background of Brownies

The brownie’s origins are a sweet tale, though a bit fuzzy around the edges. Most food historians agree that the first brownies emerged in the United States in the late 19th or early 20th century. One popular story credits Bertha Palmer, a prominent Chicago socialite, who requested a dessert for the 1893 World’s Columbian Exposition that was cake-like but could be eaten easily from a boxed lunch. The pastry chef at the Palmer House Hotel created a rich, fudgy bar with walnuts and an apricot glaze—the first ‘brownie’ as we know it! Since then, brownies have evolved into countless variations, but the fudgy, nutty classic remains a beloved staple in bakeries and home kitchens worldwide.
Why You’ll Love This Recipe
- Incredibly Fudgy Texture: Say goodbye to dry, cakey brownies! This recipe guarantees a dense, moist, and utterly fudgy bite every time.
- Rich Chocolate Flavor: A perfect balance of cocoa and melted chocolate delivers a deep, satisfying chocolate taste.
- Crunchy Walnut Contrast: Toasted walnuts add a delightful texture and nutty flavor that complements the chocolate beautifully.
- Simple & Straightforward: No complicated techniques or fancy ingredients. This recipe is perfect for bakers of all skill levels.
- Glossy, Crinkly Top: Achieve that coveted shiny, crackled top that’s the hallmark of a perfectly baked brownie.
- Versatile Treat: Great for parties, potlucks, gifts, or a cozy night in.
Ingredient Notes

Using quality ingredients makes all the difference in these brownies.
- Unsalted Butter: Using unsalted butter allows you to control the salt content. Don’t substitute with margarine!
- Granulated Sugar: Provides sweetness and helps create that signature crinkly top.
- Large Eggs: Essential for binding and contributing to the fudgy texture. Make sure they are at room temperature.
- Vanilla Extract: A must-have for enhancing all the other flavors. Use pure vanilla for the best results.
- All-Purpose Flour: Just a small amount is needed. Over-mixing flour can lead to tough brownies, so mix gently.
- Unsweetened Cocoa Powder: Use good quality unsweetened cocoa powder for a deep chocolate flavor. Dutch-processed works wonderfully.
- Semi-Sweet or Dark Chocolate Chunks/Chips: Melting chocolate along with butter adds richness and fudginess.
- Walnuts: Roughly chopped. You can lightly toast them before adding for an enhanced nutty flavor, but it’s optional.
- Salt: Balances the sweetness and brings out the chocolate flavor.
Equipment Needed

You don’t need a lot of special tools for this recipe, just a few kitchen essentials:
- 9×13 inch Baking Pan: A metal pan is best for even baking. Glass pans can work but may require adjusting baking time.
- Parchment Paper: To line the pan, making it easy to lift out the brownies and clean up.
- Large Mixing Bowls: At least two—one for melting chocolate and butter, another for dry ingredients.
- Whisk: For combining wet and dry ingredients.
- Rubber Spatula: For folding and scraping the bowl.
- Measuring Cups and Spoons: Accurate measurements are key in baking.
- Small Saucepan or Microwave-Safe Bowl: For melting butter and chocolate.
- Wire Rack: For cooling the brownies completely.
Full Recipe Card
Ingredients
- 1 cup (2 sticks / 226g) unsalted butter
- 2 cups (400g) granulated sugar
- 4 large eggs, room temperature
- 2 teaspoons pure vanilla extract
- 1 cup (120g) all-purpose flour
- ¾ cup (75g) unsweetened cocoa powder (Dutch-processed recommended)
- ½ teaspoon salt
- 1 cup (170g) semi-sweet or dark chocolate chips/chunks
- 1 cup (115g) walnuts, roughly chopped
Instructions
- Prepare Your Pan: Preheat your oven to 350°F (175°C). Line a 9×13 inch baking pan with parchment paper, leaving an overhang on the sides for easy lifting. Lightly grease the parchment.
- Melt Butter and Chocolate: In a medium saucepan or microwave-safe bowl, melt the butter over low heat or in 30-second intervals in the microwave. Once melted, remove from heat and stir in the granulated sugar until combined. Add the chocolate chips/chunks and stir until completely melted and smooth. If needed, return to very low heat briefly to melt chocolate.
- Add Wet Ingredients: Let the chocolate mixture cool slightly (about 5 minutes). Then, whisk in the eggs one at a time, mixing well after each addition. Stir in the vanilla extract. The mixture should be glossy.
- Combine Dry Ingredients: In a separate bowl, whisk together the flour, cocoa powder, and salt.
- Combine Wet and Dry: Gradually add the dry ingredient mixture to the wet ingredients, mixing with a rubber spatula until just combined. Be careful not to overmix; overmixing leads to tough brownies.
- Fold in Walnuts: Gently fold in the chopped walnuts until evenly distributed.
- Bake: Pour the batter into the prepared baking pan and spread evenly. Bake for 25-30 minutes, or until a toothpick inserted into the center comes out with moist crumbs, but not wet batter. The edges should be set, and the top will be crinkly.
- Cool Completely: Remove from the oven and let the brownies cool completely in the pan on a wire rack before lifting out and cutting. This is crucial for fudgy brownies that hold their shape!
Notes
- For extra intense chocolate flavor, use a mix of semi-sweet and bittersweet chocolate.
- Toasted walnuts add an extra layer of flavor. Spread them on a baking sheet and toast at 350°F (175°C) for 5-7 minutes before chopping and adding.
- Do not overbake! This is the secret to fudgy brownies. When in doubt, err on the side of underbaking.
Tips & Variations
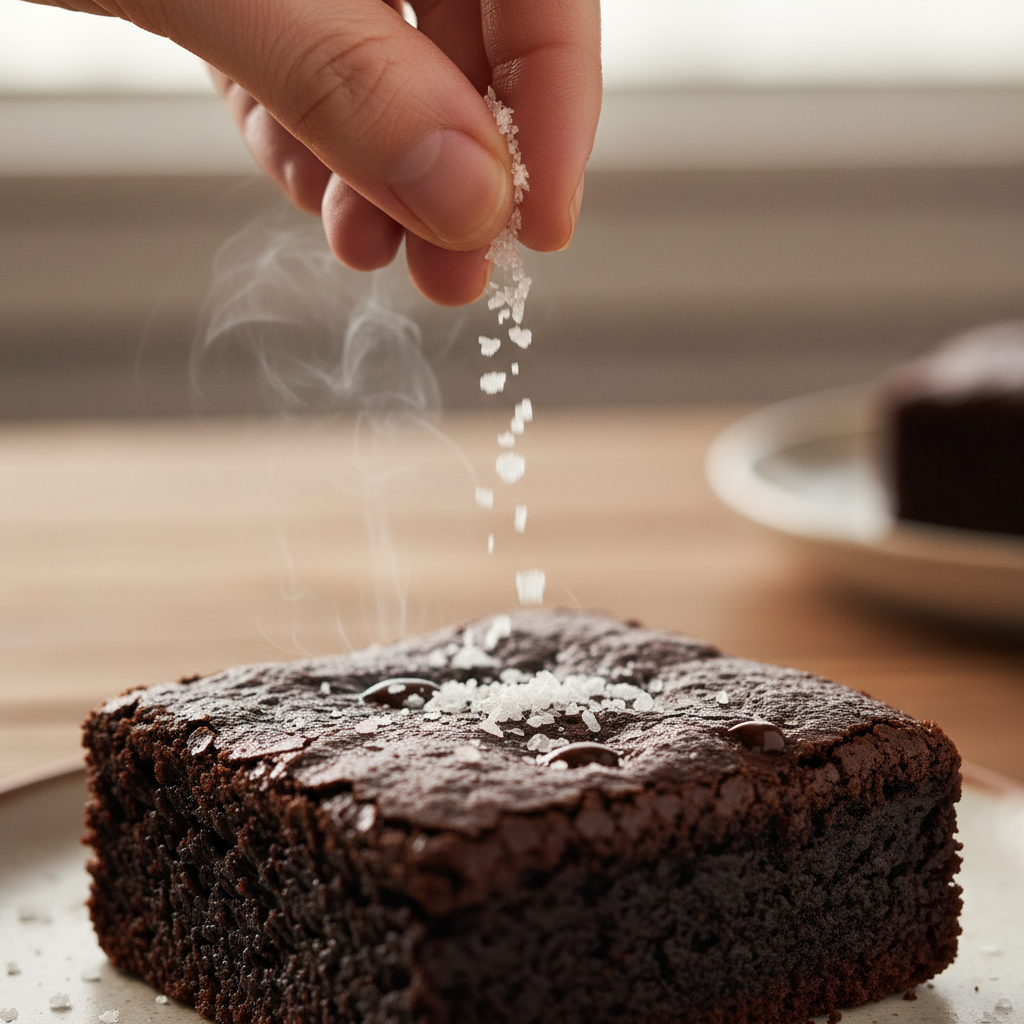
- Sea Salt Sprinkle: A light sprinkle of flaky sea salt on top of the warm brownies after baking enhances the chocolate flavor beautifully.
- Chocolate Chip Swirl: Before baking, reserve a handful of chocolate chips and sprinkle them on top of the batter. For an extra swirl, gently drag a knife through the top layer.
- Espresso Powder Boost: Add 1-2 teaspoons of instant espresso powder to the dry ingredients. It won’t make your brownies taste like coffee, but it will deepen the chocolate flavor.
- Nutty Variations: Not a fan of walnuts? Try pecans, almonds, or even a mix of nuts.
- Spicy Kick: A pinch of cayenne pepper in the batter can add a surprising, subtle warmth.
Pro Chef Tips
- Temperature Matters: Ensure your eggs are at room temperature. This helps them emulsify better with the butter and sugar, leading to a smoother, more uniform batter and a fudgier texture.
- Don’t Rush Cooling: Brownies continue to set as they cool. Cutting them warm will result in a messy, crumbly experience. Patience is a virtue here!
- Quality Chocolate: Invest in good quality chocolate. Whether it’s chips, chunks, or a bar chopped up, better chocolate equals better brownies.
- Proper Mixing: Mix the butter and sugar thoroughly until light and fluffy if using an electric mixer, then add eggs. When adding dry ingredients, mix just until no streaks of flour remain. Overmixing develops gluten, making brownies tough.
Common Mistakes to Avoid
- Overbaking: The number one mistake! Overbaked brownies are dry and cakey. Look for set edges and a slightly jiggly center. A toothpick should come out with moist crumbs, not liquid batter.
- Cutting Too Soon: As mentioned, resist the urge to cut warm brownies. They need time to cool and firm up.
- Not Lining the Pan: Skipping parchment paper can make removing brownies a nightmare, often resulting in broken pieces.
- Using Cold Eggs: Cold eggs won’t emulsify properly, leading to a less cohesive batter.
- Overmixing the Flour: Once flour is added, mix minimally to avoid developing gluten, which makes brownies tough.
Storage & Meal Prep
These fudgy walnut brownies are excellent for meal prep and storing for later enjoyment.
- Room Temperature: Store cooled brownies in an airtight container at room temperature for up to 3-4 days. Placing a piece of parchment paper between layers can prevent sticking.
- Refrigeration: If you prefer a firmer, chewier brownie or live in a very warm climate, you can refrigerate them in an airtight container for up to a week. Bring them to room temperature before serving for the best texture.
Make-Ahead & Freezer Notes
Brownies are fantastic for making ahead!
- Make Ahead: You can bake these brownies a day or two in advance. Store them as described above. They often taste even better the next day as the flavors meld.
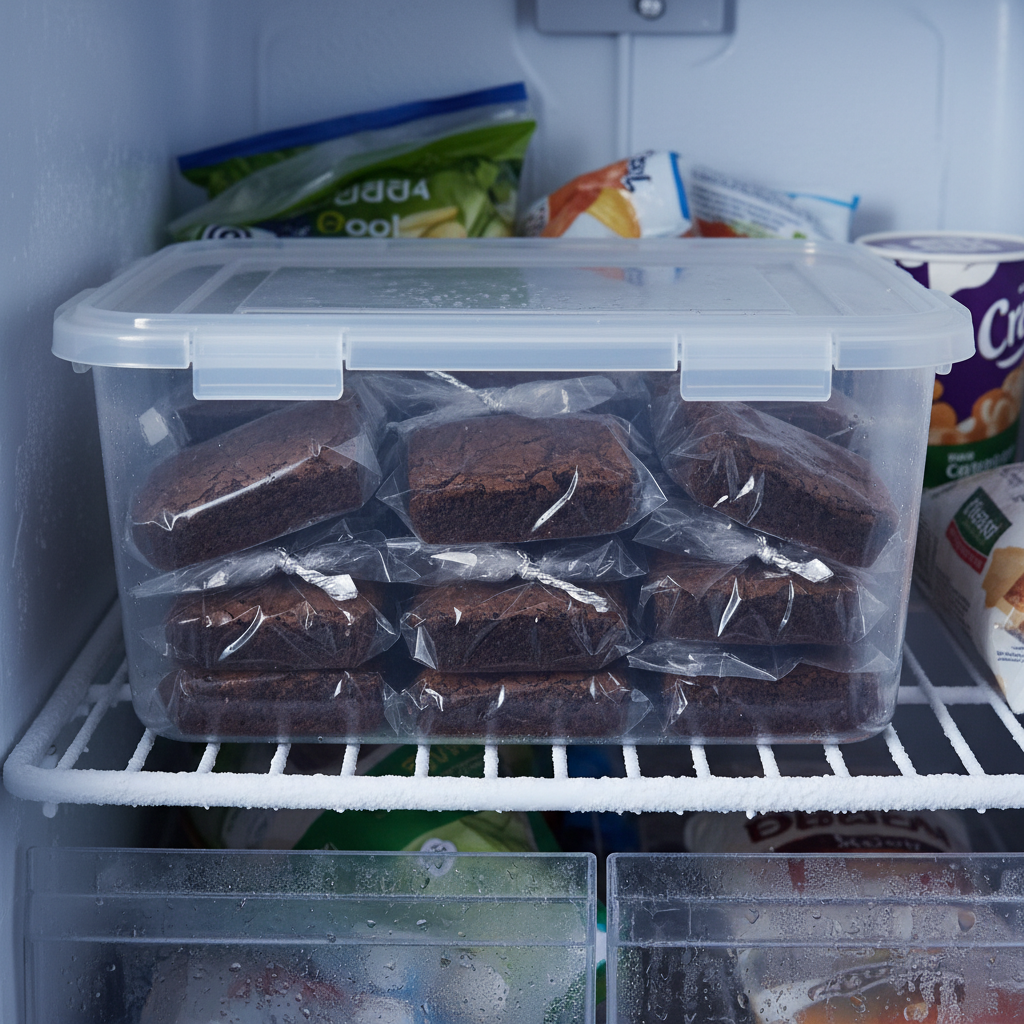
- Freezing Baked Brownies: Once completely cooled, cut the brownies into individual squares. Wrap each square tightly in plastic wrap, then place them in a freezer-safe airtight container or freezer bag. They can be frozen for up to 2-3 months.
- Thawing: To enjoy, simply remove the desired number of brownies from the freezer and let them thaw at room temperature for about 30-60 minutes. You can also warm them slightly in the microwave for a few seconds for a fresh-baked feel.
Serving Suggestions
While these fudgy walnut brownies are perfect on their own, they’re also a wonderful canvas for other delights:
- Classic à la Mode: Serve warm with a scoop of vanilla bean ice cream and a drizzle of chocolate sauce.
- With Berries: A side of fresh raspberries or sliced strawberries adds a lovely tart contrast.
- Coffee Companion: Enjoy with a hot cup of coffee, espresso, or a glass of cold milk.
- Whipped Cream Topping: A dollop of freshly whipped cream can elevate them to a dessert fit for any occasion.
- Chocolate Ganache: For the ultimate chocolate lover, pour a simple chocolate ganache over the cooled brownies before cutting.