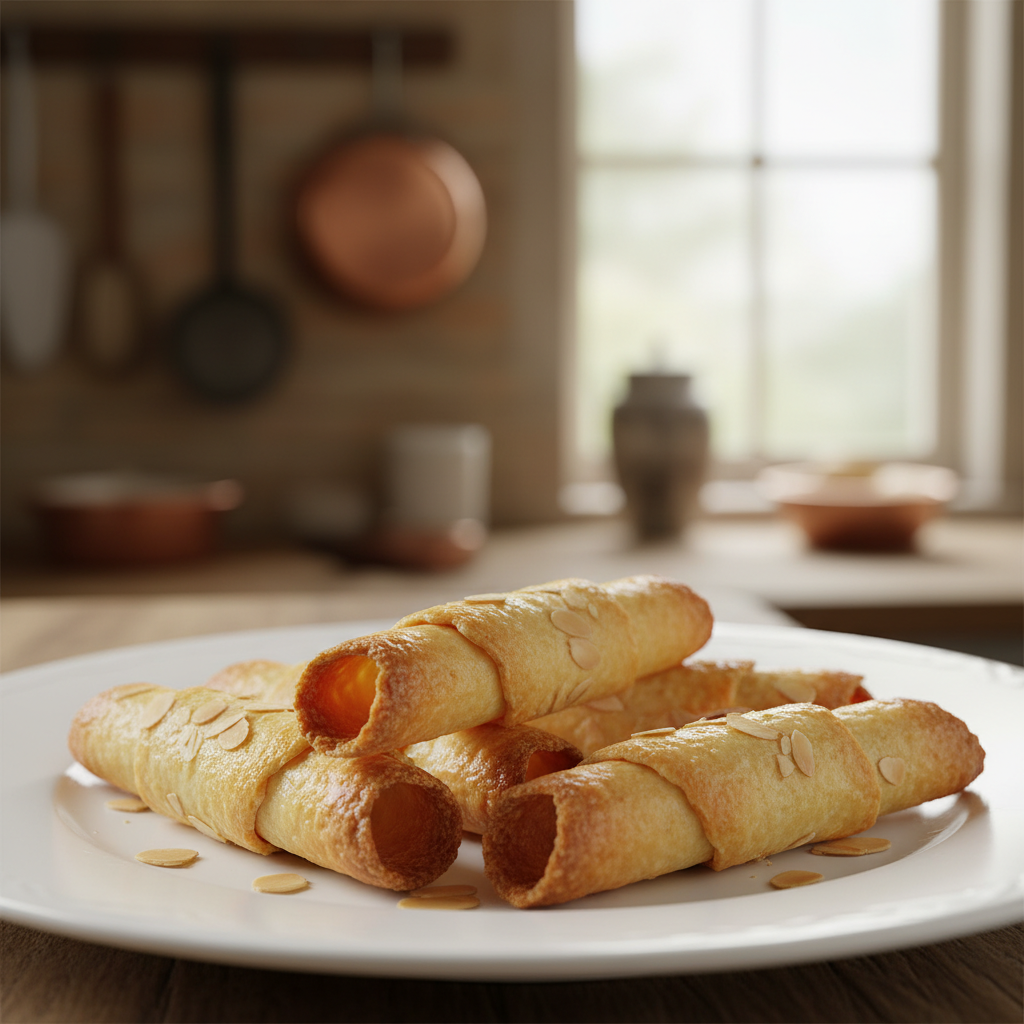
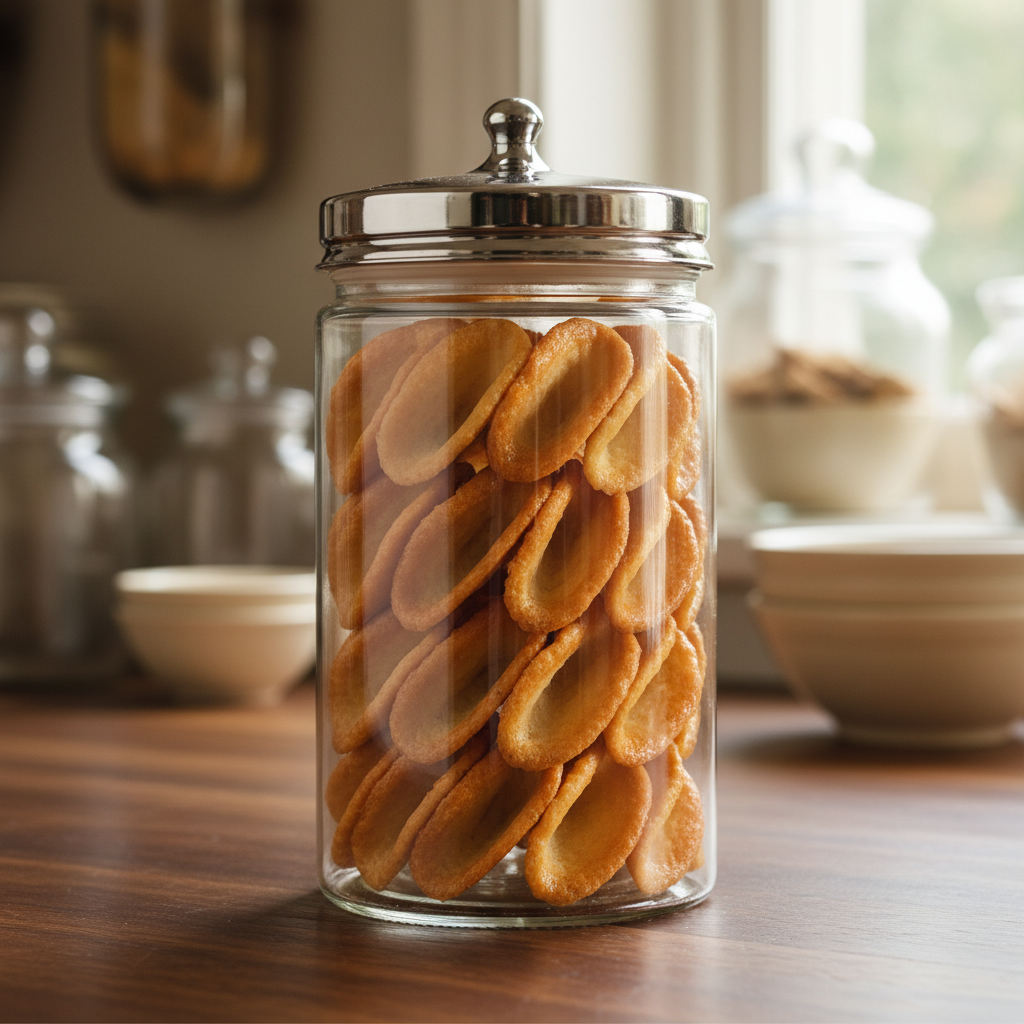
Welcome to the wonderful world of French patisserie, where simplicity often yields the most elegant results! Today, we’re diving into the delightful art of making tuiles – those incredibly thin, delicate, and wonderfully crispy cookies that often accompany a scoop of ice cream or a fresh fruit tart. Don’t let their fancy name fool you; tuiles are surprisingly easy to master, even for a beginner baker. With just a few basic ingredients and a little patience, you’ll be creating these golden edible masterpieces in no time. Get ready to impress your friends and family with a touch of French flair!
History and Background
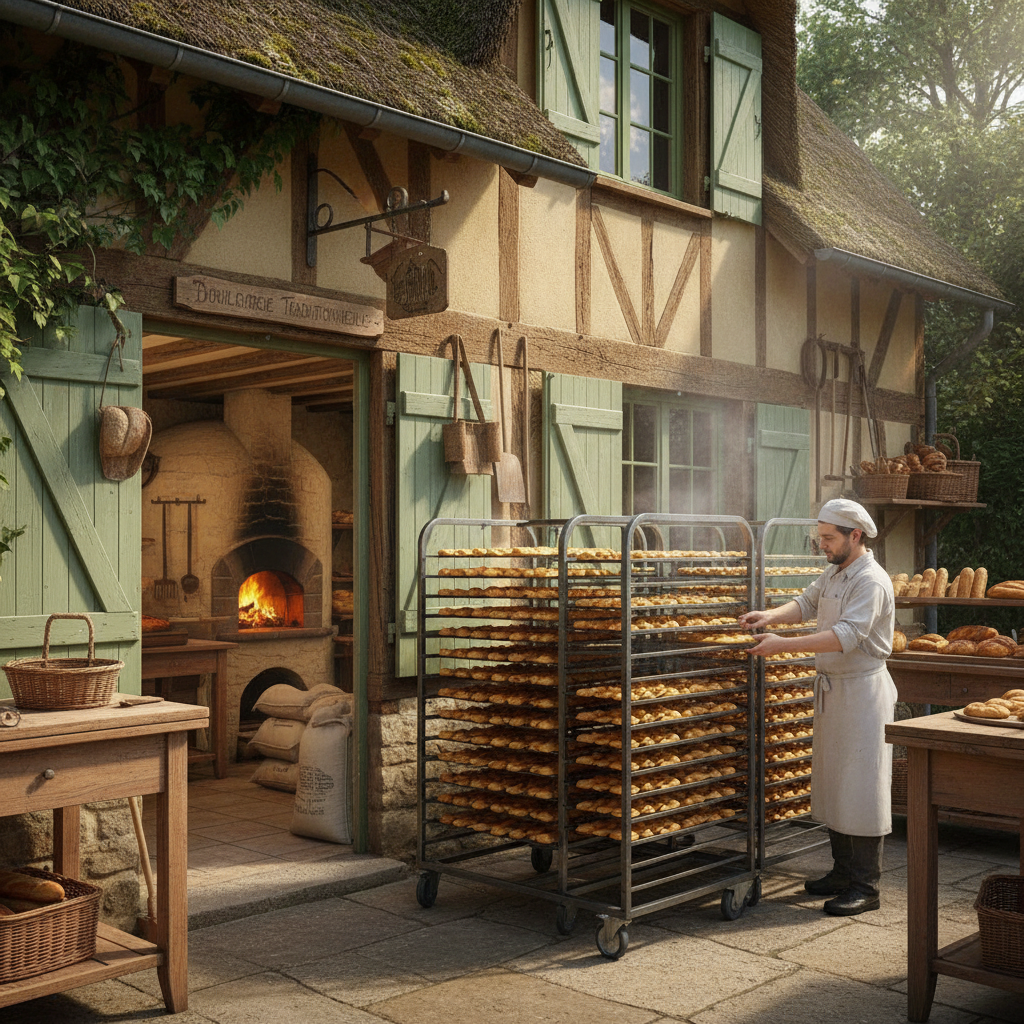
Tuiles, meaning ’tiles’ in French, are named after the curved roof tiles found in the French countryside. This classic French cookie is believed to have originated in the Burgundy region of France. Traditionally, they were shaped while still warm and pliable, often draped over a rolling pin or a bottle to achieve their signature curve. These elegant cookies became a staple in French bakeries and homes, cherished for their delicate texture and versatility. They’re a testament to French culinary philosophy – taking simple ingredients and transforming them into something truly special through careful technique.
Why You Will Love This Recipe

- Beginner Friendly This recipe is designed for ease, perfect for those new to French baking.
- Elegant Presentation Tuiles add a touch of sophistication to any dessert platter.
- Versatile Flavor Easily adaptable with different extracts or zest.
- Incredibly Crispy Achieve that satisfying snap with every bite.
- Quick to Make Once you get the hang of it, they bake very fast.
Ingredient Notes
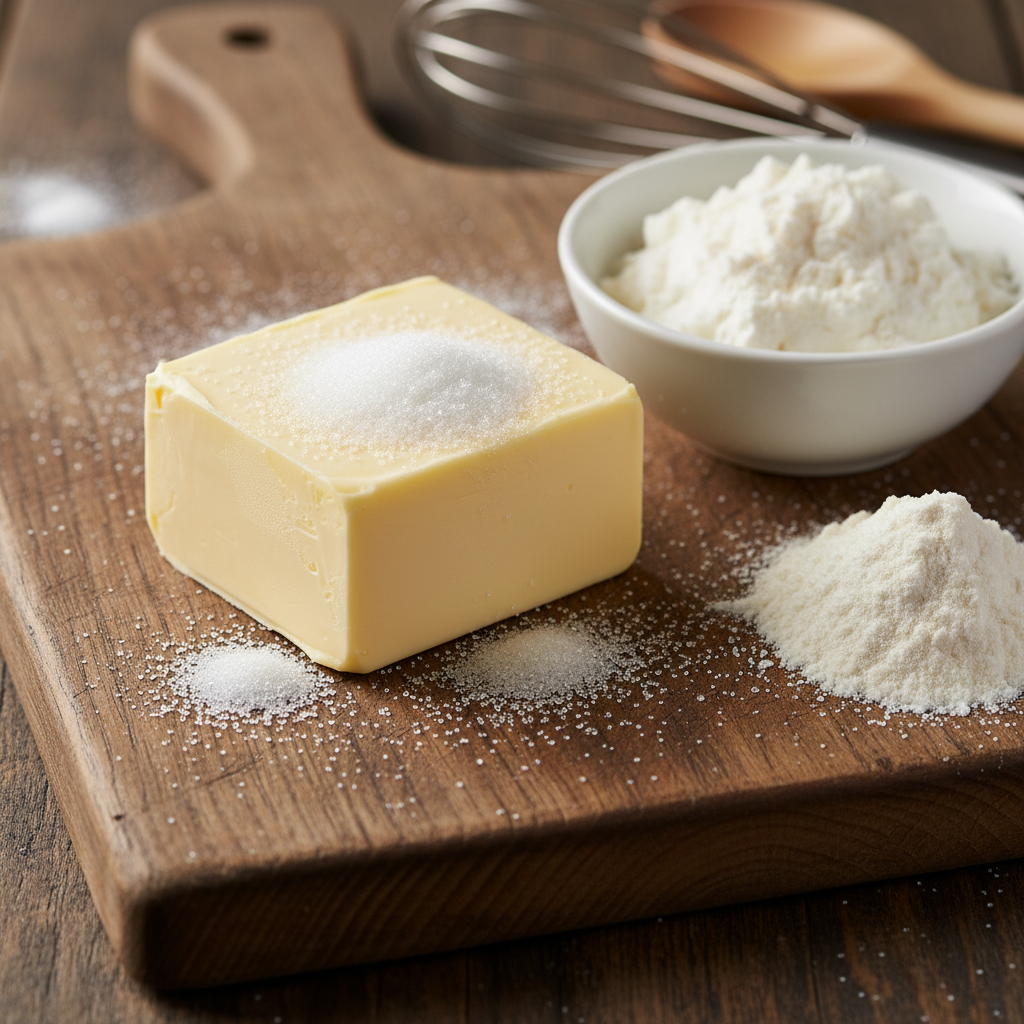
You’ll be delighted by how few ingredients are needed for these fancy cookies! Each one plays a crucial role in achieving that perfect tuile texture.
- Unsalted Butter Make sure it’s melted and cooled slightly. This provides richness and helps with the spread.
- Granulated Sugar Sweetens the cookies and contributes to their crispness.
- Egg Whites The backbone of tuiles! They provide structure and lightness. Make sure there are no yolks mixed in.
- All-Purpose Flour Gives the tuiles their delicate structure. Sifting it helps prevent lumps.
- Vanilla Extract For a classic, warm flavor. Almond extract is also a popular variation.
- Pinch of Salt Balances the sweetness and enhances all the other flavors.
Equipment Needed
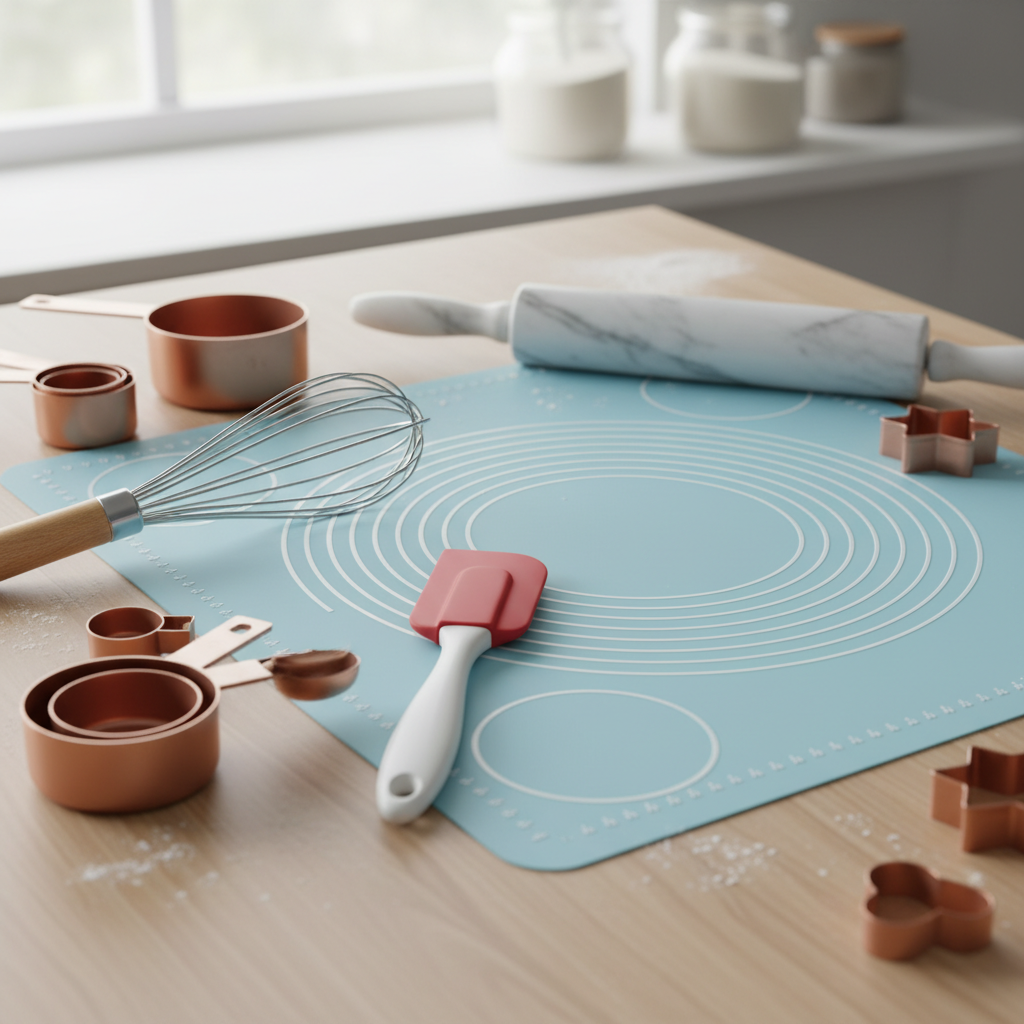
Having the right tools makes the process smoother and more enjoyable.
- Mixing Bowls Two medium-sized bowls.
- Whisk For combining ingredients smoothly.
- Rubber Spatula For gentle mixing and scraping.
- Baking Sheets Heavy-duty ones work best for even heat distribution.
- Silicone Baking Mats (Silpat) or Parchment Paper Absolutely essential for non-stick baking and easy removal.
- Offset Spatula or Thin Spreader For spreading the batter thinly and evenly.
- Rolling Pin or Round Bottle For shaping the warm tuiles.
Full Recipe Card
Ingredients
- 1/2 cup (113g) unsalted butter, melted and cooled
- 1 cup (200g) granulated sugar
- 3 large egg whites, at room temperature
- 1/2 cup (60g) all-purpose flour, sifted
- 1 teaspoon vanilla extract
- Pinch of salt
Instructions
- Prepare Your Workspace Preheat your oven to 350°F (175°C). Line two baking sheets with silicone baking mats or parchment paper. Have a rolling pin or round bottle ready for shaping.
- Whisk Wet Ingredients In a medium bowl, whisk together the melted and cooled butter and granulated sugar until well combined.
- Add Egg Whites Gradually whisk in the egg whites, one at a time, until the mixture is smooth and slightly frothy.
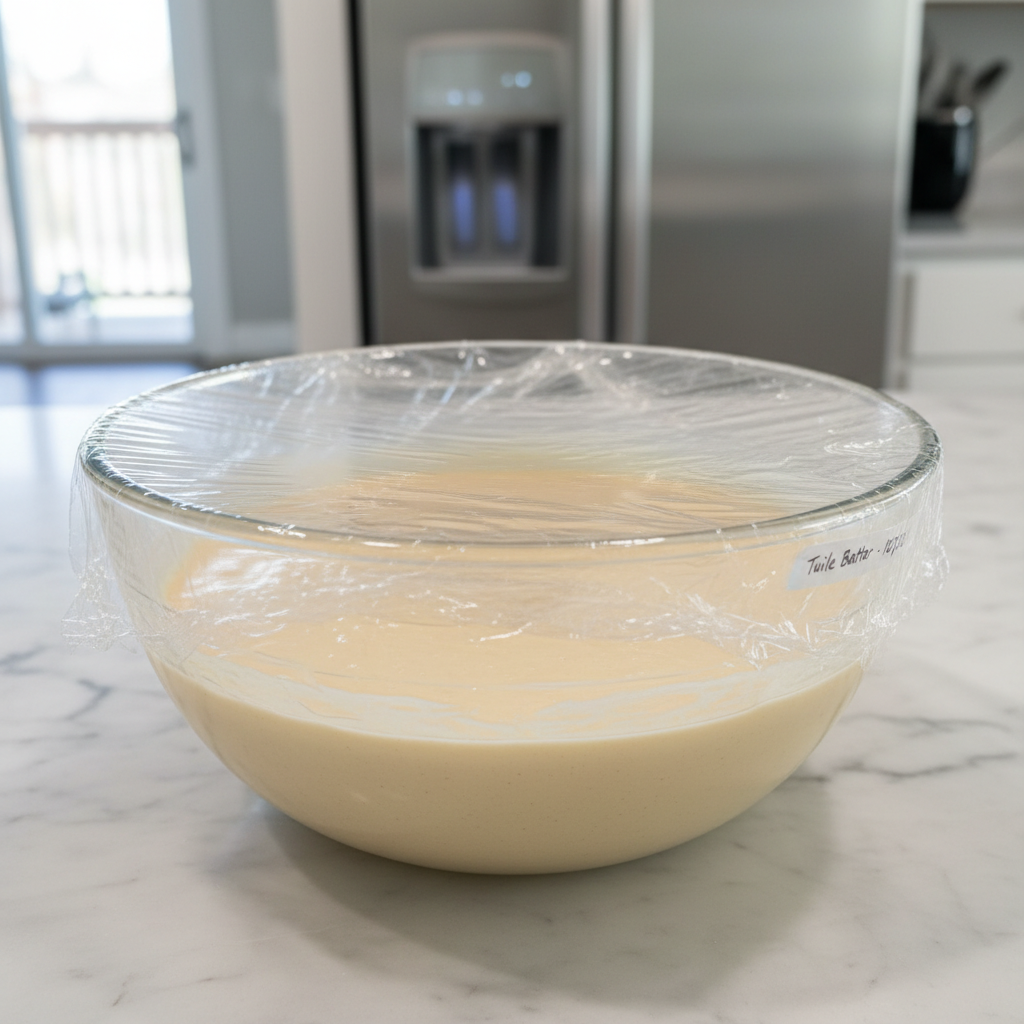
- Incorporate Dry Ingredients Gently fold in the sifted all-purpose flour and salt until just combined. Be careful not to overmix; a few small lumps are fine. Stir in the vanilla extract. The batter should be quite thin, similar to crêpe batter.
- Spread the Batter Using an offset spatula or the back of a spoon, spread very thin circles (about 3-4 inches in diameter) of batter onto the prepared baking sheets. Leave plenty of space between each tuile, as they spread. Start with 3-4 tuiles per sheet until you get comfortable with the timing.
- Bake Bake for 7-10 minutes, or until the edges are golden brown and the centers are lightly golden. Keep a close eye on them, as they can burn quickly due to their thinness.
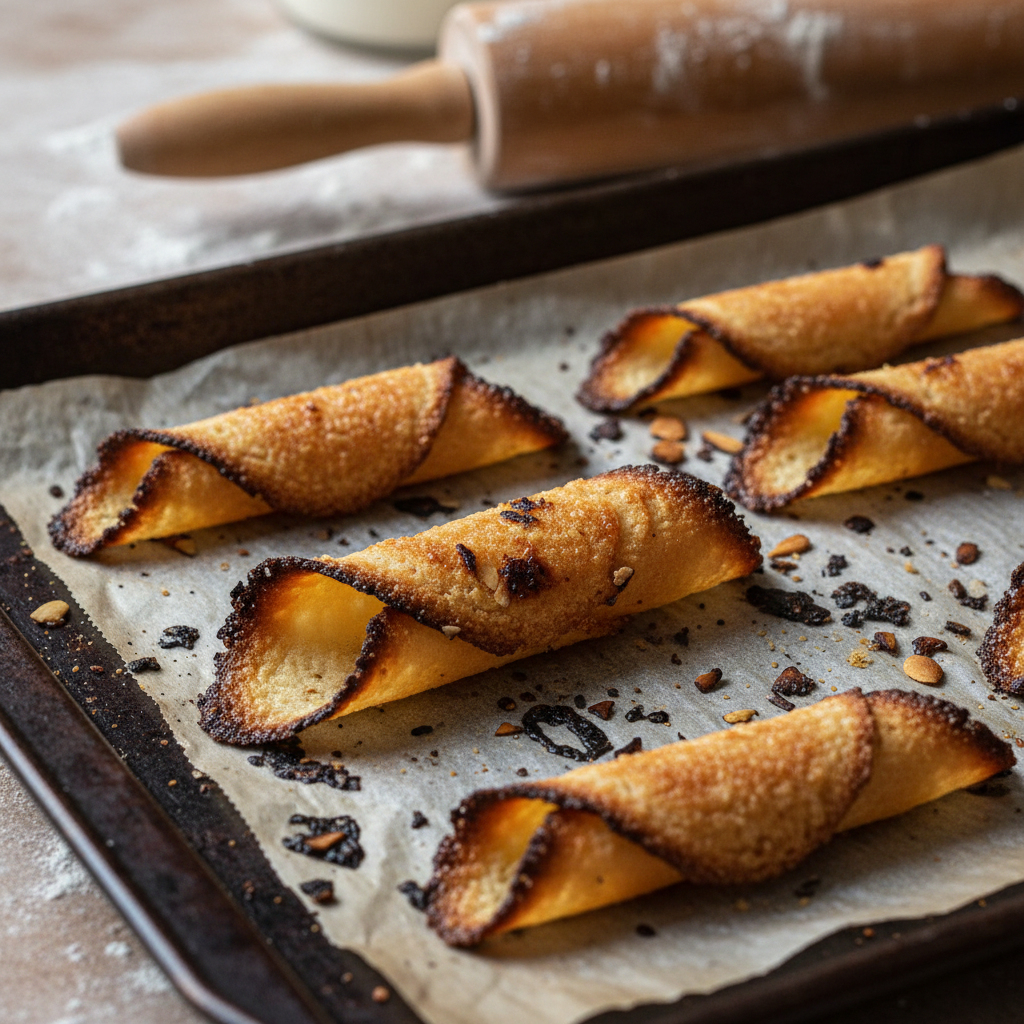
- Shape Immediately This is the crucial step! As soon as you remove the baking sheet from the oven, immediately use an offset spatula to lift each tuile. Drape it over a rolling pin or bottle to create the classic curved shape. Work quickly, as they become brittle as they cool. If they harden before you can shape them, pop them back in the oven for 30 seconds to soften.
- Cool and Store Let the shaped tuiles cool completely on the rolling pin or bottle until they hold their shape. Once cooled, carefully transfer them to an airtight container. Repeat with the remaining batter.
Notes
- Work in small batches to ensure you can shape all the tuiles while they are warm.
- The batter can be made ahead and stored in the refrigerator for up to 2 days. Stir well before using.
Tips and Variations

- Citrus Zest Add 1 teaspoon of lemon, orange, or lime zest to the batter for a bright, fresh flavor.
- Nutty Flavor Replace a tablespoon of flour with finely ground nuts like almonds or pistachios for a subtle crunch and flavor.
- Chocolate Dipped Once cooled, dip half of each tuile in melted dark or white chocolate for an extra treat.
- Spice It Up A pinch of cinnamon or cardamom can add a warm, aromatic note.
- Different Shapes Instead of curving, you can shape them into cones around a cone mold, or simply leave them flat for elegant wafers.
Pro Chef Tips

Even though tuiles are simple, a few professional tricks can elevate your results:
- Even Spreading is Key The thinner and more even your batter spread, the crispier and more uniform your tuiles will be. Practice makes perfect!
- Watch the Edges The golden color at the edges is your best indicator of doneness. They should be deeply golden but not burnt.
- Speed is Essential for Shaping Have your shaping tools ready and work swiftly. If you’re new to this, start with baking fewer tuiles at a time (2-3 per sheet) until you get the rhythm down.
- Use a Timer Ovens vary, so once you find your ideal baking time, use a timer to ensure consistency for each batch.
Common Mistakes to Avoid
Even seasoned bakers make mistakes. Here’s what to watch out for:
- Overmixing the Batter This can develop too much gluten, leading to tougher tuiles instead of delicate ones. Mix just until combined.
- Spreading Too Thickly Thick tuiles won’t be crispy; they’ll be chewy. Aim for almost translucent thinness.
- Not Spacing Properly Tuiles spread significantly, so give them ample room to prevent them from merging into one giant cookie.
- Not Shaping Fast Enough The biggest challenge! If they cool before shaping, they’ll break. Reheat briefly if needed.
- Baking Too Many at Once Especially when starting, it’s tempting to fill the sheet, but this makes shaping a race against time. Stick to small batches.
Storage and Meal Prep
Proper storage is crucial to maintain their crispness.
- Airtight Container Store cooled tuiles in an airtight container at room temperature. Humidity is their enemy!
- Layering If stacking, place parchment paper between layers to prevent breakage.
- Shelf Life They will stay crisp for up to 5-7 days if stored correctly.
Make-Ahead and Freezer Notes
You can definitely prepare parts of this recipe in advance!
- Batter The tuile batter can be made up to 2 days in advance and stored in the refrigerator. Give it a good whisk before using, as the butter may solidify slightly.
- Baked Tuiles While you can technically freeze baked tuiles, their delicate nature makes them prone to breaking. It’s best to enjoy them fresh or store them at room temperature.
Serving Suggestions

Tuiles are incredibly versatile and can elevate almost any dessert.
- With Ice Cream or Sorbet A classic pairing. The crispness of the tuile perfectly complements the creamy coldness.
- Fruit Desserts Serve alongside fresh berries, fruit salads, or a fruit tart.
- Coffee or Tea A delightful accompaniment for your afternoon beverage.
- As a Garnish Crush some tuiles and sprinkle them over puddings, mousses, or parfaits for added texture.
- Chocolate Mousse A sophisticated match for a rich chocolate mousse.