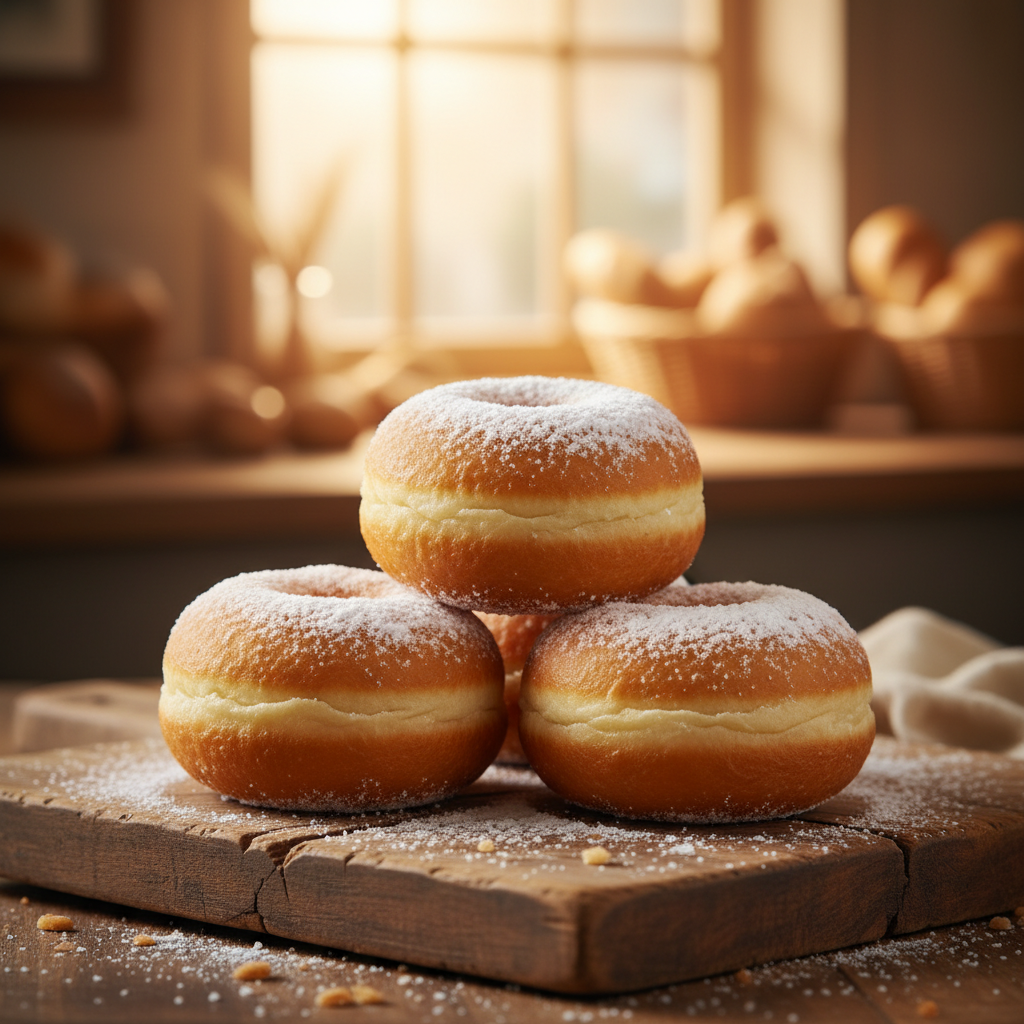
Who doesn’t love a warm, pillowy soft donut, fresh from the fryer and coated in a sweet glaze or a dusting of powdered sugar? There’s something truly magical about a bakery-style yeast donut. You might think making them at home is a daunting task, reserved only for professional bakers. But I’m here to tell you that with a little patience and this detailed, beginner-friendly guide, you can create donuts that rival your favorite donut shop!
Get ready to impress your family and friends with these incredibly fluffy, tender, and utterly delicious homemade yeast donuts. We’ll walk through every step, ensuring your first batch is a resounding success.
The Sweet History of Donuts
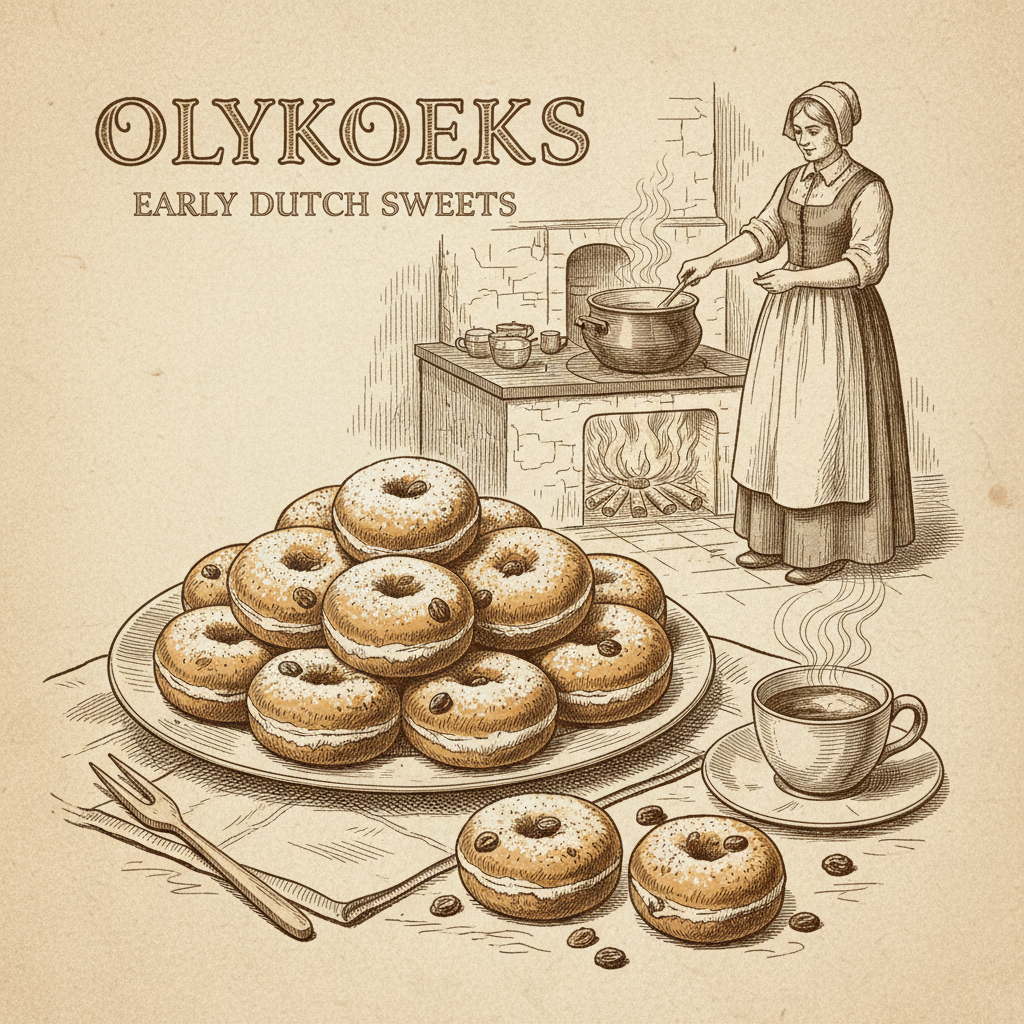
The journey of the donut is a fascinating one, stretching back centuries. While many cultures have their own versions of fried dough, the modern donut as we know it has roots in Dutch ‘olykoeks’ or ‘oily cakes’ brought to America by early settlers. These were essentially sweet cakes fried in fat.
The iconic hole in the middle? That’s believed to have been invented by an American ship captain’s mother, Hanson Gregory, in the mid-19th century. She supposedly put walnuts or hazelnuts in the center of her fried dough to prevent the raw dough problem, calling them ‘dough-nuts’. Her son later punched a hole in them to ensure even cooking, and thus, the donut hole was born! From humble beginnings, donuts have evolved into a beloved treat enjoyed worldwide.
Why You’ll Love This Recipe

- Incredibly Fluffy Texture This recipe yields donuts that are wonderfully light and airy.
- Bakery Quality at Home Achieve that professional taste and texture without leaving your kitchen.
- Beginner-Friendly Steps Detailed instructions make this recipe approachable for new bakers.
- Customizable Easy to adapt with different glazes and toppings.
- Pure Joy There’s nothing quite like the satisfaction of making and eating your own homemade donuts.
Ingredient Notes

Each ingredient plays a crucial role in achieving the perfect fluffy donut. Here’s a quick guide to what you’ll need and why:
- Active Dry Yeast This is what gives your donuts their rise and fluffy texture. Make sure it’s fresh and active!
- Warm Milk Not too hot, not too cold. Around 105-115°F (40-46°C) is ideal to activate the yeast without killing it.
- Granulated Sugar Sweetens the dough and feeds the yeast.
- All-Purpose Flour The backbone of your donut. Measure it correctly, preferably by weight.
- Eggs Add richness, flavor, and help with the dough’s structure.
- Unsalted Butter Adds tenderness and a lovely flavor. Ensure it’s softened to room temperature.
- Salt Balances the sweetness and enhances flavor.
- Oil for Frying Vegetable, canola, or peanut oil are great choices for their high smoke point and neutral flavor.
Equipment Needed
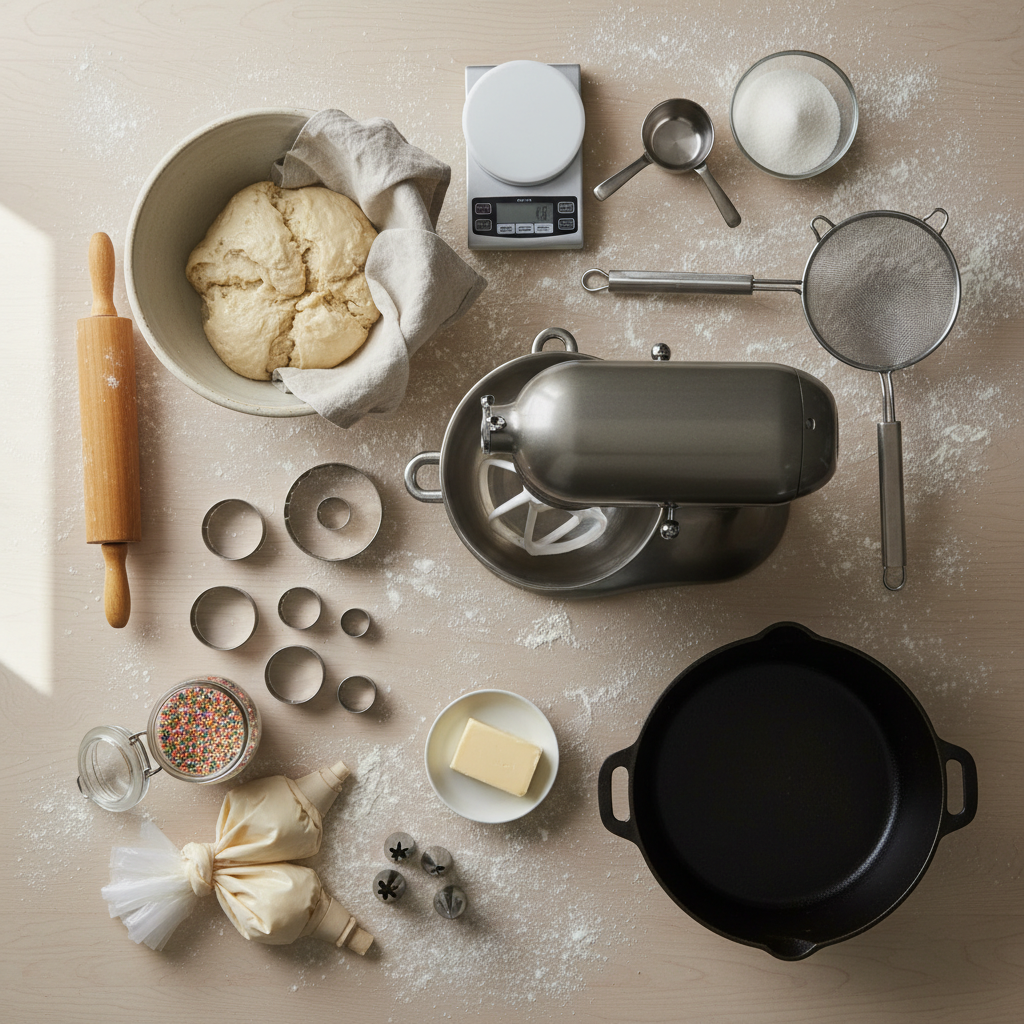
- Large Mixing Bowl For proofing the yeast and mixing the dough.
- Stand Mixer with Dough Hook (Optional but Recommended) Makes kneading much easier. A sturdy wooden spoon and strong arms work too!
- Rolling Pin To roll out your dough evenly.
- Donut Cutter or Biscuit Cutters For shaping your donuts. You’ll need two sizes, one for the donut itself and a smaller one for the hole.
- Baking Sheets and Parchment Paper For proofing the cut donuts.
- Large Dutch Oven or Deep Pot For frying the donuts.
- Deep-Fry Thermometer Essential for maintaining the correct oil temperature.
- Slotted Spoon or Spider Strainer For safely removing donuts from the oil.
- Wire Rack For draining and cooling the fried donuts.
Full Recipe Card
Ready to get baking? Here’s how to make those incredible fluffy yeast donuts.
Ingredients
- 1 cup (240ml) warm milk (105-115°F / 40-46°C)
- 2 ¼ teaspoons (7g) active dry yeast (one standard packet)
- ¼ cup (50g) granulated sugar, plus 1 tablespoon for yeast
- 1 large egg, at room temperature
- 2 tablespoons (28g) unsalted butter, melted and cooled slightly
- ½ teaspoon salt
- 3 cups (360g) all-purpose flour, plus more for dusting
- 6-8 cups (1.5-2L) vegetable, canola, or peanut oil for frying
Instructions
- Activate the Yeast In a large mixing bowl (or stand mixer bowl), combine the warm milk and 1 tablespoon of granulated sugar. Sprinkle the active dry yeast over the top. Let it sit for 5-10 minutes until foamy. This indicates your yeast is active.
- Mix the Dough Add the remaining ¼ cup granulated sugar, egg, melted butter, and salt to the yeast mixture. Stir well to combine. Gradually add the all-purpose flour, one cup at a time, mixing until a shaggy dough forms.
- Knead the Dough If using a stand mixer, attach the dough hook and knead on low speed for 5-7 minutes until the dough is smooth, elastic, and pulls away from the sides of the bowl. If kneading by hand, turn the dough out onto a lightly floured surface and knead for 8-10 minutes until smooth and elastic.
- First Rise (Bulk Fermentation) Lightly grease a clean bowl with oil. Place the dough in the bowl, turning once to coat. Cover the bowl with plastic wrap or a clean kitchen towel. Let it rise in a warm place for 1-1.5 hours, or until doubled in size.
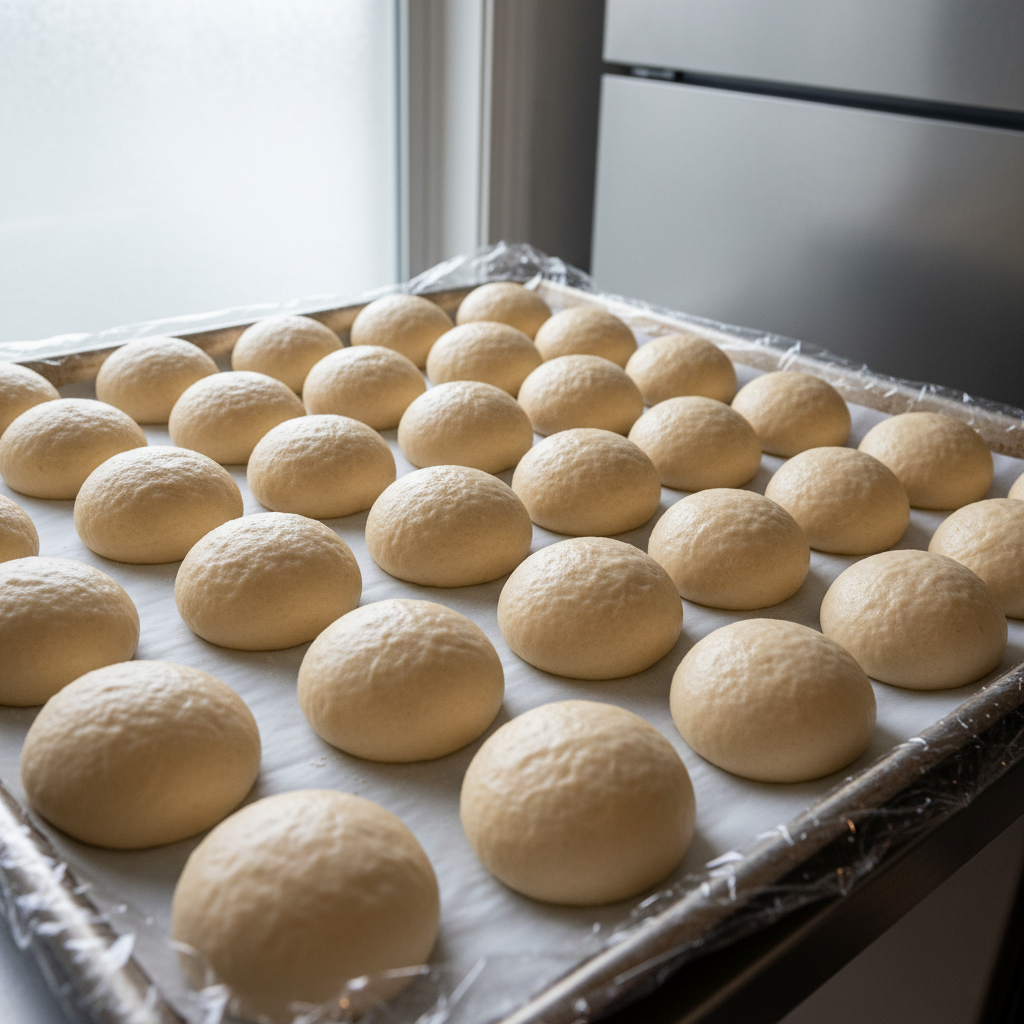
- Shape the Donuts Gently punch down the risen dough to release the air. Turn it out onto a lightly floured surface. Roll the dough to about ½ inch (1.25 cm) thickness. Using a donut cutter or two different sized biscuit cutters, cut out your donut shapes. Place the cut donuts and donut holes on baking sheets lined with parchment paper.
- Second Rise (Proofing) Loosely cover the cut donuts with plastic wrap or a clean towel. Let them rise in a warm place for another 30-45 minutes, or until visibly puffy and almost doubled in size. This is crucial for fluffy donuts.
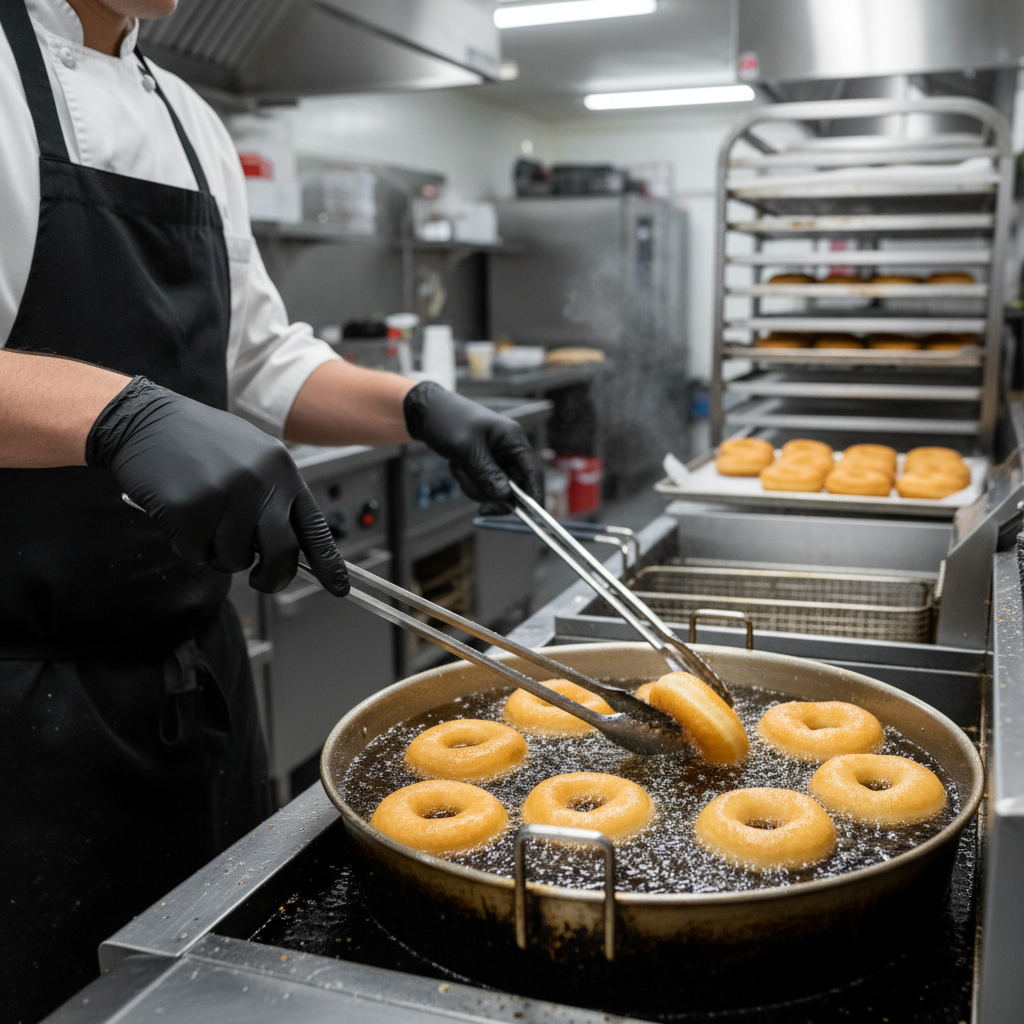
- Heat the Oil While the donuts are proofing, pour 3-4 inches of frying oil into a large Dutch oven or deep pot. Heat the oil over medium heat to 350°F (175°C). Use a deep-fry thermometer to monitor the temperature; it’s vital for perfectly cooked donuts.
- Fry the Donuts Carefully lower 2-3 donuts into the hot oil using a slotted spoon. Do not overcrowd the pot. Fry for 1-2 minutes per side, or until golden brown. Use the slotted spoon to flip them.
- Drain and Cool Once golden, remove the donuts with a slotted spoon and place them on a wire rack set over a baking sheet to drain any excess oil. Repeat with the remaining donuts and donut holes, ensuring the oil temperature stays consistent.
- Glaze or Dust Once slightly cooled but still warm, dip the donuts in your favorite glaze (see notes for a simple glaze) or dust them with powdered sugar. Serve immediately and enjoy!
Notes
- Simple Glaze Whisk together 2 cups powdered sugar, 4-5 tablespoons milk, and ½ teaspoon vanilla extract until smooth. Adjust milk for desired consistency.
- Don’t Over-Knead Over-kneading can lead to tough donuts.
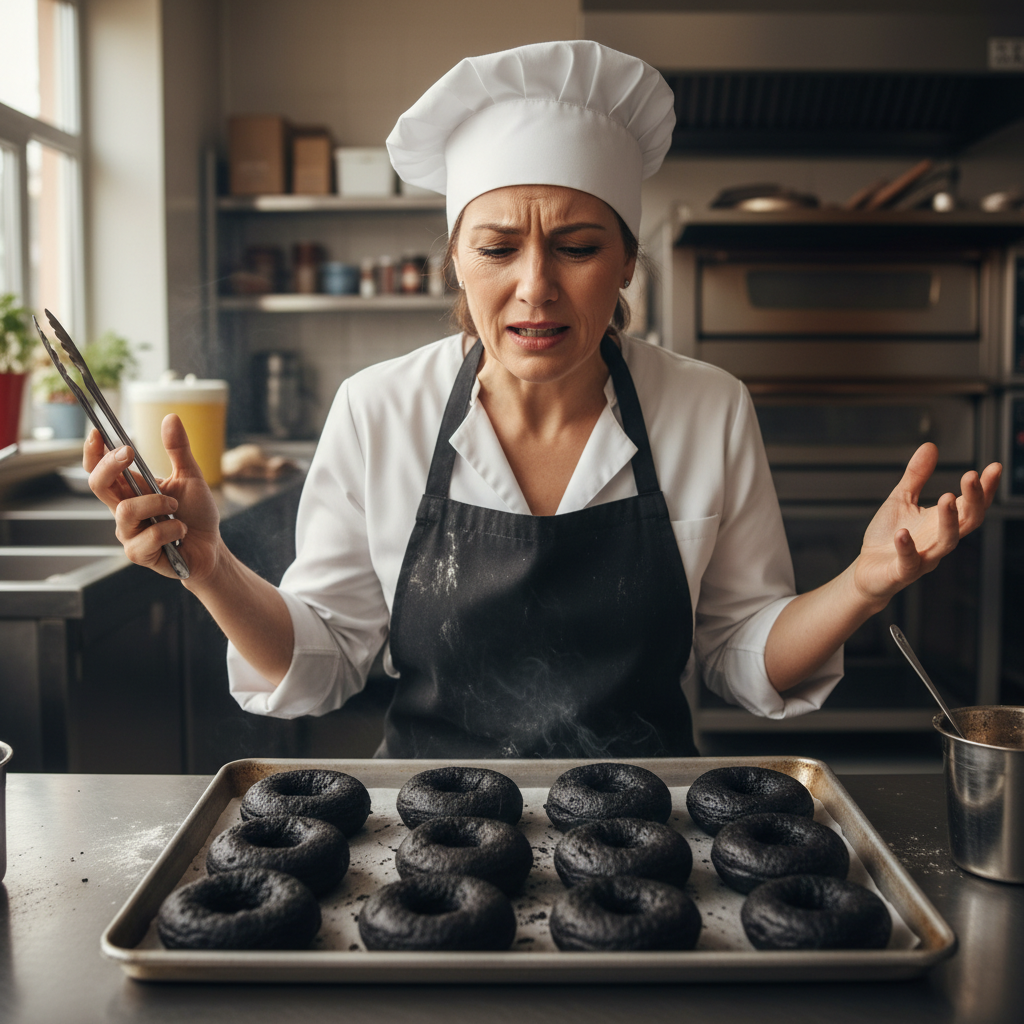
- Maintain Oil Temperature Too low, and donuts will be greasy. Too high, and they’ll burn outside and be raw inside.
- Re-roll Scraps Gather dough scraps, knead gently a few times, let rest for 10 minutes, then re-roll and cut more donuts.
Tips & Variations

Once you’ve mastered the basic fluffy yeast donut, the possibilities are endless! Here are some ideas to get creative:
- Classic Glaze As mentioned in the recipe notes, a simple powdered sugar glaze is always a winner.
- Chocolate Glaze Melt chocolate chips with a touch of butter or milk for a decadent topping.
- Cinnamon Sugar Donuts Toss warm donuts in a mixture of granulated sugar and cinnamon.
- Filled Donuts After frying, use a piping bag with a long nozzle to fill cooled donuts with jam, custard, or chocolate cream.
- Sprinkles and Toppings Add colorful sprinkles, chopped nuts, or shredded coconut to glazed donuts before the glaze sets.
- Maple Bacon Donuts Dip in a maple glaze and top with crispy crumbled bacon pieces.
Pro Chef Tips
Even though this recipe is beginner-friendly, a few pro tips can elevate your donut game:
- Weigh Your Ingredients Especially flour. This ensures accuracy and consistency, leading to perfect results every time.
- Don’t Rush the Rise Yeast needs time. A slow, steady rise builds flavor and ensures a light texture. Don’t try to speed it up too much.
- Use Fresh Oil Old oil can impart off-flavors. Fresh oil ensures clean-tasting donuts.
- Fry in Batches Overcrowding the pot lowers the oil temperature, leading to greasy, undercooked donuts. Give them space.
- Drain Properly Don’t skip the wire rack. It allows air to circulate, preventing the bottoms from getting soggy with oil.
Common Mistakes to Avoid
Learning from common pitfalls can save you a lot of trouble:
- Oil Temperature Too Low Results in greasy, heavy donuts. Always use a thermometer!
- Oil Temperature Too High Leads to burnt outsides and raw insides. Keep that thermometer handy.
- Not Activating Yeast If your yeast doesn’t foam, it’s likely dead. Start over with fresh yeast.
- Over-Flouring the Dough Too much flour makes the donuts tough and dry. Add just enough to prevent sticking when kneading.
- Under-Proofing If your donuts don’t rise enough during the second proof, they’ll be dense. Give them time to get puffy.
- Over-Proofing If they rise too much, they can collapse in the oil, becoming flat.
Storage & Meal Prep
Homemade donuts are best enjoyed fresh, ideally within a few hours of frying. However, if you have leftovers:
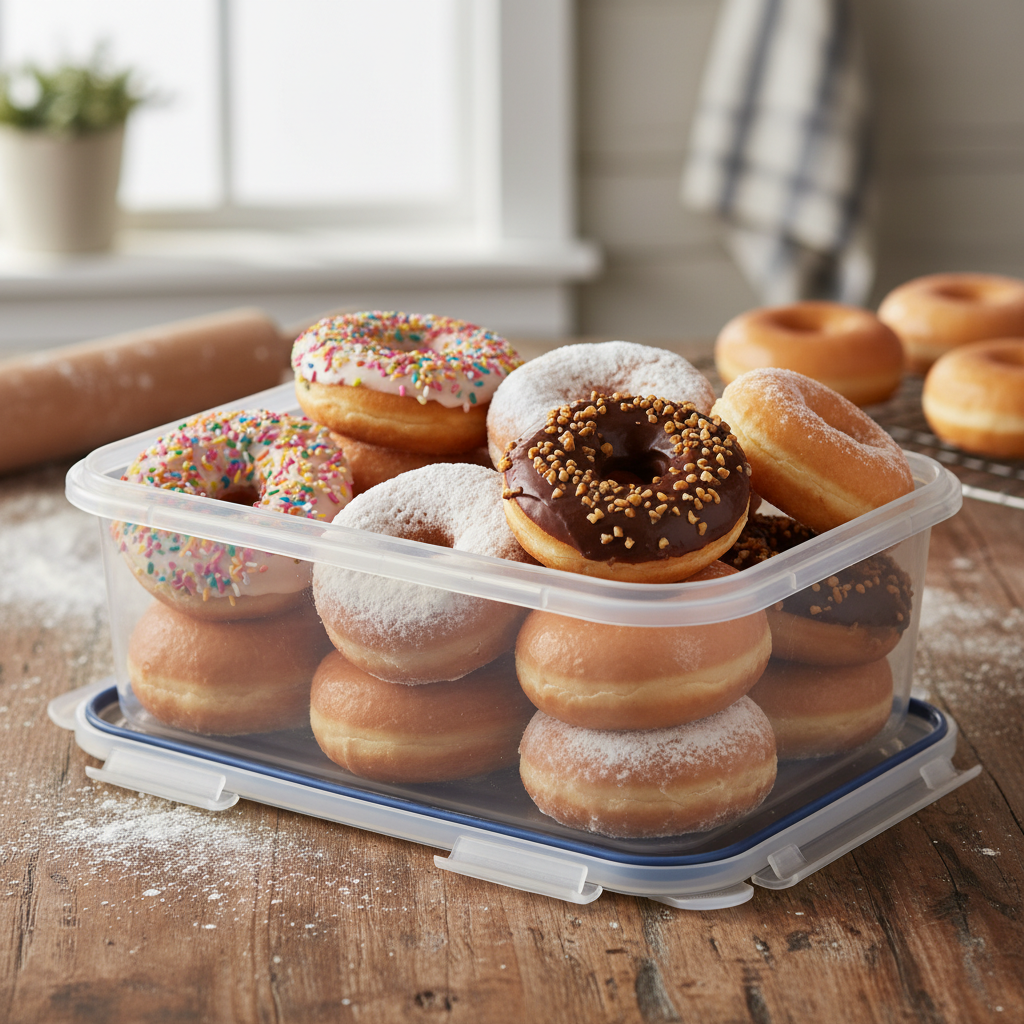
- Room Temperature Store unglazed or lightly glazed donuts in an airtight container at room temperature for up to 1 day.
- Reheating For best results, reheat plain donuts in a toaster oven or microwave for a few seconds to regain some warmth and softness.
Make-Ahead & Freezer Notes
Want to enjoy fresh donuts without all the work on the same day? Here are some make-ahead options:
- Dough in the Fridge After the first rise, you can punch down the dough, cover it tightly, and refrigerate it for up to 24 hours. Let it come to room temperature for about 30 minutes before rolling and cutting.
- Freeze Cut Dough After cutting the donut shapes, place them on a parchment-lined baking sheet and freeze until solid. Transfer to an airtight freezer bag for up to 2-3 weeks. When ready to fry, place frozen donuts on parchment-lined baking sheets, cover, and let thaw and proof at room temperature for 2-3 hours before frying.
- Freeze Fried Donuts You can freeze unfrosted, fried donuts. Once completely cooled, place them in an airtight freezer bag. Reheat in a toaster oven or microwave, then glaze or dust as desired.
Serving Suggestions
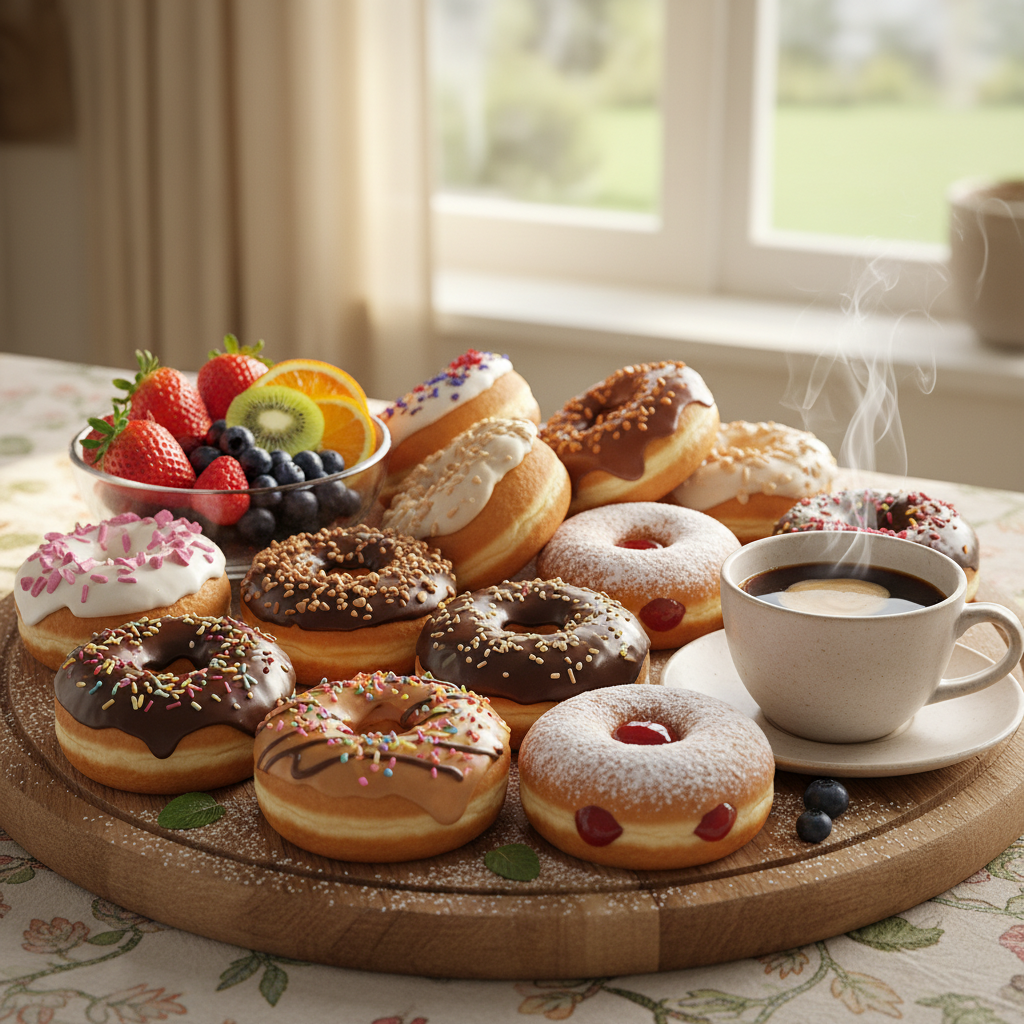
These fluffy yeast donuts are a treat all on their own, but they also pair wonderfully with other delights:
- Coffee or Tea The classic pairing! A hot cup of coffee or your favorite tea is the perfect accompaniment.
- Milk A tall glass of cold milk is a simple, comforting choice.
- Fresh Fruit Serve alongside a bowl of fresh berries or sliced fruit for a balanced breakfast or brunch spread.
- Brunch Spread Include them as part of a larger brunch, alongside eggs, bacon, and pancakes.
- Ice Cream A warm, plain donut with a scoop of vanilla ice cream is a surprisingly delicious dessert.