There’s something truly magical about the holiday season, isn’t there? The twinkling lights, the cozy gatherings, and the irresistible aroma of freshly baked treats filling the air. This year, why not spread a little extra joy with homemade gifts straight from your kitchen? Festive holiday cookies are not just delicious; they’re a heartfelt expression of love and warmth, perfect for sharing with friends, family, and neighbors. Imagine their delight as they unwrap a box filled with your beautifully crafted confections!
This guide is your go-to resource for creating stunning, gift-worthy holiday cookies that taste as good as they look. Whether you’re a seasoned baker or just starting your culinary adventures, we’ll walk you through everything you need to know to bake, decorate, and package delightful treats that will make this holiday season extra sweet and memorable. Get ready to tie on your apron, preheat your oven, and dive into the wonderful world of festive baking!
A Sweet Tradition- The History of Holiday Baking
The tradition of baking and sharing cookies during the holidays dates back centuries, rooted in various cultural and religious celebrations. Long before modern ovens, people would bake simple, often spiced, cakes and biscuits to mark special occasions. In medieval Europe, spices like cinnamon, nutmeg, and ginger—once rare and expensive—became associated with festivities and wealth, making their way into celebratory bakes.
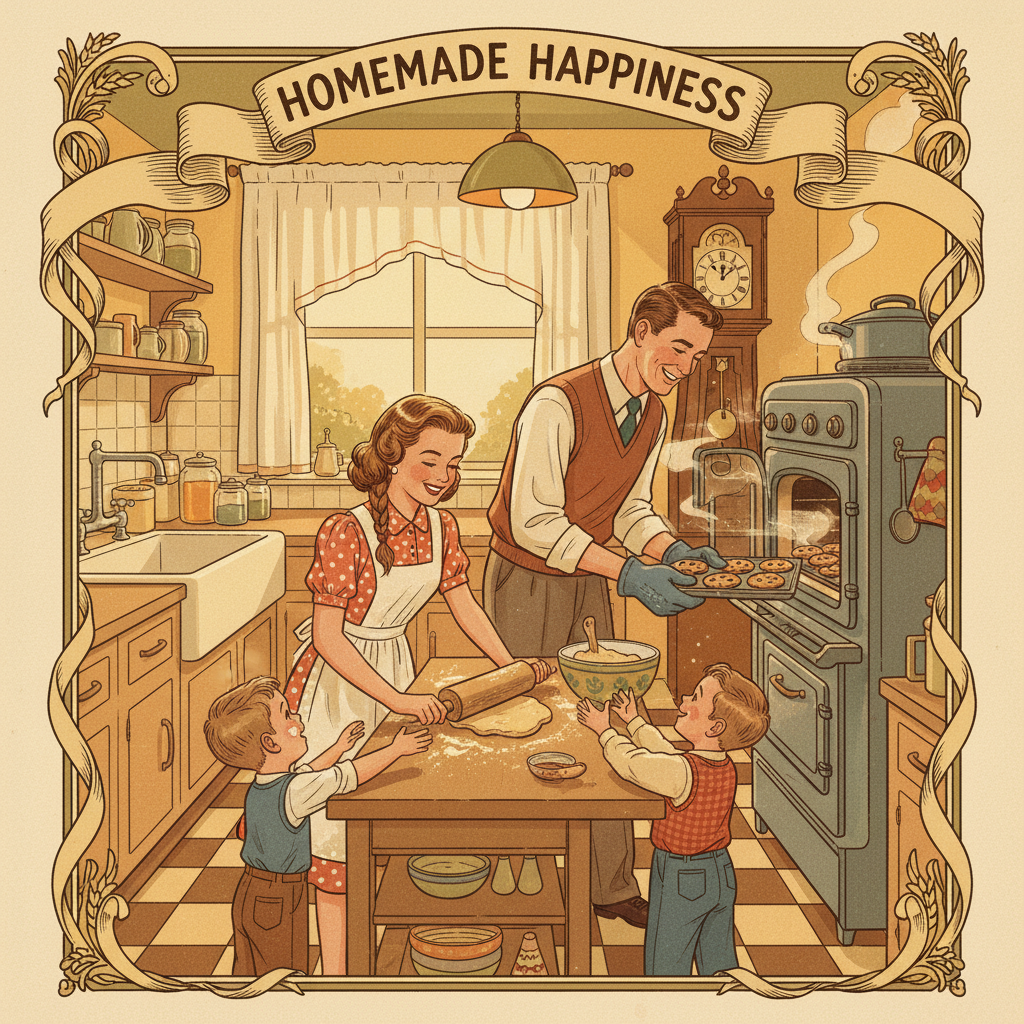
As Christianity spread, these traditions merged with Christmas, with cookies becoming a staple of holiday feasts and gift-giving. German immigrants brought their beloved cookie cutters and recipes to America, popularizing decorated sugar cookies and gingerbread. The act of baking together became a cherished family activity, passing down recipes and memories through generations. Today, gifting homemade cookies is a beloved gesture, symbolizing warmth, generosity, and the spirit of togetherness that defines the holiday season.
Why You Will Love These Holiday Cookies
- Simple and Approachable Our recipe is designed for bakers of all skill levels, ensuring a stress-free experience.
- Deliciously Versatile These cookies are a perfect canvas for countless flavor and decoration variations.
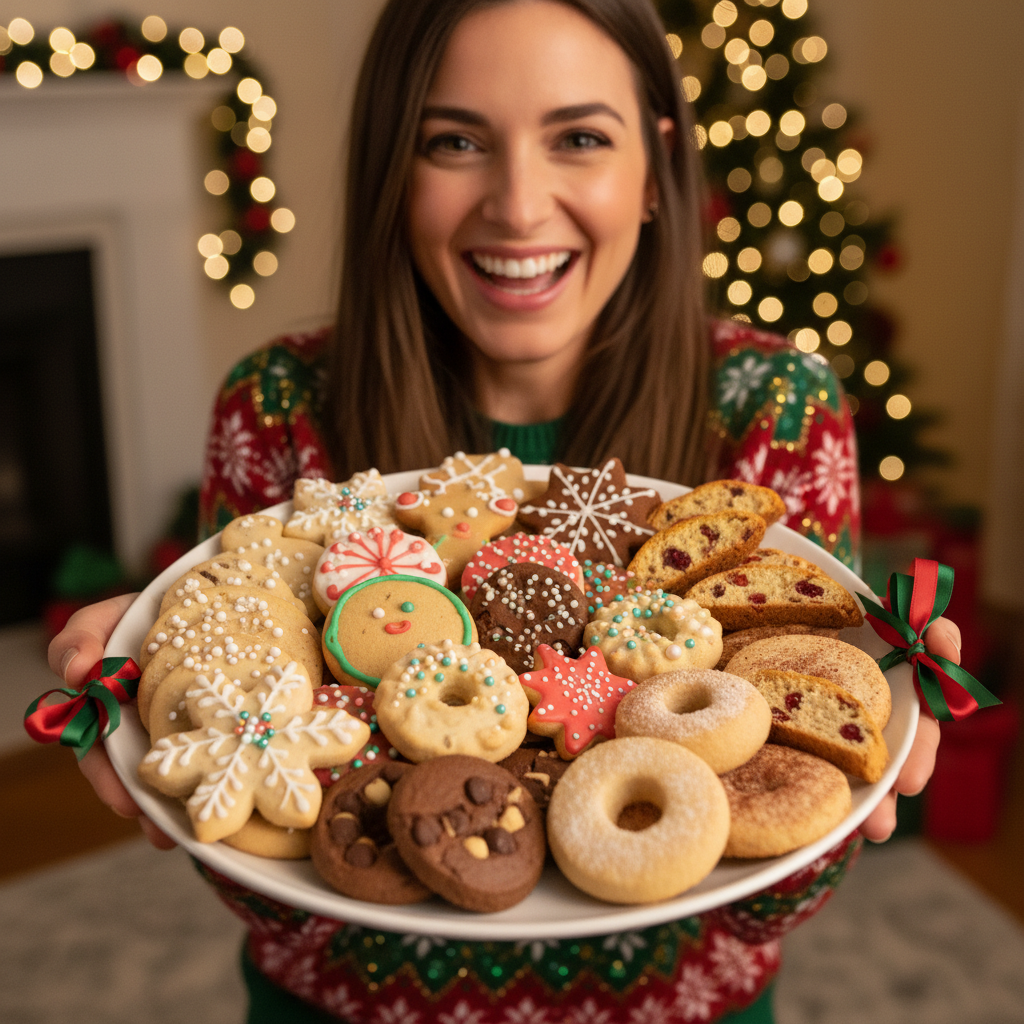
- Perfect for Gifting Beautifully packaged, they make thoughtful and impressive homemade presents.
- Crowd-Pleasing Flavors A classic taste that everyone adores, bringing smiles to every bite.
- Customizable Fun Enjoy decorating them with family and friends, making each batch unique.
Essential Ingredient Notes

Understanding your ingredients is key to successful baking. Here’s a quick rundown of what you’ll need and why each component matters for our festive cookies:
- All-Purpose Flour The structure of your cookies. Measure it correctly by spooning it into a measuring cup and leveling it off with a straight edge.
- Unsalted Butter Provides richness and tenderness. Make sure it’s softened to room temperature for smooth creaming with sugar.
- Granulated Sugar Sweetens and helps with crispness and golden-brown edges.
- Eggs Bind the ingredients together, add moisture, and contribute to the cookie’s structure. Use large eggs at room temperature.
- Vanilla Extract A fundamental flavor enhancer that brings out the best in your cookies, adding a warm, sweet aroma.
- Baking Powder (or Baking Soda) A leavening agent that helps the cookies rise slightly and achieve a tender crumb.
- Salt Balances the sweetness and enhances all the other flavors, preventing the cookies from tasting bland.
- Optional Spices Cinnamon, nutmeg, or ginger can add wonderful holiday warmth and depth of flavor.
Tools You Will Need

Having the right tools makes all the difference for a smooth baking process and perfectly shaped cookies:
- Stand Mixer or Hand Mixer Essential for creaming butter and sugar until light and fluffy.
- Large Mixing Bowls For combining wet and dry ingredients without making a mess.
- Measuring Cups and Spoons Accuracy is crucial in baking! Always level off your dry ingredients.
- Rolling Pin For evenly rolling out your cookie dough to a consistent thickness.
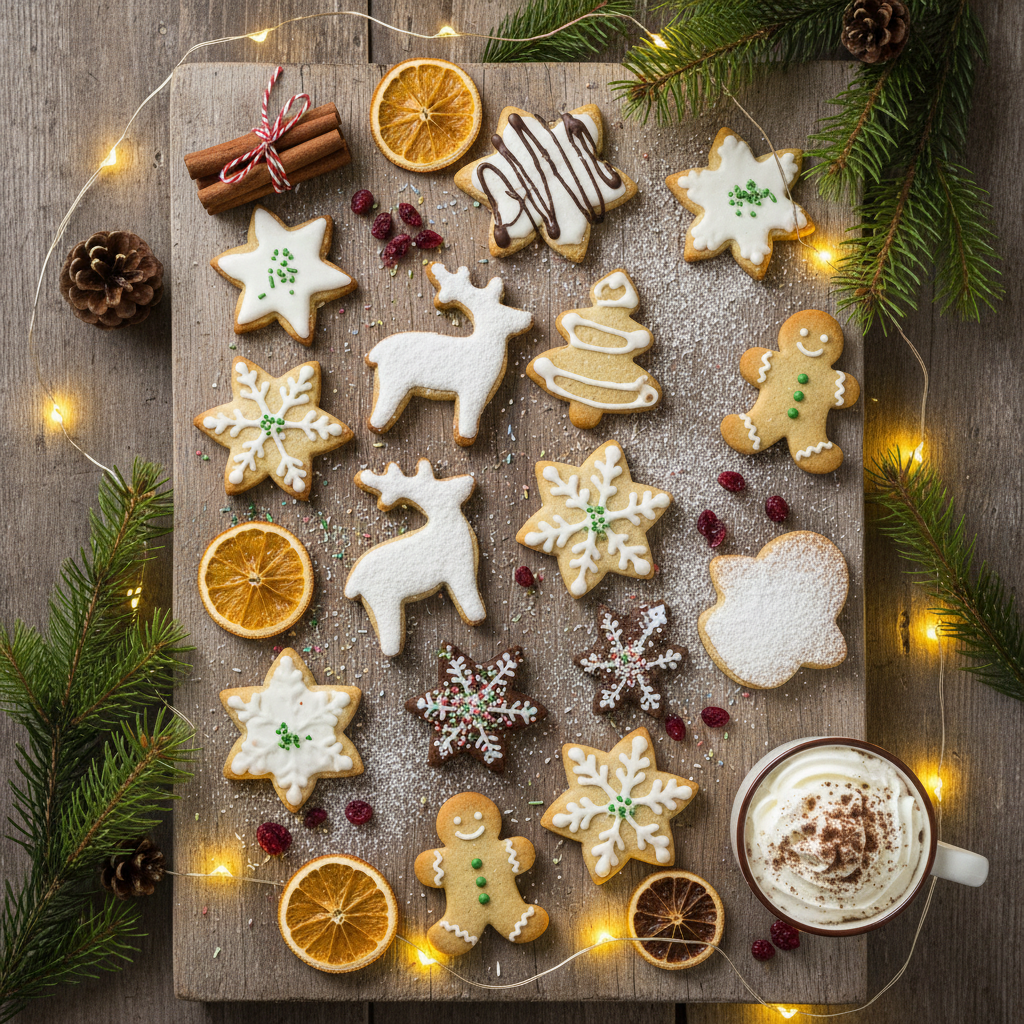
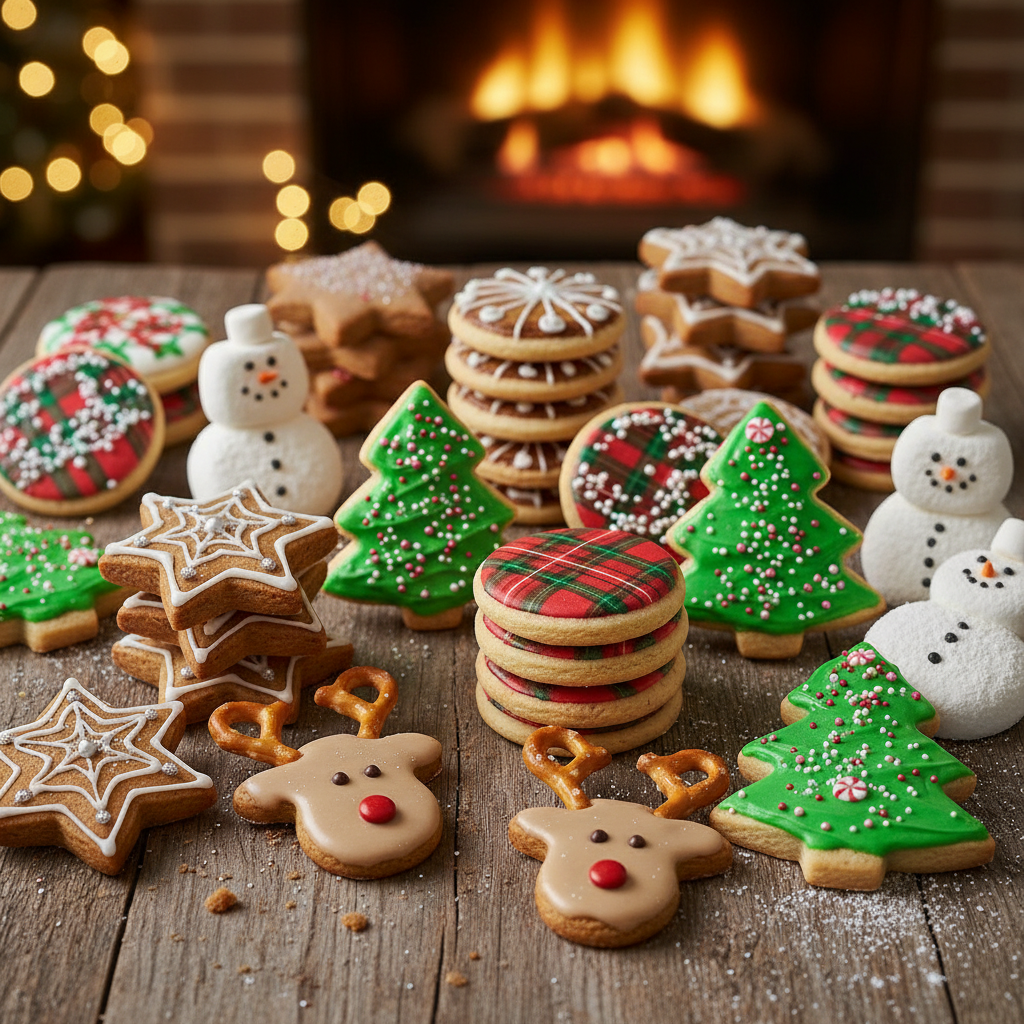
- Cookie Cutters Choose fun holiday shapes like stars, trees, gingerbread men, or snowflakes.
- Baking Sheets Sturdy sheets that won’t warp in the oven, ensuring even heat distribution.
- Parchment Paper or Silicone Baking Mats Prevents sticking, ensures even baking, and makes cleanup a breeze.
- Wire Cooling Rack For cooling cookies completely, allowing air circulation to prevent sogginess.
- Spatula For carefully transferring baked cookies from the hot sheet to the cooling rack.
Classic Holiday Cut-Out Cookies Recipe
Yield 3-4 Dozen Cookies Prep time 30 minutes Chill time 1 hour Bake time 8-10 minutes per batch
Ingredients
- 2 ½ cups all-purpose flour
- 1 teaspoon baking powder
- ½ teaspoon salt
- 1 cup (2 sticks) unsalted butter, softened
- 1 ½ cups granulated sugar
- 2 large eggs, room temperature
- 1 teaspoon pure vanilla extract
- Optional ¼ teaspoon ground cinnamon or nutmeg
Instructions
- Whisk Dry Ingredients In a medium bowl, whisk together the flour, baking powder, and salt. If using, add cinnamon or nutmeg here, ensuring they are evenly distributed.
- Cream Wet Ingredients In a large bowl with an electric mixer (stand or hand-held), beat the softened butter and granulated sugar on medium-high speed until light and fluffy, about 2-3 minutes. Scrape down the sides of the bowl as needed.
- Add Eggs and Vanilla Beat in the eggs one at a time, mixing well after each addition until fully incorporated. Stir in the vanilla extract until just combined.
- Combine Wet and Dry Gradually add the dry ingredient mixture to the wet ingredients, mixing on low speed until just combined. Be careful not to overmix; stop as soon as no dry streaks of flour remain. The dough will be soft.
- Chill the Dough Divide the dough in half, flatten each half into a disk, wrap tightly in plastic wrap, and refrigerate for at least 1 hour (or up to 2 days). This chilling step is crucial for easy rolling and preventing the cookies from spreading too much in the oven.
- Preheat Oven and Prep Preheat your oven to 375°F (190°C). Line baking sheets with parchment paper or silicone baking mats.
- Roll and Cut On a lightly floured surface, roll out one disk of chilled dough to about ¼-inch thickness. Use your favorite holiday cookie cutters to cut out shapes. Carefully transfer the cut-out cookies to the prepared baking sheets, leaving about 1 inch between them.
- Bake Bake for 8-10 minutes, or until the edges are lightly golden and the centers are set. Baking time will vary depending on the size and thickness of your cookies, so keep a close eye on them.
- Cool Let the cookies cool on the baking sheets for 5 minutes before carefully transferring them to a wire rack to cool completely. Repeat with remaining dough, re-rolling scraps as needed (only re-roll once or twice to avoid tough cookies).
Recipe Notes
- For best results, ensure all cold ingredients (butter, eggs) are at room temperature before starting. This helps them cream together smoothly and evenly.
- Do not overwork the dough once the flour is added; this can develop gluten and lead to tough, less tender cookies.
- If the dough becomes too warm while rolling and starts to stick, chill it again briefly (10-15 minutes) in the refrigerator.
- Decorate cooled cookies with royal icing, a simple glaze, or festive sprinkles for a beautiful finish.
Tips and Delicious Variations
Once you’ve mastered the basic recipe, the fun truly begins with customization! Here are some ideas to make your holiday cookies uniquely yours and add extra festive flair:
- Citrus Zest Add 1-2 teaspoons of finely grated orange or lemon zest to the dough for a bright, refreshing flavor that complements the sweetness beautifully.
- Almond Extract Substitute half of the vanilla extract with almond extract for a distinct, nutty flavor that pairs wonderfully with many holiday spices.
- Chocolate Chip Cookies Fold in ½ cup of mini chocolate chips or finely chopped white chocolate during the last step of mixing the dough for a delightful twist.
- Spice It Up Increase the amounts of cinnamon, nutmeg, or ginger, or add a pinch of ground cloves or cardamom for more intense holiday spice and aroma.
- Glaze vs. Icing For a simple, elegant finish, use a powdered sugar glaze (powdered sugar + milk + vanilla). For intricate designs and a firmer set, opt for royal icing.
- Sprinkles and Candies Decorate with festive sprinkles, edible glitter, or small candies while the icing is still wet for a dazzling presentation.
Pro Chef Tips for Perfect Cookies

Want to elevate your cookie game and achieve bakery-quality results? These professional insights will help you bake cookies that are not just delicious, but also beautiful and consistent:
- Weigh Your Ingredients For ultimate accuracy, especially with flour, use a kitchen scale rather than volume measuring cups. This ensures consistent results every time.
- Don’t Overmix Overmixing the dough after adding flour develops gluten, leading to tougher, less tender cookies. Mix just until ingredients are combined.
- Consistent Thickness Roll your dough to an even thickness (¼-inch is ideal) for uniform baking and appearance. A rolling pin with thickness rings can be a very helpful tool.
- Chill Thoroughly A well-chilled dough prevents spreading in the oven, helping to maintain sharp edges and defined shapes on your cut-out cookies. Don’t skip this step!
- Rotate Baking Sheets If your oven tends to bake unevenly, rotate your baking sheets halfway through the baking time for consistent golden edges and uniform doneness.
- Cool Completely Before Decorating Attempting to decorate warm cookies will result in melted icing, smudged designs, and a messy presentation. Patience is key for beautiful decorations!
Common Mistakes to Avoid

Even experienced bakers sometimes make small errors. Here’s how to steer clear of common pitfalls when making holiday cookies, ensuring your batch turns out perfect every time:
- Over-Flouring Your Surface Too much flour on your rolling surface can dry out your dough, making your cookies tough and crumbly. Use just enough to prevent sticking.
- Warm Dough Not chilling your dough enough, or letting it get too warm while working with it, will cause your cookies to spread excessively in the oven, losing their defined shapes. Keep it cool!
- Overbaking Cookies can go from perfectly golden to slightly burnt in a flash. Keep a close eye on them, especially during the last few minutes. They should be lightly golden at the edges, not dark brown.
- Not Using Parchment Paper Baking directly on an ungreased baking sheet can lead to sticking, uneven browning, and a much harder cleanup. Parchment paper is your friend.
- Improperly Measured Ingredients Baking is a science. Too much flour or too little butter can drastically alter the texture and taste of your cookies. Measure precisely.
Storage and Meal Prep
Proper storage ensures your delicious cookies stay fresh and delightful for longer, whether for immediate enjoyment or future gifting:
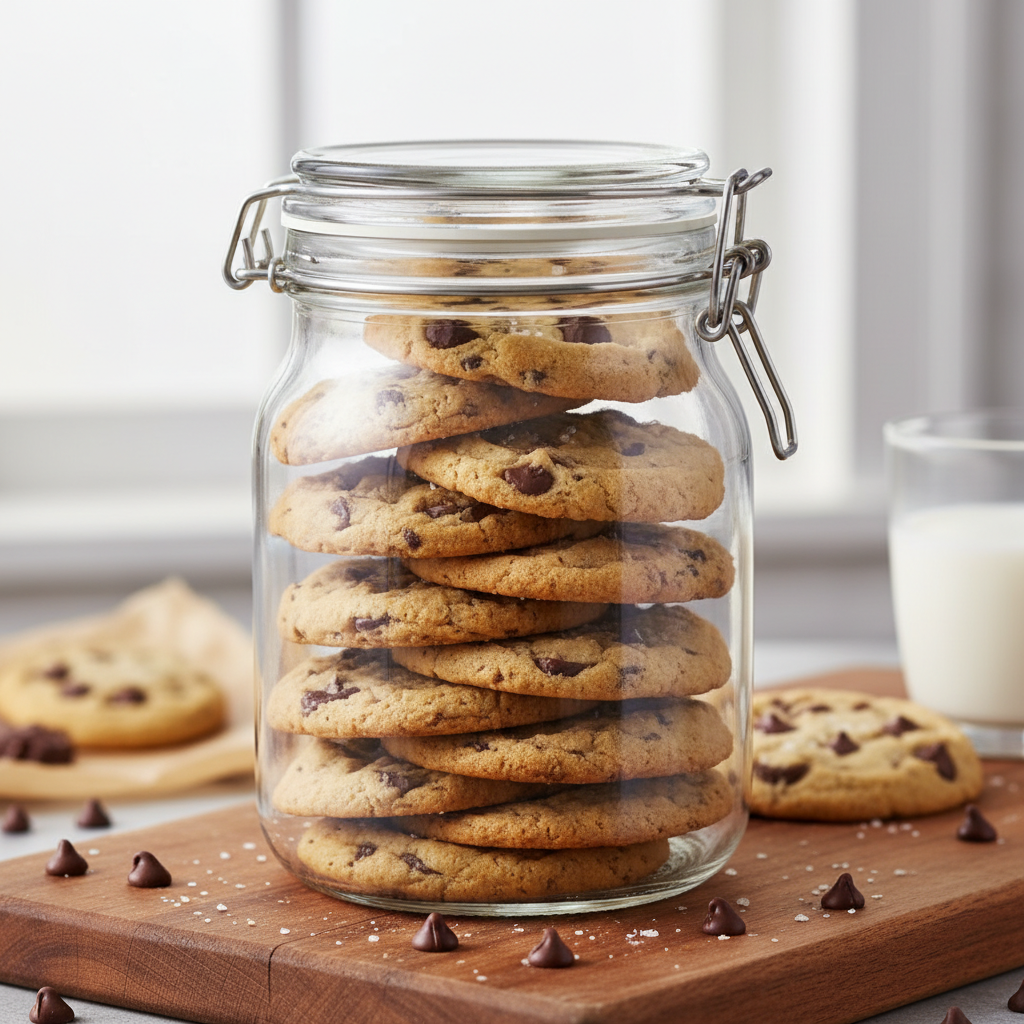
- Airtight Containers Once completely cooled, store undecorated cookies in an airtight container at room temperature for up to 5-7 days.
- Separating Layers If stacking cookies, especially decorated ones, place parchment paper or wax paper between layers to prevent sticking, smudging, and transferring flavors.
- Decorated Cookies Store decorated cookies in a single layer in an airtight container to protect their intricate designs. If stacking is absolutely necessary, ensure icing is completely dry and use parchment separators.
Make-Ahead and Freezer Notes
The holiday season can be hectic, so preparing your cookies in advance is a brilliant strategy. Here’s how to do it efficiently:
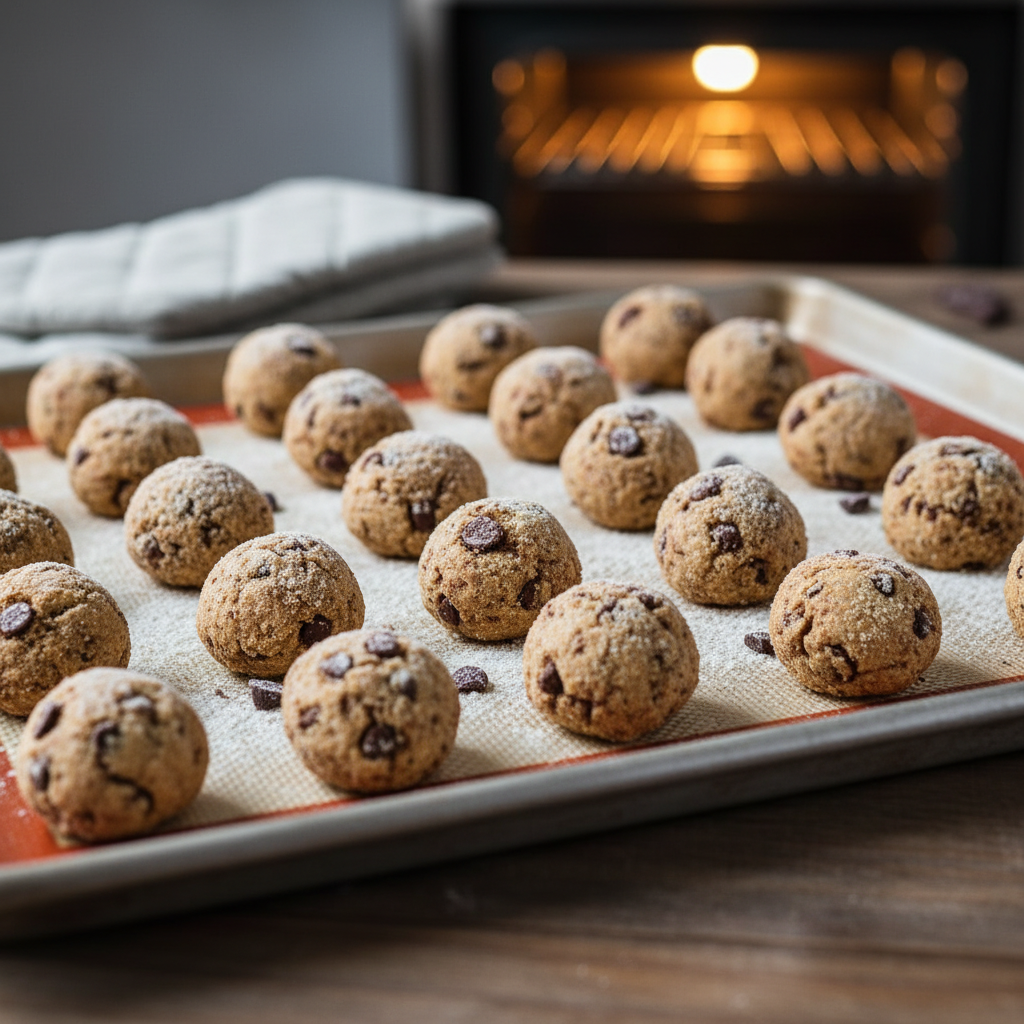
- Freezing Dough Prepare the cookie dough as instructed. Wrap the disks tightly in plastic wrap, then place them in a freezer-safe bag. Freeze for up to 3 months. Thaw overnight in the refrigerator before rolling and baking.
- Freezing Cut-Out Dough Roll out the dough and cut out shapes. Place the cut-outs on a parchment-lined baking sheet and freeze until solid (about 30-60 minutes). Once frozen, transfer them to a freezer-safe bag or container, separating layers with parchment. Bake from frozen, adding a minute or two to the baking time.
- Freezing Baked Cookies Bake and cool cookies completely. Arrange them in a single layer on a baking sheet and freeze until solid. Transfer to an airtight freezer-safe container, separating layers with parchment paper. Freeze for up to 3 months. Thaw at room temperature before decorating or serving.
Delightful Serving Suggestions
These festive holiday cookies are wonderful on their own, but here are some ideas to make them even more special for serving or gifting:
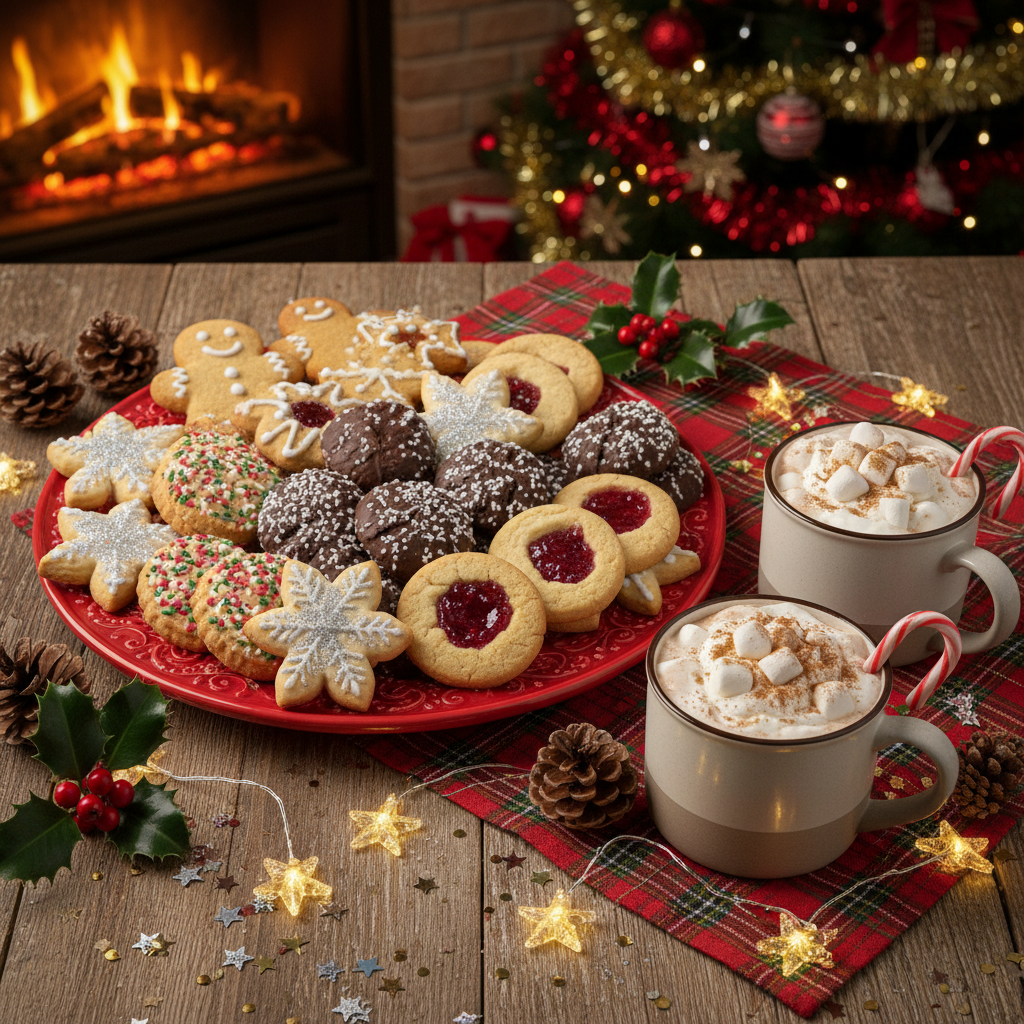
- With Hot Beverages Pair them with a warm mug of hot cocoa, spiced cider, eggnog, or your favorite coffee or tea for a cozy treat.
- Dessert Platter Arrange an assortment of your decorated cookies on a beautiful platter for a holiday gathering. Add some fresh berries, sugared cranberries, or a dusting of powdered sugar for extra flair.
- Cookie Exchange Bring them to a holiday cookie exchange and swap with friends for a diverse collection of homemade treats and new recipes.
- Gifting Presentation Package them beautifully in decorative tins, clear cellophane bags tied with festive ribbons, small bakery boxes, or even mason jars layered with cookies. Add a handmade tag with your well wishes for a personal touch.