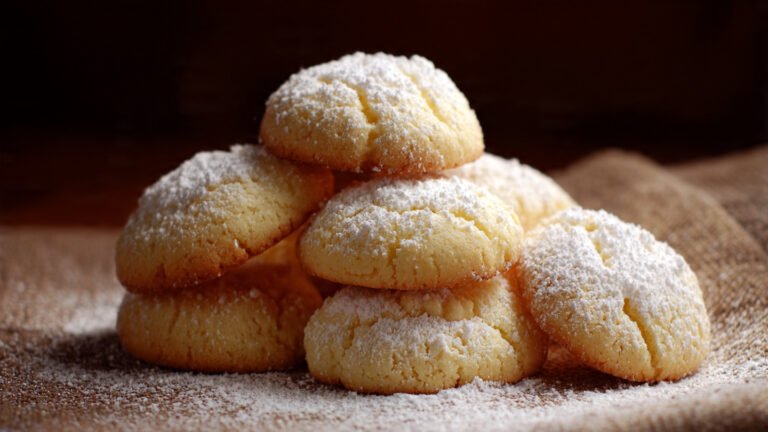
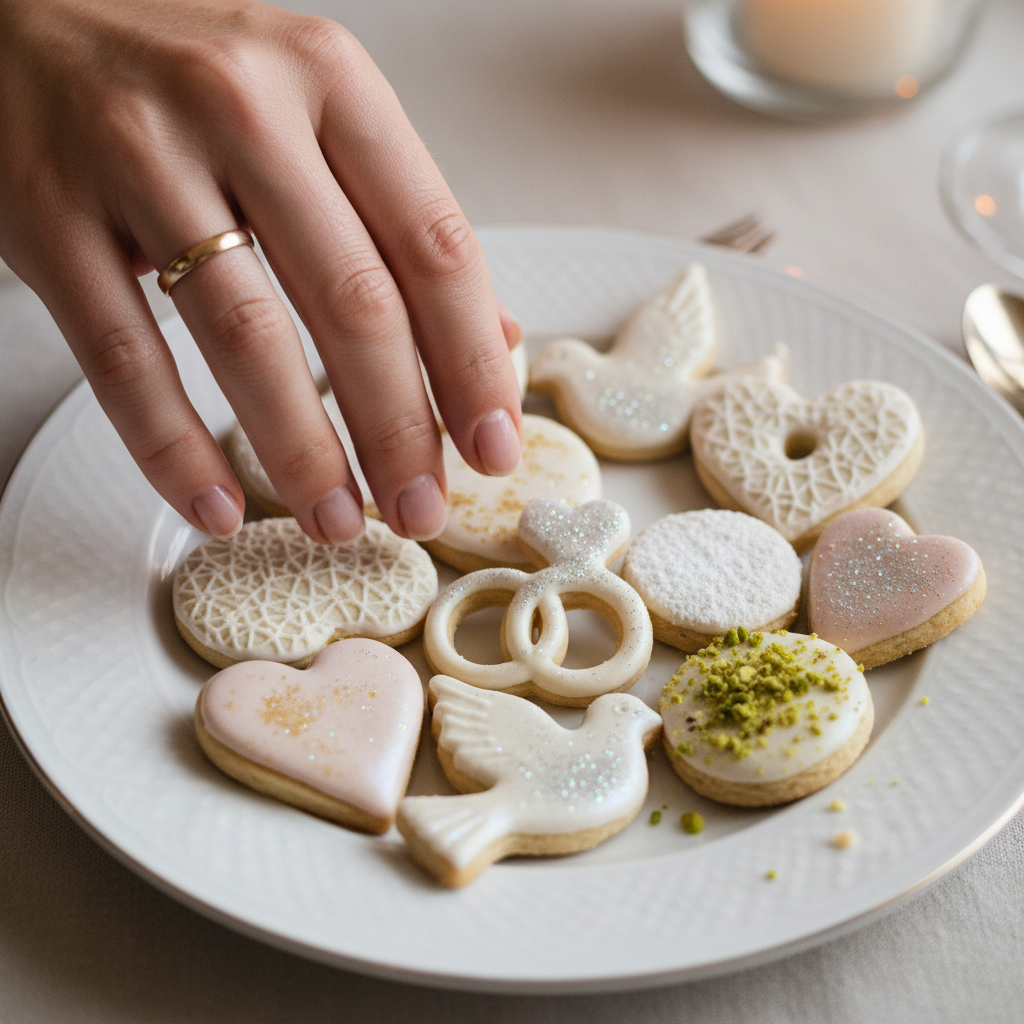
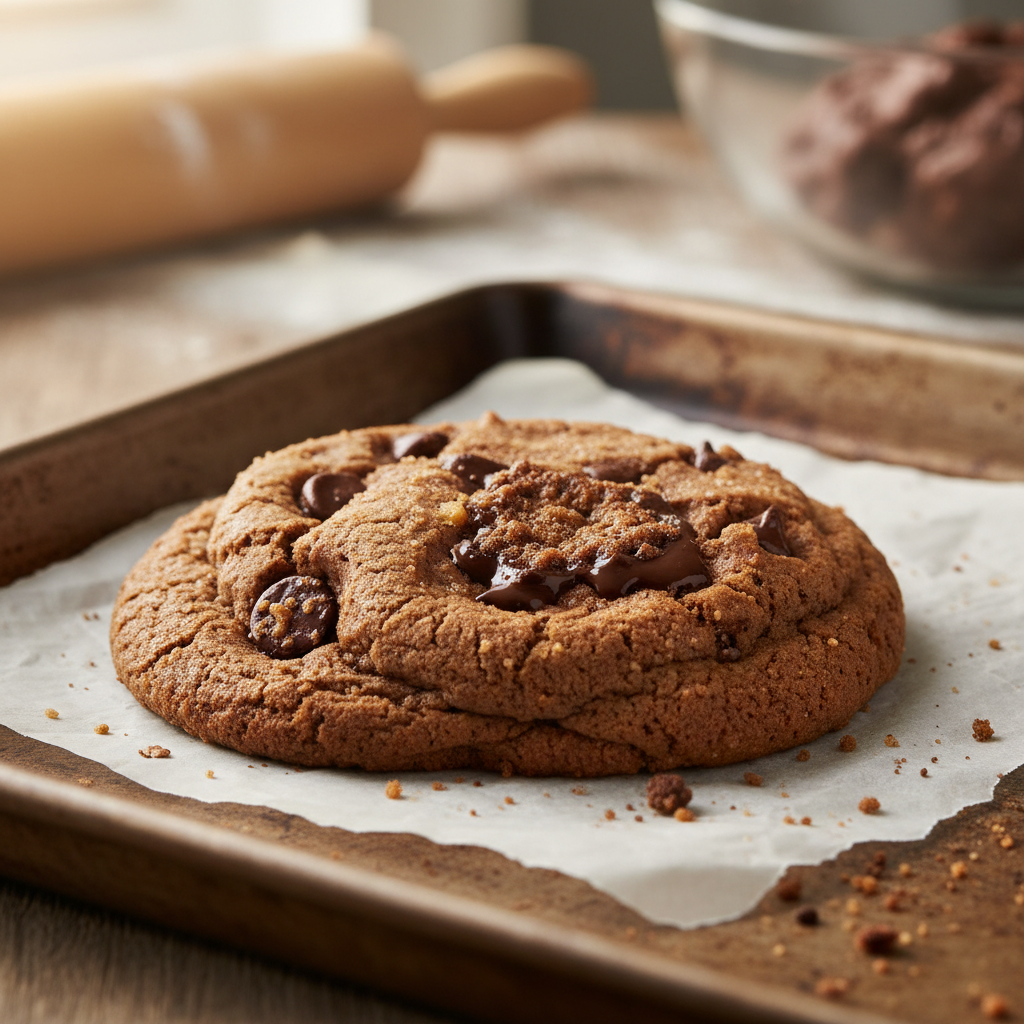
Welcome, fellow baking enthusiasts! Today, we’re diving into the enchanting world of a truly special treat: elegant wedding cookies. Often known by many names like Mexican Wedding Cakes, Russian Tea Cakes, or Snowball Cookies, these delightful morsels are a staple at celebrations, holidays, and, of course, weddings. Their charm lies in their simplicity and their incredible ability to literally melt in your mouth, leaving behind a buttery, nutty sweetness that’s utterly irresistible.
If you’ve ever felt intimidated by baking for special occasions, fear not! This guide is designed to make the process straightforward and enjoyable, even for the most beginner bakers. We’ll walk through every step, from selecting the right ingredients to mastering the perfect roll in powdered sugar. Get ready to create cookies that will impress everyone and become a cherished part of your baking repertoire. Let’s get started on this sweet adventure!
A Sweet History and Background
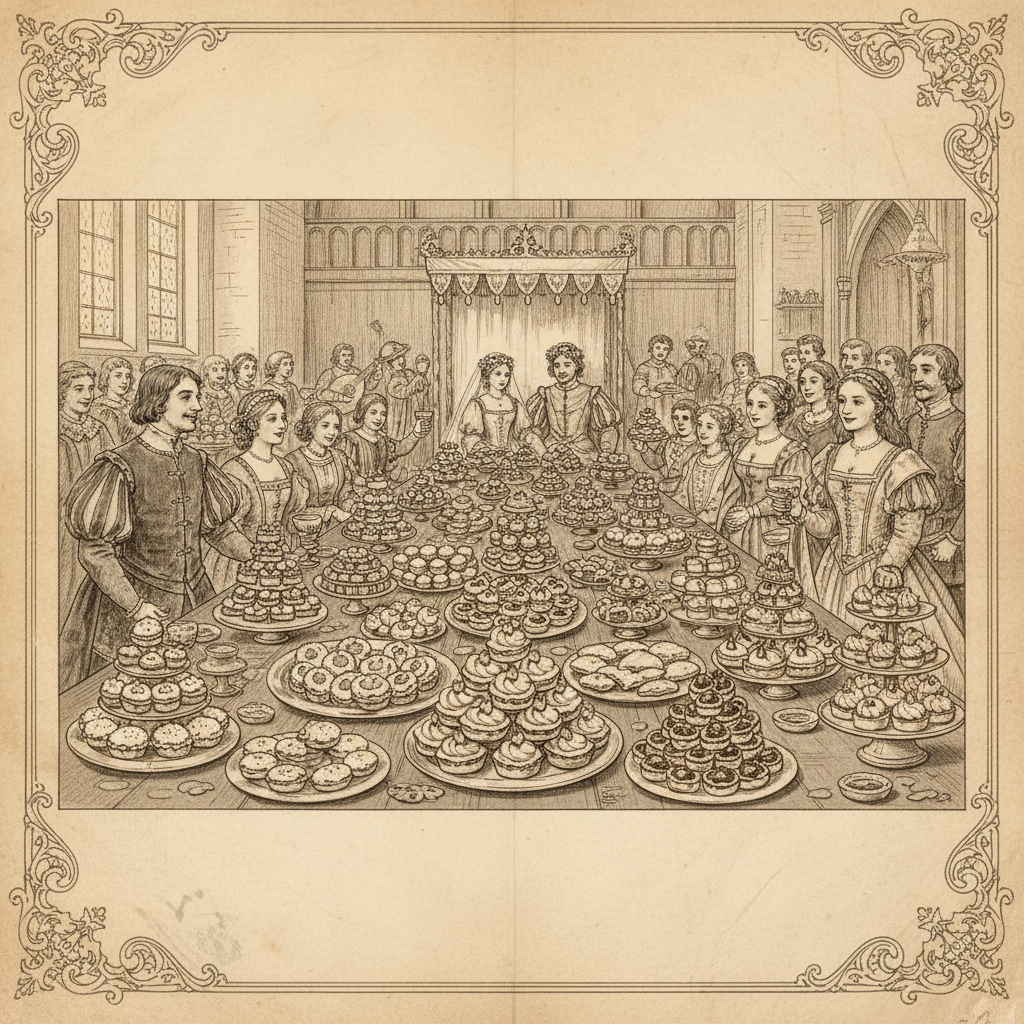
The history of these beloved melt-in-your-mouth cookies is as rich and delightful as their flavor. While they are famously known as “Mexican Wedding Cookies” in North America, similar versions can be found across many cultures, each with its own unique twist and name. In Russia, they are known as “Russian Tea Cakes,” and in many European countries, they are simply called “Snowball Cookies” due to their festive, powdered sugar coating.
These cookies likely originated in Europe, with early recipes featuring ground nuts, butter, and flour becoming popular in various forms. As immigrants traveled, they brought their cherished recipes with them, adapting them to local ingredients and tastes. The common thread among all these variations is their delicate, crumbly texture, achieved through a high butter-to-flour ratio and often the inclusion of finely ground nuts like pecans, walnuts, or almonds. They became a symbol of celebration and hospitality, perfect for sharing at gatherings, especially weddings, where their elegant appearance and delightful taste made them a favorite.
Why You’ll Adore These Cookies
There are so many reasons to fall in love with these elegant wedding cookies. They’re more than just a dessert; they’re a little bite of joy!
- Melt-in-Your-Mouth Texture They live up to their name! The high butter content creates an incredibly tender, crumbly texture that truly dissolves on your tongue.
- Simple Ingredients, Big Flavor With just a few basic pantry staples, you can create a cookie that tastes incredibly rich and sophisticated.
- Beginner-Friendly Baking No fancy techniques or equipment needed. If you can mix and roll, you can make these!
- Perfect for Any Occasion While they’re called “wedding cookies,” their elegant look and delightful taste make them ideal for holidays, parties, or just a cozy afternoon tea.
- Customizable Easily swap out nuts, add extracts, or experiment with different coatings to make them your own.
- Make-Ahead Friendly The dough can be prepared in advance, and the baked cookies store beautifully, making them perfect for busy schedules.
Essential Ingredient Notes

Quality ingredients make all the difference in these simple cookies. Here’s what you’ll need and why each component is important:
- Unsalted Butter This is the star! Use good quality, softened butter. It provides the rich flavor and tender texture. Unsalted gives you control over the salt content.
- Powdered Sugar (Confectioners’ Sugar) You’ll use this twice: a little in the dough for sweetness and a lot for that iconic snowy coating. It dissolves beautifully, contributing to the melt-in-your-mouth feel.
- Vanilla Extract A good quality vanilla extract enhances all the other flavors. Don’t skimp here!
- All-Purpose Flour The structure of our cookie. Measure it correctly – too much flour can make your cookies dry and tough.
- Finely Chopped Nuts Pecans are traditional and highly recommended for their buttery flavor. Walnuts or almonds also work wonderfully. Make sure they are finely chopped or even pulsed in a food processor for the best texture.
- Salt Just a pinch balances the sweetness and brings out the nutty flavors.
Equipment You’ll Need
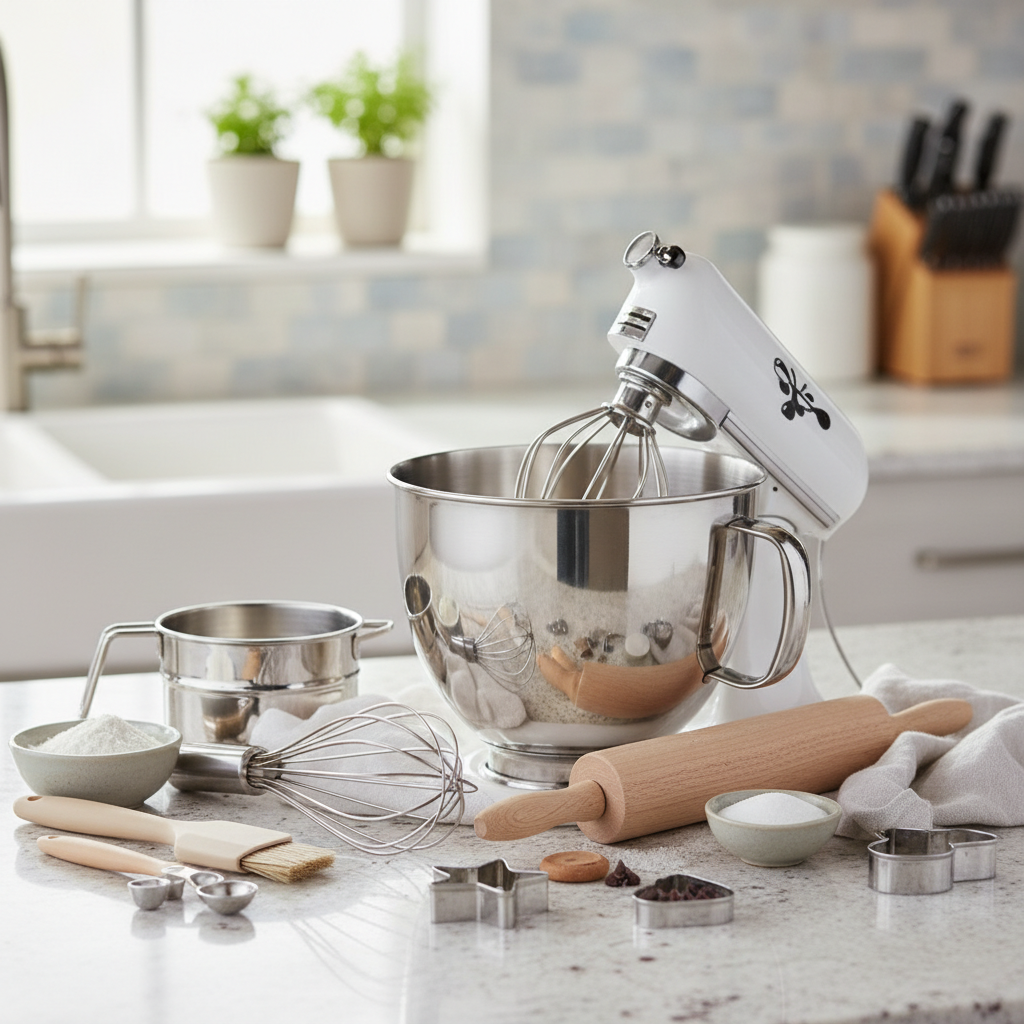
You don’t need a professional kitchen to make these cookies! Here’s a list of basic tools that will make your baking experience smooth:
- Mixing Bowls At least two, one for dry ingredients and one for wet.
- Electric Mixer (Stand or Handheld) While you can mix by hand, an electric mixer makes creaming butter and sugar much easier and ensures a light, fluffy dough.
- Measuring Cups and Spoons For accurate ingredient measurements.
- Spatula or Wooden Spoon For scraping down bowls and mixing.
- Baking Sheets Two or three, lined with parchment paper or silicone baking mats.
- Parchment Paper or Silicone Baking Mats Prevents sticking and ensures even baking.
- Wire Cooling Rack For cooling the cookies after baking.
- Small Sieve or Sifter For dusting with powdered sugar.
- Small Bowl or Plate For rolling the warm cookies in powdered sugar.
The Full Recipe Card
Ingredients for Perfection
- 1 cup (2 sticks / 226g) unsalted butter, softened
- 1/2 cup (60g) powdered sugar, plus more for rolling
- 1 teaspoon pure vanilla extract
- 2 1/4 cups (270g) all-purpose flour
- 1 cup (115g) finely chopped pecans (or walnuts/almonds)
- 1/4 teaspoon salt
Step-by-Step Instructions
- Prepare for Baking Preheat your oven to 350°F (175°C). Line baking sheets with parchment paper or silicone baking mats.
- Cream Butter and Sugar In a large mixing bowl, using an electric mixer, cream together the softened butter and 1/2 cup powdered sugar until light and fluffy, about 2-3 minutes.
- Add Vanilla Beat in the vanilla extract until just combined.
- Combine Dry Ingredients In a separate medium bowl, whisk together the flour, finely chopped nuts, and salt.
- Combine Wet and Dry Gradually add the dry ingredient mixture to the wet ingredients, mixing on low speed until just combined. Be careful not to overmix; overmixing can lead to tough cookies. The dough will be thick and crumbly.
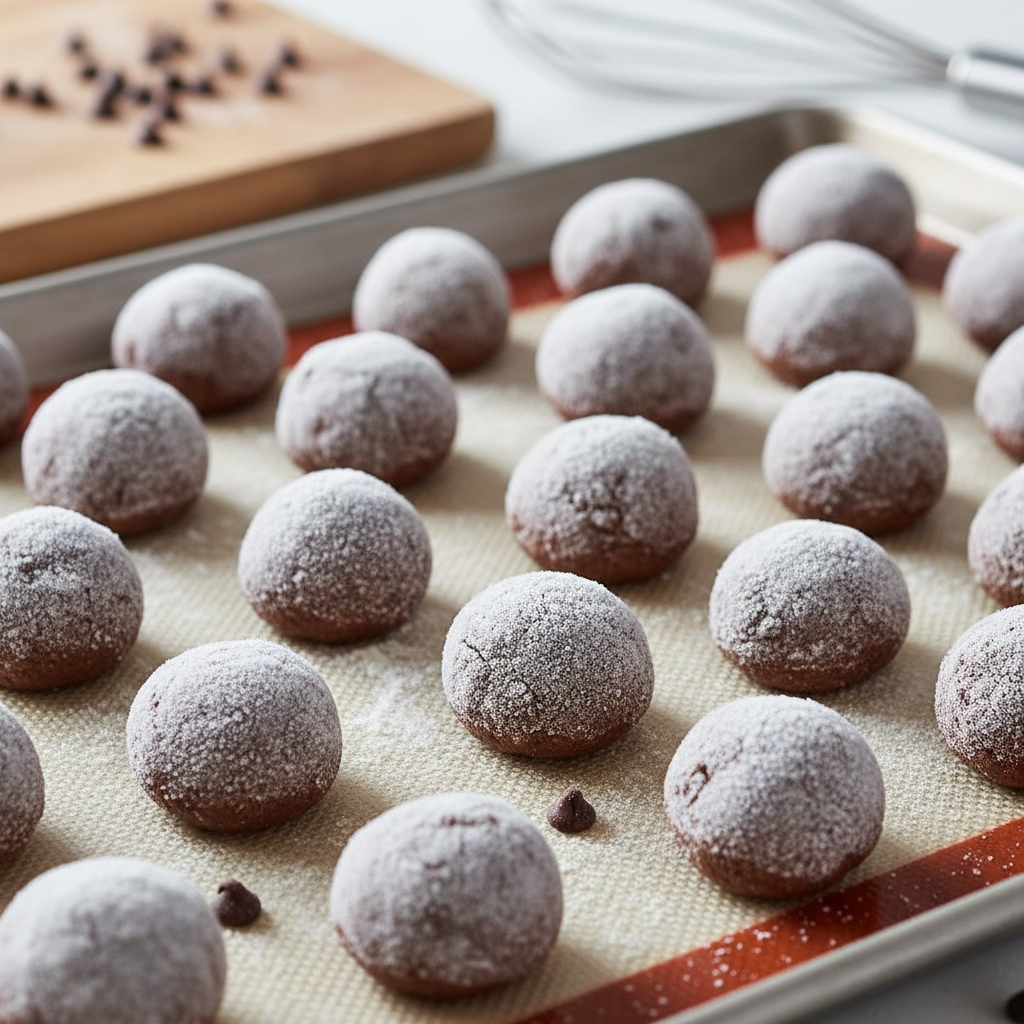
- Form Cookies Roll the dough into small, uniform balls, about 1 inch (2.5 cm) in diameter. Place them about 1 inch apart on the prepared baking sheets.
- Bake Bake for 12-15 minutes, or until the edges are lightly golden. The cookies should still be pale in the center.
- First Powdered Sugar Roll (Warm) Remove cookies from the oven. Let them cool on the baking sheet for about 5 minutes. While still warm, gently roll each cookie in a bowl of powdered sugar until fully coated. The warmth helps the sugar adhere.
- Cool Completely Transfer the sugar-coated cookies to a wire rack to cool completely.
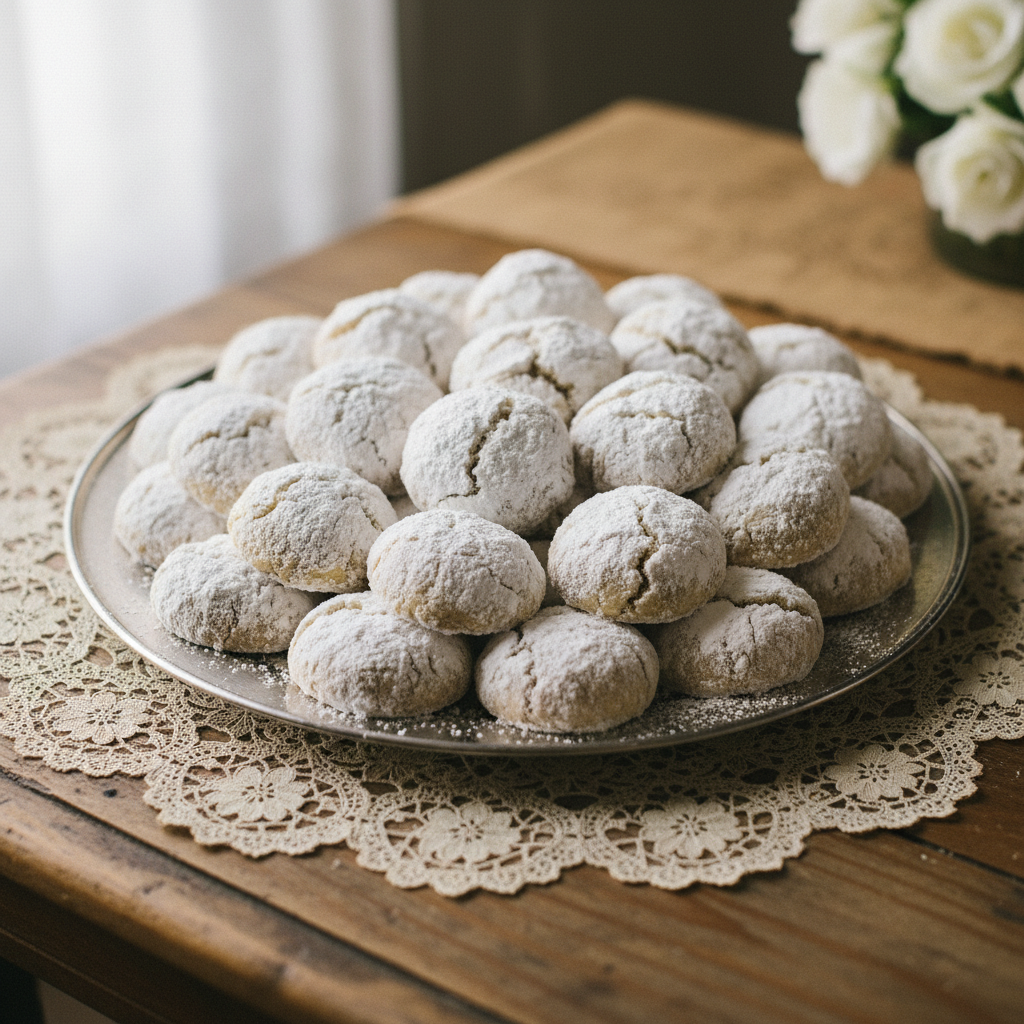
- Second Powdered Sugar Roll (Cool) Once the cookies are completely cool, roll them a second time in fresh powdered sugar. This creates that beautiful, thick, snowy coating and helps prevent the sugar from disappearing into the cookie over time.
- Serve and Enjoy Arrange on a platter and serve!
Recipe Notes for Success
- Softened Butter Ensure your butter is truly softened, not melted. It should give slightly when pressed.
- Don’t Overmix Overmixing develops gluten, which can make your cookies tough. Mix until just combined.
- Nut Fineness Finely chopped nuts integrate better into the dough and contribute to the melt-in-your-mouth texture.
- Double Roll The double roll in powdered sugar is key for the classic snowball look and taste. Don’t skip it!
- Chill Dough (Optional) If your kitchen is very warm and the dough is too soft to handle, chill it for 15-30 minutes before rolling.
Tips and Delicious Variations
While the classic recipe is perfect as is, these cookies are wonderfully adaptable! Here are some ideas to inspire your creativity:
- Nut Swaps Instead of pecans, try finely ground almonds, walnuts, or even pistachios for a different flavor profile.
- Citrus Zest Add 1-2 teaspoons of finely grated lemon or orange zest to the dough for a bright, refreshing note.
- Extract Variations Experiment with almond extract, coconut extract, or even a touch of rum extract in place of or in addition to vanilla.
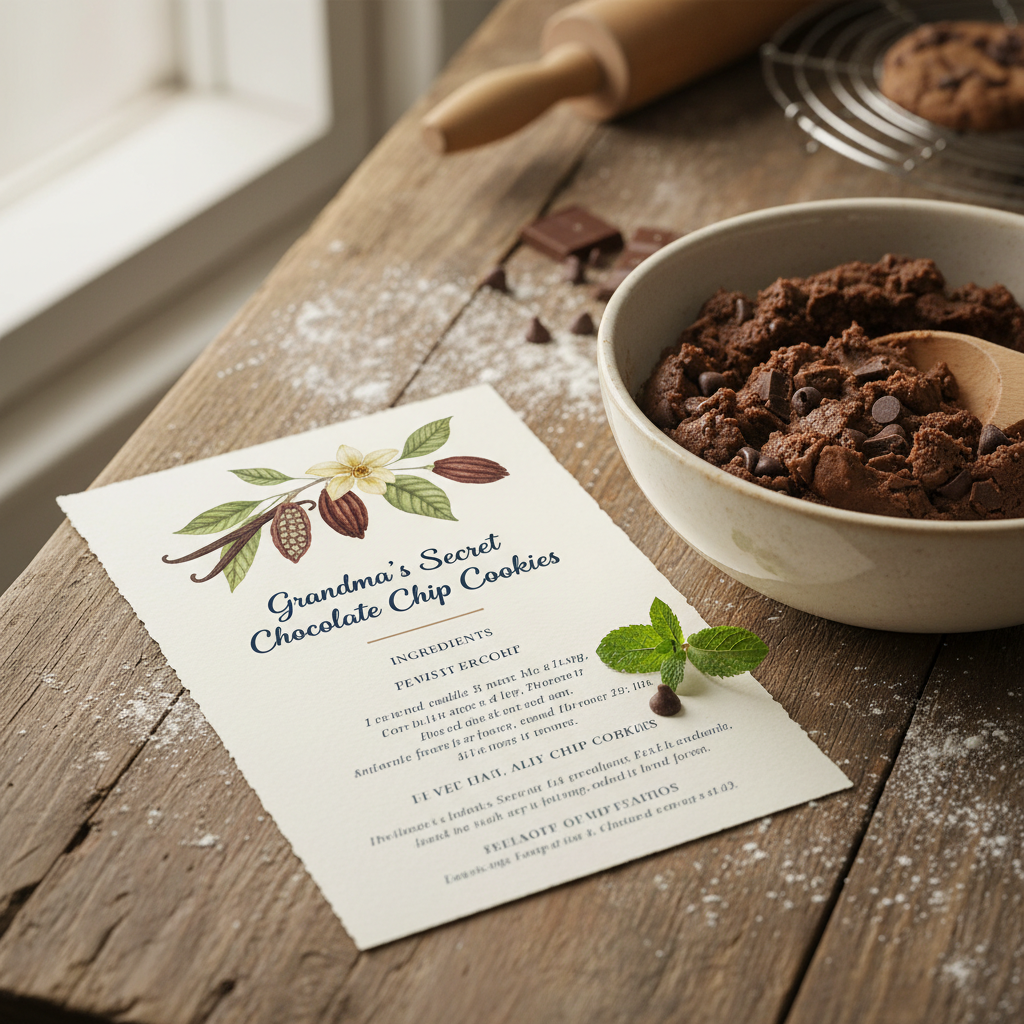
- Chocolate Chip Delight Fold in 1/2 cup of mini chocolate chips with the dry ingredients for a subtle chocolatey surprise.
- Spiced Cookies Add 1/2 teaspoon of cinnamon or a pinch of nutmeg to the flour mixture for a warm, spiced version.
- Different Coatings Instead of just powdered sugar, consider rolling some in a mixture of powdered sugar and cocoa powder, or even finely shredded coconut.
Pro Chef Secrets for Wedding Cookies

Want to elevate your wedding cookies from good to absolutely outstanding? Here are a few secrets from the pros:
- Use Room Temperature Ingredients This applies especially to butter and eggs (if your recipe used them). Room temperature ingredients emulsify better, creating a smoother, more uniform dough and better texture.
- Weigh Your Ingredients For ultimate precision, especially with flour, use a kitchen scale. A cup of flour can vary significantly in weight depending on how it’s scooped.
- Toast Your Nuts (Optional but Recommended) Lightly toasting your pecans or other nuts before chopping brings out their deeper, richer flavor. Just spread them on a baking sheet and toast at 300°F (150°C) for 5-7 minutes, watching carefully to prevent burning. Let them cool completely before chopping.
- Don’t Overbake These cookies are meant to be pale. Overbaking will make them dry and lose their melt-in-your-mouth quality. Look for just a hint of golden on the very bottom edges.
- Double Sift Powdered Sugar For the smoothest, most lump-free coating, sift your powdered sugar not once, but twice before rolling the cookies.
- Chill the Dough if Needed If your kitchen is warm or your butter is very soft, a quick 15-30 minute chill of the dough can make it much easier to roll into perfect balls.
Common Mistakes to Avoid
Even simple recipes can have pitfalls. Here are some common mistakes to watch out for to ensure your wedding cookies are perfect:
- Using Cold Butter Cold butter won’t cream properly with the sugar, leading to a dense, tough cookie. Always use softened butter.
- Overmixing the Dough As mentioned, overmixing develops gluten, resulting in a tough, chewy cookie instead of a tender, crumbly one. Mix until just combined.
- Not Chopping Nuts Finely Enough Large chunks of nuts can make the cookies difficult to form and disrupt the delicate texture. Aim for a very fine chop or even a coarse grind.
- Overbaking These cookies are meant to be pale. Baking them until they are deeply golden will dry them out and diminish their melt-in-your-mouth quality.
- Skipping the Double Powdered Sugar Roll The first roll while warm helps the sugar adhere, and the second roll once cool creates that beautiful, thick, snowy finish. Skipping the second roll often results in a less impressive appearance.
- Not Letting Cookies Cool Before Second Roll If you roll them a second time while still warm, the sugar will melt into the cookie, losing that distinct snowy look.
Storage and Meal Prep Made Easy
One of the best things about these cookies is how well they store! They’re fantastic for meal prep or making ahead for events.
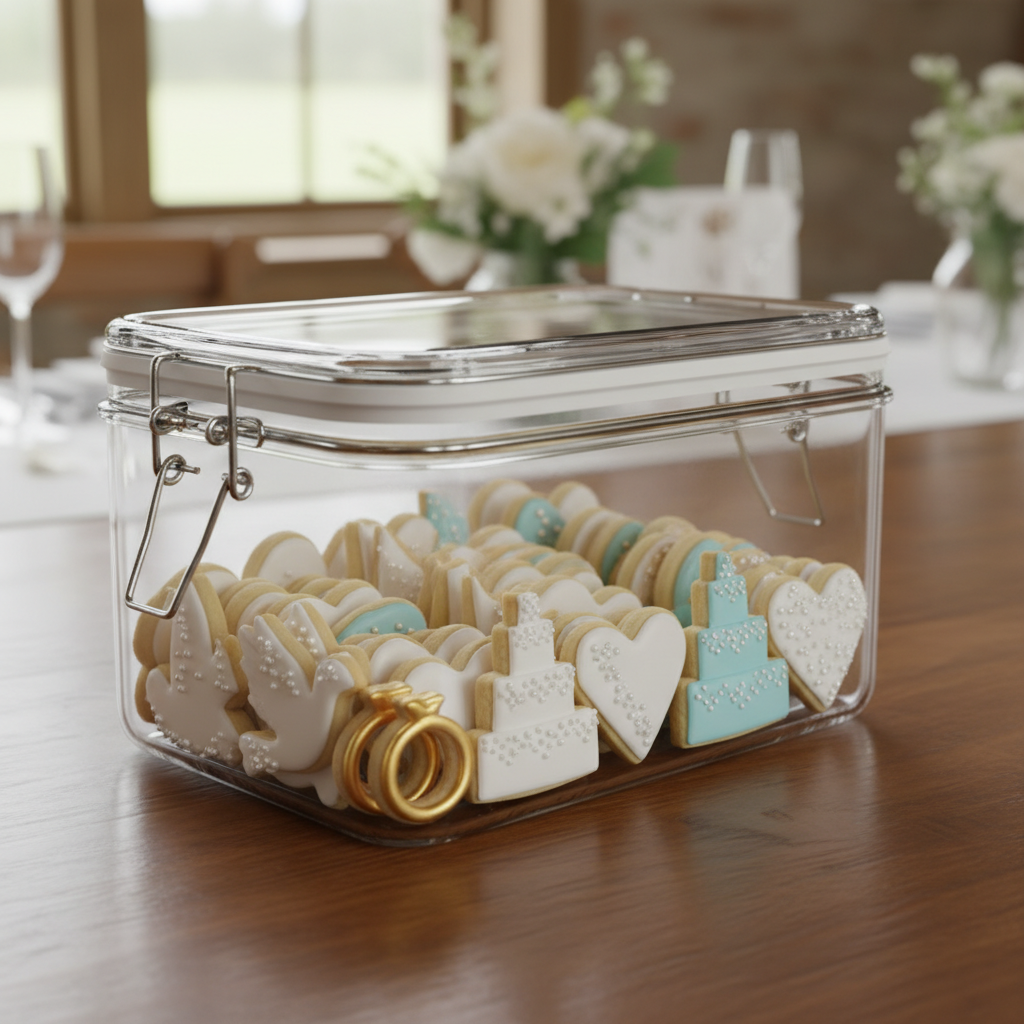
- At Room Temperature Once completely cooled, store wedding cookies in an airtight container at room temperature for up to 1 week. The powdered sugar coating helps to keep them fresh.
- In the Refrigerator While not strictly necessary, you can store them in an airtight container in the refrigerator for up to 2 weeks. Bring them to room temperature before serving for the best texture.
- Layering for Storage If stacking, place a piece of parchment paper between layers to prevent the powdered sugar from transferring too much or the cookies from sticking together.
Make-Ahead and Freezer Notes
These cookies are incredibly freezer-friendly, both as dough and baked cookies, making them perfect for planning ahead.
- Freezing Cookie Dough Prepare the dough as instructed, then roll it into balls. Place the dough balls on a baking sheet lined with parchment paper and freeze until solid (about 1-2 hours). Once frozen, transfer the solid dough balls to a freezer-safe zip-top bag or airtight container. They can be stored in the freezer for up to 3 months. When ready to bake, you can bake them directly from frozen, adding a few extra minutes to the baking time (15-18 minutes).
- Freezing Baked Cookies Bake and cool the cookies completely, including the double roll in powdered sugar. Place the cooled, sugared cookies in a single layer on a baking sheet and freeze until solid. Once frozen, transfer them to a freezer-safe airtight container, separating layers with parchment paper. They can be frozen for up to 2 months. Thaw at room temperature for a few hours before serving. You may want to give them an optional light dusting of fresh powdered sugar before serving, as some of the original sugar may absorb.
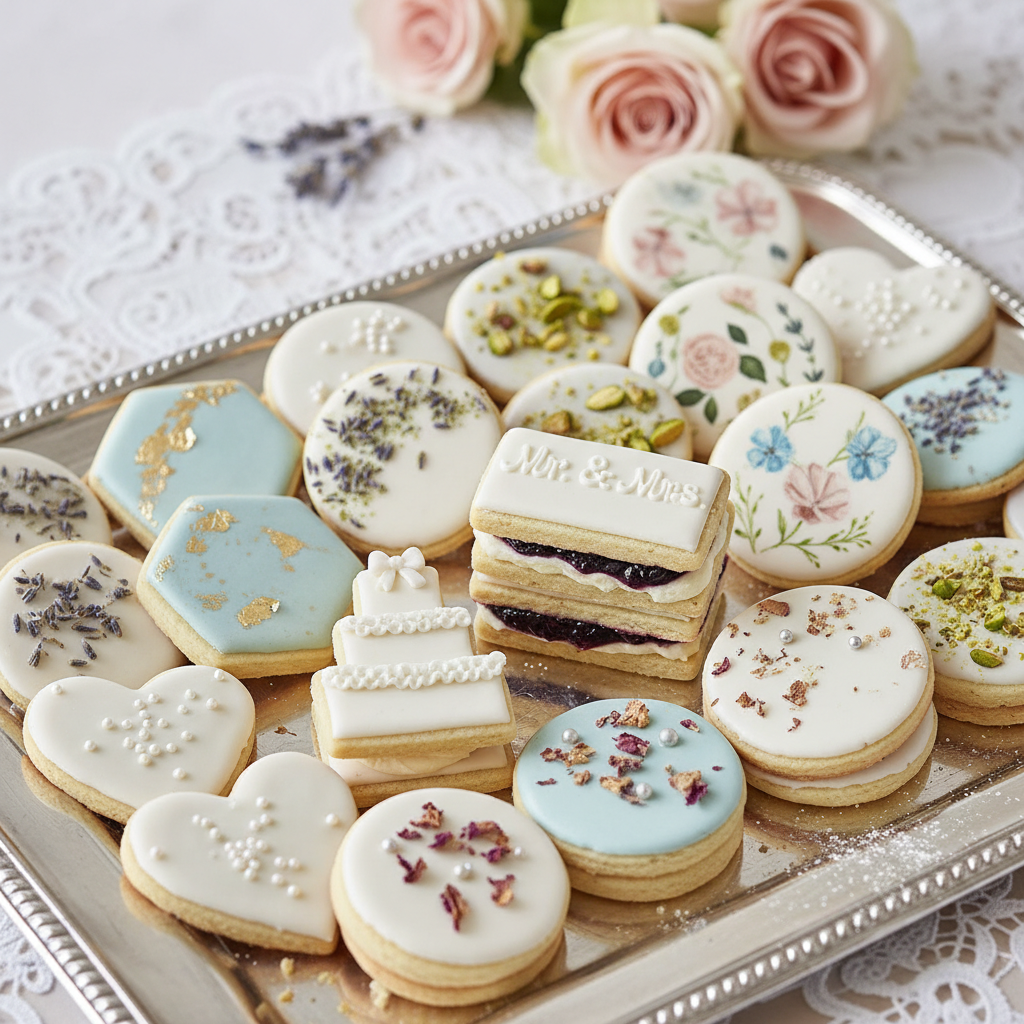
Wonderful Serving Suggestions
These elegant wedding cookies are versatile and can be served in many delightful ways:
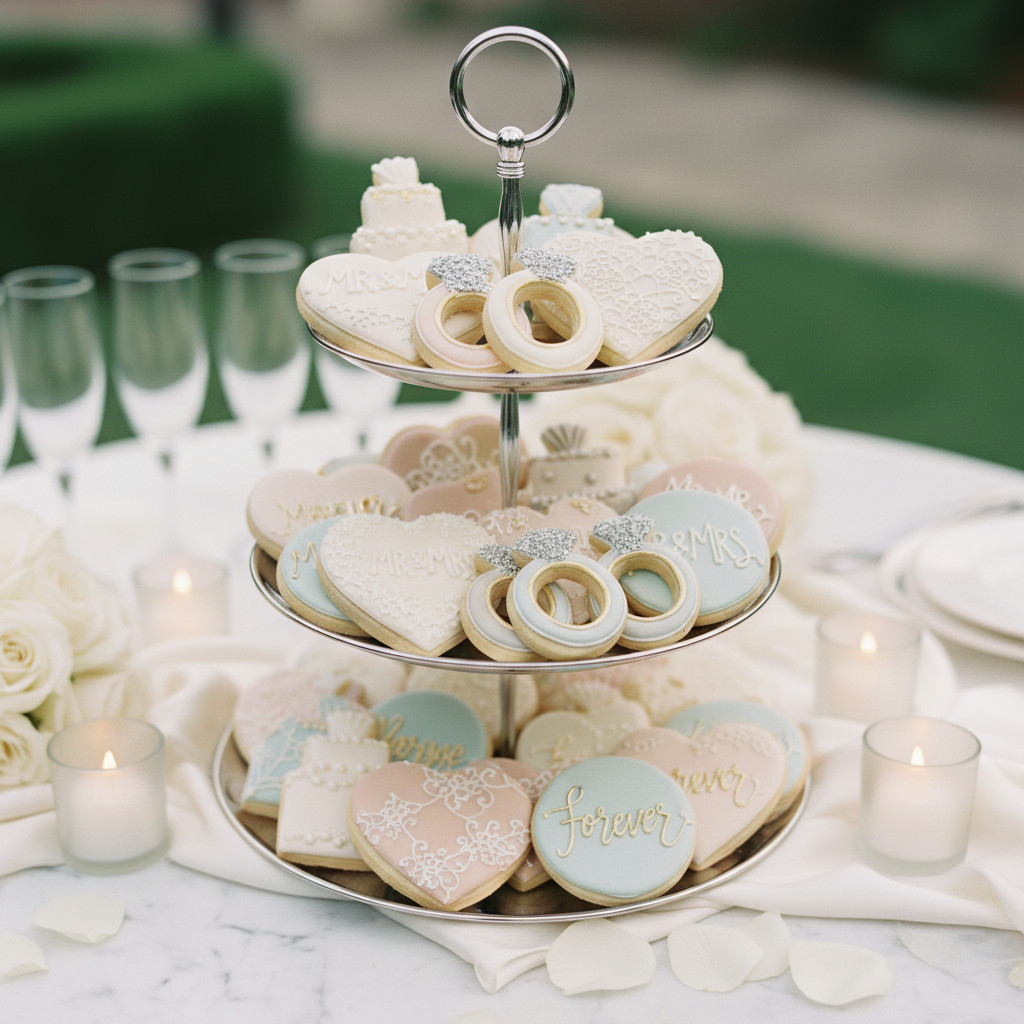
- Classic Dessert Platter Arrange them beautifully on a platter for any gathering, from casual tea parties to formal celebrations.
- Coffee or Tea Companion Their delicate flavor pairs perfectly with a cup of hot coffee, tea, or even hot chocolate.
- Holiday Cookie Exchange They are a beloved addition to any holiday cookie assortment, bringing a touch of festive elegance.
- Gift Giving Package them in pretty tins or bags with a ribbon for a thoughtful homemade gift.
- Wedding Favors Individually bag or box them as charming favors for wedding guests.
- Ice Cream Topping Crumble a few over a scoop of vanilla or coffee ice cream for an unexpected crunch and flavor.